


(Words and photos by Kaleb Kelley) – I know it has been awhile since I’ve given everybody an update on my 1973 Plymouth Scamp, A.K.A. Project Possum. Life kind of got in the way as it normally does and I got behind. When I last left you, my father and I had finished up the Hotchkis Total Vehicle System suspension on the Scamp. Now, it is time for another important factor in a ProTouring car, brakes.
When looking for disc brakes for my car, I was either going to piece some parts together as some others have done, or get the works from Wilwood for all four corners. I decided to go with the second option after talking to friends because of how easy it was to install and how well they worked. Also, I’m not a guru on this stuff. My dad is helping me and knows much more than me, but converting an entire brake system from drum brakes to disc brakes is new territory to us. This is kind of ironic because the first thing the Wilwood instructions said stated, “Disc brakes should only be installed by someone experienced and competent in the installation and maintenance of disc brakes.” We may be competent in most areas, but experienced is an adjective I wouldn’t use to define us, especially me. After finishing the install, I am 75% sure that we could fit under the parameter of “experienced.”

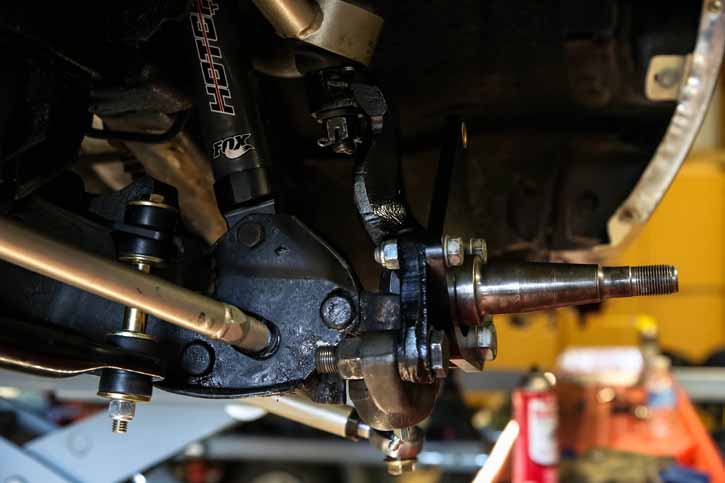
When ordering the brakes, they didn’t show an option compatible with a drum brake spindle on a ’73 A-body. Instead of thinking this through and comparing pictures of each, I ordered a set compatible with ’72 A-body brakes. They came with 11″ rotors front and rear with 4-pistons all around. Apparently the two spindles are vastly different. My dad had a kit for his ’71 ‘Cuda sitting there that was next on our list, so he grabbed his brackets for the spindle and put them on my spindle and they fit perfectly. We thought we were good to go and ordered his brackets, but apparently the center of the spindle is a 1/16 wider so the bearing wouldn’t work. Long story short, we ended up returning the hub, bearings, etc. to Wilwood in exchange for the same stuff for his ‘Cuda. Then we got factory drum brake E-body spindles from our friend Bob Romig to replace them and everything went together perfect.

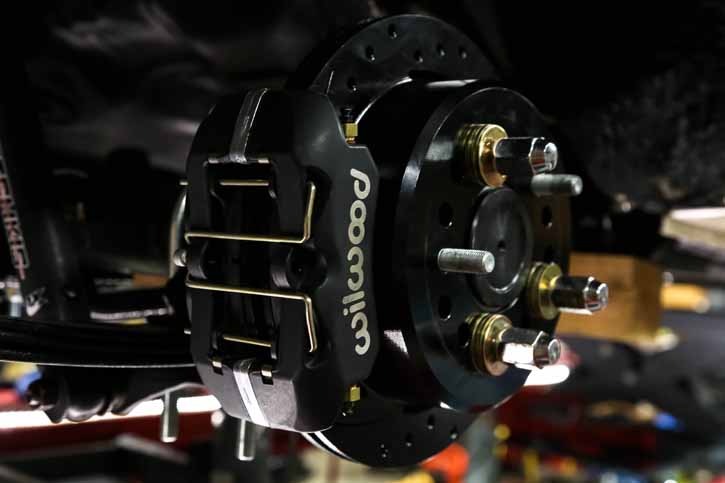
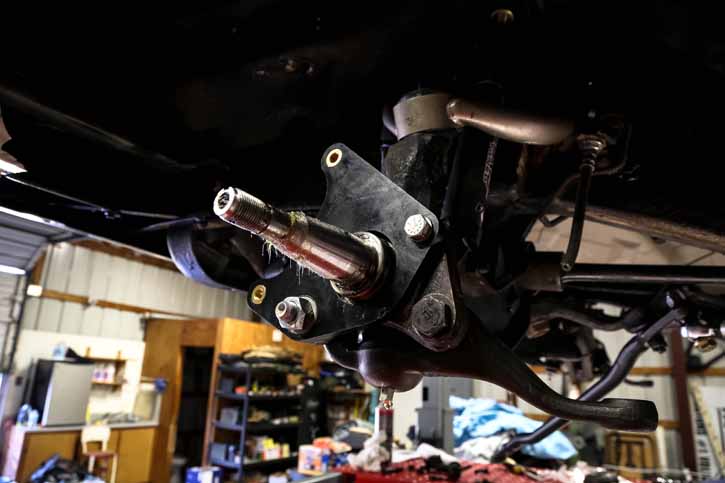
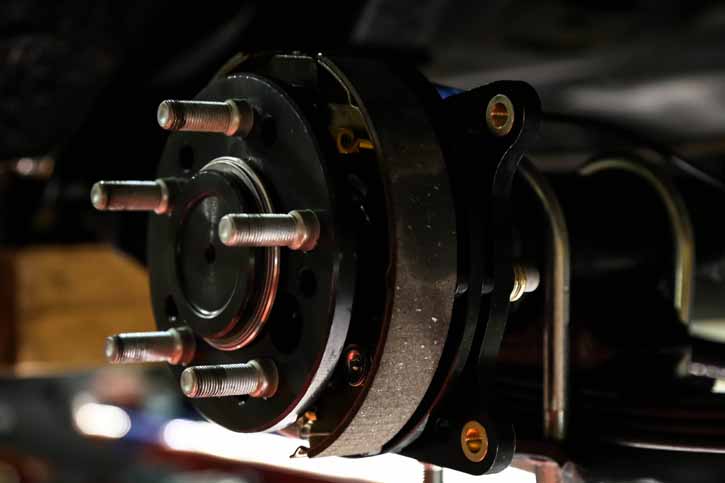
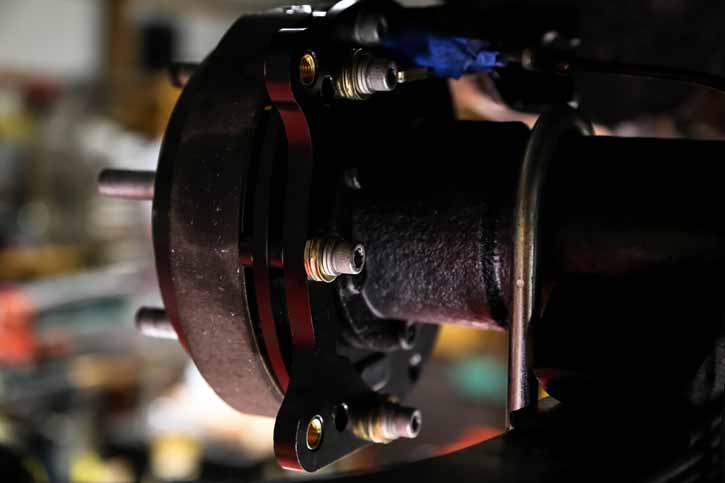
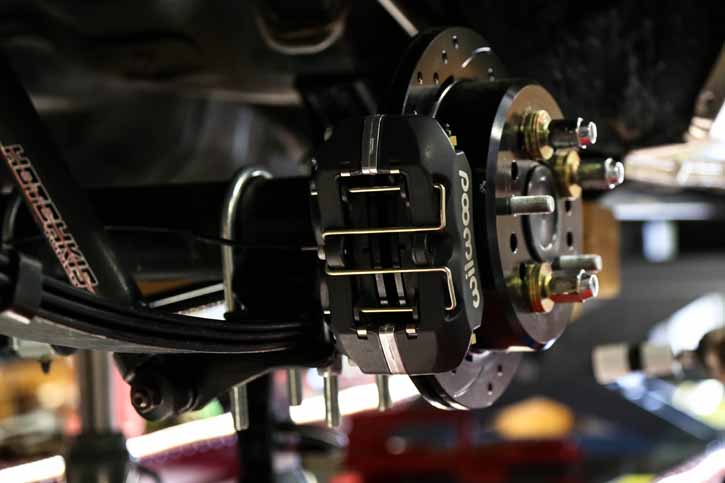
First off, we had to get the brackets on correctly, which apparently mount the calipers towards the rear. Since I didn’t meet that experienced criteria, I had no idea until we had them almost completely finished. Getting my hands dirty and screwing up quite a few times has humbled me quite a bit. The brackets use 3 new bolts, but retain one of your factory bolts. The important when attaching these is to torque them to the correct specs listed in the instructions. The two smaller bolts on top must be torqued to 47 ft-lbs and the big ones on bottom must be torqued to 140 ft-lbs.


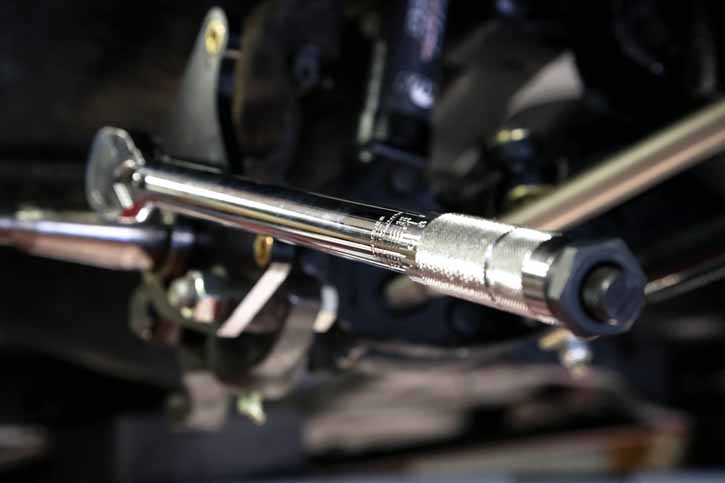
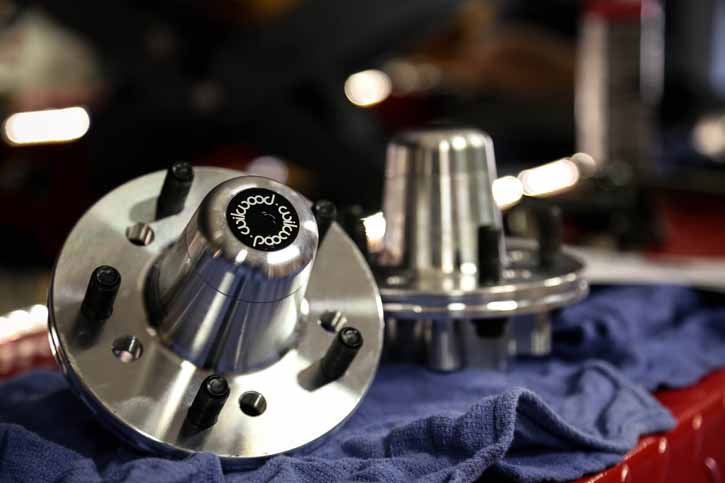
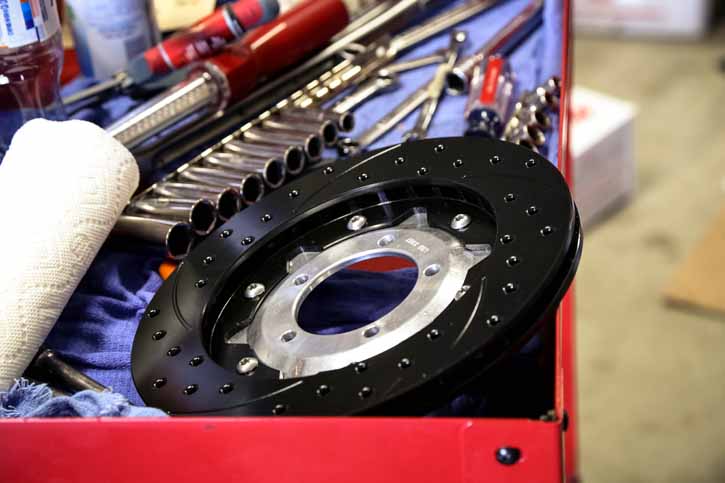
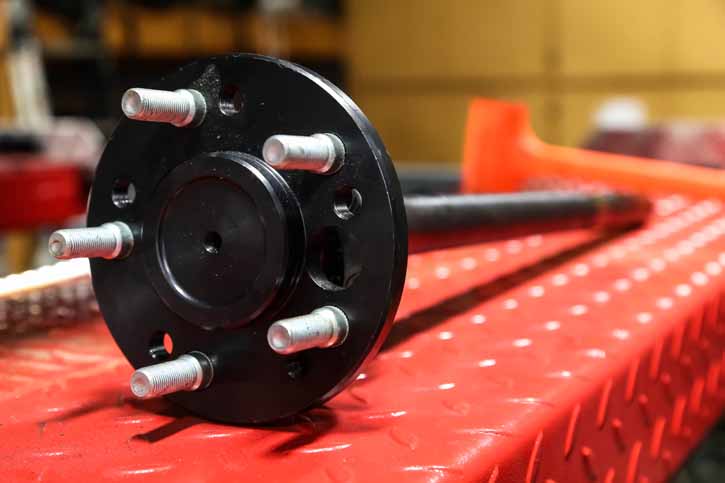
Next, to get the hub ready for install, you have to install the wheel studs, bolt the adapter plate to the rotor, and then bolt the adapter plate. This required even more use of the torque wrench and even some red Loctite 271. Now that the hub was assembled, I packed the inner and outer bearings and installed them along with the grease seal. With the hub fully assembled, there was nothing left to do but slide it onto the spindle and screw the spindle nut on. I wasn’t sure how much drag you were supposed to feel when screwing it in, I went until I felt just the slightest drag and then put the cotter pin in.

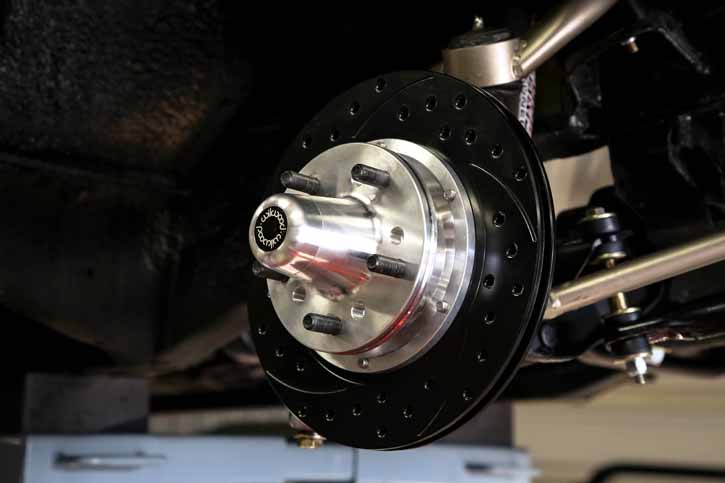
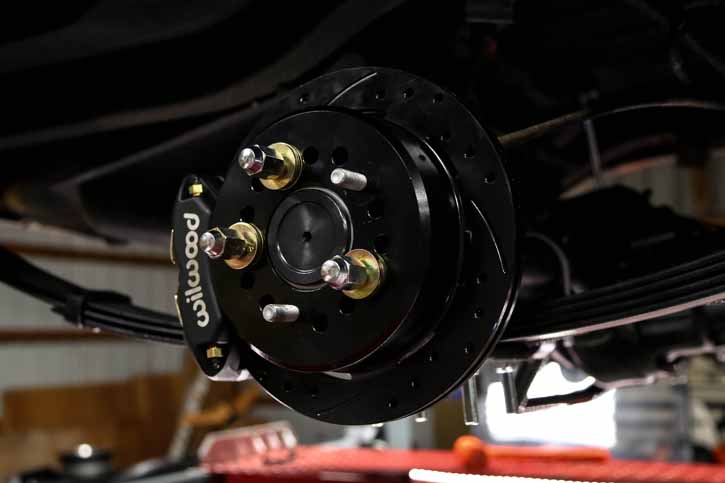
It felt like we were nearing the finish line as we mounted the calipers next and centered them on the rotors. They supply shims to get it as close to centered as you can, but you have to be careful now to second guess yourself and waste a ton of time. We went back and forth and ended up going back to the first set of shims we used. Overall, the front brake install was incredibly easy. If it wasn’t for my hiccups, we would’ve had it done very quickly.
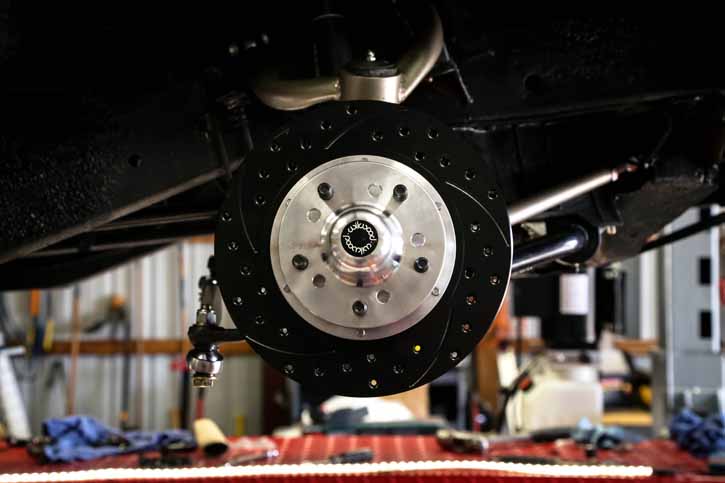
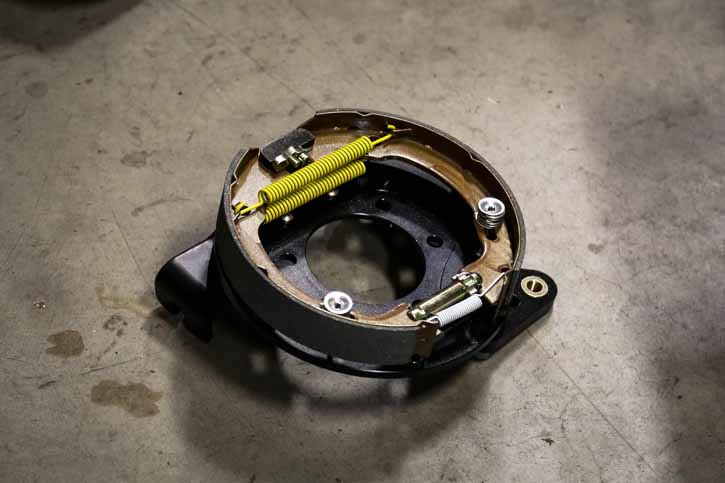
The brakes were just as simple in the rear. It helped that I was already putting new axles in from Doctor Diff, since you have to remove the axles to install the brakes. Also, Wilwood requires a green bearing on the axles to work correctly with the snap ring, but Doctor Diff supplies them with the green bearing as standard equipment. You have to remove this snap ring to install the bracket and parking brake assembly. After you have it installed properly, you can put the snap ring back on and bolt the bracket assembly along with the parking brake to the axle. Then you slide the rotor on and screw some lug nuts on it to keep it flush before you mount the calipers. It’s the same deal as the front with the shims. We actually had to machine the plate that is supplied with the caliper mounting bracket because I incorrectly measured my axle offset, but hey that’s what happens when you estimate, A.K.A. purely guess.


Now that we had the brakes together we felt like we were all done. We installed the brake pads and then thought we’d make quick work of the master cylinder. This ended up taking a couple late nights as we reflared quite a few lines and realized we were missing some fittings, which turned out to be a blast. *insert sarcasm*
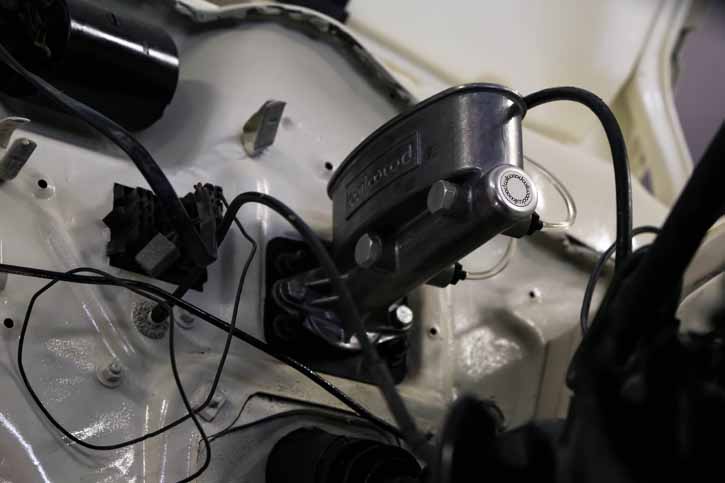
Instead of running all new lines like we probably should have, we just used the lines that were there and reflared what we needed to. We also kept the proportioning valve down low in the factory position instead of repositioning it under the master cylinder like Wilwood normally does. We went through some headaches trying to flare the lines and stop leaks. We got it all good and thought there were no more leaks, but we would learn what pressure would do to unevenly flared fittings.
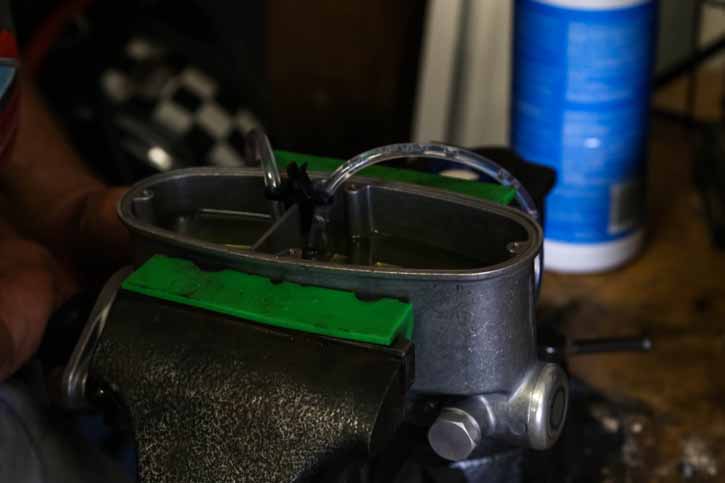
Next, we bench bled the master cylinder. You do this to get all of the air out of the piston and make sure only fluid it left. Now the interesting part was mounting the master cylinder and connecting the lines without destroying my paint with brake fluid… After hooking the lines up we still had a few leaks and spent a few additional nights fighting them. We also had an issue with the pushrod not hacking the correct mounting hardware for the brake pedal, but then realized that it was because it was not specifically made for all vehicles, but generalized to fit as many as they could, A.K.A. GM cars. Thankfully, Wilwood had just released their new Universal Pushrod kit and sent us one. That fixed the problem and now everything is hooked up and good to go. We bled the calipers one at a time starting with the caliper farthest from the master cylinder per Wilwood’s instructions.
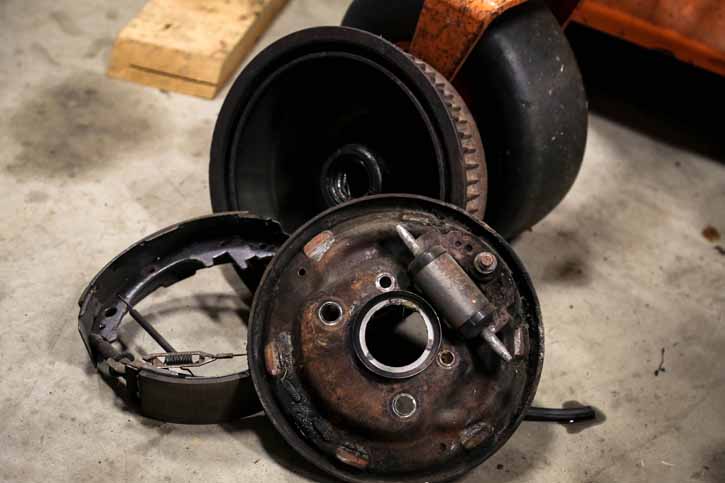
It seemed like this simple project took forever, but I blame the fact that we didn’t satisfy the “someone experienced and competent” requirement for this install. The instructions were awesome and I can’t complain a bit about the product that Wilwood supplied. I can’t wait to see how they work. I’m sure it’ll be a vast difference from my lazy 4-wheel drums. The Scamp is starting to come together more now as well. The motor started a few days ago and we’re finishing up throttle cable, kickdown, etc. to get it rolling.
Also, I bought an Eaton TrueTrac for it to get rid of the one tire fire the 8 ¾ rear end was sure to give me. The Power Tour is less than 2 weeks away so it is crunch time now. Please be rooting for us as we finish up the Scamp AND my dad’s ’71 ‘Cuda with its new fuel-injected, blown 422ci small block stroker.


