 Tweet
Tweet
This is what makes the internet so great - the passing on of knowledge and pictures like this - certainly you can't teach the feel and intricacies of moving metal as you do - but pictures sure do help. I'd have welded those rings in and then wondered why nothing was flat anymore! well done indeed - fabulous work, thanks again for sharing.
-
There's always something new to learn. -
Thanks for the comments guys. Also doing a metalshaping demo this weekend at OJ's speed shop in Berryville Va. Should be a thread in the events forum...
Worked on the dash panel again tonight, used the Tig to tack in the first ring...
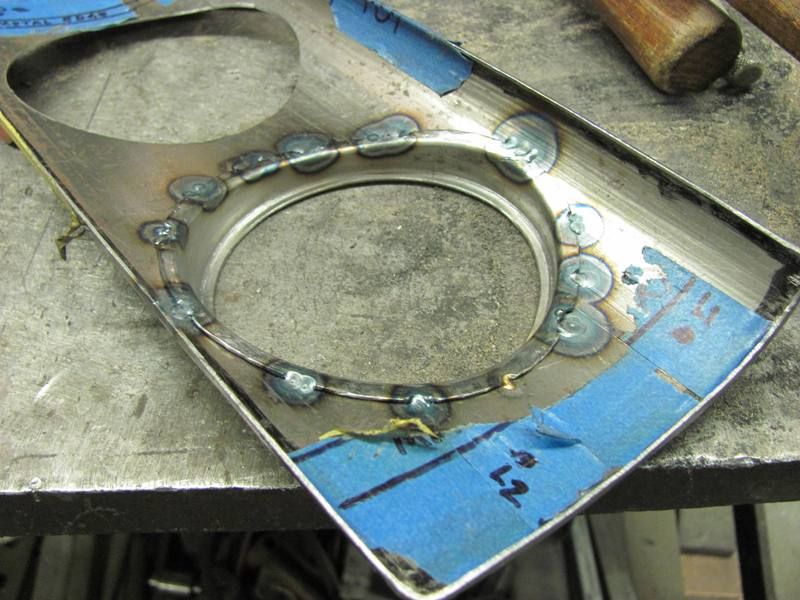
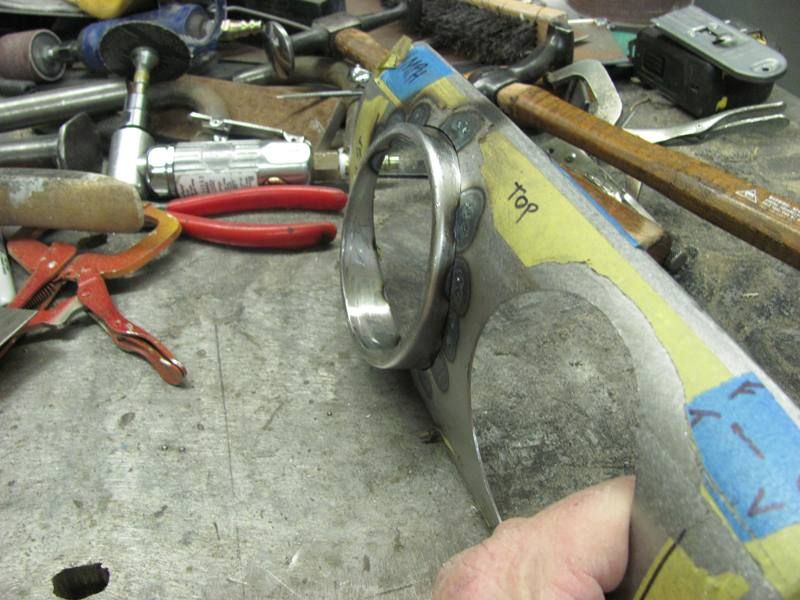
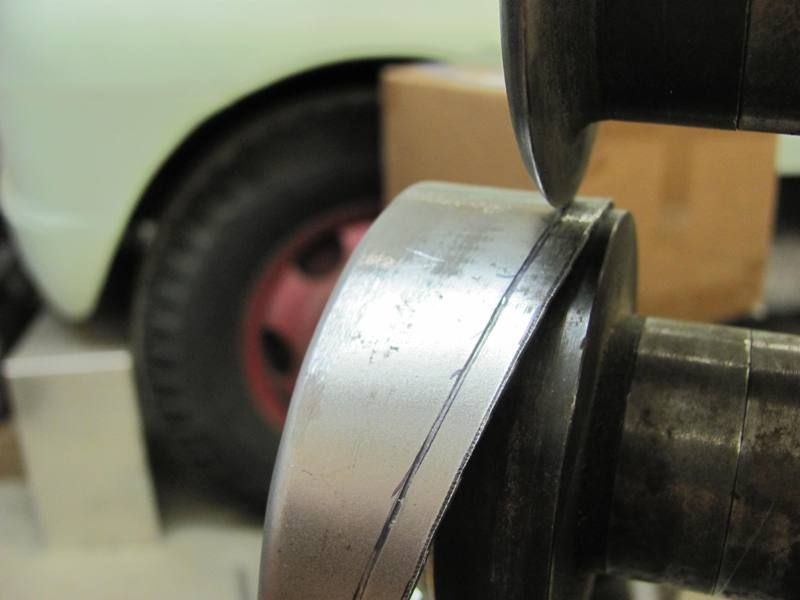
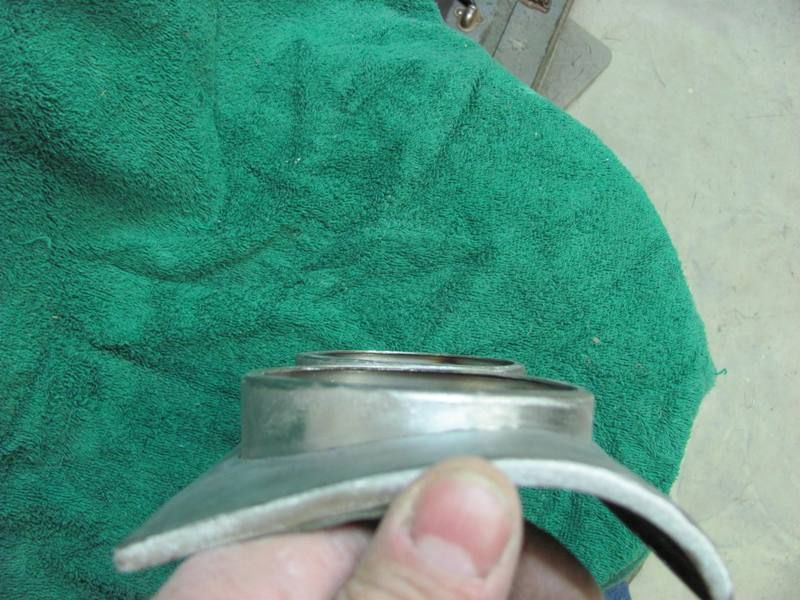
Then worked on the second, marked the flange at 3/16", trimmed, and made one revolution to mark the bend line, then tipped the inner flange as before...
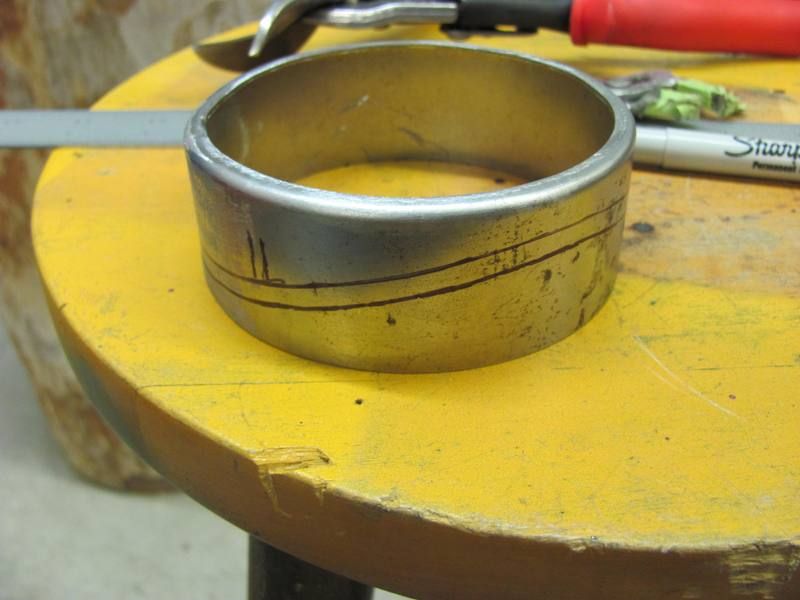
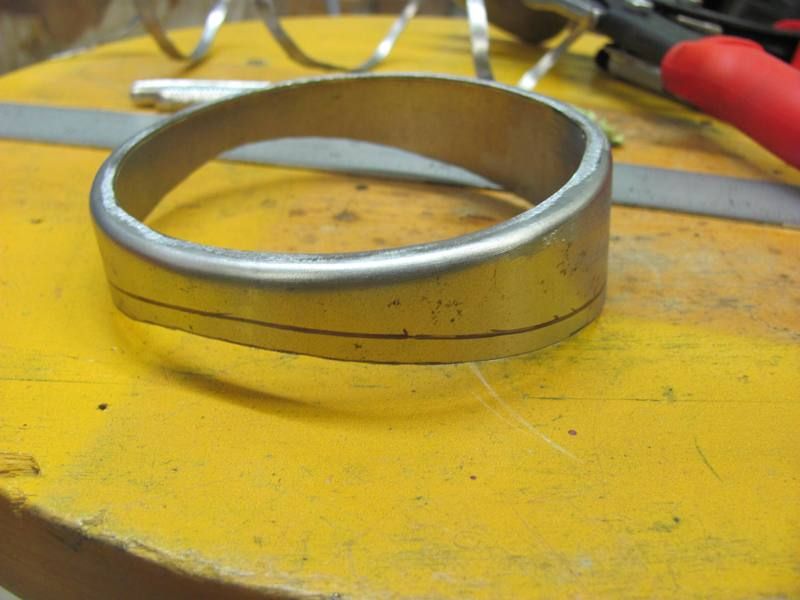
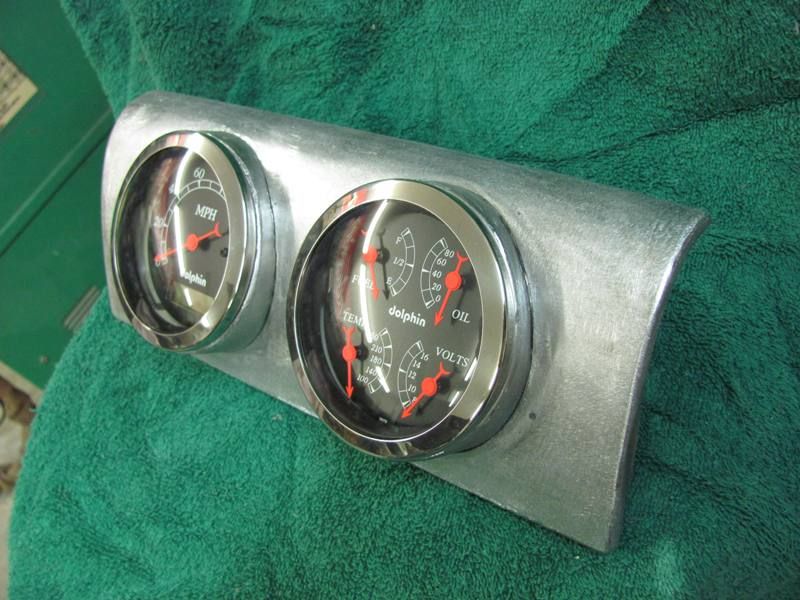
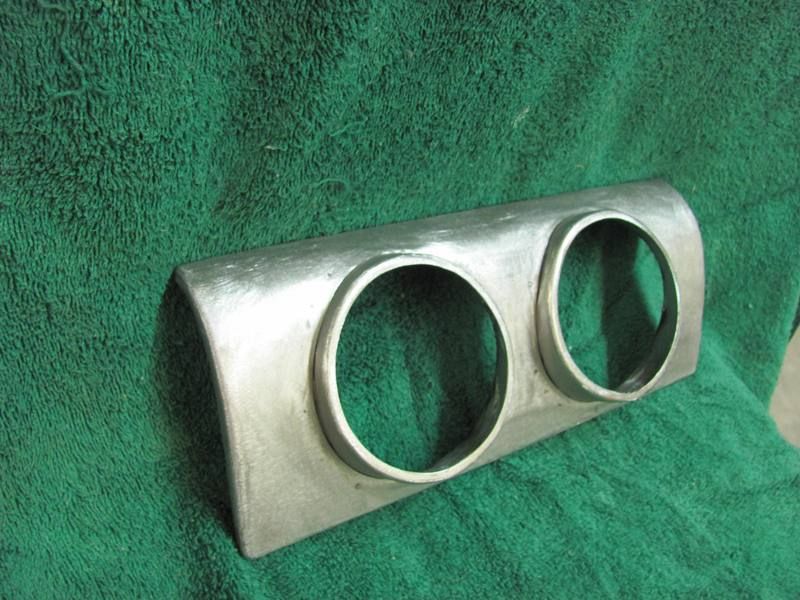
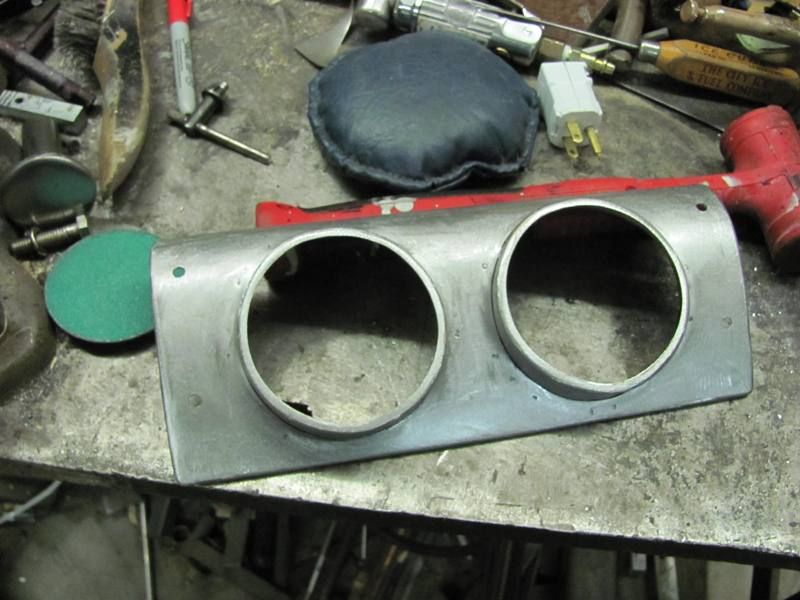
Second ring clamped, tacked in place, panel dressed a bit, and gauges test fit....bolted in this time..
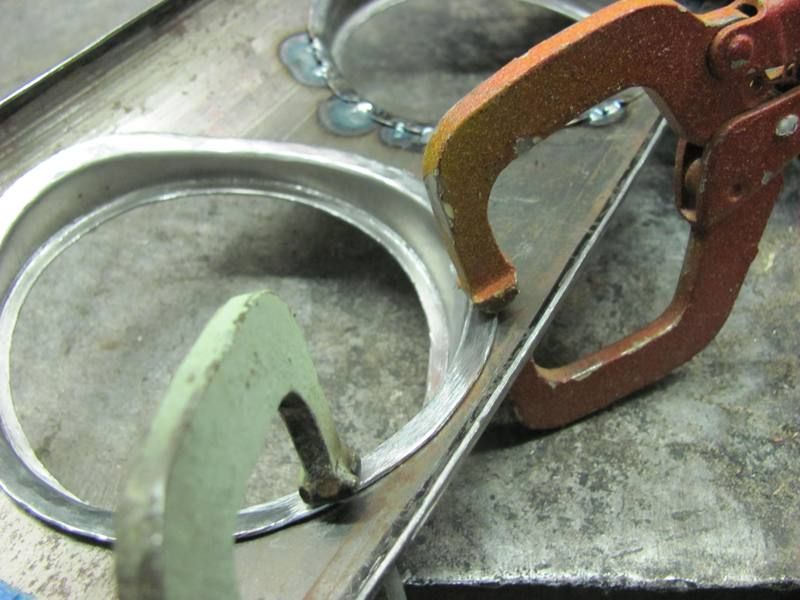
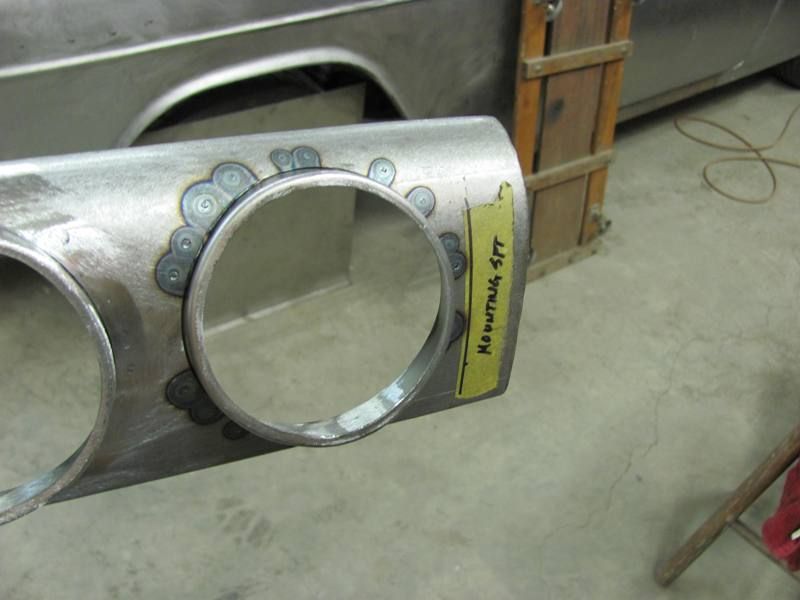
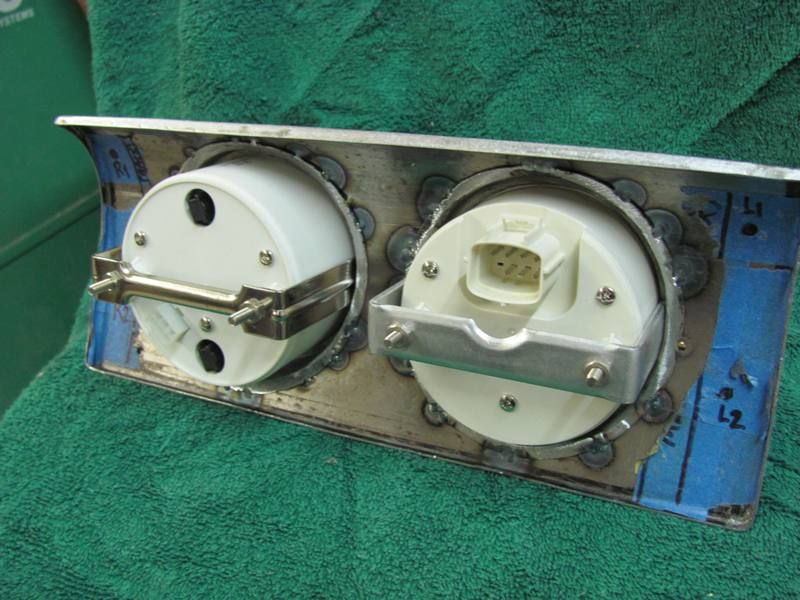
A couple small depressions at some of the weld tacks, some glaze will address any remaining imperfections. All in all, pretty pleased with the results...
 Last edited by MP&C; March 5, 2013, 06:59 PM.
Comment
-
I'm in total awe just looking at all the attention to detail and thought. Simply amazing! I'll bet you're self taught too.TomOverdrive is overrated
Comment
-
Every time I read this thread I'm shocked and awed.Comment
-
Thanks for the comments guys. Tom, I have taken a Tig welding class at the local community college, but yes, most of the rest has been self taught, online, video, and print resources, and lots of trial and error!
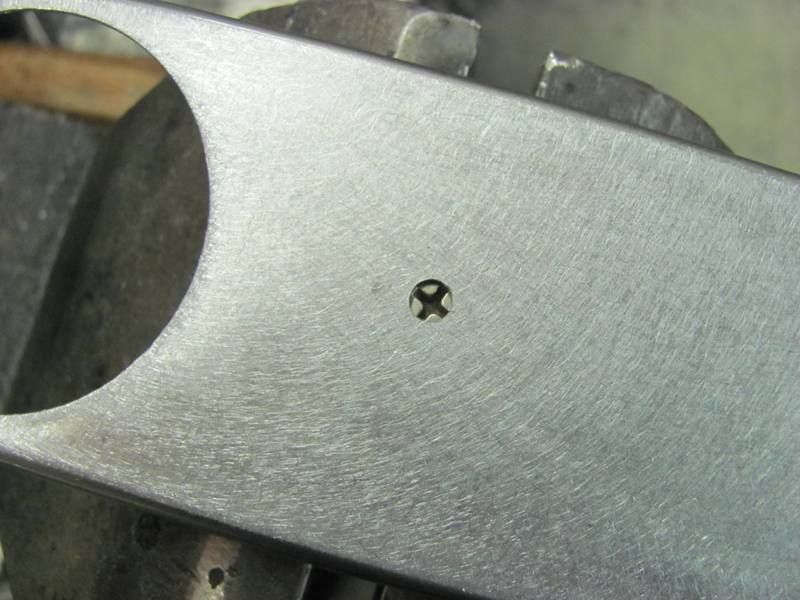
Wrapping this up, drilled four holes where the owner had marked them on the back, and cleaned up the burrs...
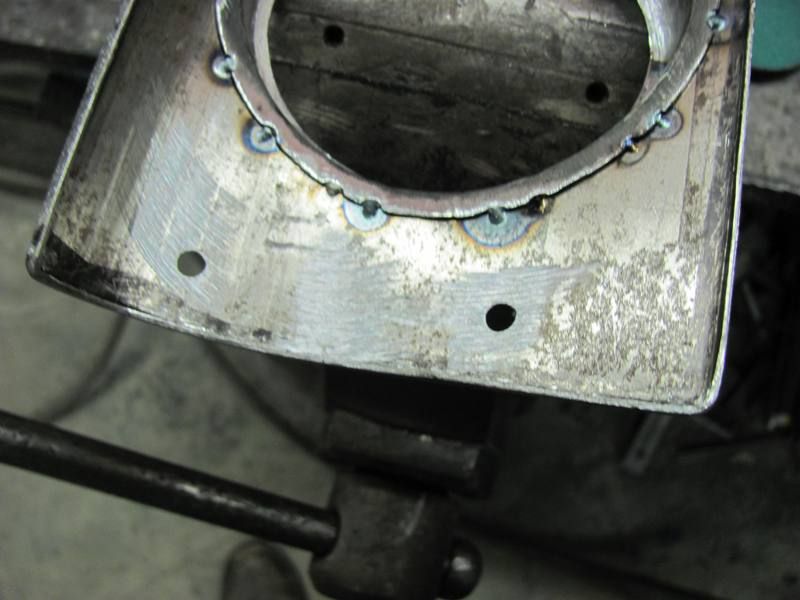
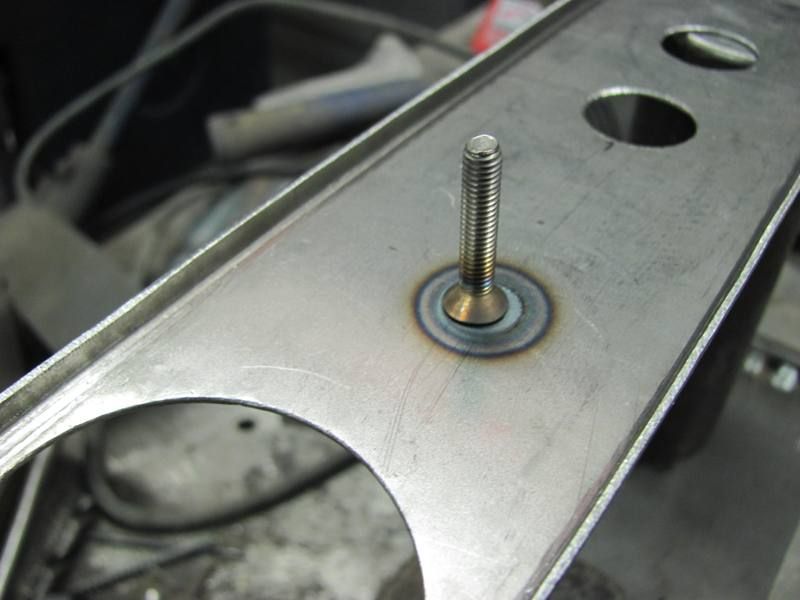
Used some 10-32 machine screws, ground the heads at an angle to match the profile of the dash panel...
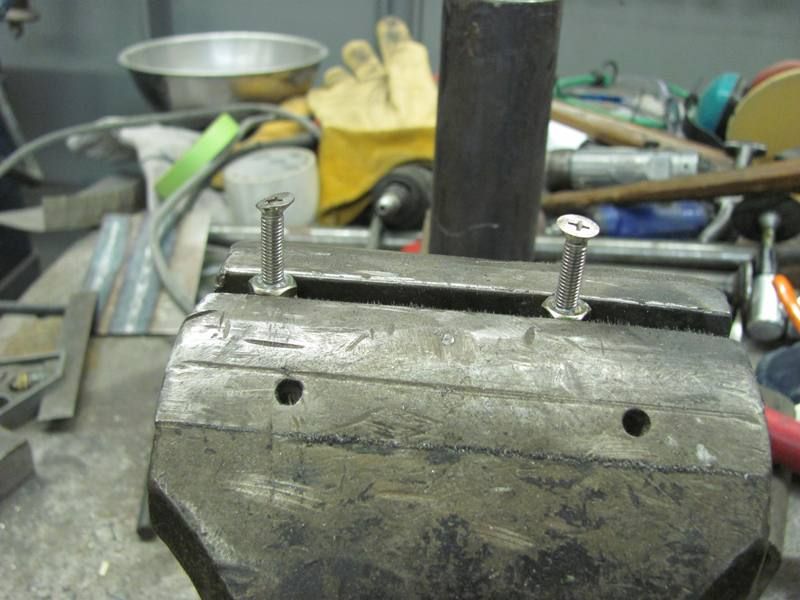
Note the anti-seize in the threads. Any time your weld circuit may cross hardware threads, the anti-seize will prevent the threads from galling.
Screws aligned with the holes...
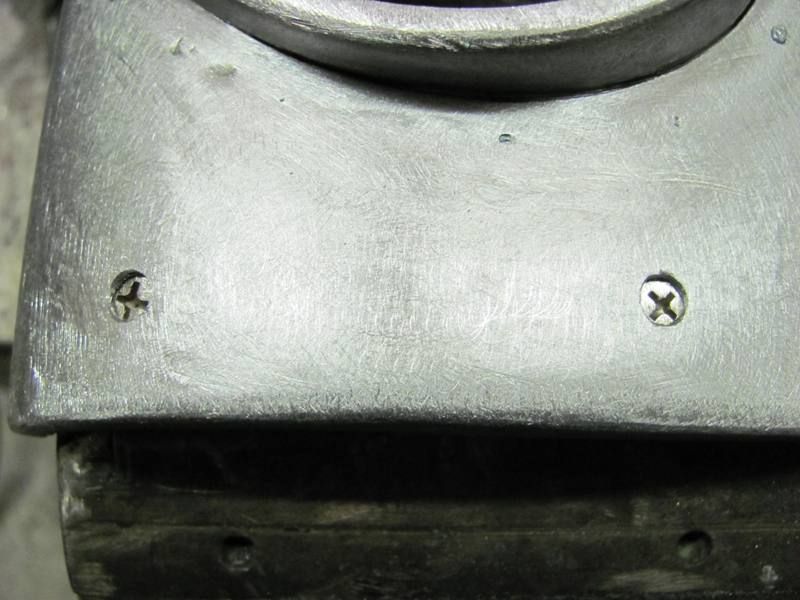
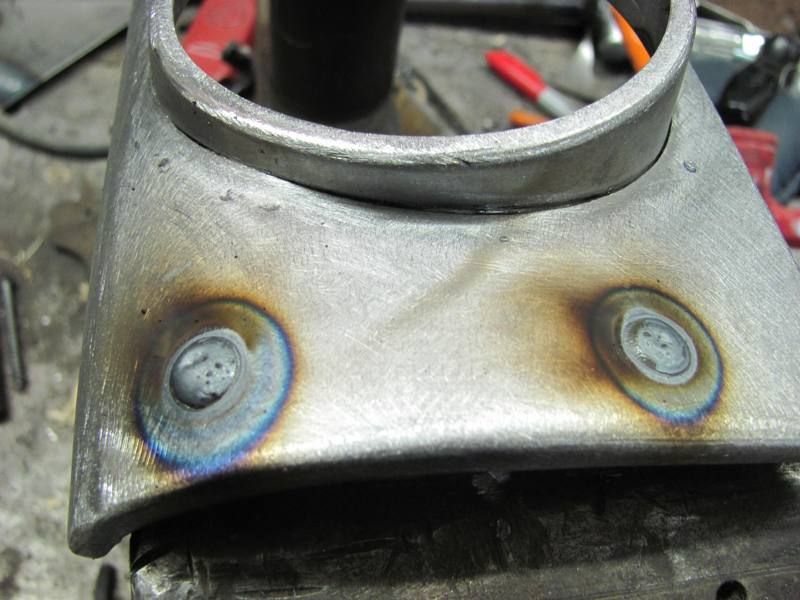
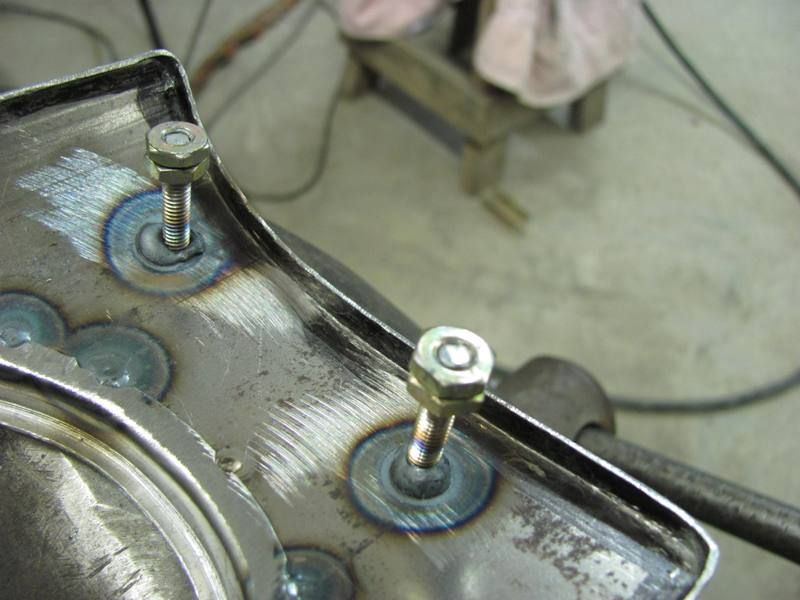
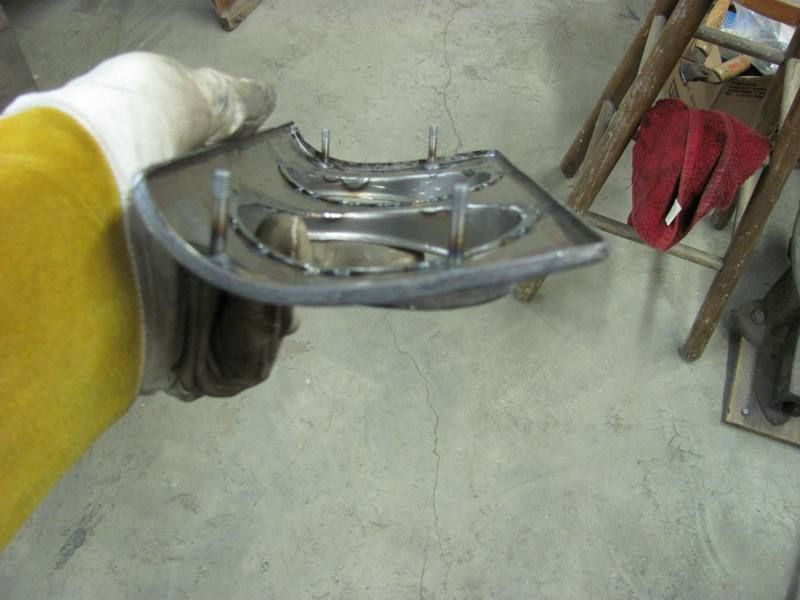
Then I ground down the front side of the welds, ready to test fit the dashboard....
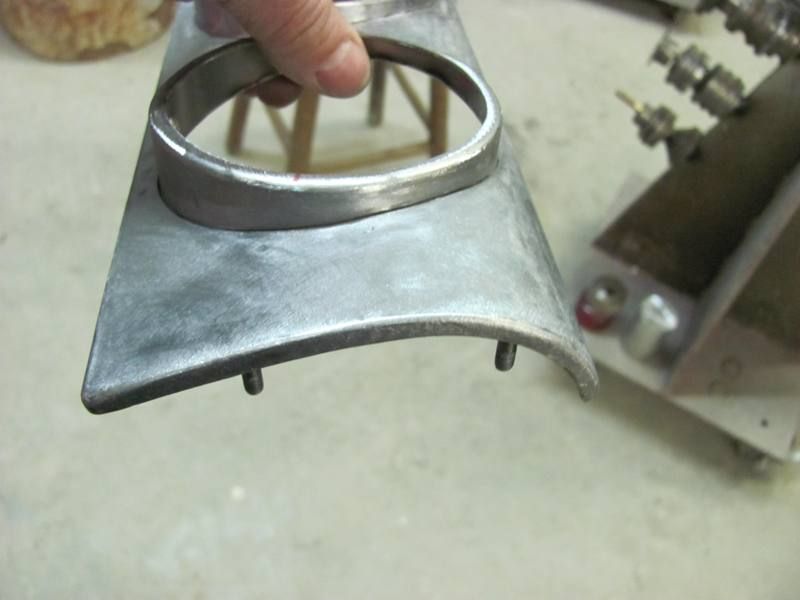
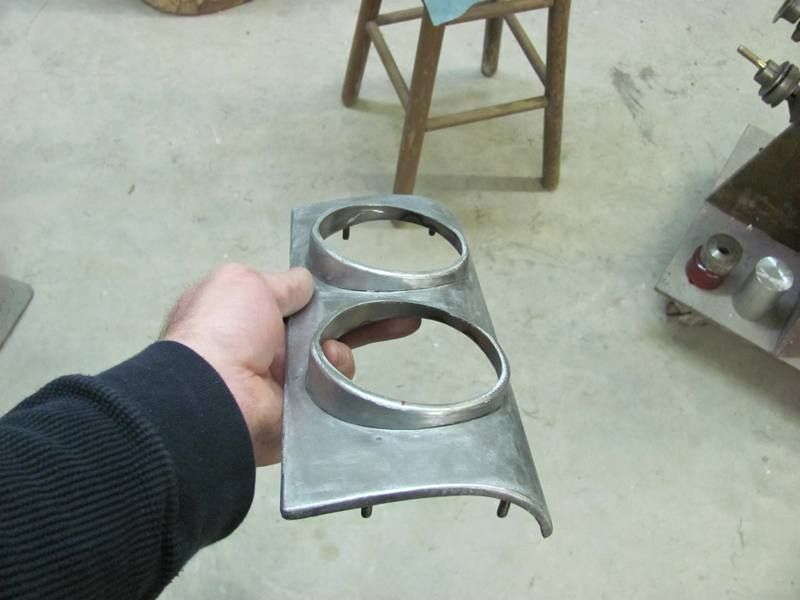 Last edited by MP&C; March 8, 2013, 07:21 PM.
Comment
-
Some great talent in this thread. Keep it coming!Comment
-
Back to instrument panels today...... Not as much bead roller work, but this should help to finish out the dash..
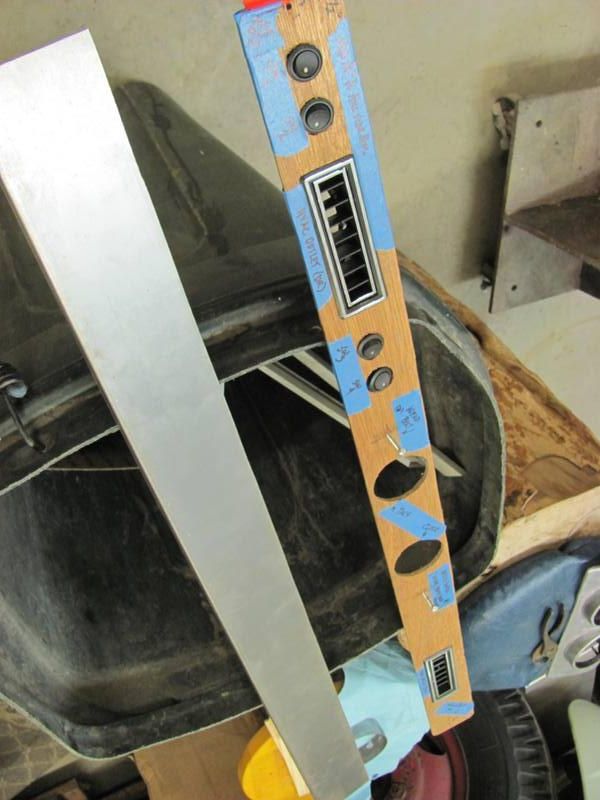
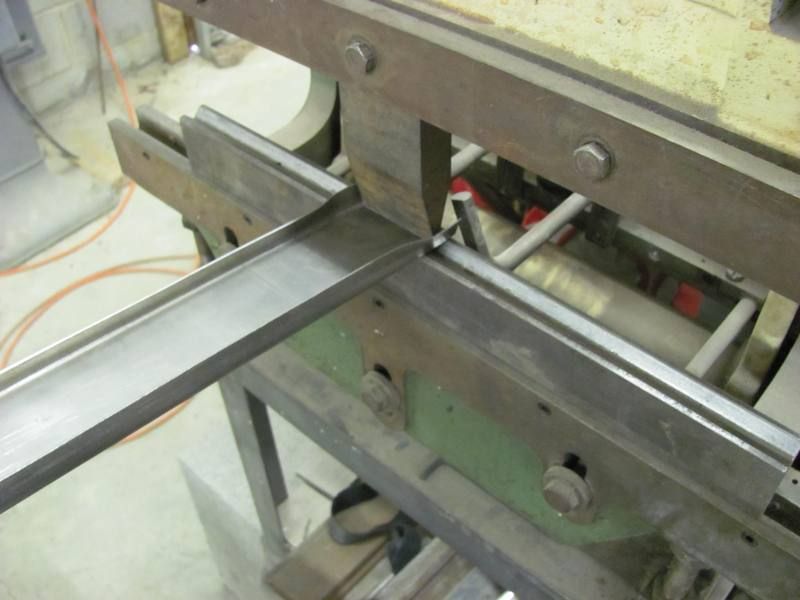
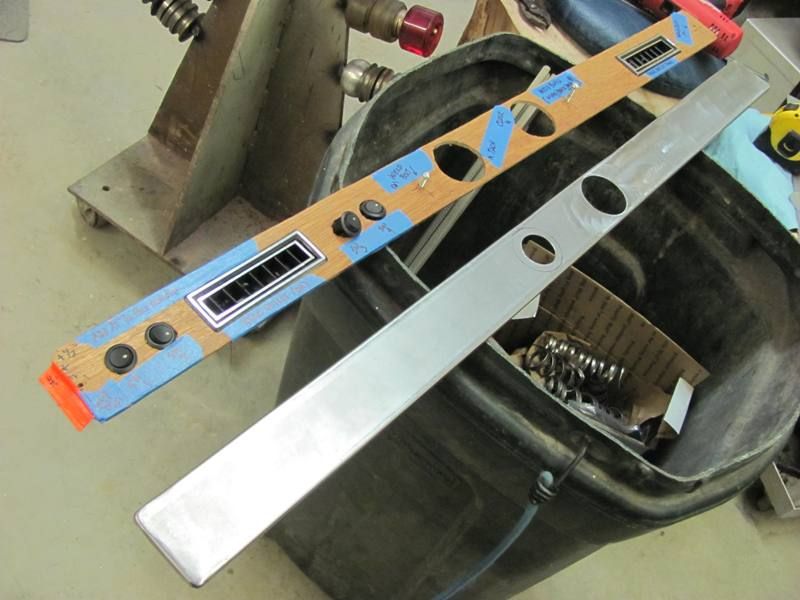
This one was just shy of 40" wide, really testing my 22 ga capacity apron brake... shown with the plywood pattern by the owner...
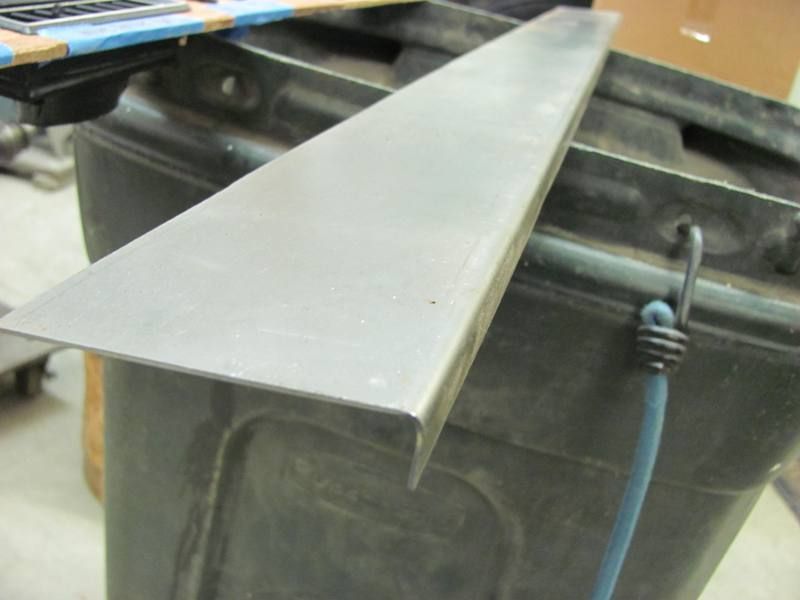
To sharpen up the bend just a bit, I ran it through the bead roller using the tipping dies...
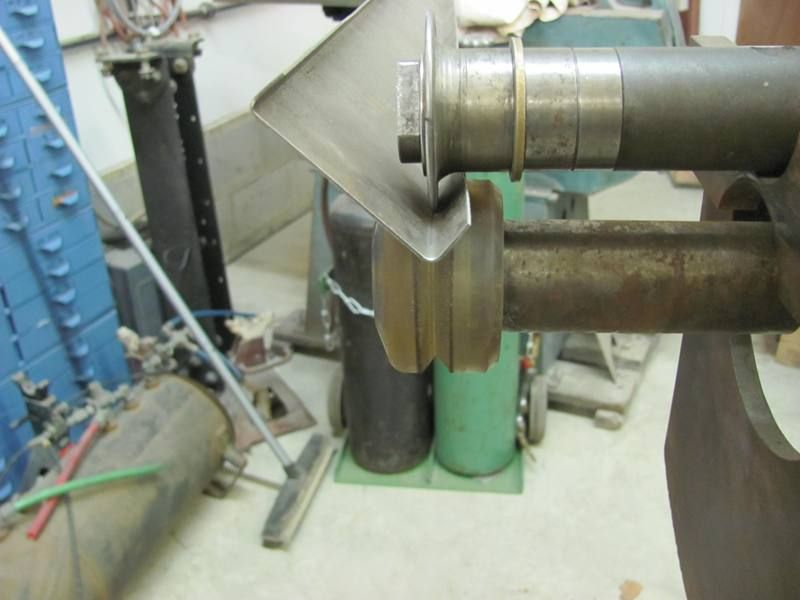
Trimmed the folded flanges down a bit. Final flange will be about 3/16", bent them using 1/2" so the apron brake would cooperate a little better..
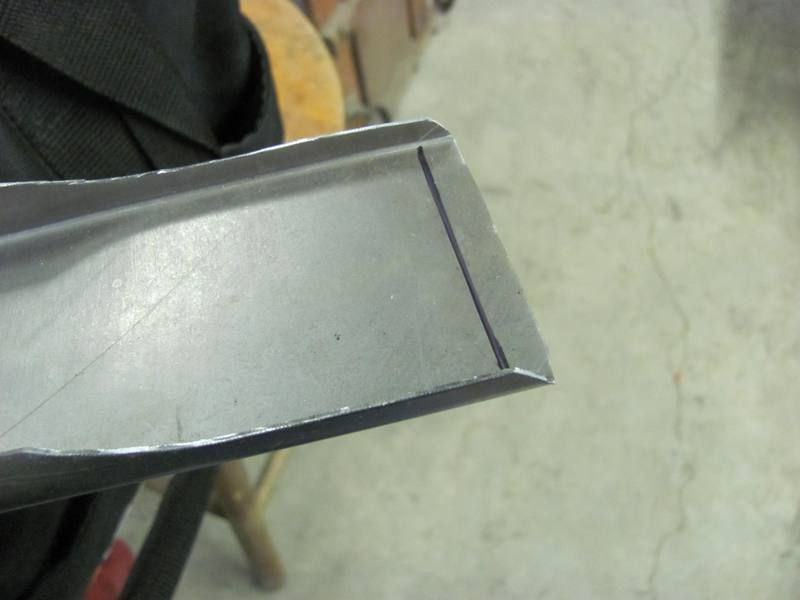
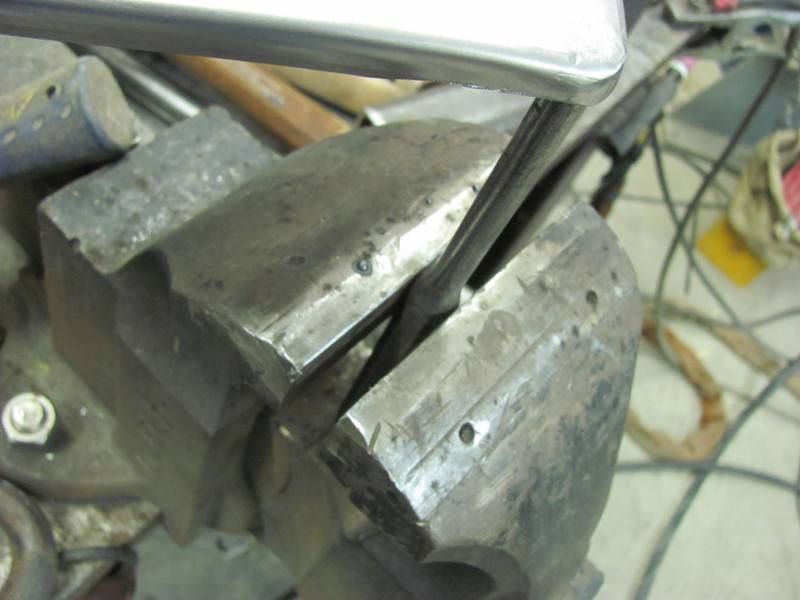
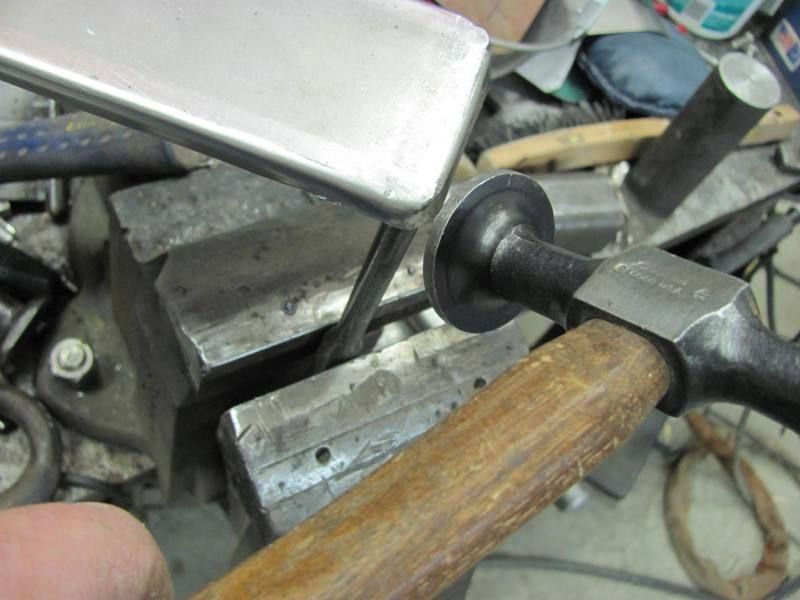
Used a 3/8 diameter punch as an anvil and hammered the corner radiuses (radii?)
Adding holes...
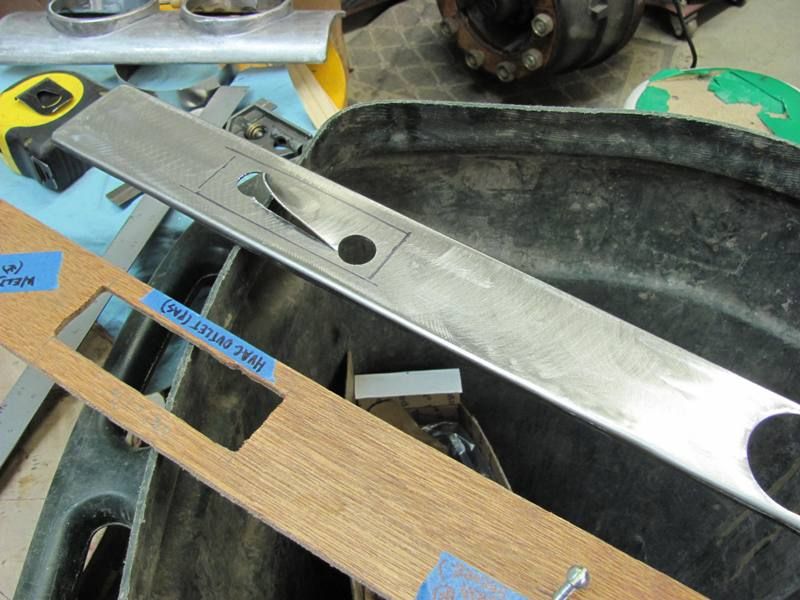
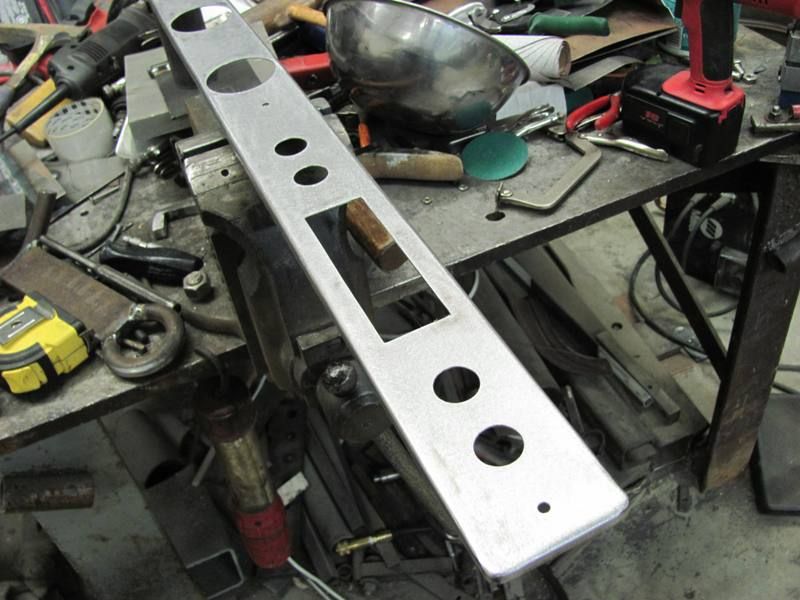
Welding on the "hidden studs"
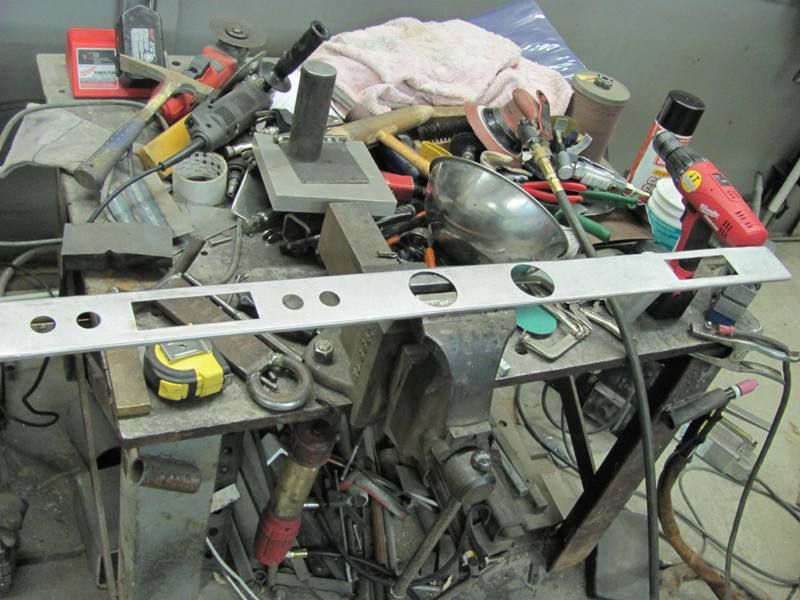
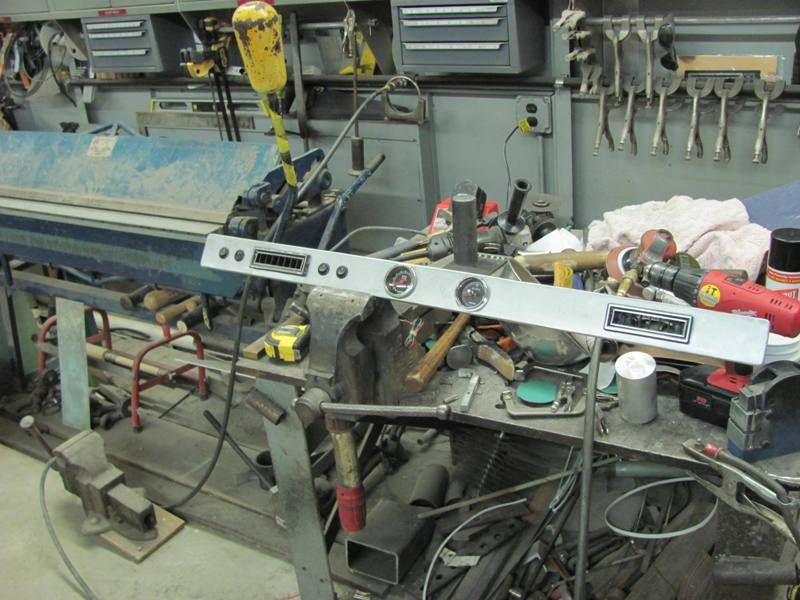
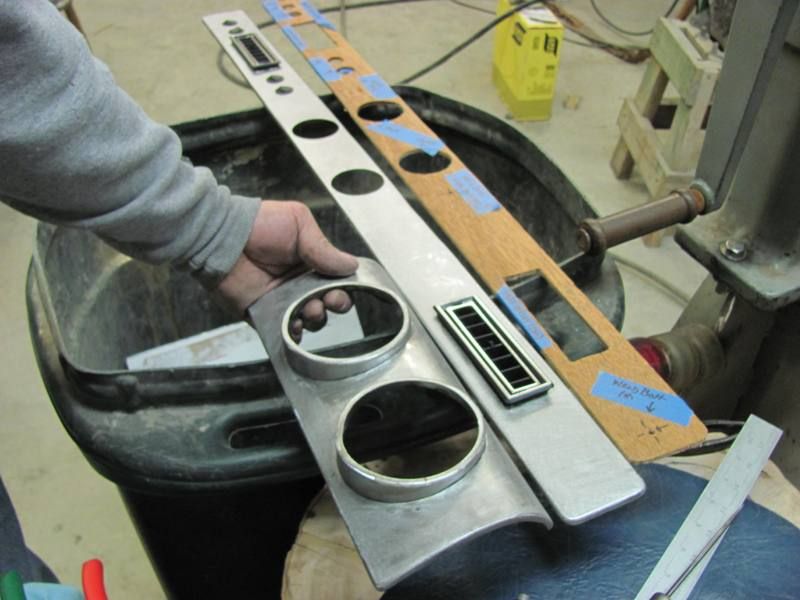
This will replace the original as well as the upper plate we made last year...

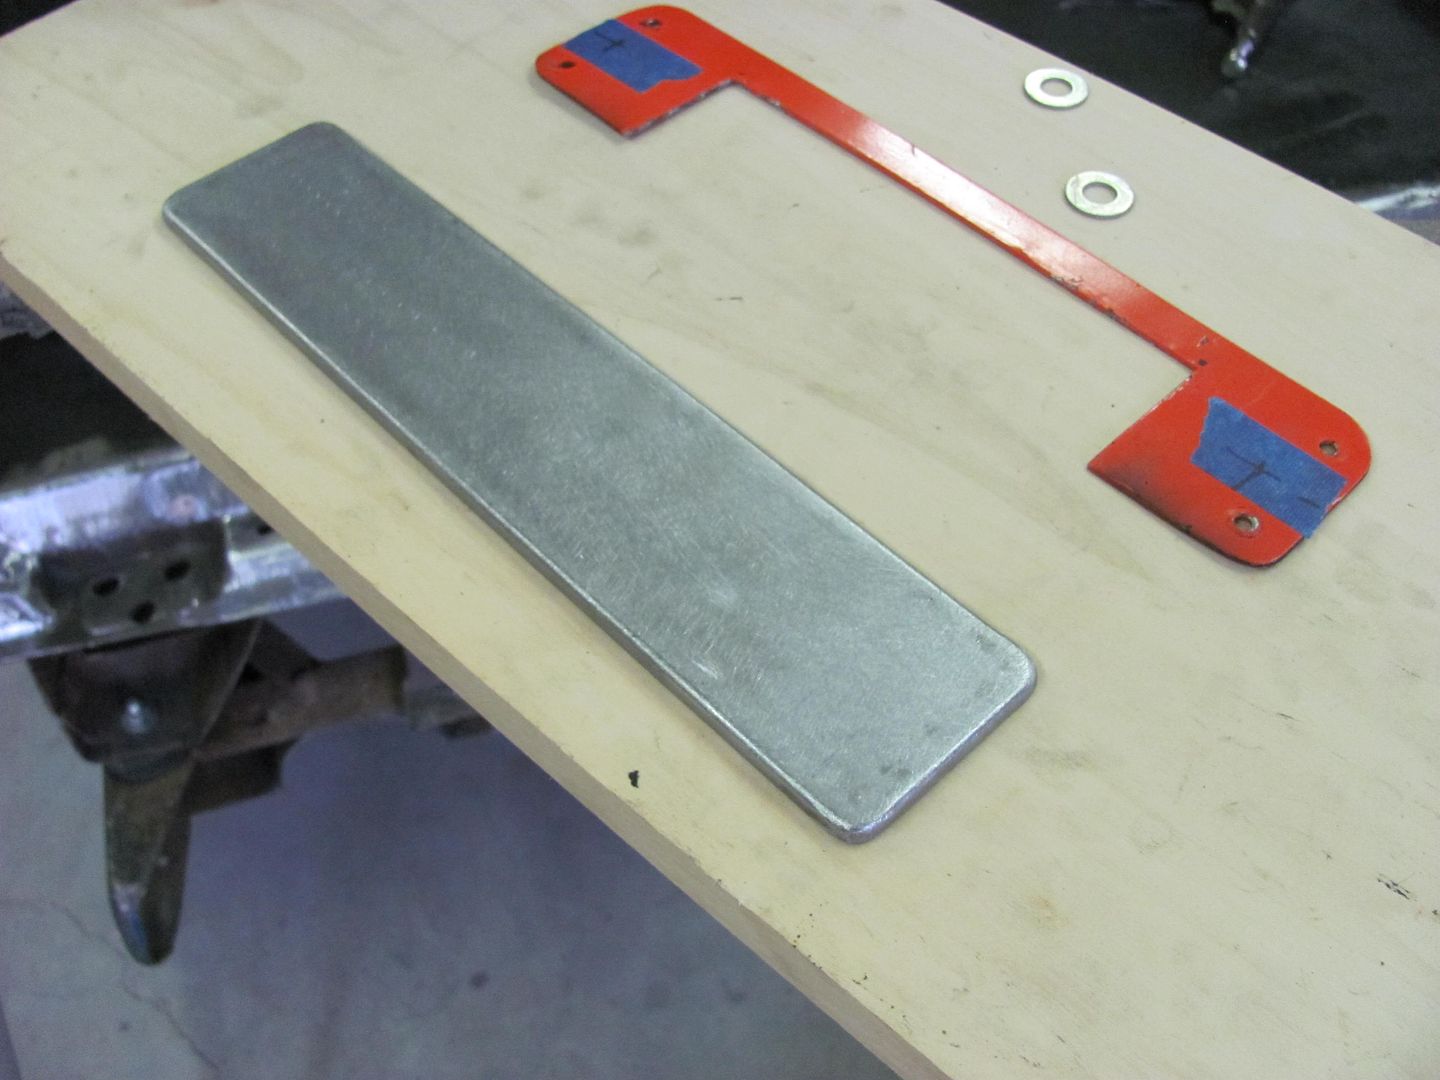
The parts will position something like this....
Comment
-
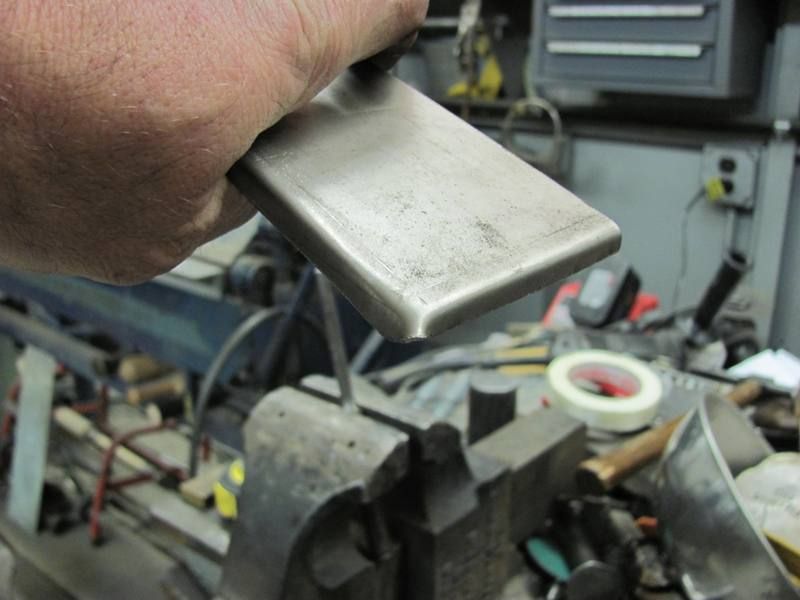
I had a request to show how the "unwelded" corners were formed, so I did another sample. The flanges were marked the same as the last version, just under 1/4"
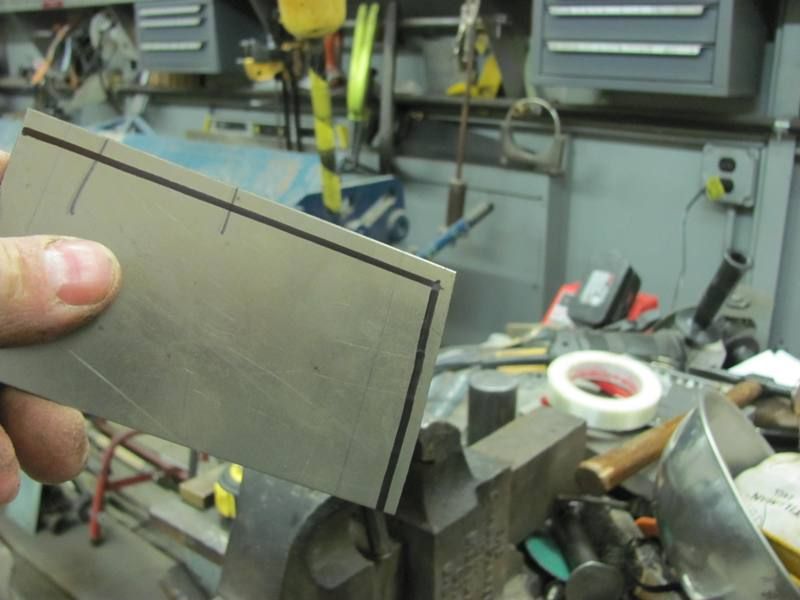
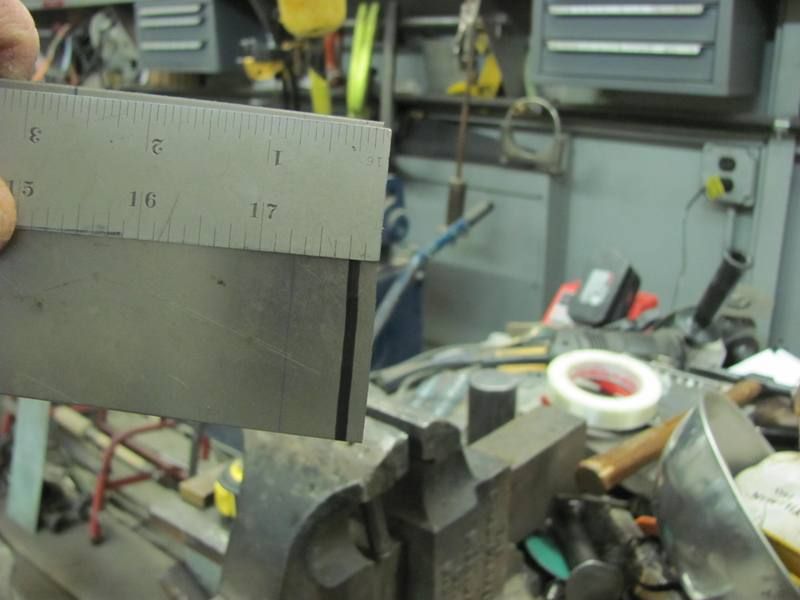
The corner is trimmed at the corner to a radius to get rid of some of the excess metal...
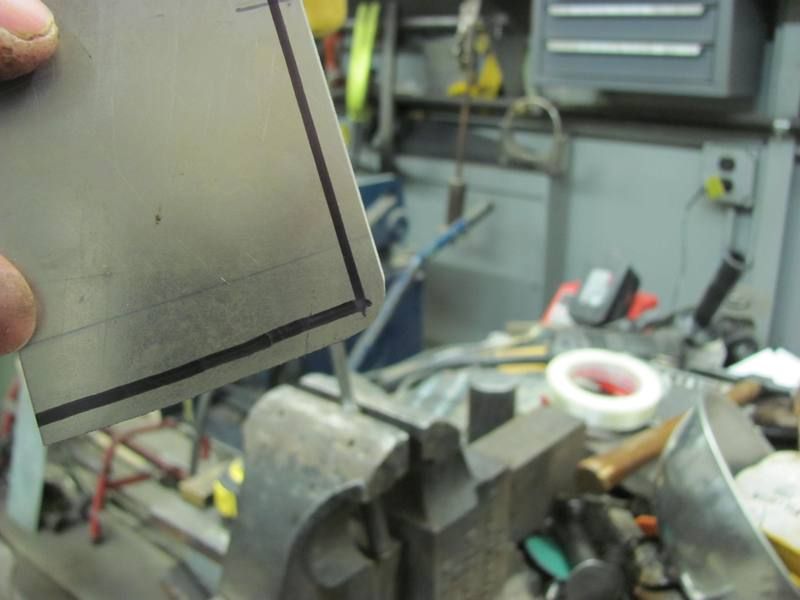
Flanges folded to just up to corner, leaving a tuck ready for shrinking...
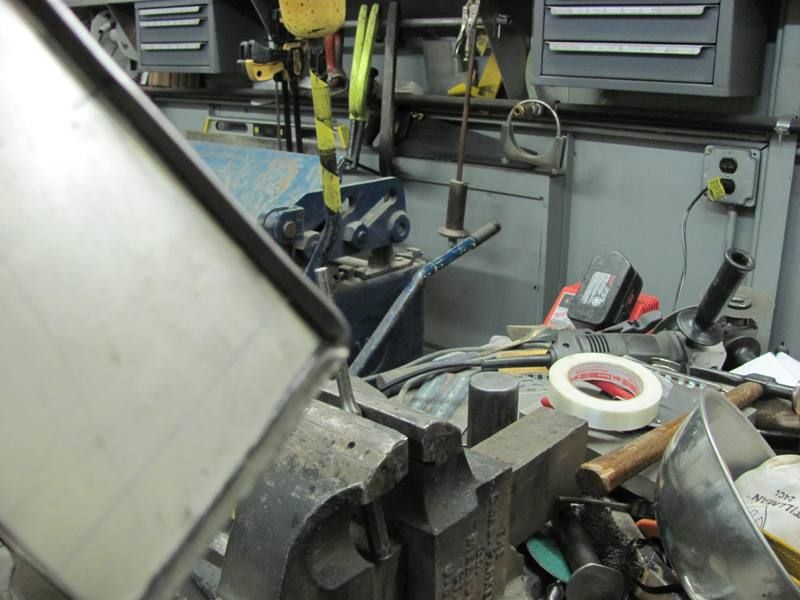
Video of the hammering process:

Please excuse my lack of camera location awareness, my first feature film...
Comment
-
Very cool. Thanks for sharing.Comment
-
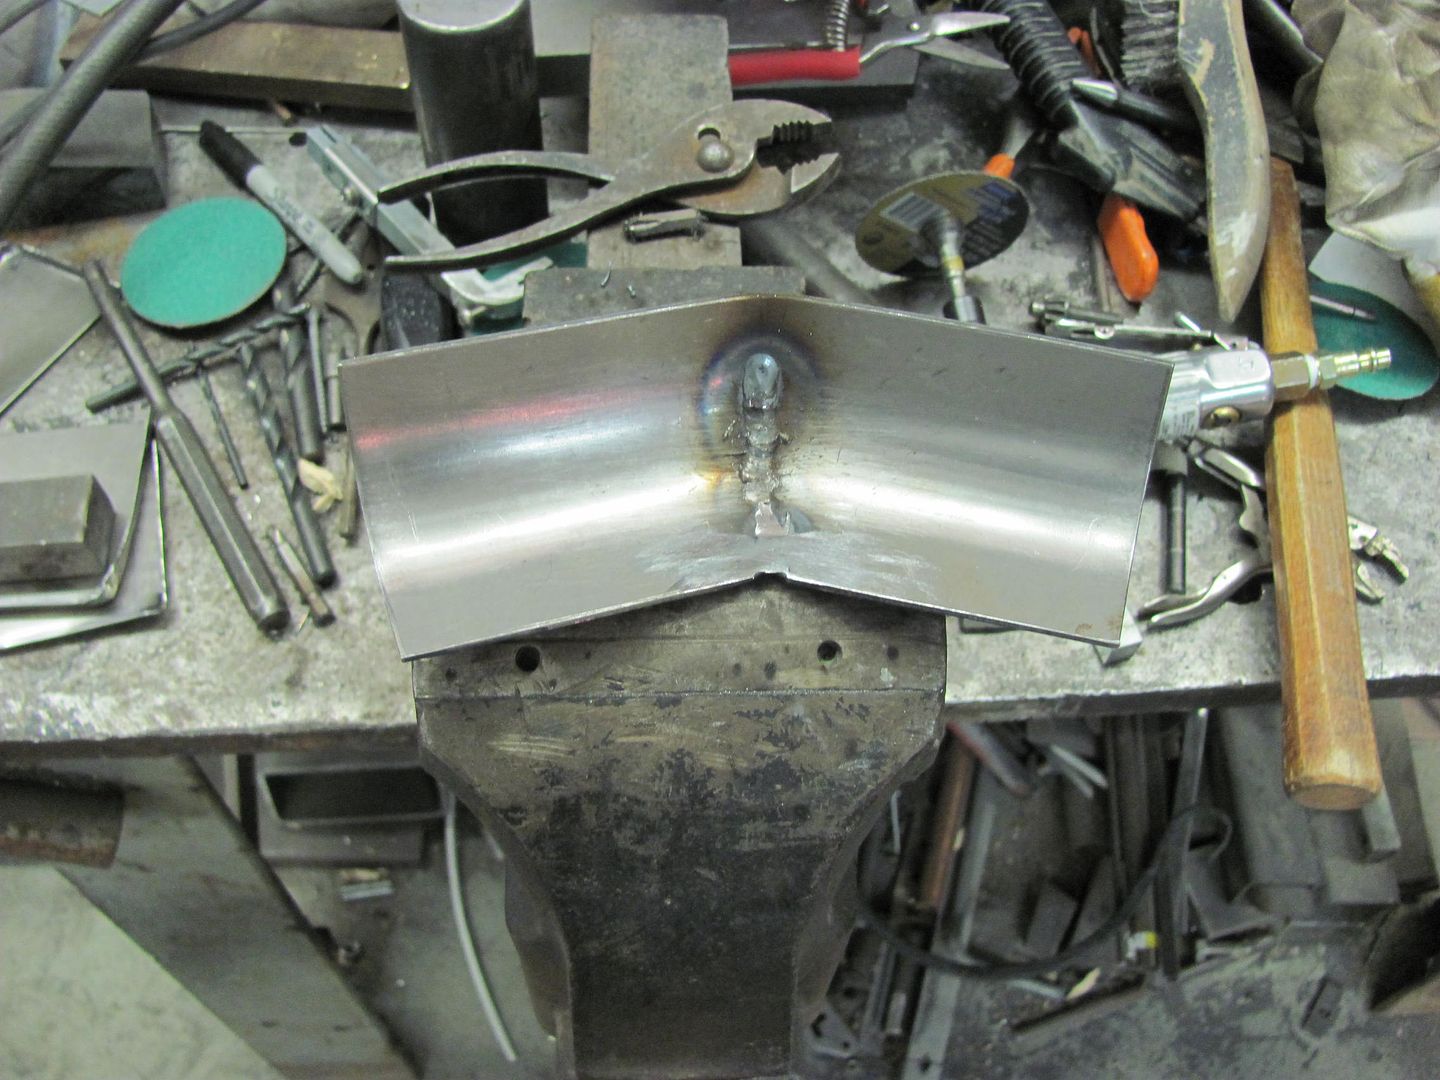
So today I got a phone call, and long story short, needed to do some metalshaping for a Caterpillar D5 dozer. No, really! The last time this same mishap occurred was over ten years ago in my back yard. It seems dirt/mud gets packed between the stump pan and the oil pan, until a hole rusts through the oil pan. Last time Paul bought a new oil pan, but it sounded like he needed to use the dozer this week, so he brought it over for repair..
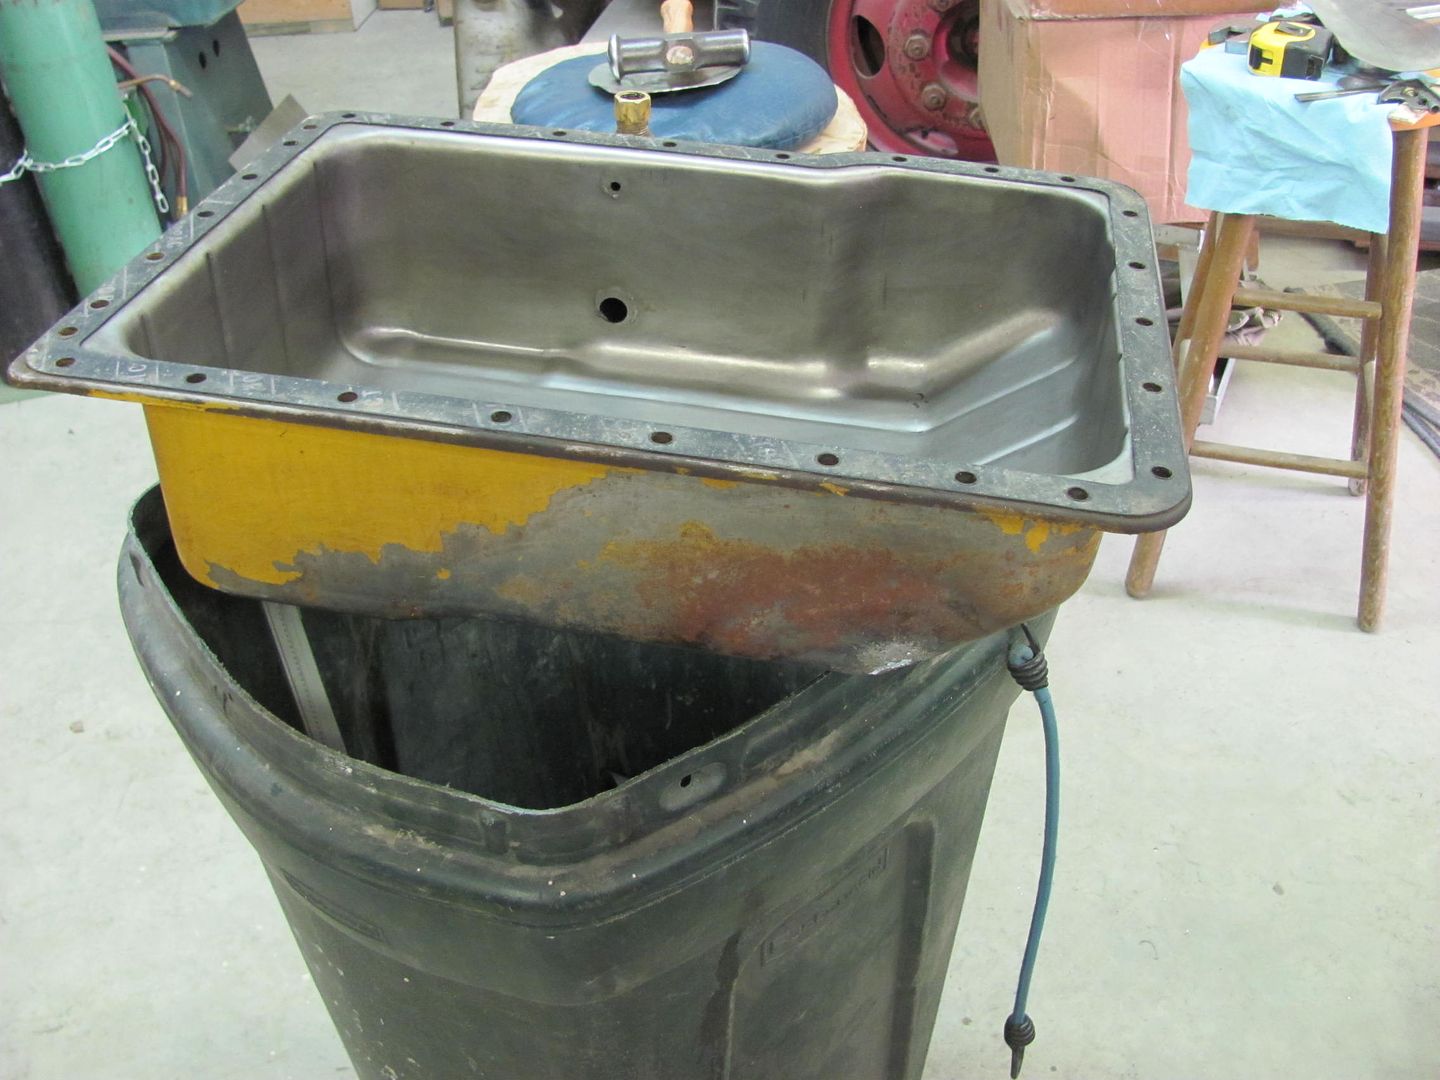
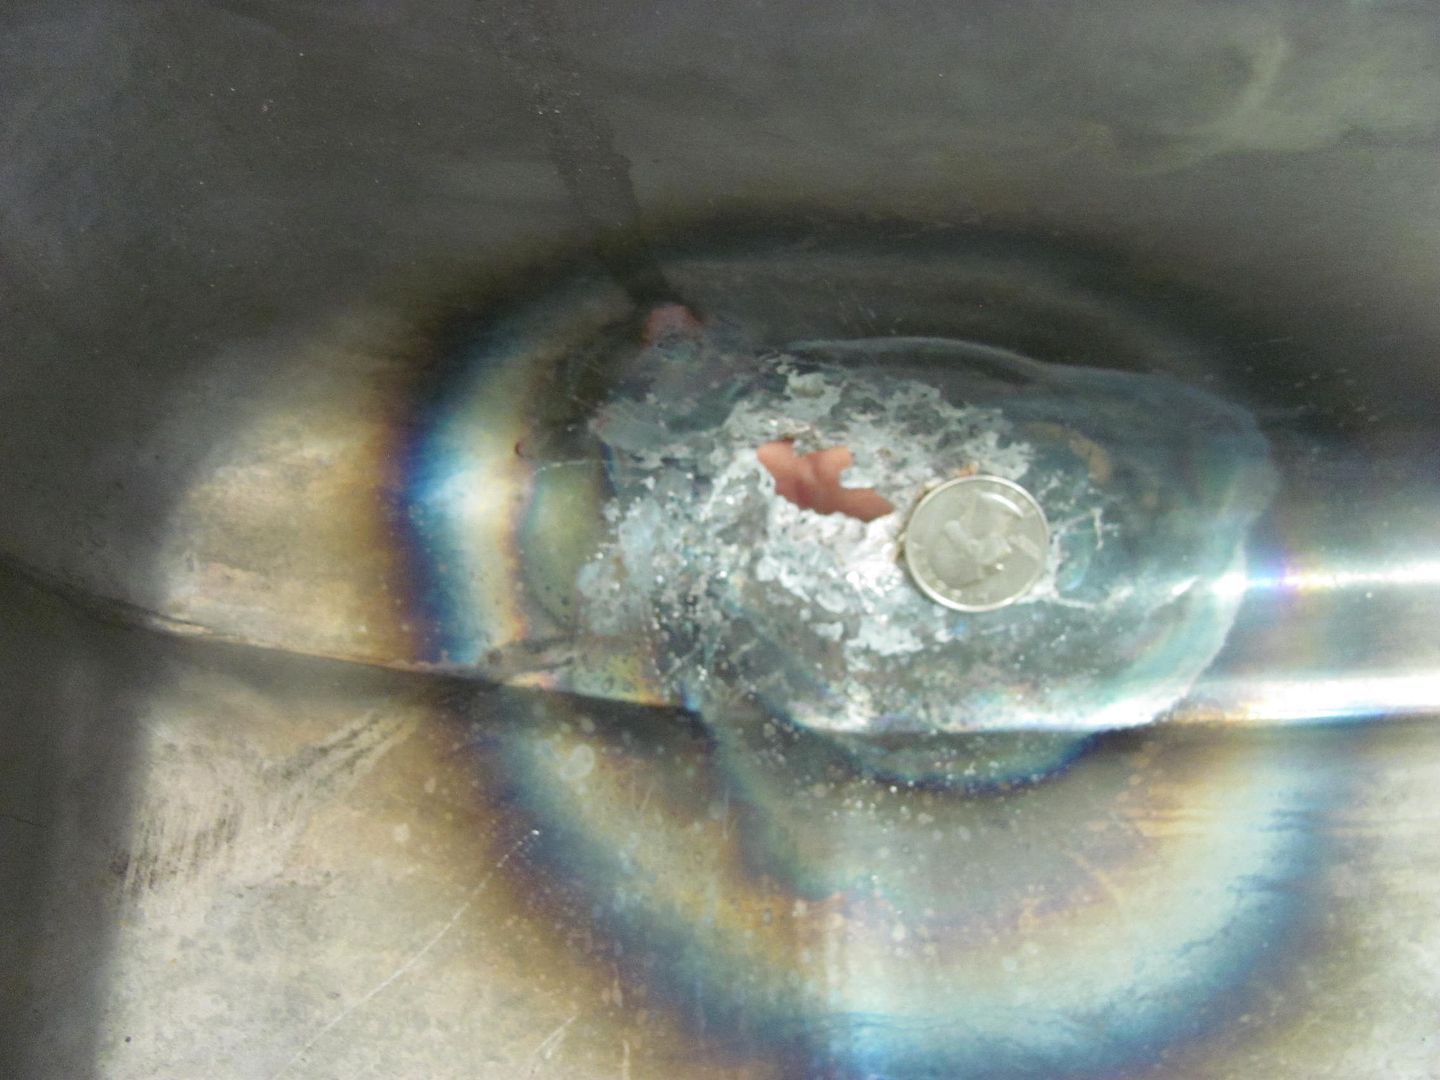
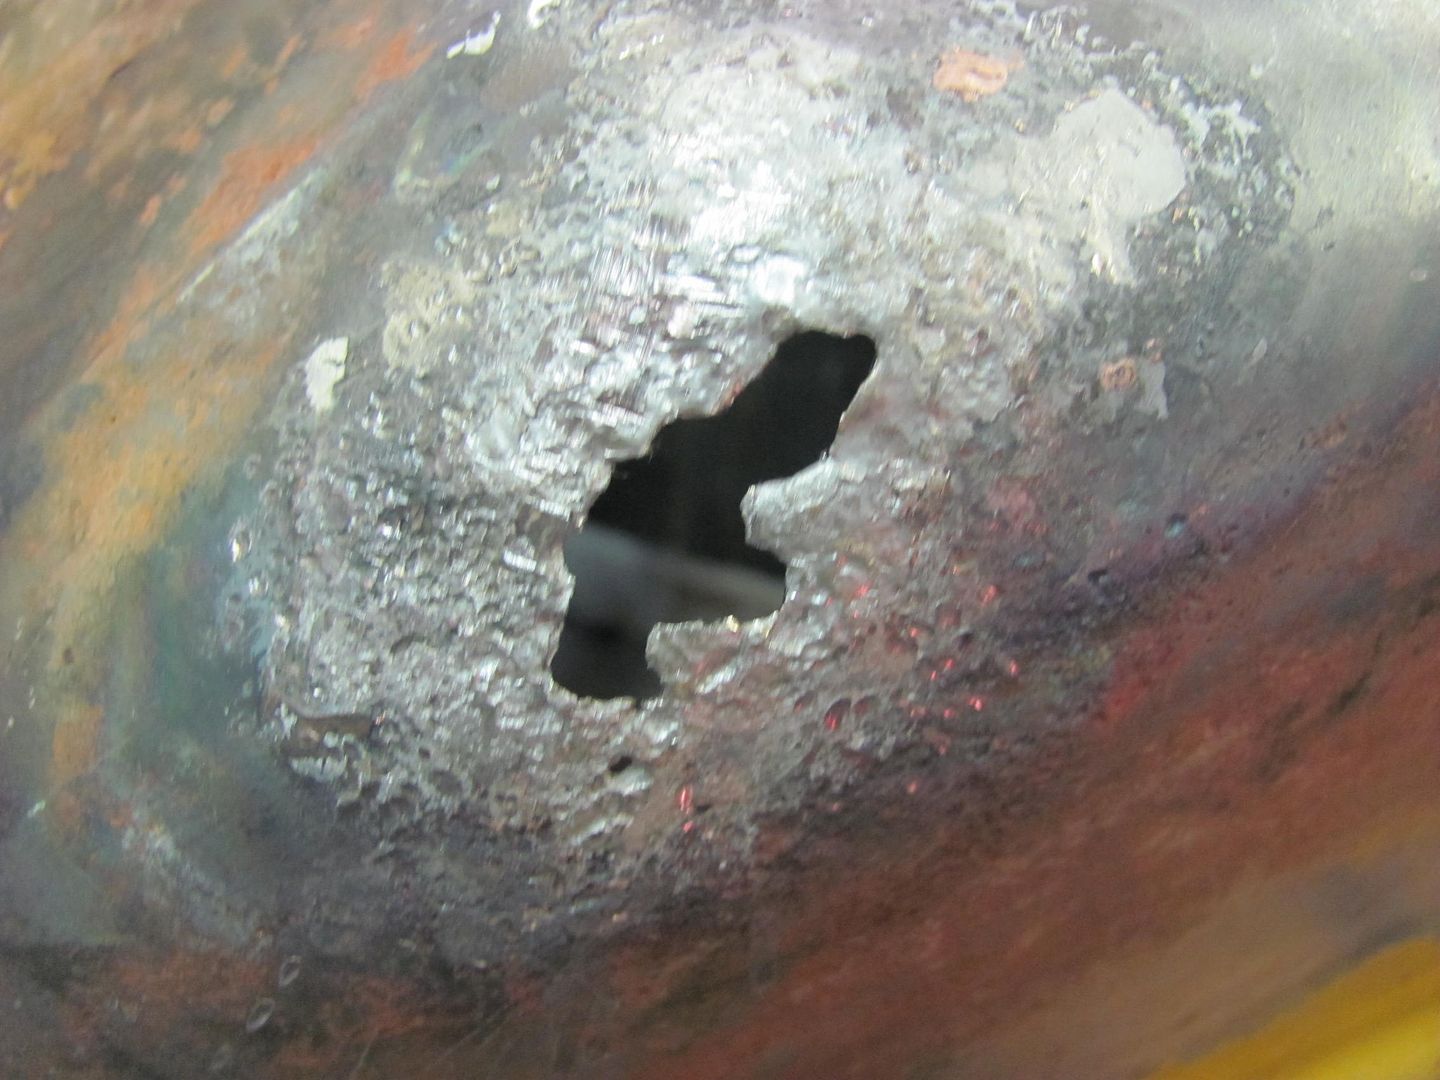
The heat marking is where he was attempting to braze it closed, with little success. Calipers showed the pan to be 14 ga, and I just happened to have some in stock. I've used the bead roller before to form a radius, but never on metal this thick before. This will be a good test of the fancy 75A durometer skateboard wheel to see how well it works.
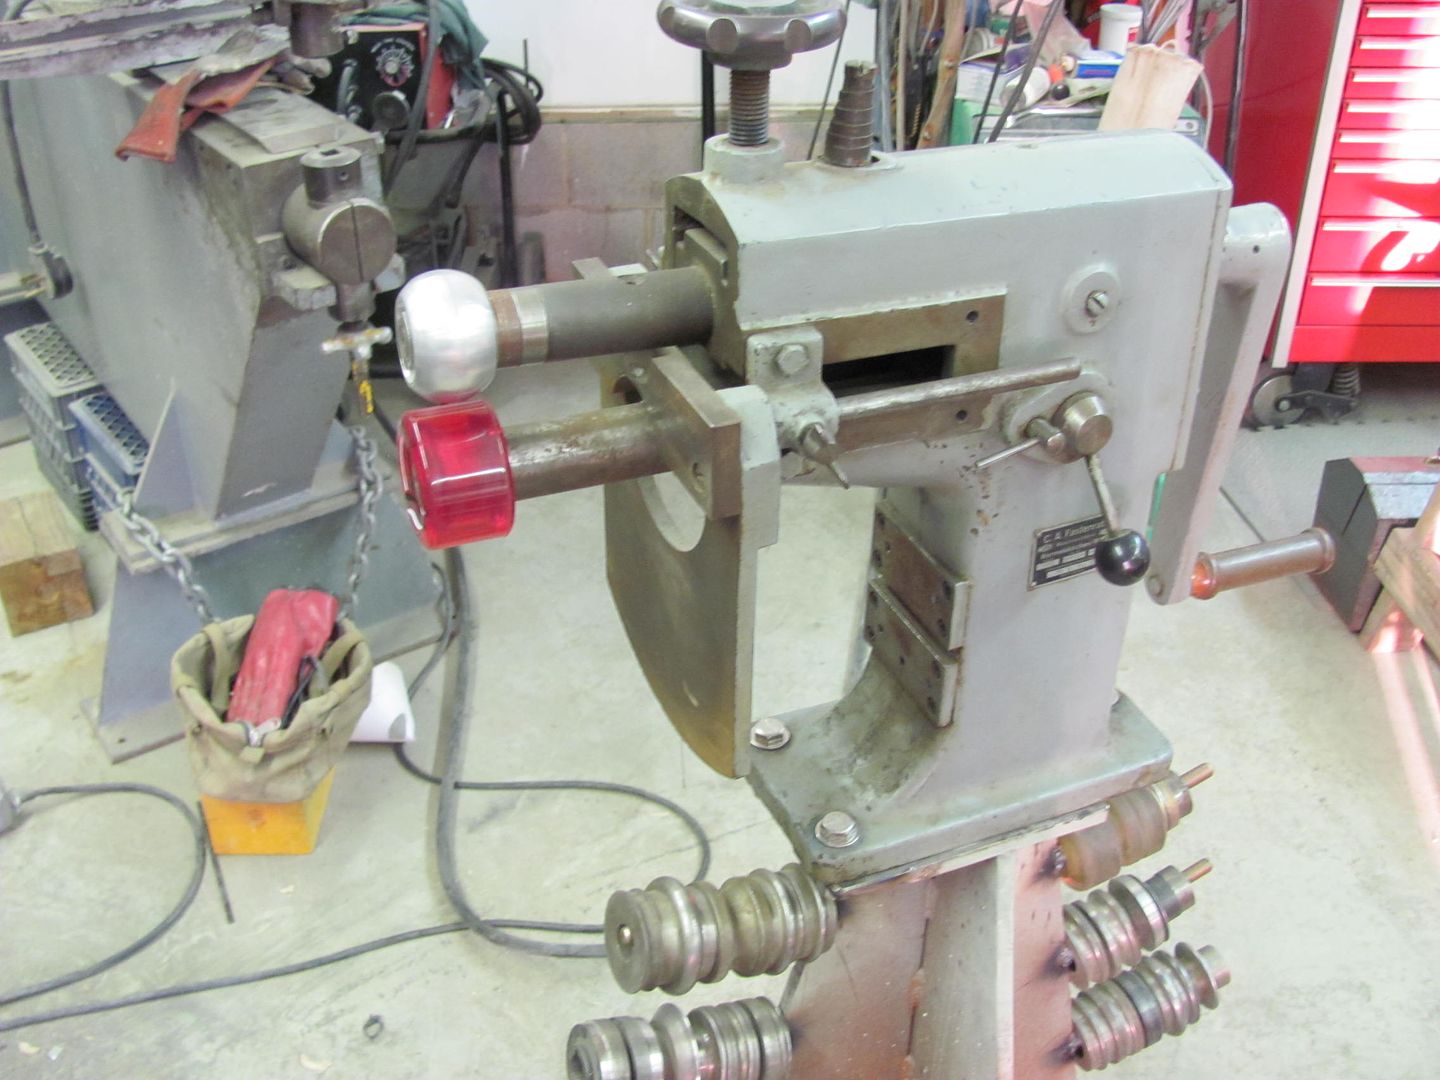
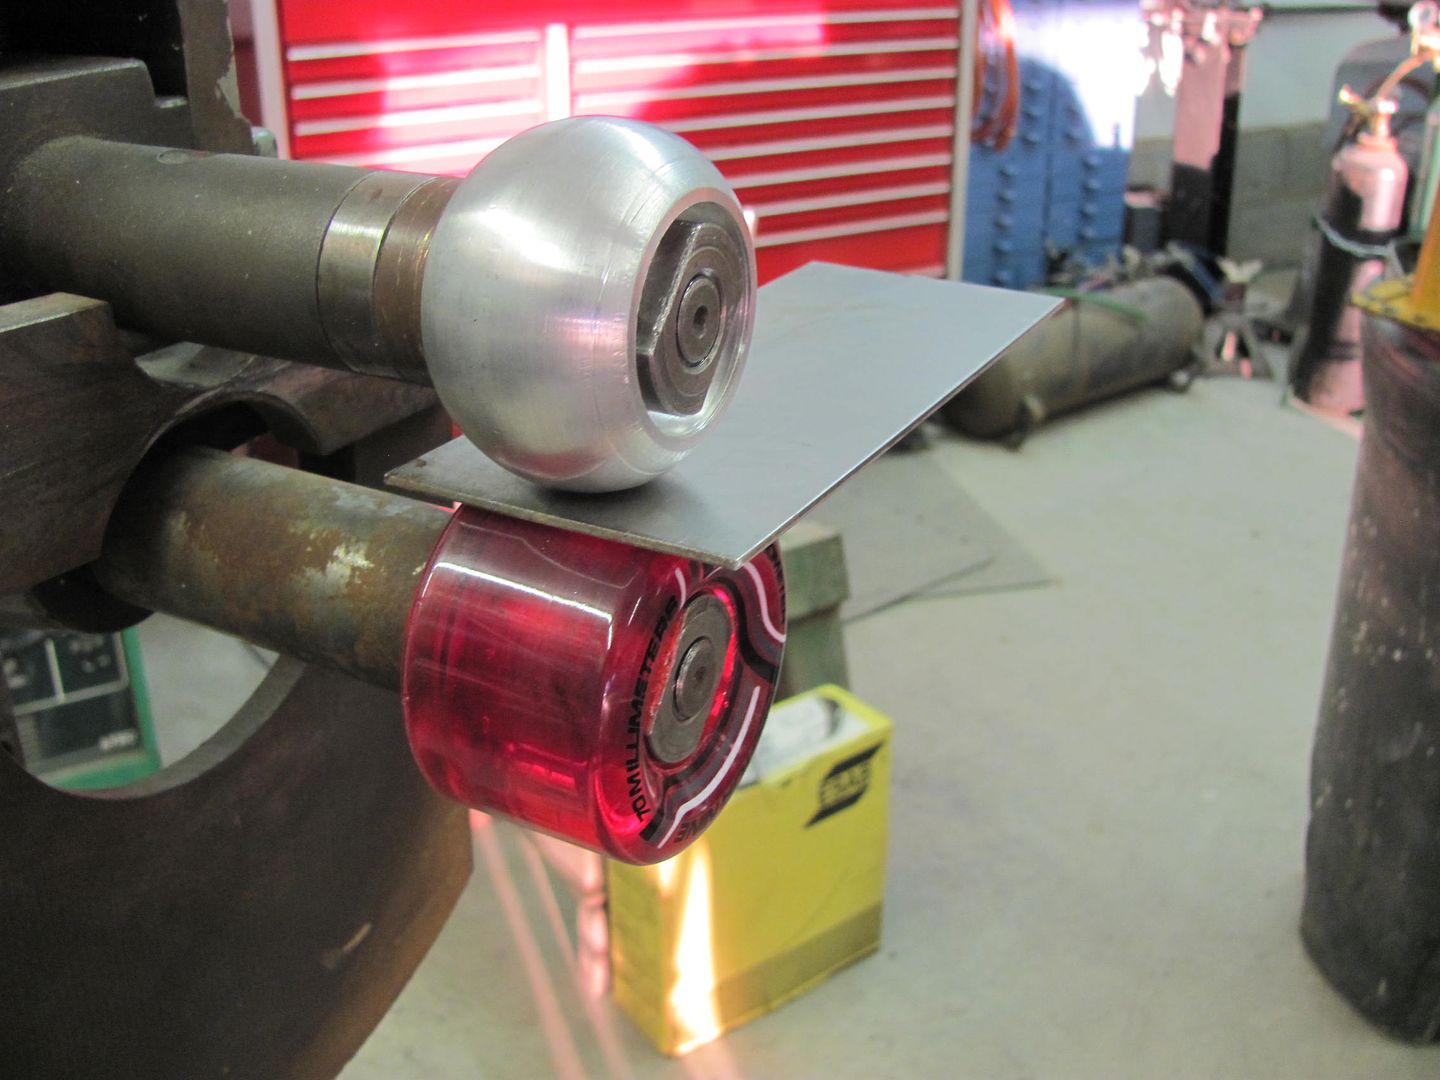
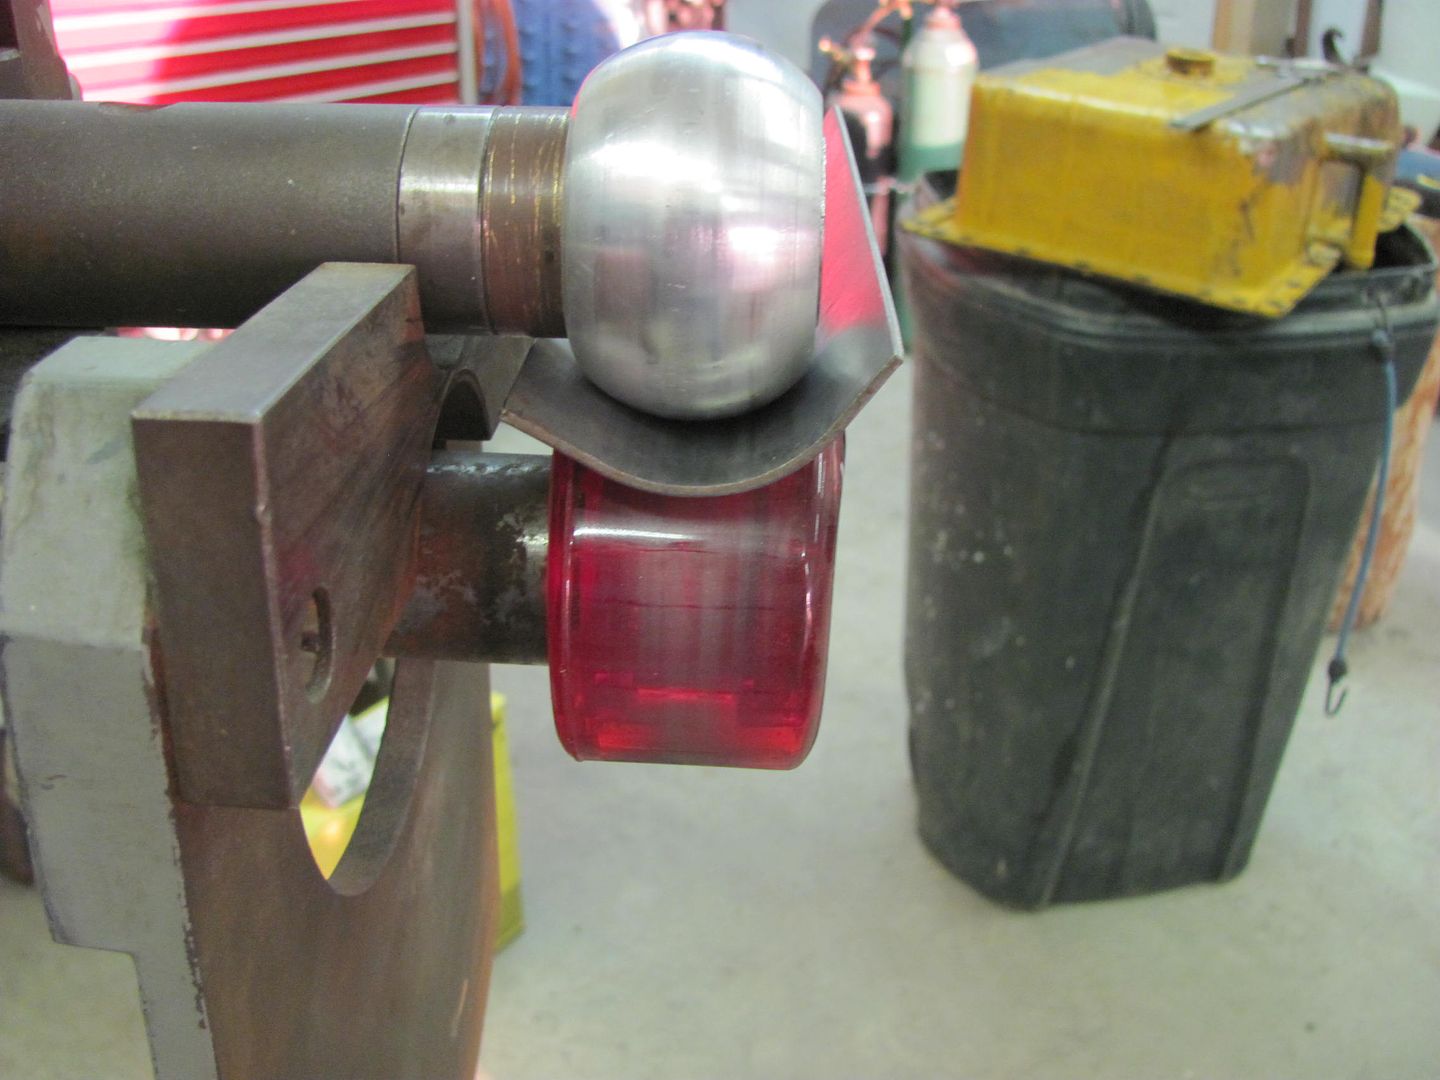
Took a few passes, but worked real nice. Now for a relief cut and a weld...
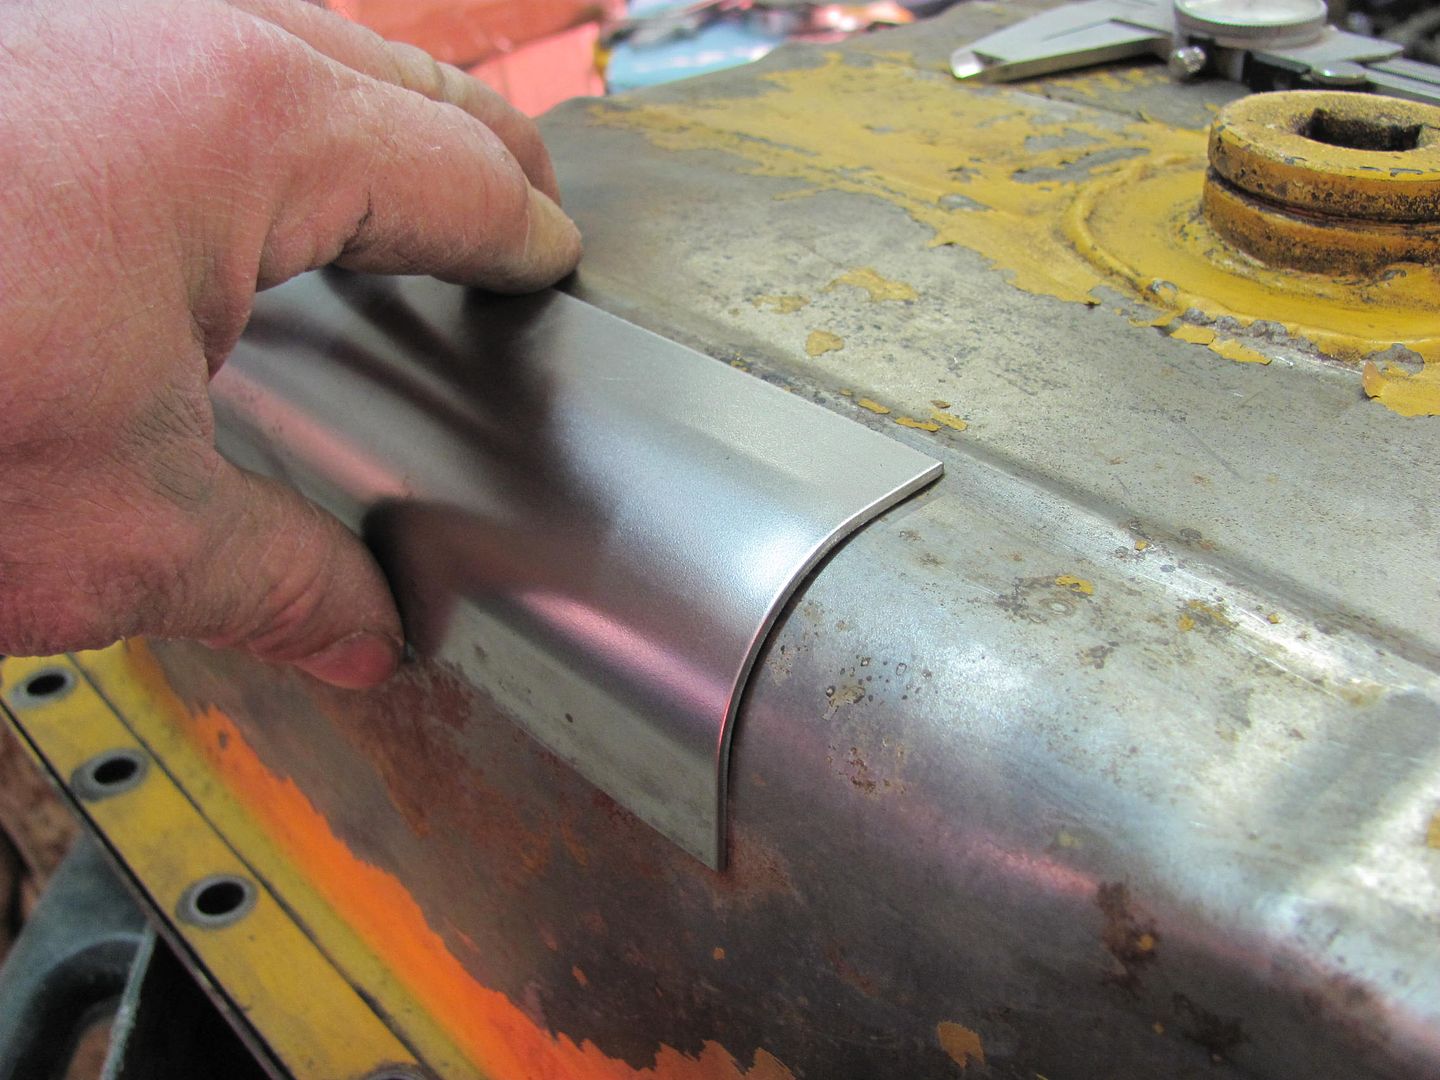
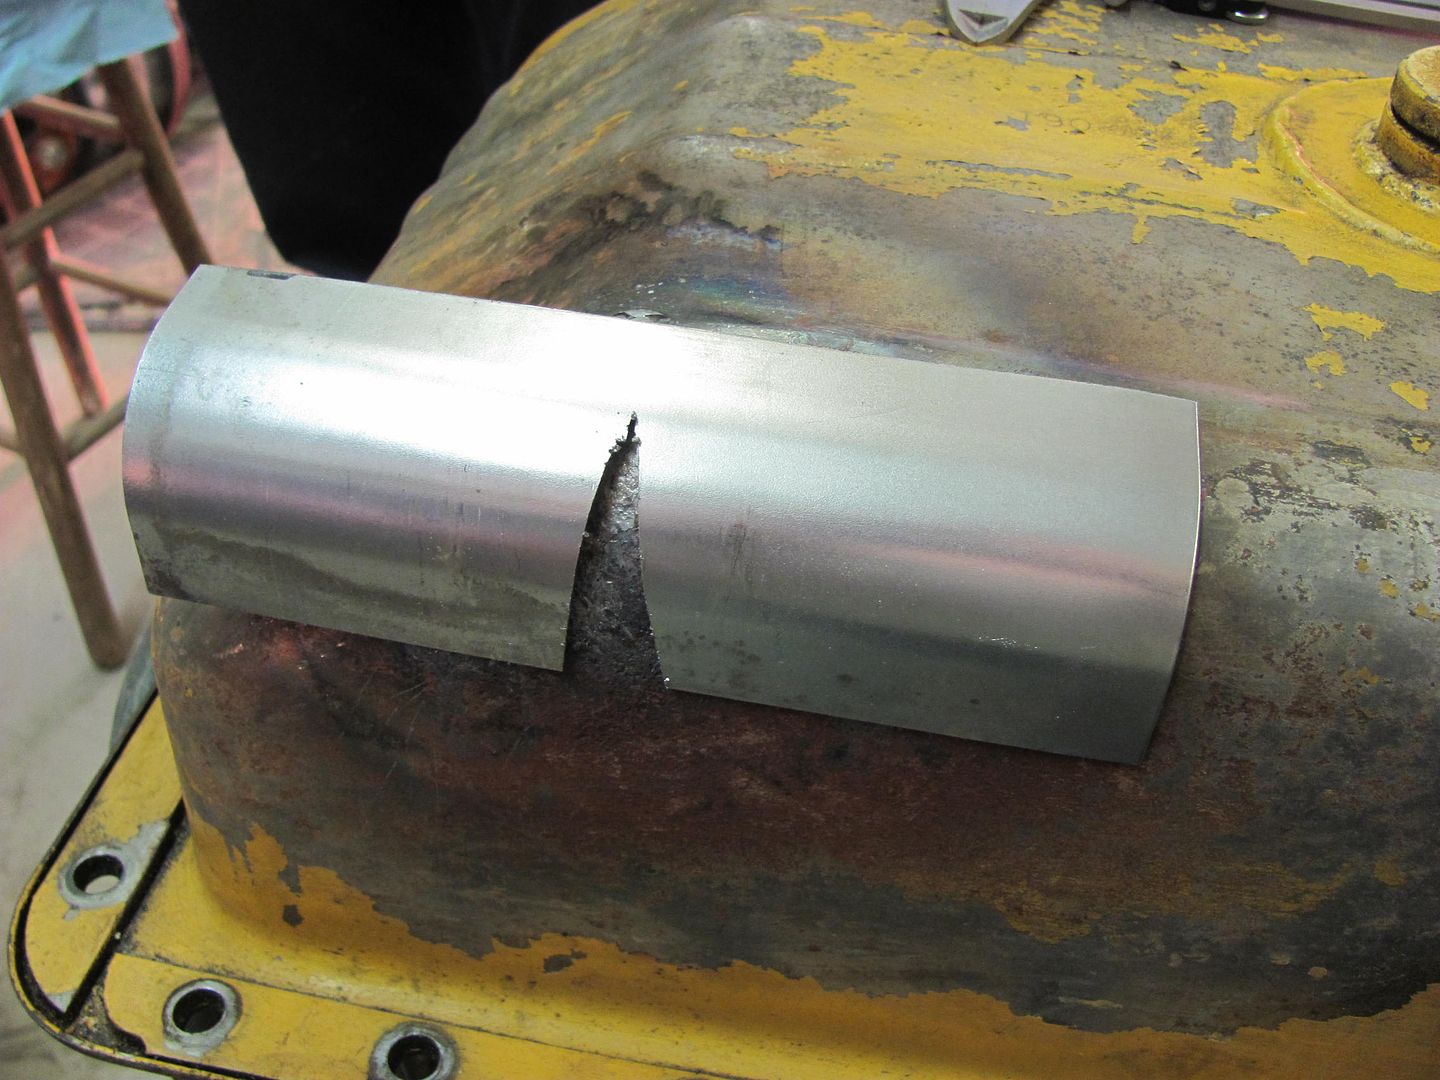
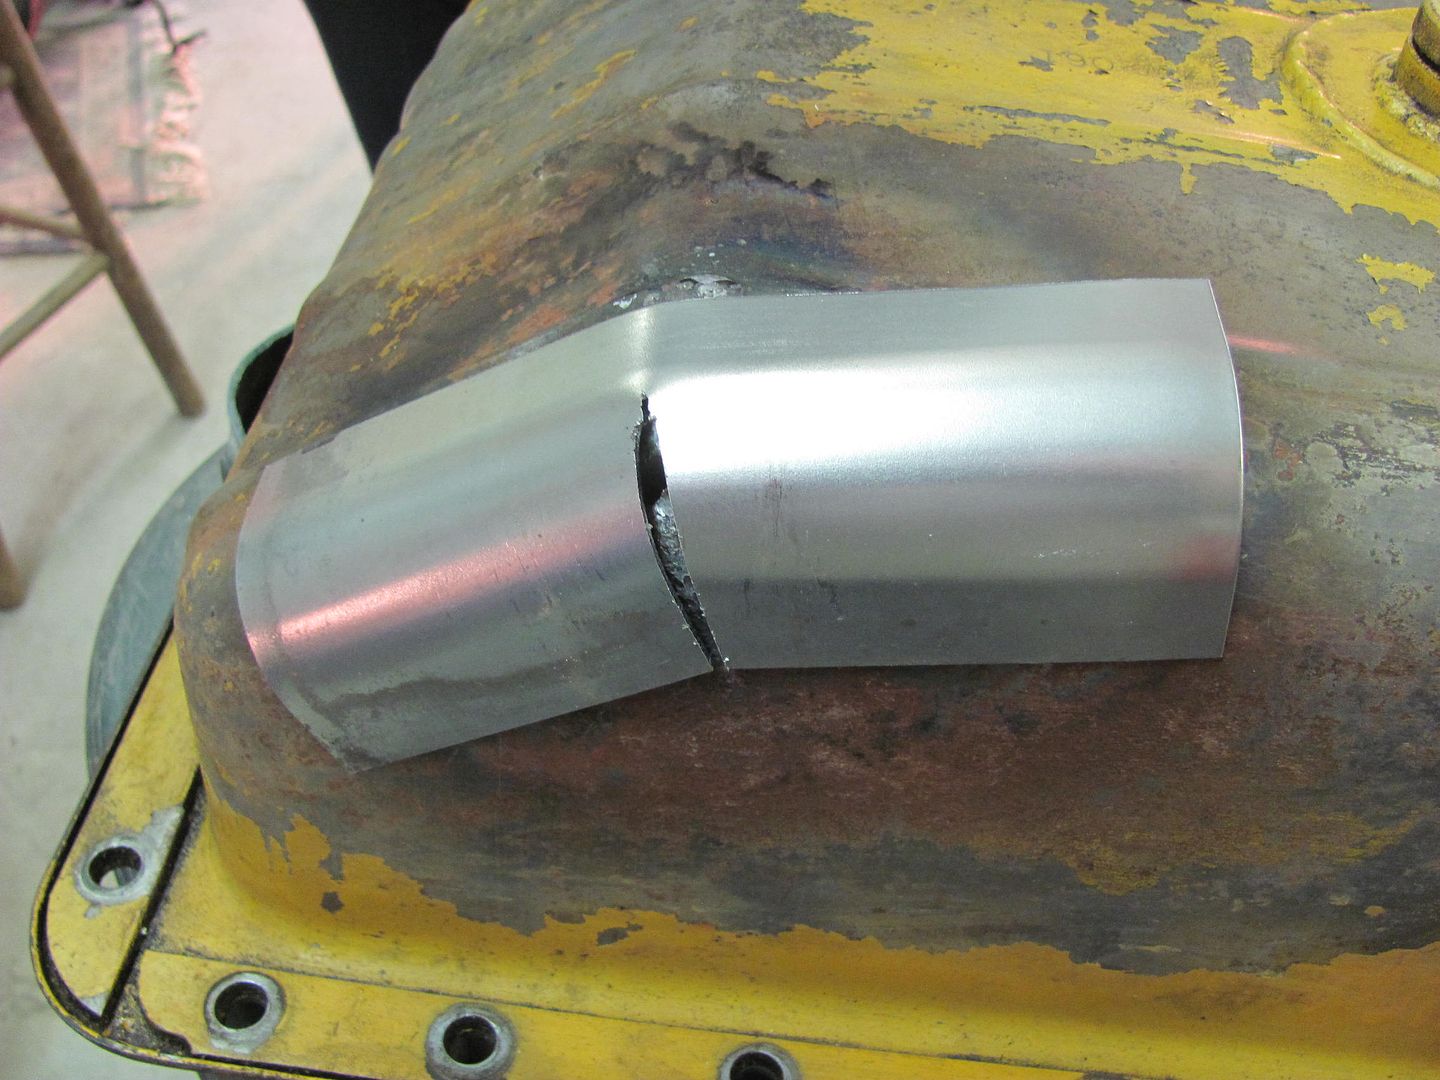
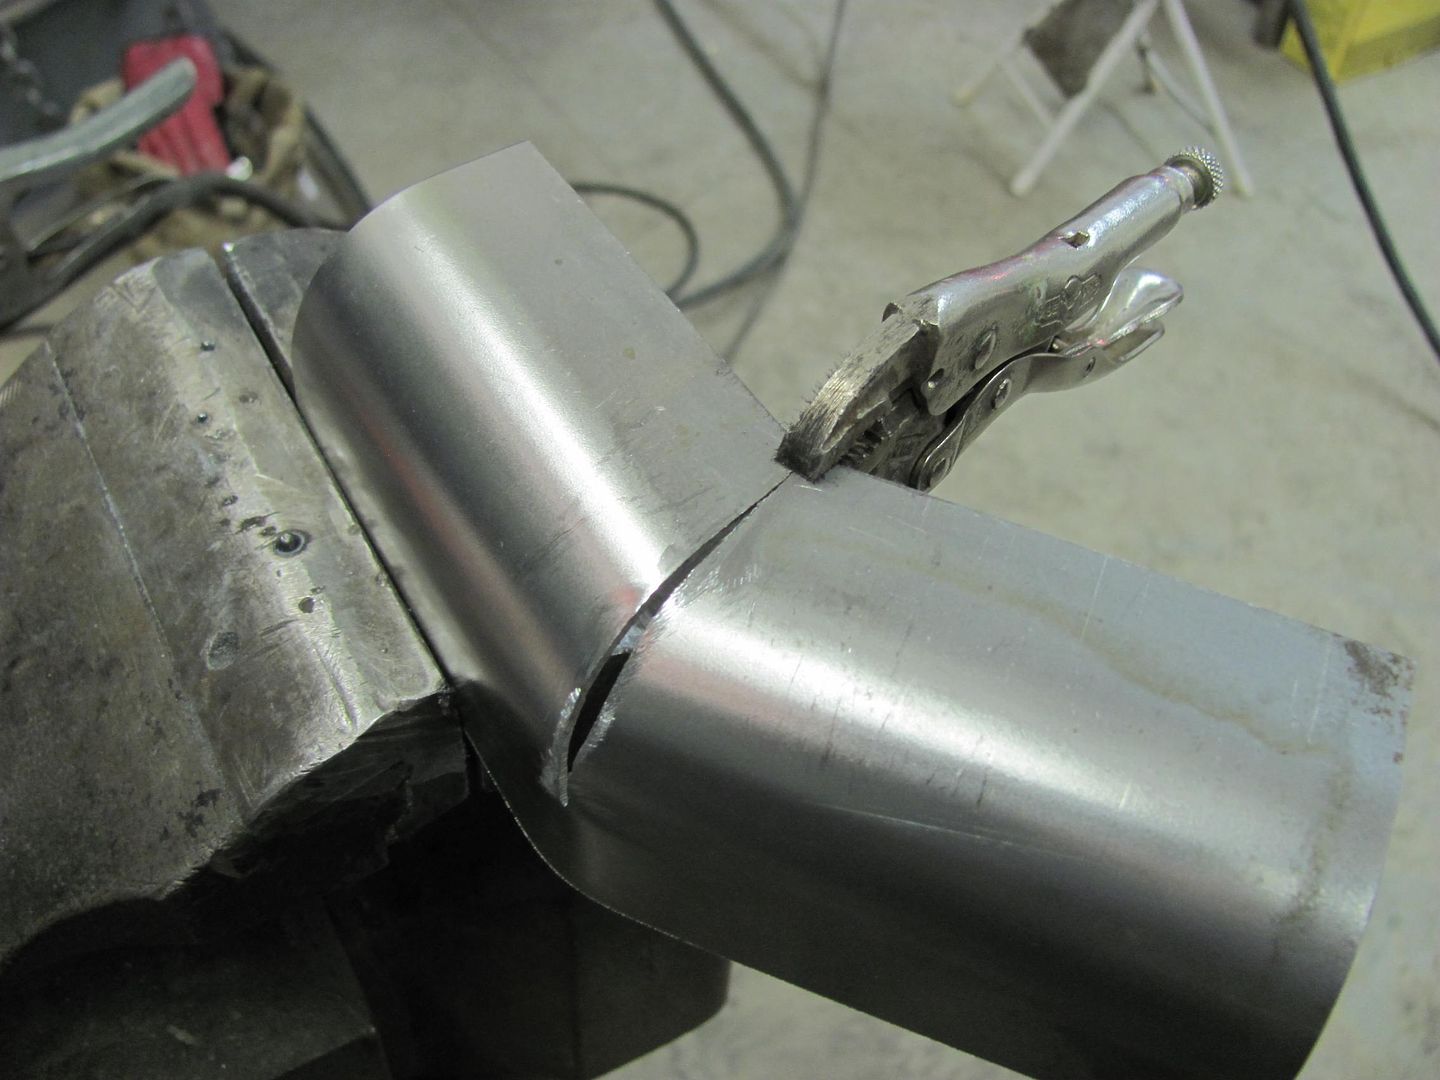
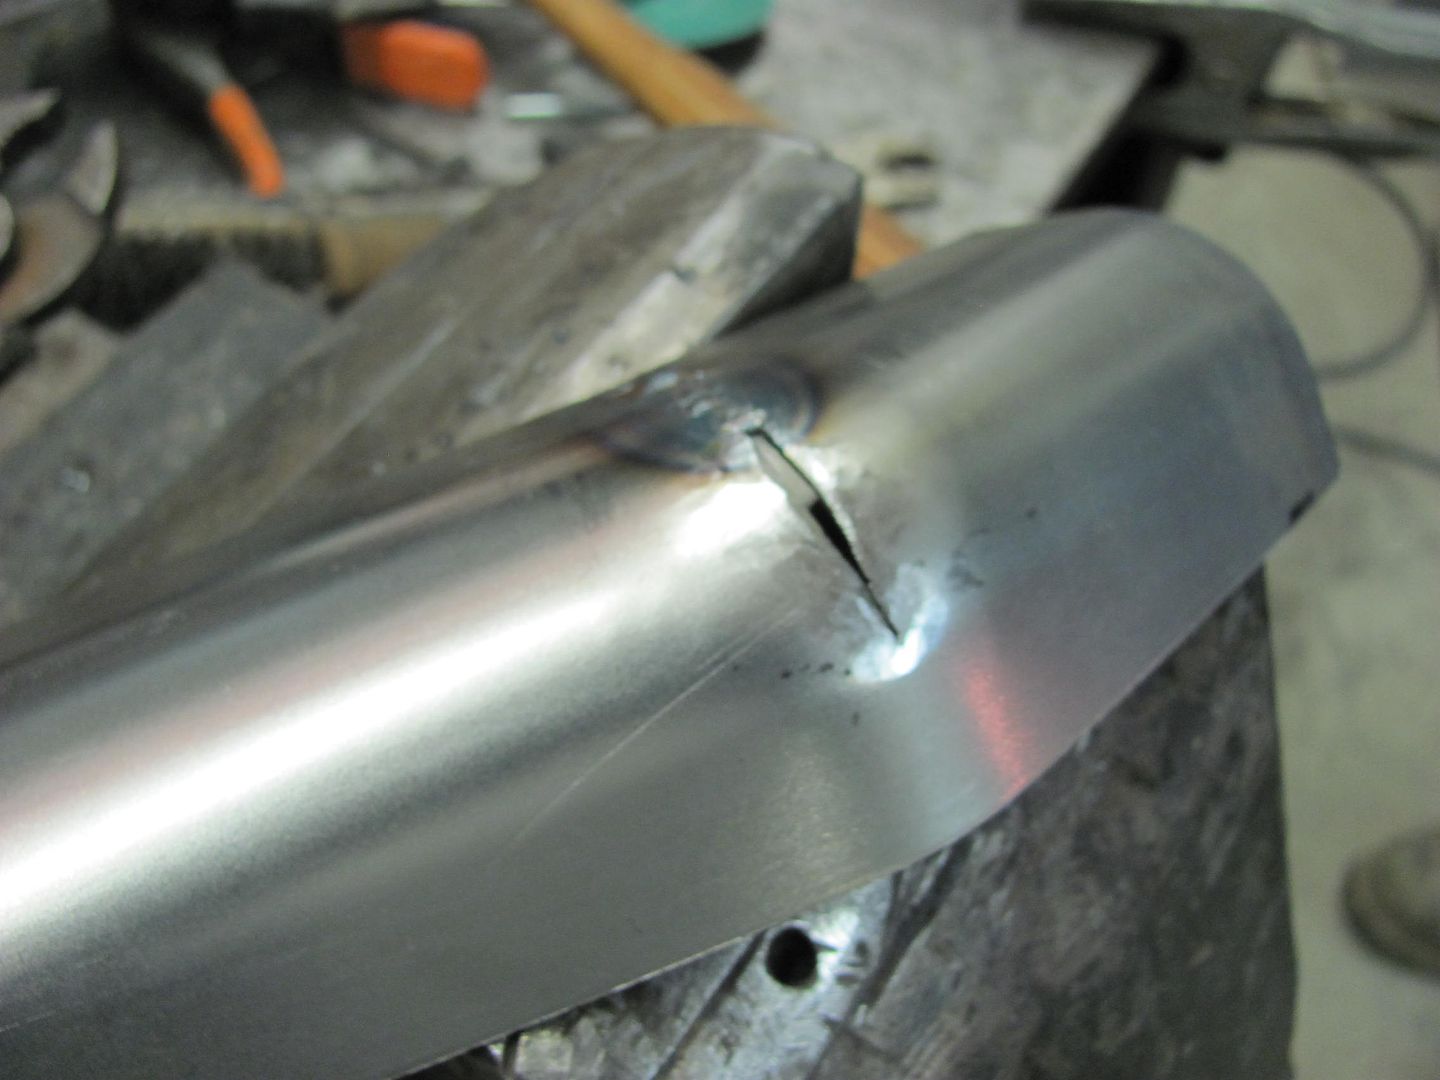
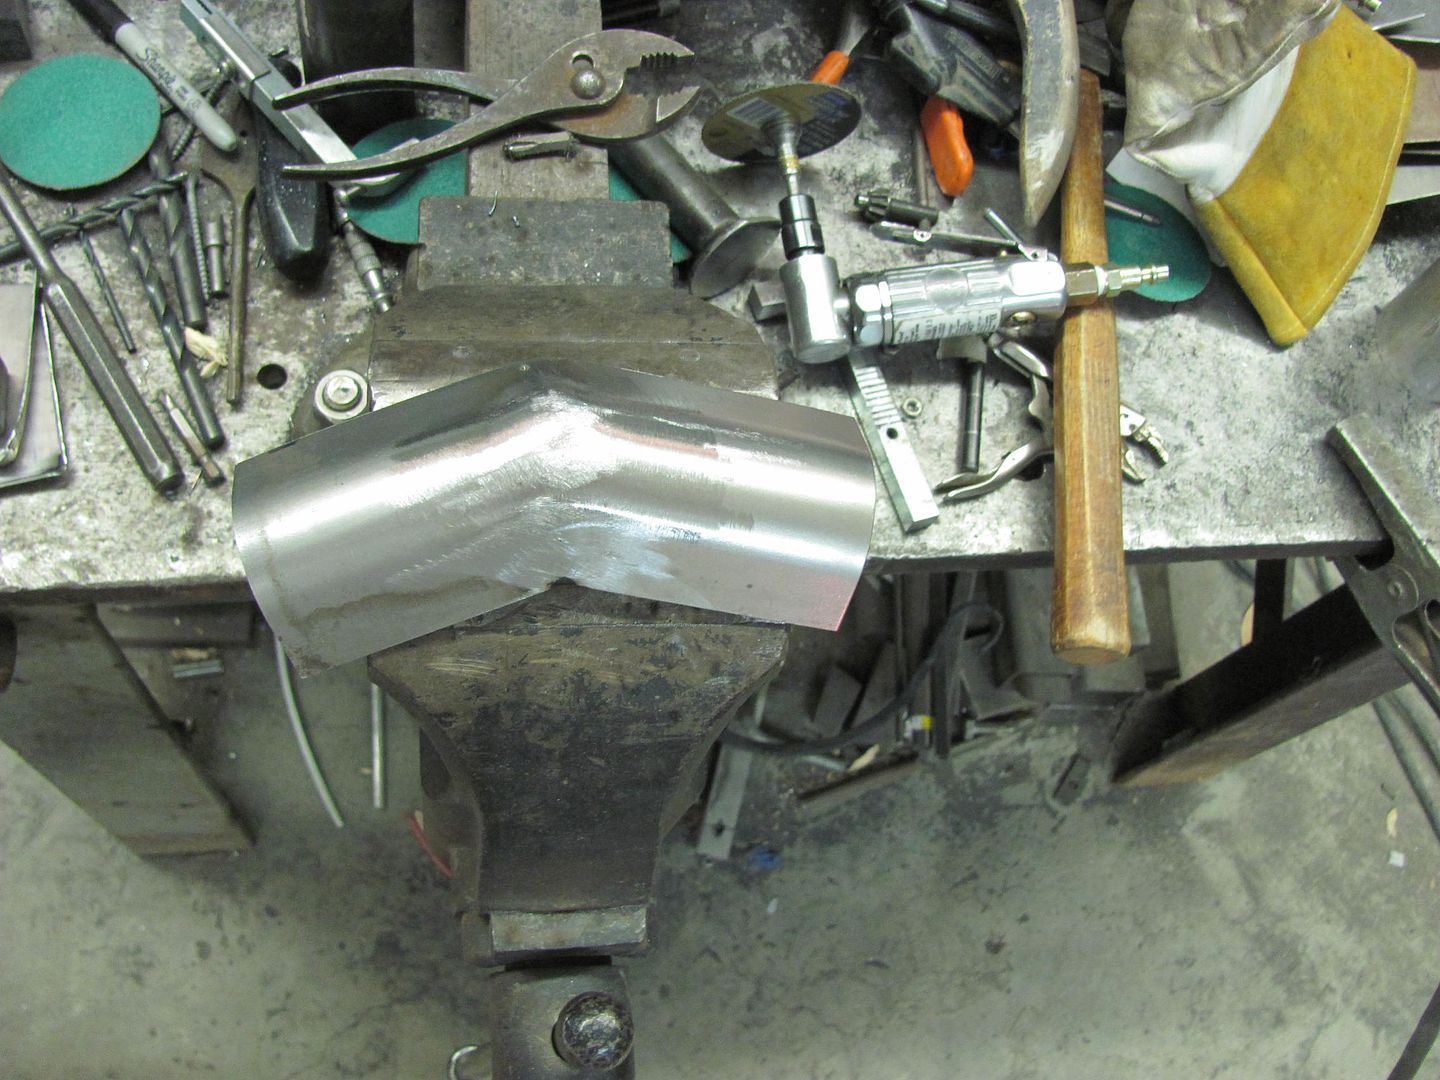
Rust hole removed, patch trimmed and fitted, then welded in place..
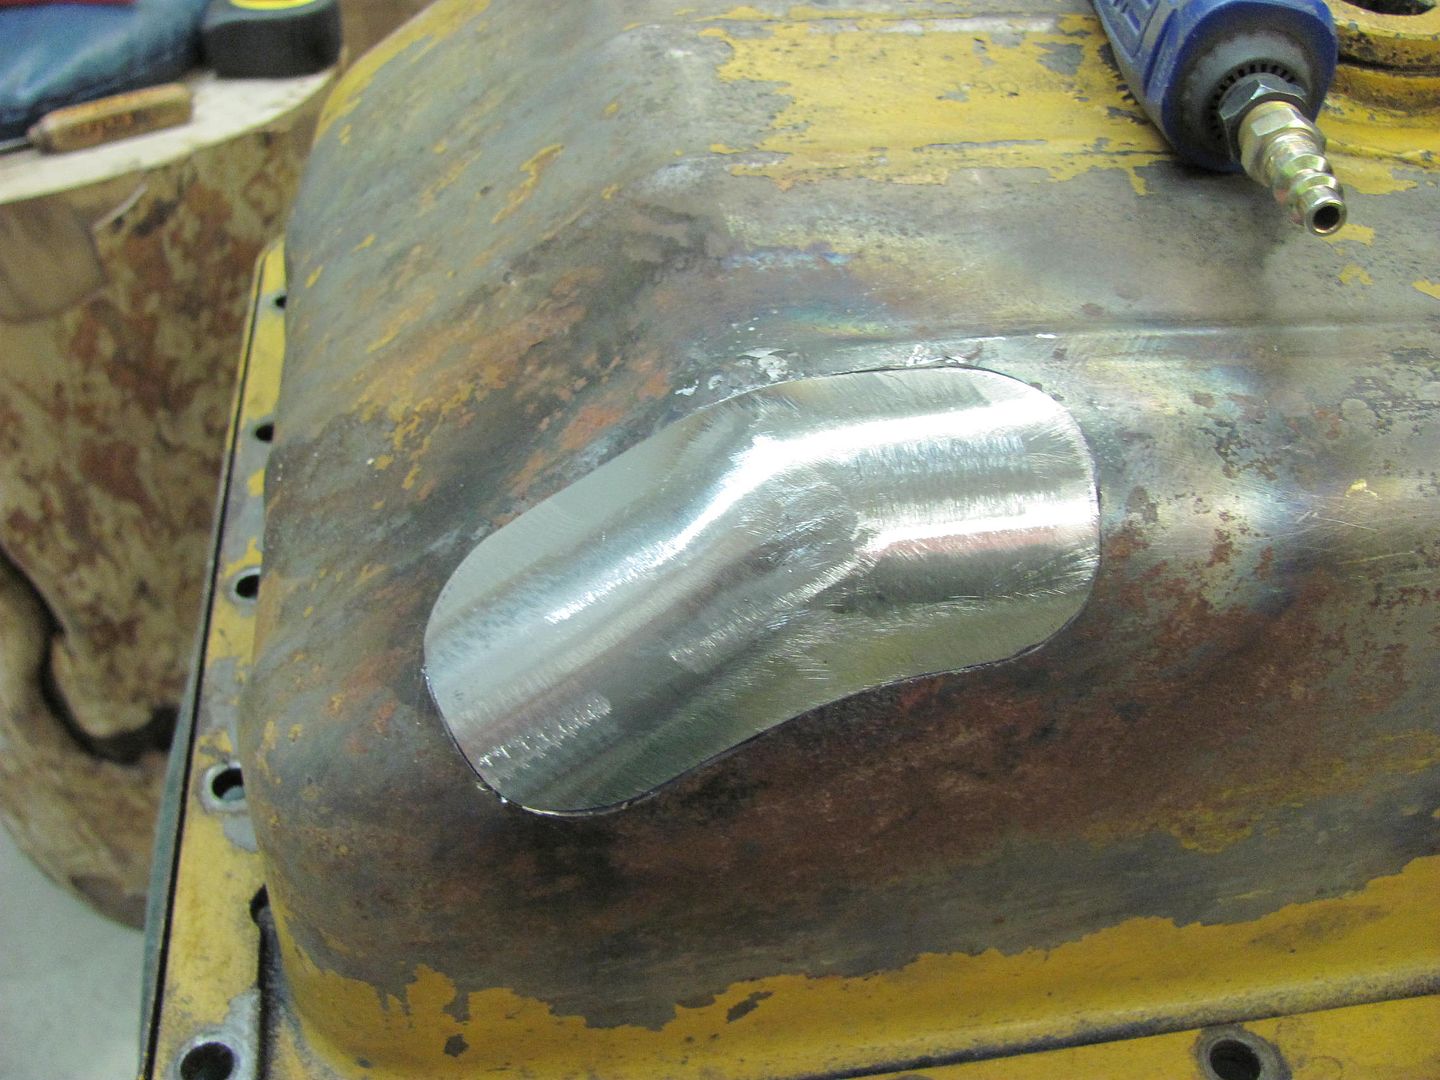
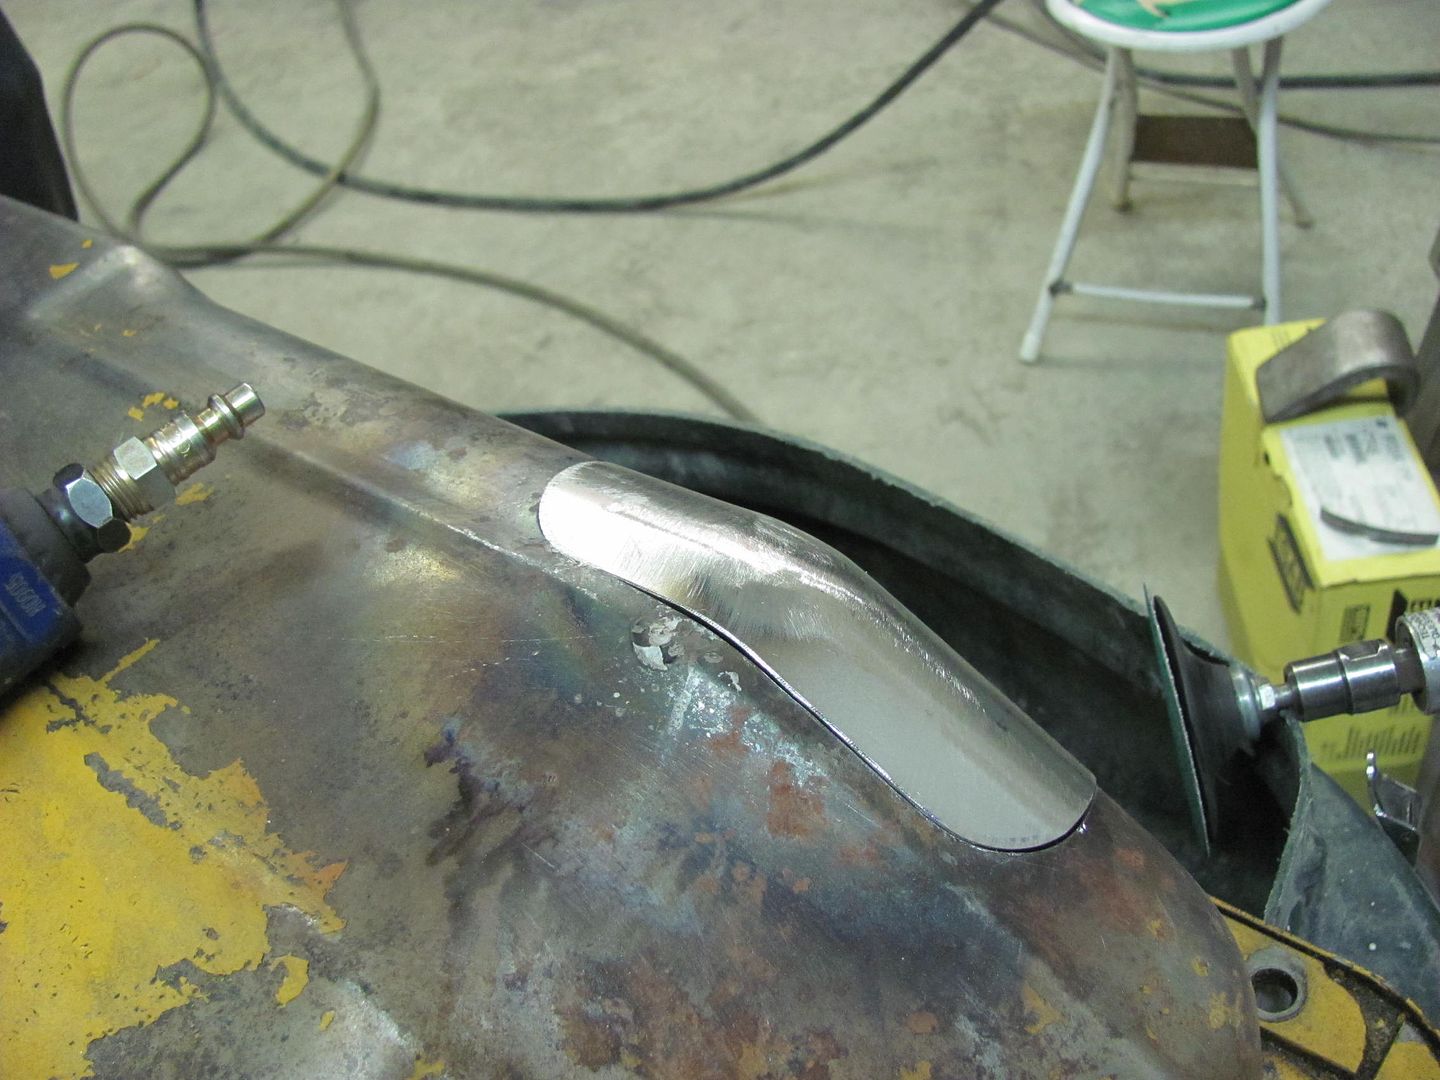
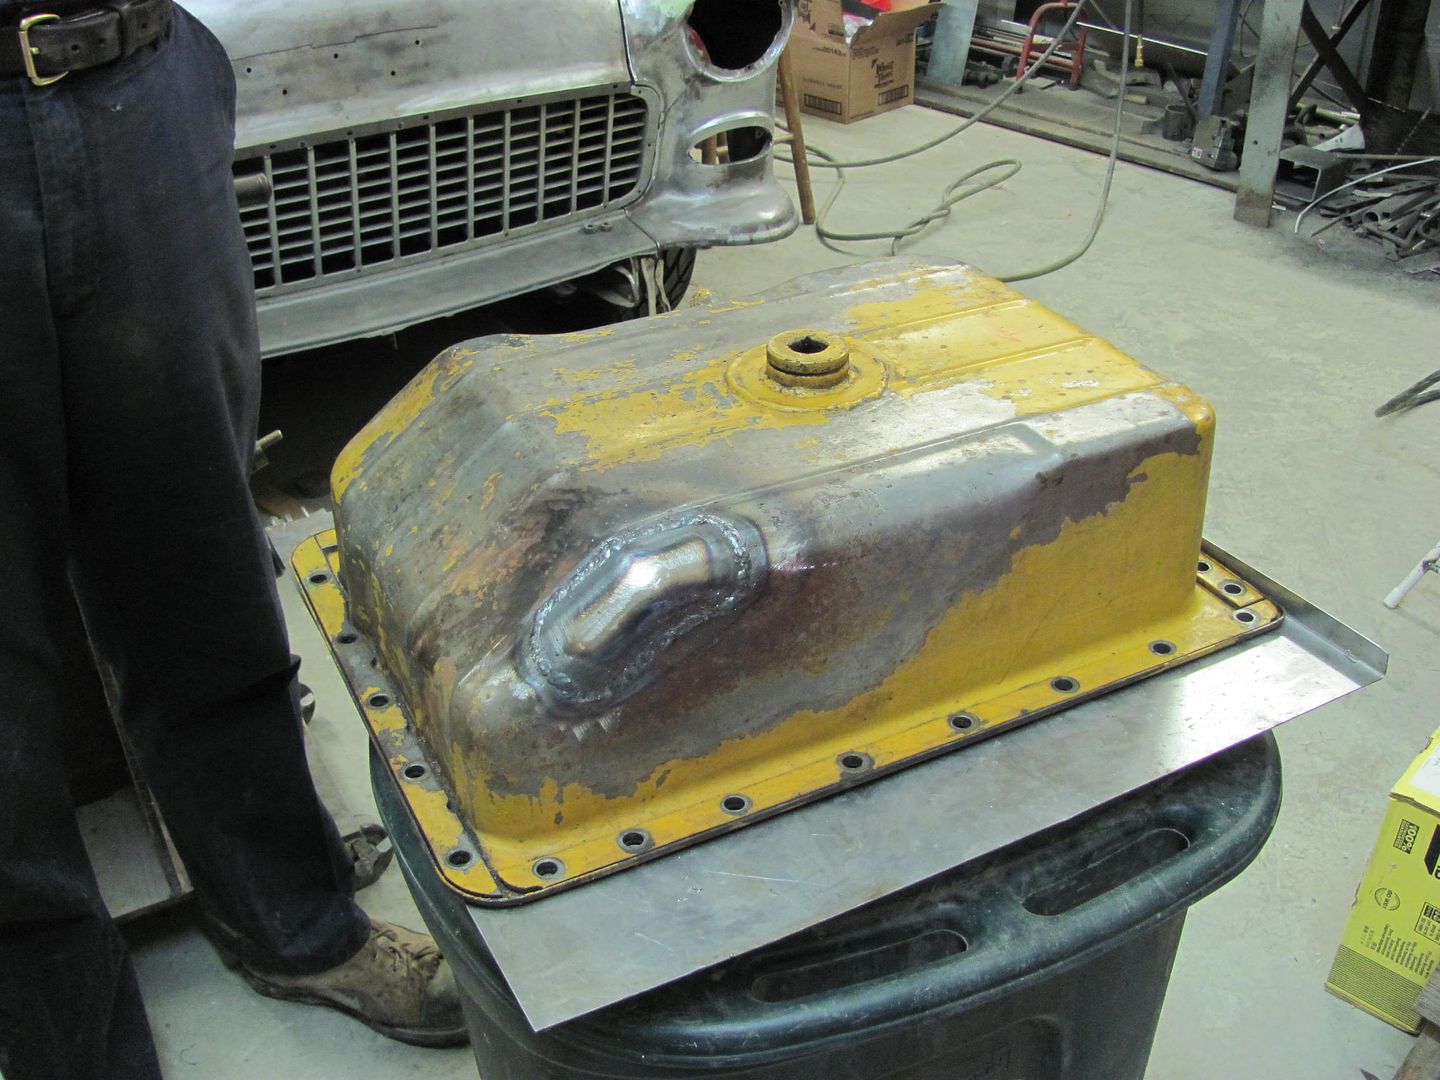
.....and Paul cleans it up for paint..
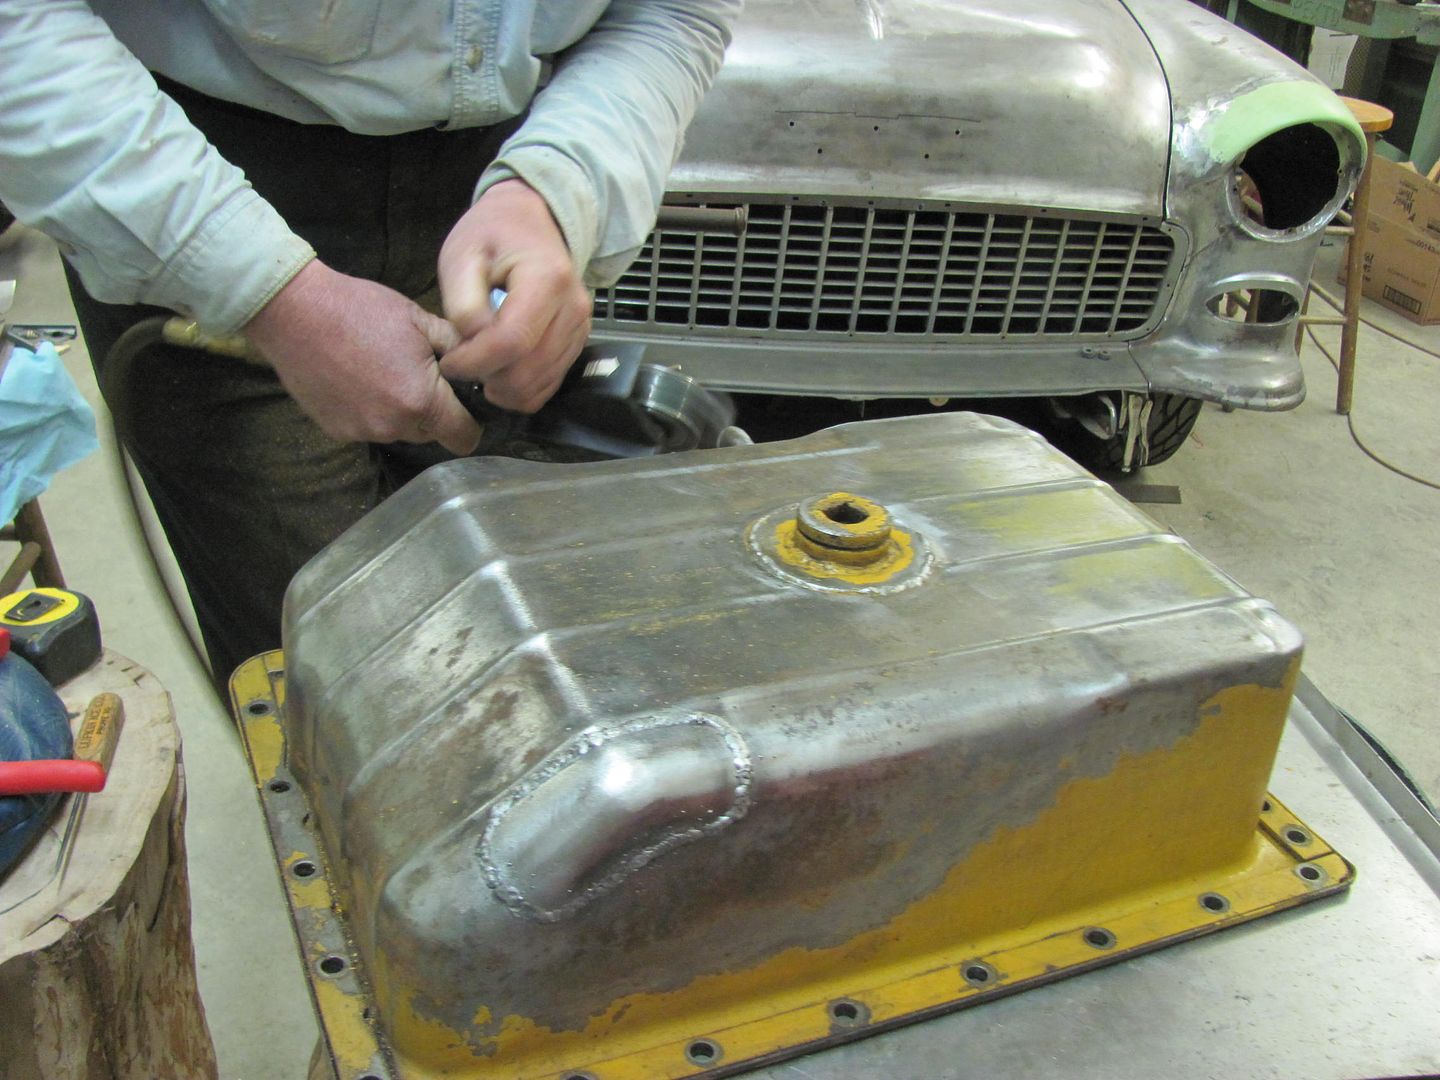
You never know what you see over here...
Last edited by MP&C; March 30, 2013, 05:31 PM.Comment
-
Very cool. I didn't want to let this latest repair go un-commented. :-)Comment
-
This thread is in my opinion sticky worthy. I never imagined a bead
roller could be used for parts like that. It looks like imagination is
the key.Comment
-
Steve made this sticky for us......thanks buddy! It's much easier to keep up with now.Ed, Mary, & 'Earl'
HRPT LongHaulers, 08, 09, 10, 11, 12, 13, 15, 16, 17, 18, 19.
Inside every old person is a young person wondering, "what the hell happened?"
The man at the top of the mountain didn't fall there. -Vince LombardiComment
-
Thanks Steve!
A tail pan test fit shows how inaccurate the reproduction is, go figure....
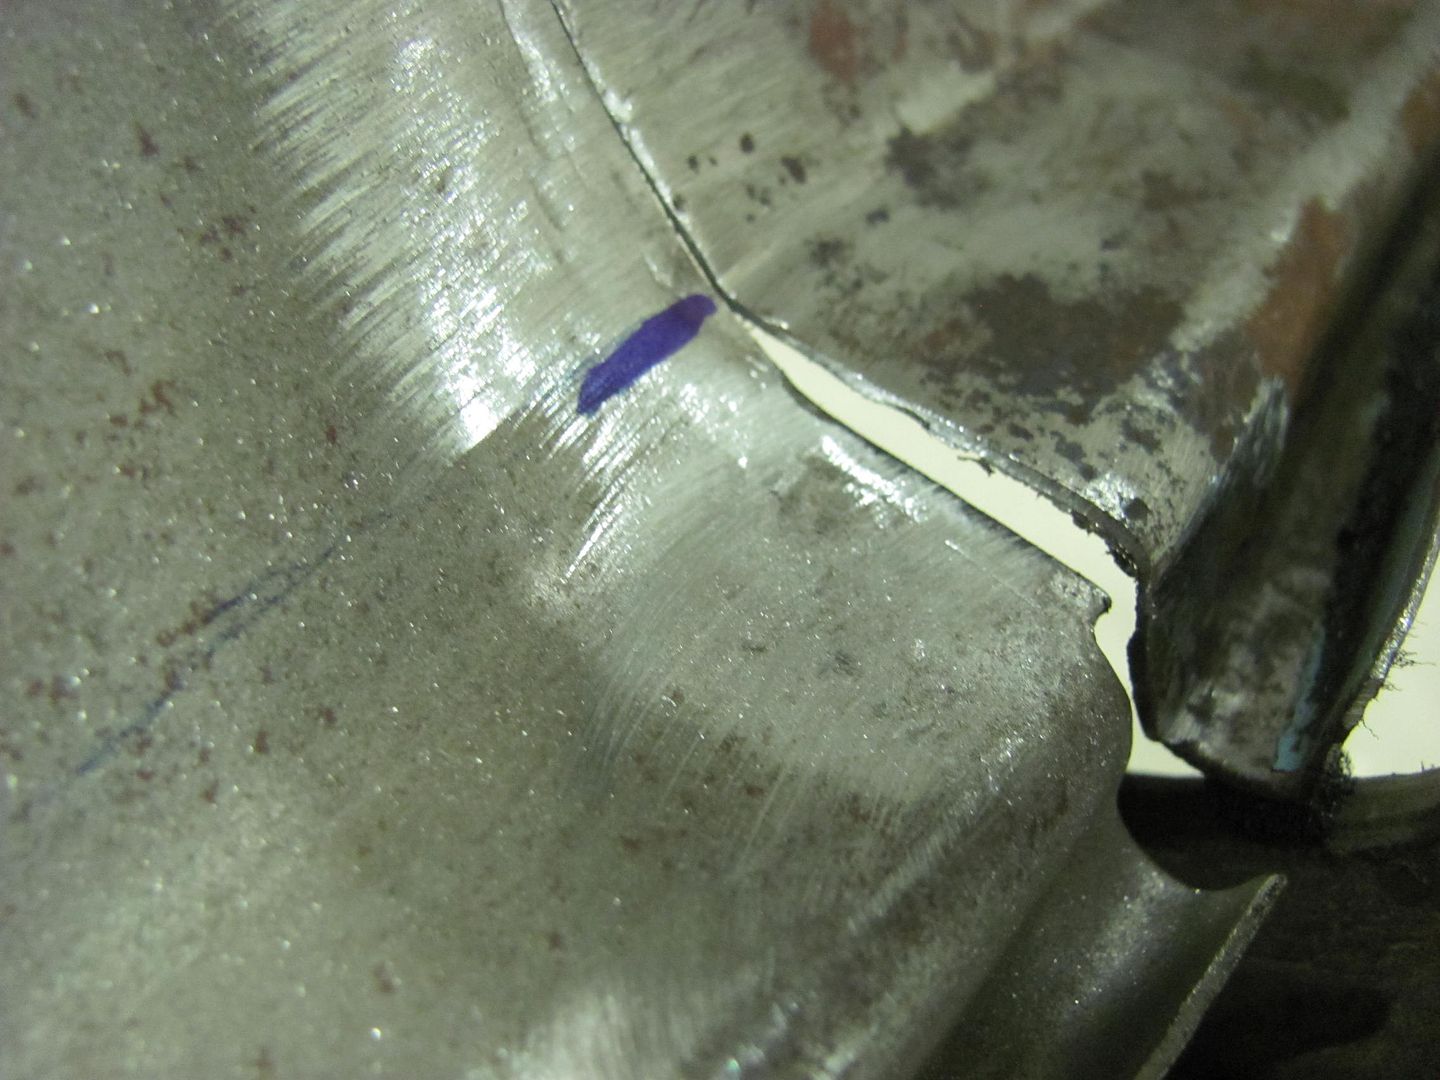
After marking the new bend location, the bead roller was fitted with the tipping die to relocate the bend...

Using the tipping die to move the bend also leaves a crease indicator on the bottom side, which is aligned to the edge of an anvil, then a body hammer is used to flatten out the incorrect bend...
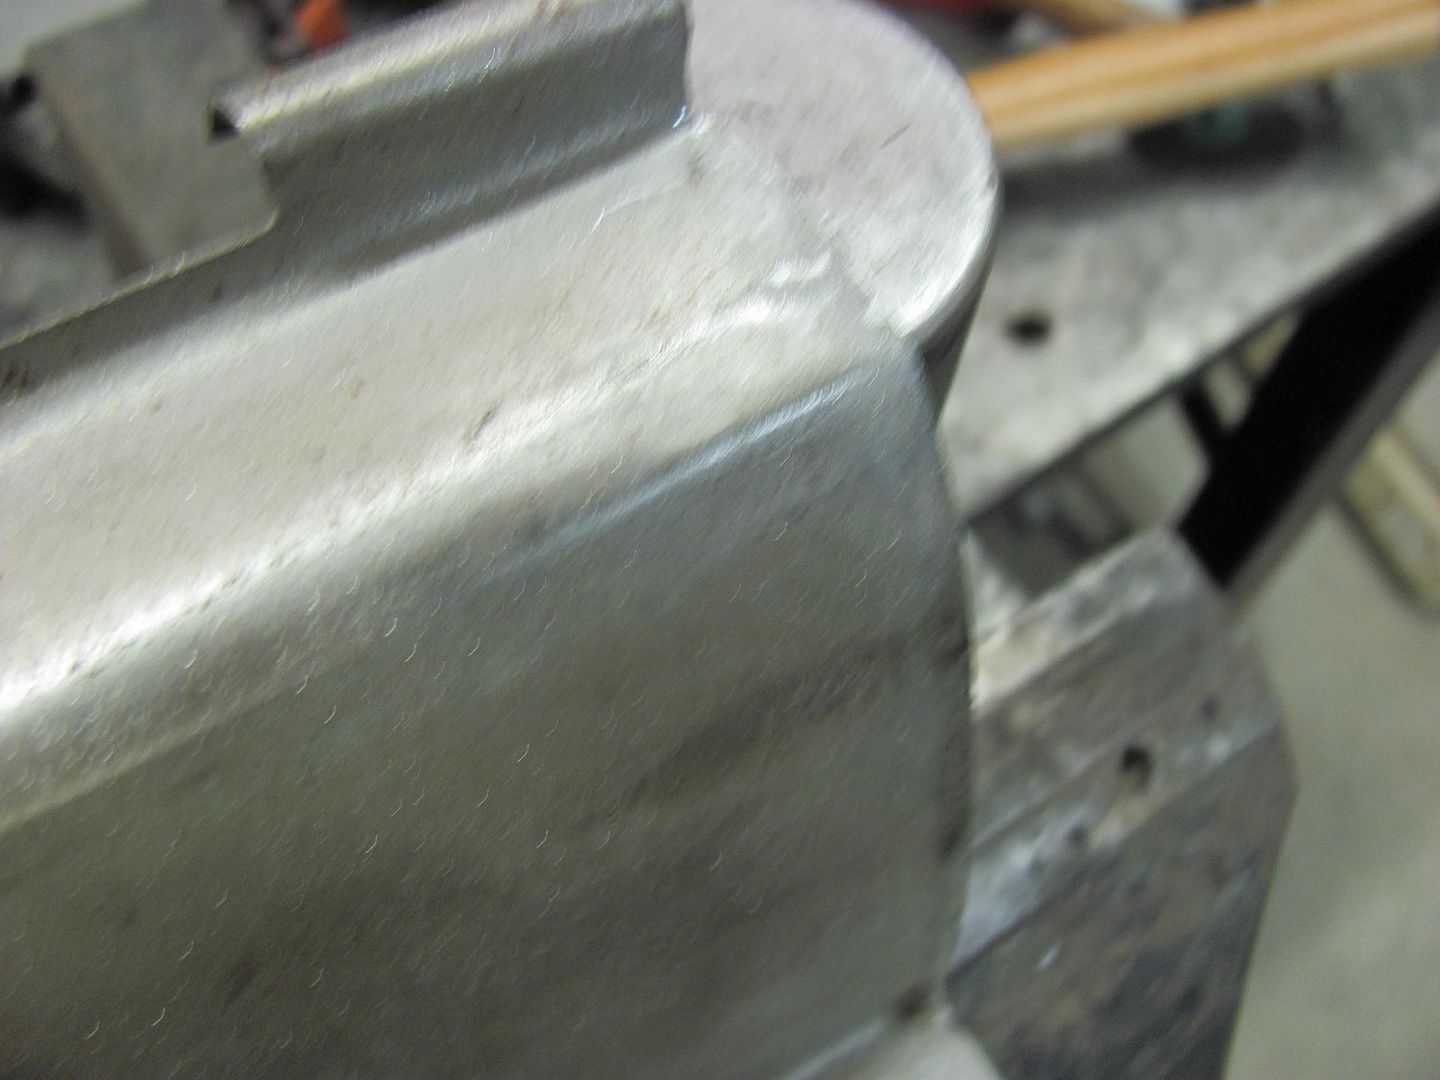
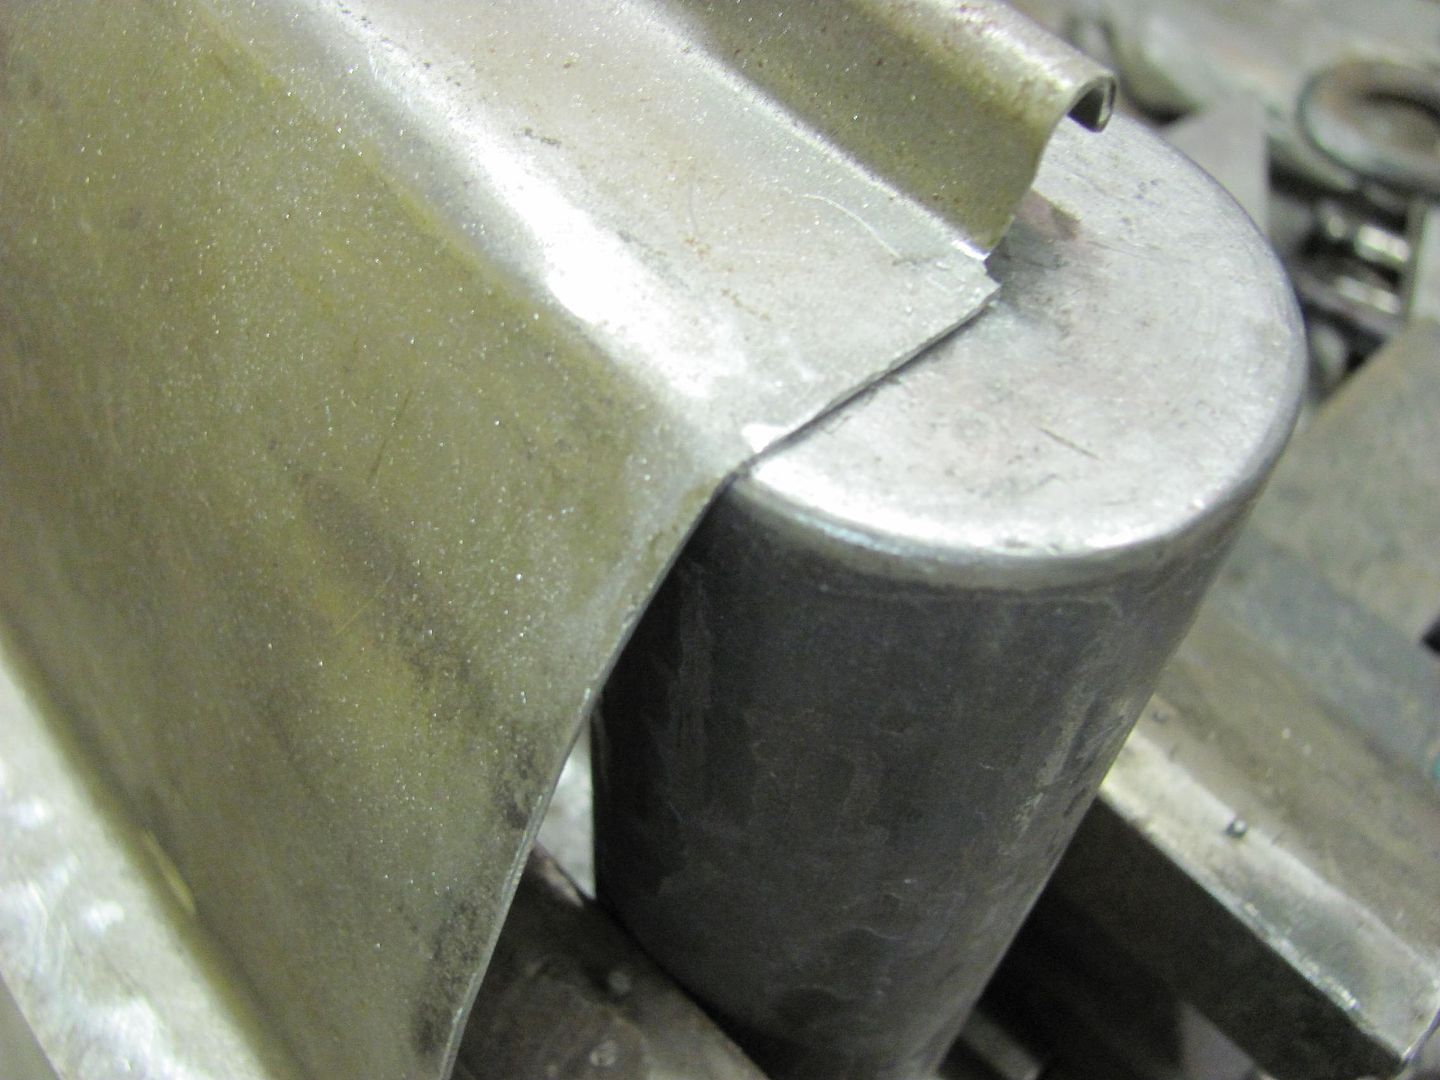
For a much better fit.....
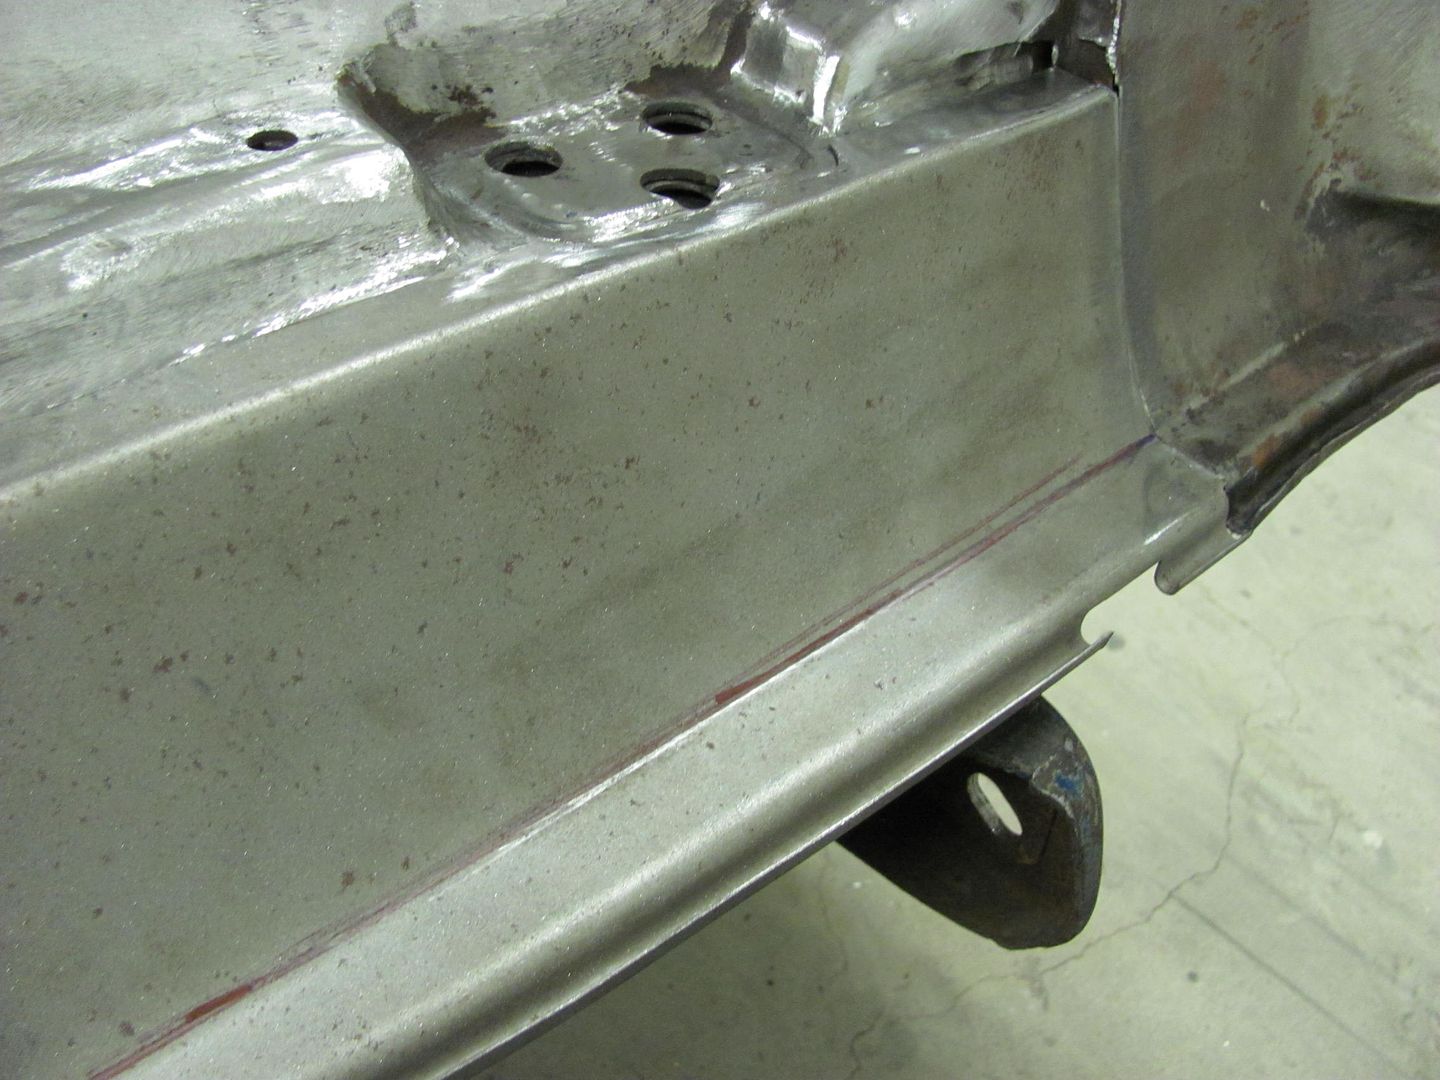 Last edited by MP&C; April 17, 2013, 03:23 AM.
Comment
-
Spent yesterday at a metalshaping workshop, Gatormeet, in Frederick MD. Some of the projects:
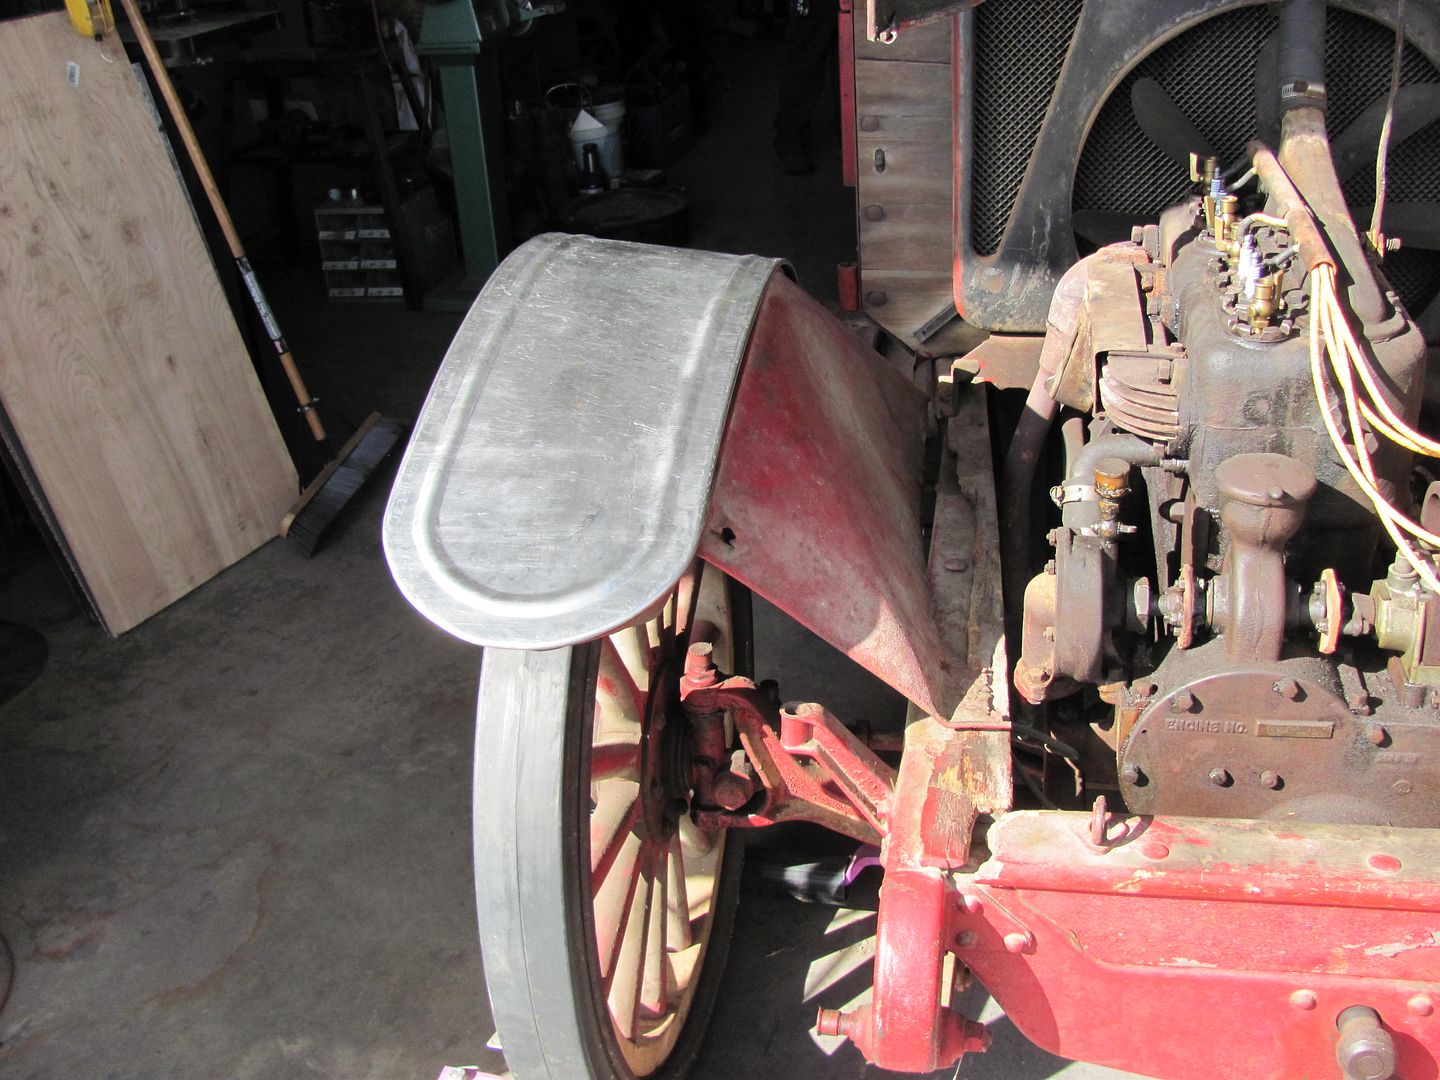
1918 International Truck
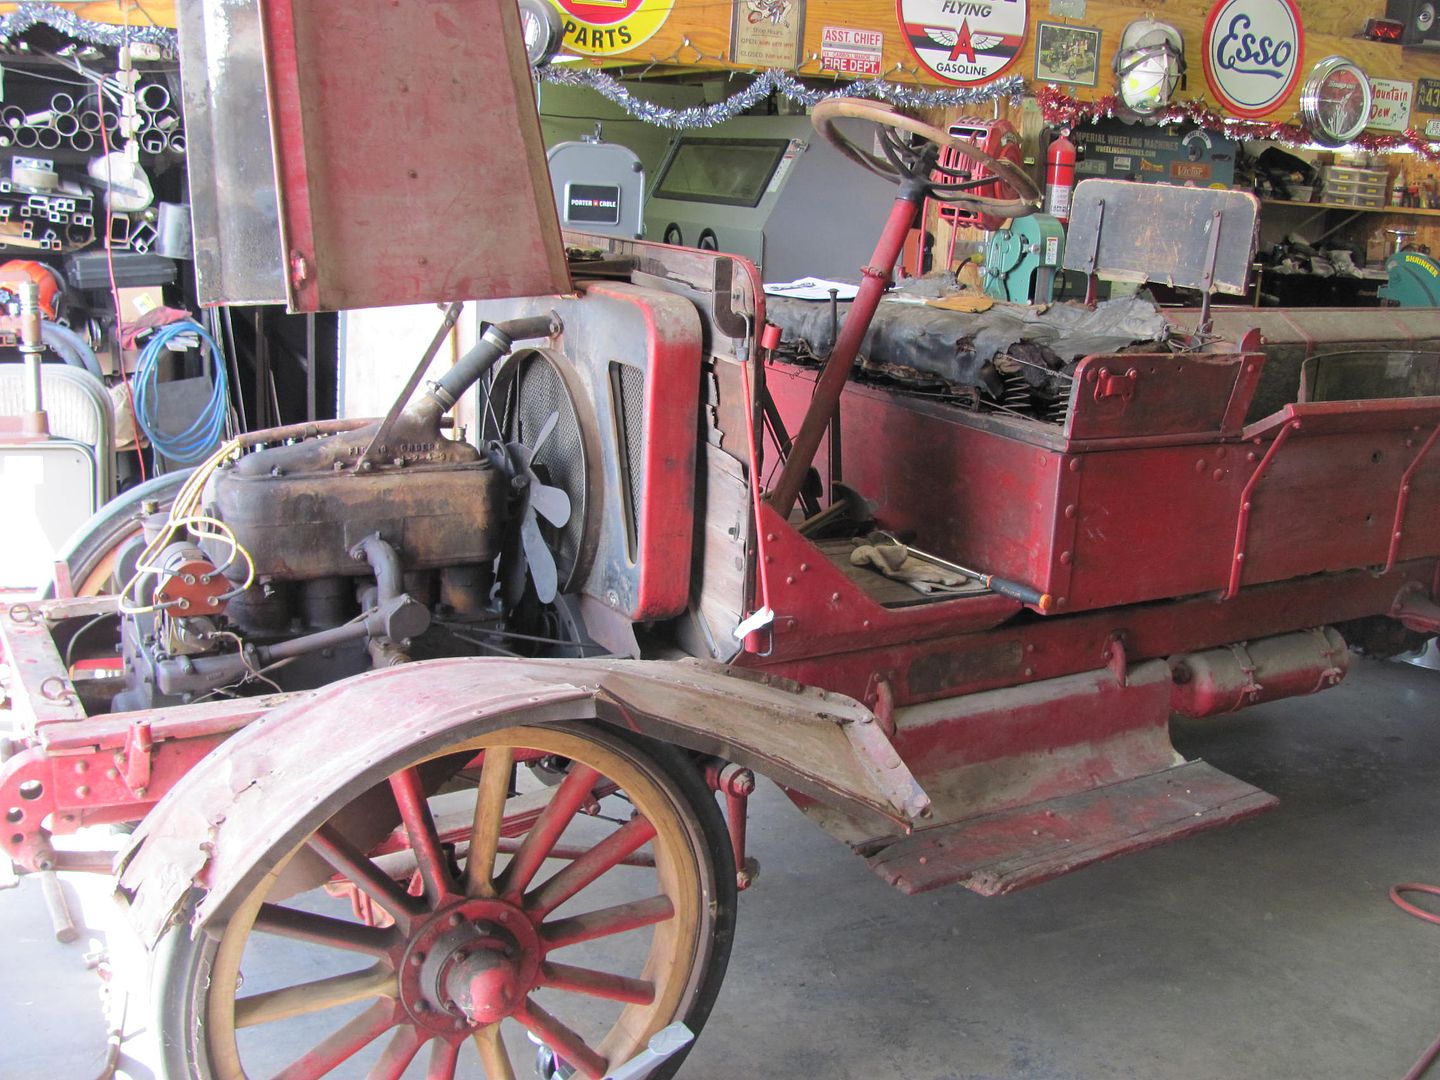
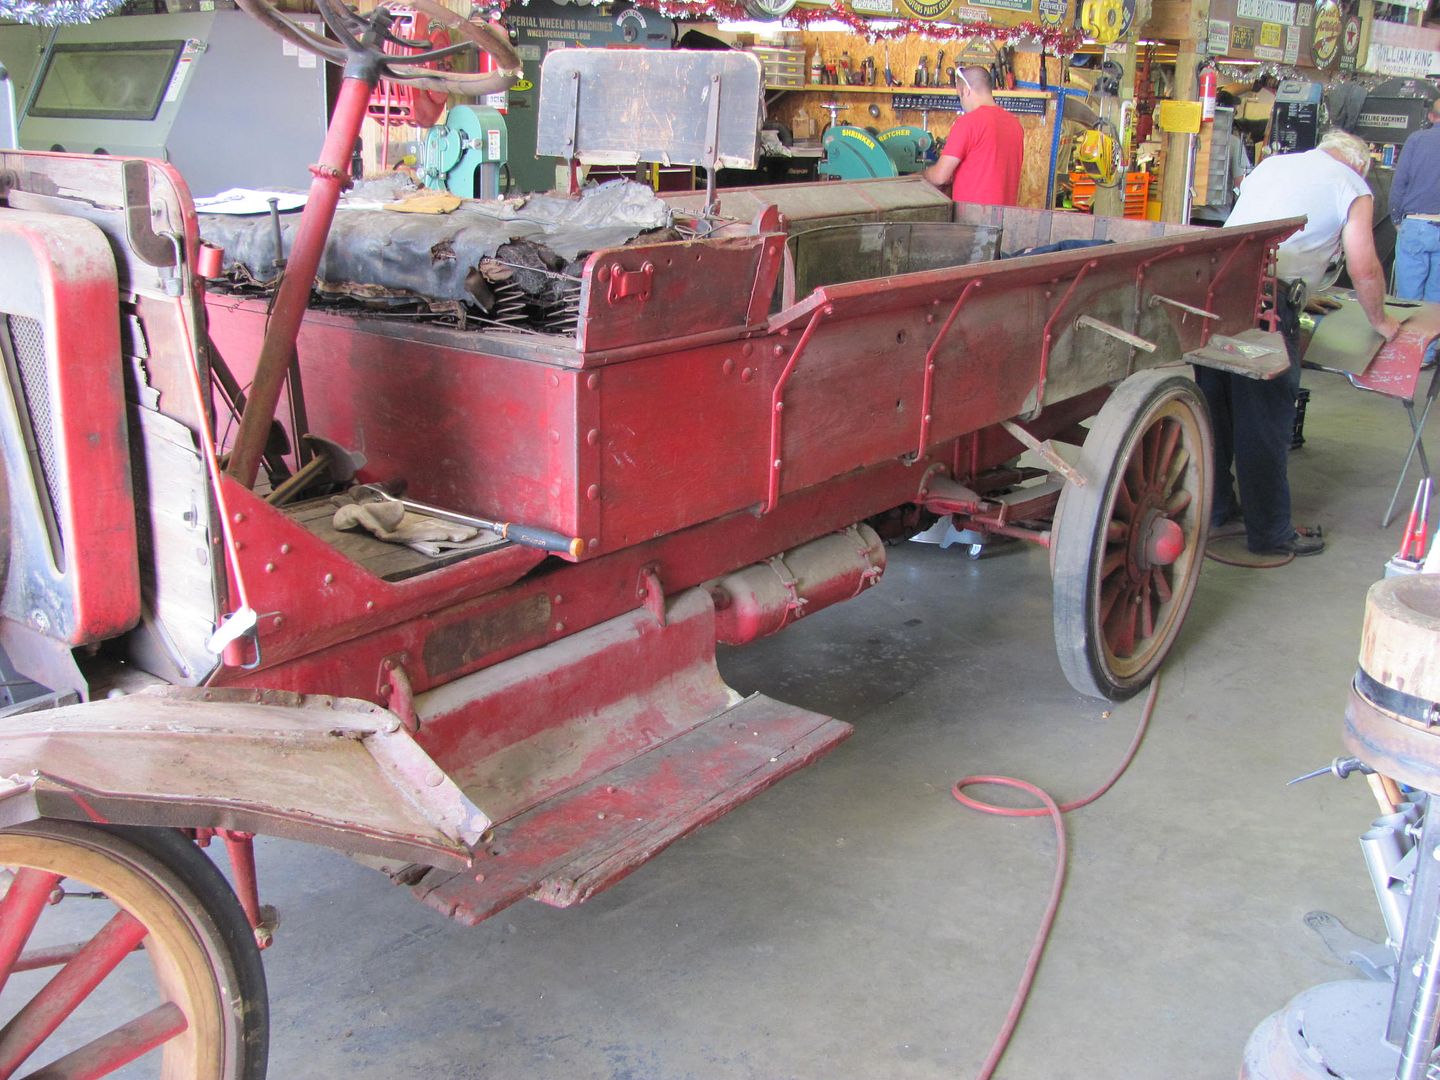
Pontiac GTO door skin repair

55 Pontiac hood being fitted with GTO hood scoops

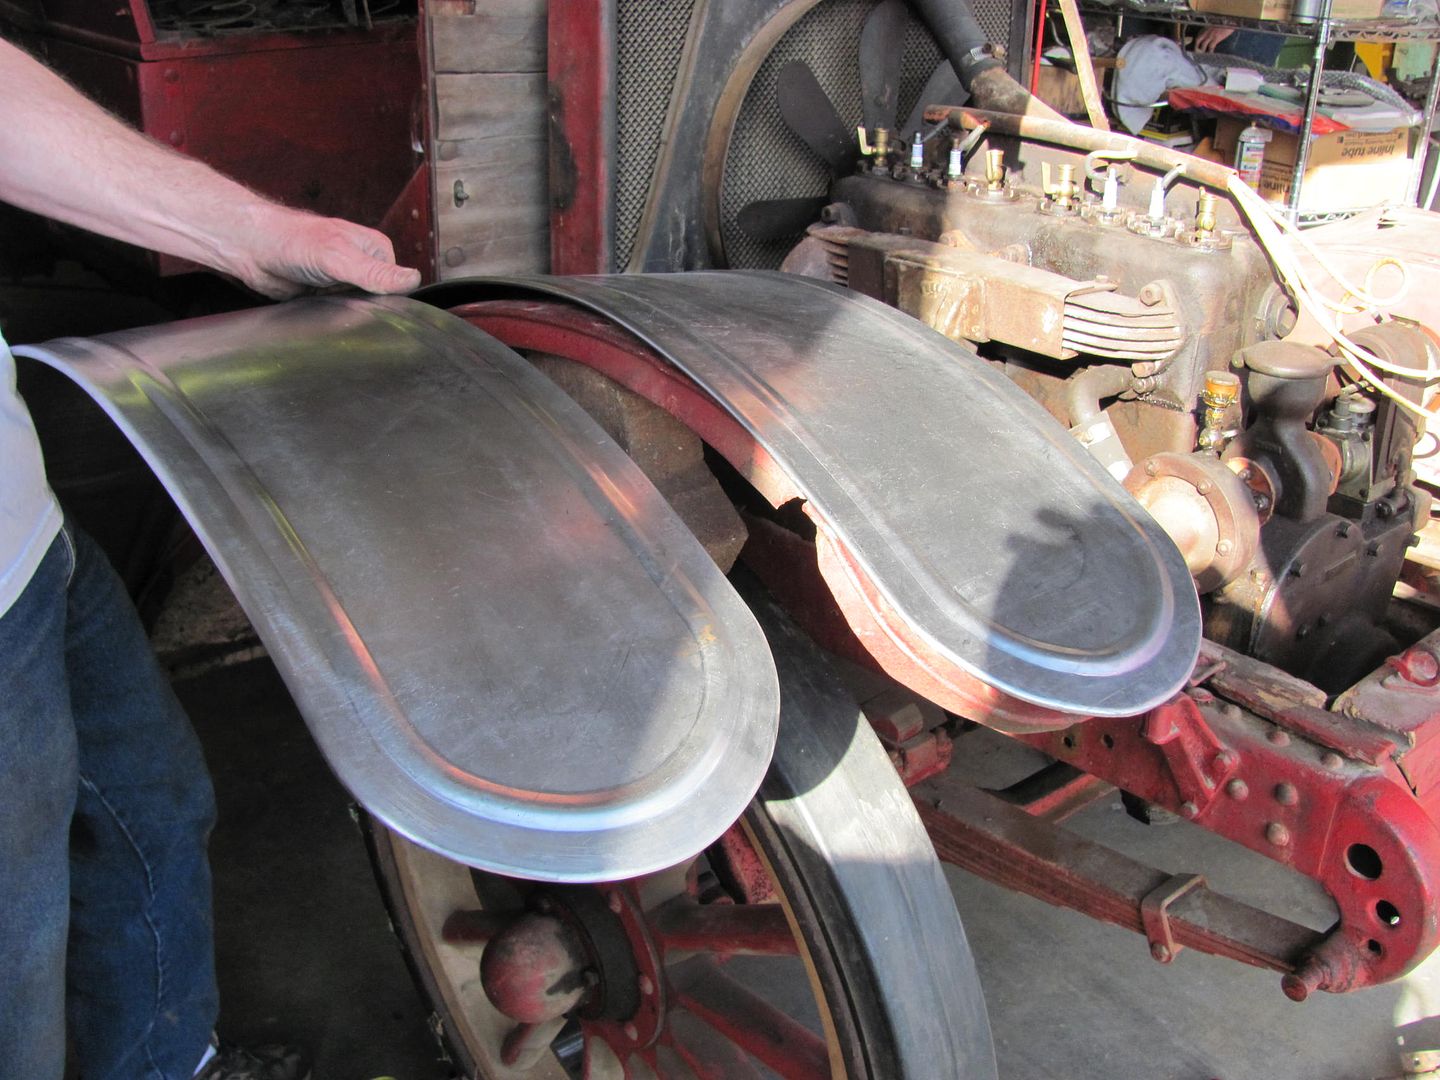
The major project was to fabricate new front fenders for the International truck. This was to include wiring the edge and adding a bead detail to match the original.
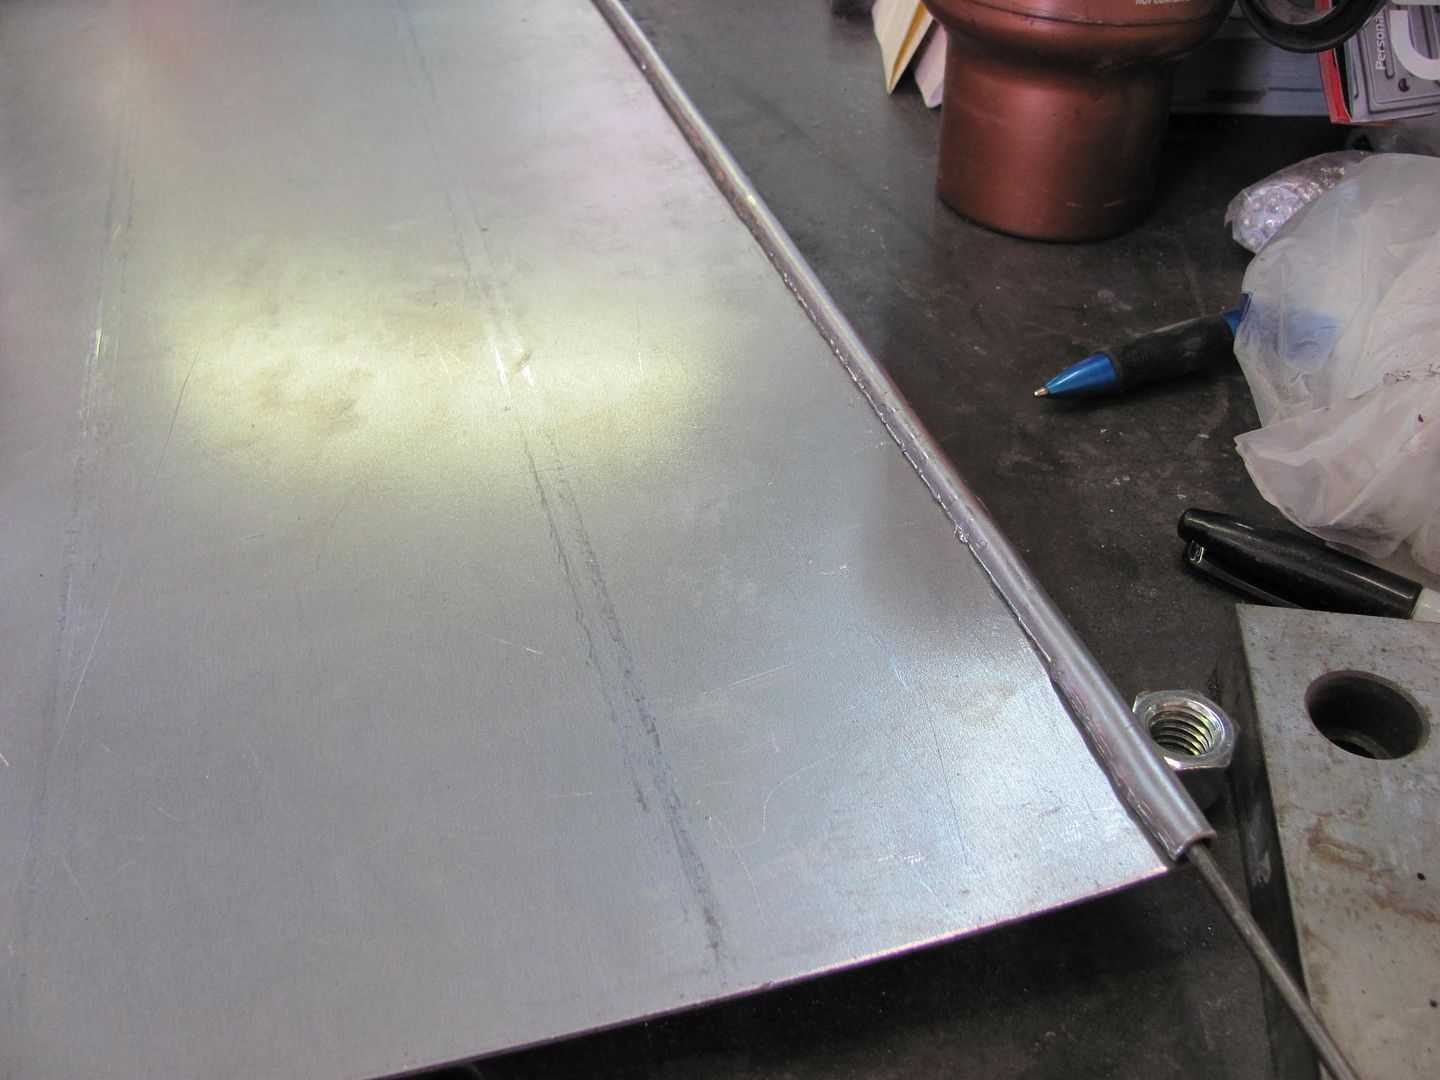
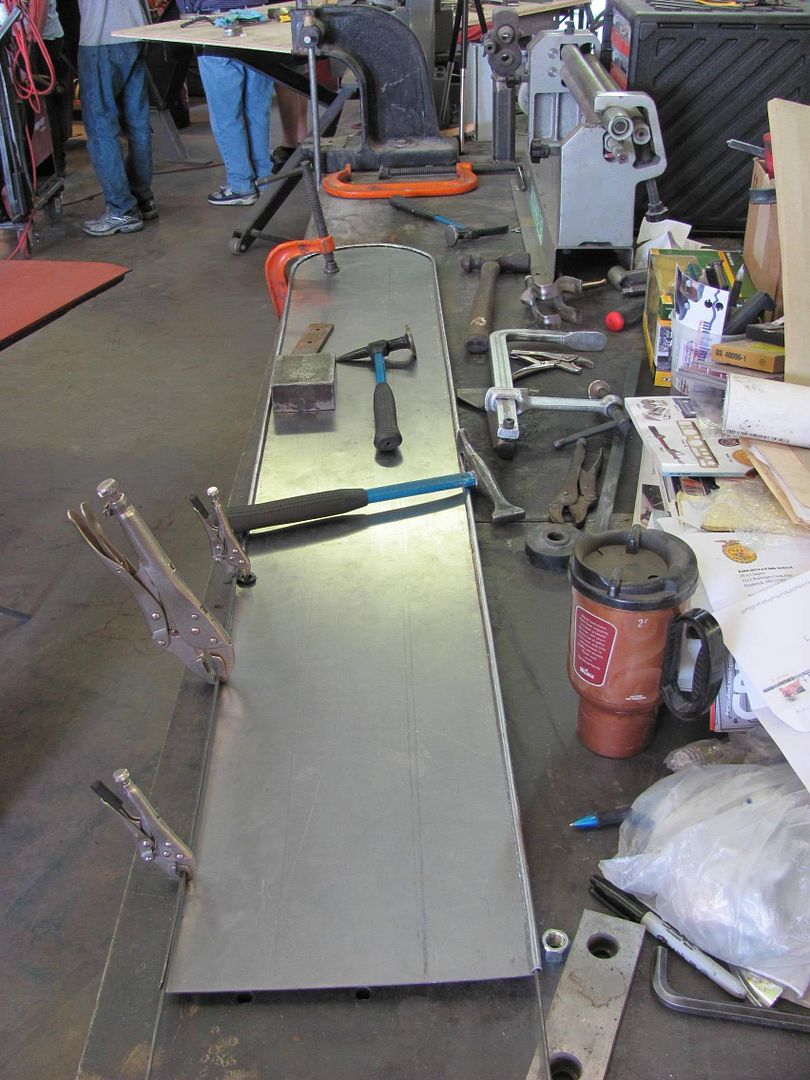
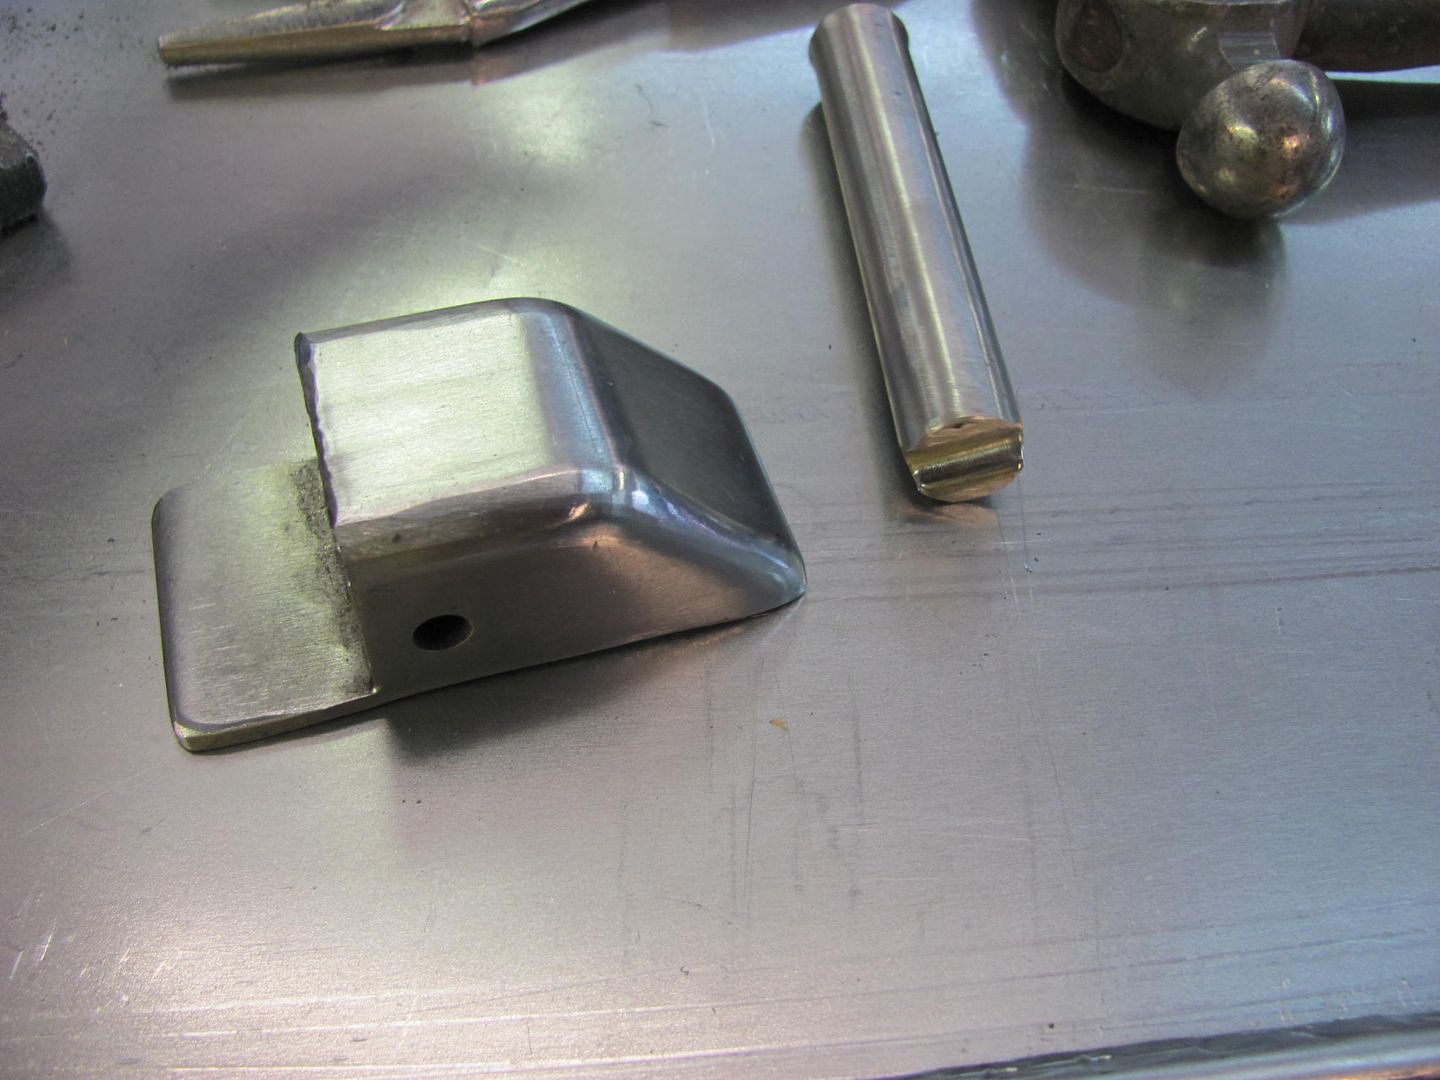
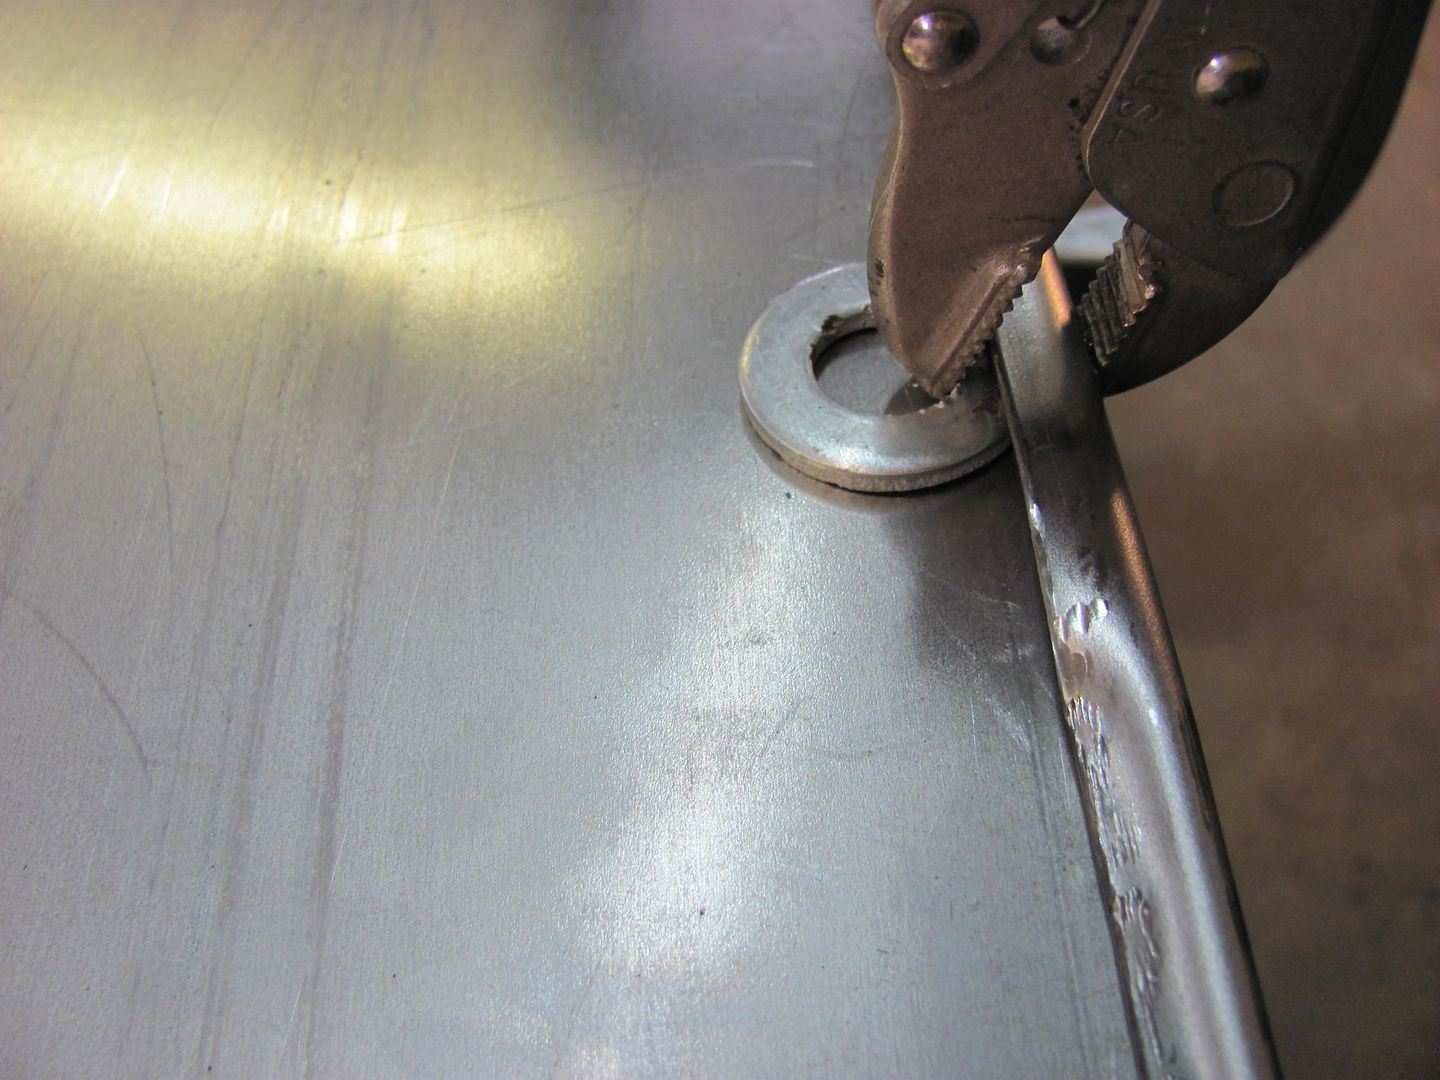
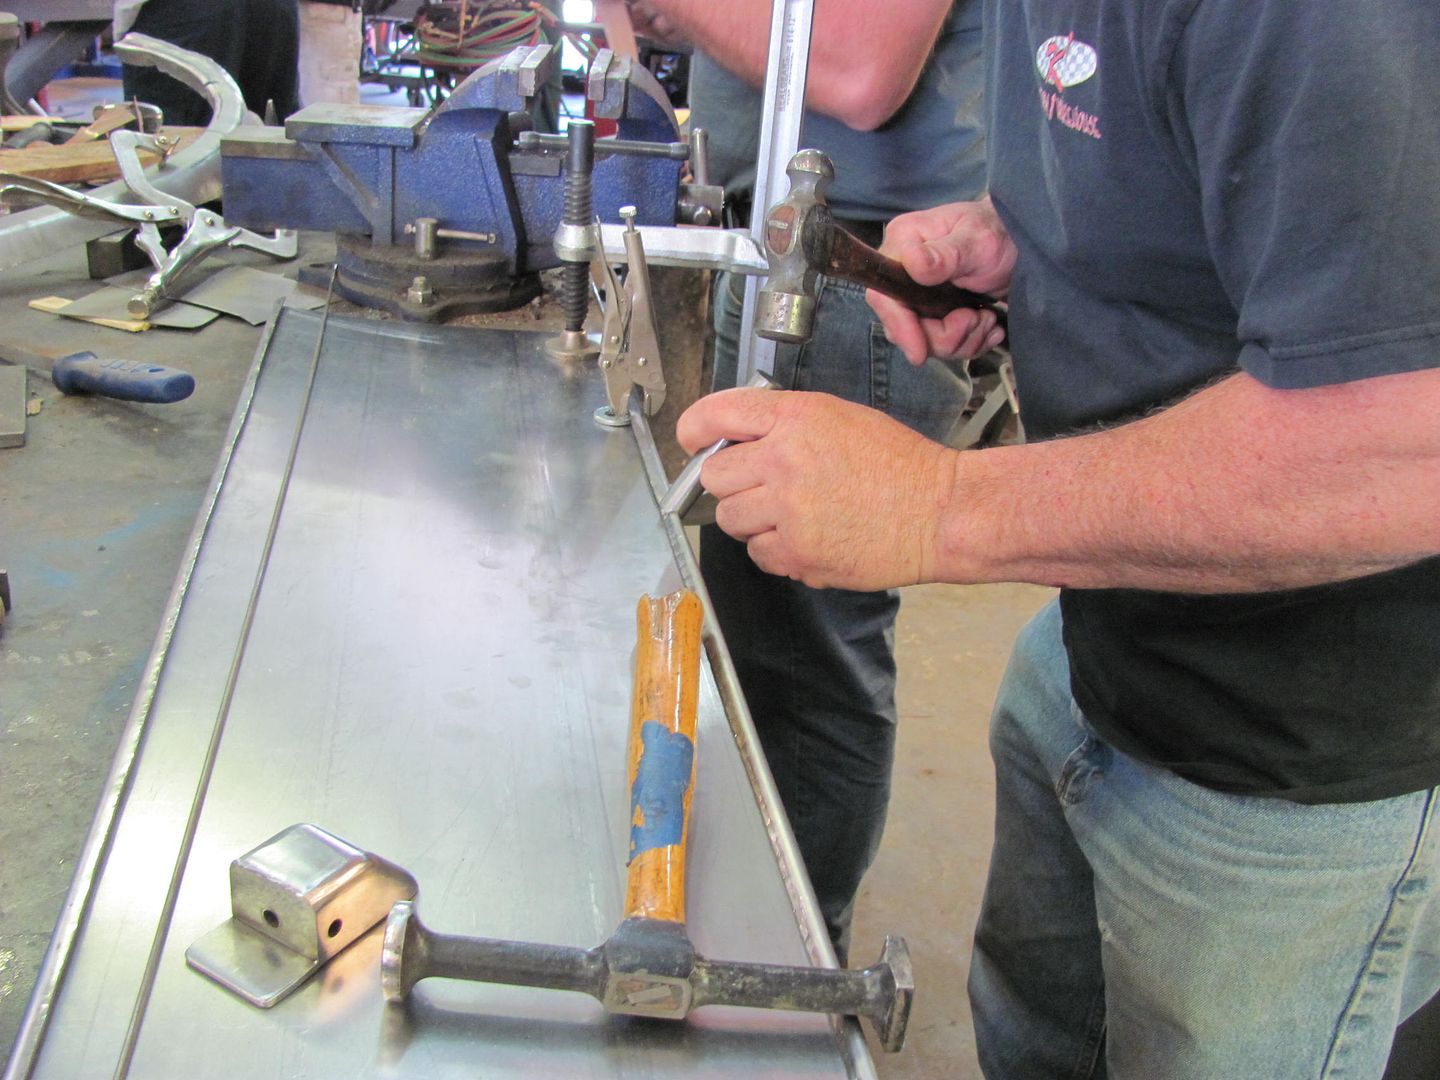
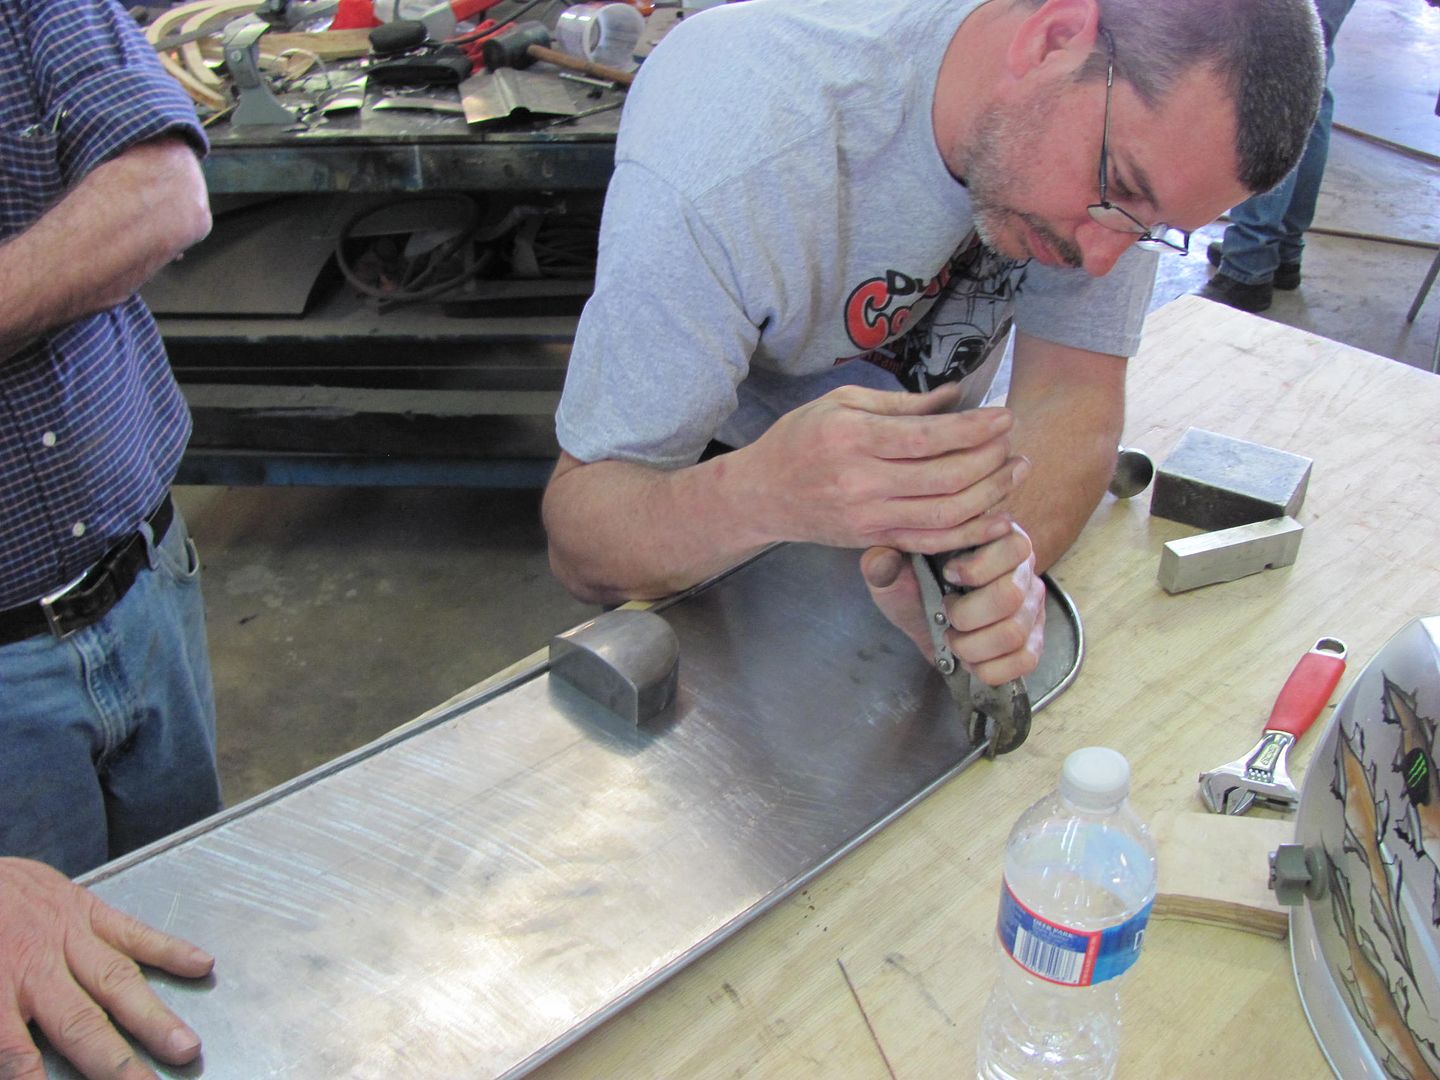
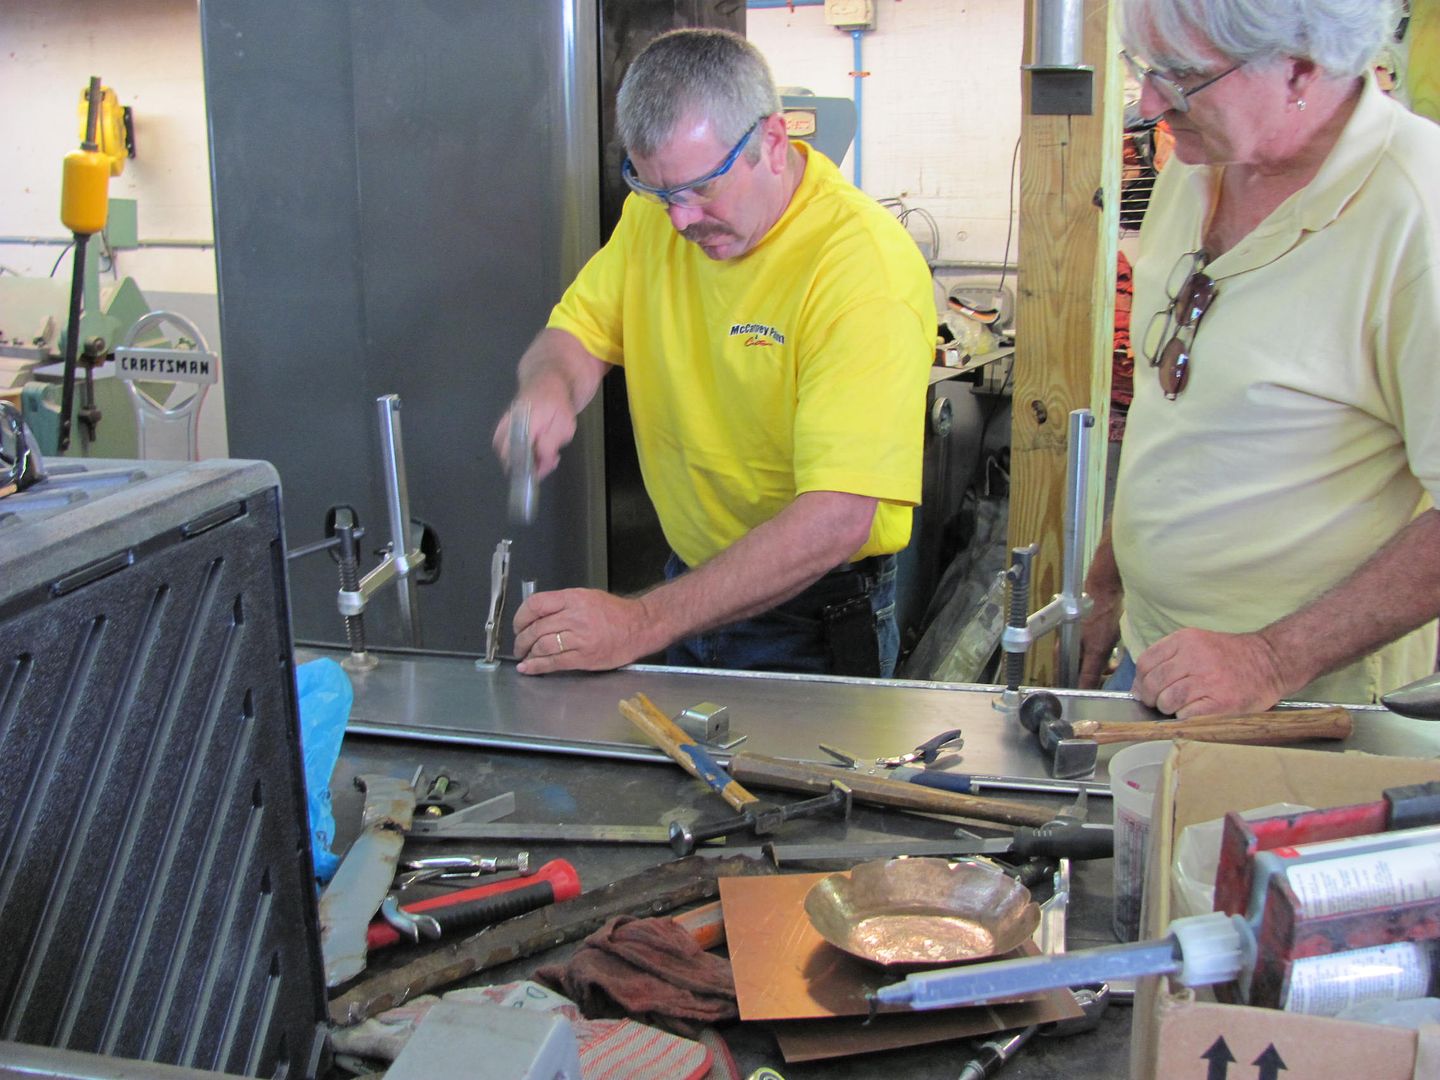
This little trick with a washer worked well to keep the wire tucked in nice and snug. Another option discussed was to use the roller found on a screen cording installation tool. While we didn't have one, the notch in the roller of this tool may work better to insure the washer doesn't slip off the wire.
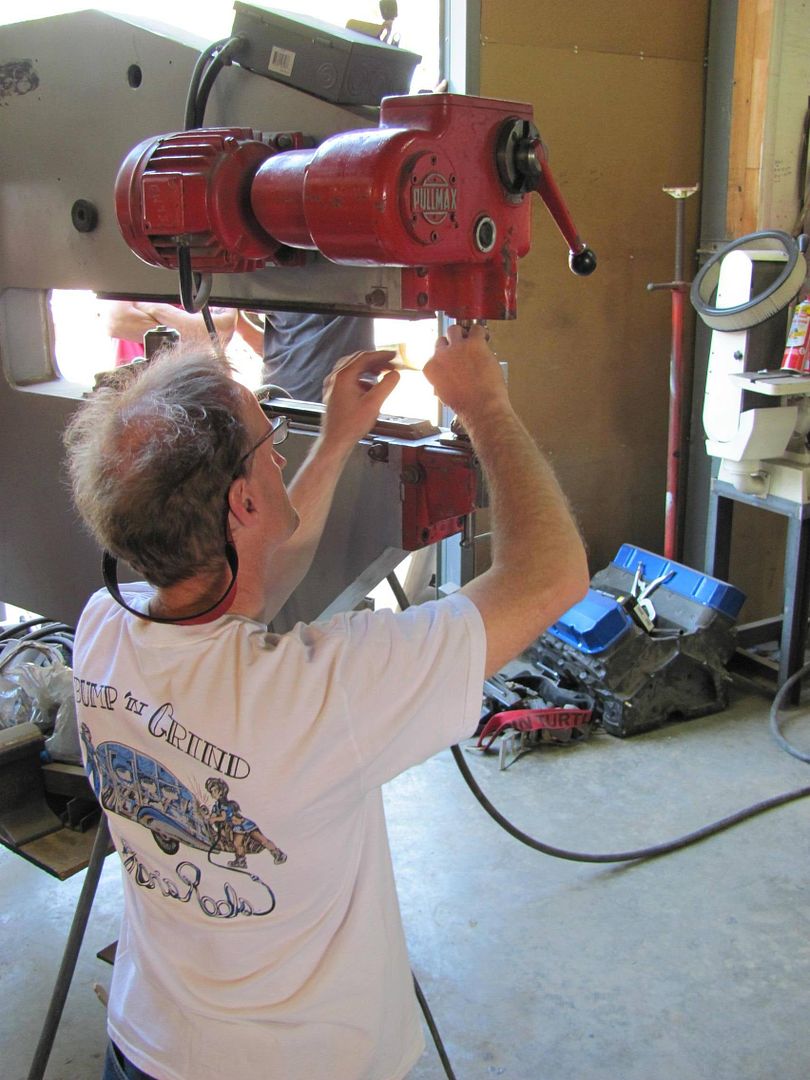
Dies made for the Pullmax and installed to add the bead detail..
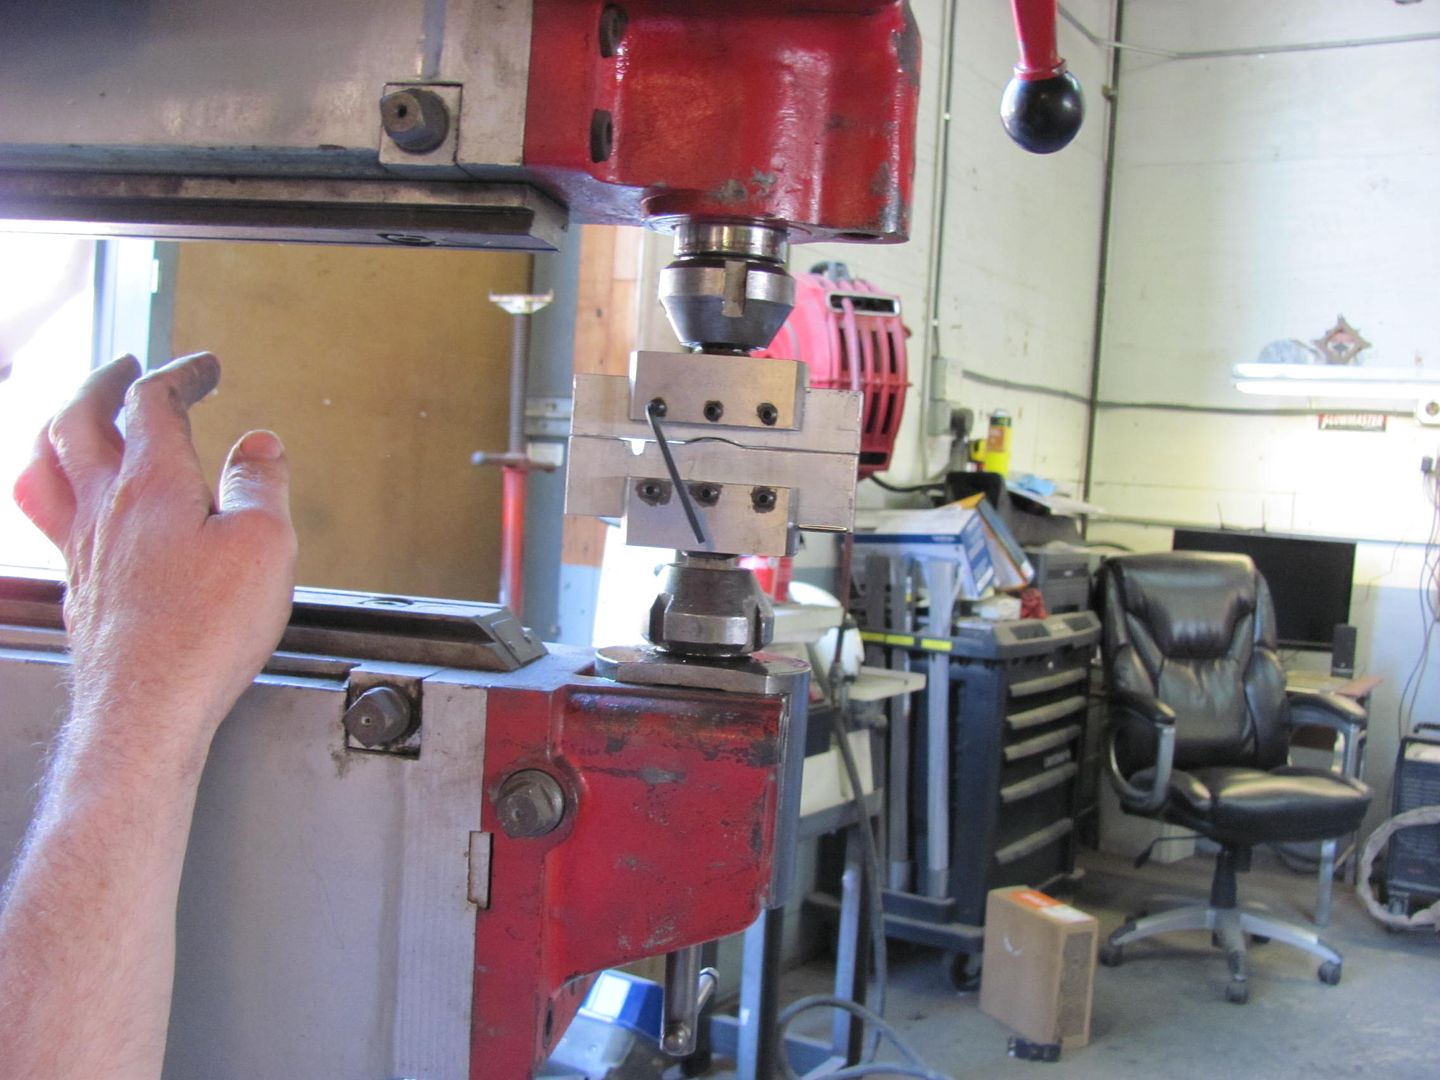
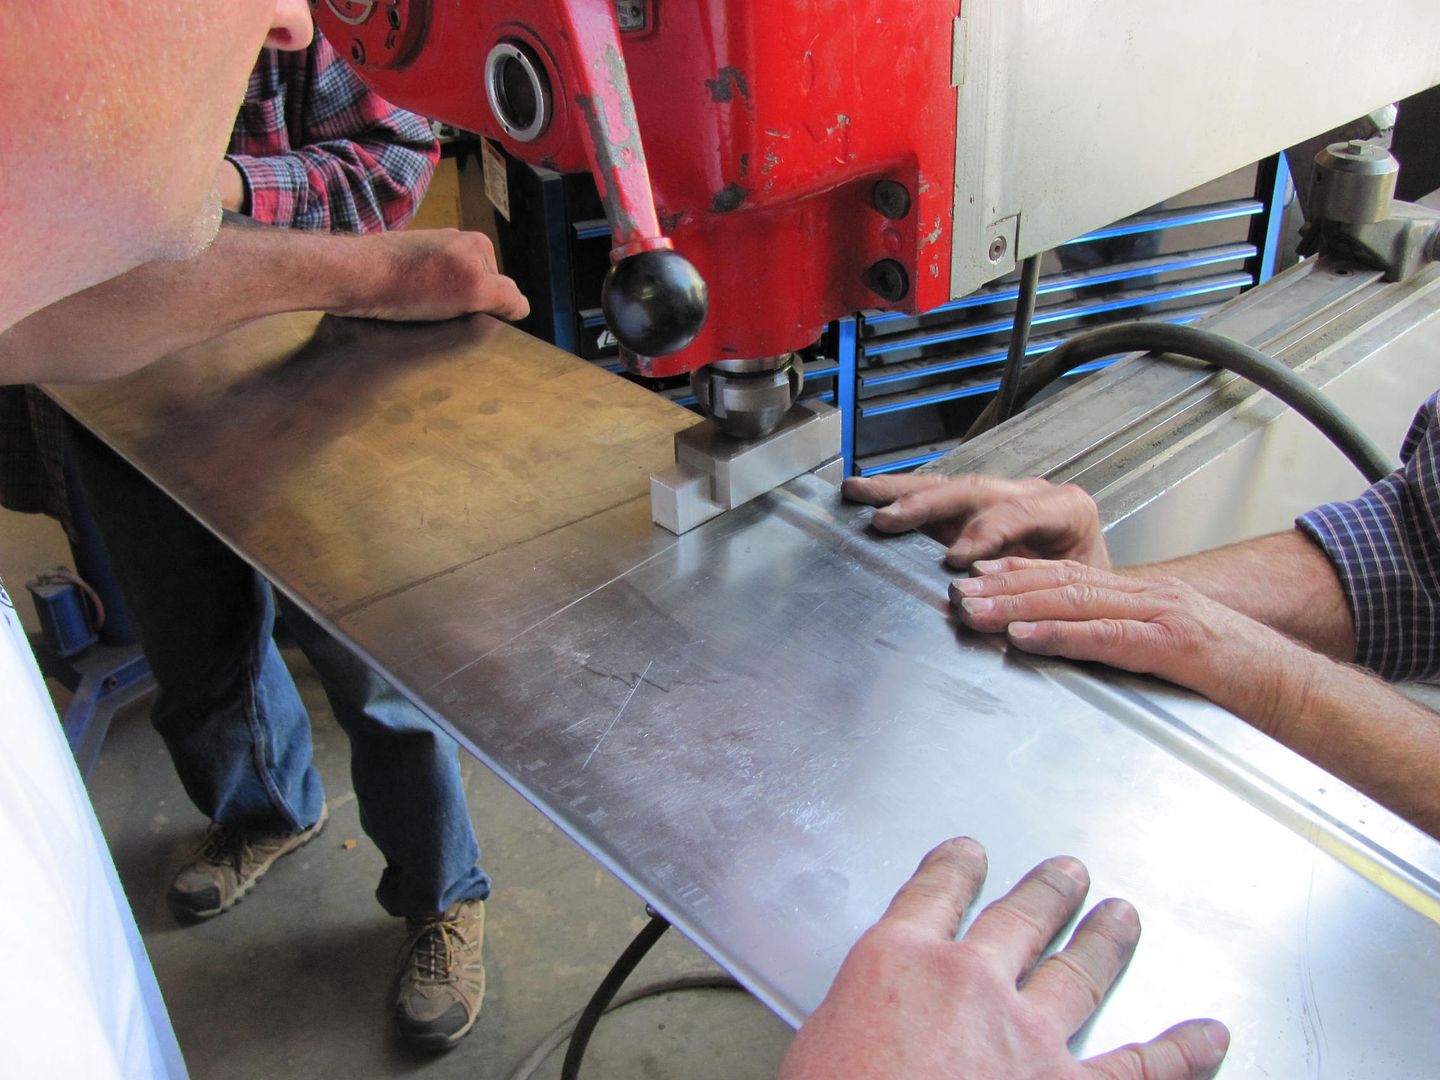
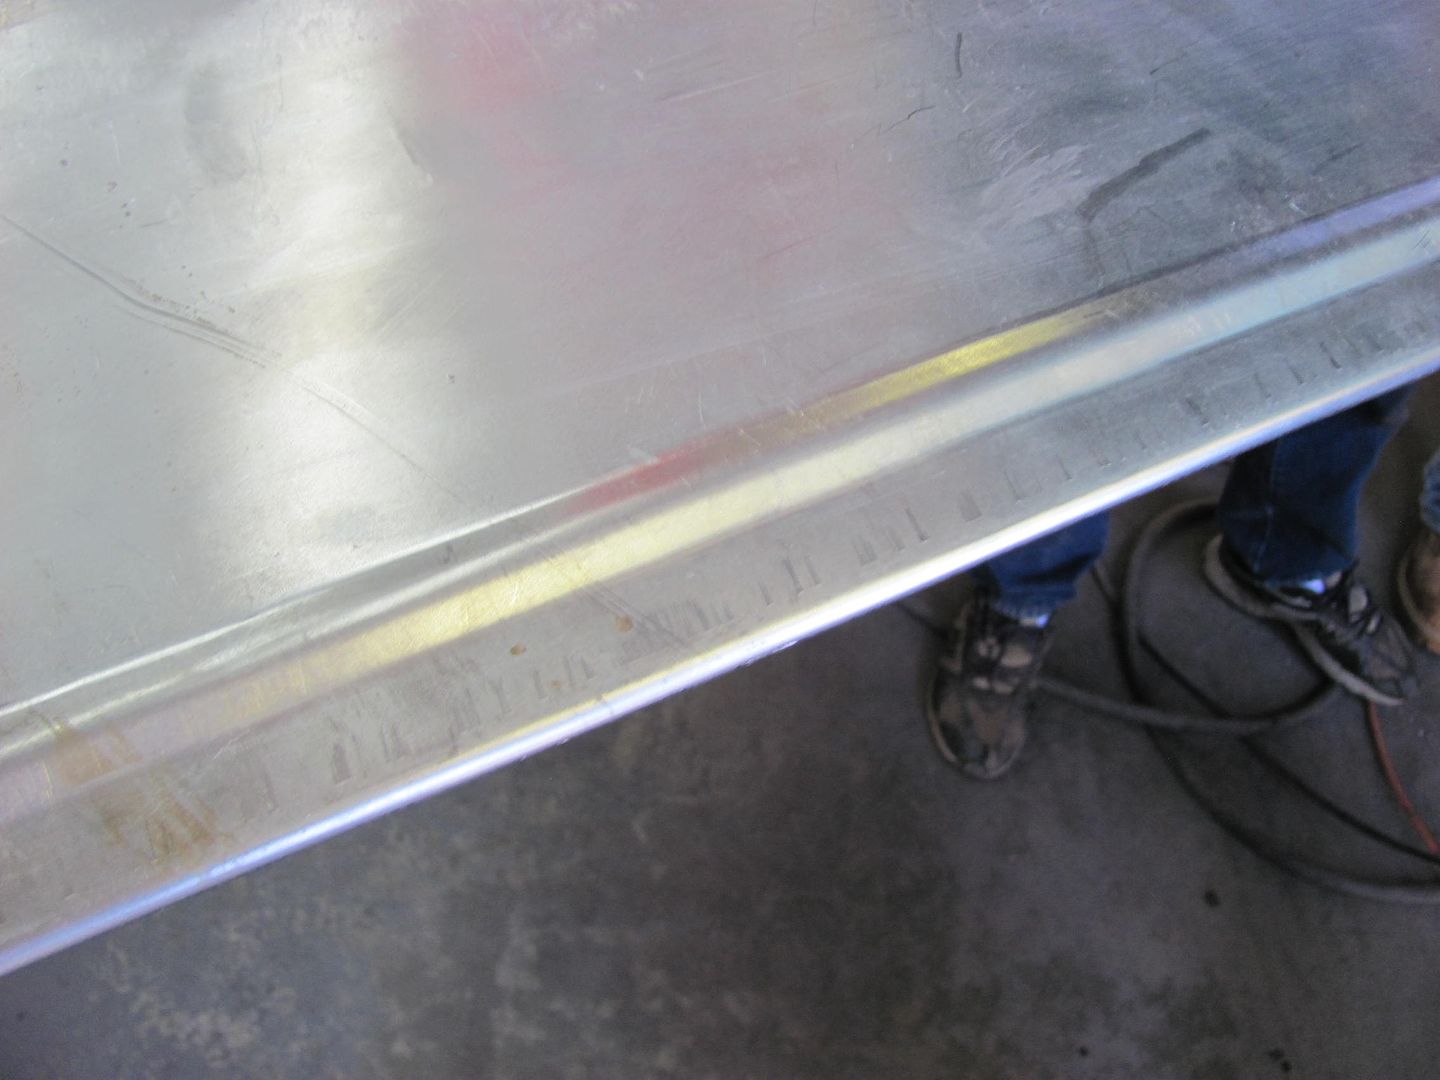
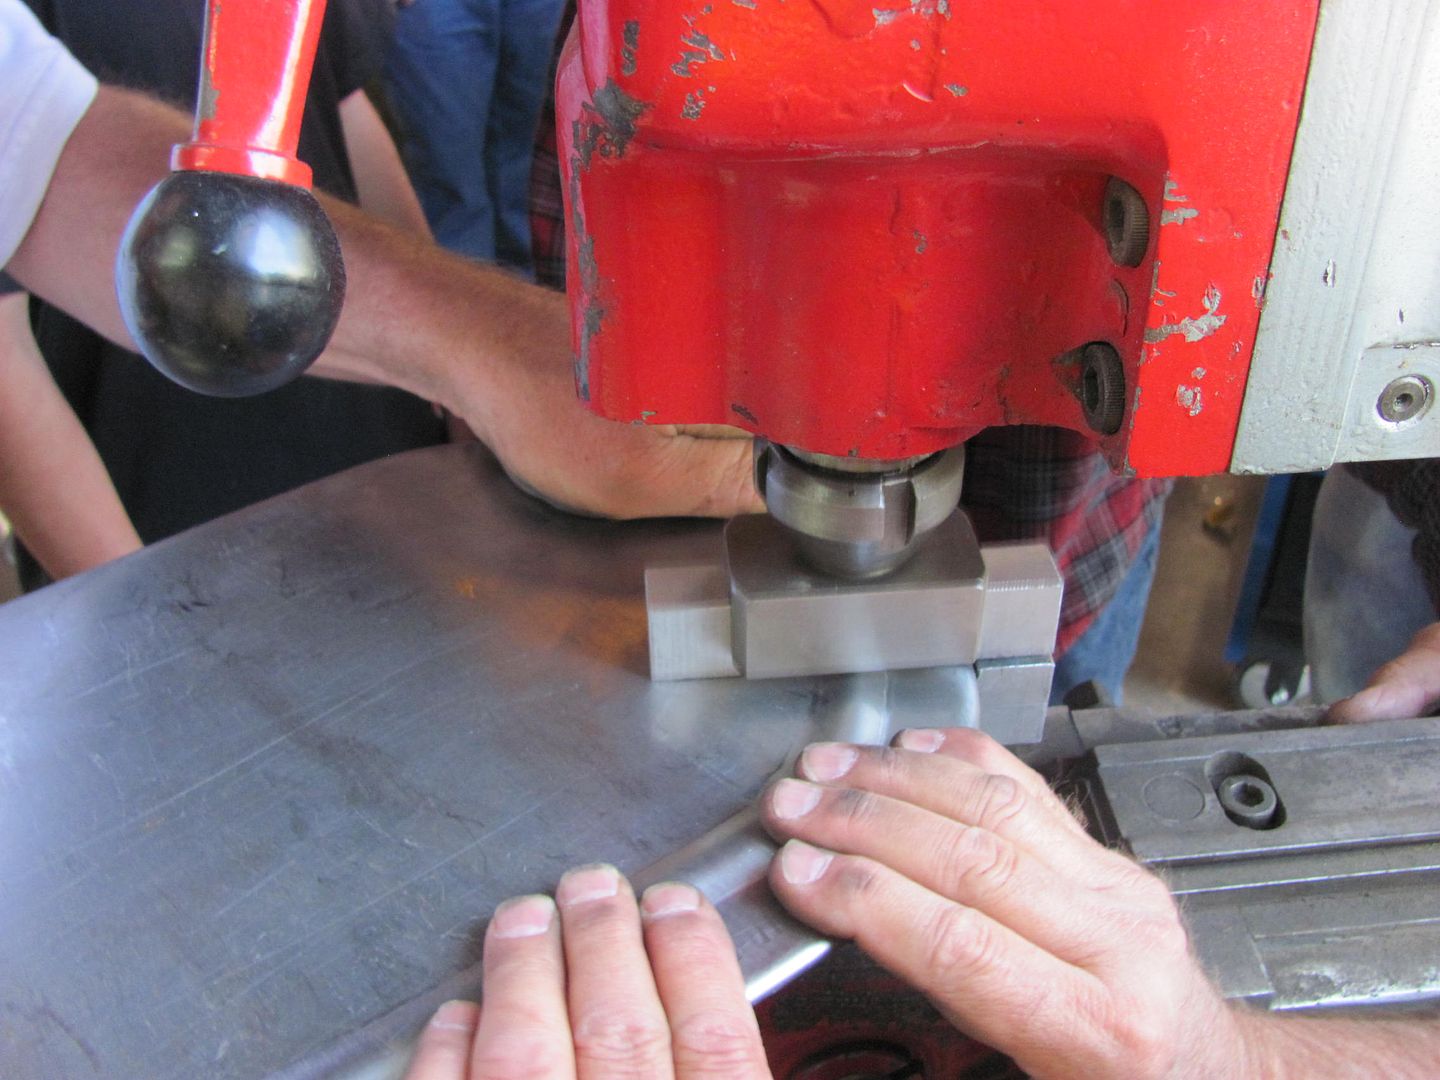
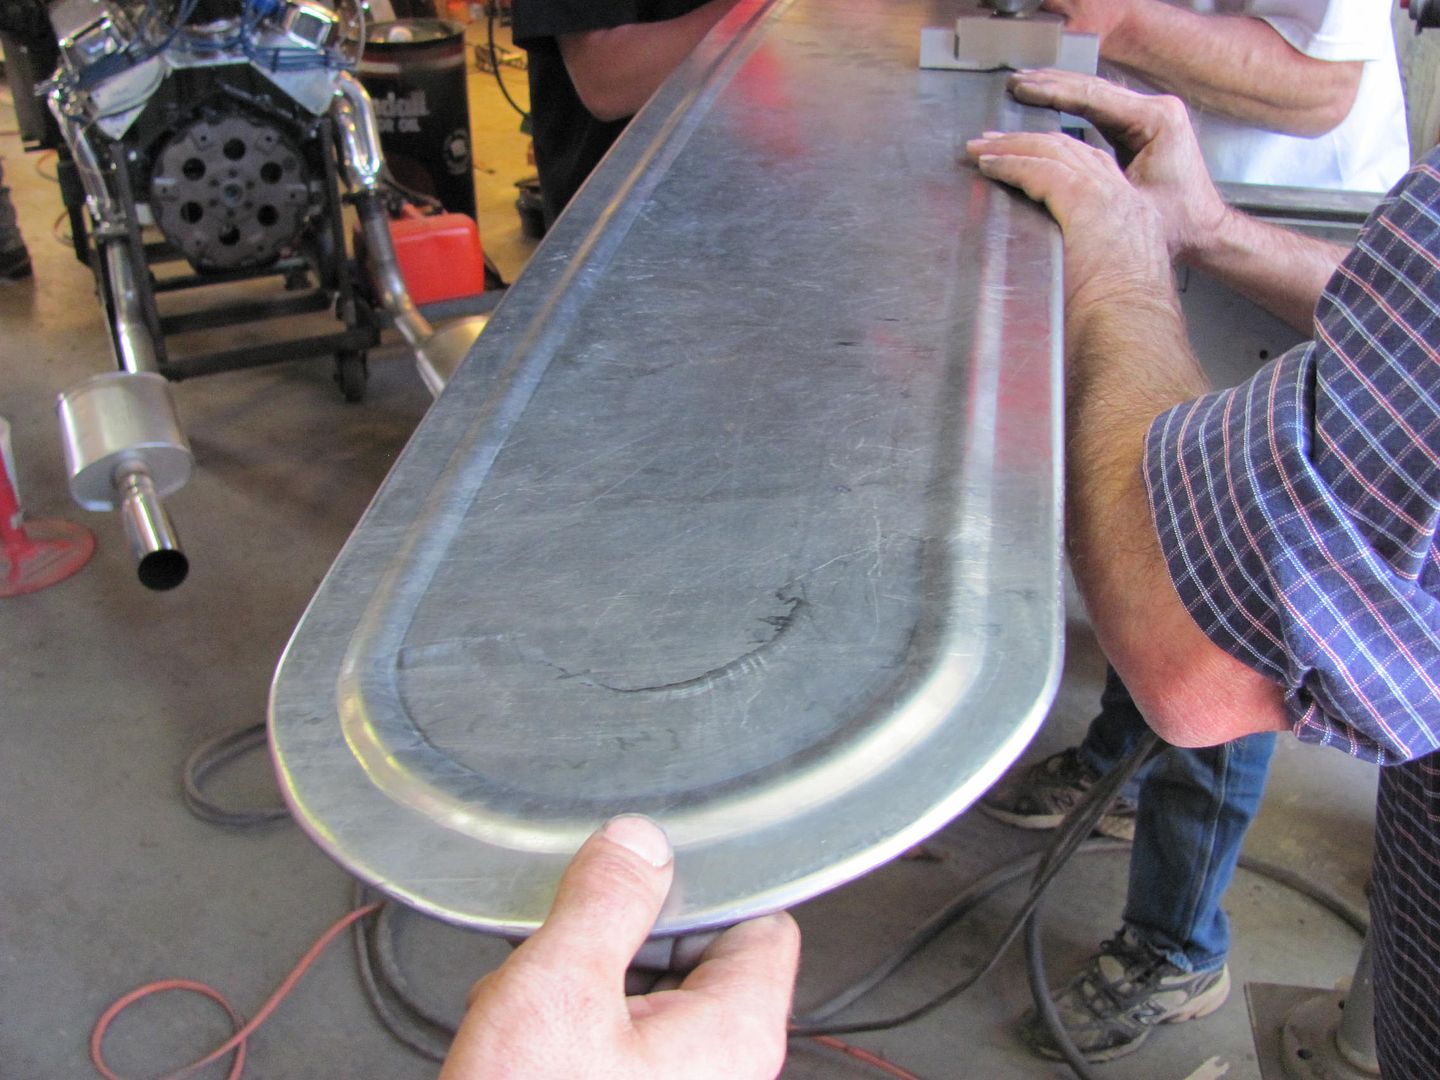
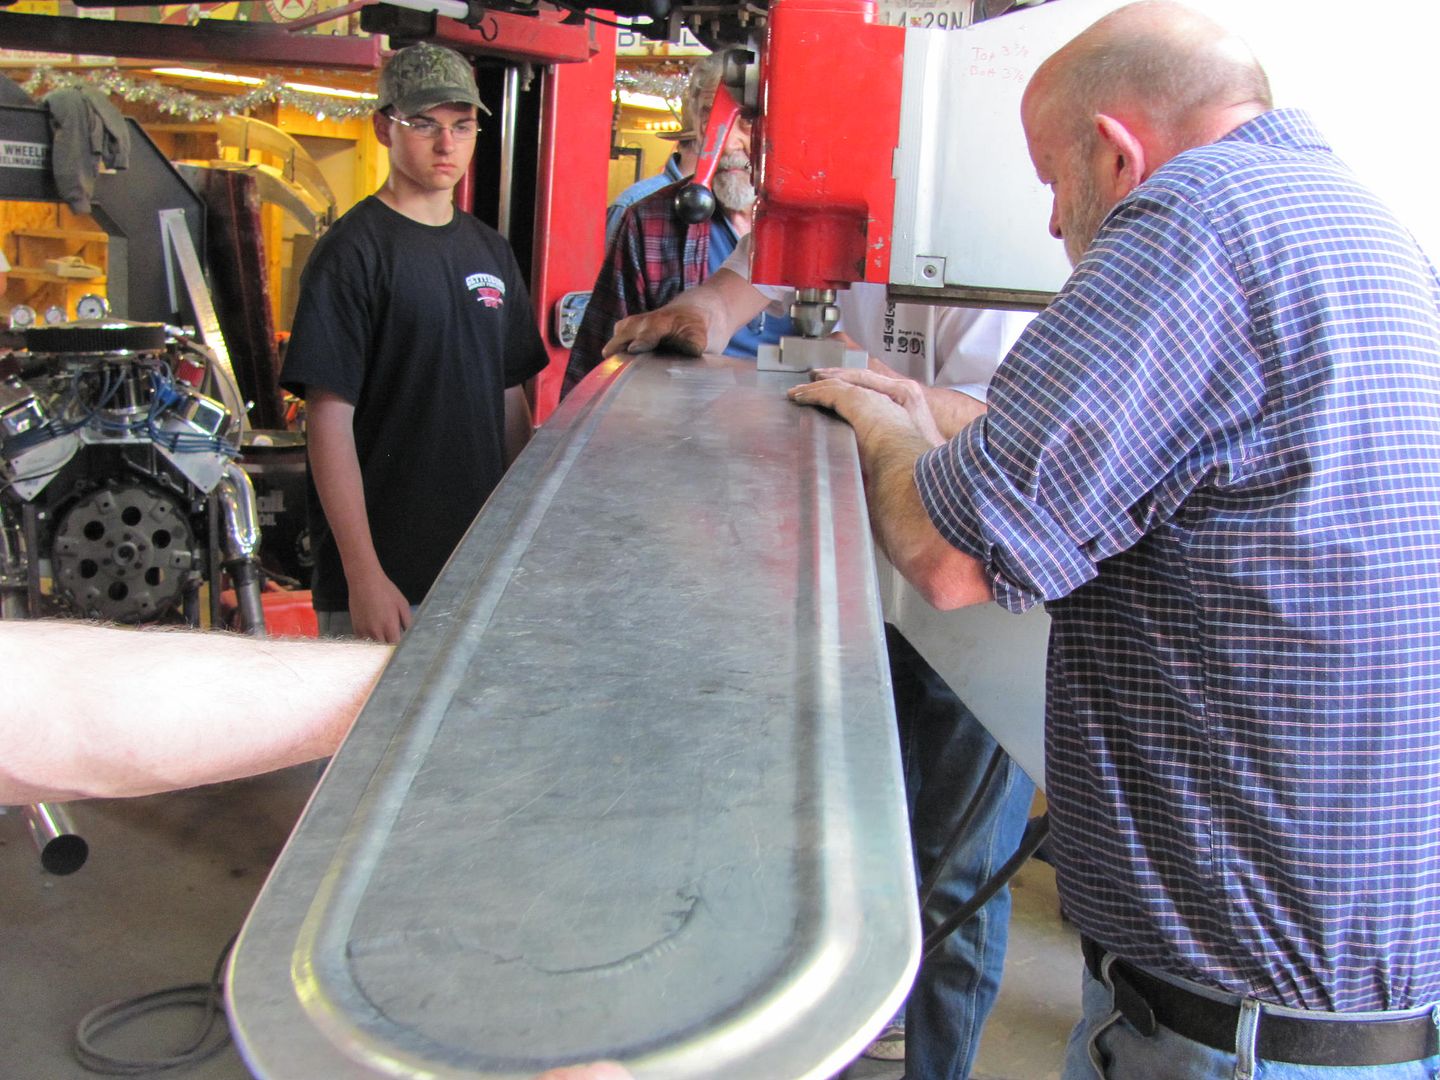
Using the highly precise rolling tool
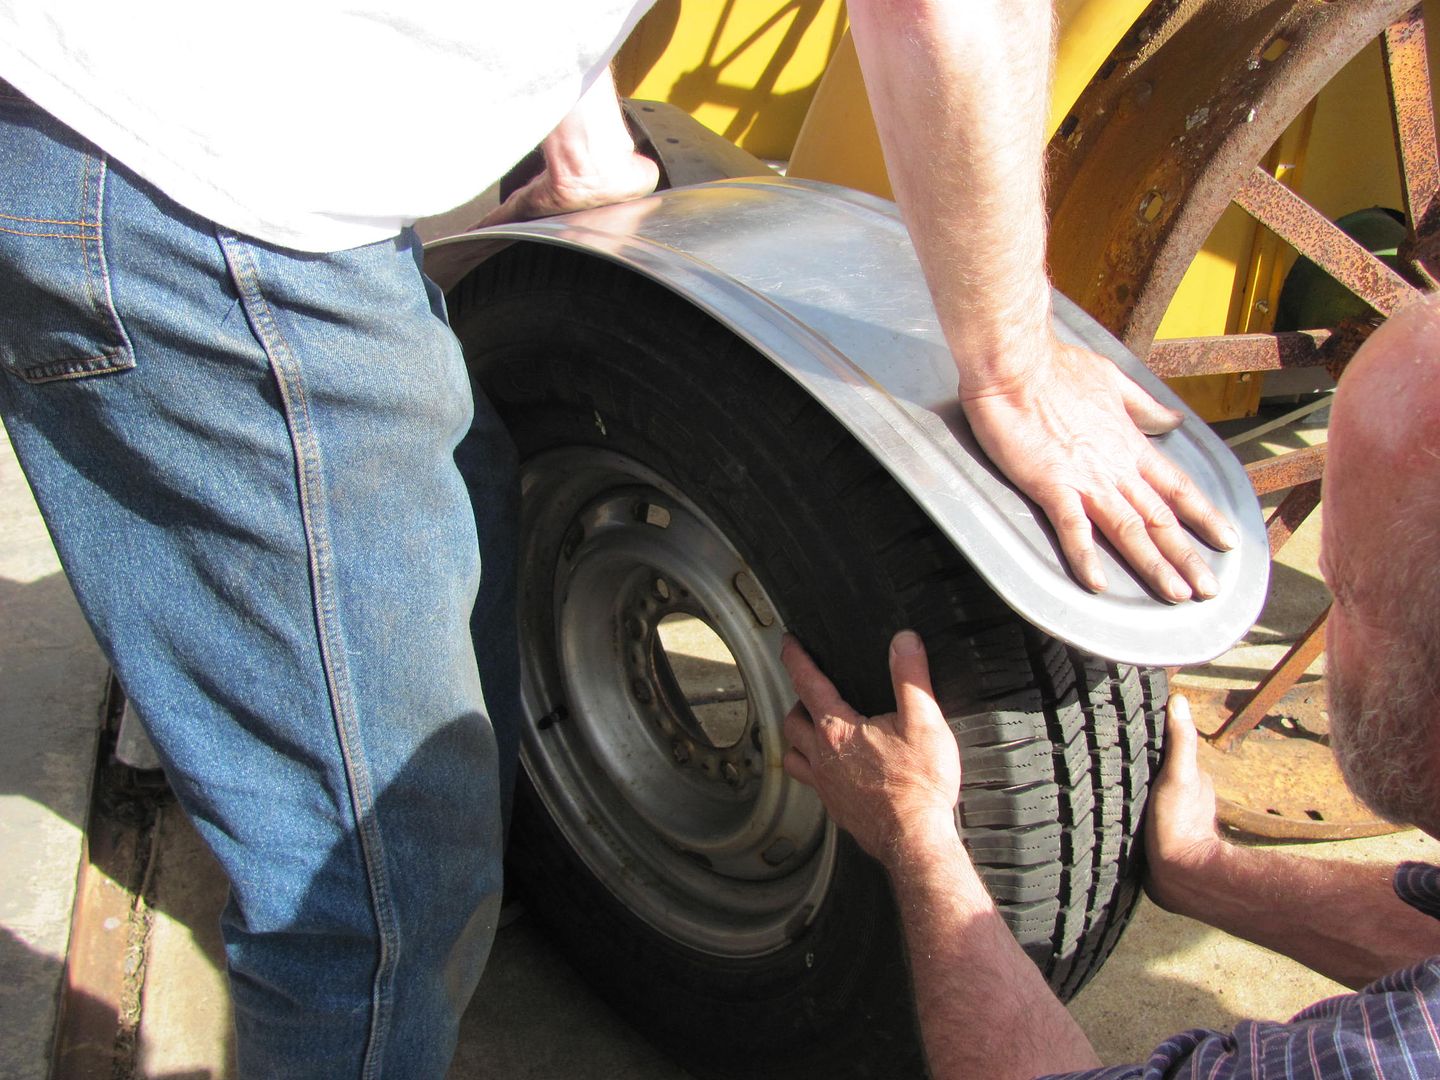
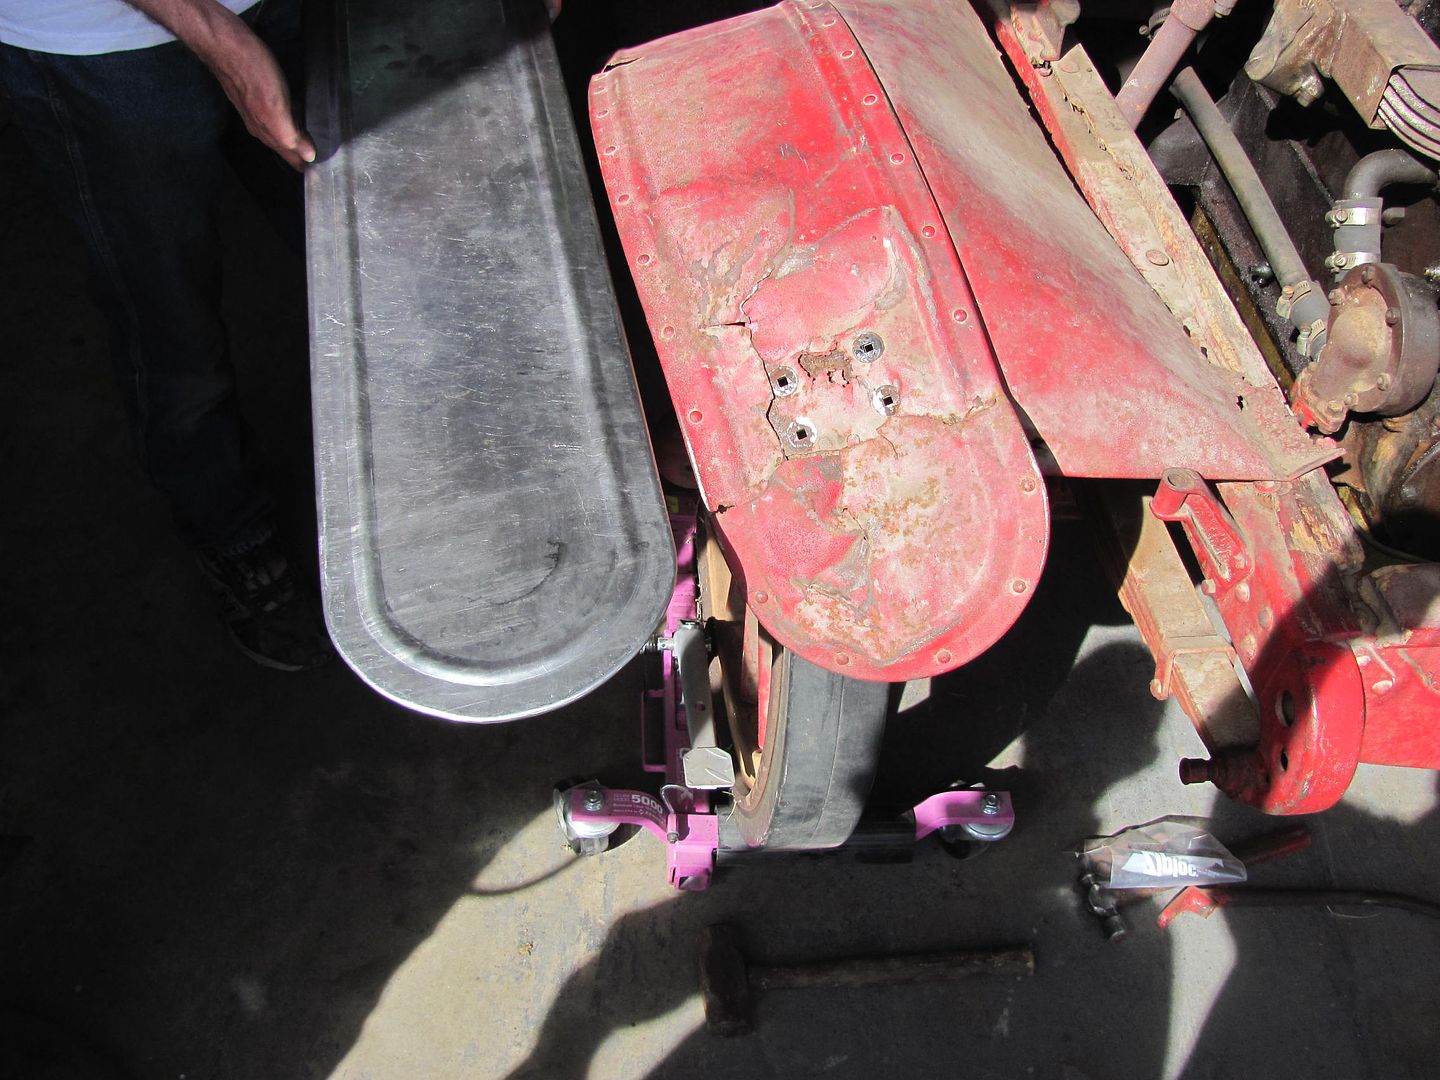
Comparing the two new fenders
Other various pictures...
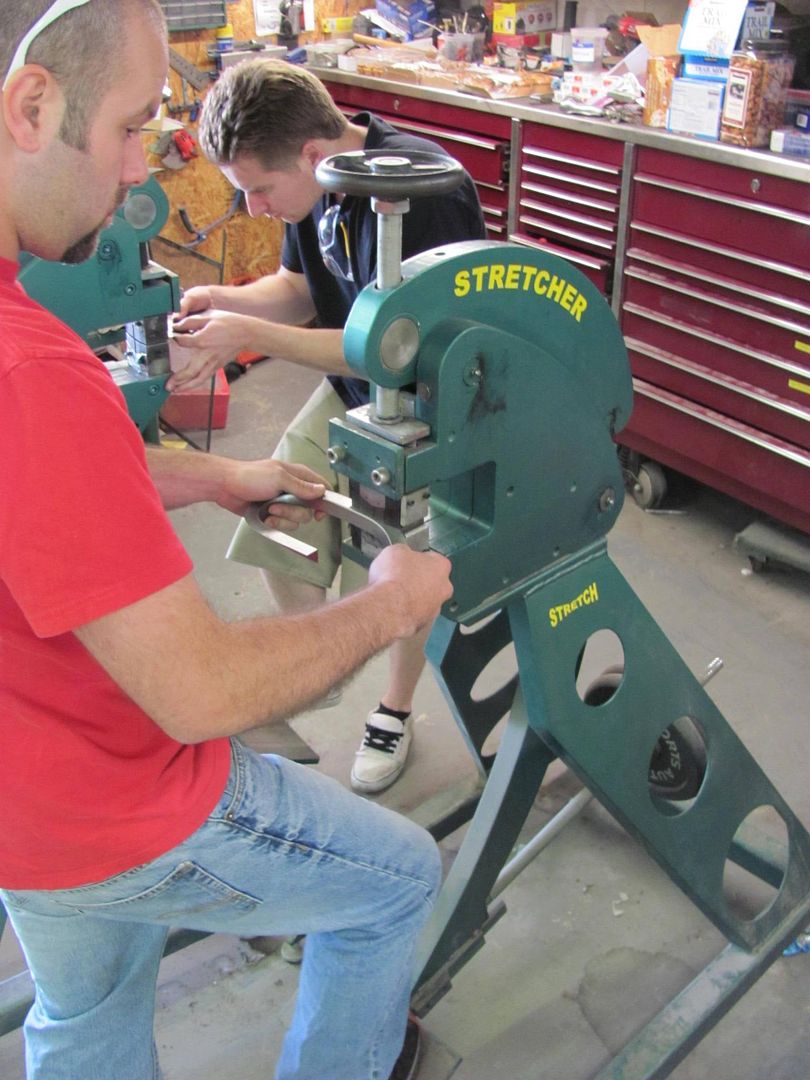
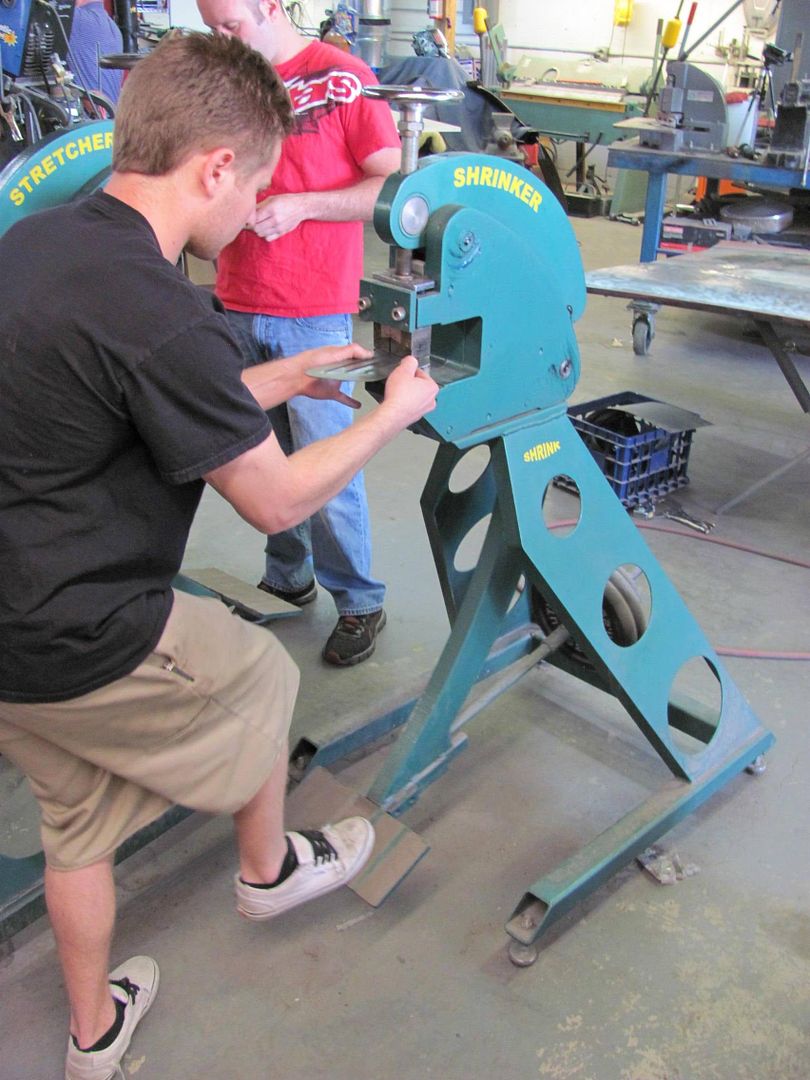
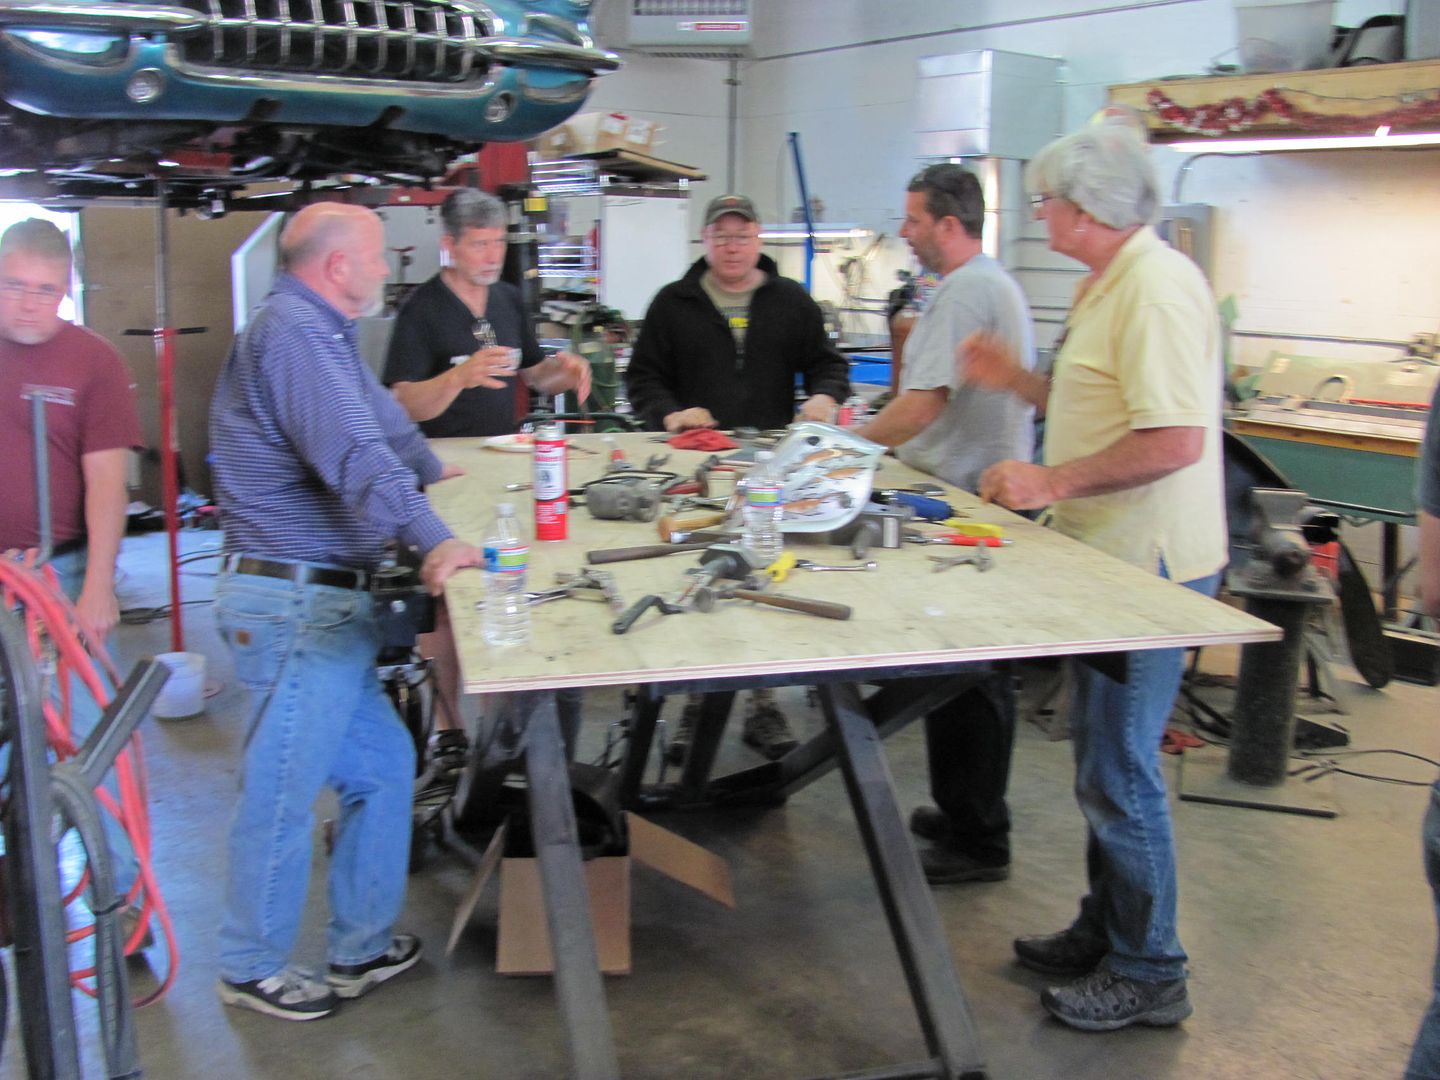
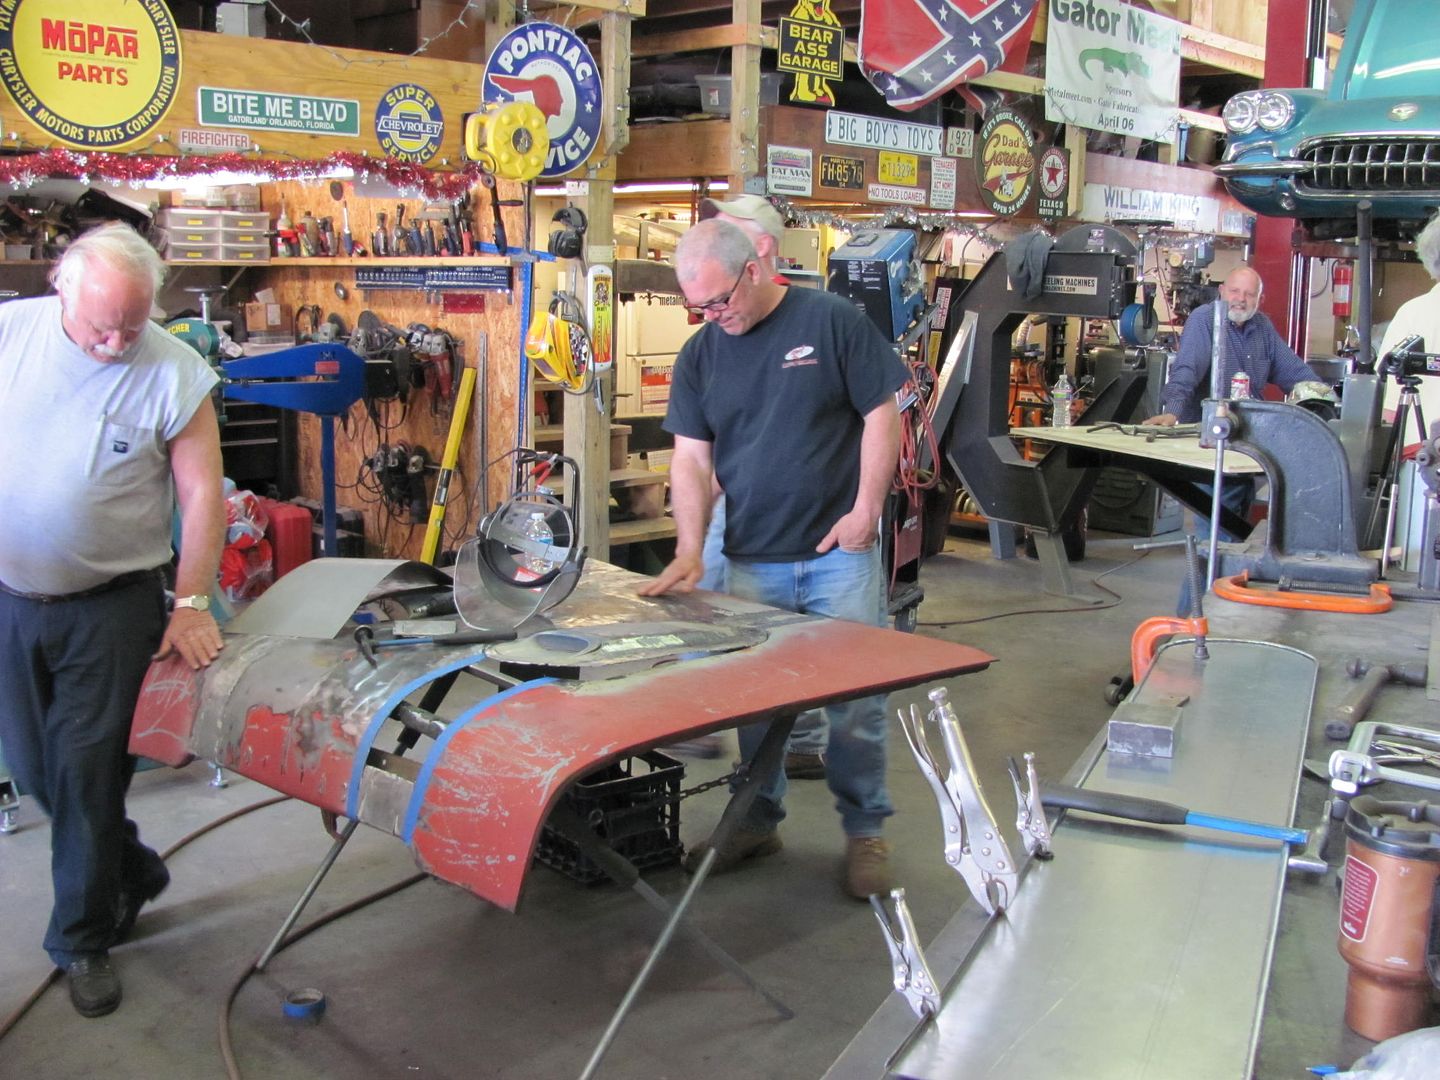
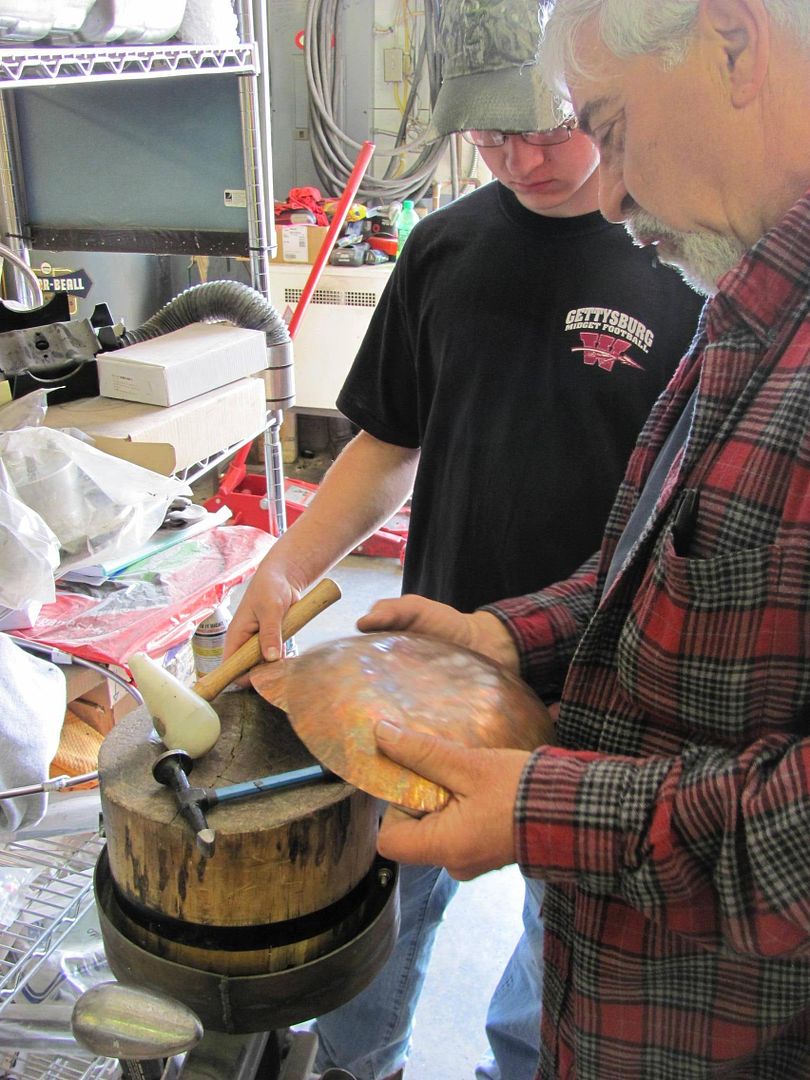
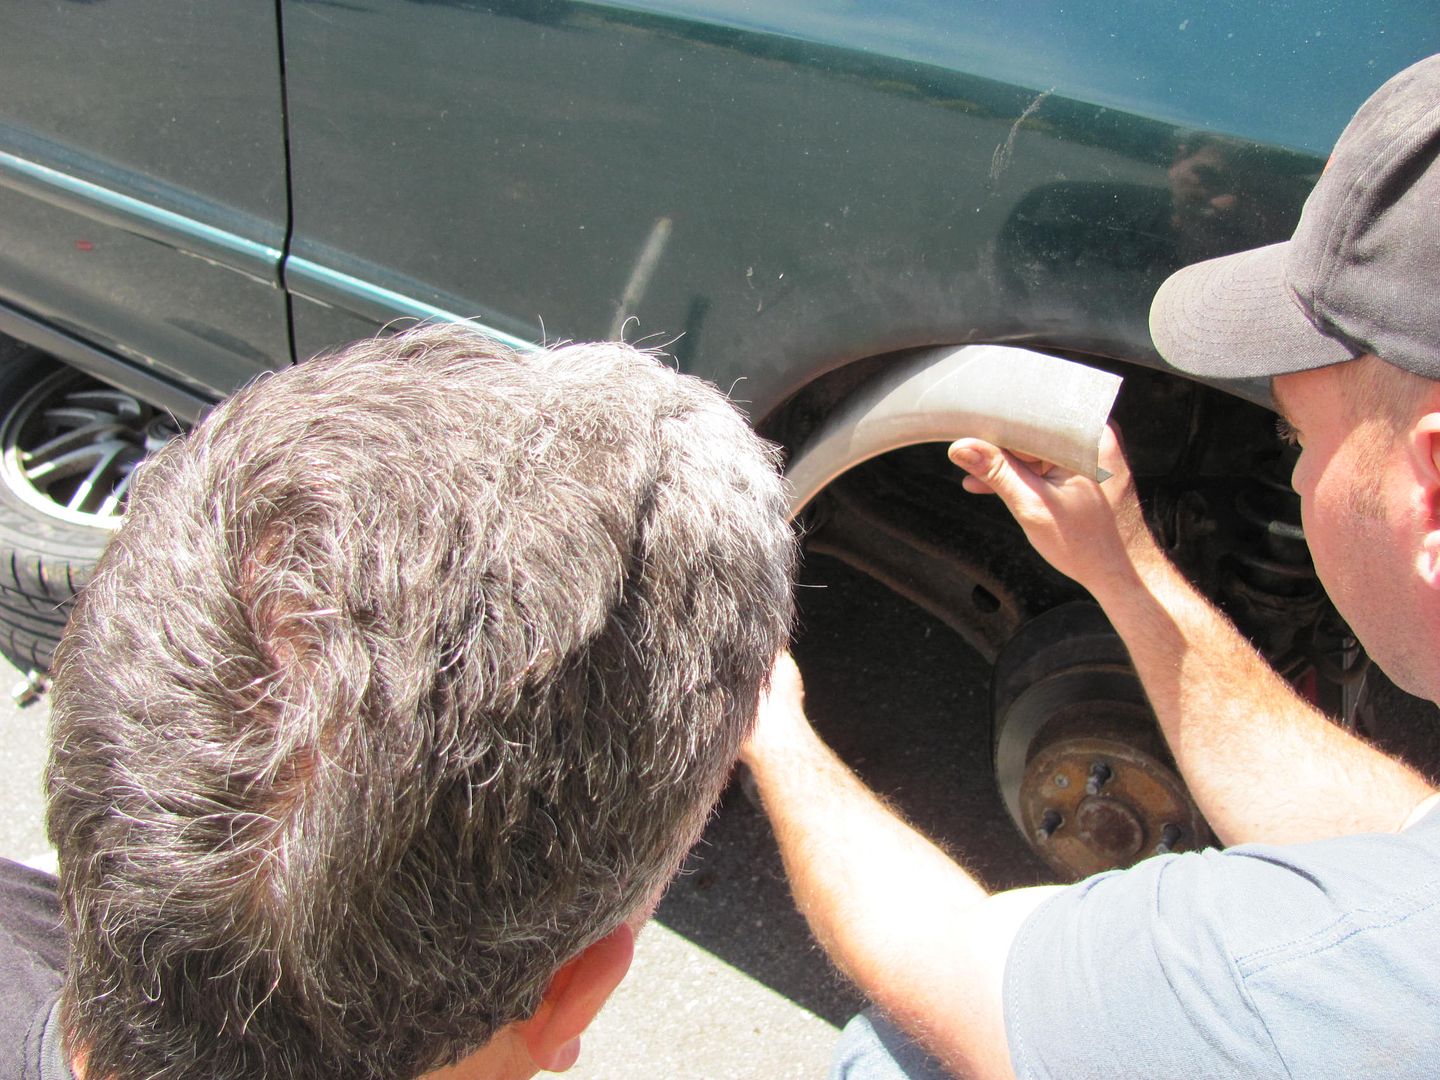
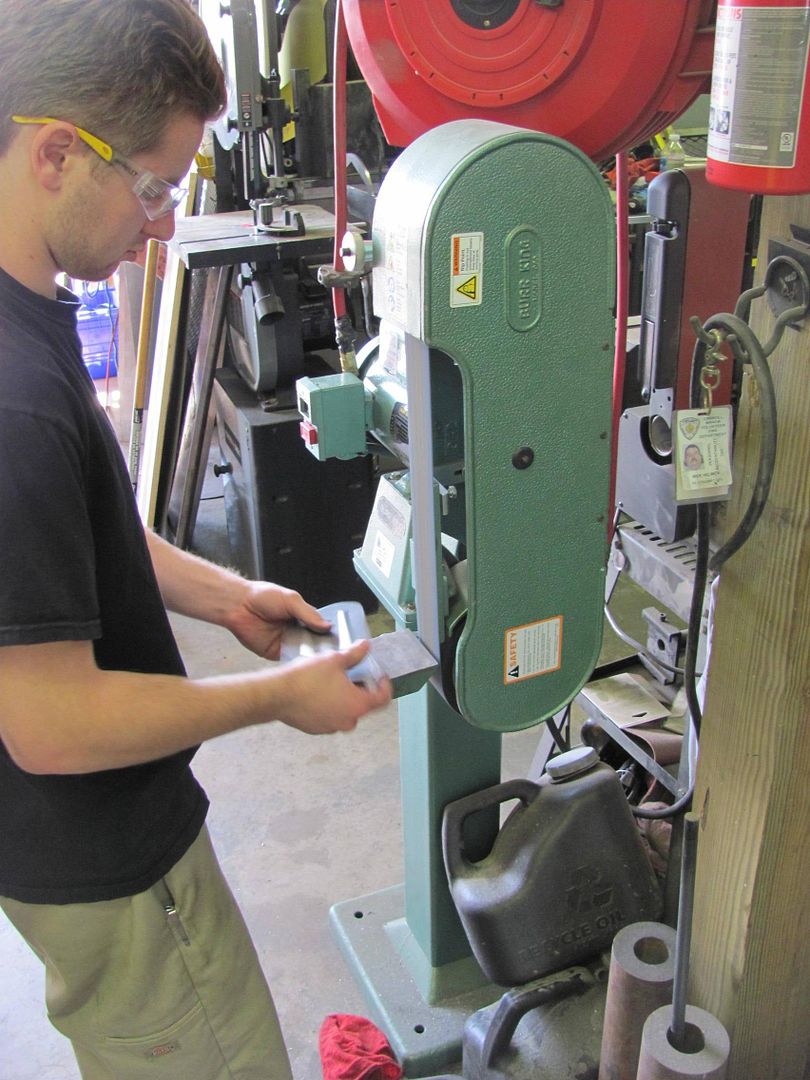
14 year old Cody was about the youngest attendee. He came with his grandfather, and as I had met both of them at OJ's workshop a couple months ago, when I saw Cody standing with his arms folded I felt obligated to grab him and put him to work on the International's fender. I told him he would learn more with a hammer in his hand. He was more involved after that, learning some tuck shrinking as you see here..
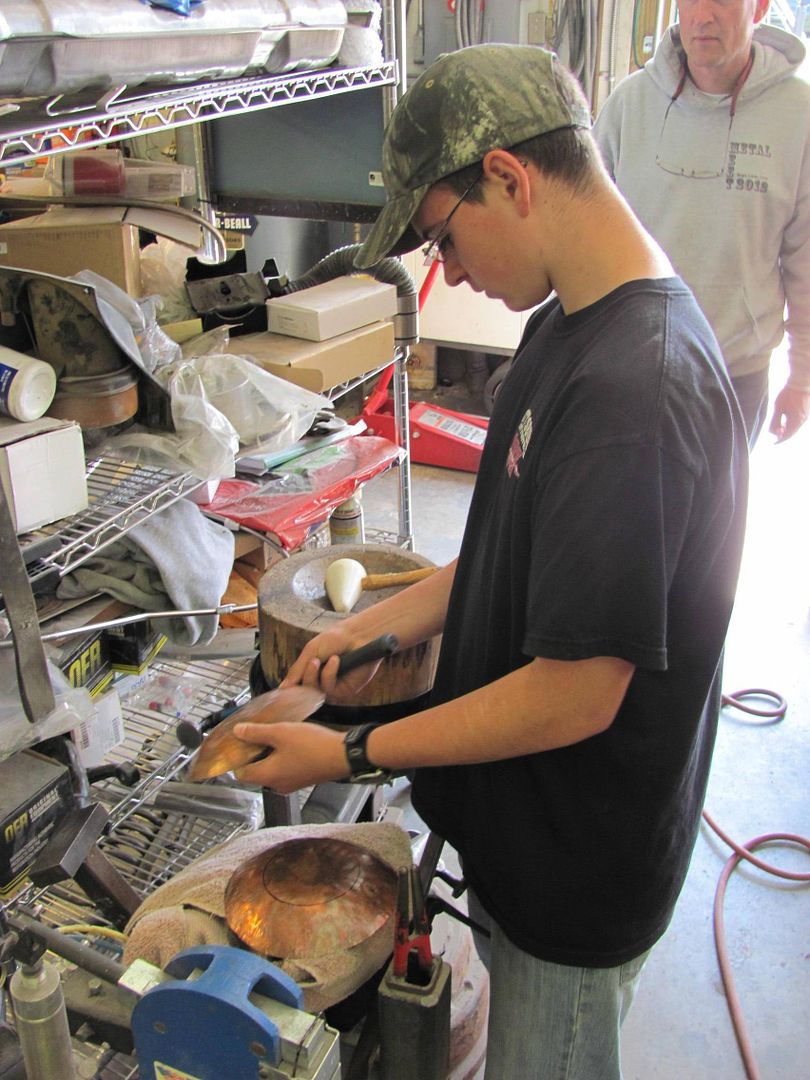
Overall a great time of sharing skills, ideas, and special thanks to Gator for hosting the event.
Here's some local news coverage of the Gatormeet from this weekend..
Comment

Comment