 Tweet
Tweet
Fantastic, as usual. Keep it coming.
-
Ed, Mary, & 'Earl'
HRPT LongHaulers, 08, 09, 10, 11, 12, 13, 15, 16, 17, 18, 19.
Inside every old person is a young person wondering, "what the hell happened?"
The man at the top of the mountain didn't fall there. -Vince Lombardi -
Previously boxer3main
the death rate and fairy tales cannot kill the nature left behind.Comment
-
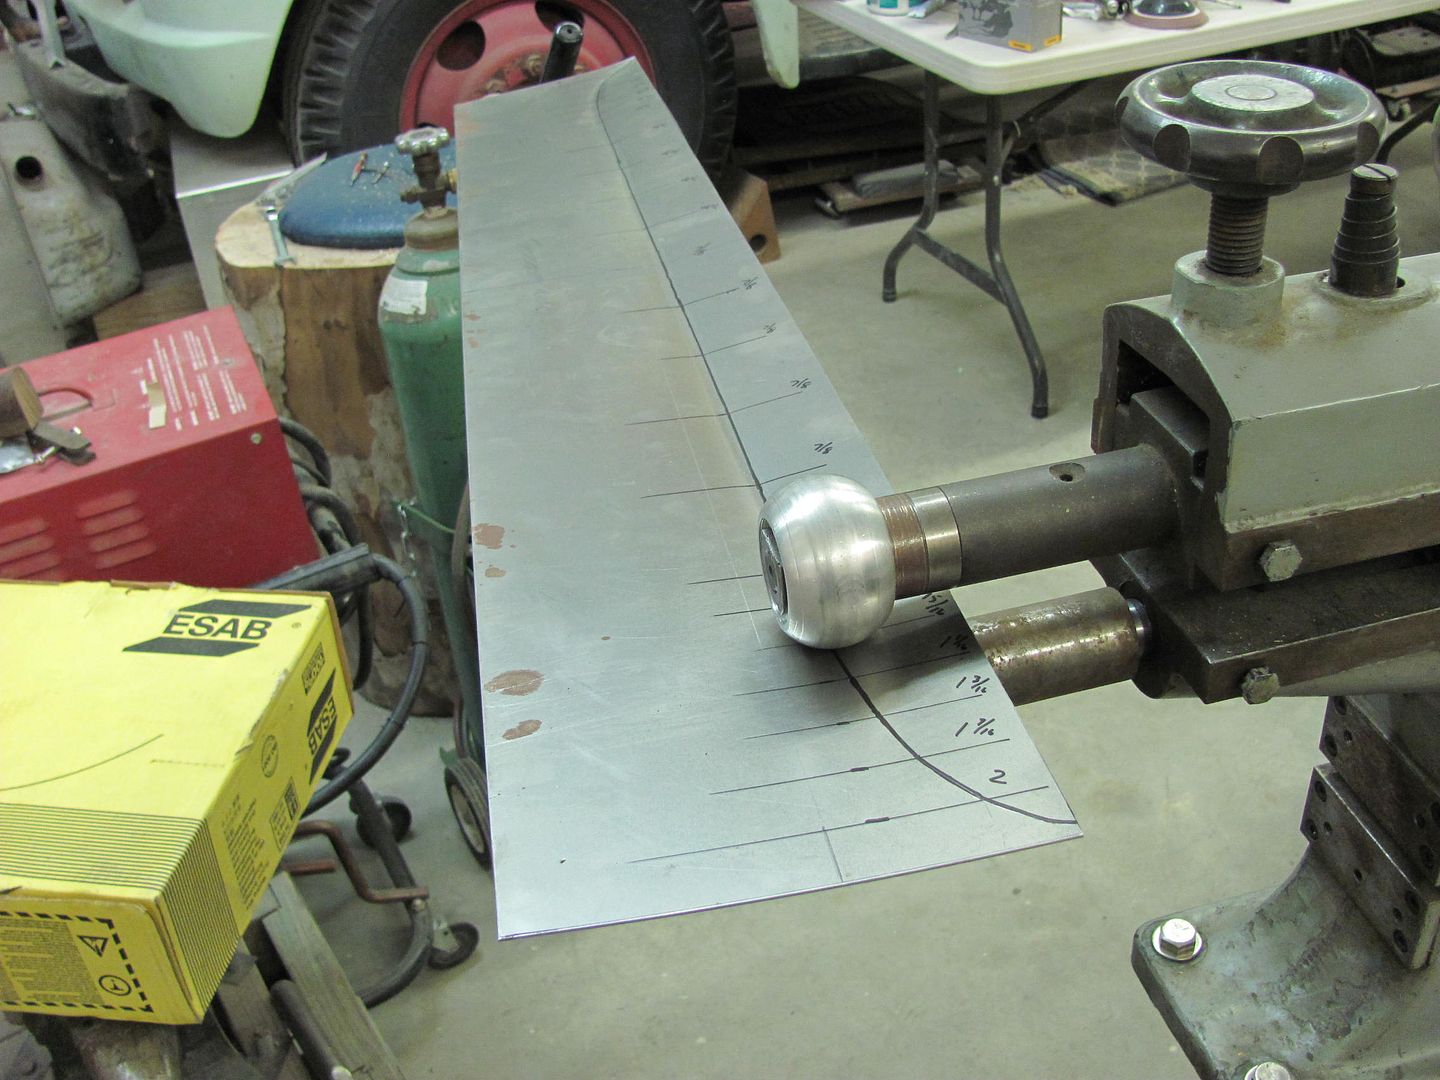
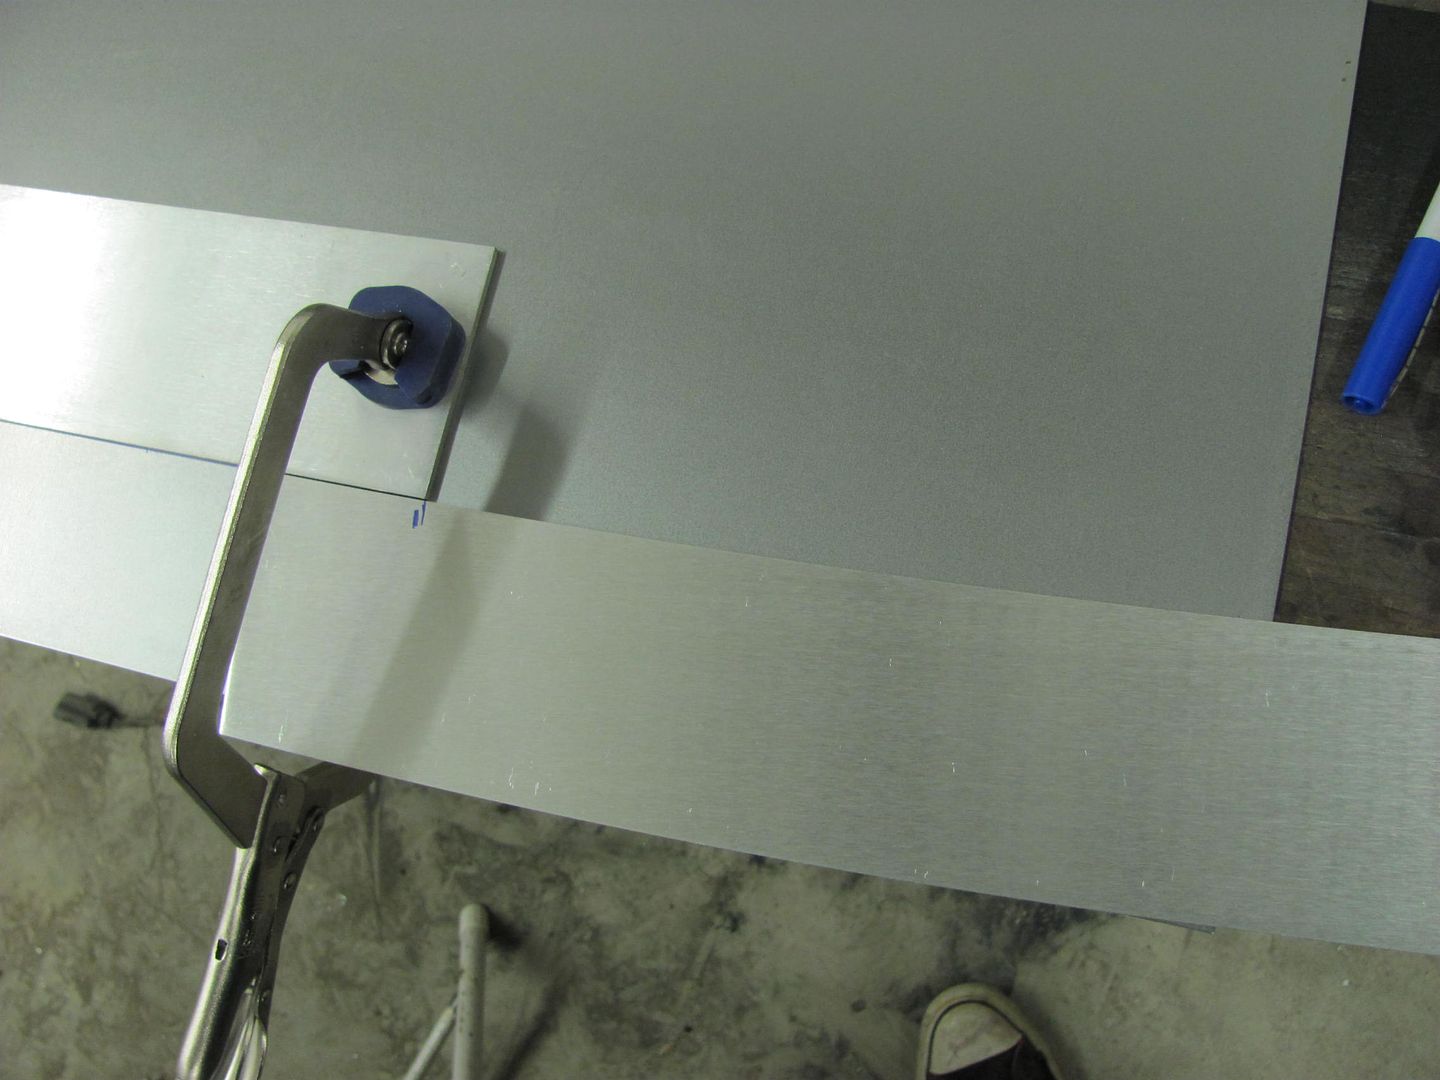
More handiwork with the bead roller....
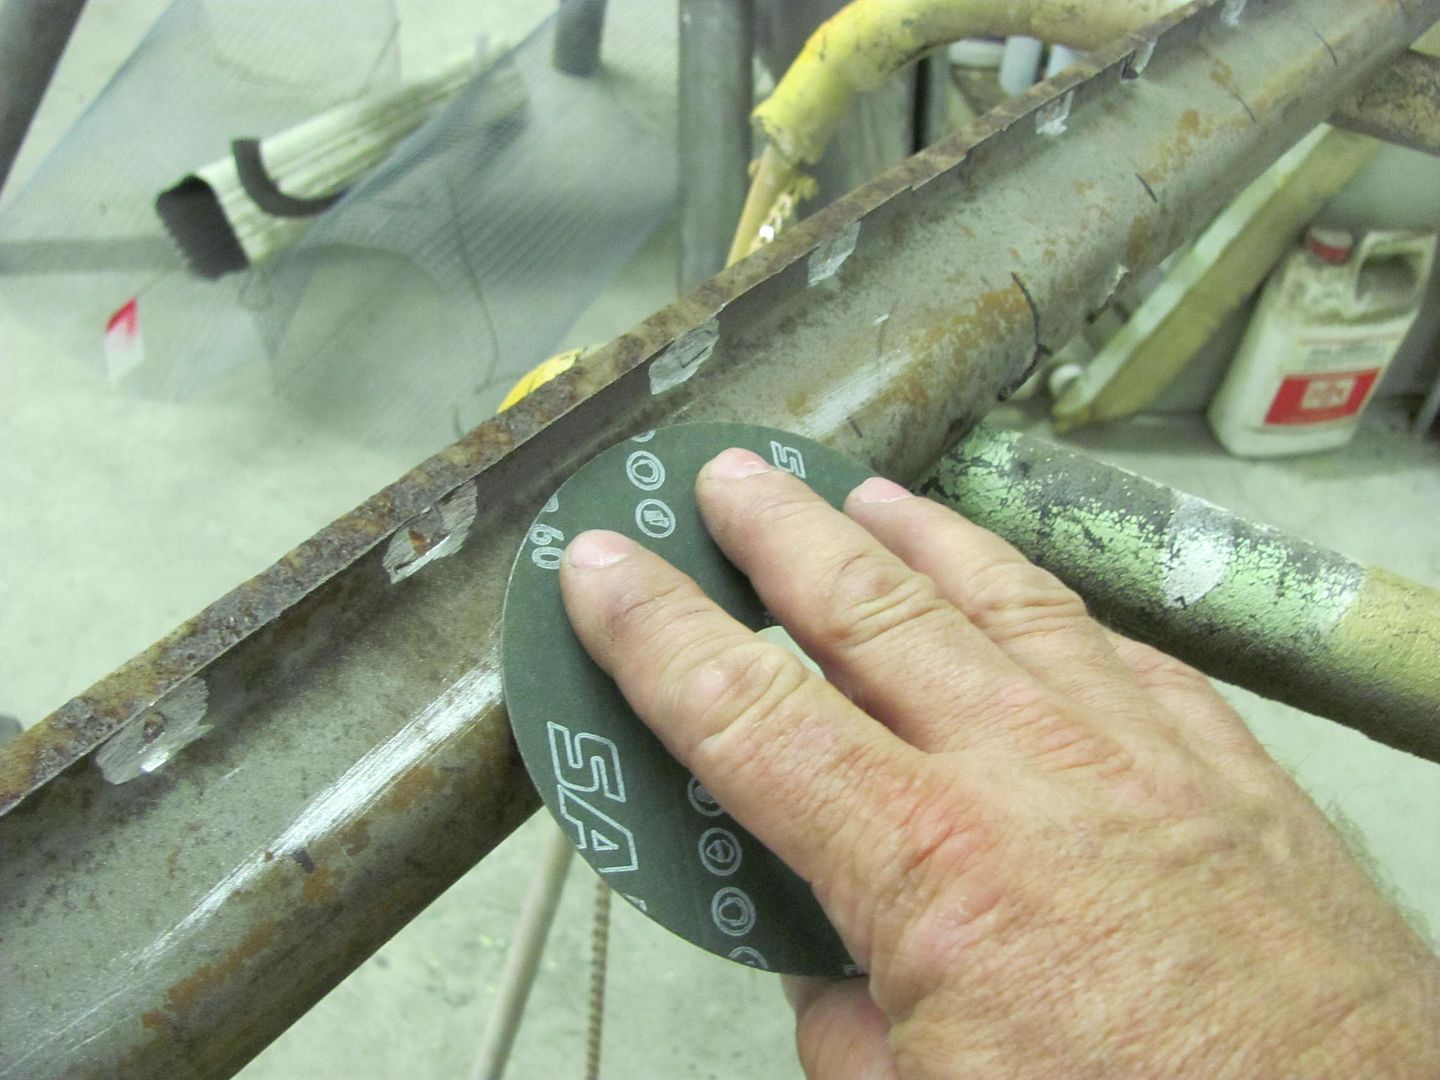
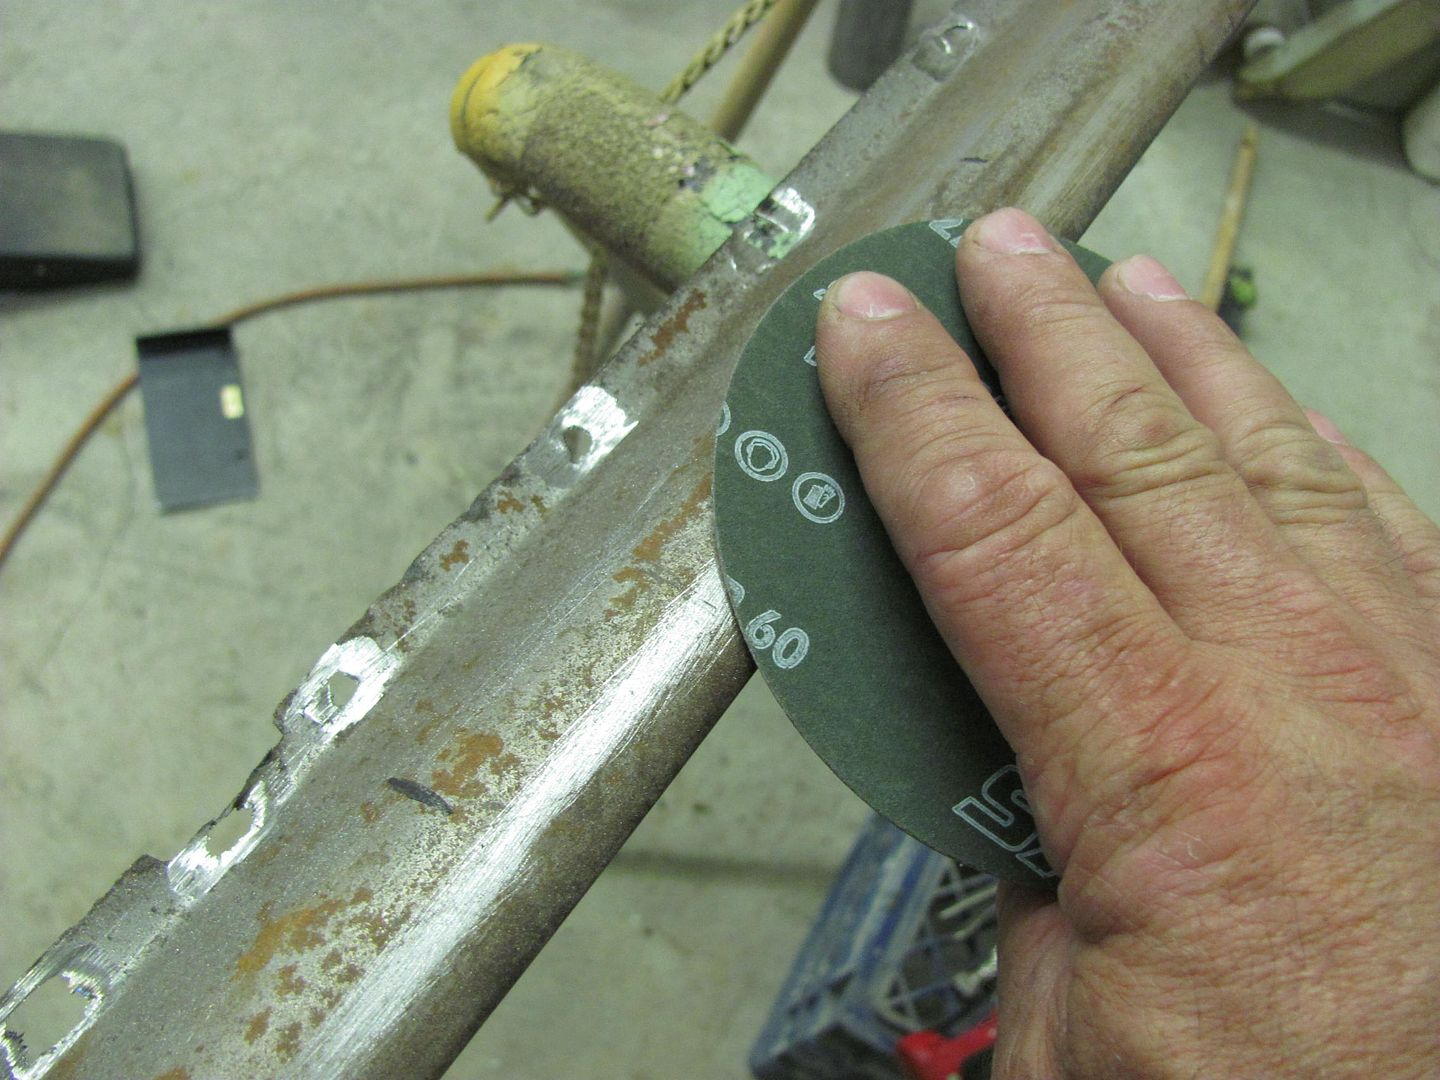
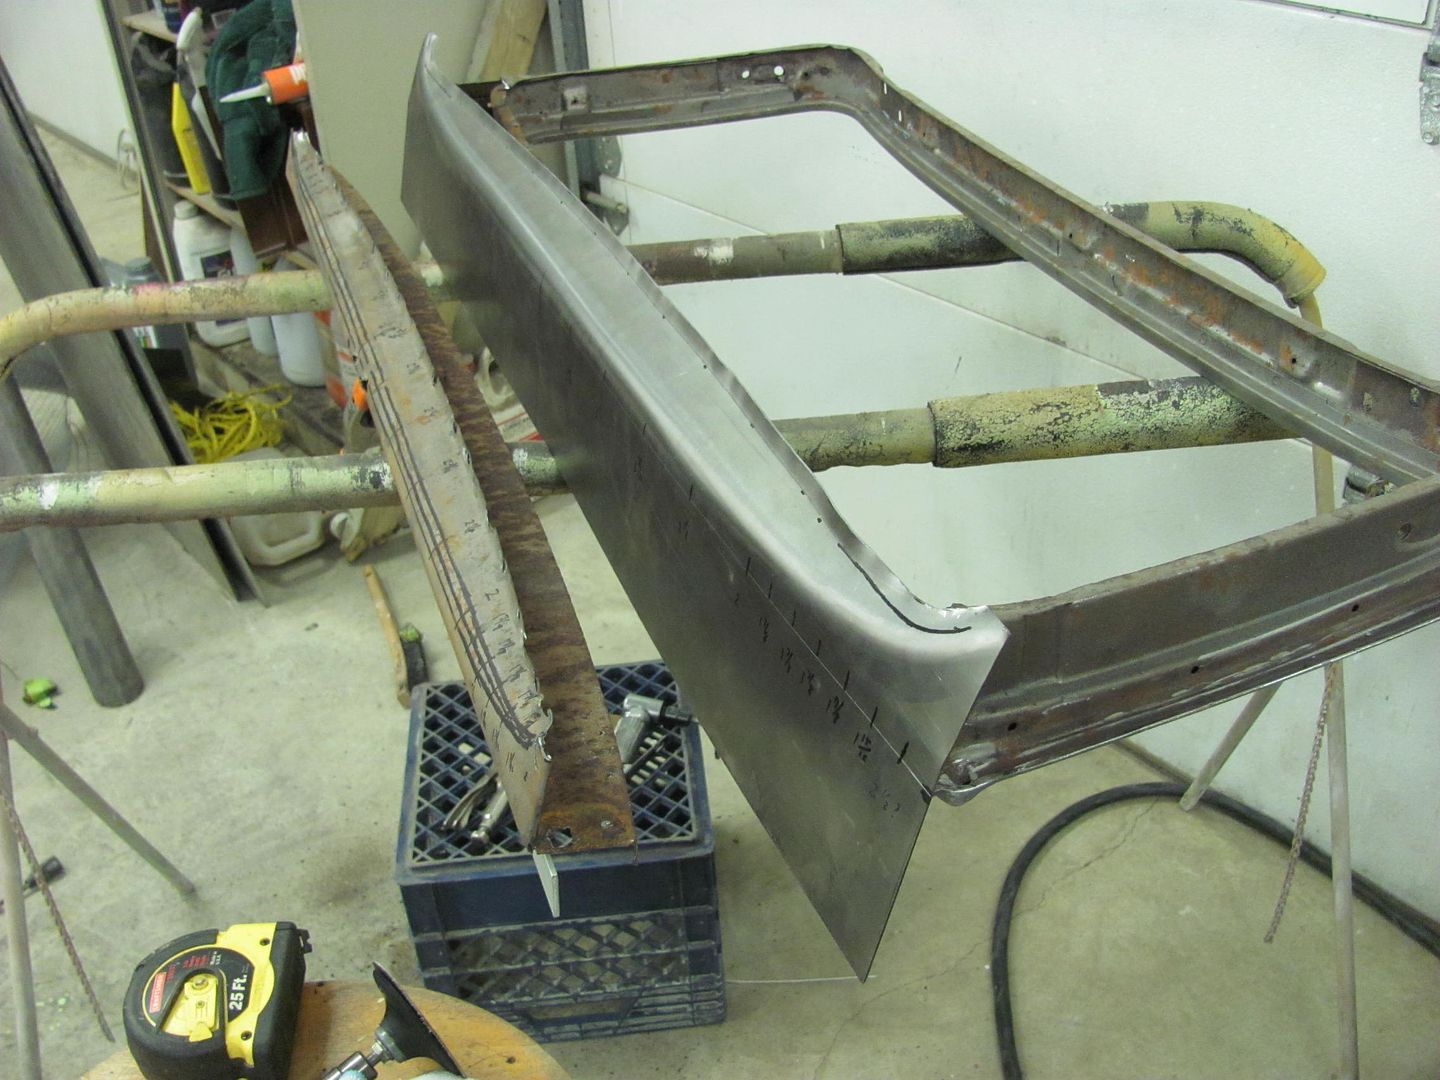
To start the layout on the new metal, I wanted to find the center of the radius along the window opening. By holding a sanding disc on the flats and scuffing, it showed the edges of the radius...
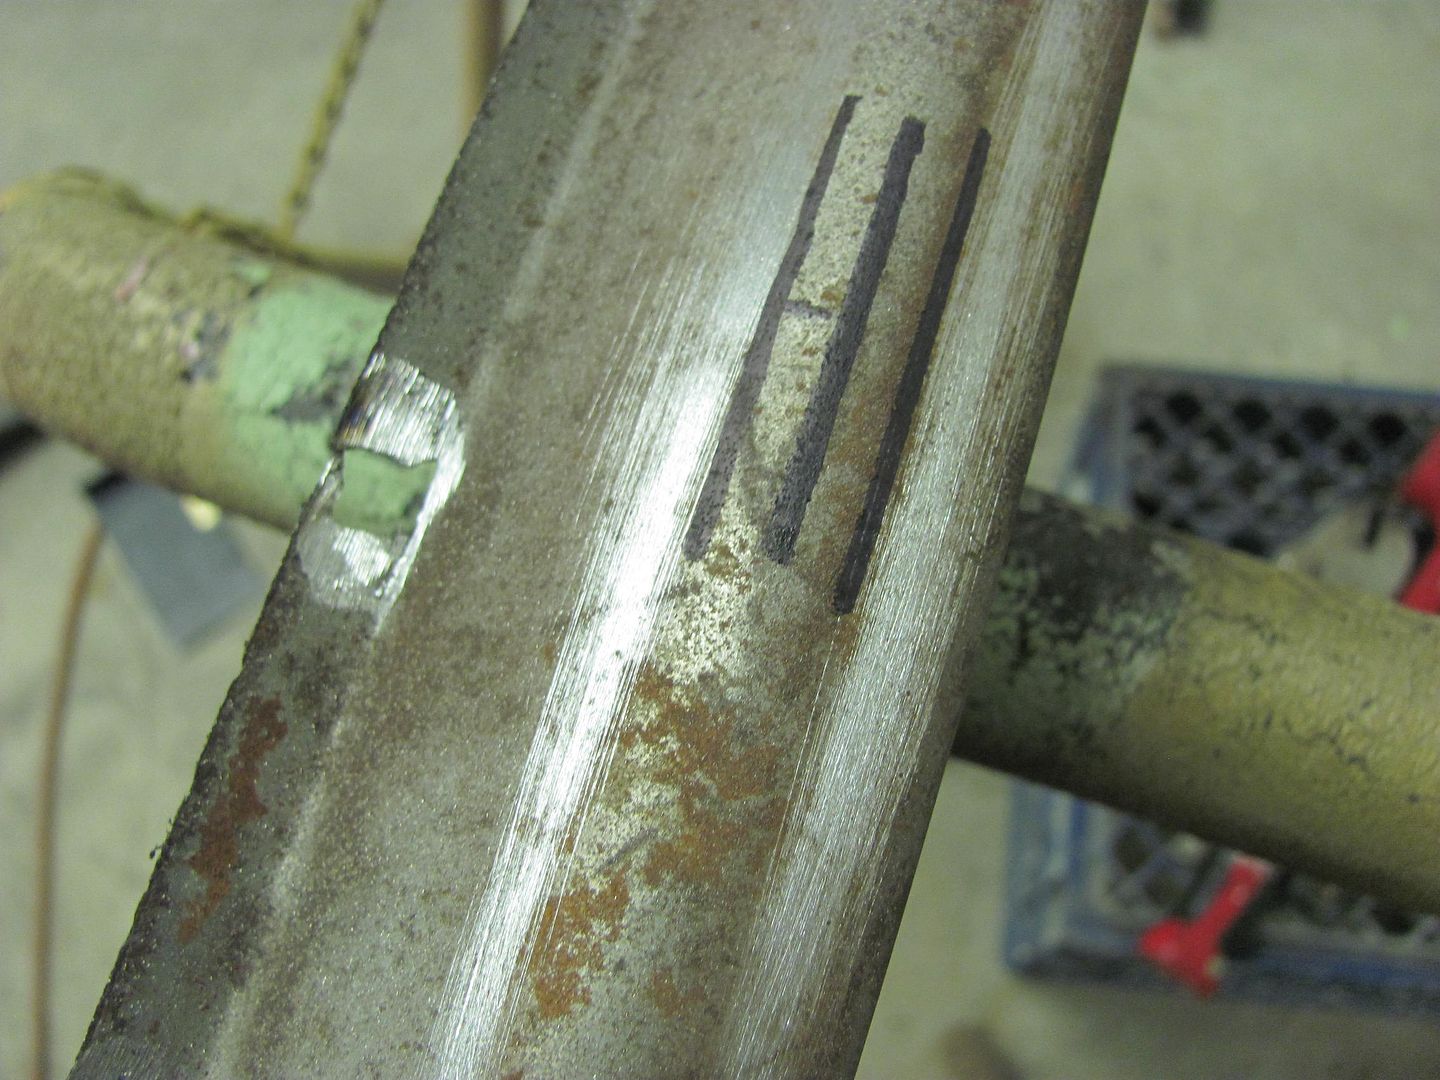
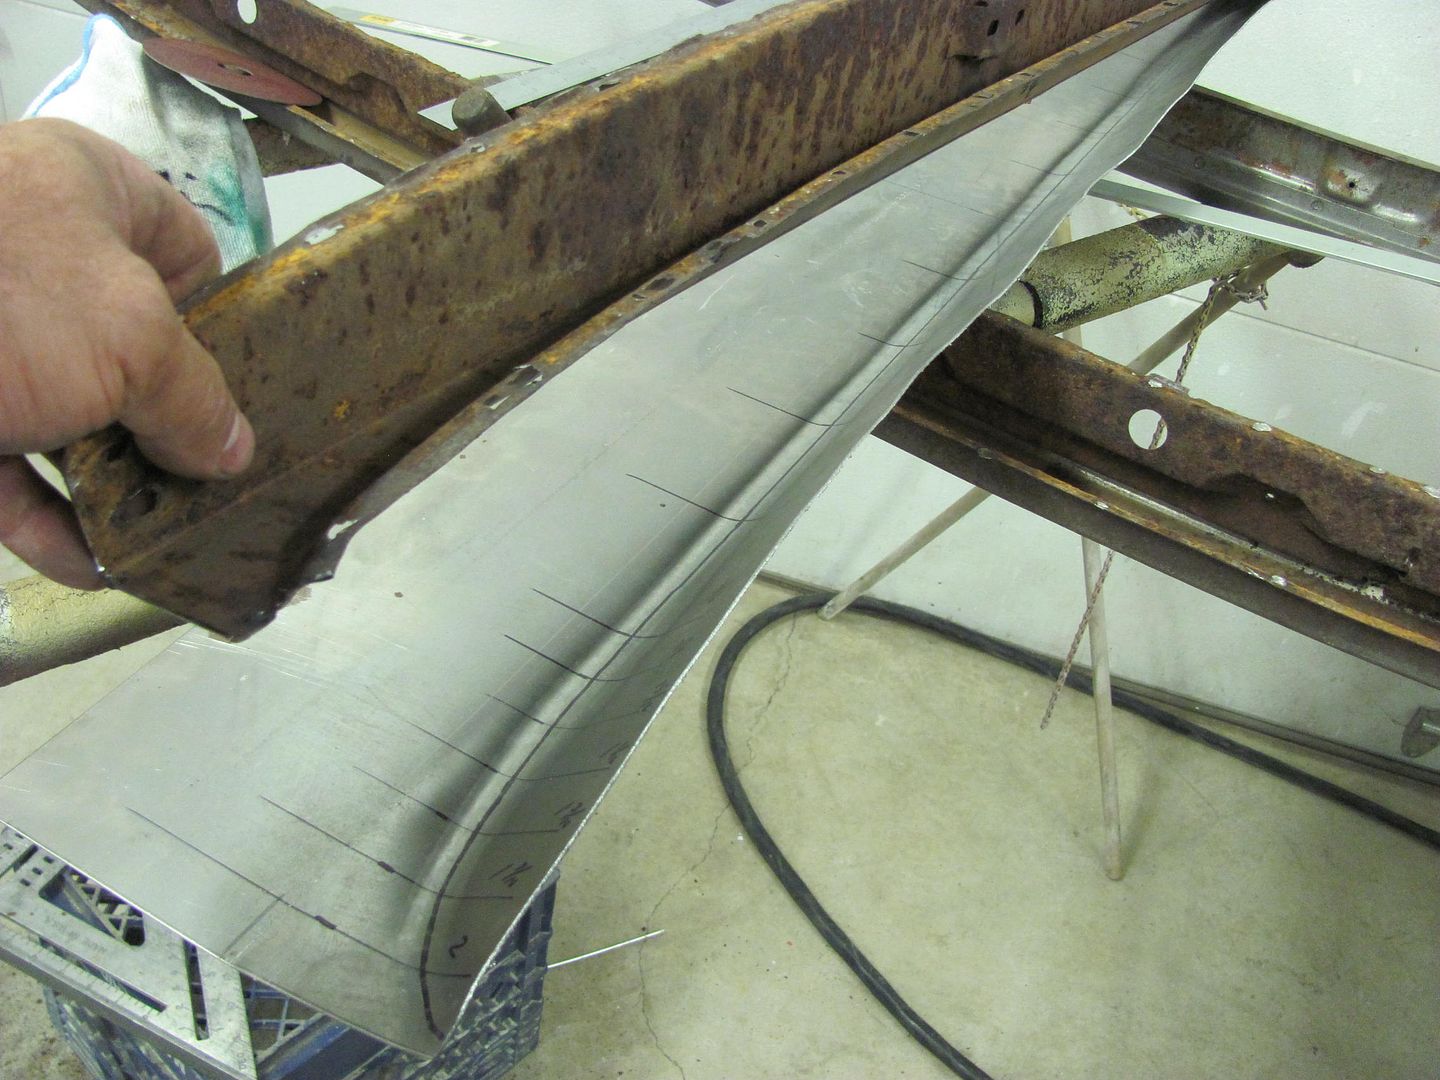
Then laid out a pattern to be able to measure from the bottom crease...
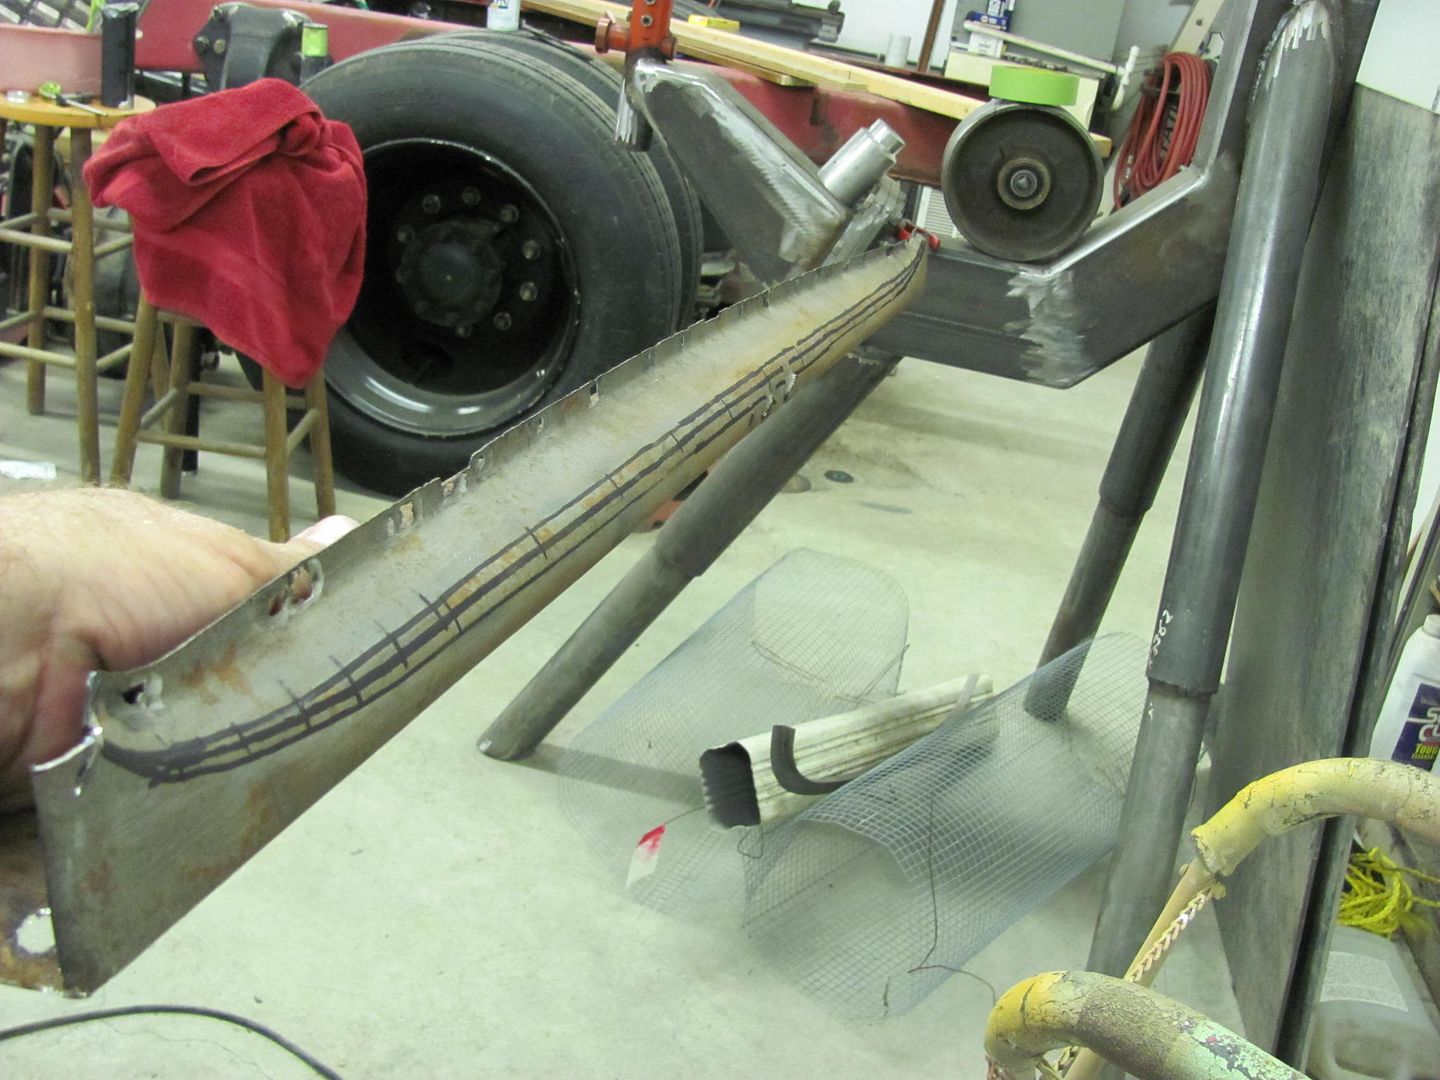
....and transposed it to the new sheet...
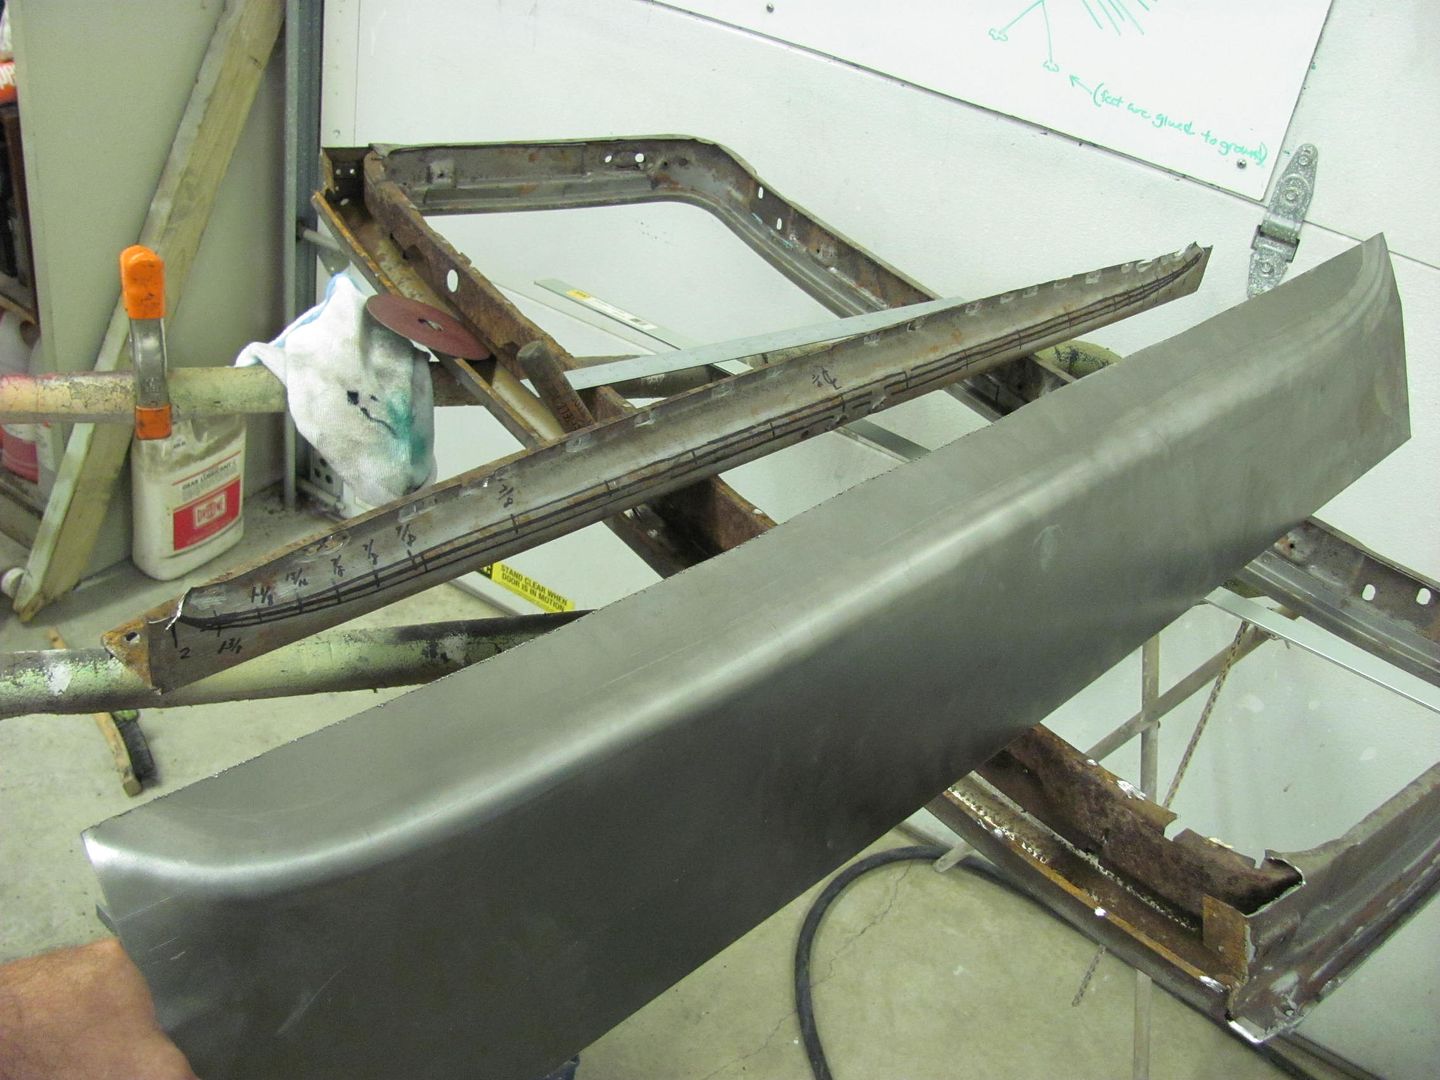
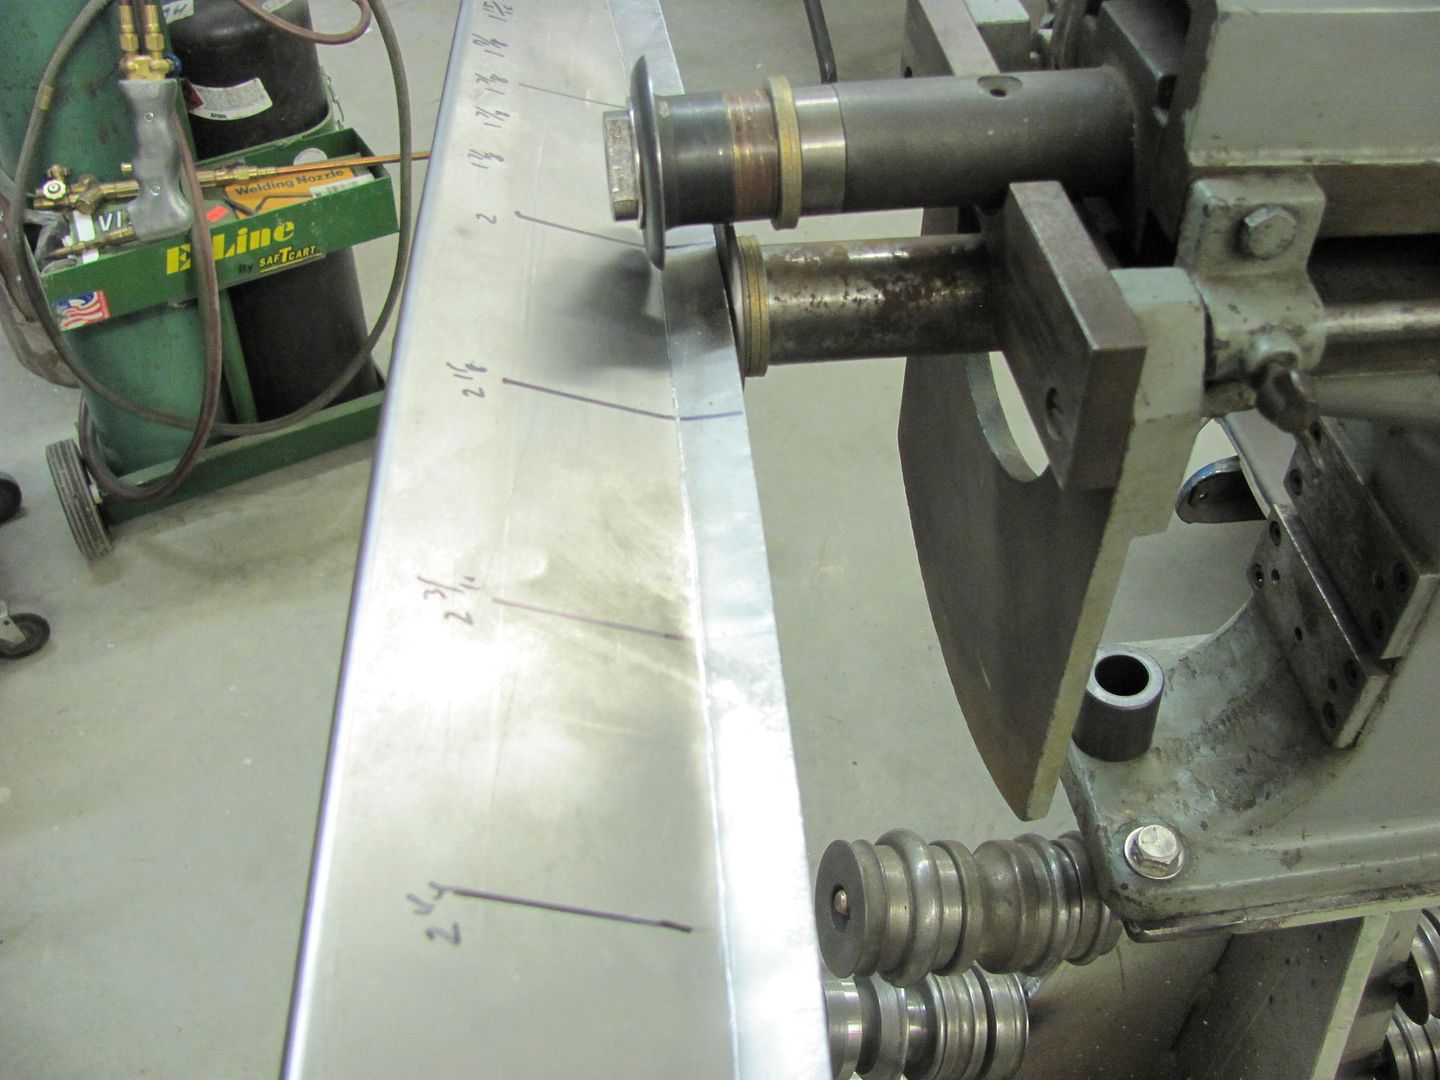
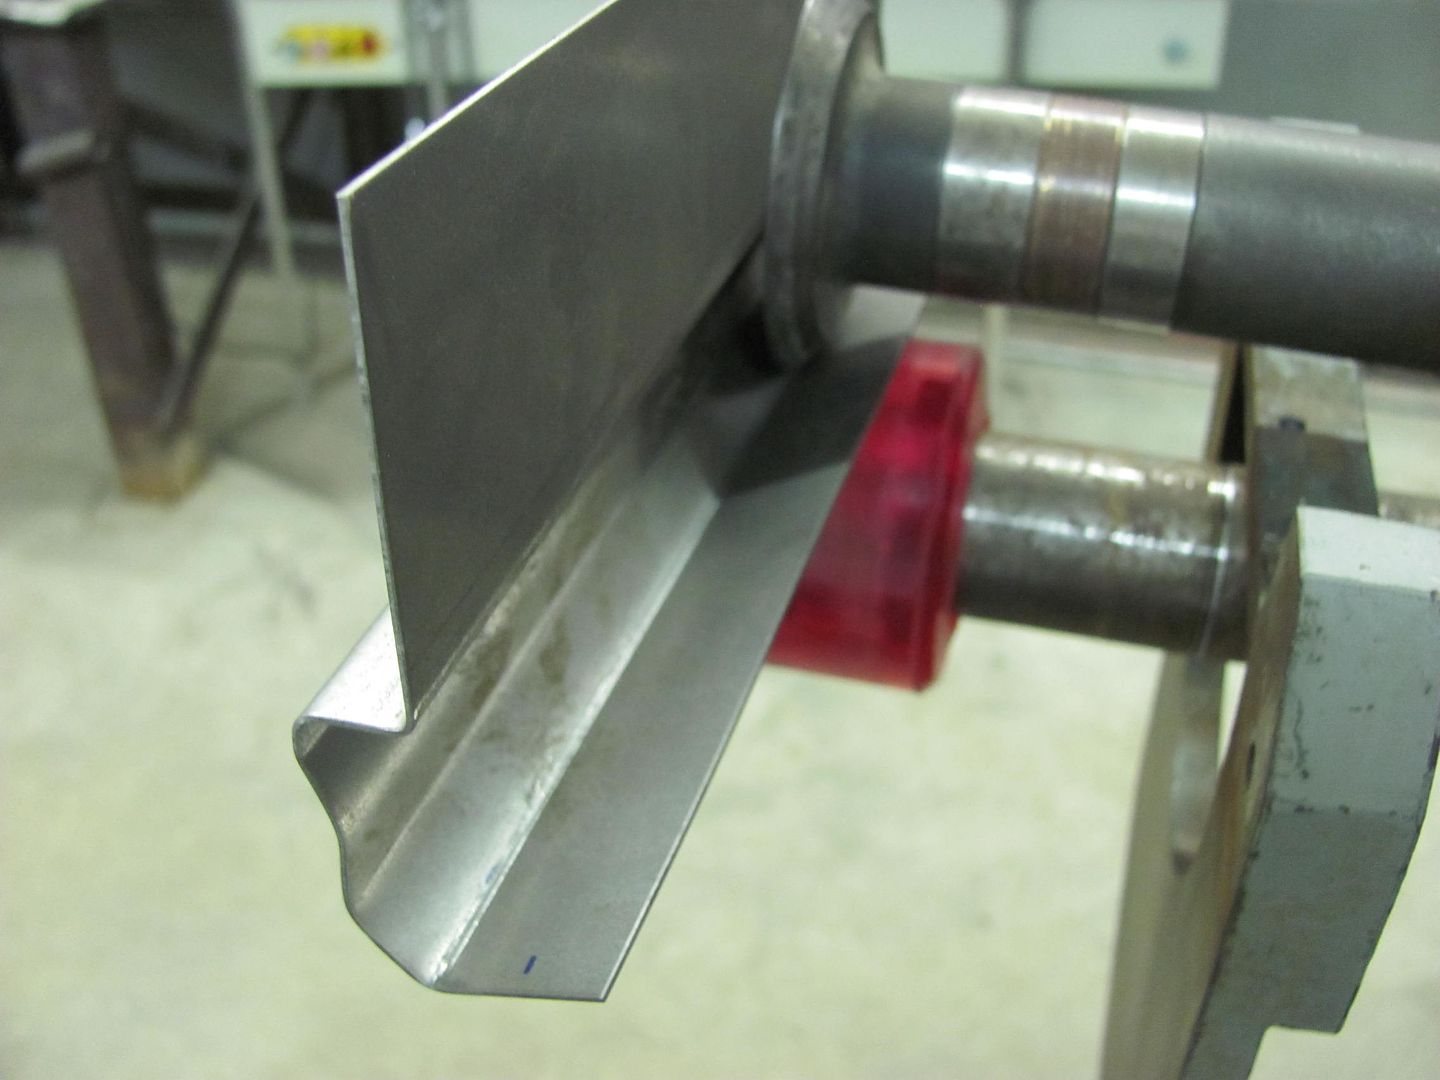
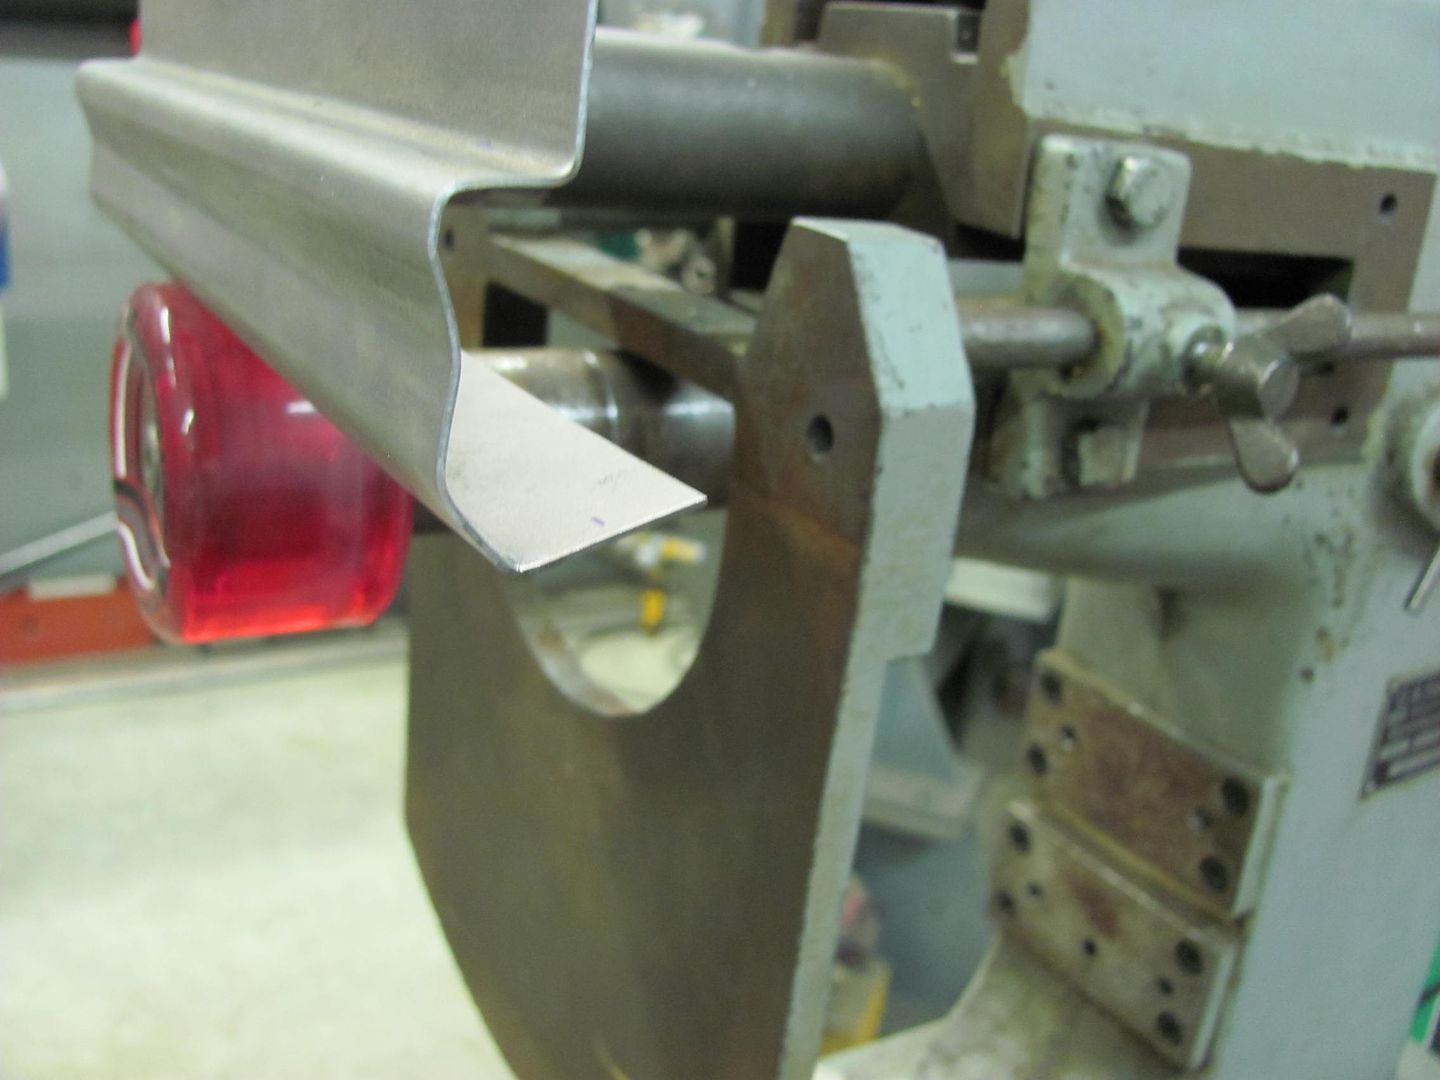
The top edge was trimmed to size and the tipping wheel used to fold over the welding flange...

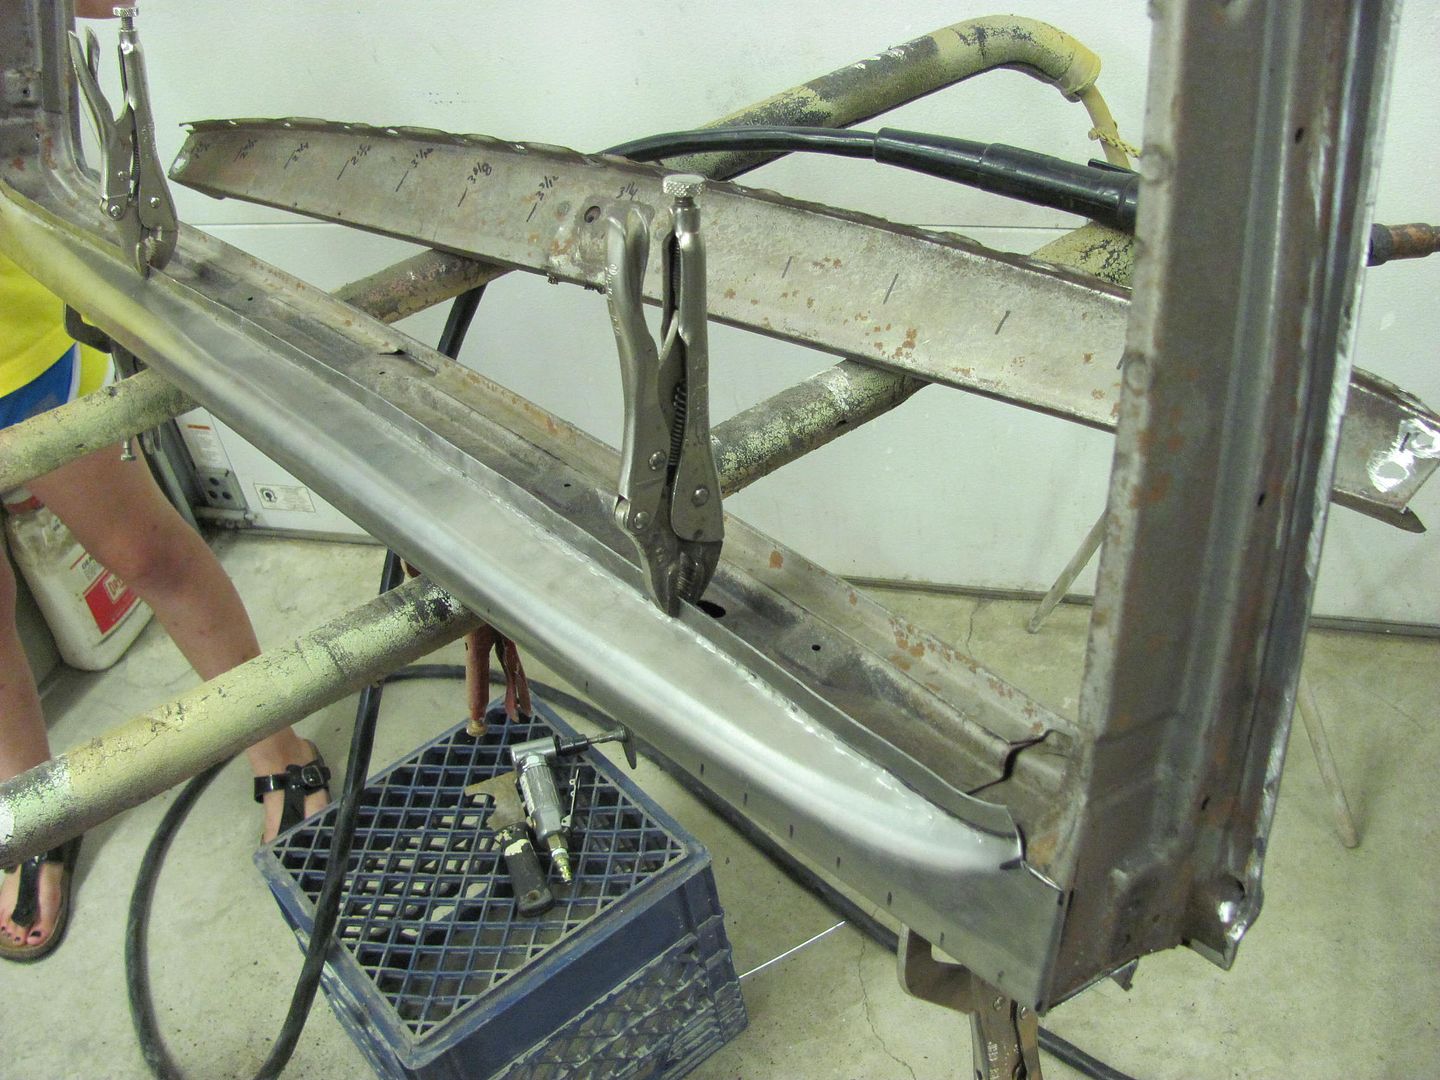
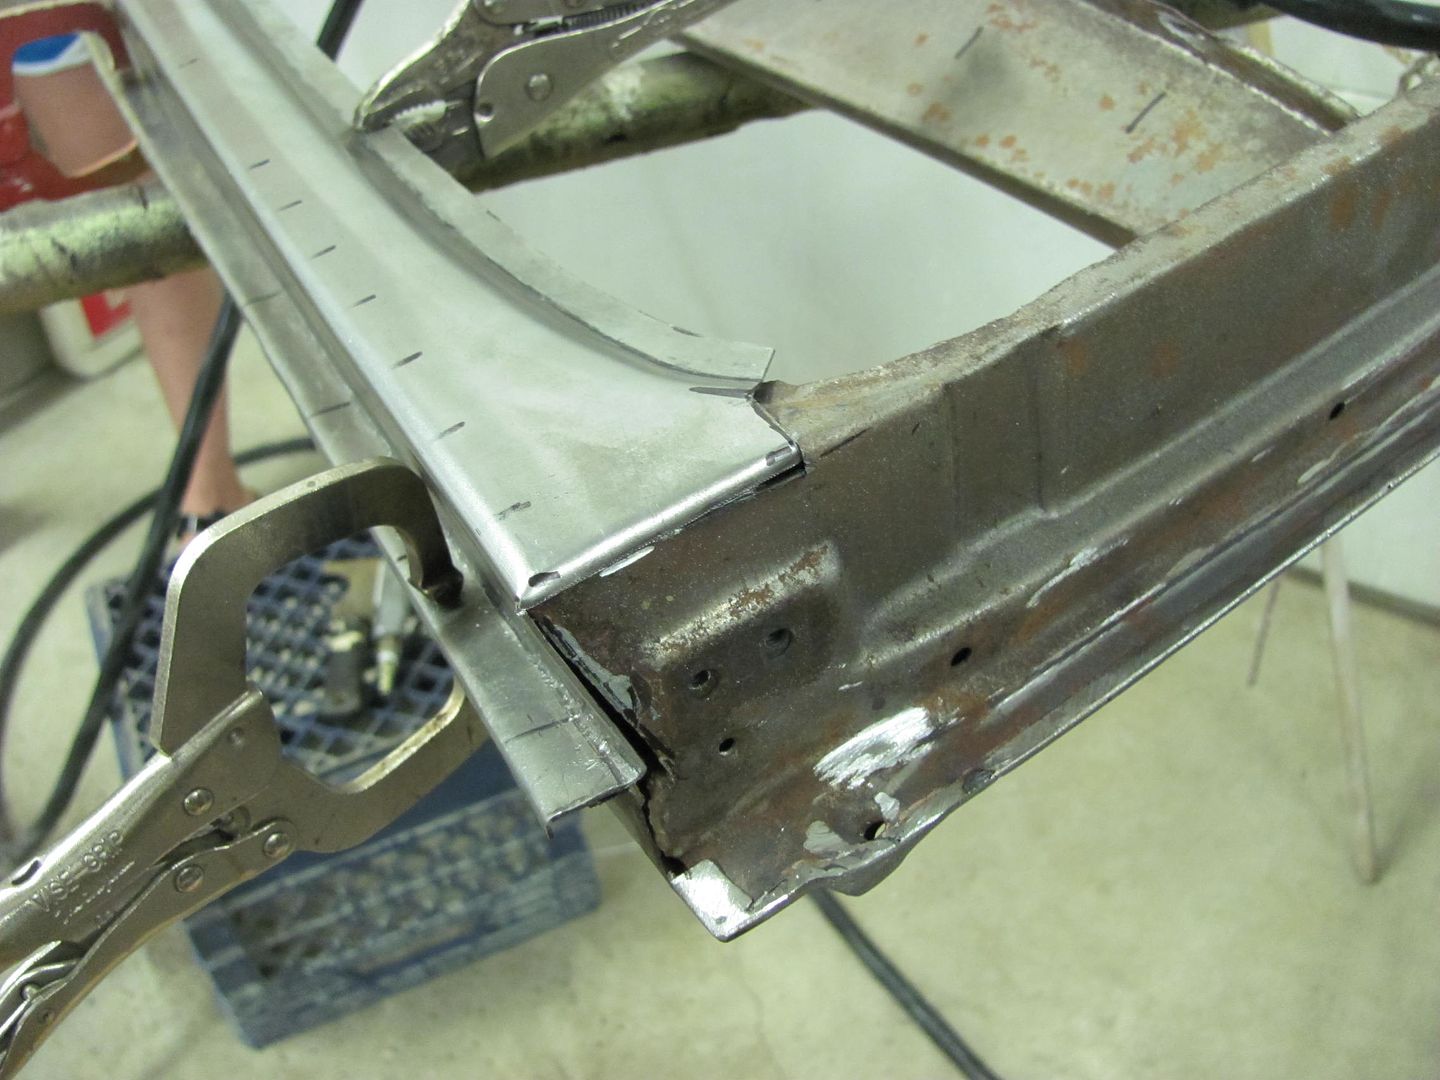
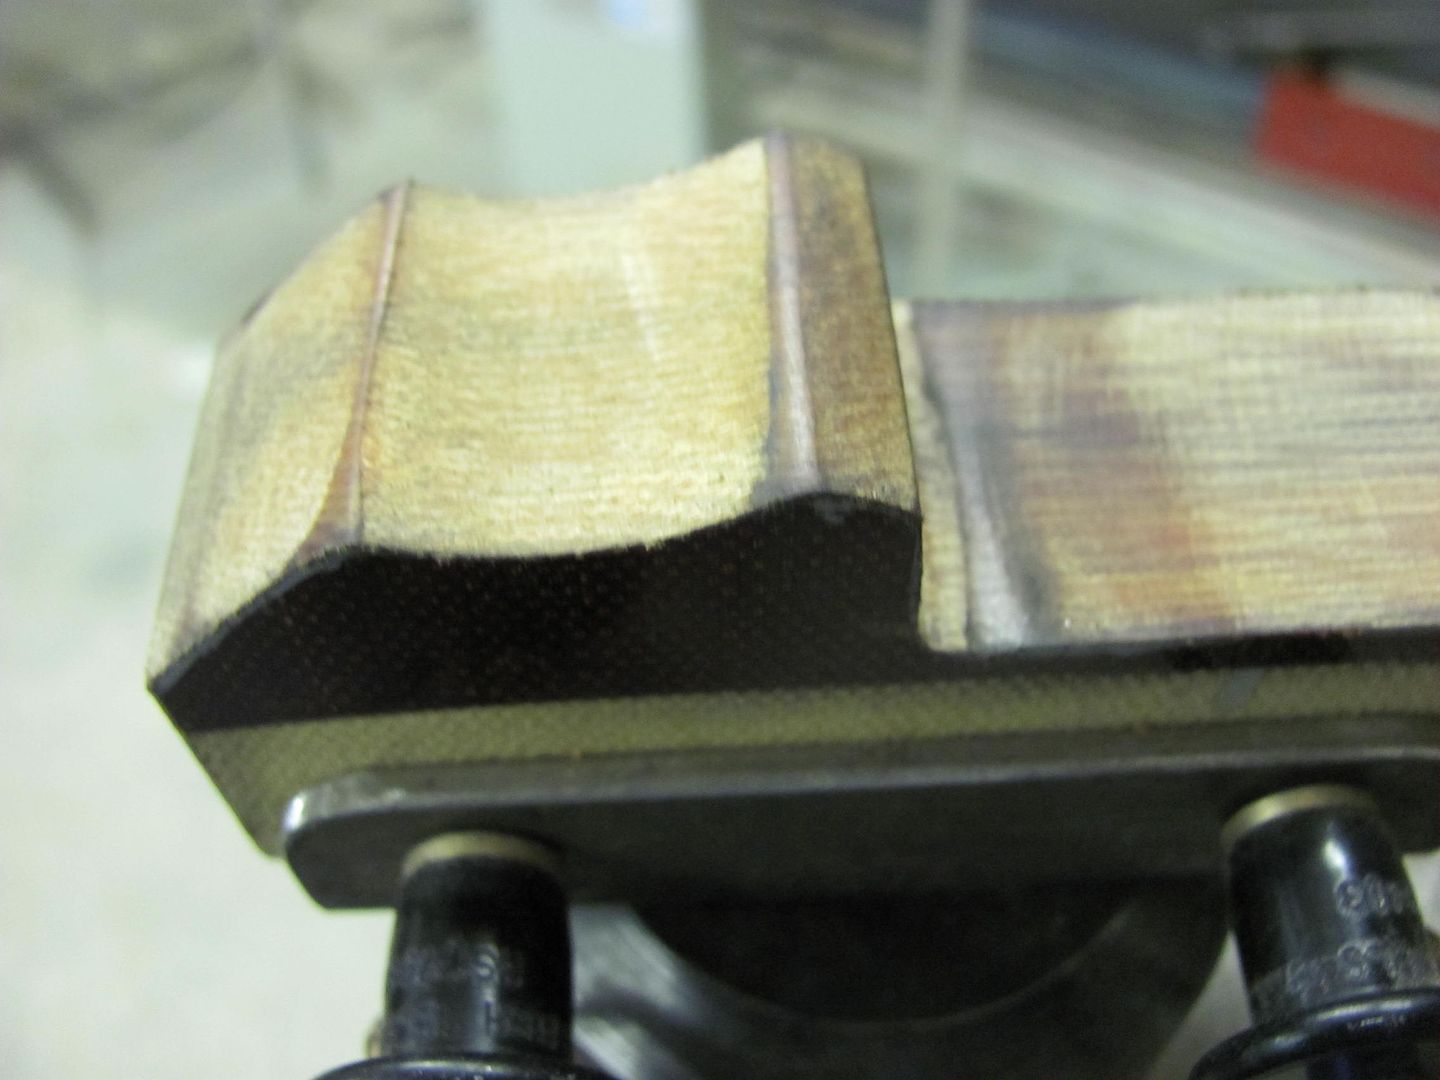
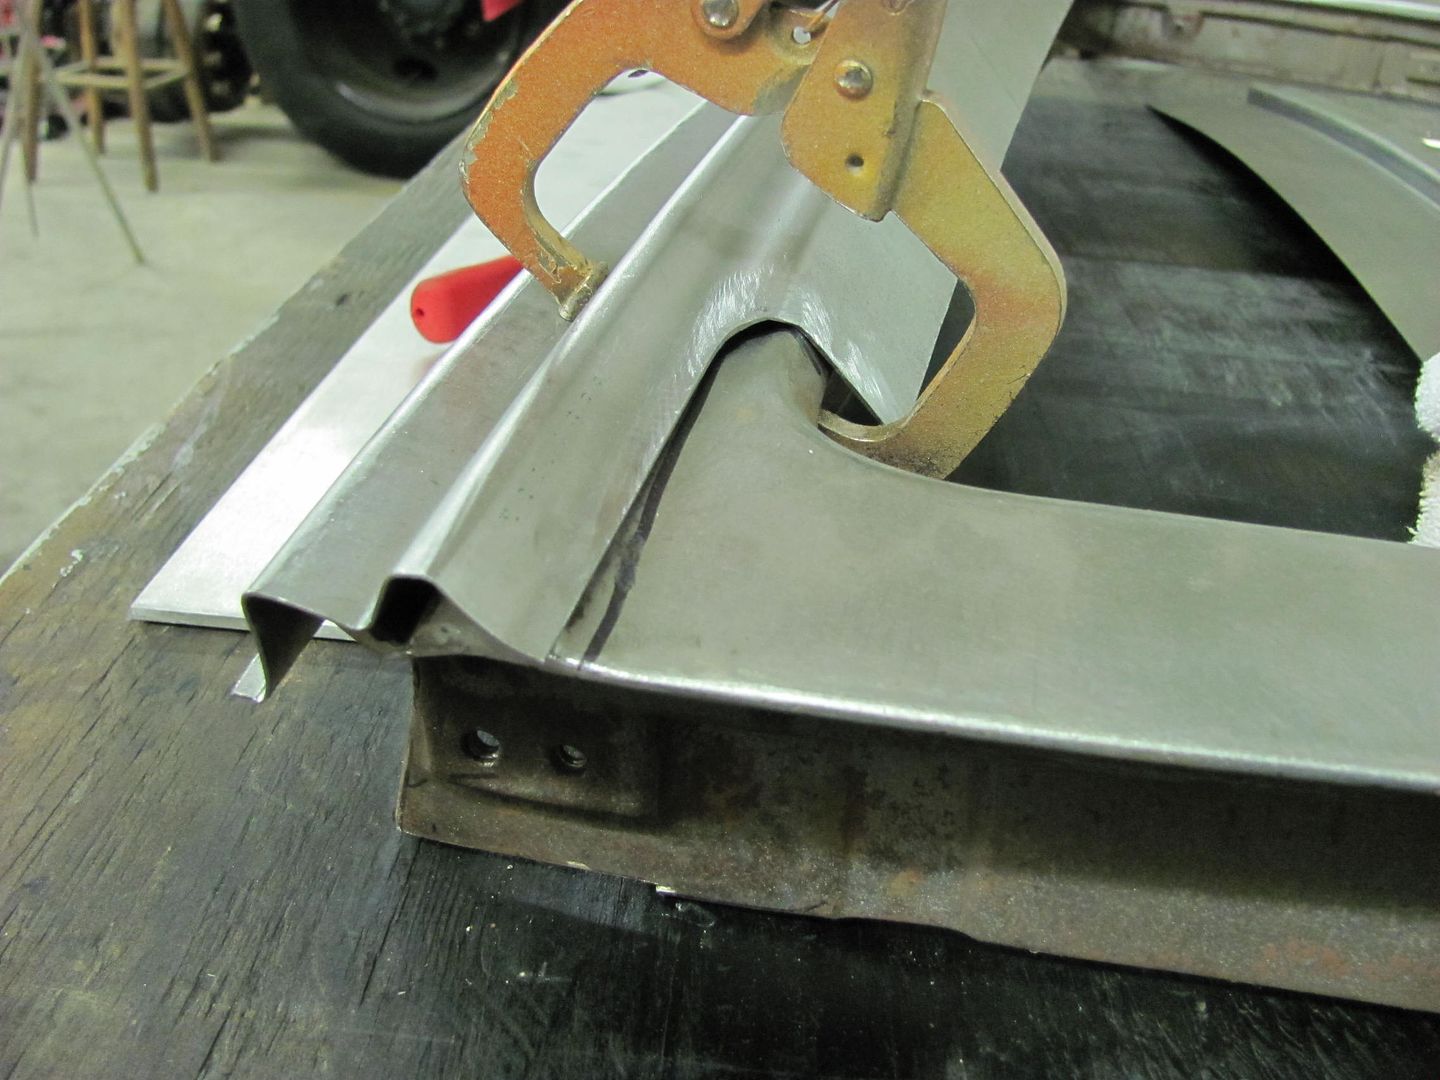
Comparison....
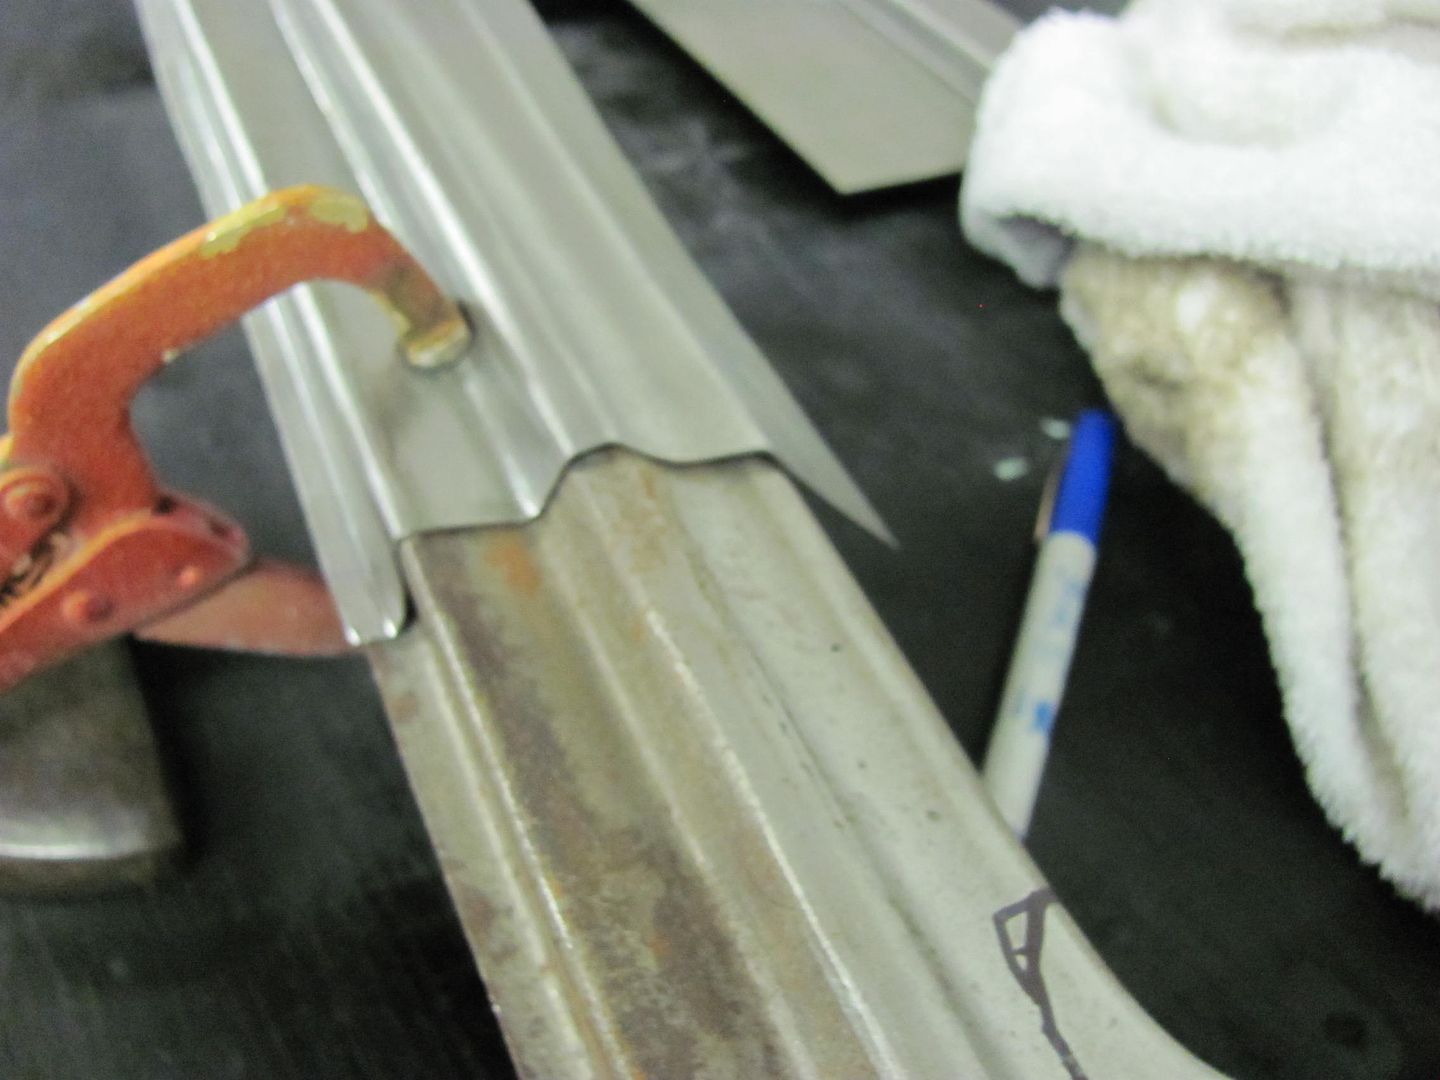
The bottom was marked with the tipping wheel and folded in the apron brake. Then trimmed to size, again using the tipping wheel to fold over the welding flange...
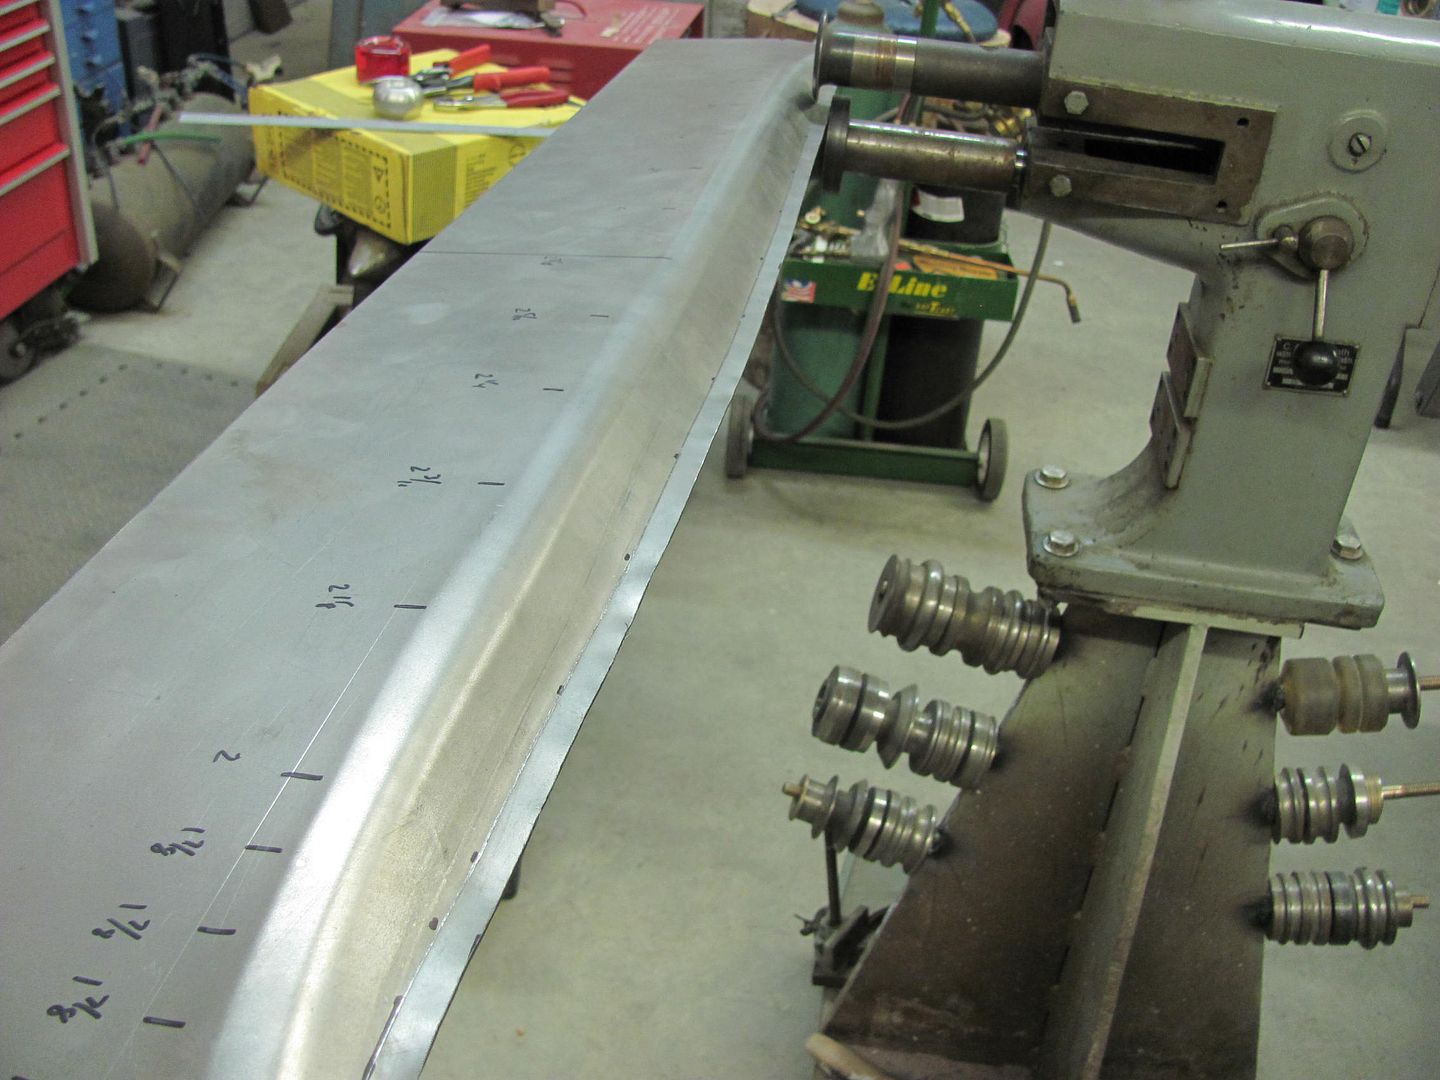
It's real close right now, just needs a bit of tweaking.


This was made using 18 ga, I think if I had the factory 19 ga metal it would have formed much easier..Comment
-
WOW ! Nice workComment
-
I have followed your work on the H.A.M.B. and it always captures your attention with the quality of work you do.Comment
-
Thanks for the comments guys. I used the last post in a contest on metalmeet. It tied for first place, so now it's in a tie-breaker run off.
http://www.metalmeet.com/forum/showthread.php?t=11513Comment
-
registered and holding pattern for approval.Flying south, with a flock of bird dogs.Comment
-
WooHoo! Contest ended today, my thread came in first place! I have a 20 ga apron brake that is a bit too light for what I use it for, I think Baileigh's magnetic brake is calling my name!Comment
-
Congrats!Comment
-
Nice!Chris - HRPT Long Haul 03, 04, 05, 13, 14, 15,16 & 18
74 Nova Project
66 Mustang GT Project
92 Camaro RS Convertible Project
79 Chevy Truck Project
1956 Cadillac ProjectComment
-
I love this thread. It gives me hope that one day, my rusty junk might look decent again.It's really no different than trying to glue them back on after she has her way.Comment
-
cool! can you nudge an admin and get my registration approved? Can't see any pictures without it. lol.Flying south, with a flock of bird dogs.Comment
-
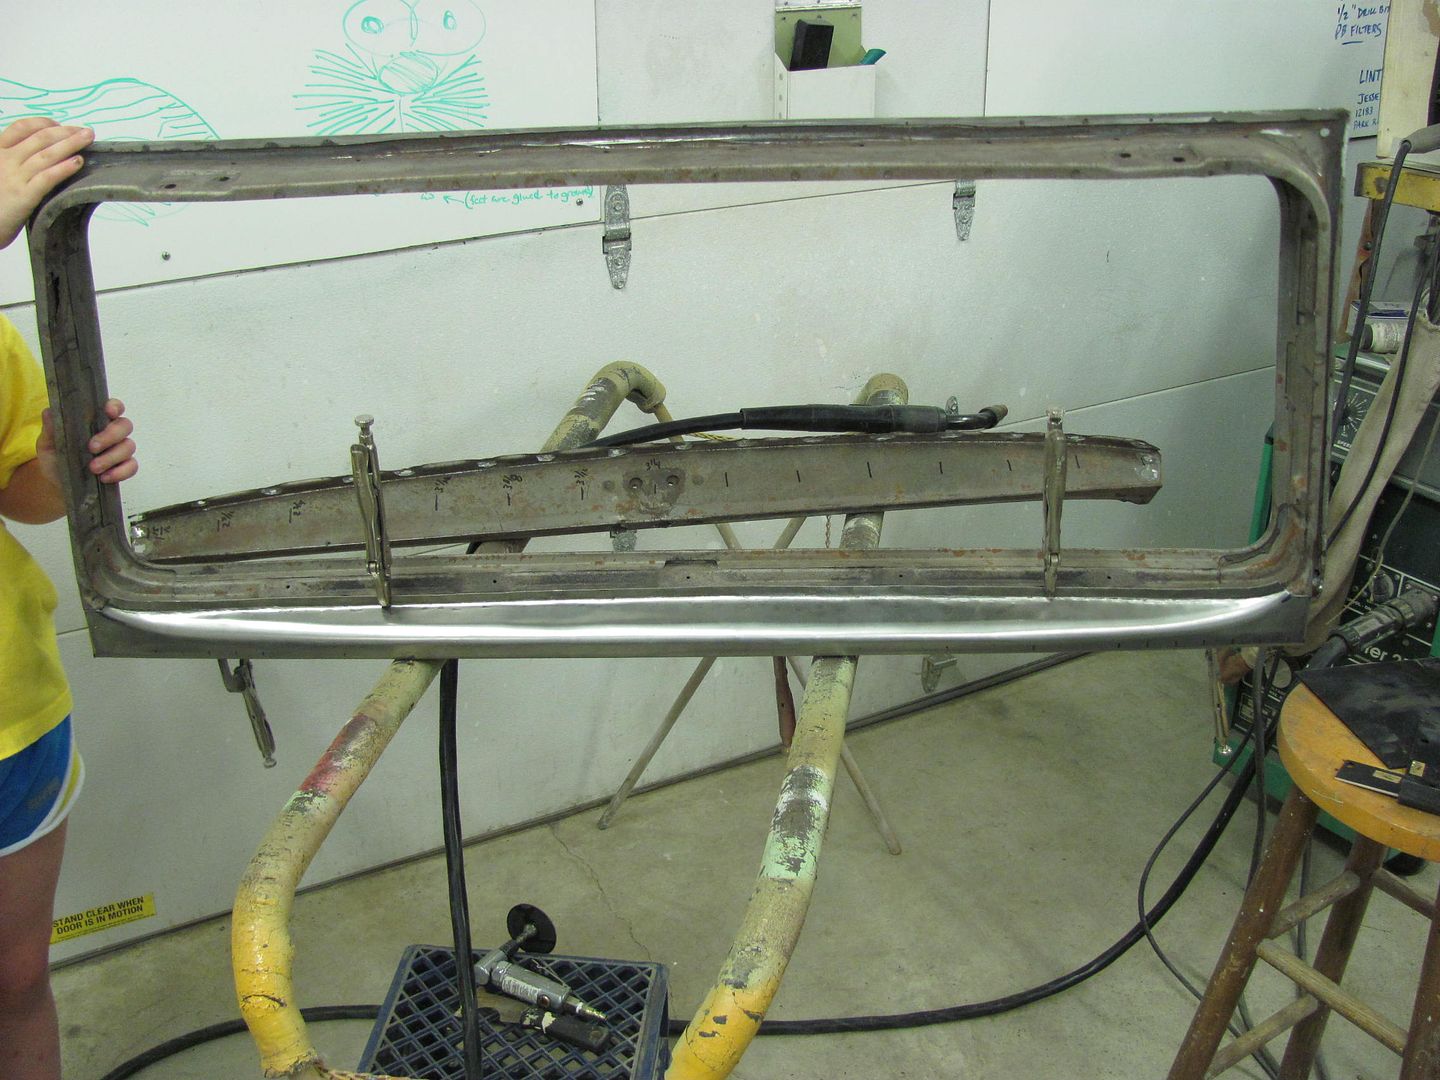
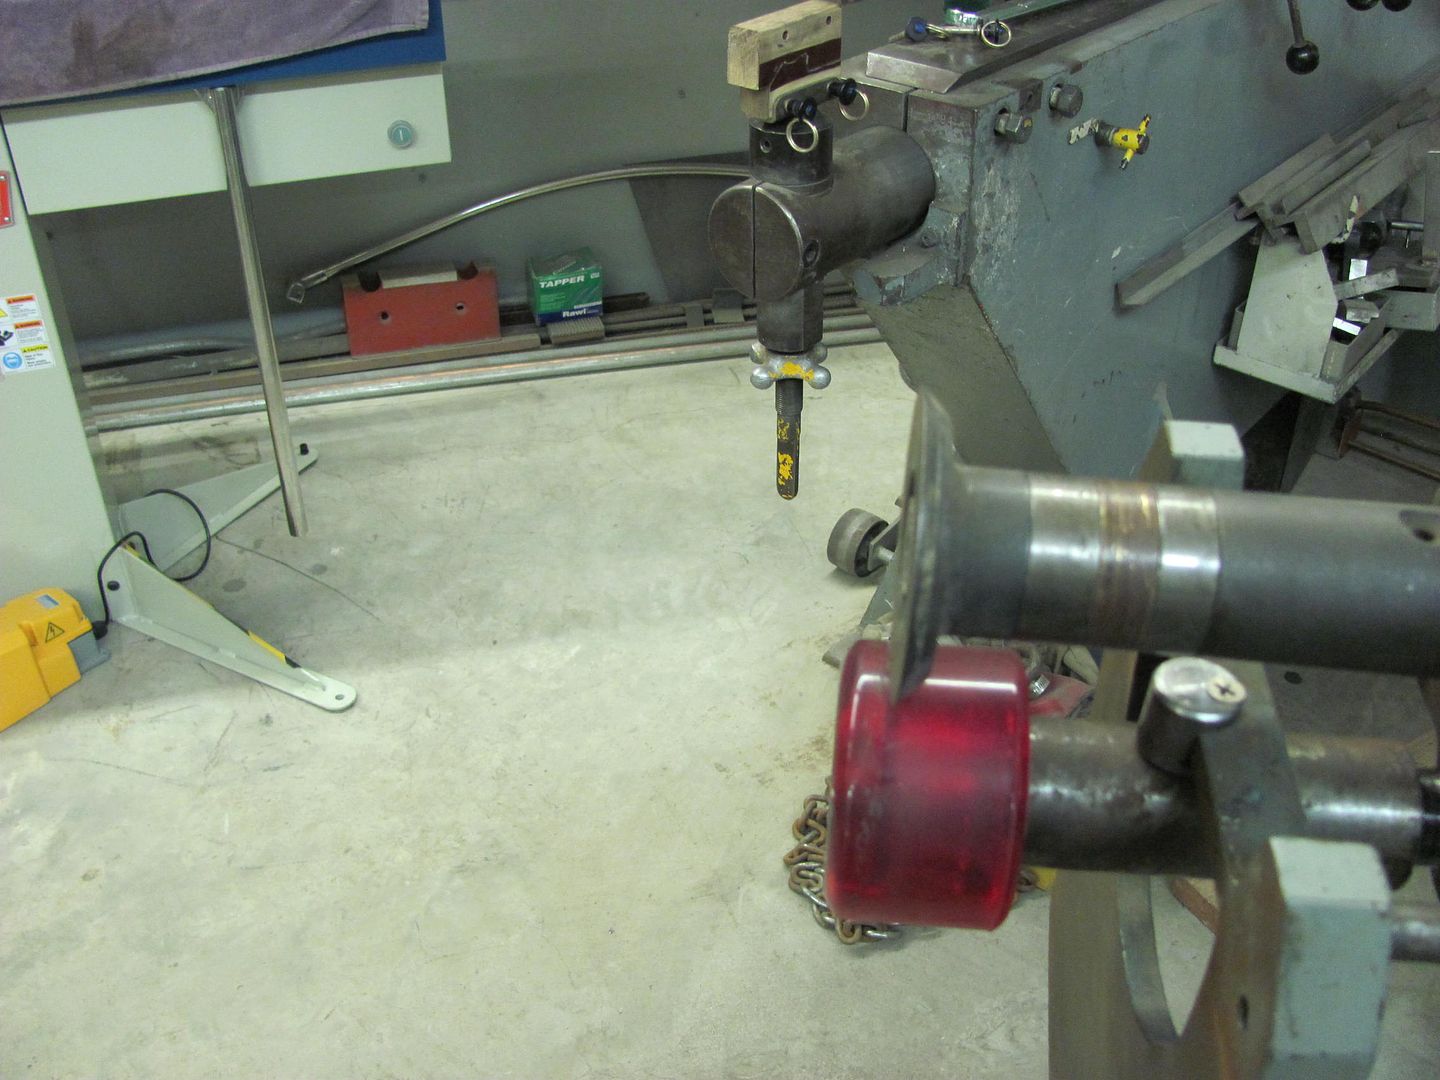
I have a few more parts made for the liftgate using the beadroller (as well as other implements of destruction) so time to add to this thread...
Media blasted the inside of the upper gate to clean it up before welding the new part on. Unfortunately this revealed more in the way of pits, through holes, etc., so it now looks like more fabrication....
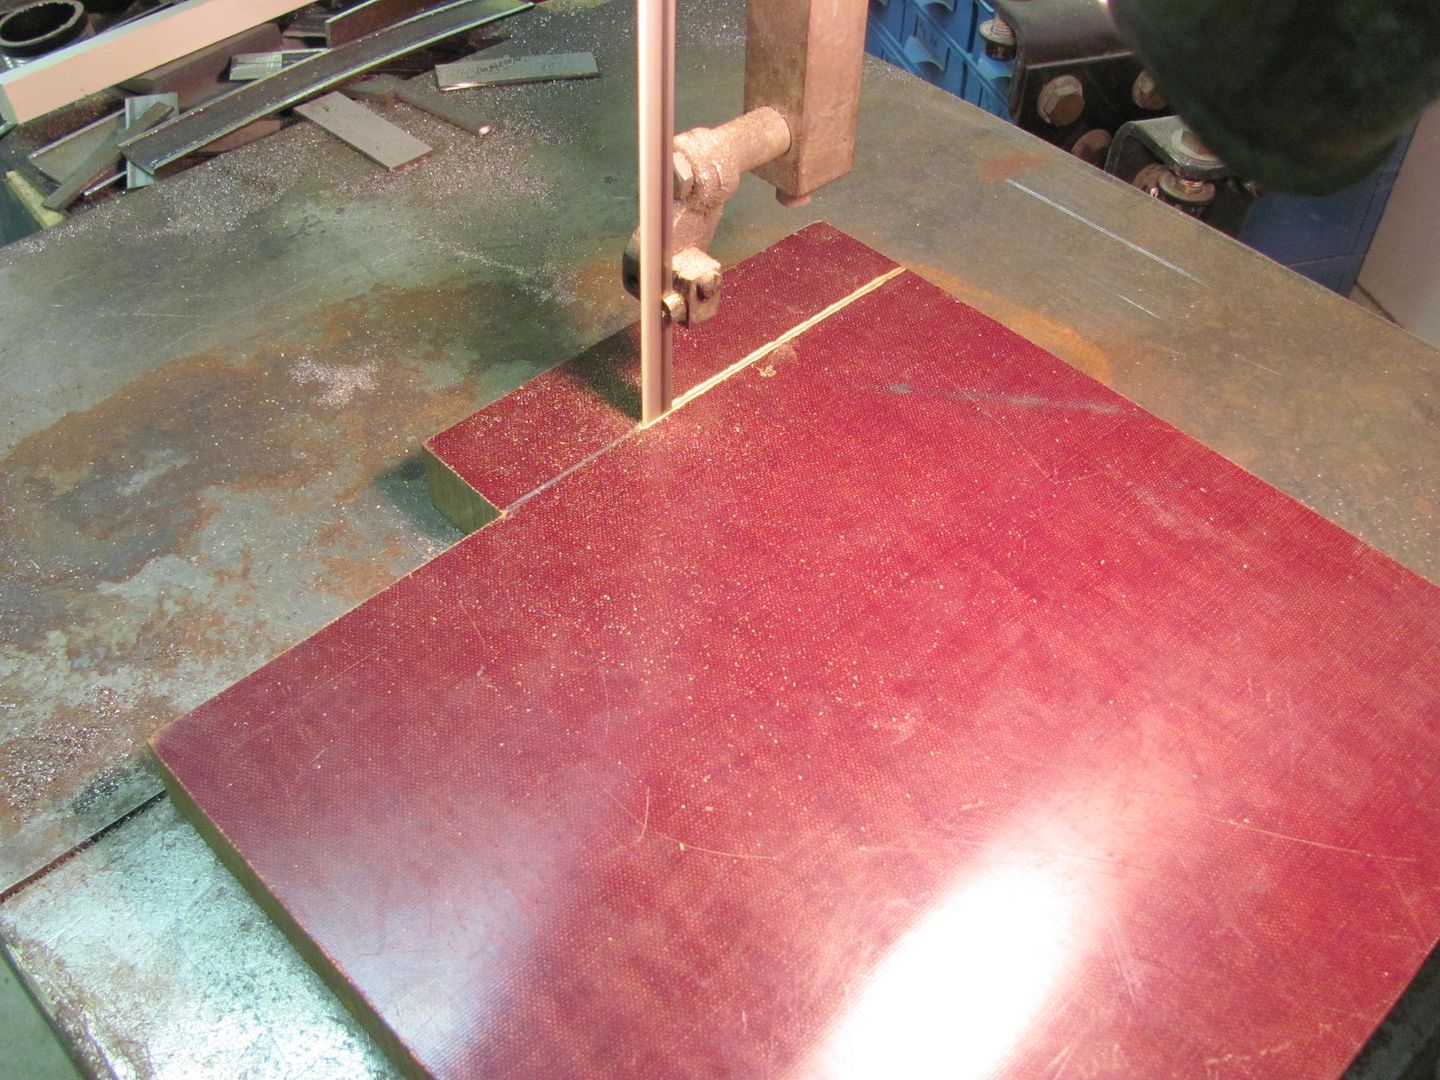
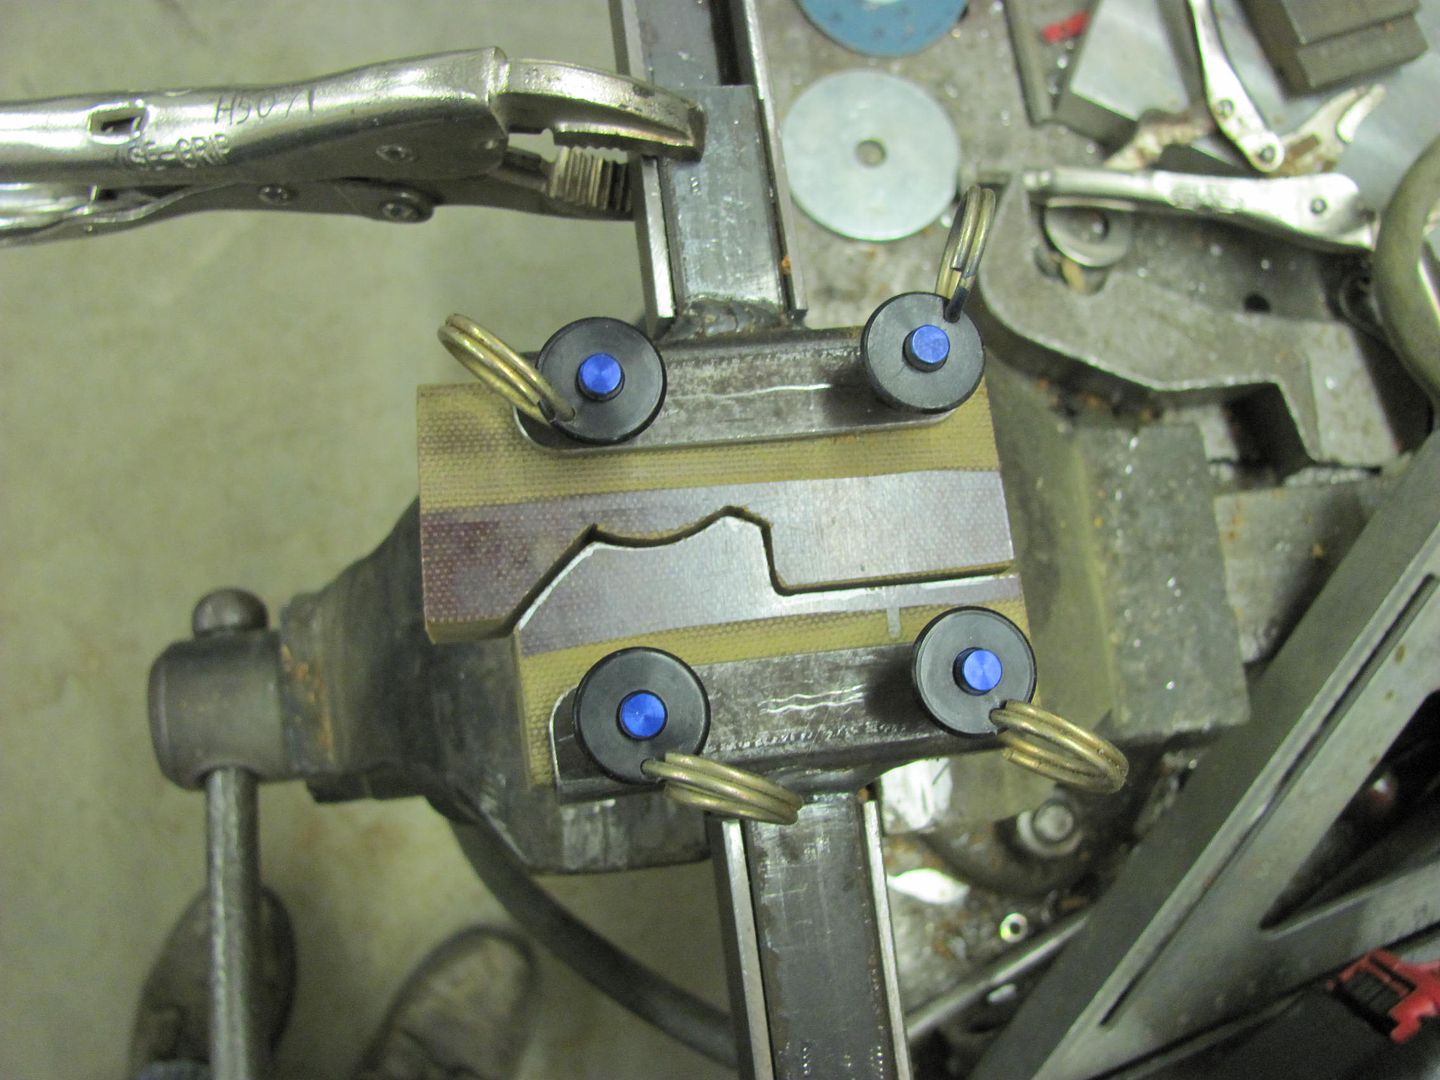
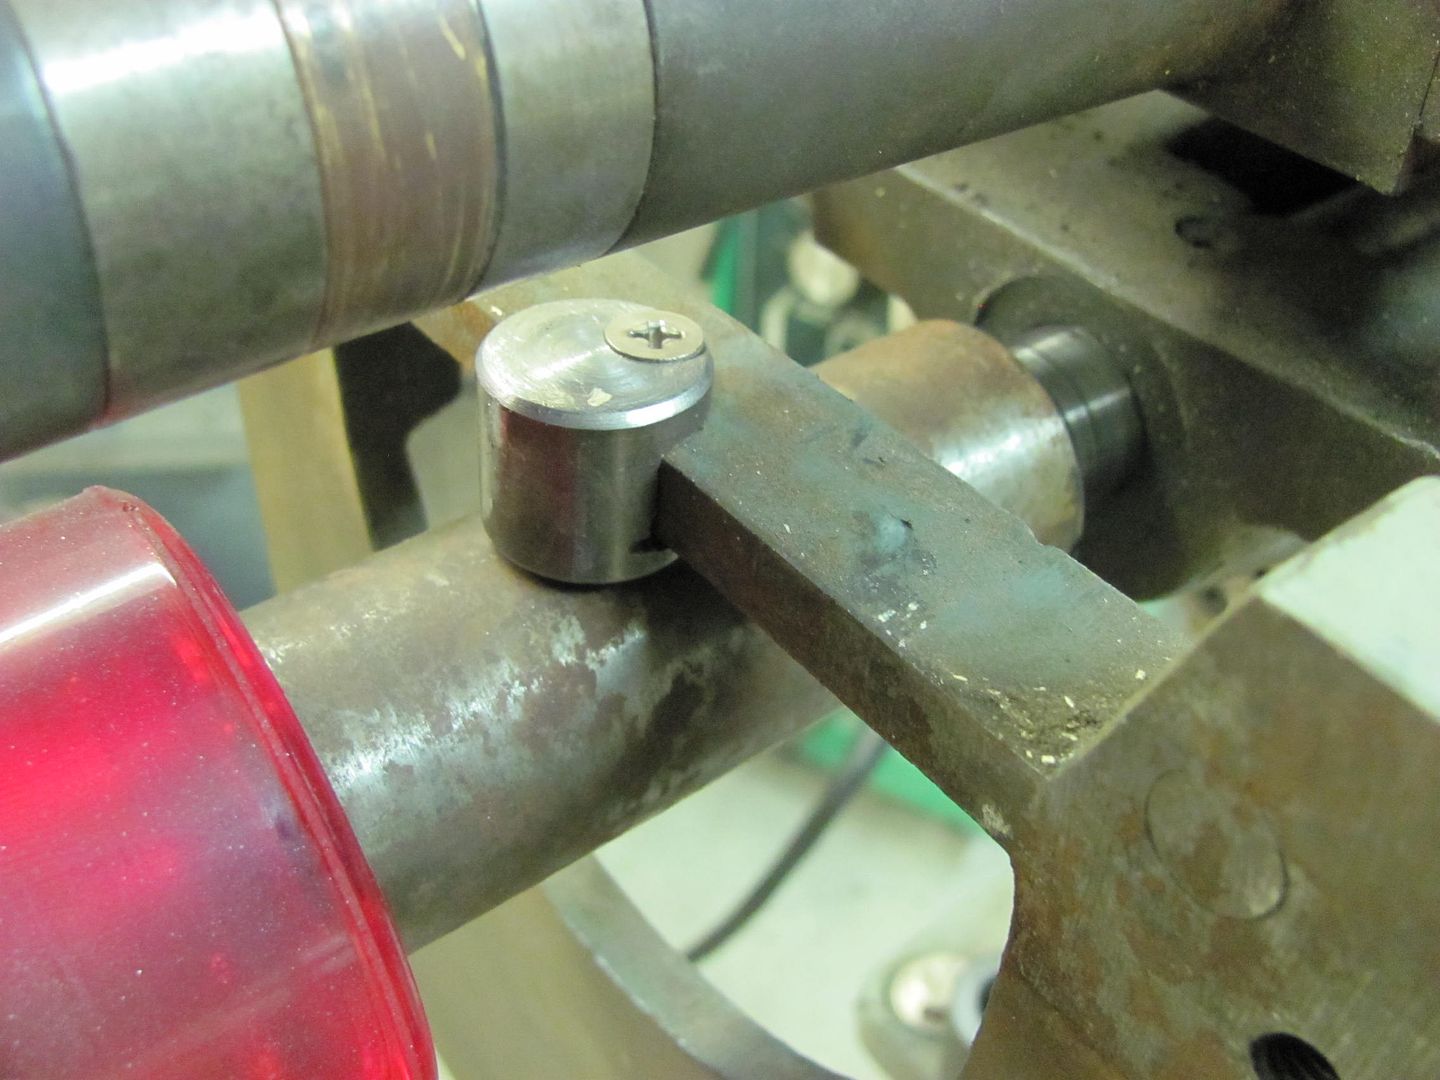
Time to attempt some dies for the Lennox. Tonight's choice is some 1" thick phenolic sheet...
Here's the profile we're looking for...
The dies installed in the holders....
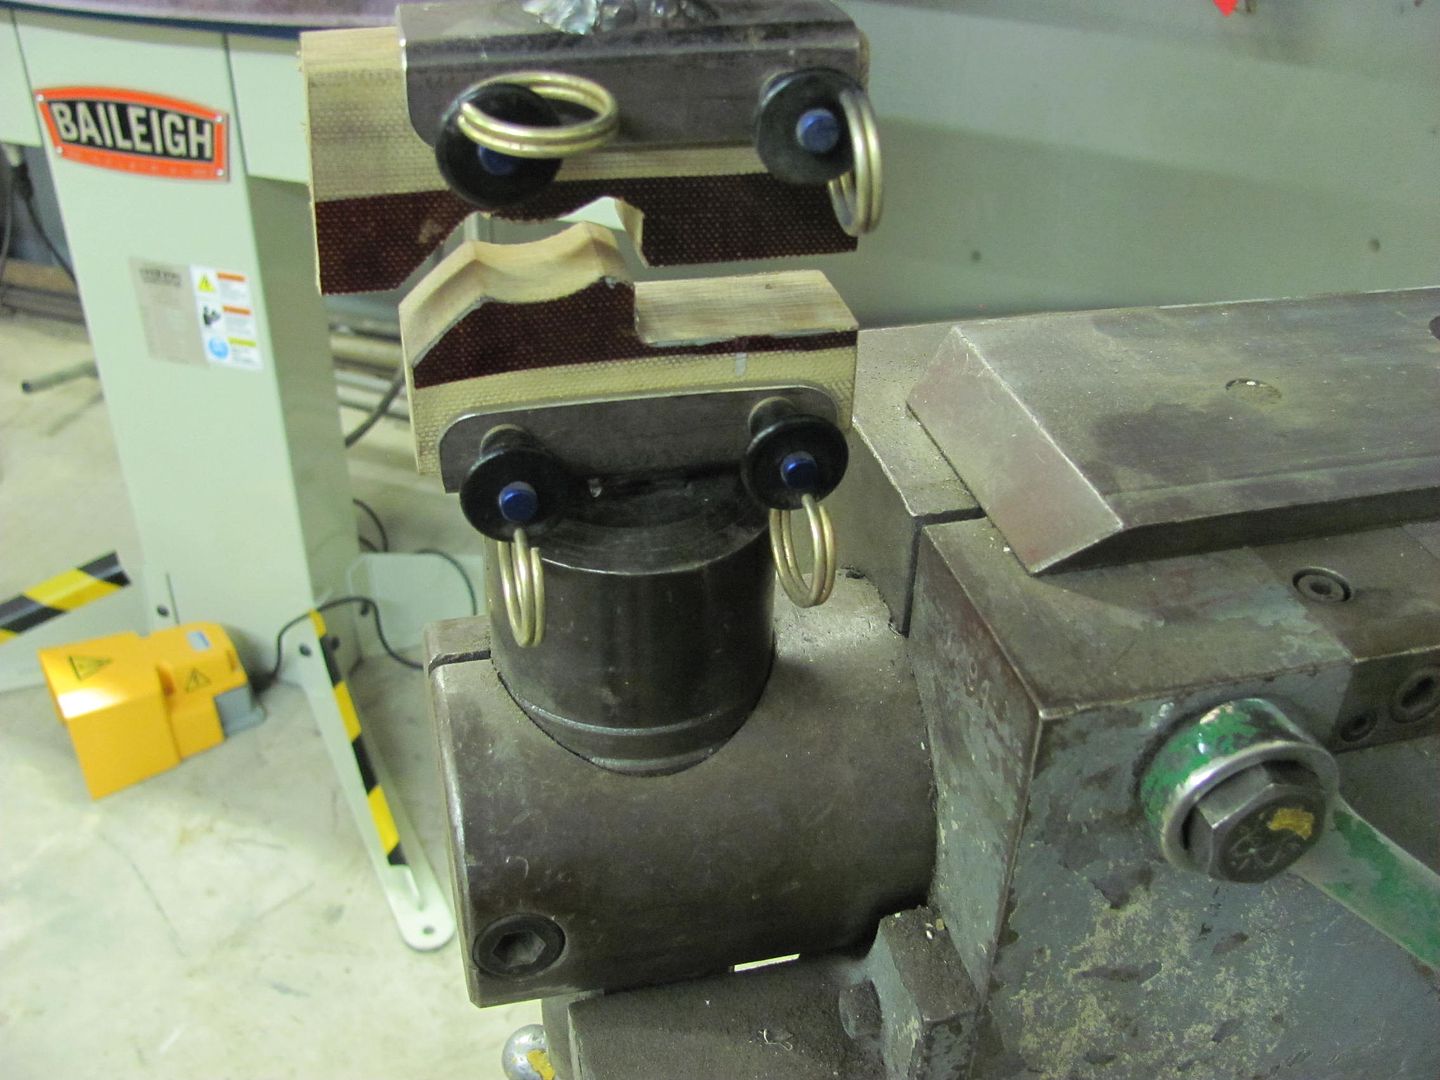
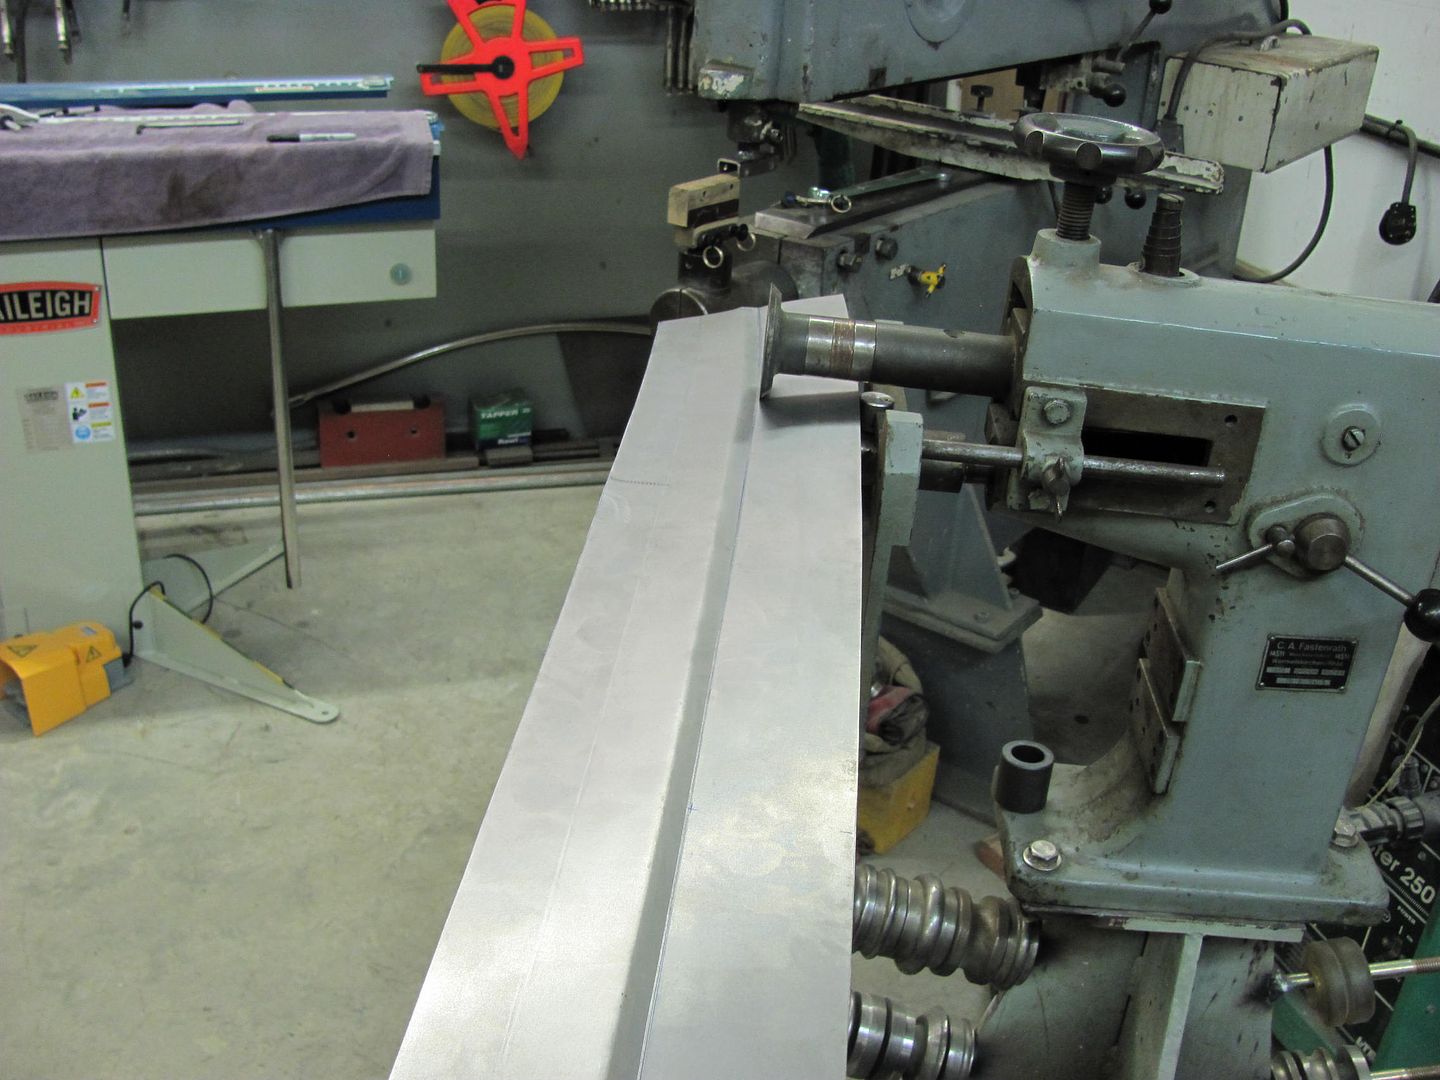
An offset bend was added to the sample 19ga in the brake, then the first of three passes.....

Final pass.....
Dies held up well....

Safety tip of the day, 3" roloc discs do a good job of shaping phenolic, so skin is no match.... (note thumb in above pic)
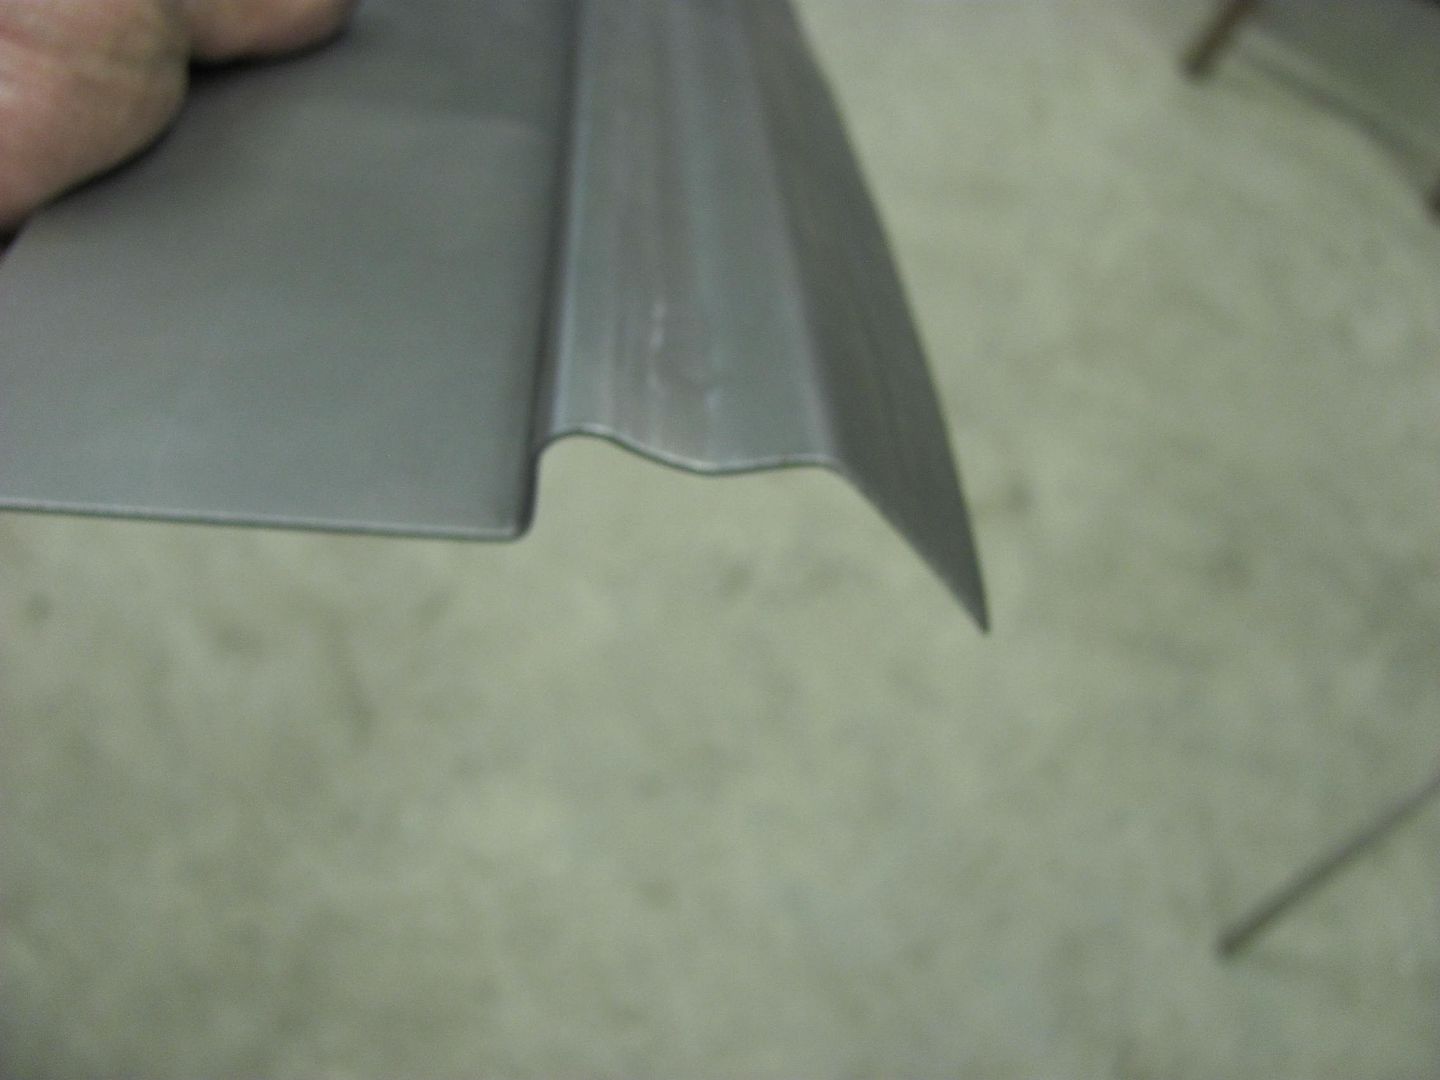
Where my "test sample" was made initially with straight bends in the brake, the actual piece on the lift gate is not straight, so the bends on the "good" piece will need to be bent using the tipping wheel.
The profile needs just a bit of tweaking, and I may try using a piece of metal inserted in a band saw blade cut to sharpen up some of the details.
Comment
-
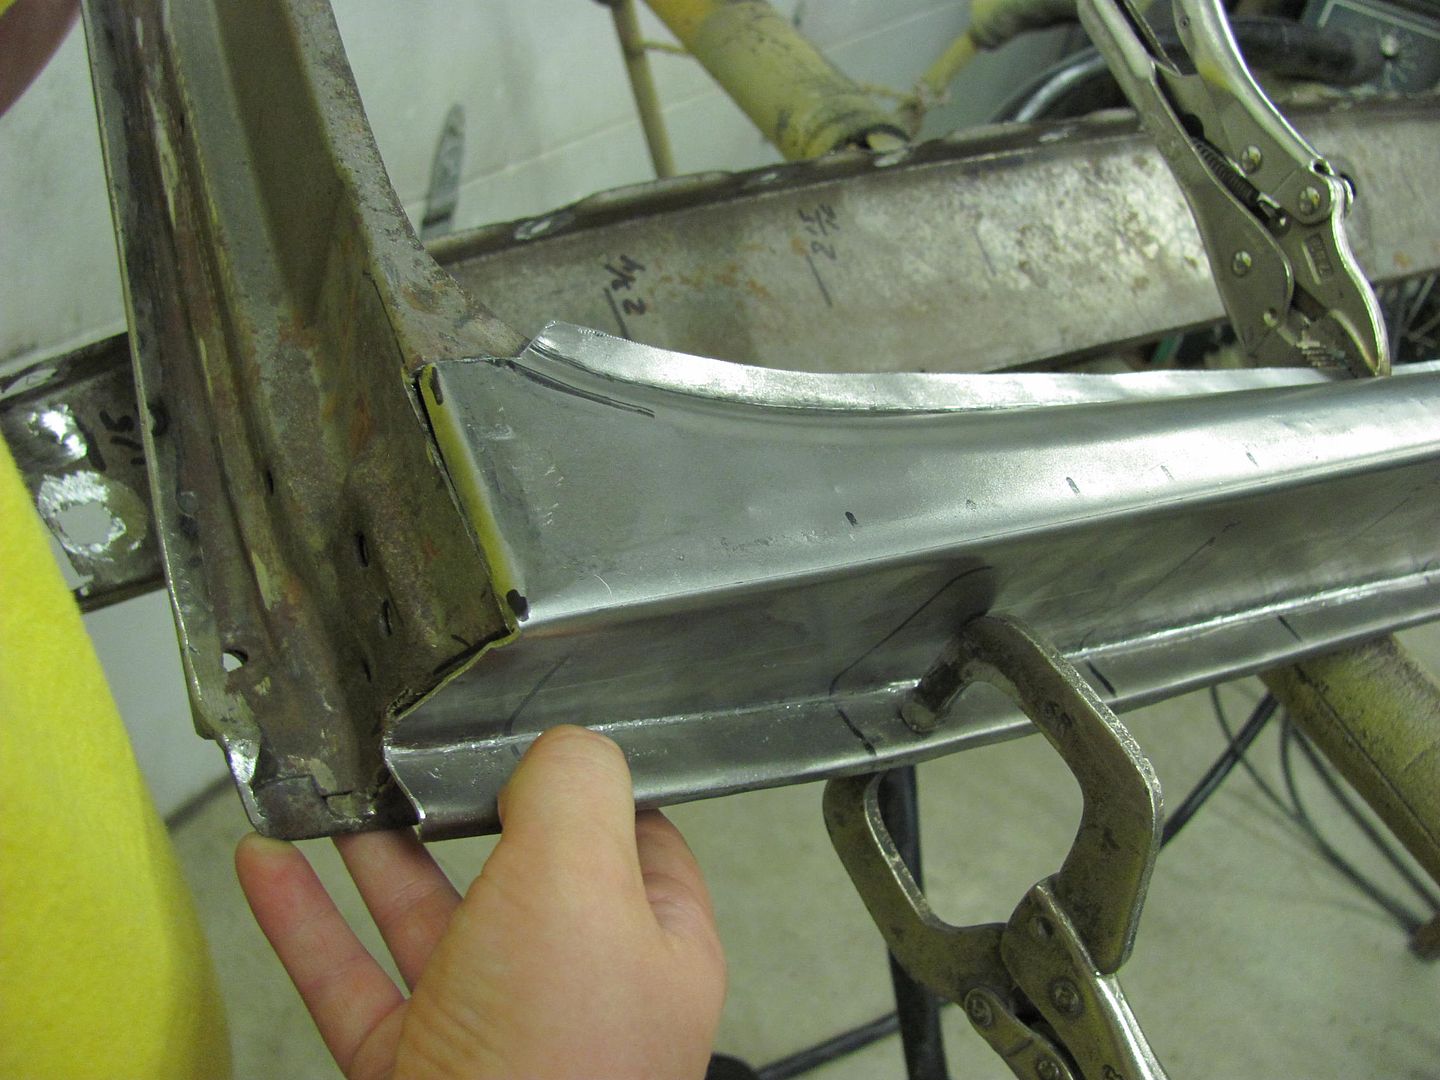
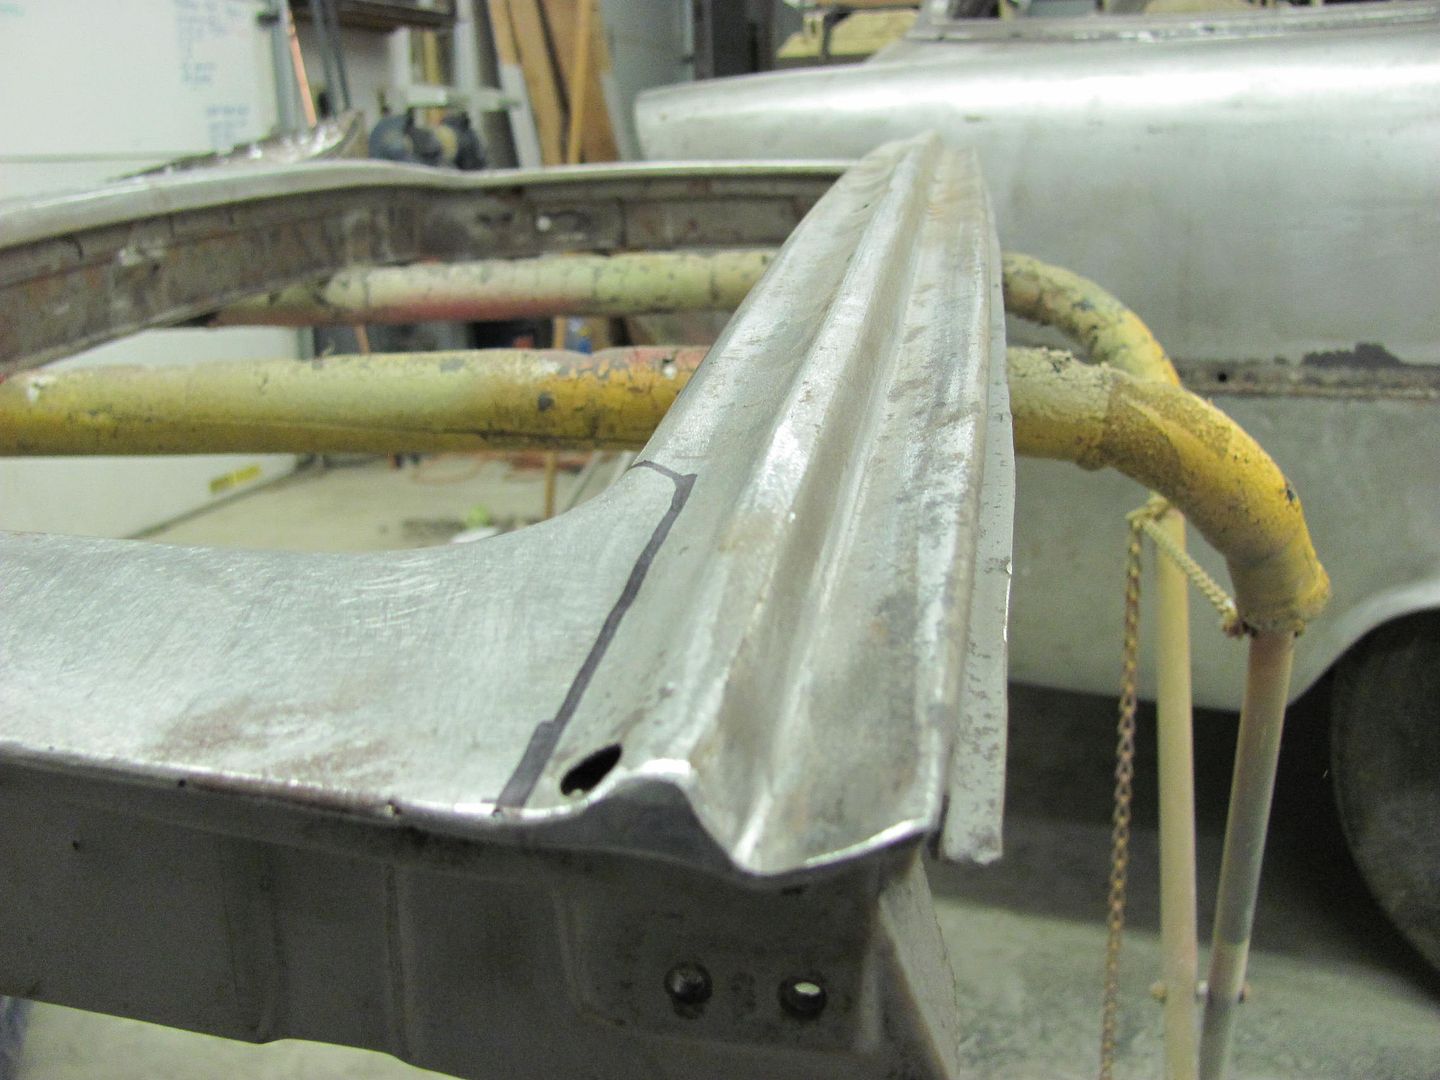
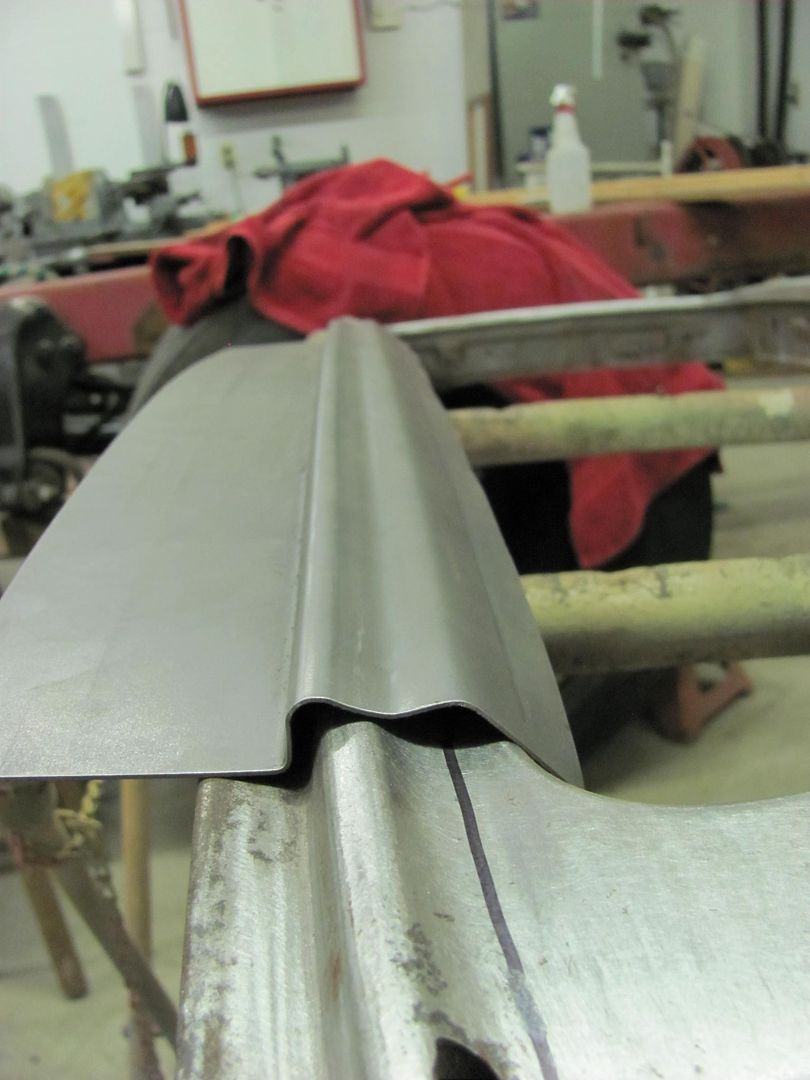
Checked the lower profile of the upper gate with radius sweeps to lay out the new piece...
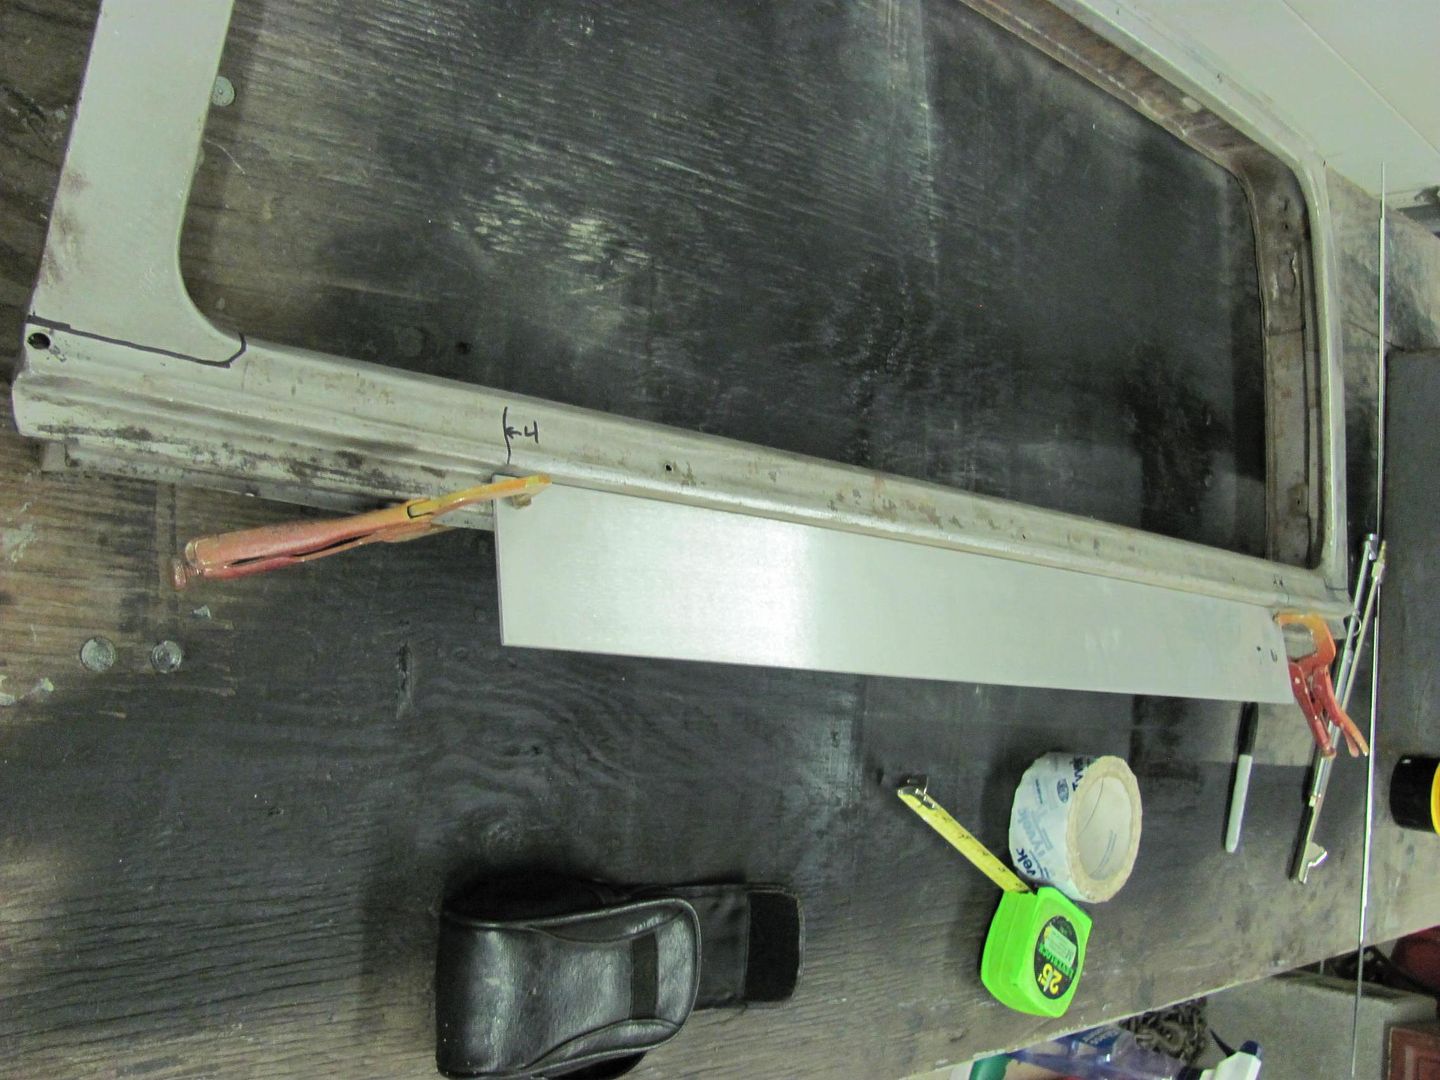
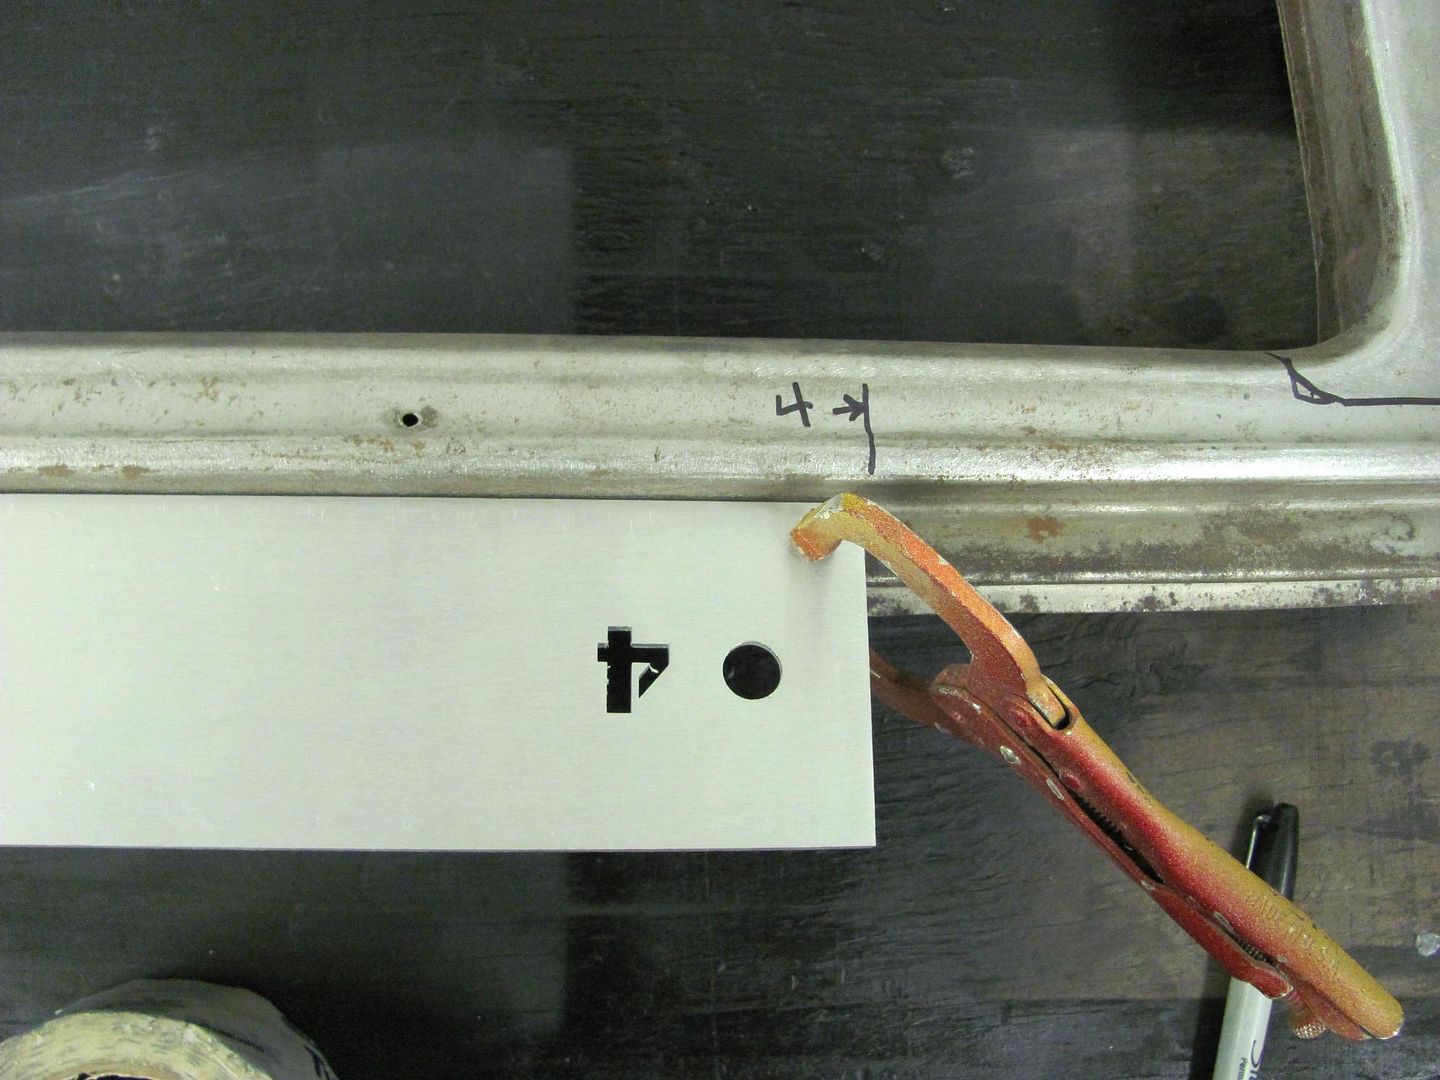
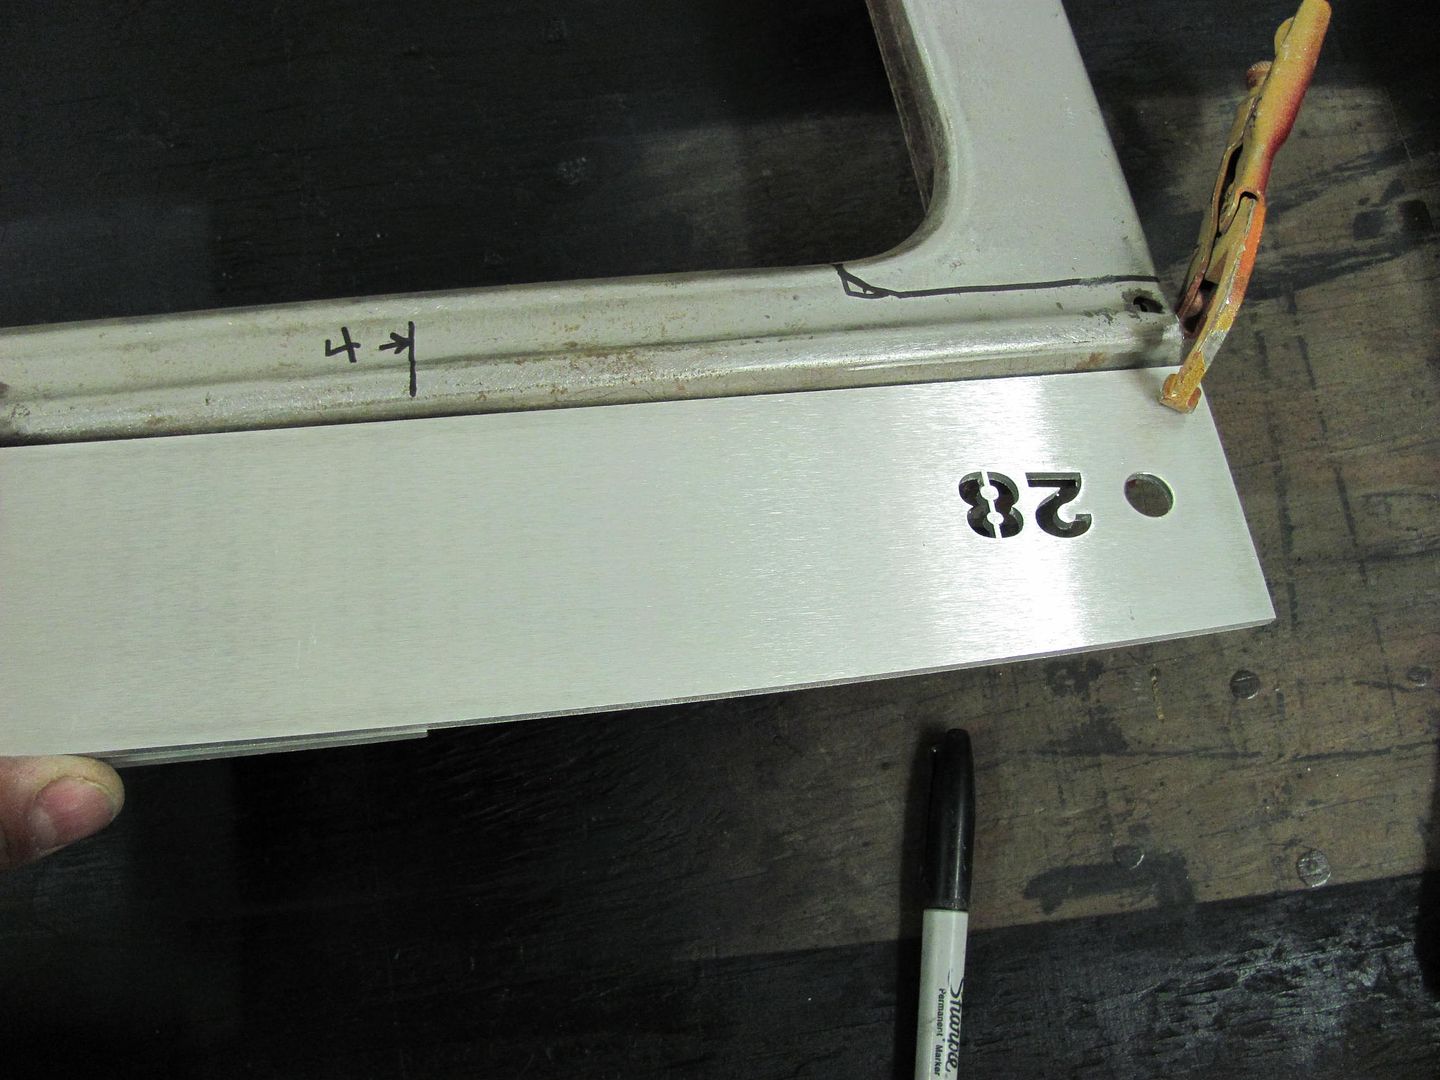
Laying out the pattern on 19ga steel....
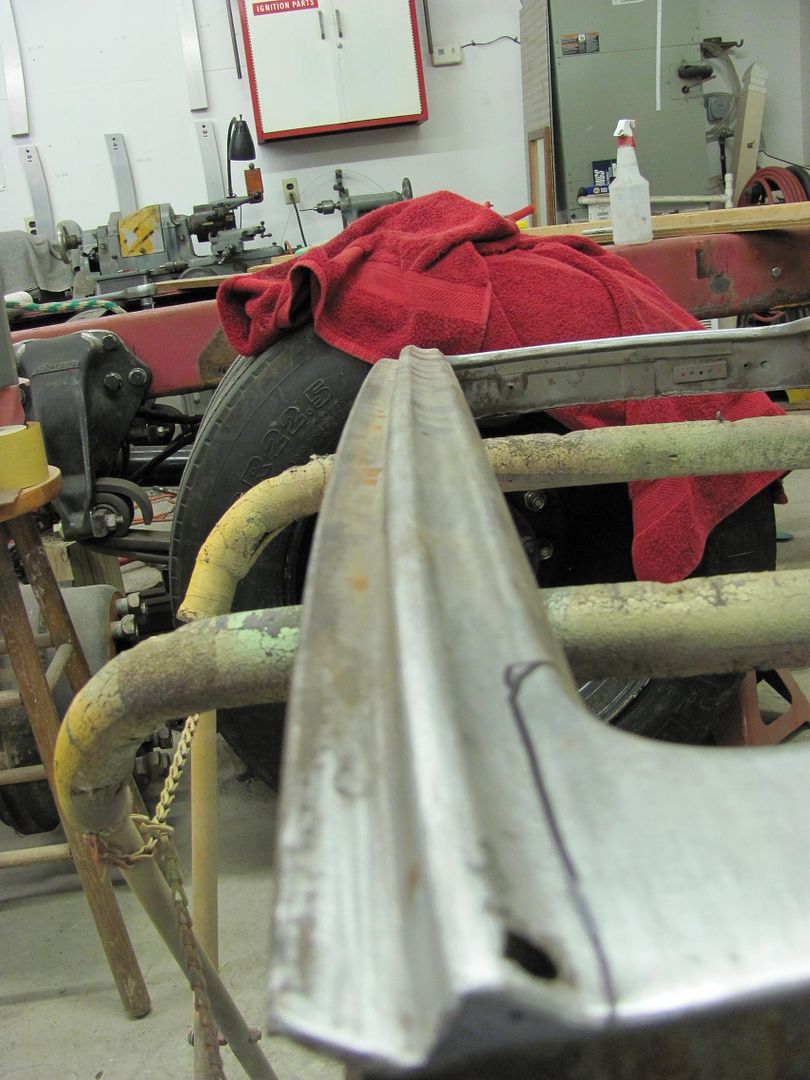
Tipping wheel in the bead roller...
......and a newly modified back stop, much better than the flat one.....
Offset added with the tipping wheel......
Then run through the Lennox.....
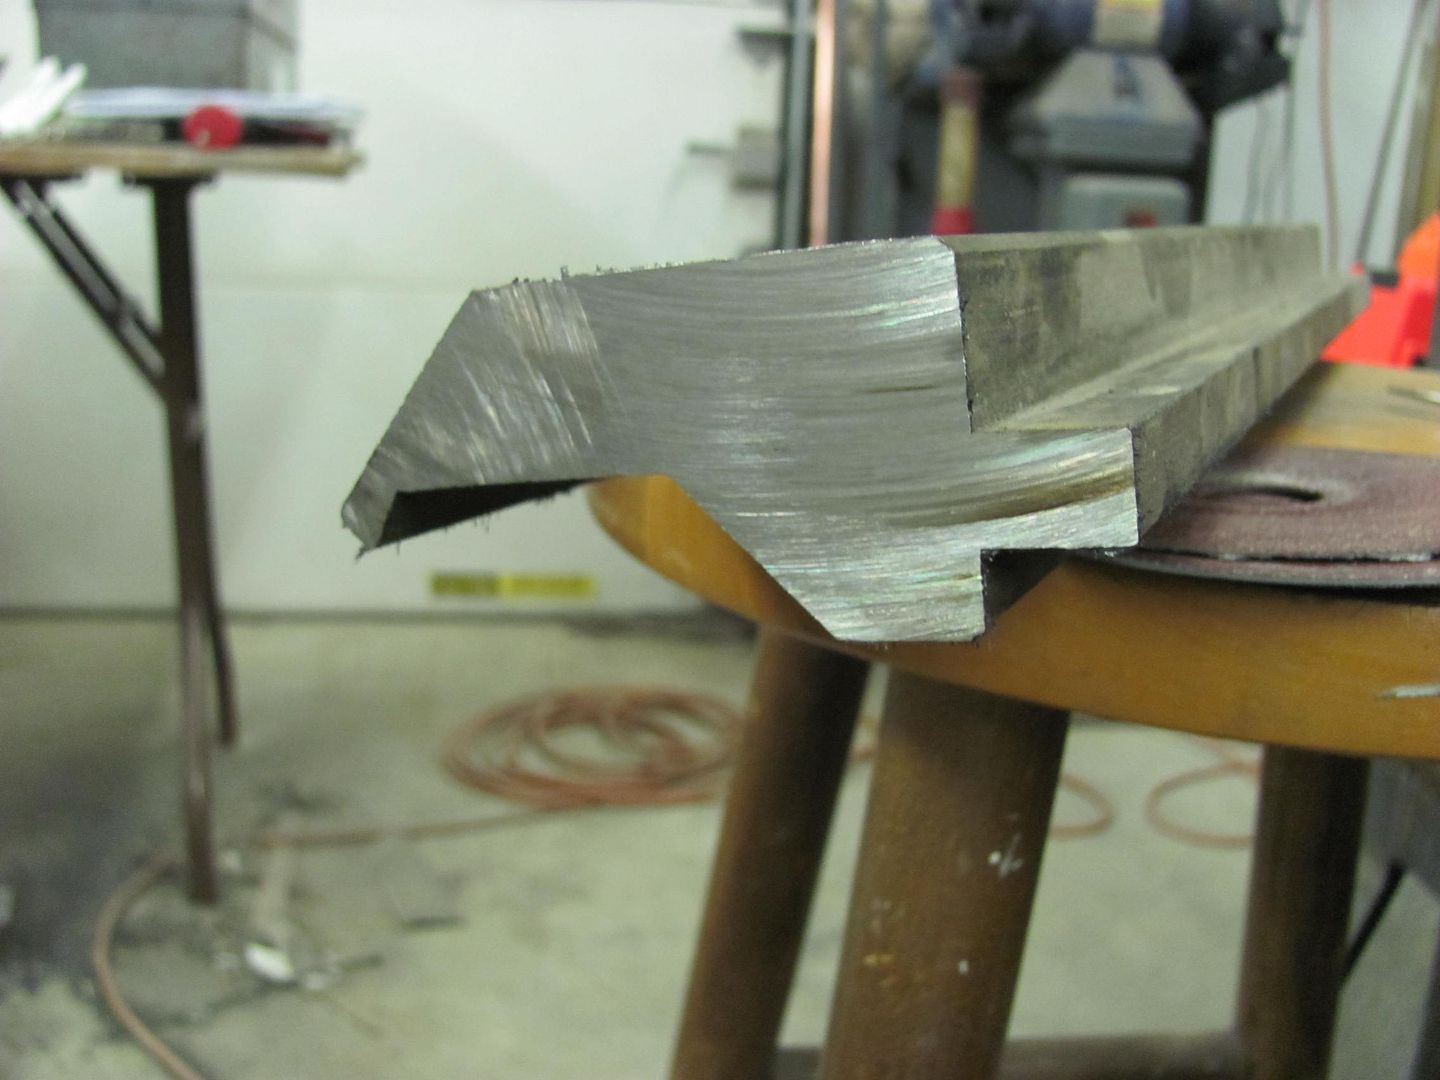
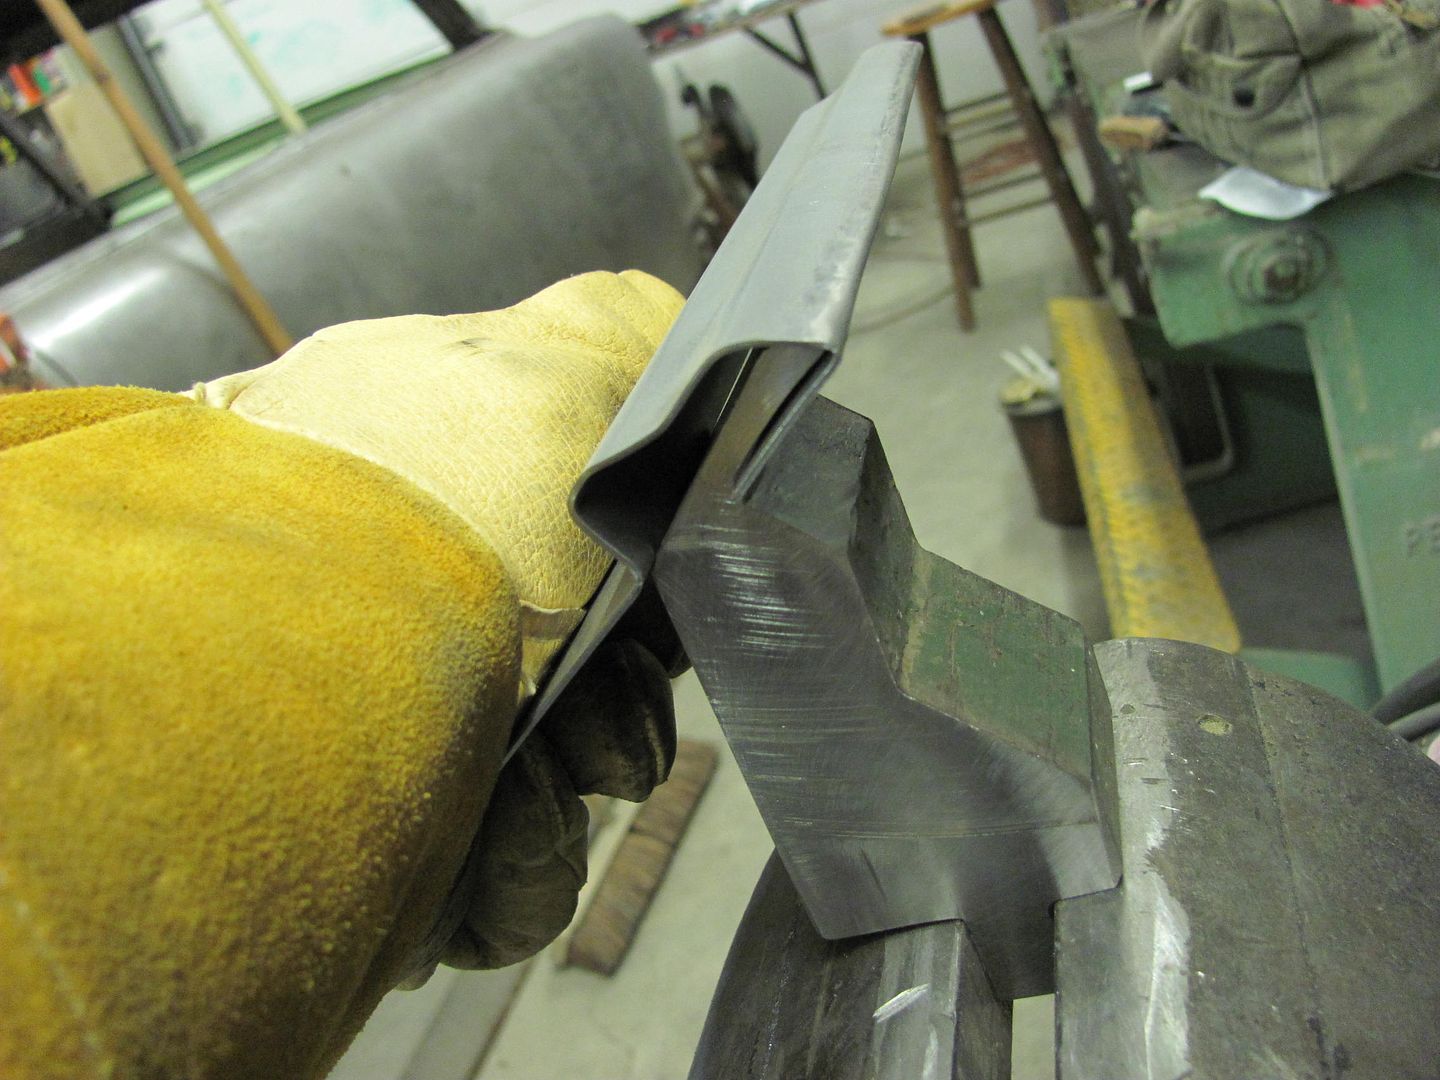
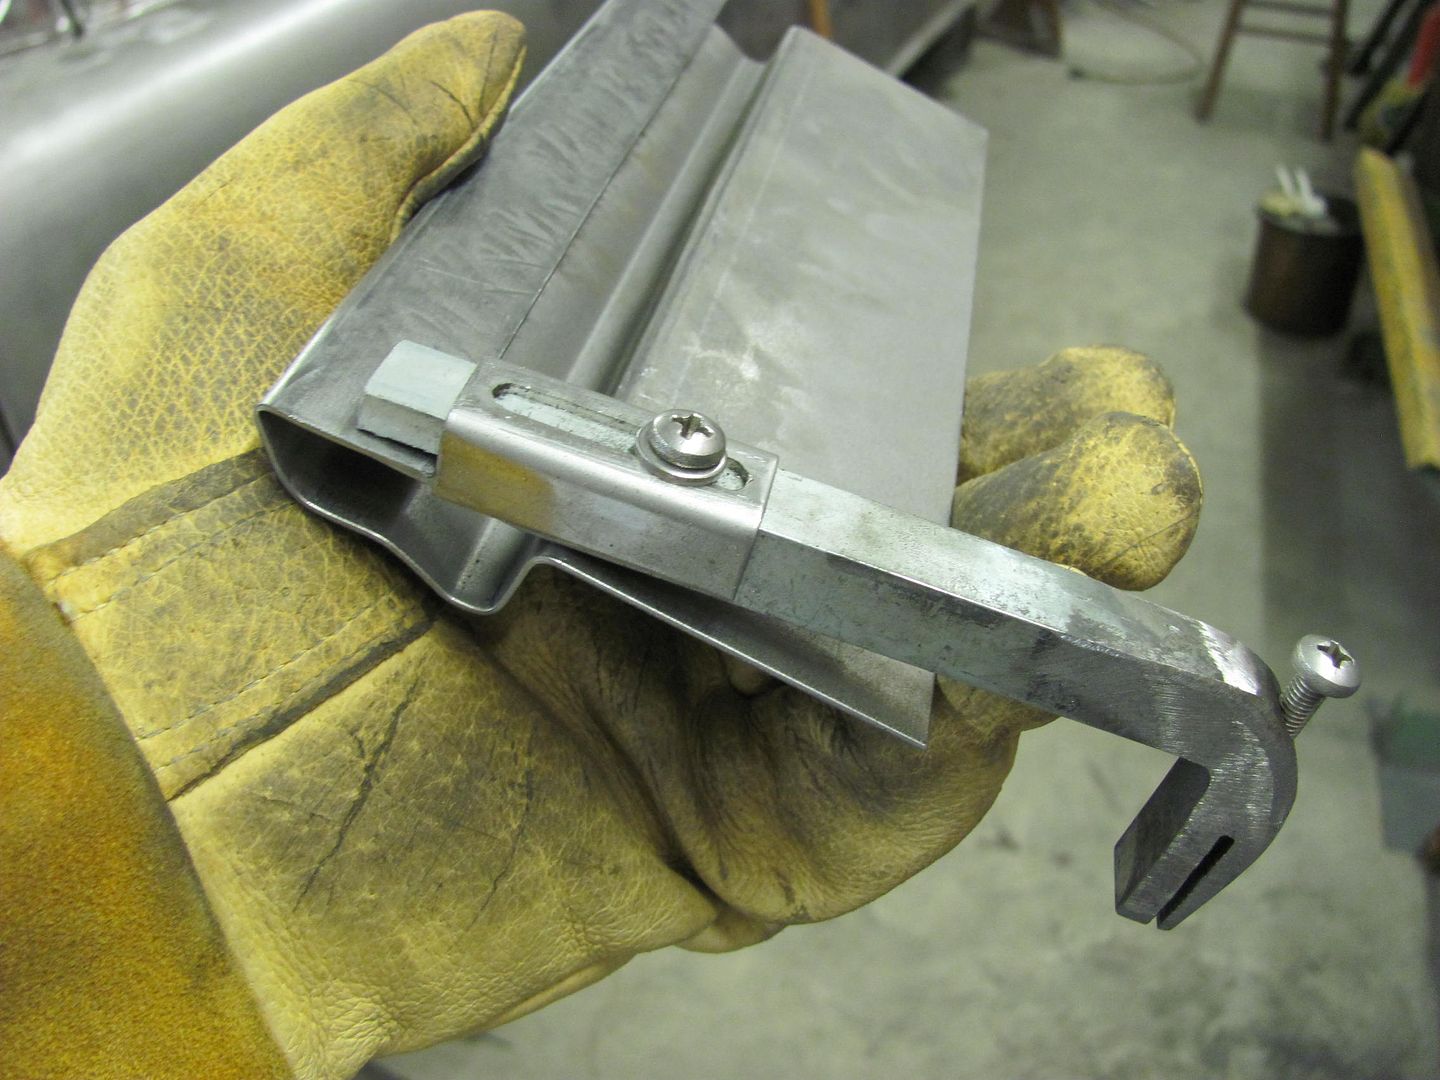
More tipping, then the step die used in place of skateboard wheel with the tipping wheel for the lower 1/4" fold...

Next, need to fold the top in the window opening...Comment
-
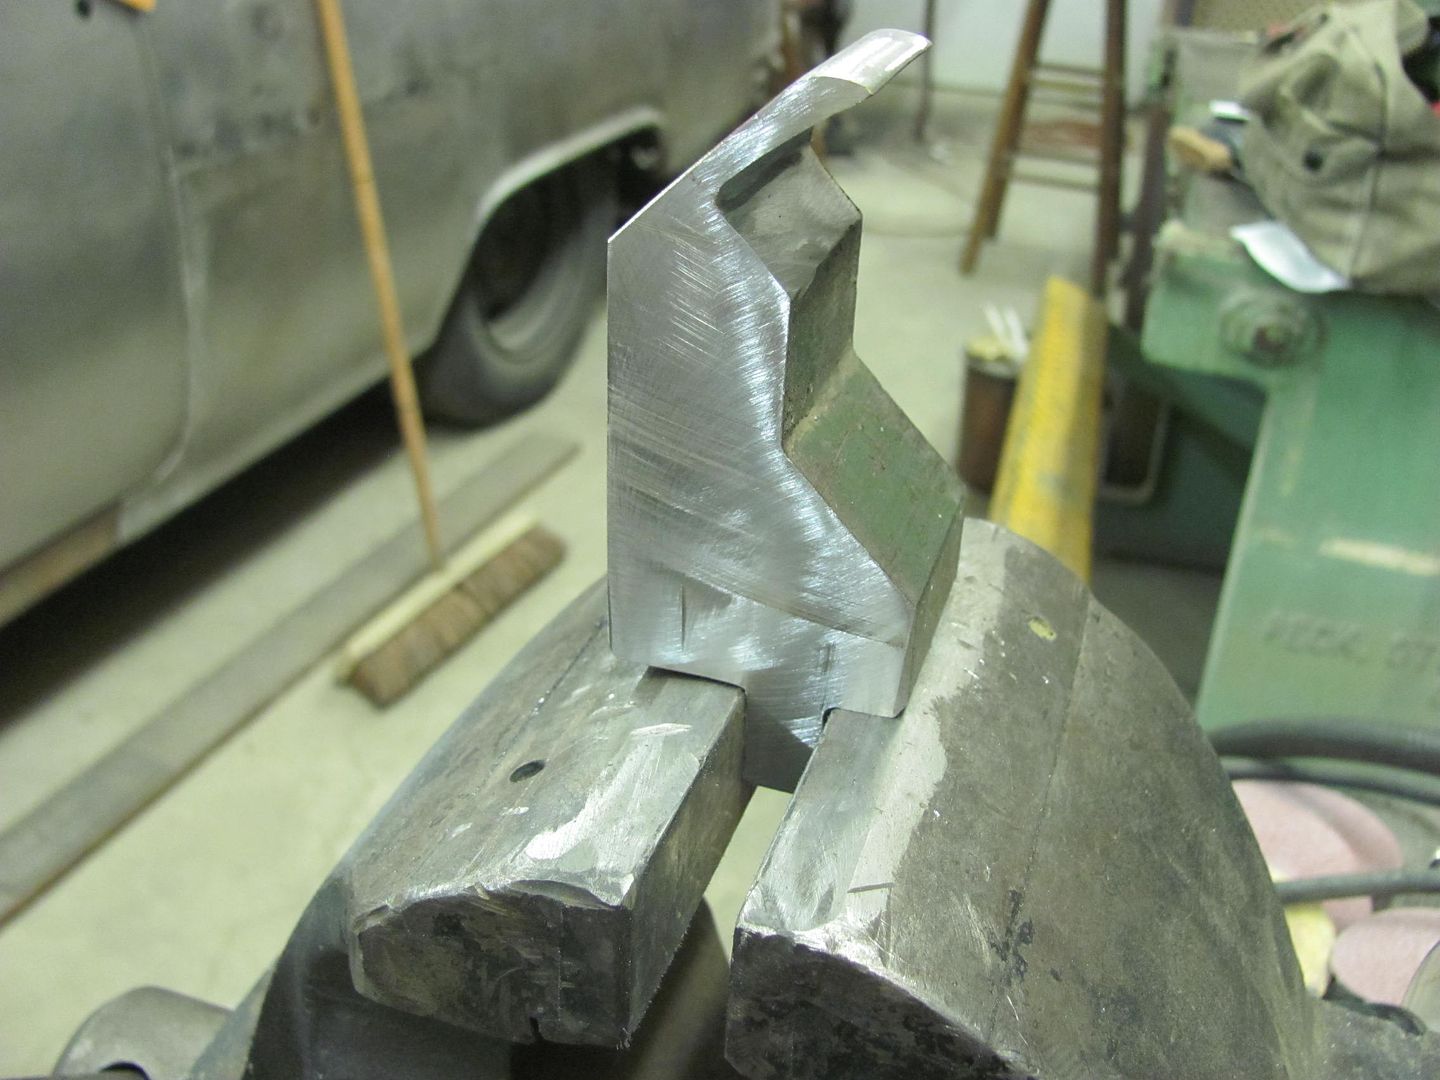
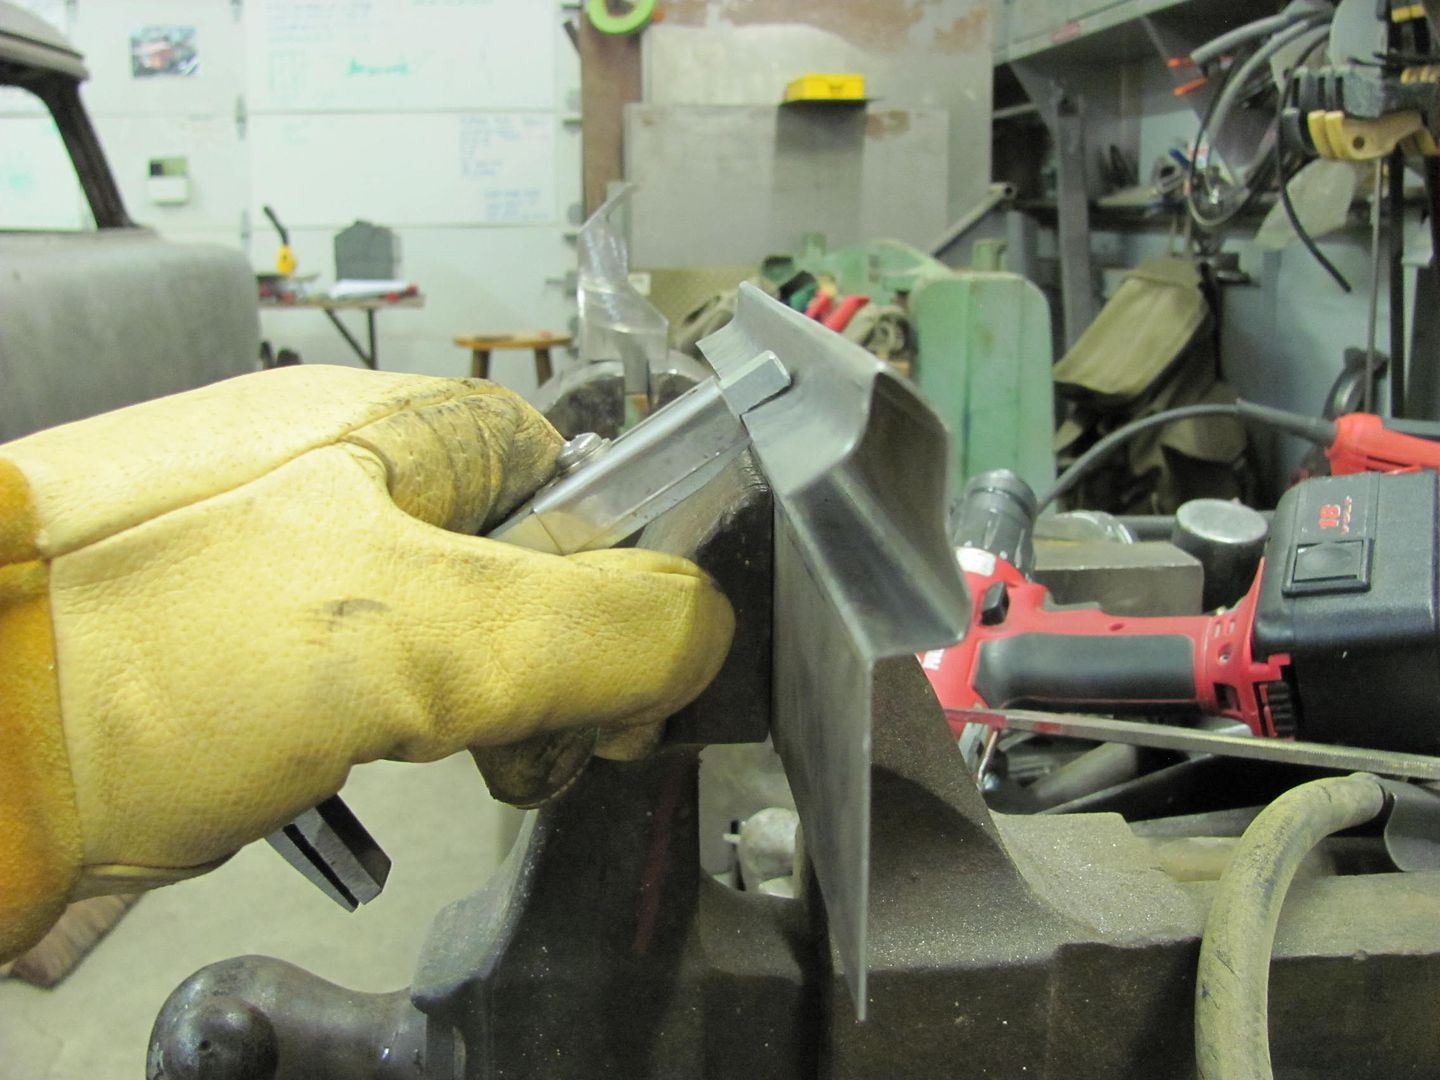
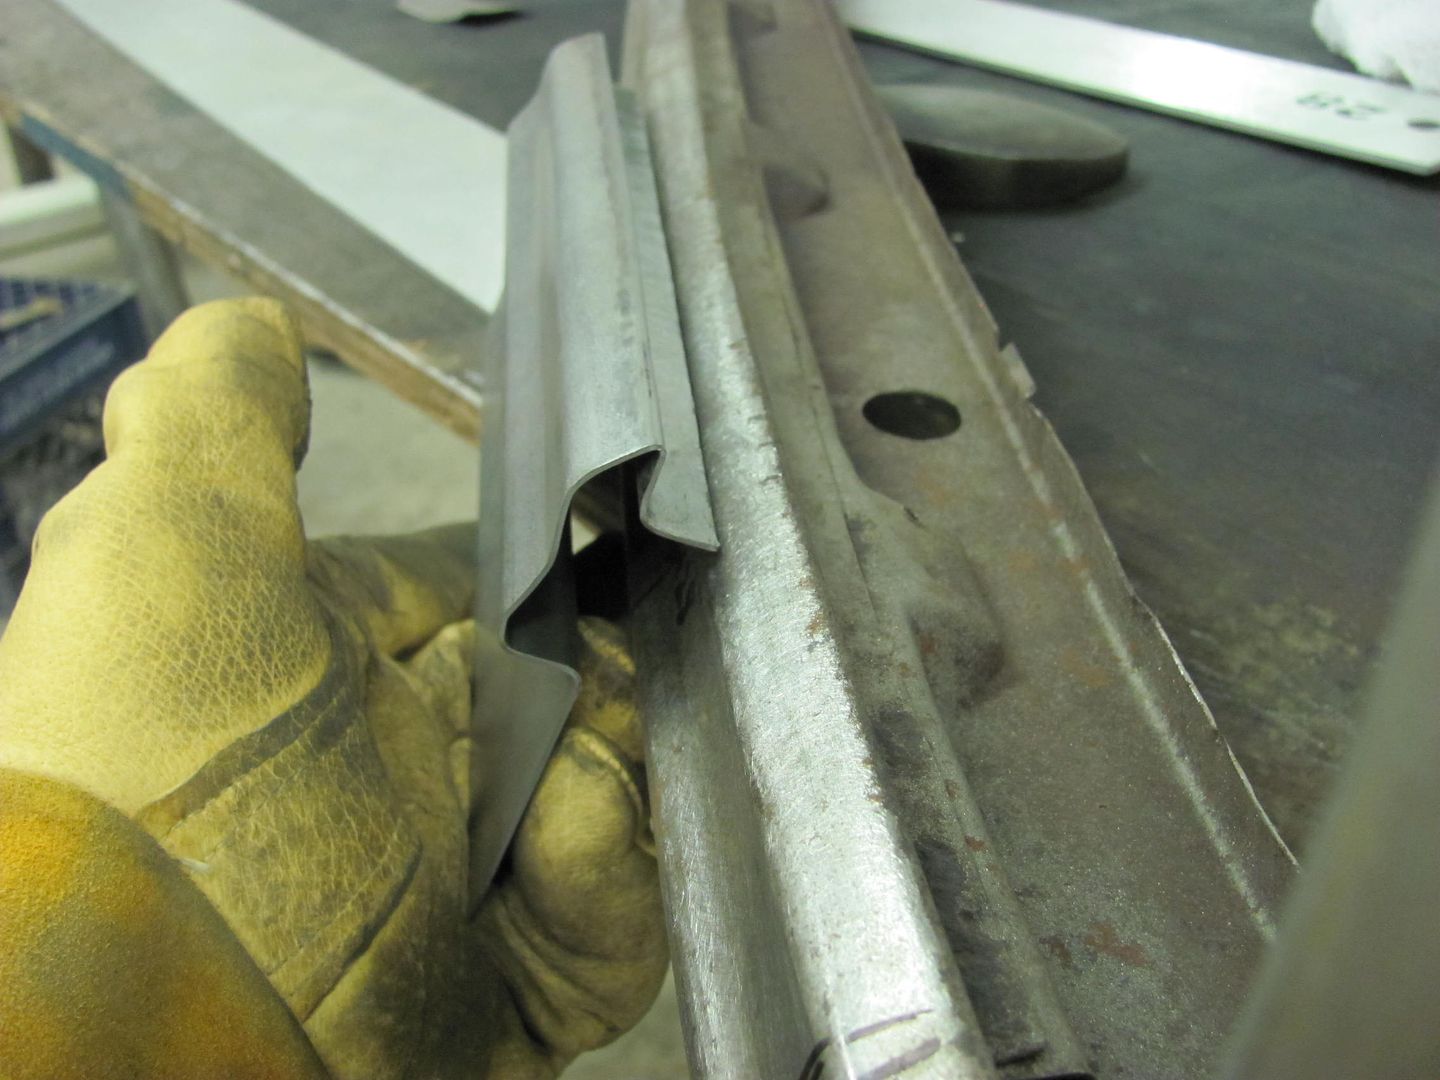
In order to generate less scrap metal out of what looks to be a good piece so far, I made a small sample to test the fold of the window opening. Beginning with using the bead roller tipping wheel....
This is about as far as it would go, and with the good piece already having bends at the bottom, would be a bit less once tried on that piece. This will require a custom made "anvil" for some hammer action...
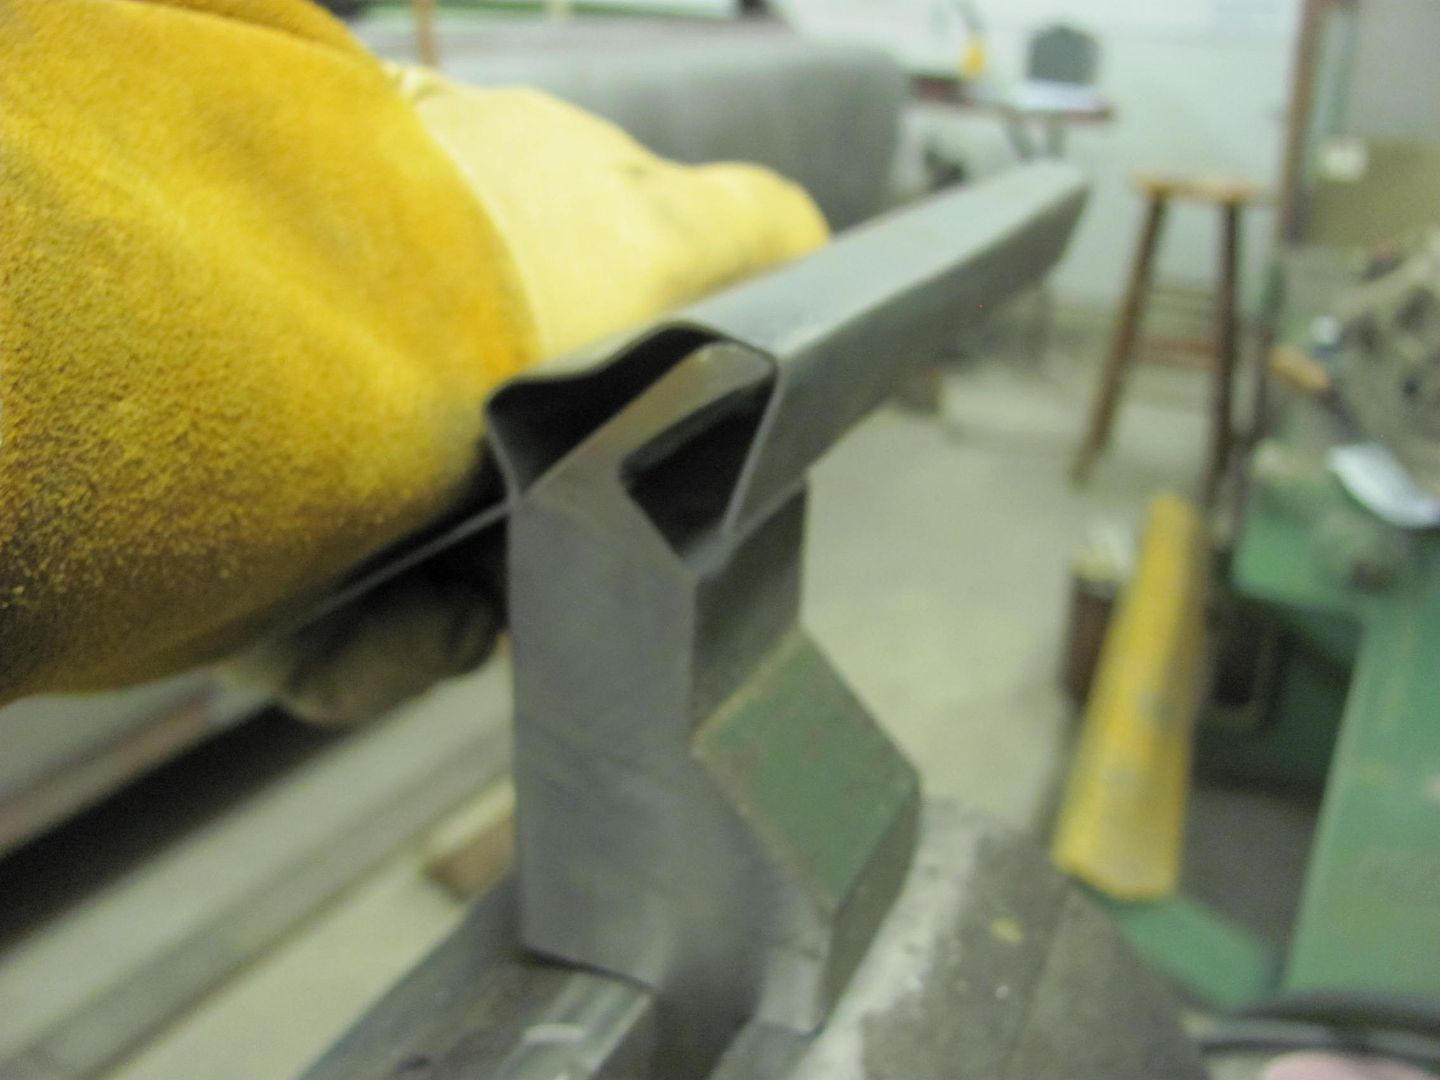
The donor:
As modified:
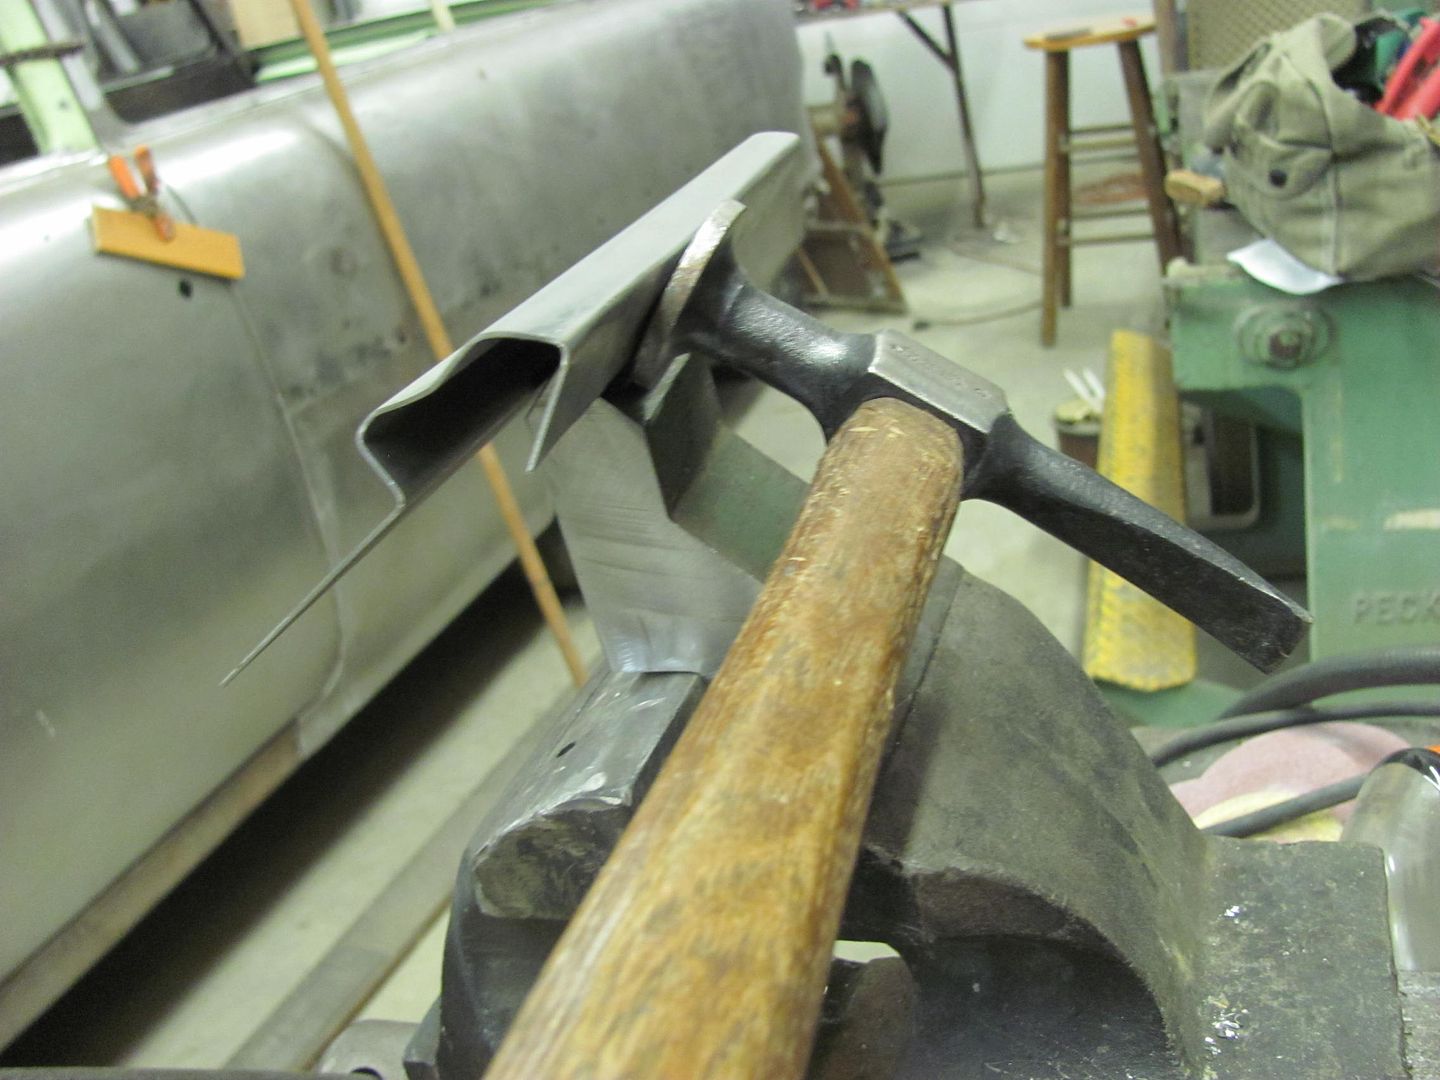
.....then for some manual tipping...
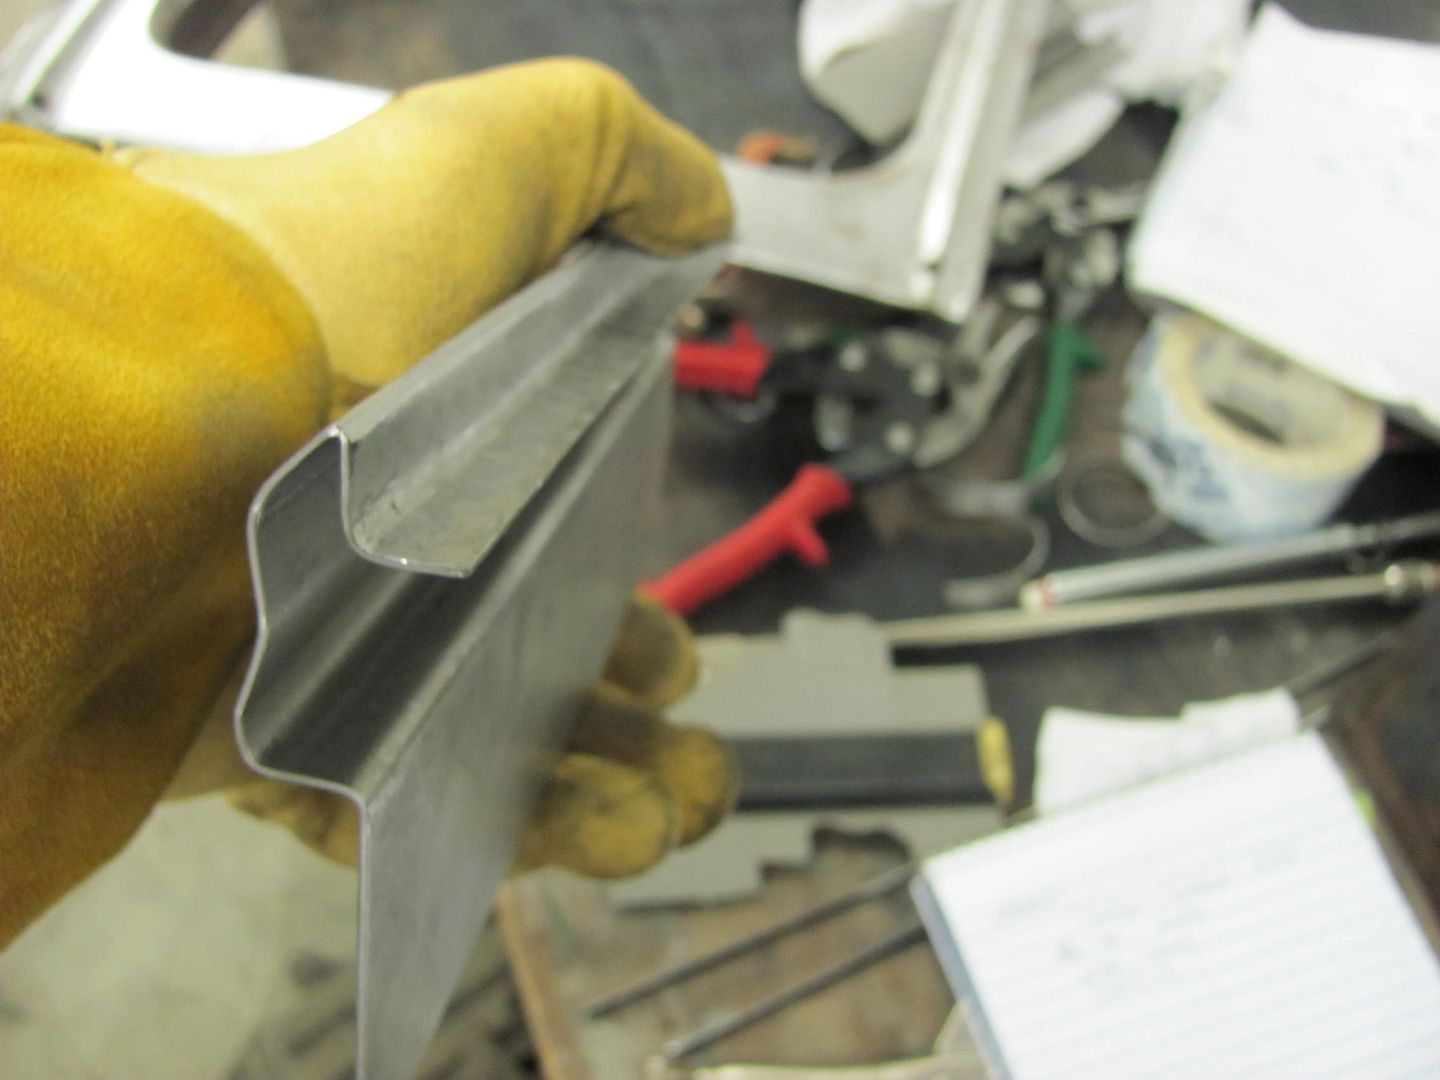
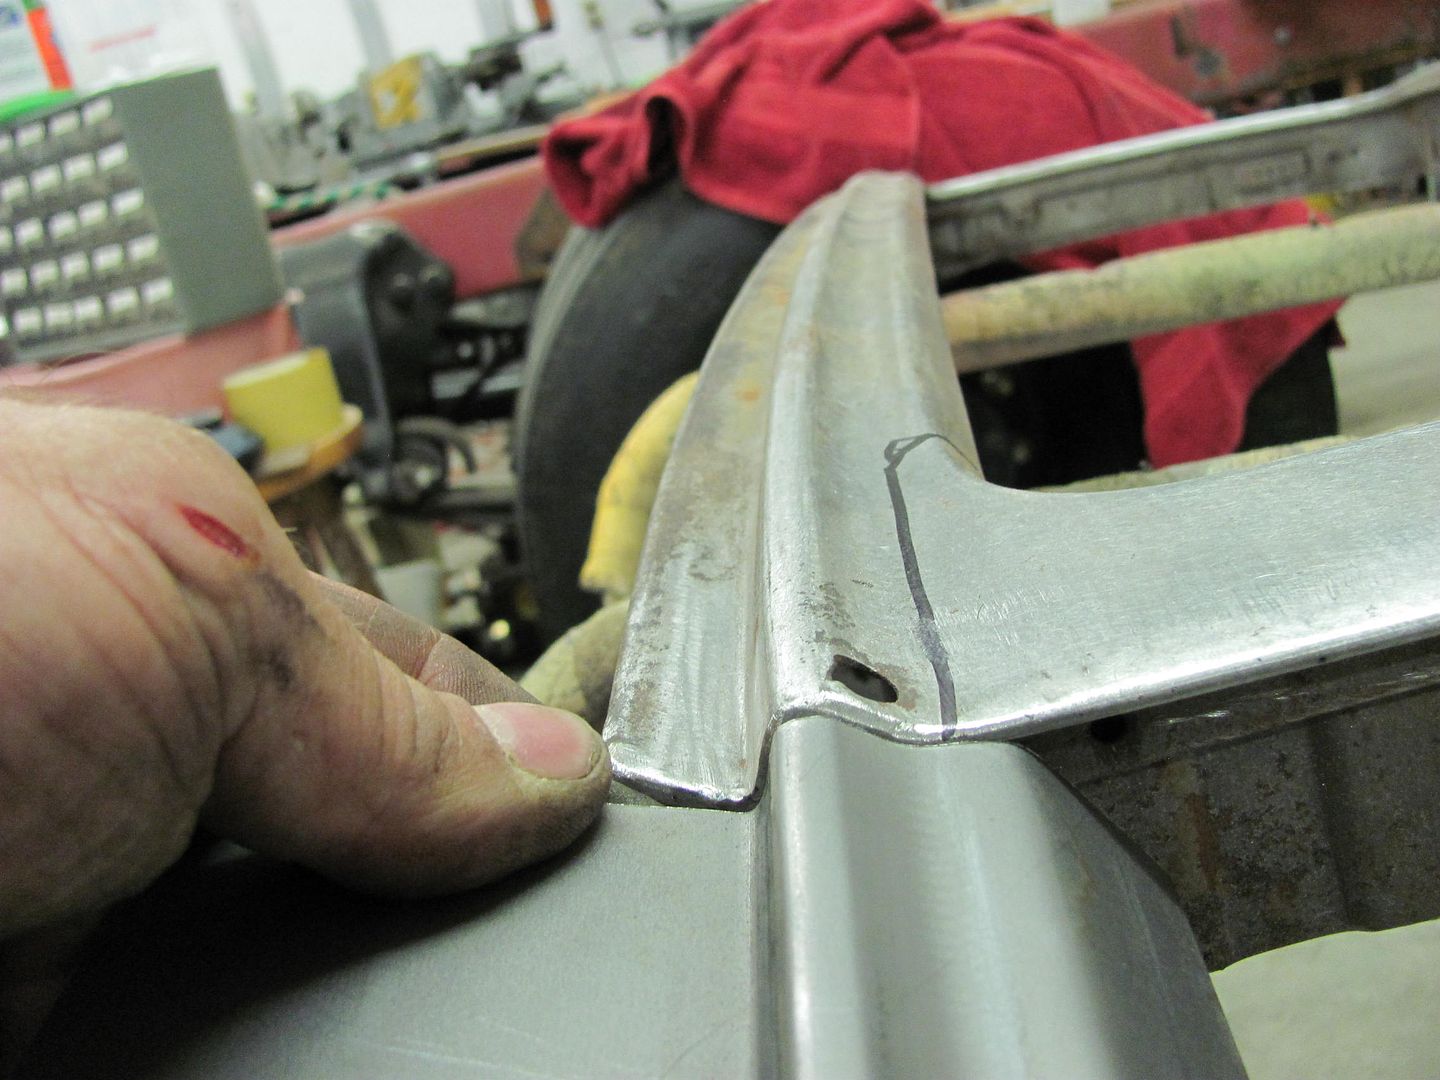
Comparison to the original....

This looks close, next task will be to cut a sample out of the original and see how close we actually are in our bends.....Comment


Comment