I posted elsewhere but the 3rd person is a staff engineer from Electromotive! He will start from CD ignitions from WWII era and bring them to modern and then go into the coilpack systems and state of the art energy mangement and he'll have some of that exotic Electromotive stuff to demo. If a fuel injection system is on the horizon for your hot rod then this is a rare oppertunity to talk to the actual guy that designs them - they designed, developed and patented the coil pack ignition.
I spent much of the day this past Sunday at Clarke County Speed Shop in Berryville Va. OJ was hosting an all day event of Tig welding and metal shaping, I was on the hook to provide a good bit of the metal shaping demo and James Bowler added his expertise in demonstrating fusion welding with the TIG. The audience was primarily gear heads, and it seemed everyone had some vintage iron they were working on and looking for some insight to help out with rust repair and panel forming. Based on our audience, OJ asked that I focus on the use of hand tools where ever possible that anyone should be able to easily duplicate. We did stray from this slightly in showing the tipping wheel on the bead roller, but only after showing tipping methods using hand tools, including a cresent wrench...
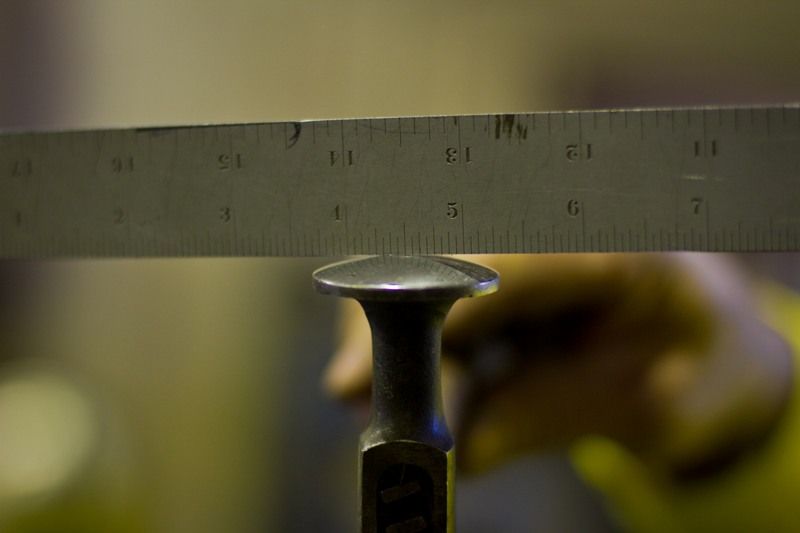
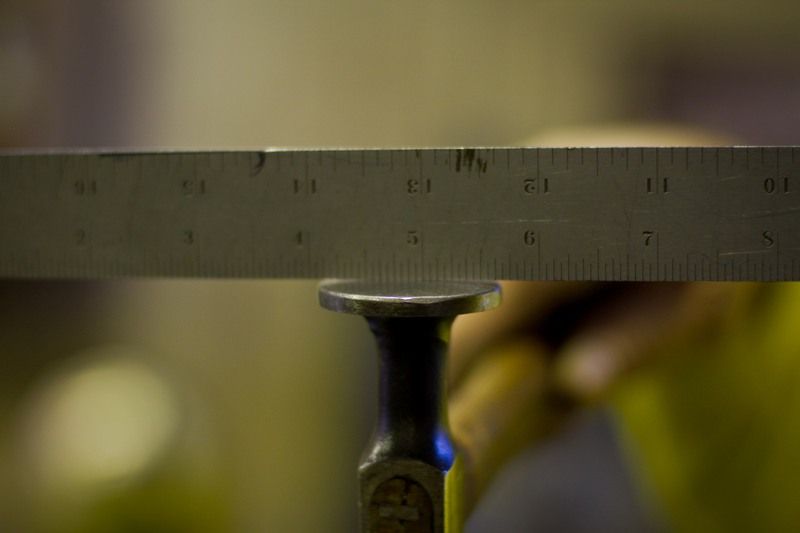
We started off discussing hammer selection....
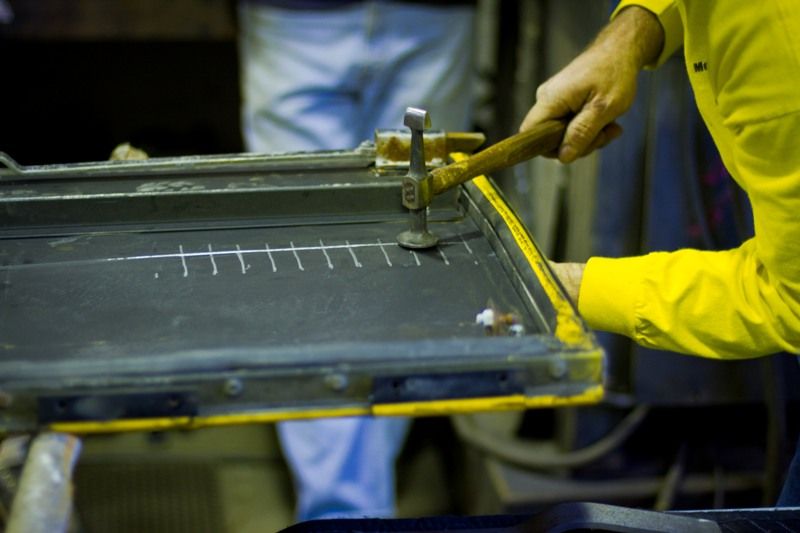
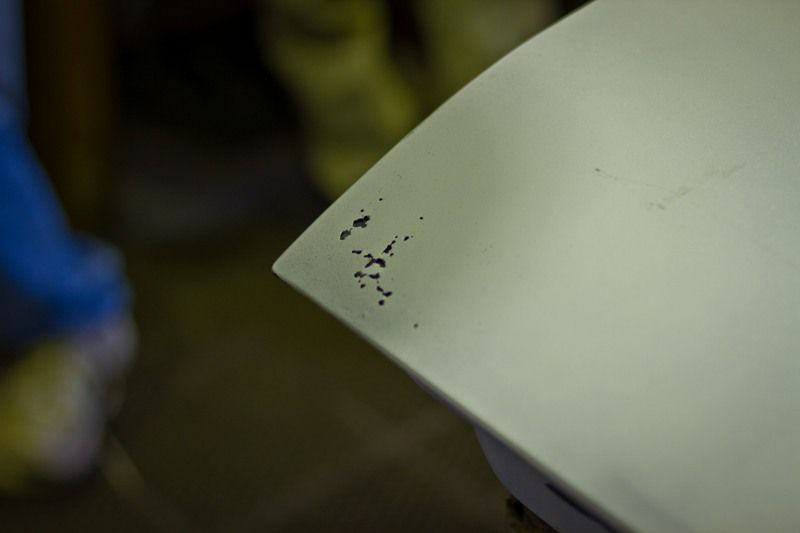
Then, using the body hammers, we showed the principles behind on-dolly, off-dolly, and use of the donut dolly, shown here with a damaged bus door.
A grid was used on the door to assist with occasionally checking the alignment of the hammer to the dolly, for optimal effectiveness in using the donut dolly.
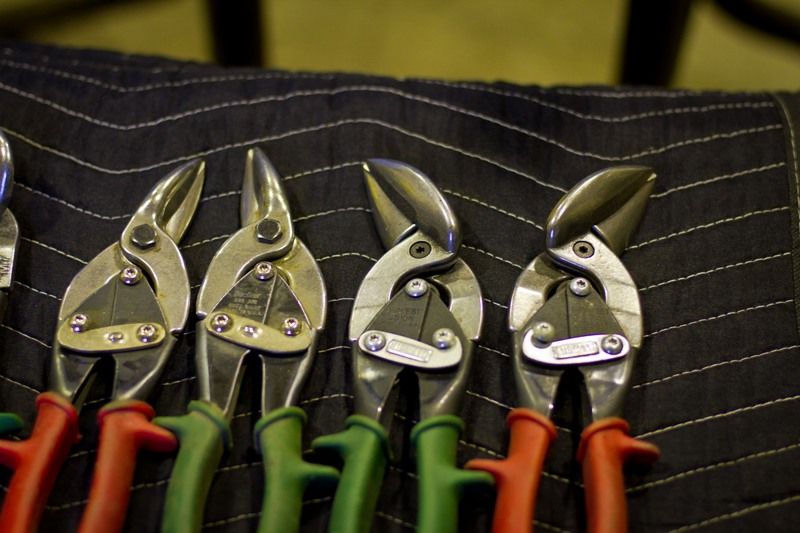
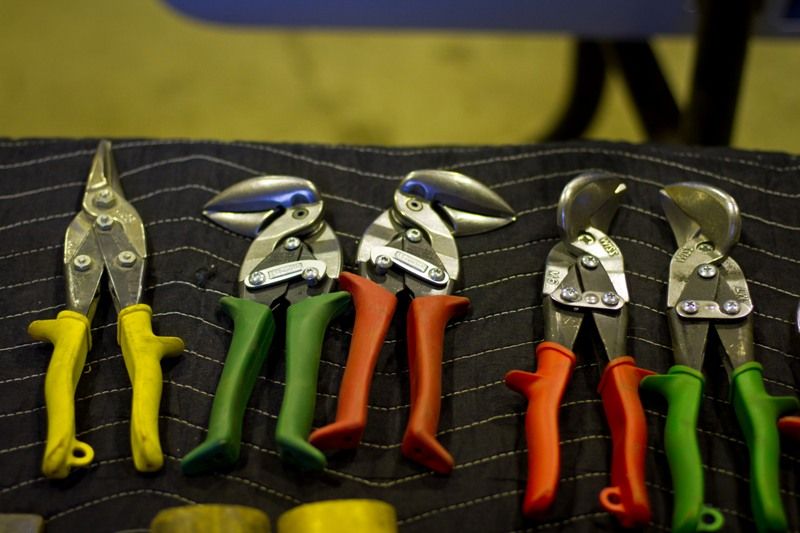
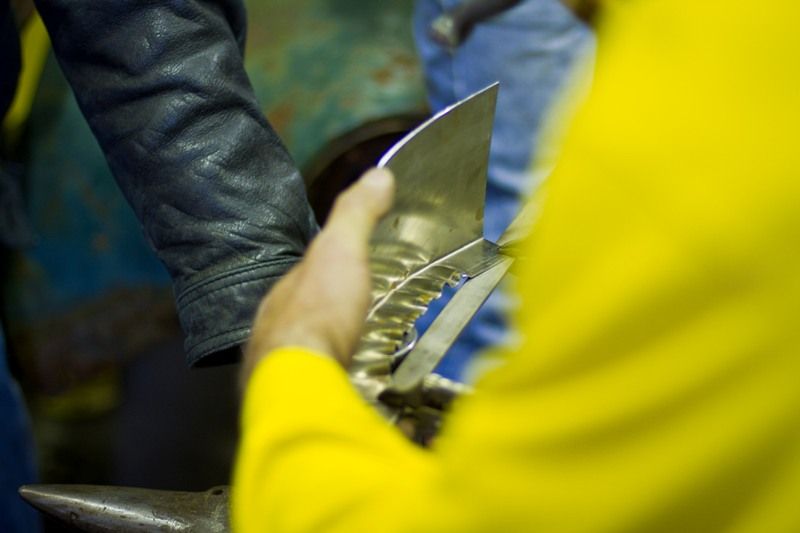
Next, in preparation for trimming patch panels we discussed the proper use of tin snips.
This was based on a video by Bill Gibson, a must see on youtube:
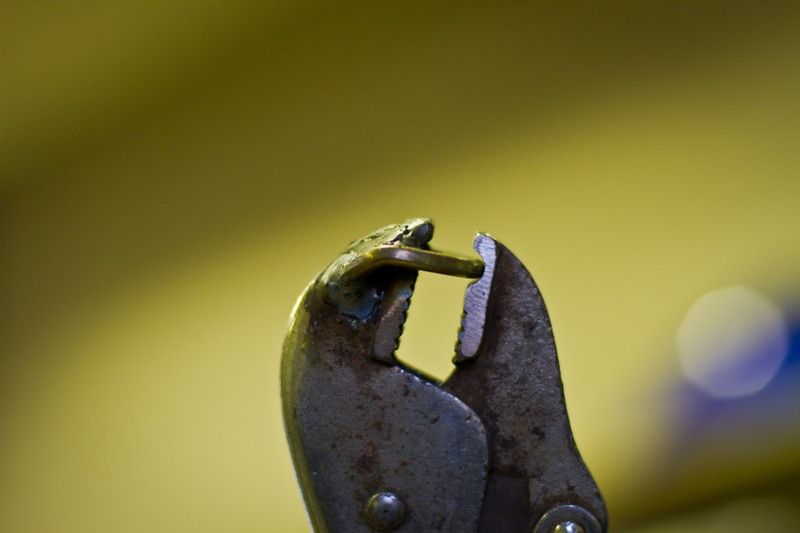
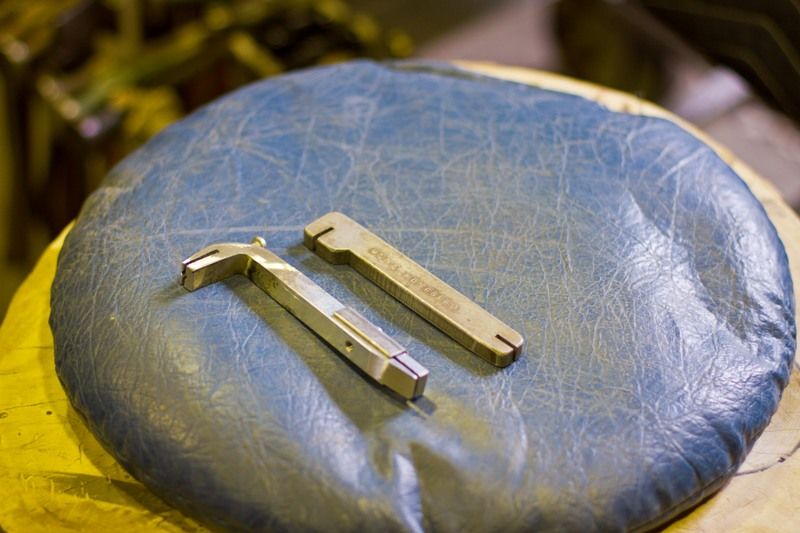
Questions diverted to the "odd looking" vise grips I had brought along, the de-skinning tool:
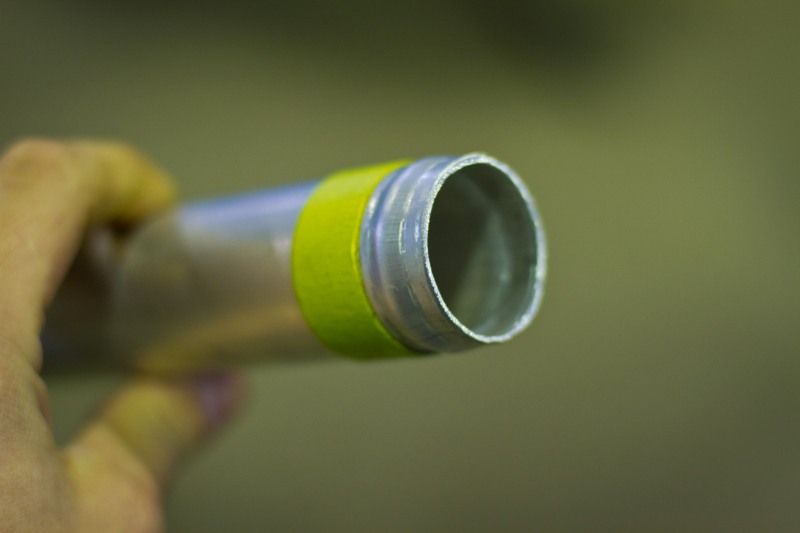
The tube beading tool demonstrated:
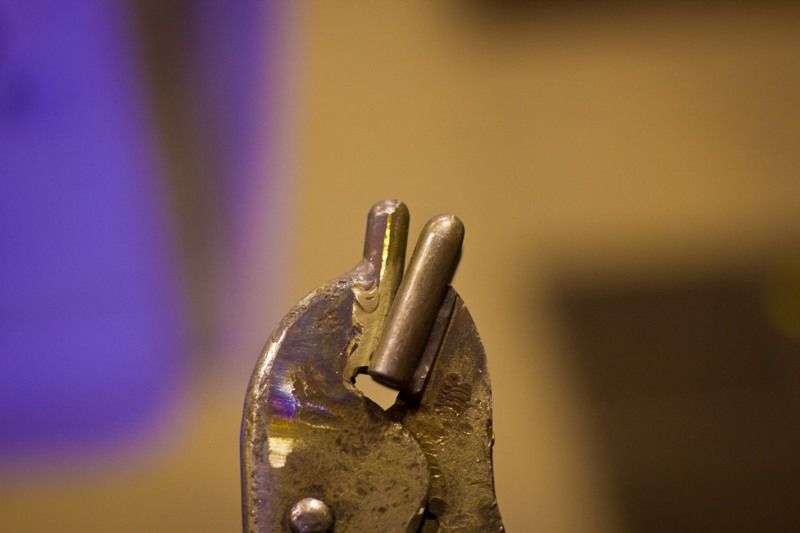
.....and the tuck-shrink pliers...
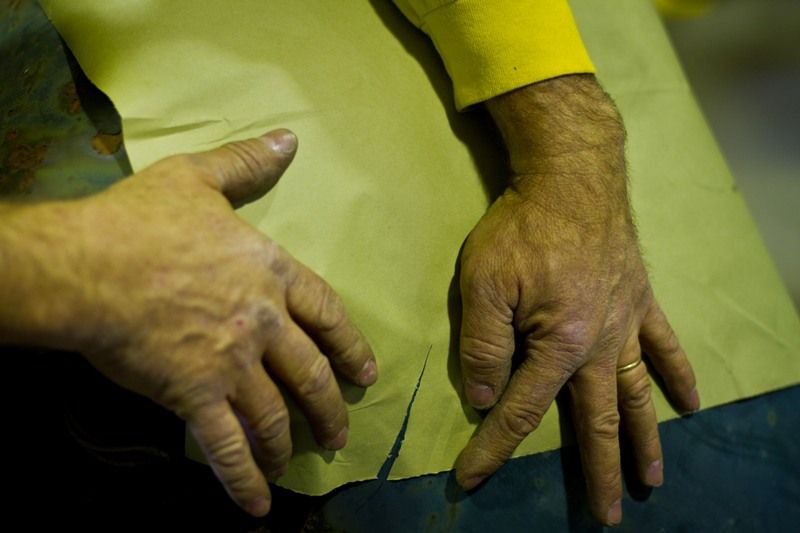
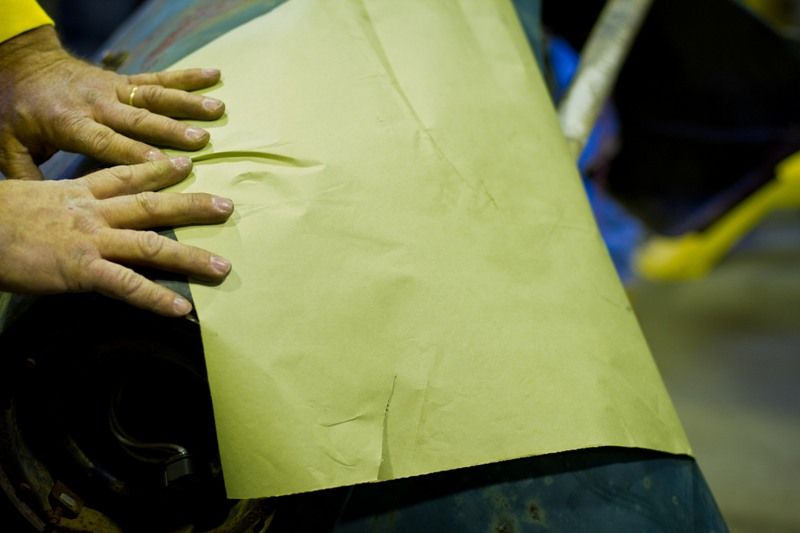
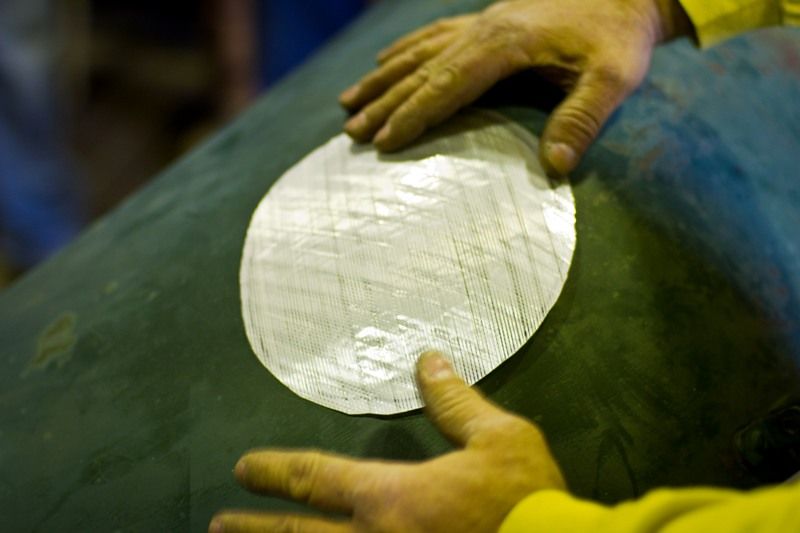
Then we moved on to reading the panel for fabrication of a patch. Starting with a piece of masking paper, forming it tight to the panel, any area showing a pleat would require shrinking, a slit would require stretching.
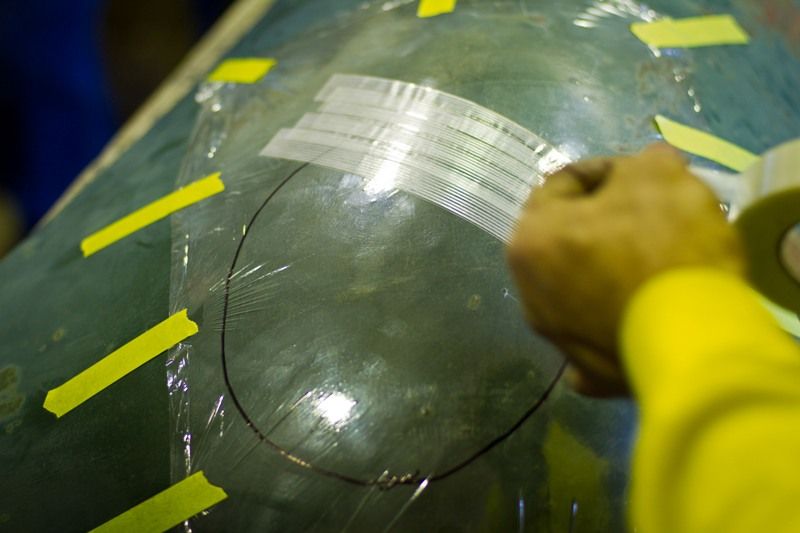
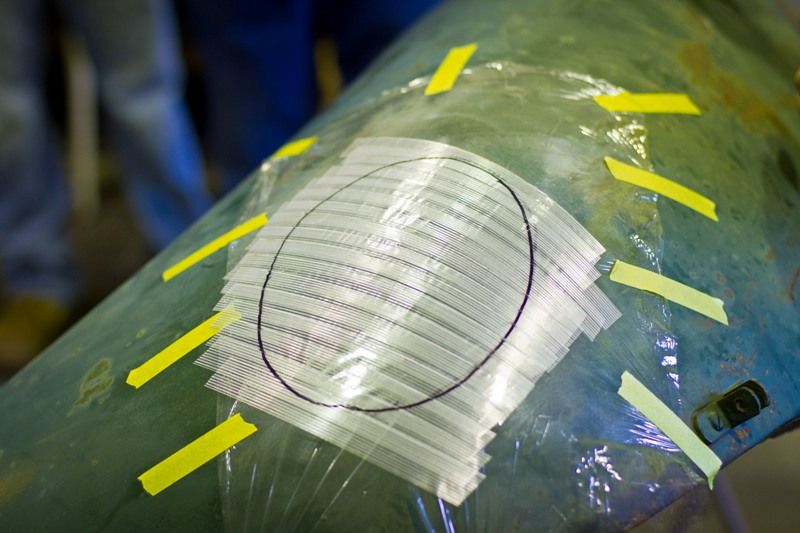
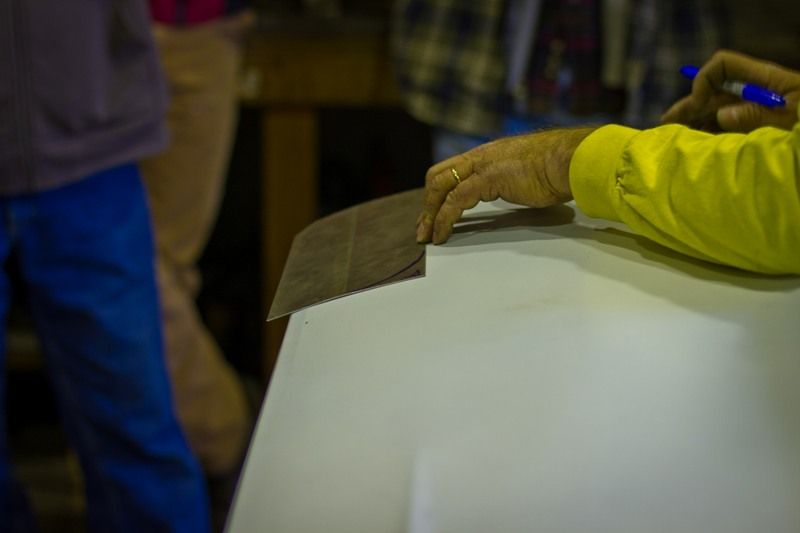
Next, a flexible shape pattern was taken from our circled "sample damage area". Cling wrap was used to act as a release agent, but as the cling didn't, it was stretched across the area and taped in place.
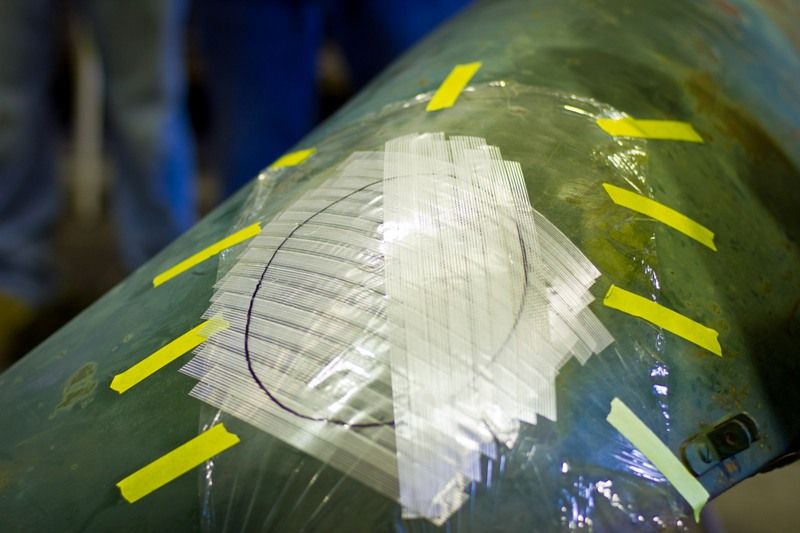
An opposing angle on the second layer helps to lock in the panels shape on the pattern...
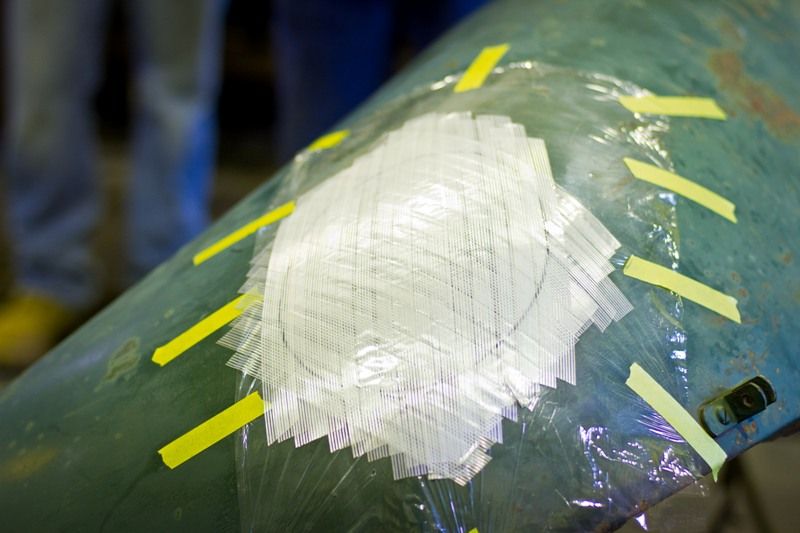
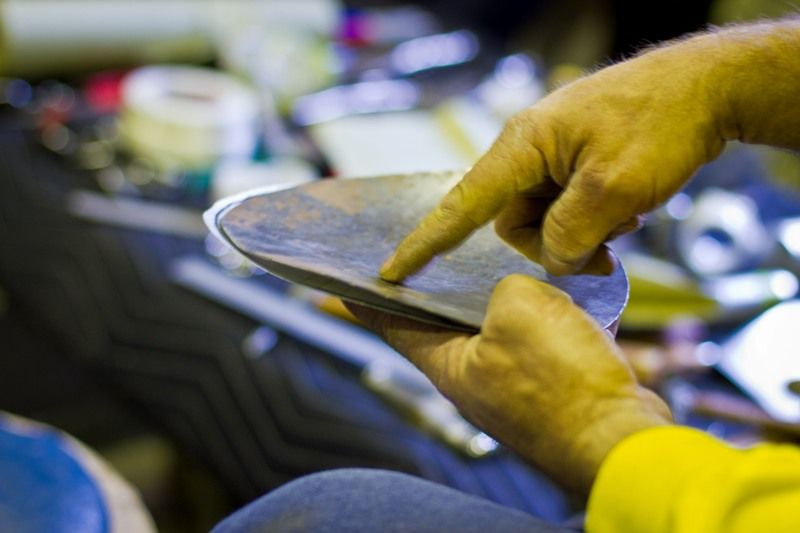
And trimmed off the excess. The reference line surrounding our "damage area" was copied onto each layer to help determine the correct size for the patch panel...
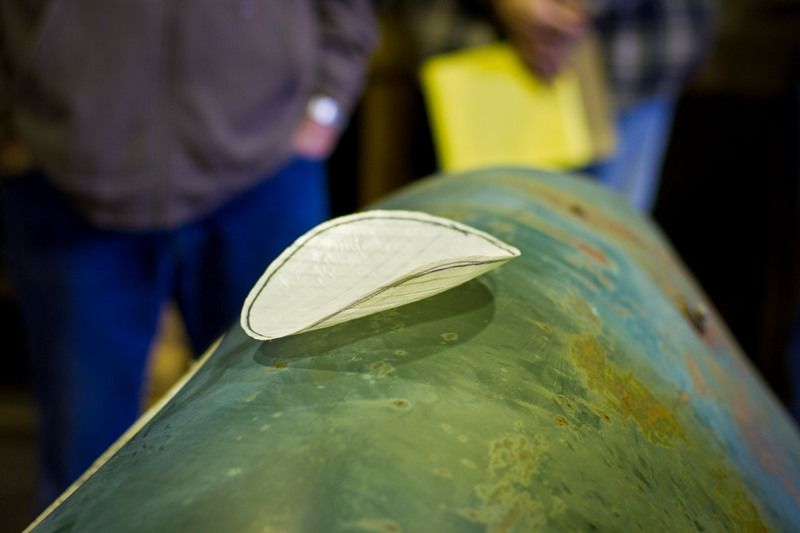
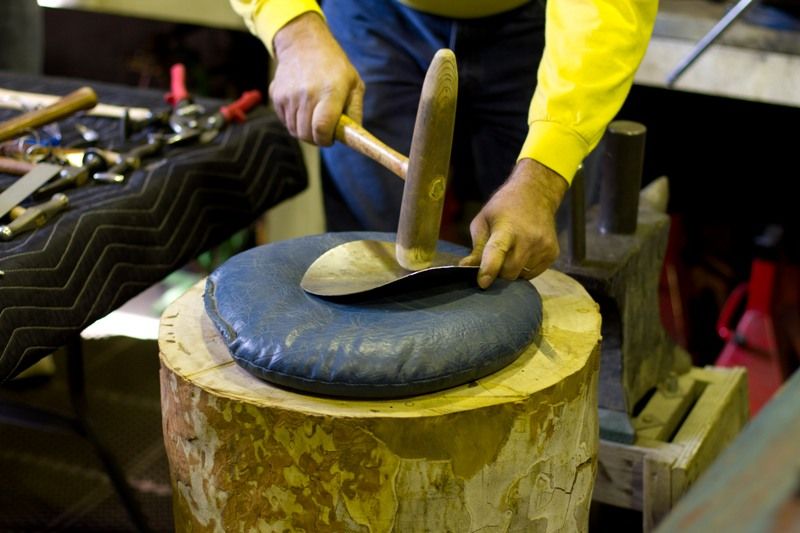
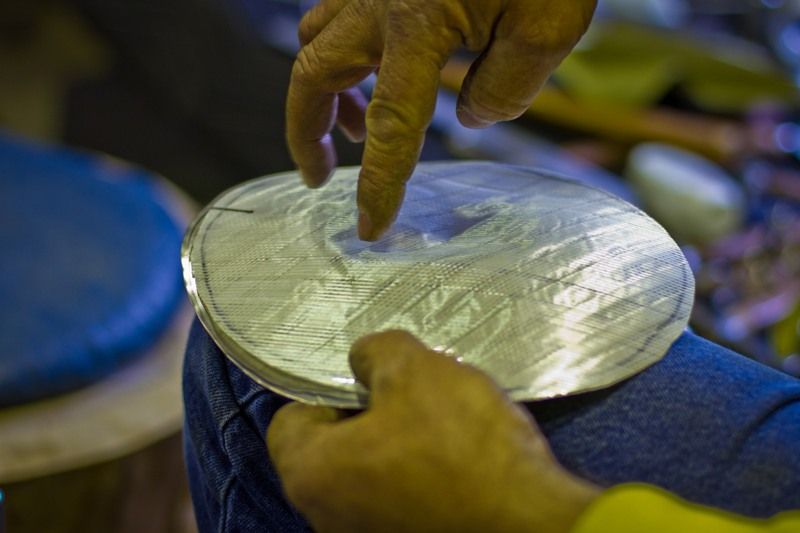
Next, a shot bag was used to hammer out our repair panel. By using the FSP on top of our patch, the loose areas shown indicate more stretch or shape is needed in the panel.. until the pattern reaches a snug fit.. And by simply inverting the pattern it will give us a pattern for the opposite fender.
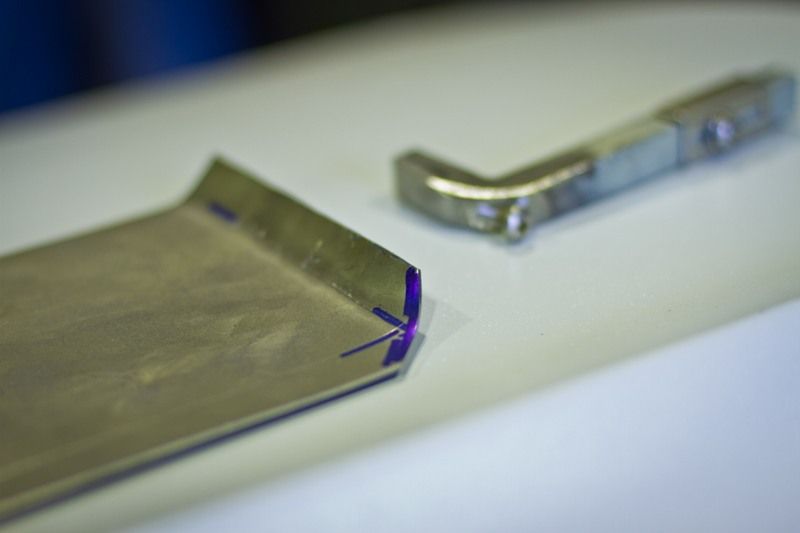
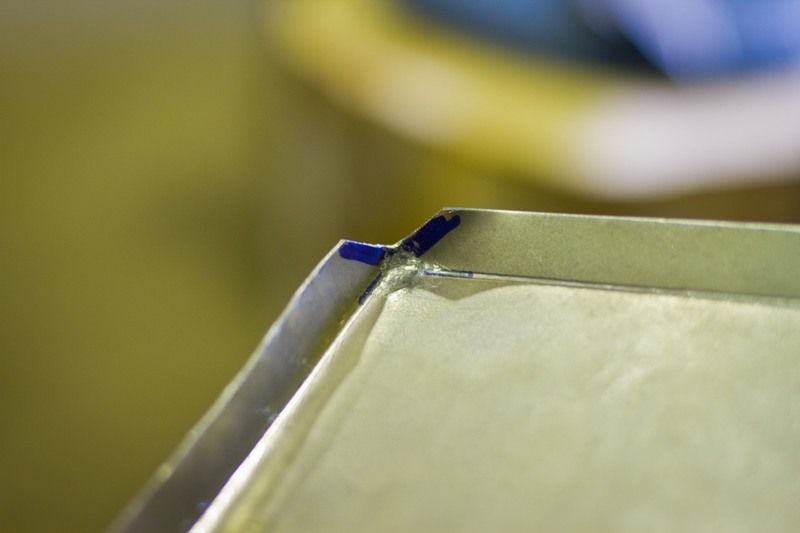
Next, we showed fabrication of a door skin patch. The outline of the door was marked on the patch, and the width of the flanges added.
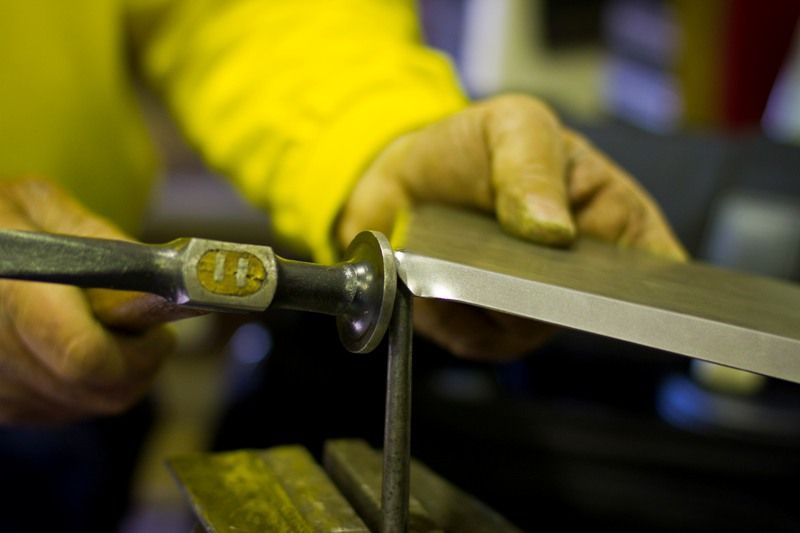
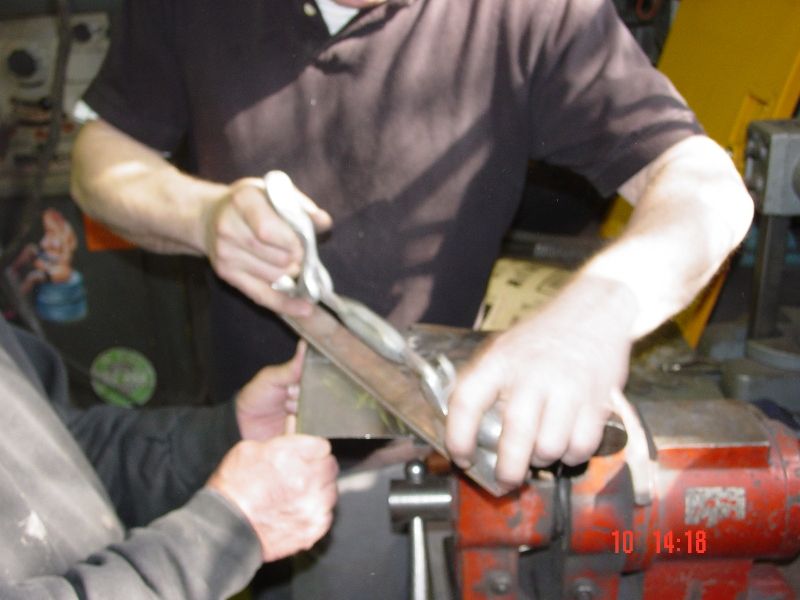
The first trial was done using a cresent wrench, and we found the disadvantage being no depth stop. These tools show a fixed depth tool and an adjustable depth tool..
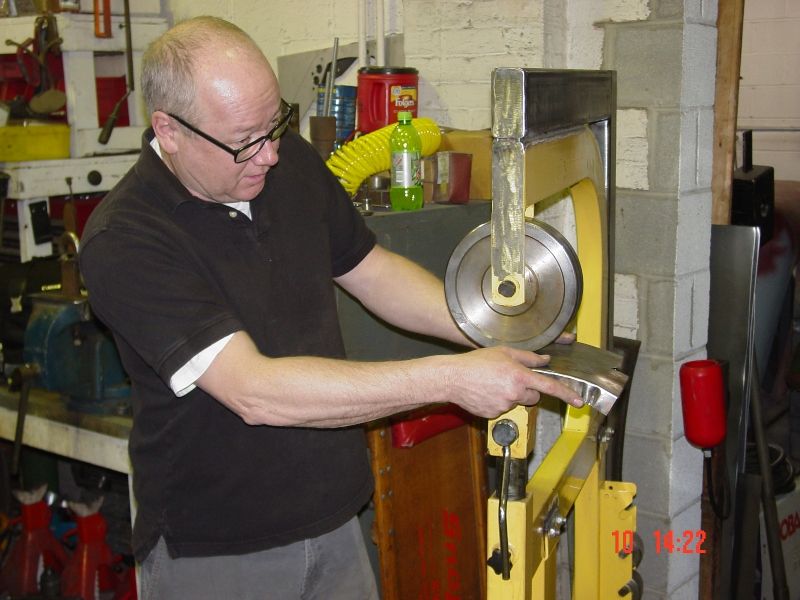
And then the tipping wheel in the bead roller showed another method. After both flanges had been tipped, one of OJ's drift punches clamped in the vise became a radius anvil for the corner....
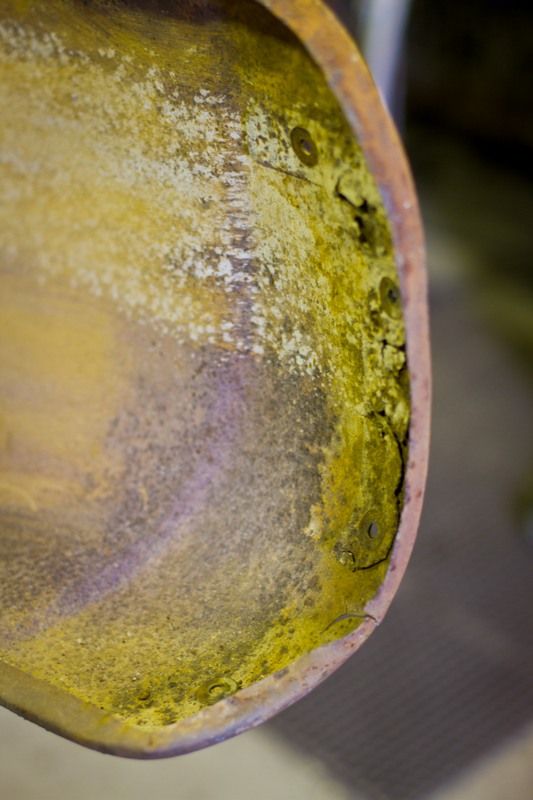
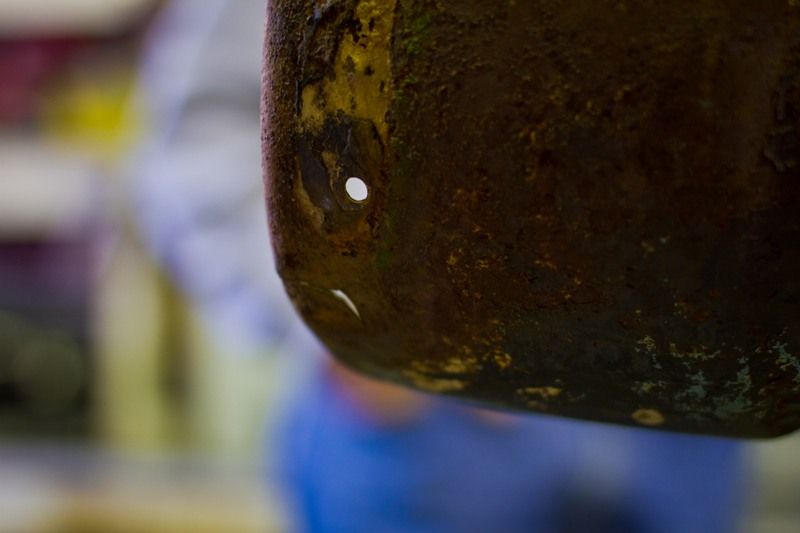
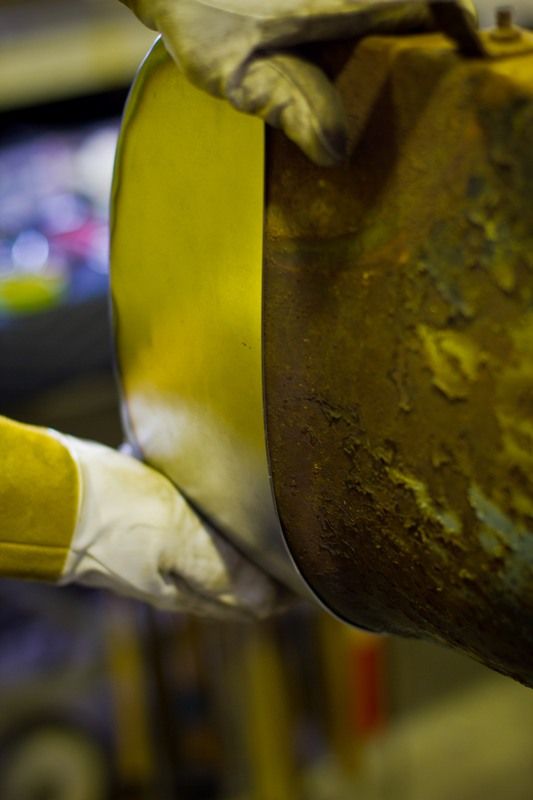
Then we wrapped up a few of the different lessons together in forming a patch for the bottom of a Stovebolt rear fender. Many fenders of this vintage are plagued with rust around the running board attachment area, and this sample also showed a stress crack or two.
This patch needed rolling, a bit of stretching in the shot bag to add crown, tipping flanges, and a bit of tuck shrinking.
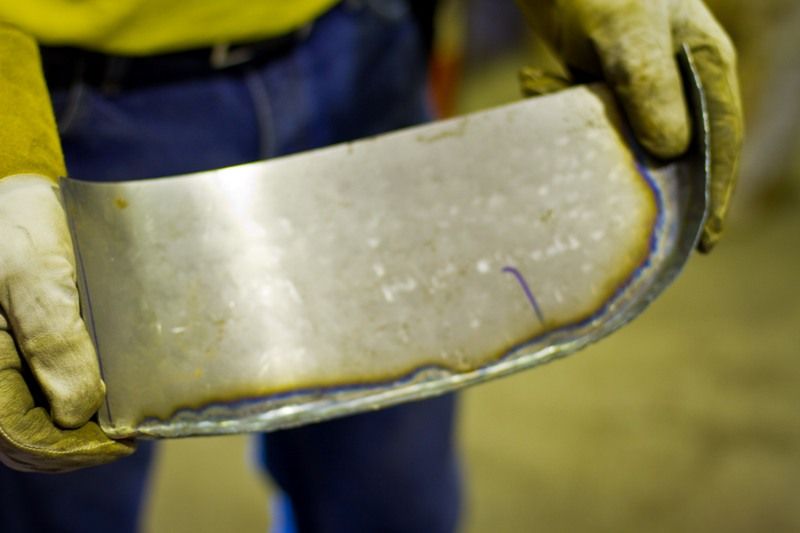
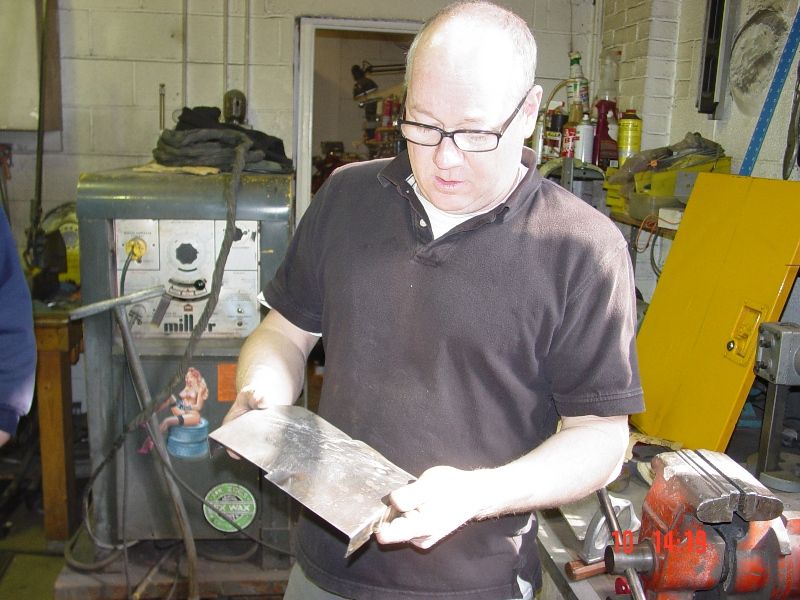
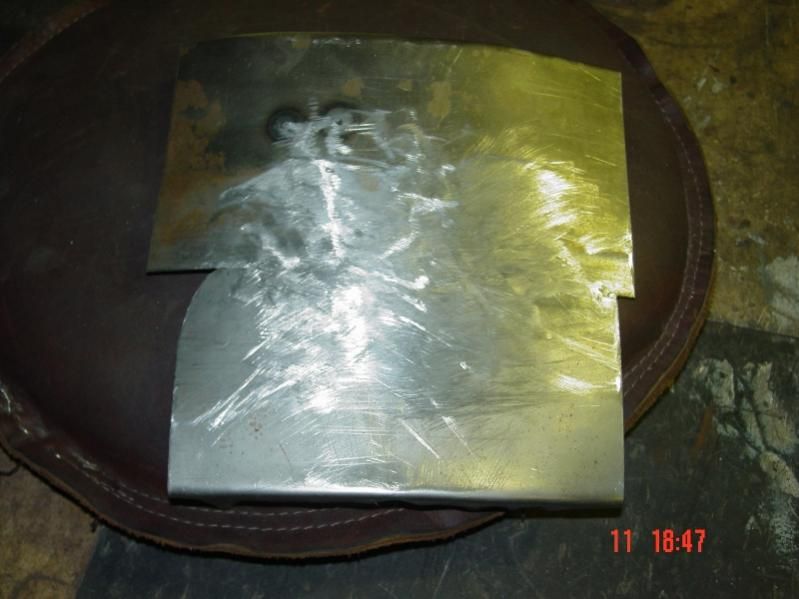
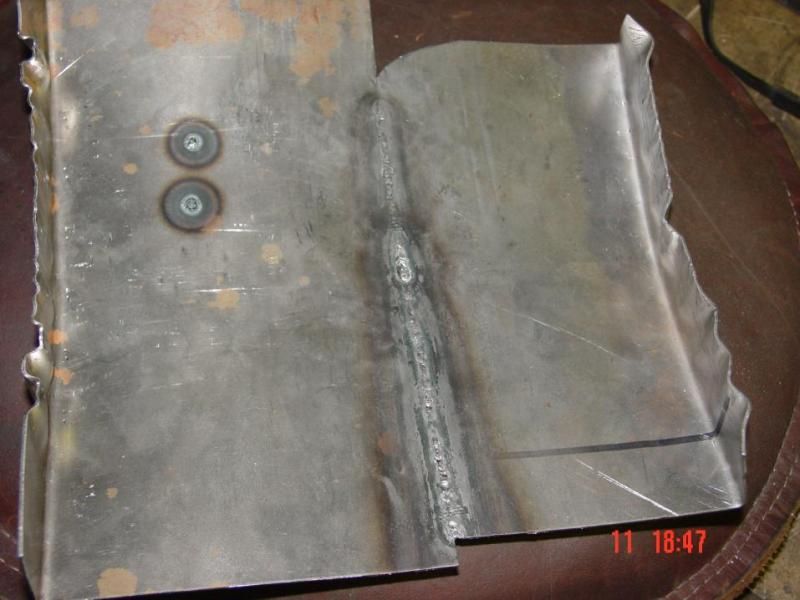
James Bowler showed fusion welding using the Tig. Two formed pieces were welded together and with a bit of filing and shaping, the outer seam was invisible...
....and here is the rear view...
I think everyone had a good time, we answered many questions, OJ kept everyone well fed, all in all a good day..
 Tweet
Tweet

Comment