Announcement

Collapse
No announcement yet.

'06 Chevy Van paint repair.

Collapse
X
 
  • Filter
  • Time
  • Show
Clear All
new posts

  • '06 Chevy Van paint repair.

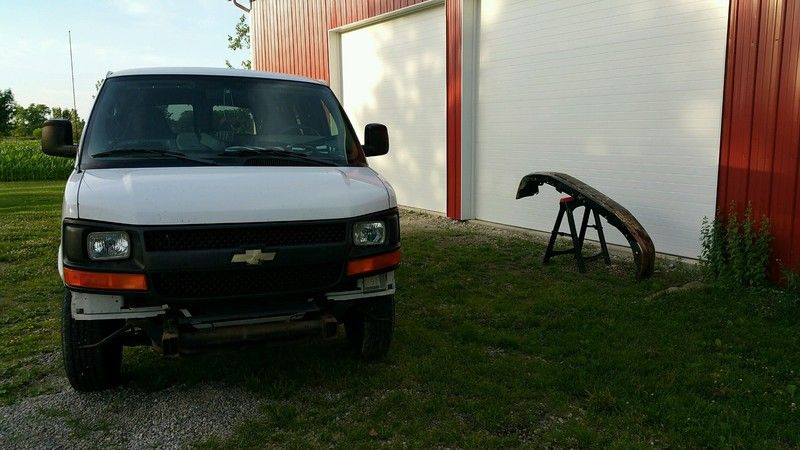
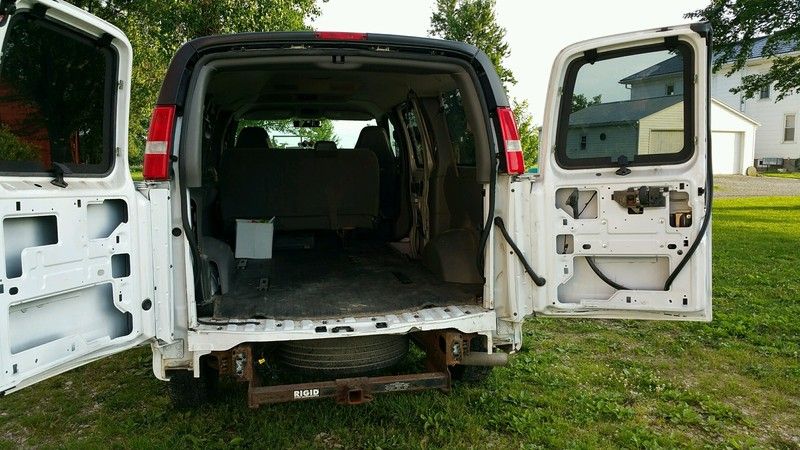
    Blew apart the van in preparation for paint/stone-guarding the lower 8 inches this week.

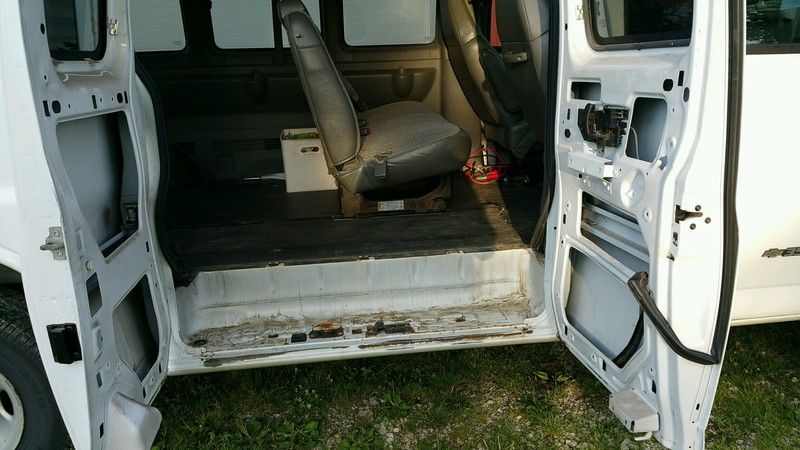
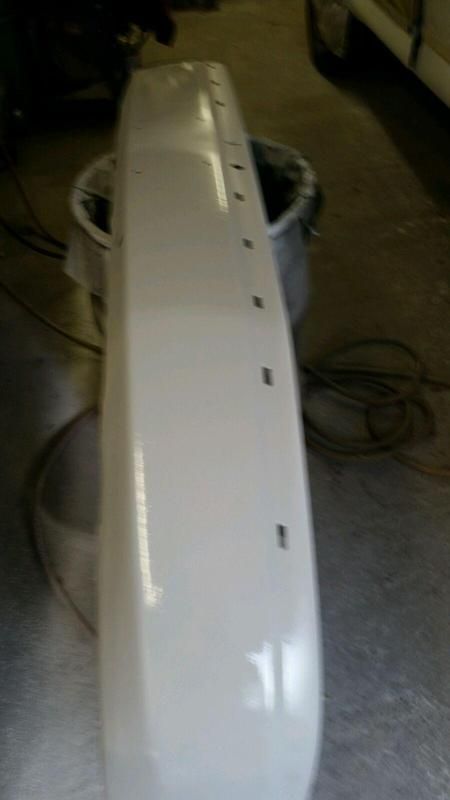
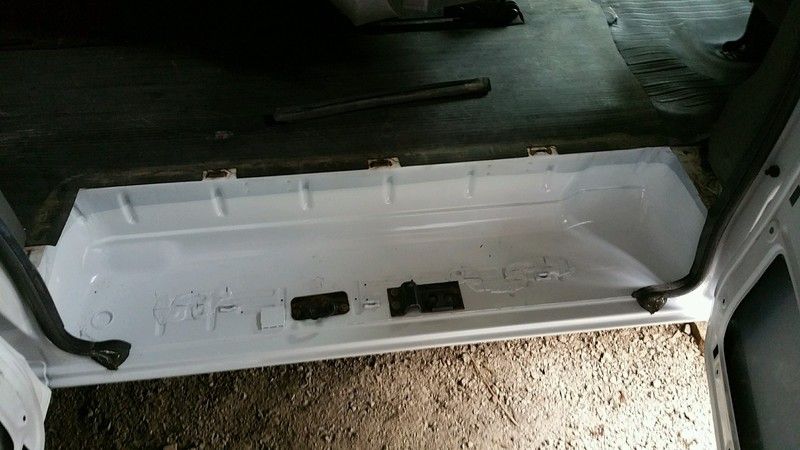
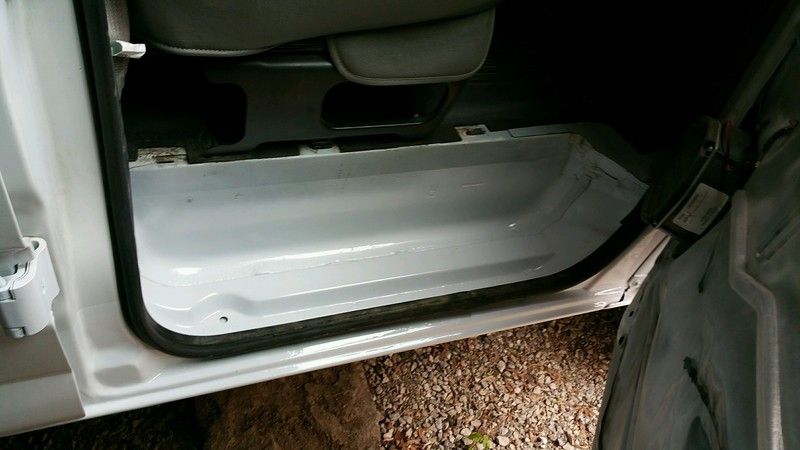
    Little feet have worn the paint right off the thresholds, so trying to keep the rust at bay. Plus the bumpers seem to be made of iron-oxide, so grinding them down as well.


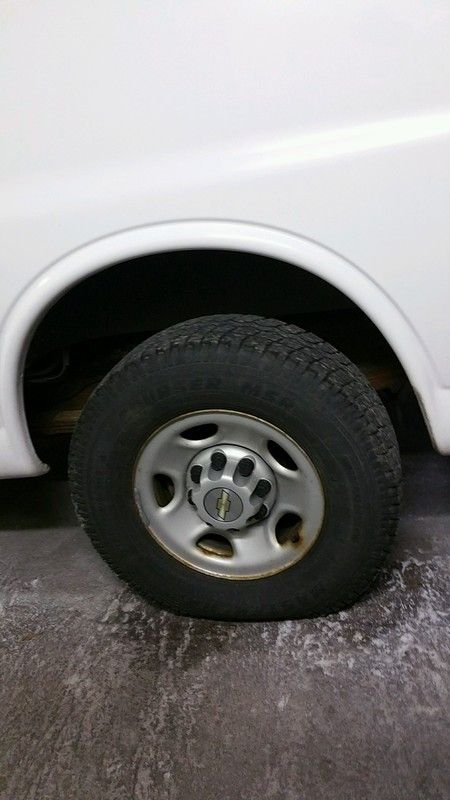
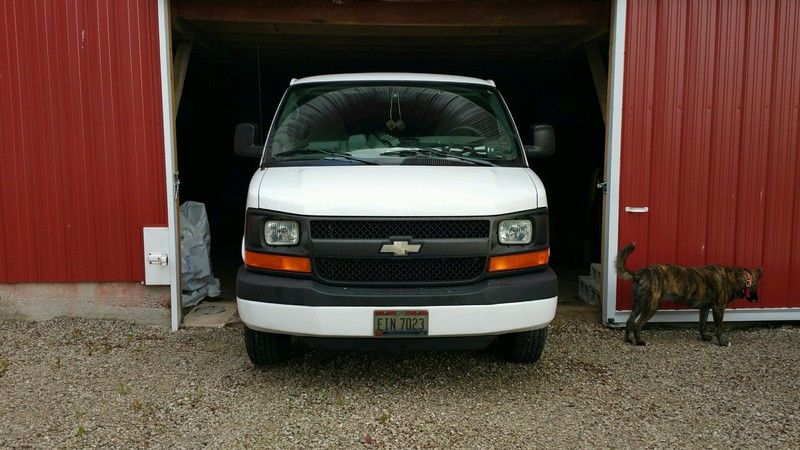
    Had to drastically reduce the rear tire pressure to get it in his shop. 1/4" to spare after dropping.

    Of all the paths you take in life - make sure a few of them are dirt.

  • #2
    I just thought I new about rust... yikes. Good idea to keep it coated!
    Flying south, with a flock of bird dogs.

    Comment


    • #3
      See the DP90 comments in your Jeep thread. Also, there are several products (I usually use SEM) that will melt new clear coat into the OEM stuff. Basically you blow on the paint and overshoot the blending agent while the paint is wet - it comes in a spray can. These work great and have saved my bacon many times.

      I'd be tempted to use bed liner on that step but another option is grip tape as used for skateboards. That stuff is TUFF!

      Dan

      Comment


      • #4
        There is a big plastic insert in each of the entry wells, so the traction aids would be under utilized. Good thought though.

        That said, the insert creates a hidden cavity for sand to accumulate in and them get wet from snow melt in the winter. Rot fest waiting to happen.

        This is all to prevent that. Plus this van was a oem lease to a church youth group for its first 70,000, those little buggers must have used the snot out of it, as they completely wore the paint off the small edge beyond the weatherstripping not covered by plastic insert.

        Also the start of some fender well lip rust and on a couple edges of the rockers and bottom seam area of doors behind weatherstripping. It is time to catch it for sure.

        And the rock guard option is out. Store only has one rattle can of it, and it is $30. Since I really just wanted to address the rust we ditching the stone guard idea and just running with new paint. Sanded last night, rust converter on, masked off and ready to spray primer tonight.
        Last edited by STINEY; June 25, 2015, 08:53 AM.
        Of all the paths you take in life - make sure a few of them are dirt.

        Comment


        • #5
          Did some minor welding to a rocker panel that had popped a spot-weld, ground the rust out with a wire cup wheel, sanded, added more rust converter, and epoxy primed on Tuesday.

          Wednesday saw more of the same, and the front bumper got 4 coats of slick sand applied to it. Has some serious pitting, really got after it with a new flap wheel that is now dead, and lots of rust converter.

          Briefly thought of just painting it and letting the bug-strikes fill in the pits, but sanity prevailed and we will be blocking it out.


          Of all the paths you take in life - make sure a few of them are dirt.

          Comment


          • #6
            this year has been so wet that we don't have grasshoppers like we did last year - THANKFULLY!!! - otherwise, I'd say, yeah, they'll fill in by the end of the week.

            Nice work!
            Flying south, with a flock of bird dogs.

            Comment


            • #7
              Got meself a new pistol and repainted my targets before shooting them, I must have had 15-20 gnats embedded in the paint before it dried!.
              No sanding or buffing needed..

              Comment


              • #8
                Sounds like you've found a secondary use for gnat traps!

                Dan

                Comment


                • #9
                  Brought it home last night and started putting it back together. Forgot those darn foam pieces under the plastic on the front bumper, so my oldest son and I had to put the front bumper on twice.

                  I like the white, makes it look lower to me.


                  Now I just need to find some replacements for a few of those metal clips that hold the footwell/step/things in......
                  Of all the paths you take in life - make sure a few of them are dirt.

                  Comment


                  • #10
                    When is the "free candy" sticker going to be applied?
                    Doing it all wrong since 1966

                    Comment


                    • #11
                      I have a "free parking" magnetic door hickey that vaguely resembles an ODOT (Ohio Department of Transportation) emblem..........does that count?

                      Of all the paths you take in life - make sure a few of them are dirt.

                      Comment


                      • #12
                        while that won't attract cops like "free donuts" would - I suspect that would still subject you to heightened scrutiny
                        Doing it all wrong since 1966

                        Comment


                        • #13
                          Tried something new (for me anyways) and applied Eastwoods "Internal Frame Coating" stuff to the inside bottom area of the doors to hopefully ward off the rust demons a little longer.


                          Obviously I cannot speak for the rust prevention properties yet, but this stuff and the applicator nozzle are good. Used 1.5 cans and really laid it in there, after taping up ALL potential holes for leaks. Leave it dry for several hours before pulling the tape off the holes, up on the sides dries quickly but the puddles on the bottom take longer, and will run out if you pull the tape too early.


                          This is what my results look like. Hard to get a good picture of the inside of a door (you try it sometime) but anyways.


                          Also am adding a cheapo $40 electric door lock kit while I have all the doors apart. Basically no instructions included, but most of us are capable of figuring out what needs to be done. Wish the kit had a switch to operate the locks, the kit only has provisions for activation with the included pair of keyfobs. Works well, and also has a pair of wires for connection to an alarm which I simply taped off.

                          Front doors look like this. I tossed most of the mounting hardware, and laid the motor out where it would work and there was room behind the door panel, circled the posts with a pencil and drilled them, them ran the mounting screws in from the inside of the door with a stubby screwdriver.


                          Back and side doors were easier as they have no regulators to work around. Same approach worked, only I mounted the motors behind the inner shell and was able to run the screws from the outside.


                          Now to extend (don't think they were thinking FULL-SIZE VAN when they designed this) the harness and tuck it out of harms way. All of the doors already have a large rubber boot connecting the door to the pillars, even though no power windows or locks, so that should help expedite things.

                          There is a small pair of wires that run to the lock/latchs, but don't seem to do anything. Maybe BigBrother wires relaying info to the black box?

                          Also the boots in the front doors run the speaker wires. Plenty of room for more though.


                          Of all the paths you take in life - make sure a few of them are dirt.

                          Comment

                          Working...
                          X