Announcement

Collapse
No announcement yet.

My one ton wagoner build

Collapse
X
 
  • Filter
  • Time
  • Show
Clear All
new posts

  • My one ton wagoner build

    ok. here is my build page for my waggy. there will be a large portion done quickly as it will be copy and past from another board, but i will make it to current. from there.. well probably a little more glacial. and btw.. this is old.... like started in 2009! yikes..


    Figured I might as well do a build page on it. Here goes

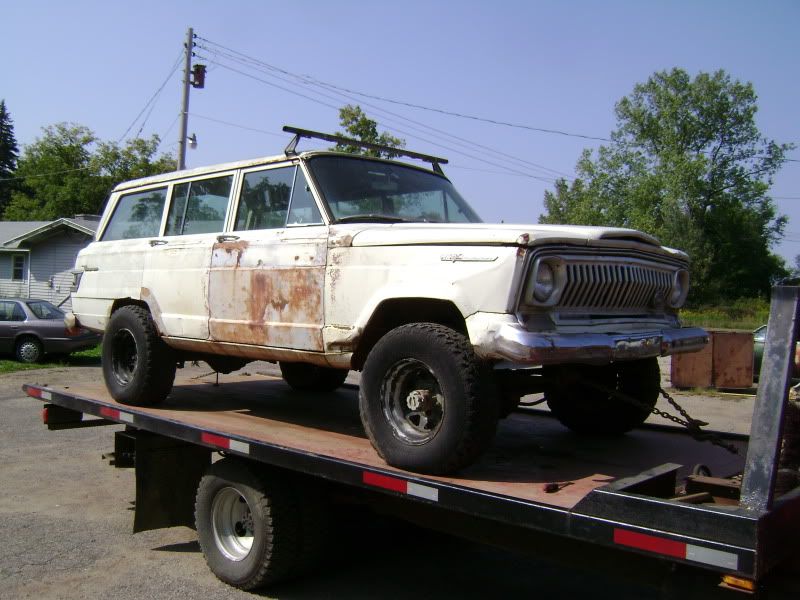
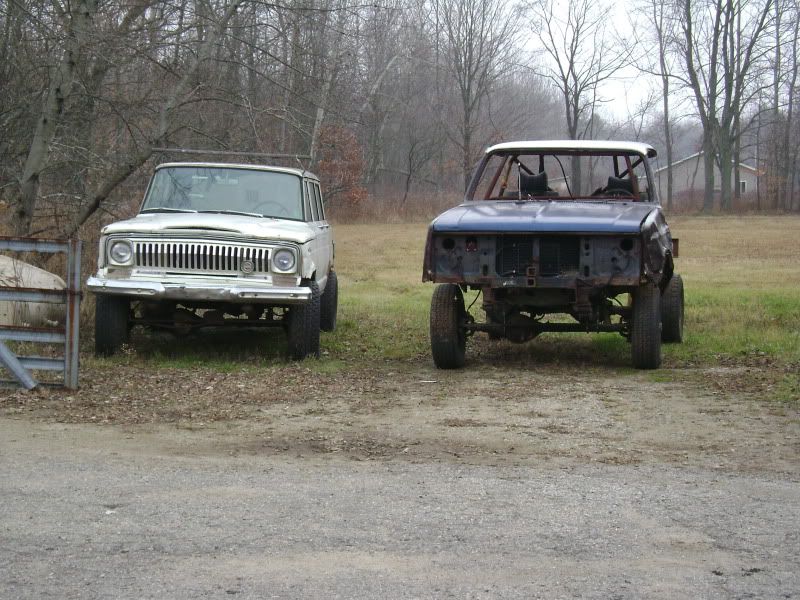
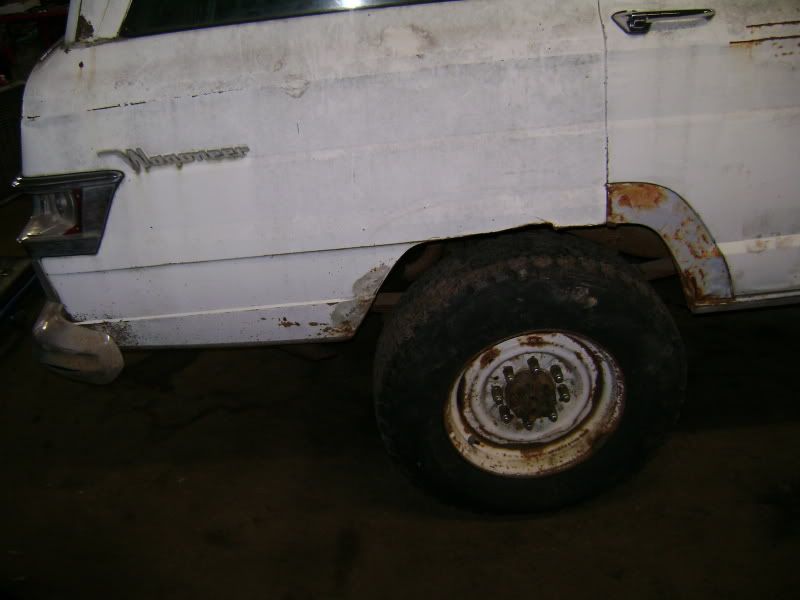
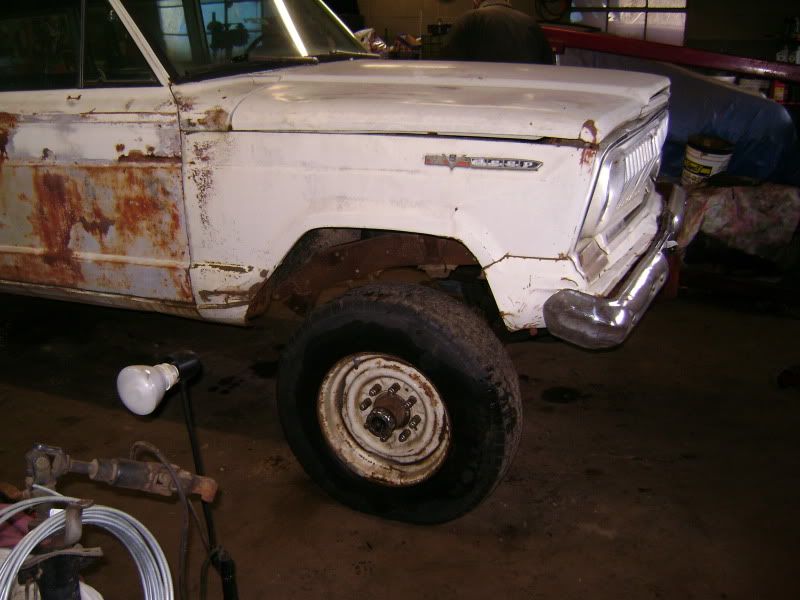
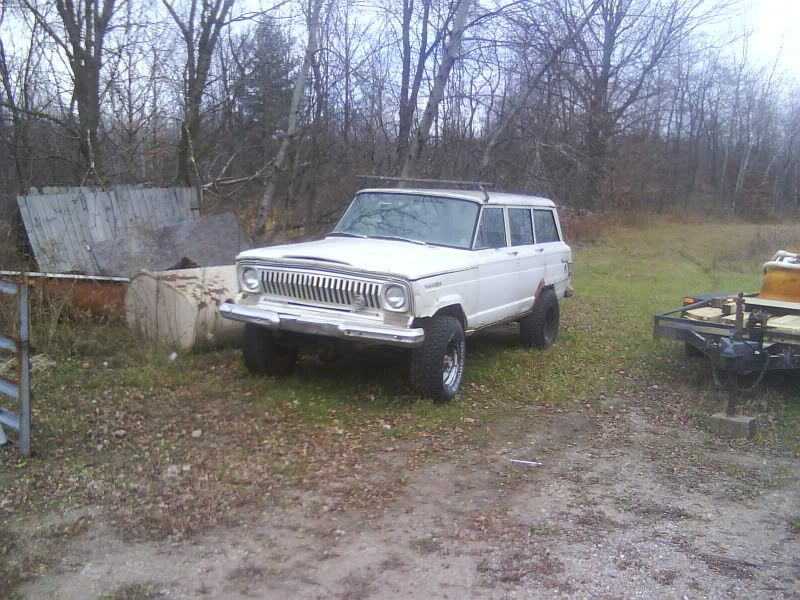
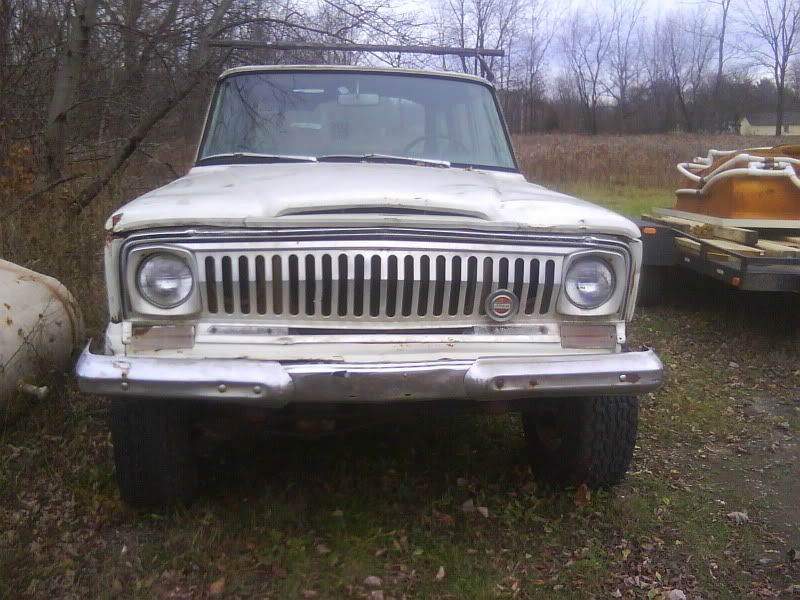
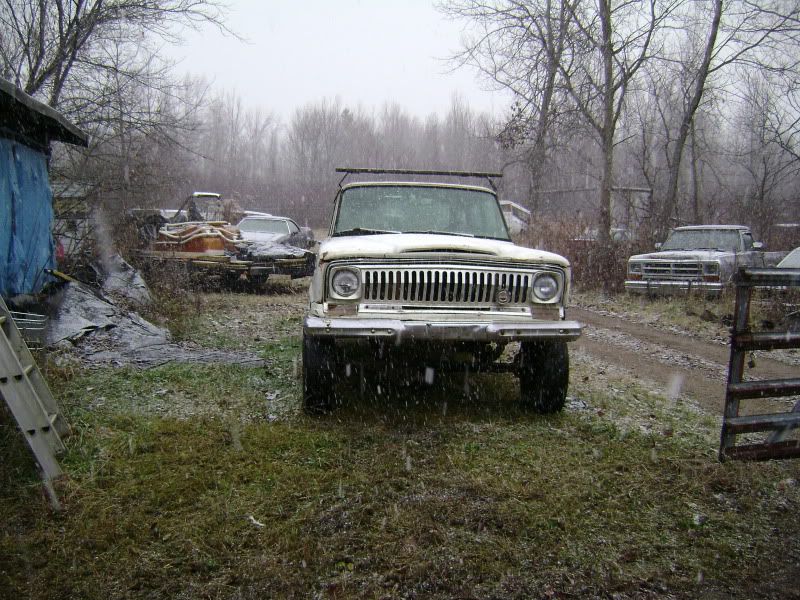
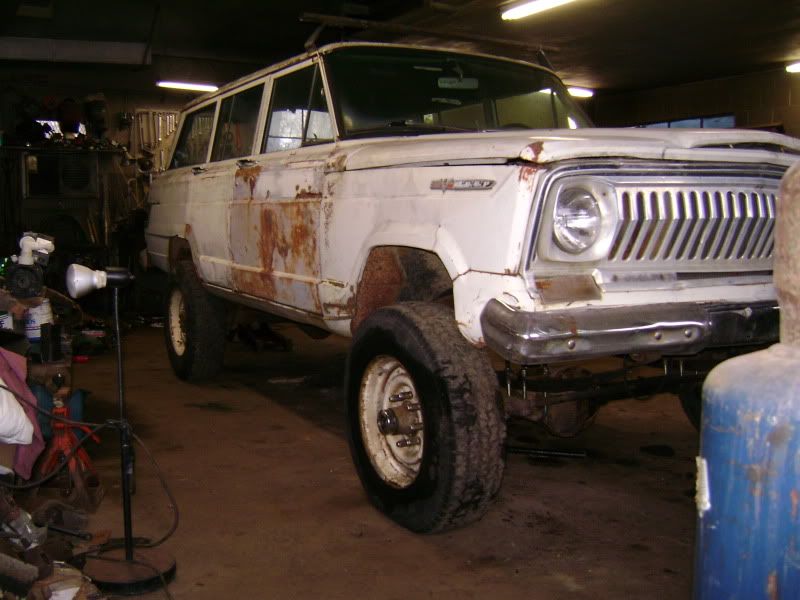
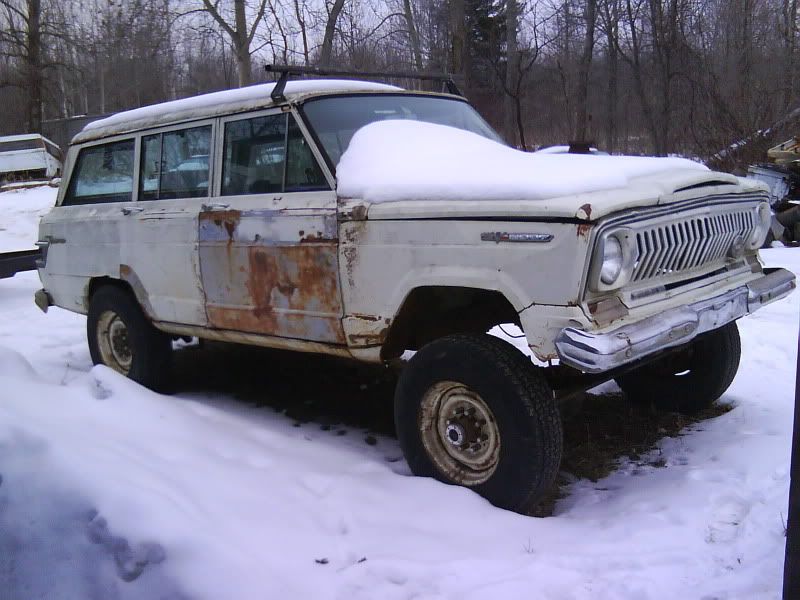
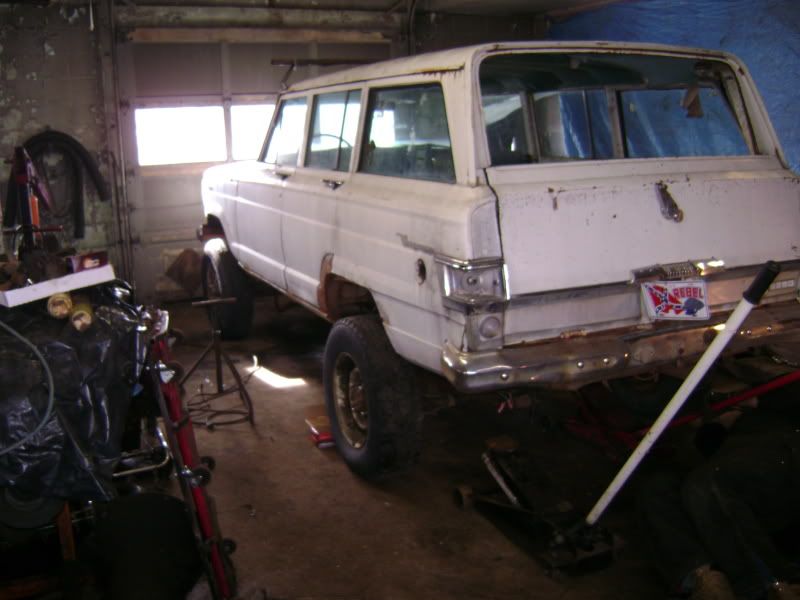
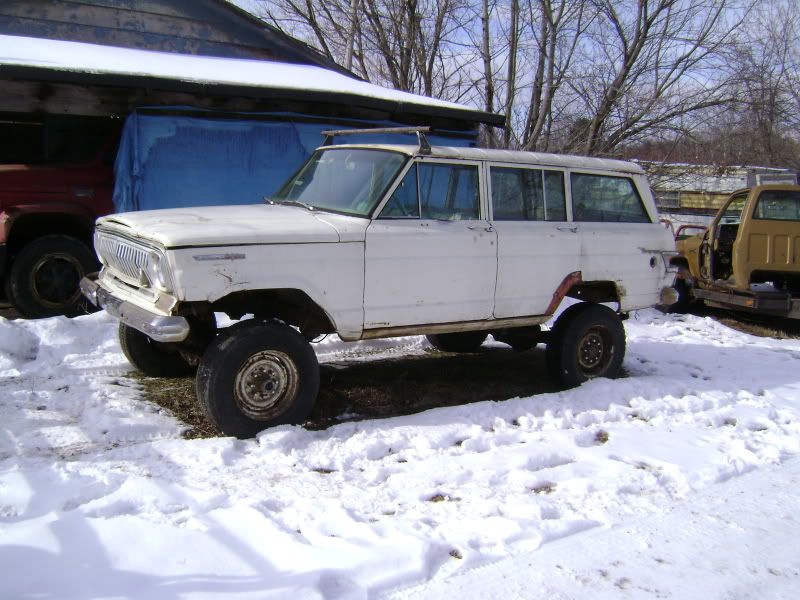
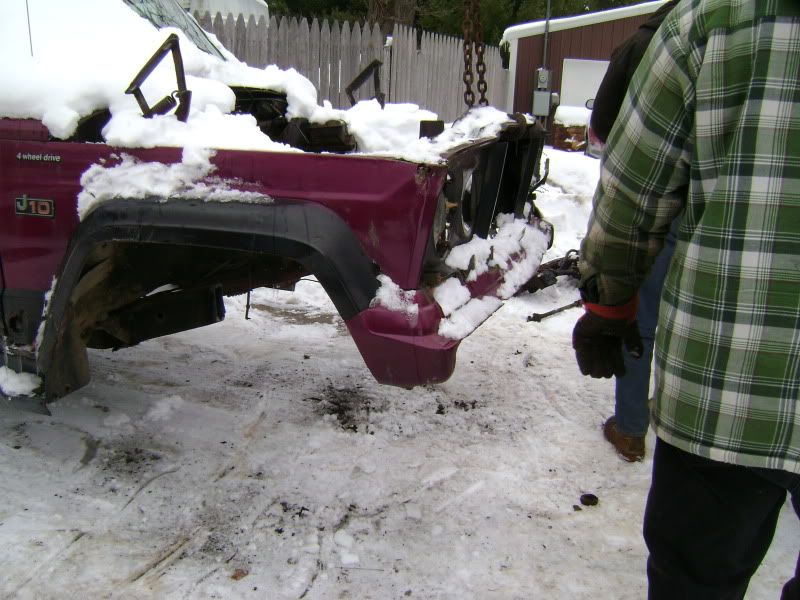
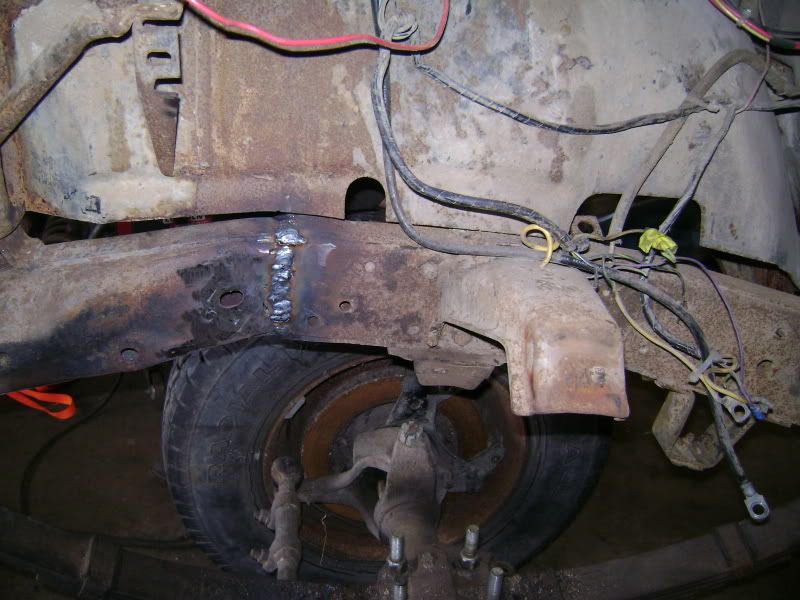
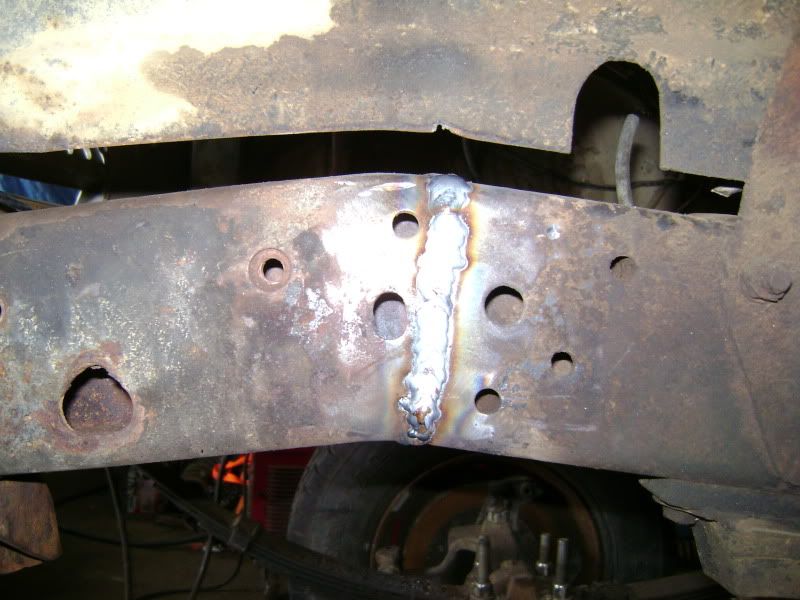
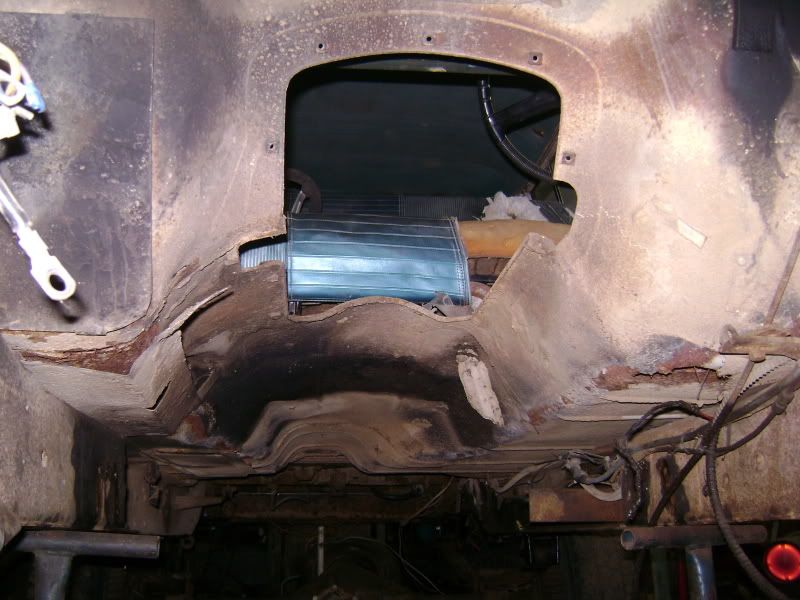
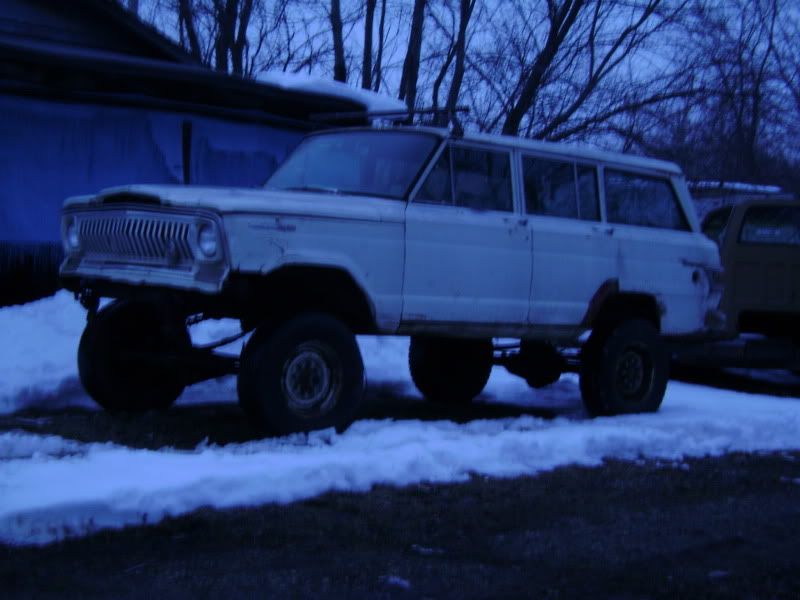
    The what?? A 68' waggy. $150 with a deal with a buddy. (Axels for sale!) Over all good shape for the year, and done mostly right. Like the rust that started on the floor so they put down good sheet metal down on the whole floor pan back seat to firewall... but they did some as another memeber called it booty-fab on some of the other places.

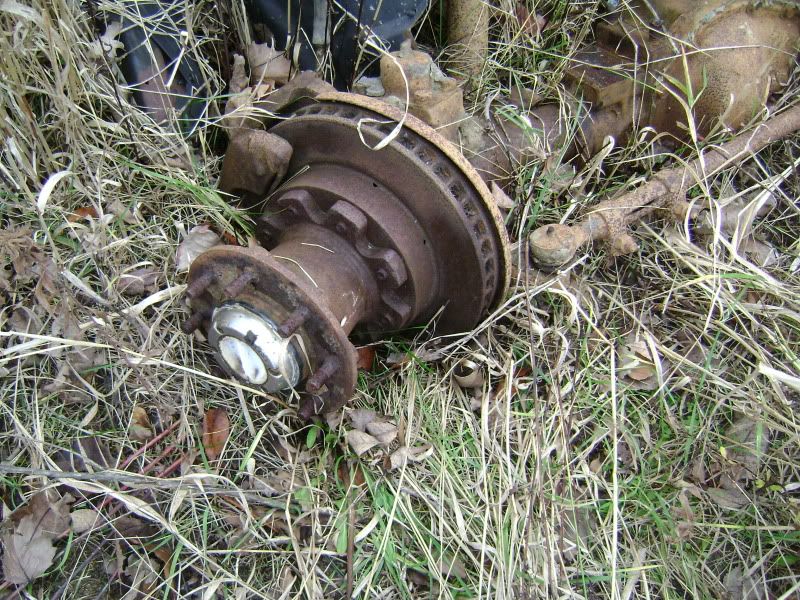
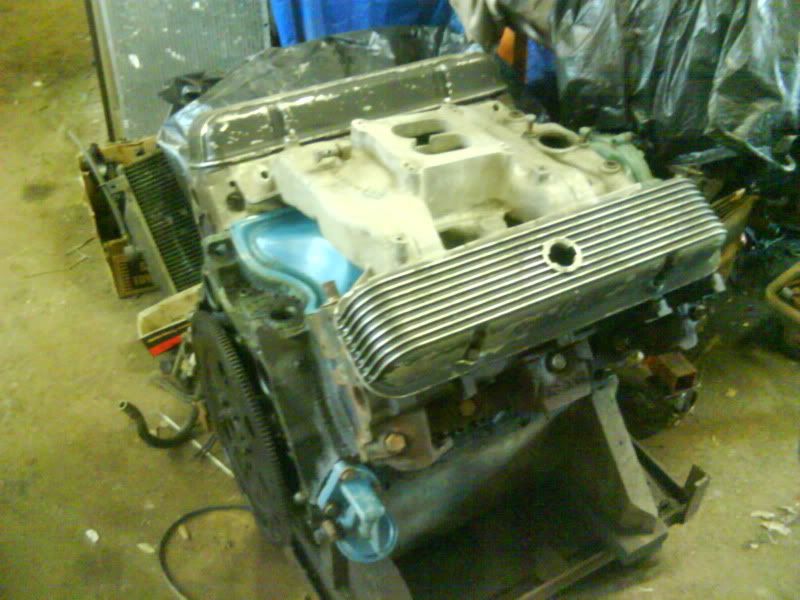
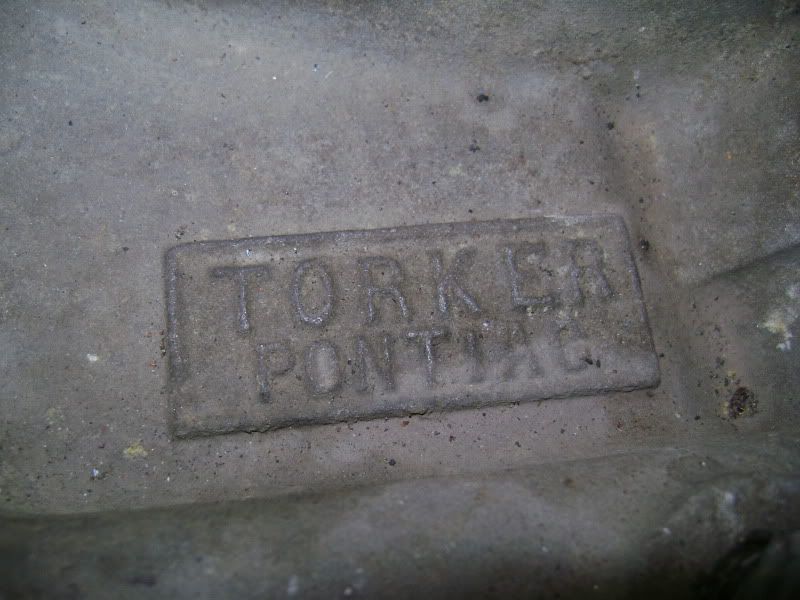
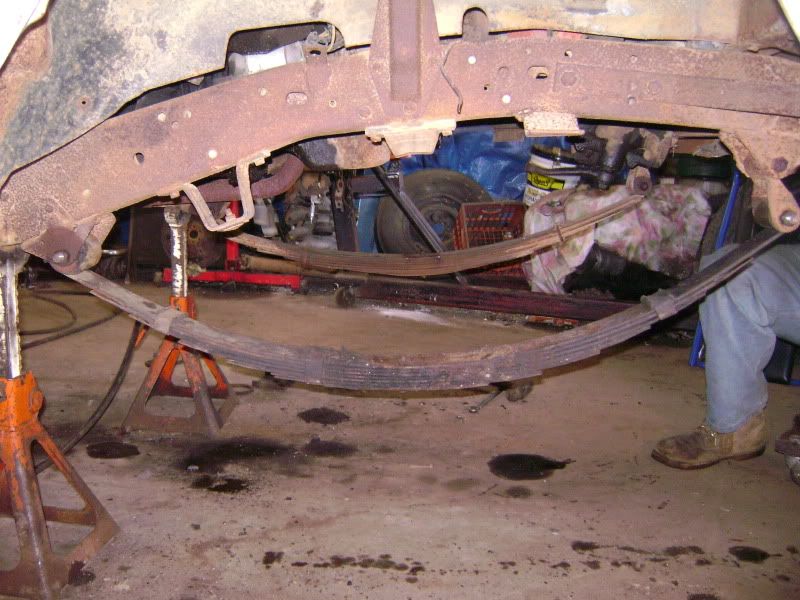
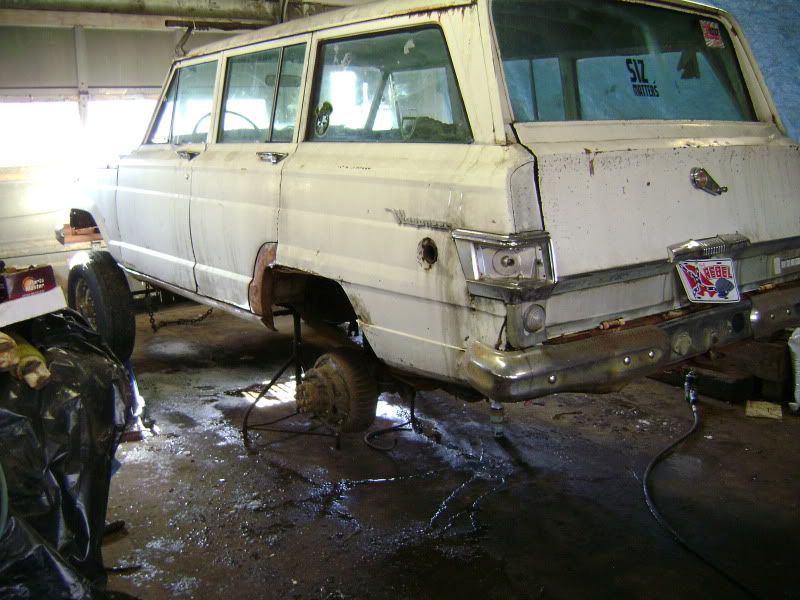
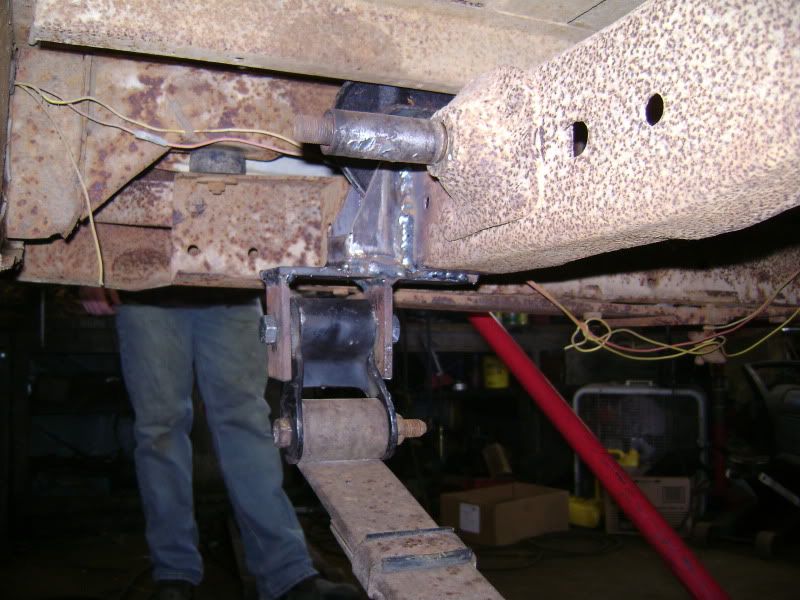
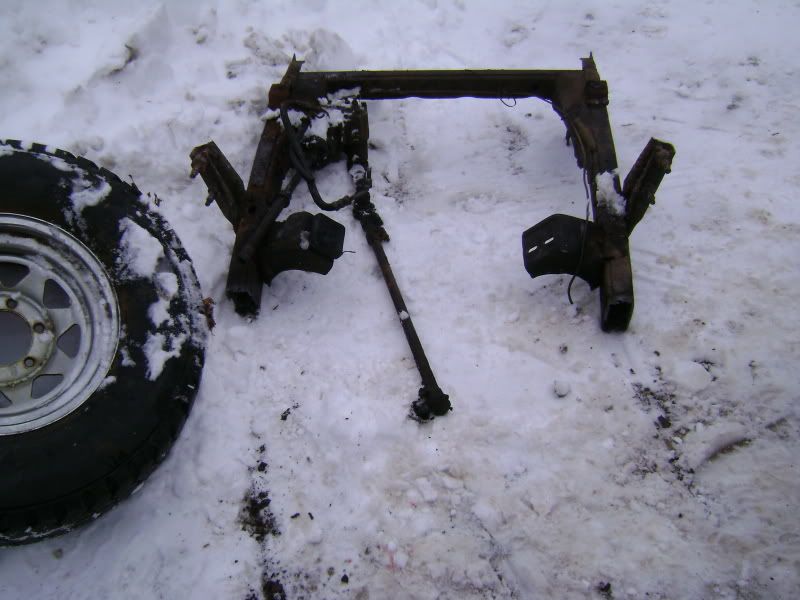
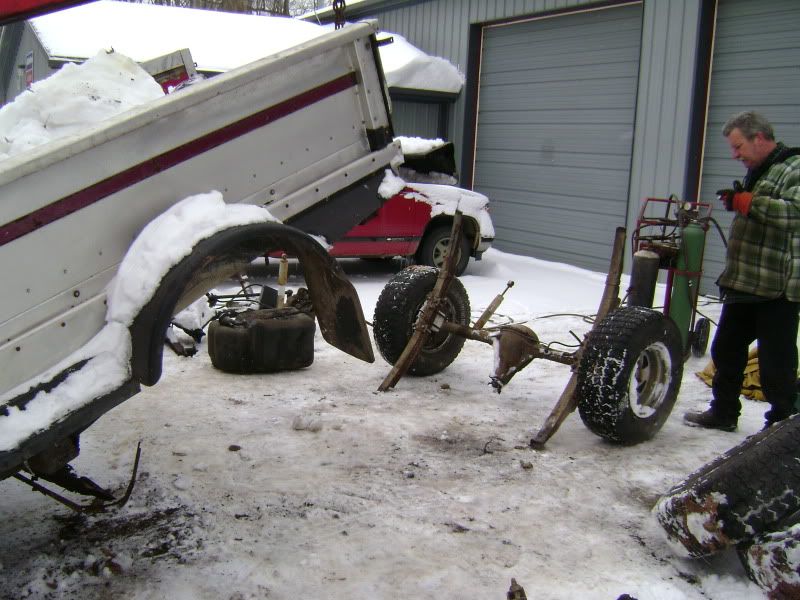
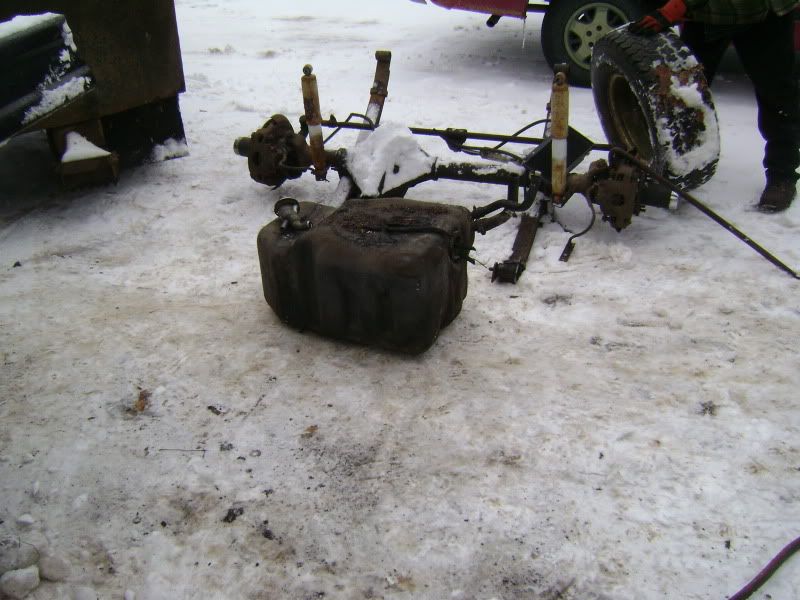
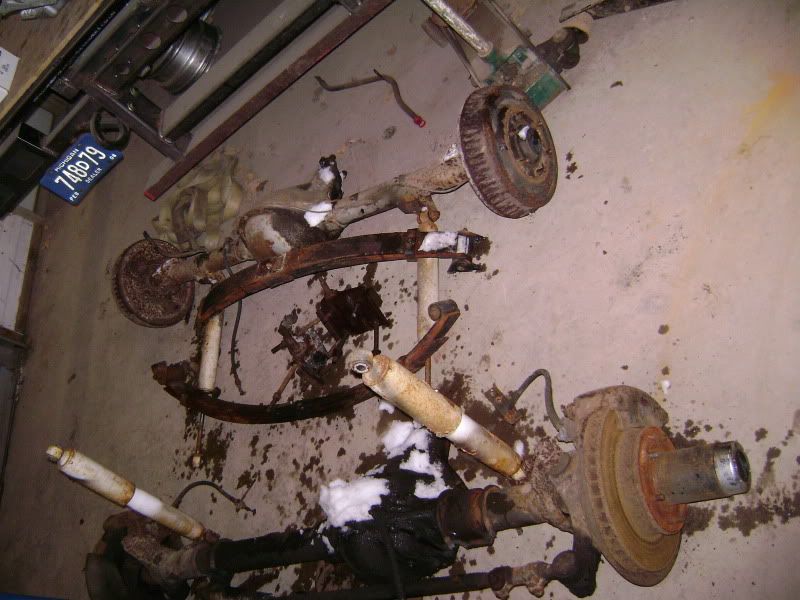
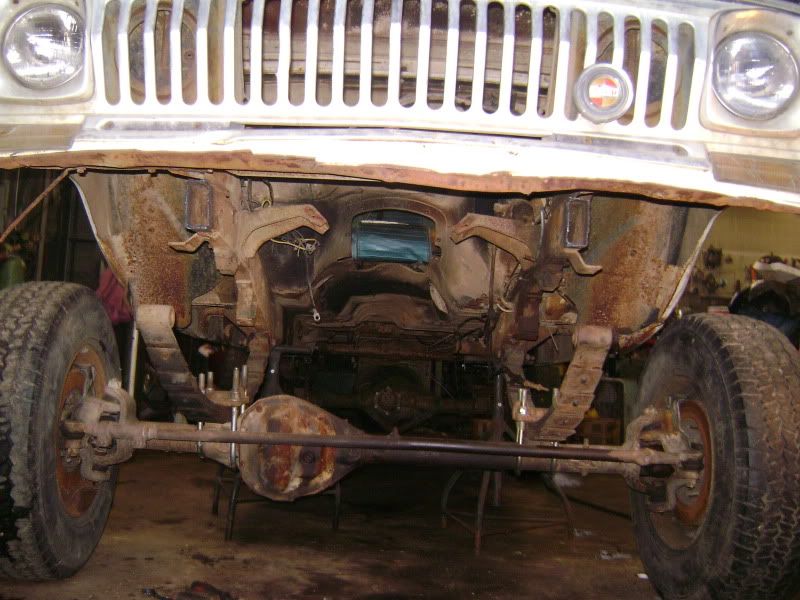
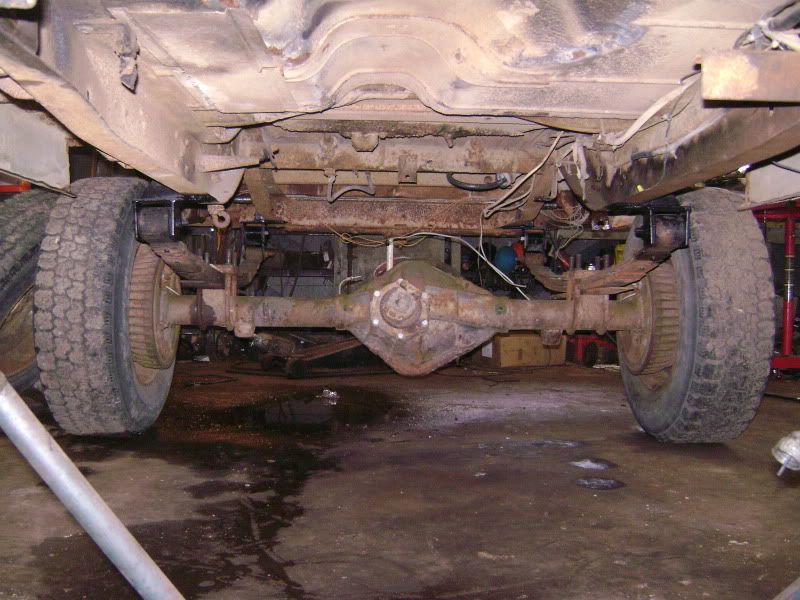
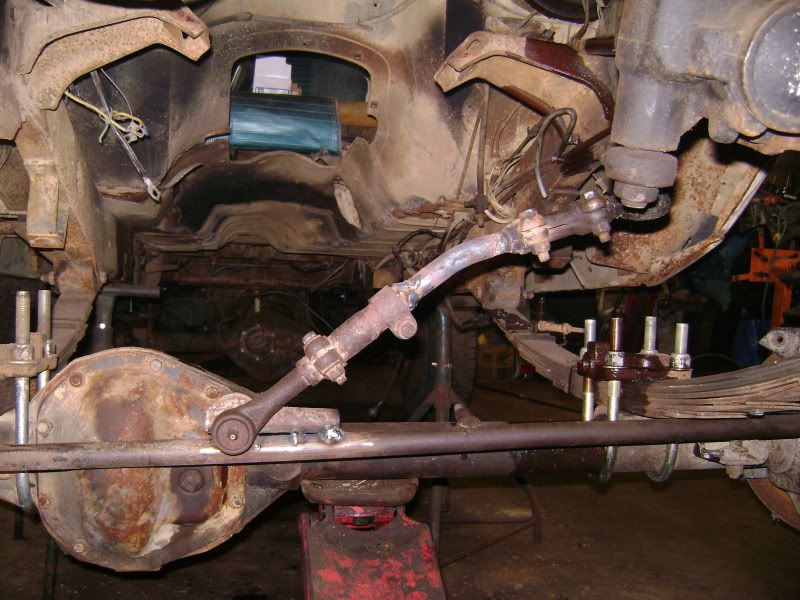
    The goal with this is to pull the stock axels (done), motor (350 Buick), Trans and replace them with a d60 (will get locker), 14b (is welded), and 455 Pontiac (with a mild cam). Get it up on like about 38's or so and wheel/drive this thing a bit. on with the pics and progress..


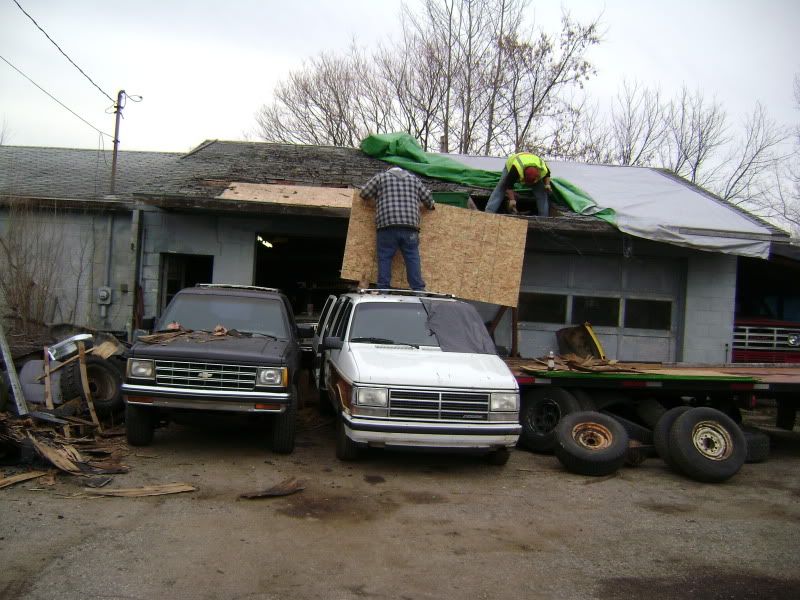
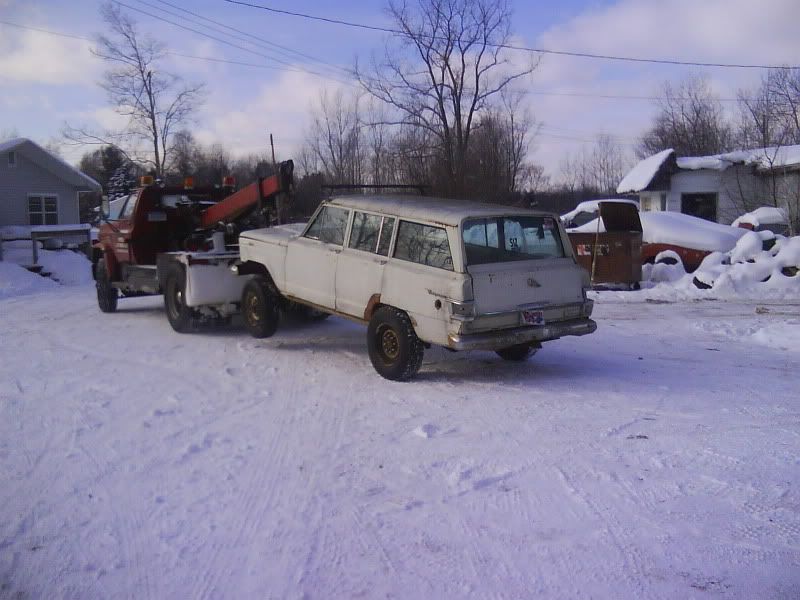
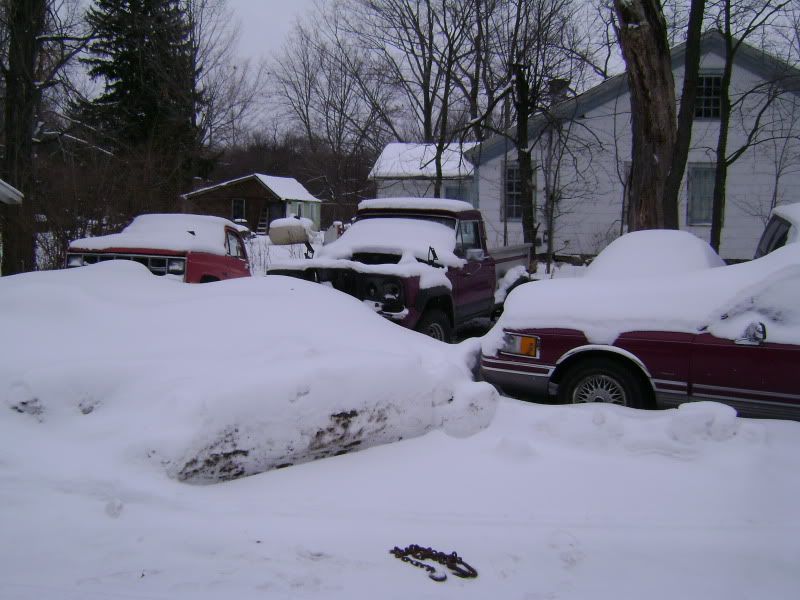
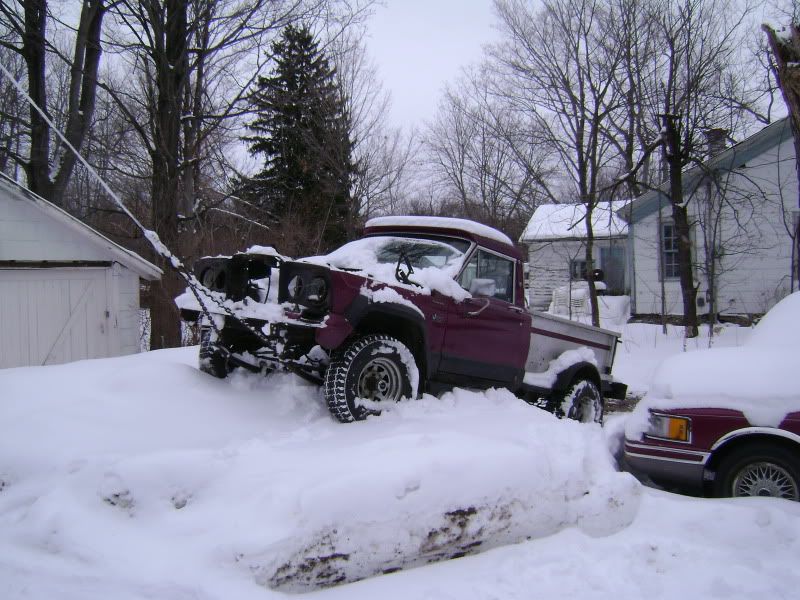
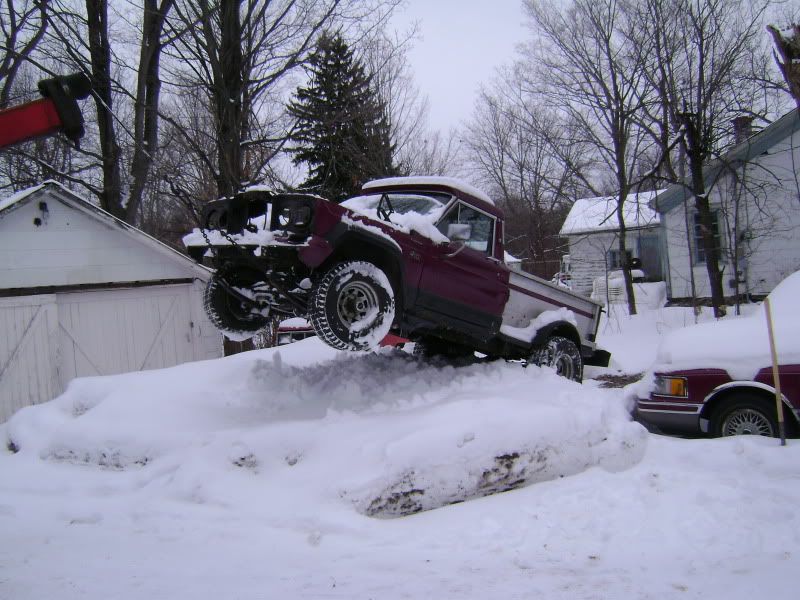
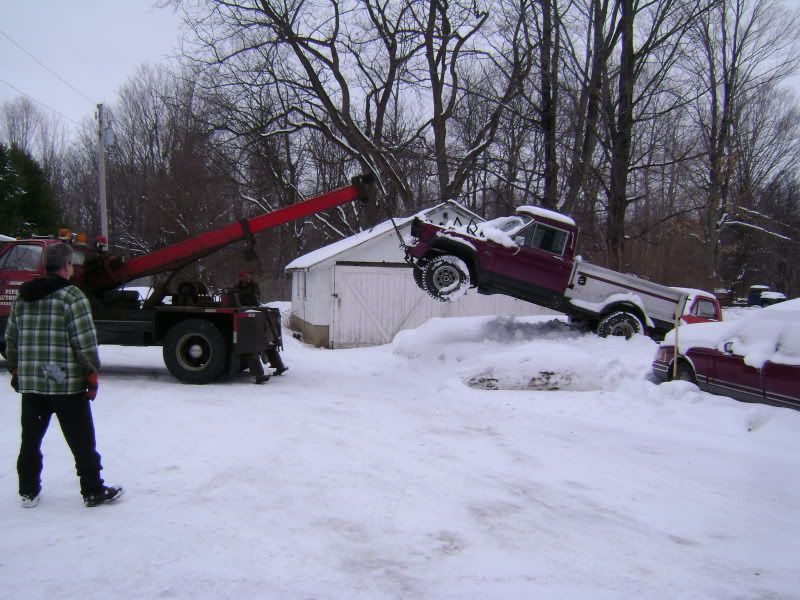
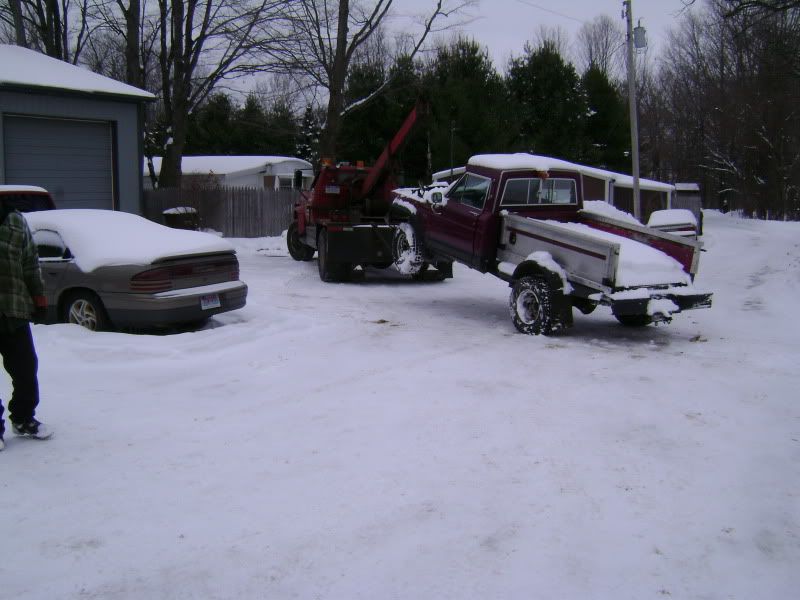
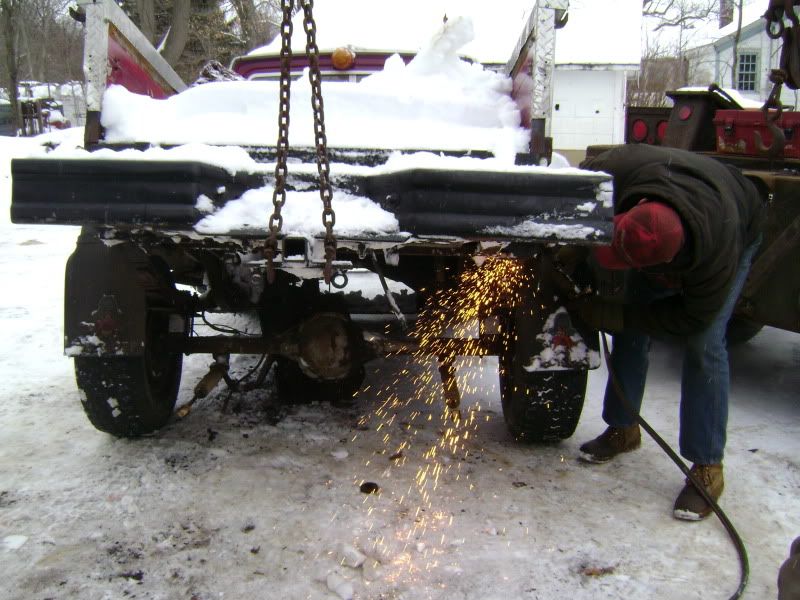
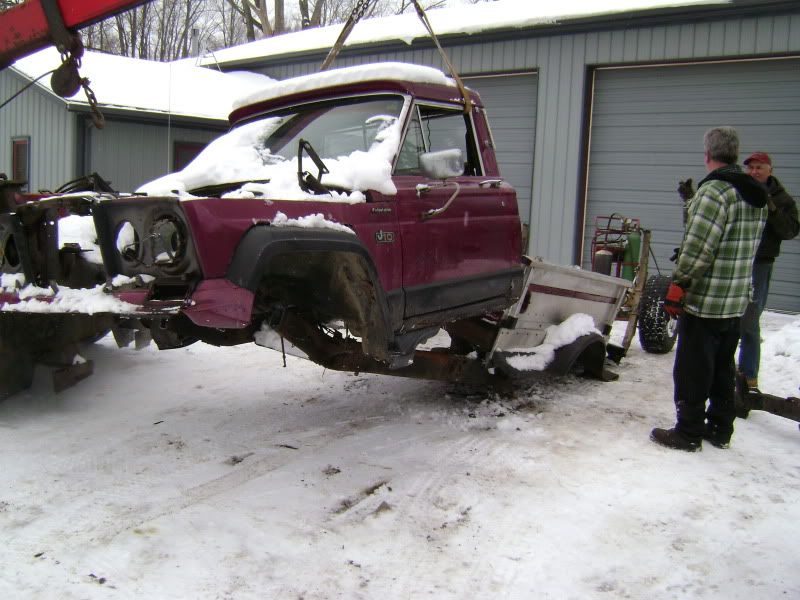
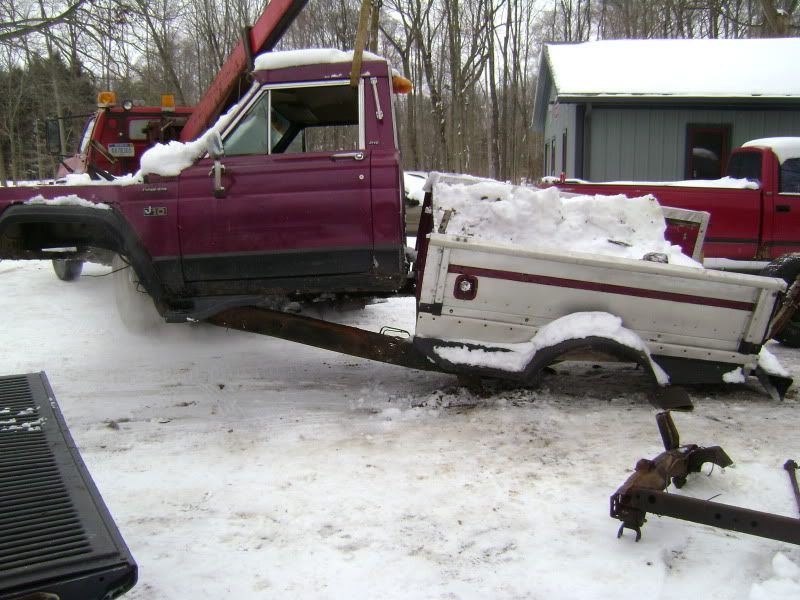
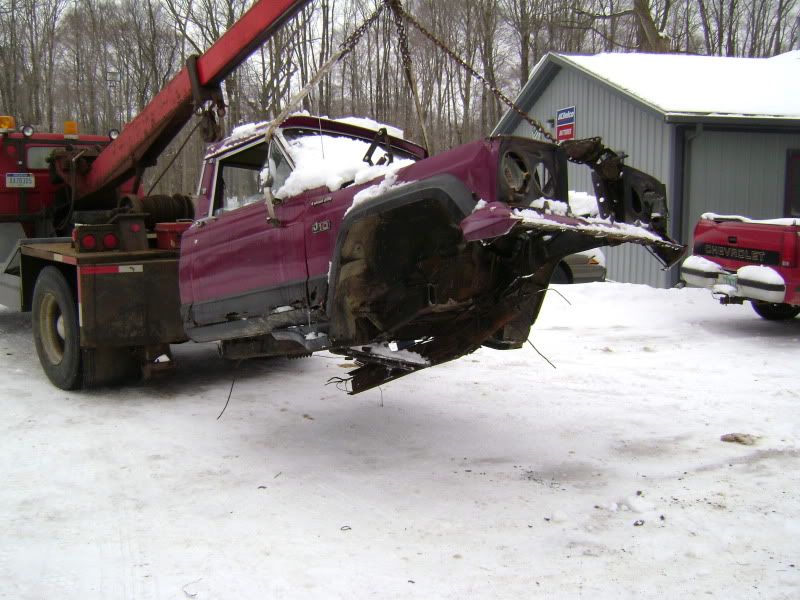
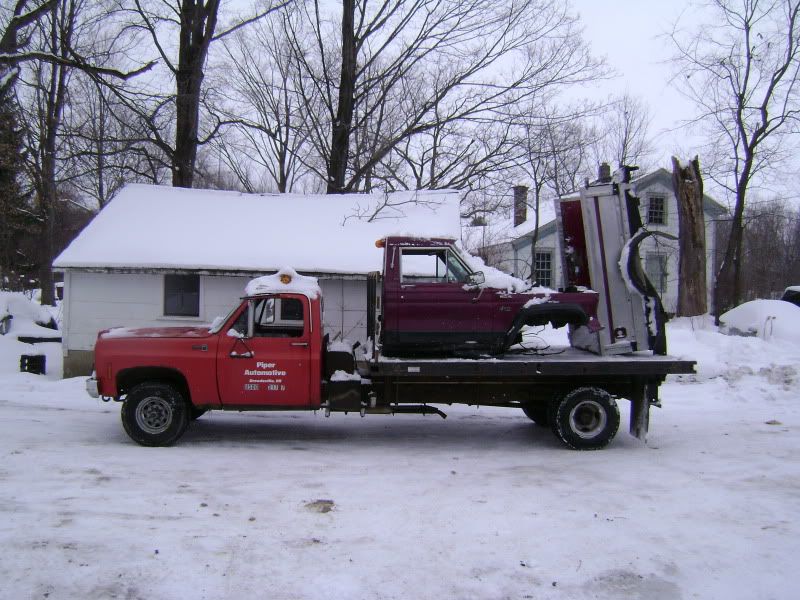
    On the truck (my dad is a mechanic and wrecker service) just getting home


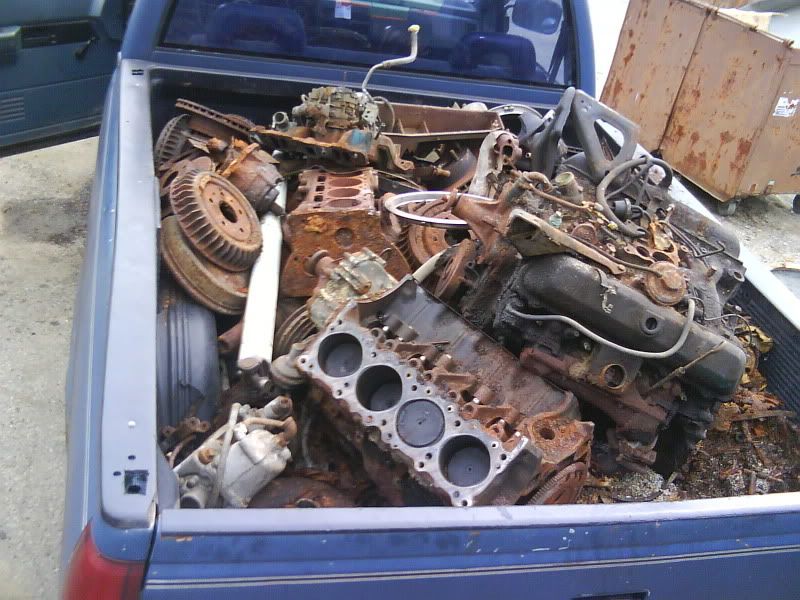
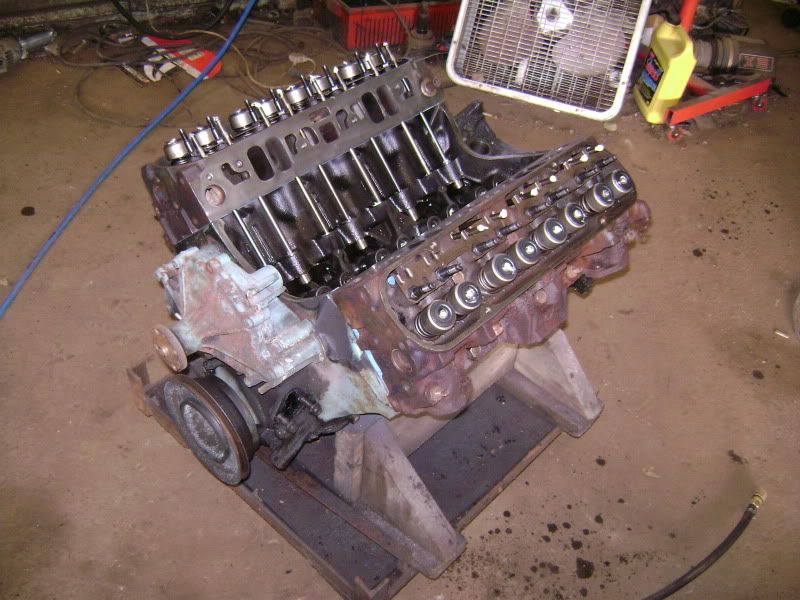
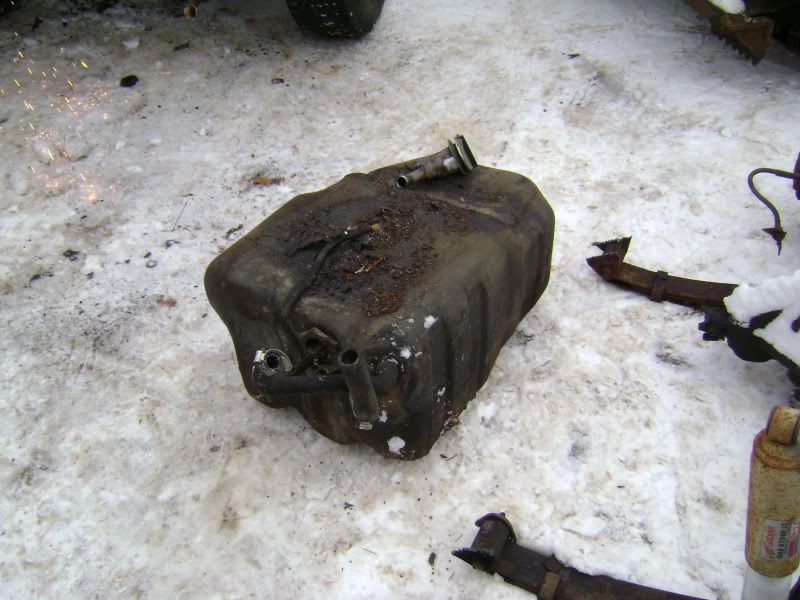
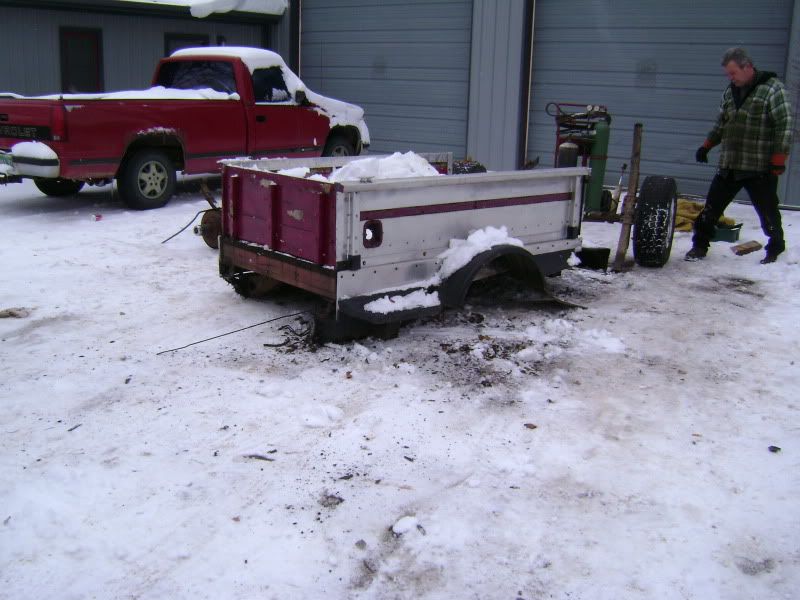
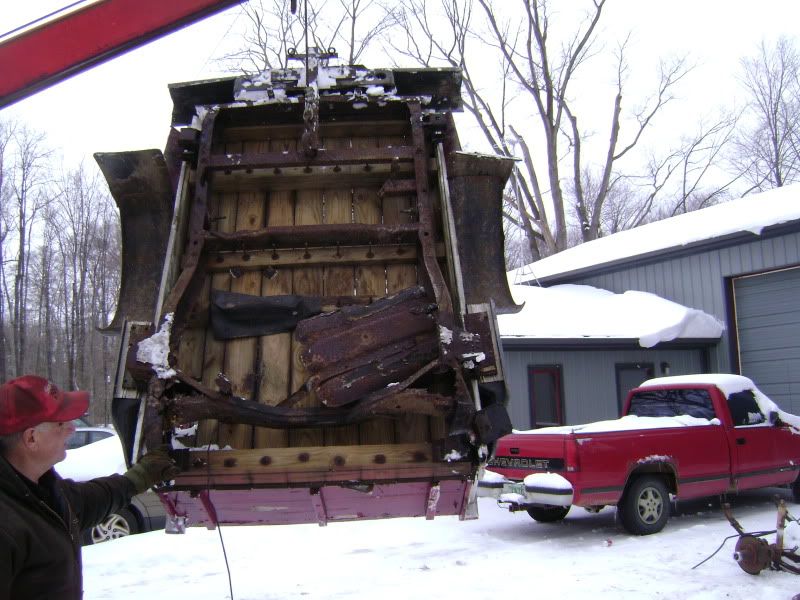
    Hauling some scrap that we dug out to get to the motor on the back of the truck that had the heads we needed. And off goes the rest of the block (the one on the very back)


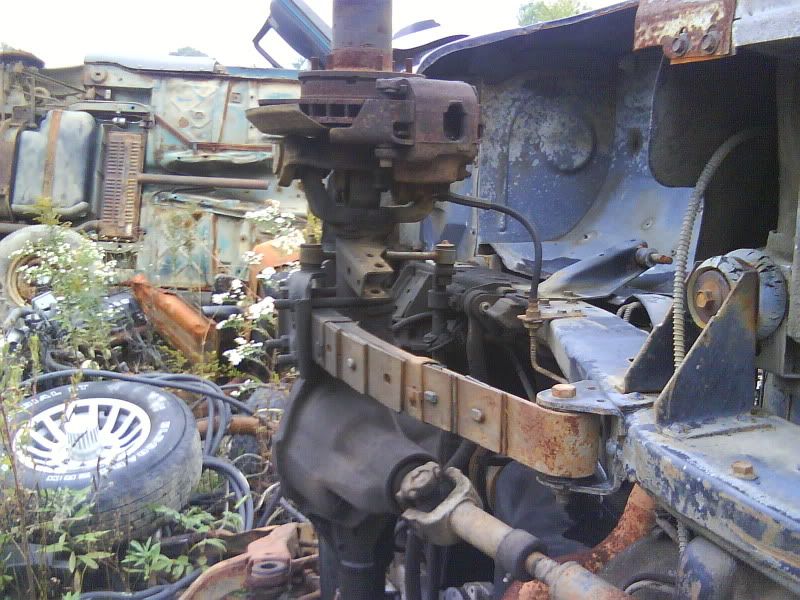
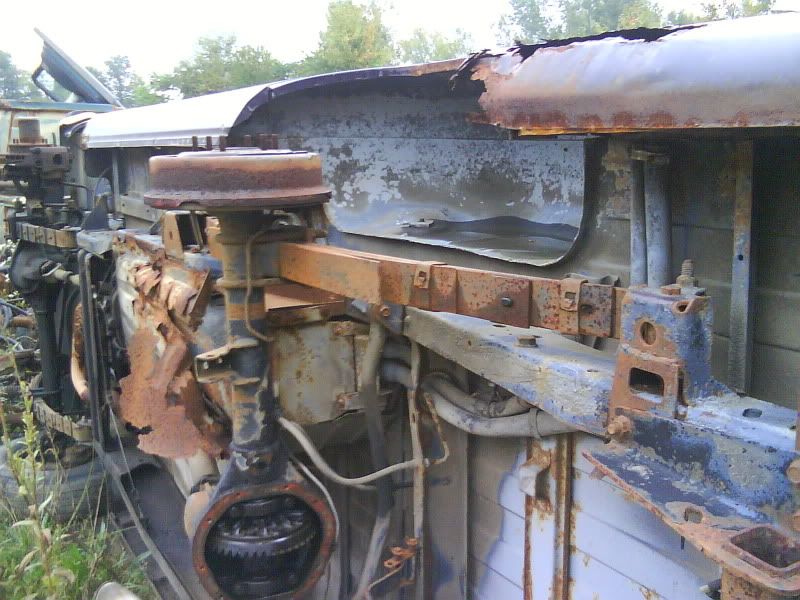
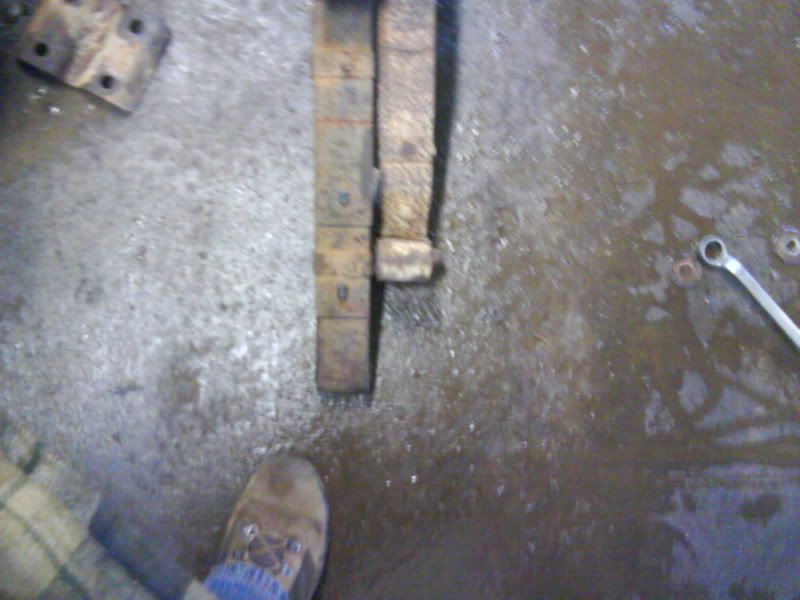
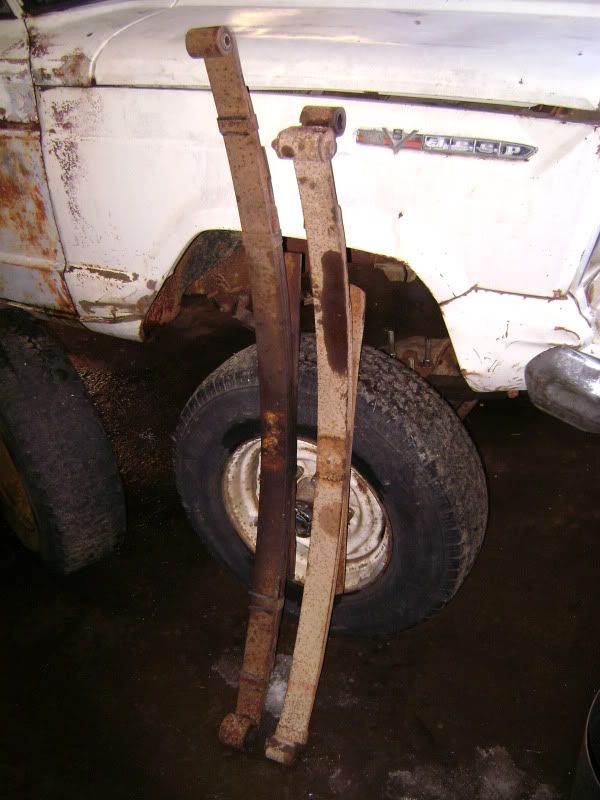
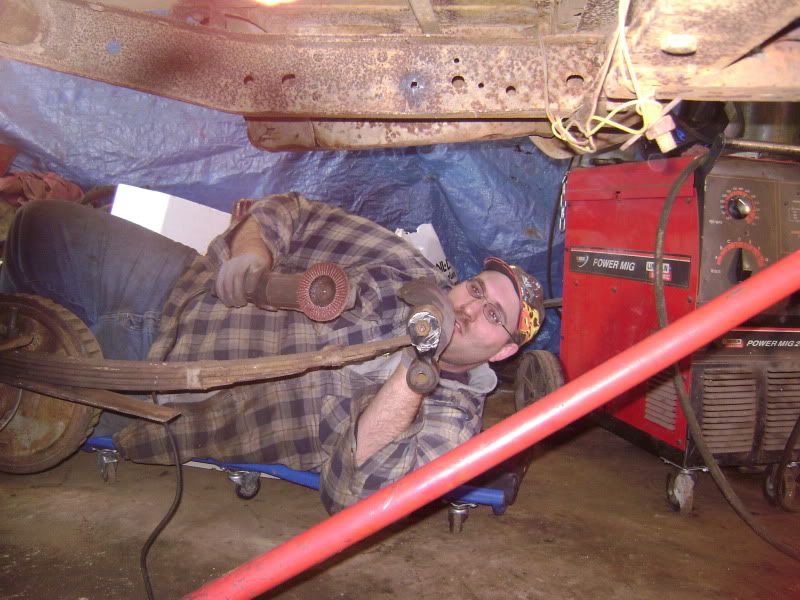
    While at the yard we found some potential springs, which we had removed and picked up a couple days later.


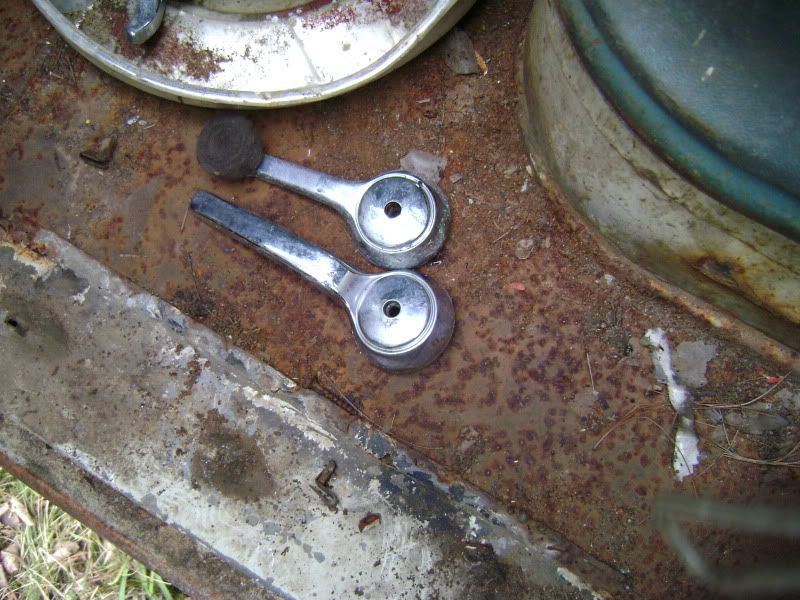
    Stock handles (most of them are gone...) and some more yard scrounging found some replacements that I like better anyway...

    Stock


  • #2

    Yard goodies


    The Dana 60 that will end up under the jeep


    The 14b and d44 that were under my blazer/truggie are going under for now

    Sitting side by side getting ready for axel swapping


    In the prep time we got the heads back and on the motor sprayed a lil paint on there for looks and almost ready to drop in.


    Comment


    • #3

      Well onto the first real wrenching on the jeep itself. After swapping front axels on dad’s dd/plow truck for ubolts (he had another and new bolts for it) we swapped a pair of 10bolts under the blazer so we could have the 14 and 44 for the jeep. We got to work in the heep


      After the 14 was under the heep


      The next session got interrupted by the need to fix some roofing. We got 5 sheets of new OSB put up.


      Now back to work...


      Got the front out and put it out by the rear we took out a few days before.


      Then got to putting in the springs from the yard as you can see the driver’s spring was wasted and the pass didn’t look much better. The springs were taller too (made me happy)


      Steering box and mount bracket look about as good as the steering linkage off the old axel did so there will be some fixing there. And the fronts are longer than the old ones so we will be moving the shackle mount a bit to unbind the springs. the rear we are going to remake the hangers altogether and move (the springs need to come together a bit. witch we guess will raise the back about 5 or so inches. and we will do what we have to make the front match.

      I think we have figured out what we are going to do for fuel too. A buddy has a plastic tank in a j10 that we will mount into he back. The bottom will be higher than the frame rails and will stick trough the floor in the back, we will box it in and build a sub-floor with storage bins around the tank so that when the back seat is folded it will be flat from the back of the front seat to the tailgate. (Pics for visualizing later)

      So in capping for now. Some before and after,


      Before


      After


      Before


      After


      And one just after doing the front


      And the same shot with a jack under the back to see about what it will be with the back done


      Fenders will be trimmed to fit and tires put on later


      Comment


      • #4


        as for progress we got the motor out the other day and it is ready to start mocking up for the big poncho.

        the trans and case are out too we just got it moved outside before i could get a shot


        and this is how we move things..


        well made progress on the jeep this weekend, got the rear spring hangers remade and replaced the rear springs


        as it sat, sat morning before we got it in and started working on it.


        we got the old springs out and made the measurements for the new hardware.


        the brackets made up and getting ready for install.


        new and old springs with the center pins lined up.


        the new and old springs standing next to each other the old was 49" and the new (off a newer style wagoneer) where 55'',


        new and old springs arch are about the same, should have about the same rate and be about the same ride height


        tacked on brackets


        getting axle back under the jeep for real weight testing


        how it is with weight on them


        how the tire is sitting in the well, we moved it back about 1 1/2 inches from stock


        Comment


        • #5

          dj stopped by and got a couple of me getting ready to clean the frame rails for the final welding on the rear brackets


          brackets welded up


          we got the springs bolted back on and put it back outside till next time, sitting much better now, there are still a few changes to make in the front, like the weight of the drivetrain, winch ect. and we still need to fix the front shackle mounts, but over all this should be close to how it will sit, give or take a couple of inches. if it is not high enough i can get a small lift for a newer waggoner and now they will bolt on..


          as she sits at the end of the weekend with the rear raised up about 5-6'' from where it was.. the wheelbase is 113 inches now with the rear axle back


          till next time.....


          well i think the pics from yesterday just about explain it all, we where after the frame horns (mostly for the steering box ), gas tank (which will be recessed into my floor from the bottom), the wheels and tires where dads so we took those back home. the axles and a few other pieces the owner was keeping, the jeep don't look to bad but the thing was very rusty, to the point that the frame had been plated and was still rusting in two,


          first was getting it out the hole it was in


          the first thing to come off was the front axle


          then we clipped the frame


          switched up the truck and got the rear


          got the tank out while we where back there


          set the truck down and strapped the cab intending to pick the whole thing up, but the rusty thing wouldn't stay together


          so we made pieces. the only thing holding the driver side frame rail was the wires and brake lines on that side.


          loaded up ready to snag a few parts off the cab then it goes to scrap


          parts pile


          the waggy that is replacing the j10 with plow duties


          should be chopping off the frame horns and grafting on the ones we got off the truck and re mounting the front shackle mounts, then getting the motor mounts and drive train mocked up soon.


          ok, got some more done over the weekend, we got the two frames cut spliced and glued back in place, it sits a little high in the nose again but that is needed as the drive train in not in place yet, that should be next time


          First we made sure the real heater was working (my 200,000 vs. his 50,000 Btu)


          Started by trimming/cleaning off the new section of frame


          Got the old section cut out


          Found a crack in it after we got it out. Makes me feel even better that we are putting in a better piece


          You can see the extra in the ends of the frame that make it stronger (and has a newer more common better steering box design also).


          Tacking the new section in


          Laying a bead


          We moved the front shackles forward about 2 1/2 inches (you can see on the frame where the old rivets held it on)


          Went back and plated the two half’s together as well.


          Shot a little paint on the fresh welds and went under the back and got some on there too to try and keep the rust away. On the rear suspension mounts we made


          Comment


          • #6


            You can see in the truck from underneath for now


            we also had gotten the steering box mounted in and got the steering shaft hooked up so all we needed was something to connect the two so we could steer around the yard so we don’t have to carry it with the big truck all the time and could just use a pickup and strap, We used an old steering arm and glued it and heated so we could bend it for the angel and stuck it on there, and will suite the need just fine. (And is still better than the garbage that was on the heep when I got it.)


            NOTE: THIS IS NOT PERMANENT, THIS IS TEMPARARY USE ONLY AND FOR DRIVEWAY USE ONLY, A NEW AND CORRECT SETUP WILL BE FABBED ONCE THE PERMANT (SEE: DANA 60) AXEL IS IN PLACE.


            And as it sits now. (Again a bit high in the front, but still missing drive train.)


            Next installment should be driveline mockup and fitment, and making motor mounts and such.


            All right not any real work ( been way to long). But I have gotten more goodies for it!


            ok somehow i missed putting these in there. so here are a couple more pics because we like pics


            after i find them i have pics of the seats i want to use too.. thye are power heated out of a 2000 caddy sedan deville


            Comment


            • #7
              I want those valve covers what are they?
              Originally posted by Remy-Z;n1167534
              Congratulations, man. You've just inherited the "Patron Saint of Automotive Lost Causes" from me. No question.

              75Grand AM 455:Pissed off GrandMA, 68 Volkswagen Type1 "beetle":it will run some year

              Comment


              • #8
                I want to say Mickey Thompson original old school stuff. but have to look again to be sure... seems like he may have had another set. but not sure if he sold them or not.. I will check on that too.

                Comment


                • #9
                  Look like Offy to me.. Could be Mickey's

                  Might even be Cal Customs ...
                  Last edited by Deaf Bob; October 13, 2016, 09:12 PM.

                  Comment


                  • #10
                    way cool, I'm stealing this for annoying the purists...
                    Doing it all wrong since 1966

                    Comment


                    • #11
                      Originally posted by SuperBuickGuy View Post
                      I'm stealing this ]
                      Yep, watch out...SBG's going to post that tie-rod pic on Pirate and claim it, just to get the regulars excited...

                      Nice to see an old Wagoneer saved and messed with. Not too much rust either. It's amazing how much inner fender room those have in there, huh...no problem cutting away the outers once the wheels are on there and you know where it's needed. You probably already know that if you want the rr track a little narrower you can use dually hubs and backing plates (from the narrow-dually-type 14bolt) w/ your single drums, but I'm imagining you're keeping it wide.

                      Thanks for pics and story, look forward to more...
                      ...

                      Comment


                      • #12
                        Cool seeing that wagoneer period . Haven't seen one for a while the to see it get one ton running gear and a lift ....☺
                        Last edited by Dan Barlow; October 16, 2016, 11:42 PM.
                        Previously HoosierL98GTA

                        Comment


                        • #13
                          Originally posted by Loren View Post

                          Yep, watch out...SBG's going to post that tie-rod pic on Pirate and claim it, just to get the regulars excited...

                          Nice to see an old Wagoneer saved and messed with. Not too much rust either. It's amazing how much inner fender room those have in there, huh...no problem cutting away the outers once the wheels are on there and you know where it's needed. You probably already know that if you want the rr track a little narrower you can use dually hubs and backing plates (from the narrow-dually-type 14bolt) w/ your single drums, but I'm imagining you're keeping it wide.

                          Thanks for pics and story, look forward to more...

                          what had been on there and actually used wasn't any better either!! at least I don't plan on anything further than the driveway. it will have a beefy setup and hydro assist If I have my way of it. but wont be to concerned with that right away as I think I will hold back on the heavy wheeling with it just to help preserve it some. as I have our xj that is a dedicated trail rig that I can bash the crap out of. I am on pirate as well as the local greatlakes4x4 as well.


                          I will get a better Idea of how much will have to come off once I get the big tires on and start flexing it a bit I will get an idea of shock length and how much I will be trimming off vs bumpstops or straps. we pushed both axles out a little which I figured would help clearances. the rear I just didn't want to get into the rear door but some of the rust it does have was on the wheel arch in the rear and I will cut that off. and with it being rearward a bit I can cut the whole 3-4'' from the rear door up and over and back a couple extra inches which would basically recenter the wheel arch to the new axle position.


                          as for width...this is were it is gonna be tricky.. but I have a plan that should work ok.. the axles now are standard width. the D60 I have for the front is a dually so is wide.. which by my estimate should be perfect for running the H1's just as they are.. the rear would be to narrow.. but I believe that a set of bolt on front dually spacers ( used on many many to get the front wide enough for the stock wheels ( dually set inward) to center were they should) I am guestimating that running a set on the rear with the high offset of the H1's should set them just about right. ( for reference the H1's are like 9'' wide with like 7'' backspace. and a standard dually wheel is like 6'' wide with 7'' backspace and being that the rear axle is standard width add the 6-7'' spacer from a stock dually should make it sit about right. )


                          I also found the pics of the seats I am planning on using..as well as an approximation of about what I should look like when done. I will load those pics in a min
                          Last edited by bigdog9191999; October 17, 2016, 04:52 AM.

                          Comment


                          • #14


                            Should look something like this when done. Will be white and may or may not have doors!


                            Comment


                            • #15
                              Originally posted by Loren View Post

                              Yep, watch out...SBG's going to post that tie-rod pic on Pirate and claim it, just to get the regulars excited...
                              Everyone needs a hobby.
                              Doing it all wrong since 1966

                              Comment

                              Working...
                              X