 Tweet
Tweet
Well done! Launching the little gaffer on the path to hot rodding mayhem!
-
Michael from Hampton Roads -
Well I've taken it out a few times over the months and the battery has never let me down so I think I have the amp draw problem licked.
The bad news is that I definately don't have the oil or transmission fluid leaks licked. It left a nasty puddle in the driveway after driving my parents around in it at Christmas. I'm officially fed up with it and am going to pull the engine and trans out to redo stuff the way I wanted originally. The list isn't short but it's all needed
Going to have to fabricate the following for sure and I'm sure something else will pop up along the way:
Oil pan to clear the suspension and centerlink
Header crossover to clear the same
Motor Mounts
Trans Crossmember
Trans cooler lines
Shorten the front driveshaft section
Modify the downpipe to accomodate the new engine position
Plumb the oil cooler again
Plumb and mount the AC condensor and dryer
Mount overflow tank
Tweak the alternator bracket to stop the alternator from whining (hopefully)
Electrically I'll have to do at least the following:
Repin the trans connector and extend the lines to reach the 4L80E
Add a SPDT relay to the Sol B leg to invert the solenoid function
Rewire the ignition module to get the Tach to work (hopefully)
Wire the AC compressor clutch and pressure sensors in
Thats on top of completing my brake project to put discs on the front and replace the single pot master with a dual. Deadline Early June since the International Riviera Owners Association meet is in C-Springs this year!Central TEXAS Sleeper
USAF Physicist
ROA# 9790Comment
-
I've started down the road to getting this done!
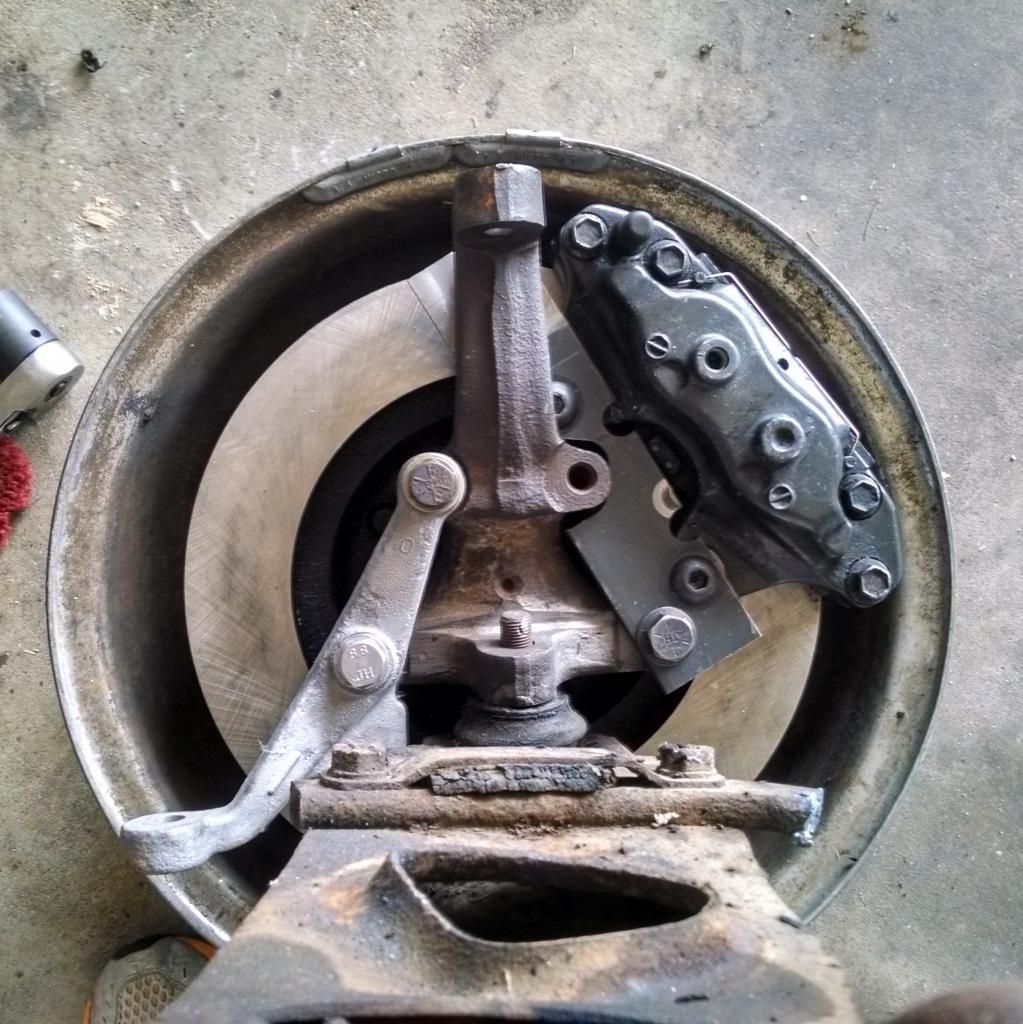
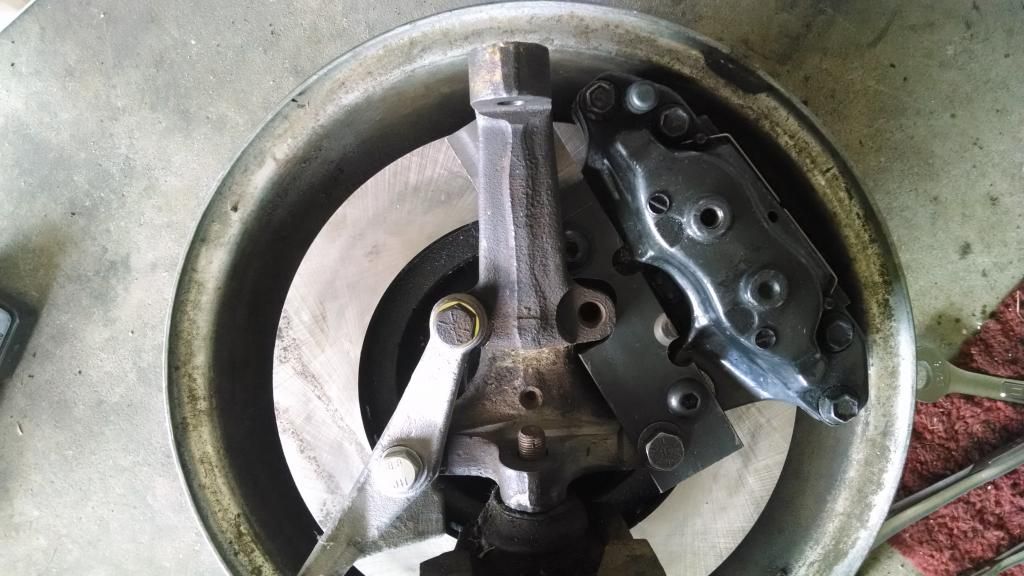
Brake Project:
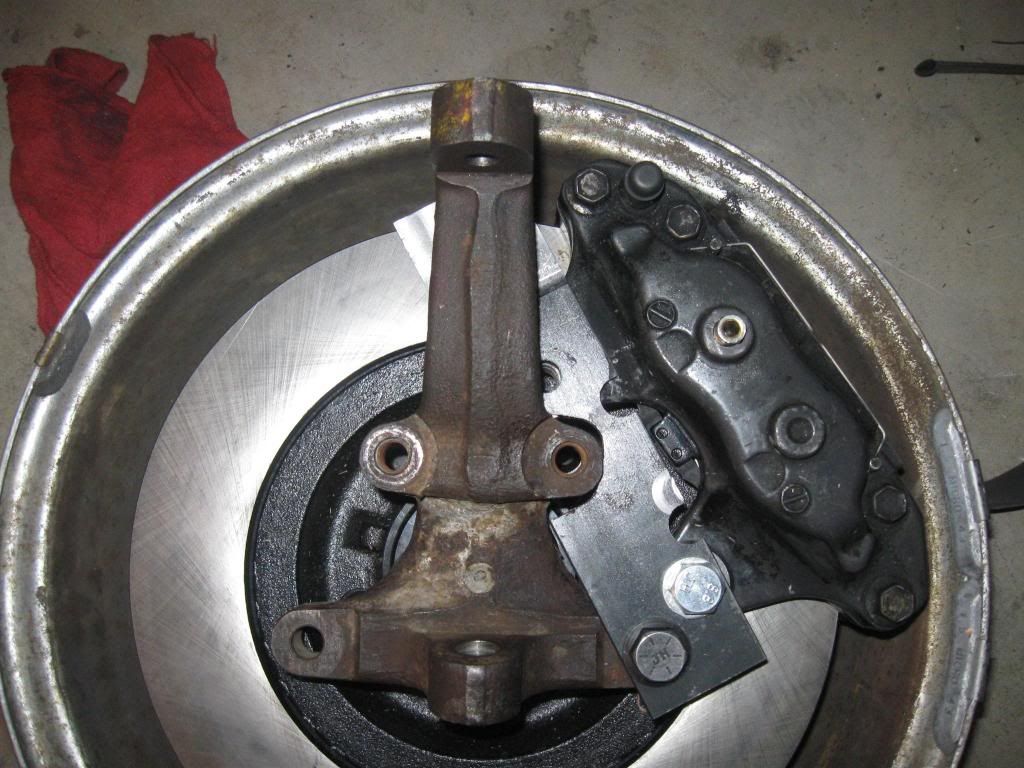
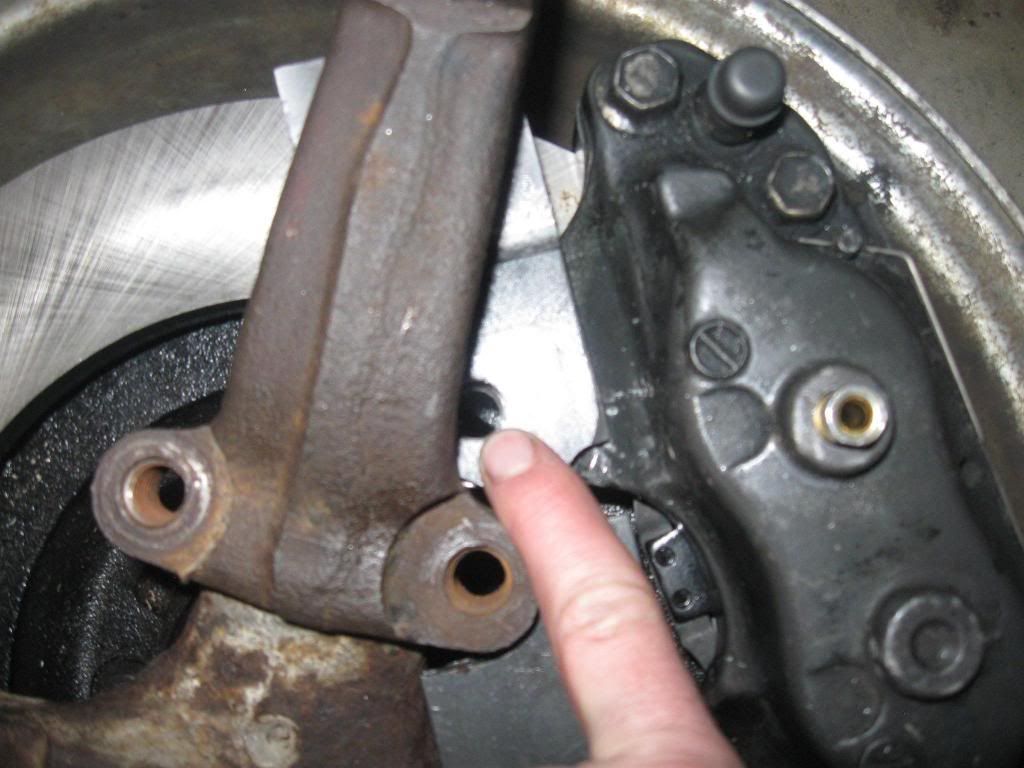
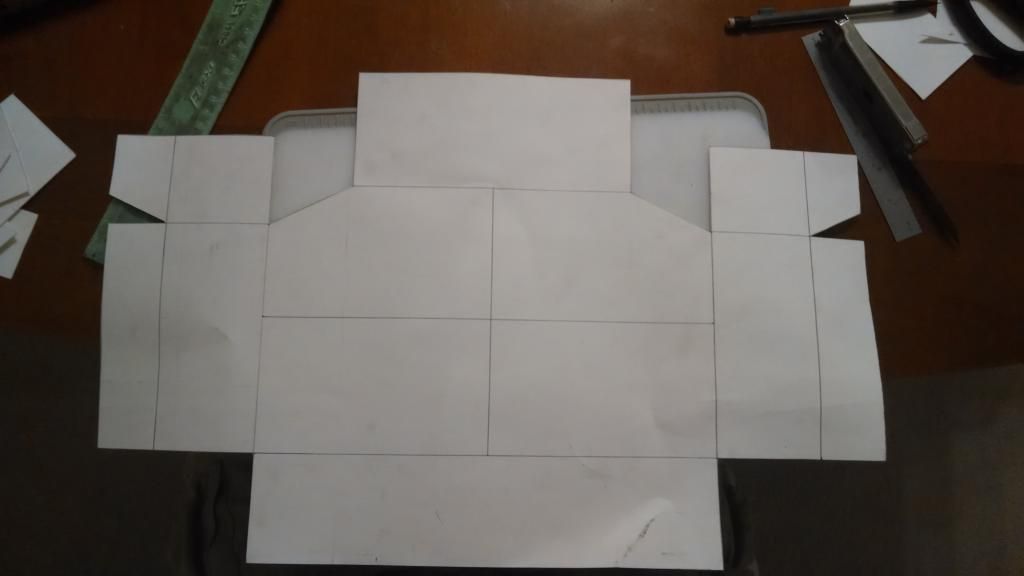
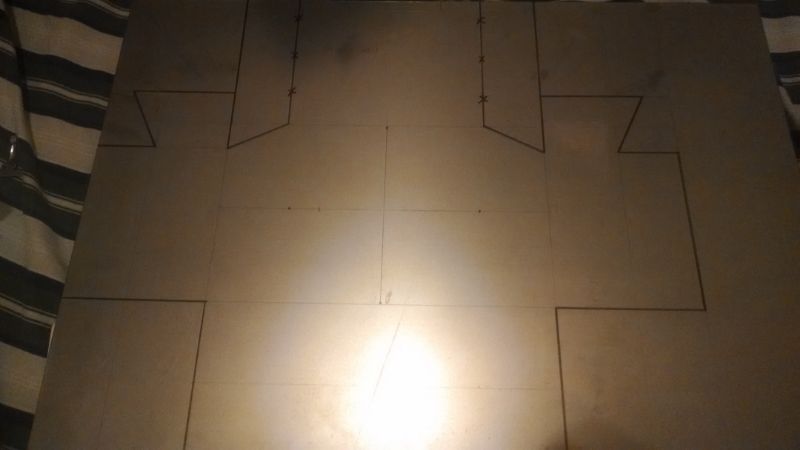
I've roughed out most of the prototype caliper bracket. I relented on my requirement of not modifying the spindle to make it much easier to mount a bracket. I milled the wheel cylinder boss down almost 3/8in so that it is 1/8in out of plane with the back of the lower steering arm mounting boss so I can mill a relief in the 3/8in bracket to keep minimum 1/4in thickness. I then laid out the pieces and built a cardboard template of the lower section of the bracket and roughed the bracket to fit
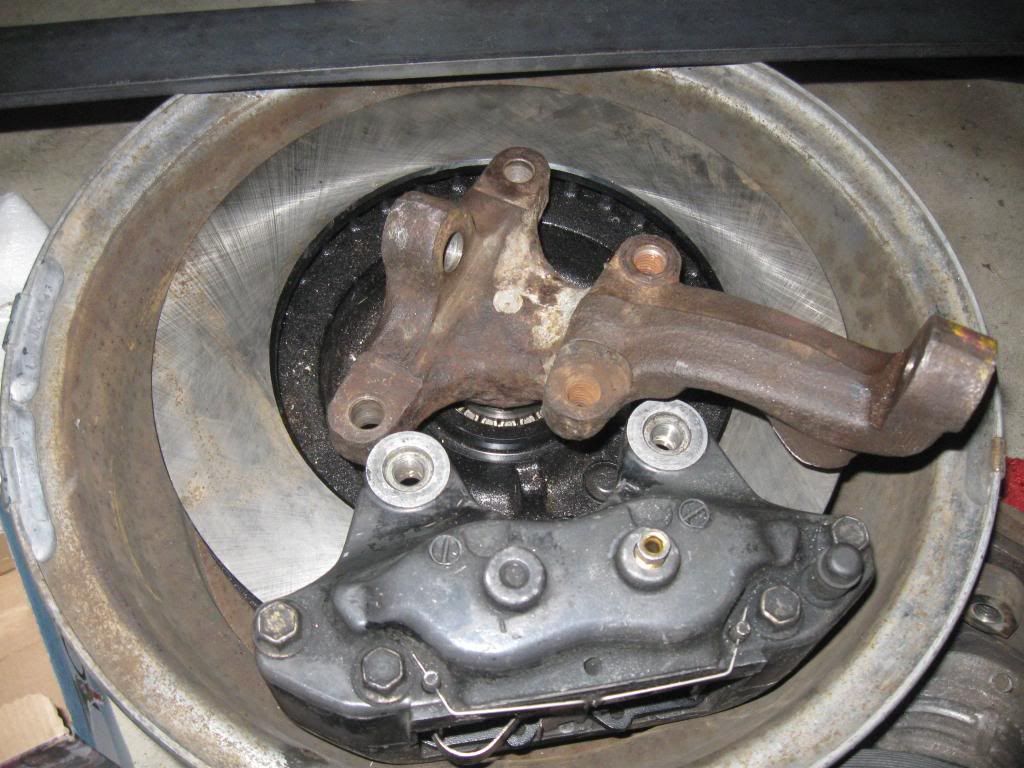
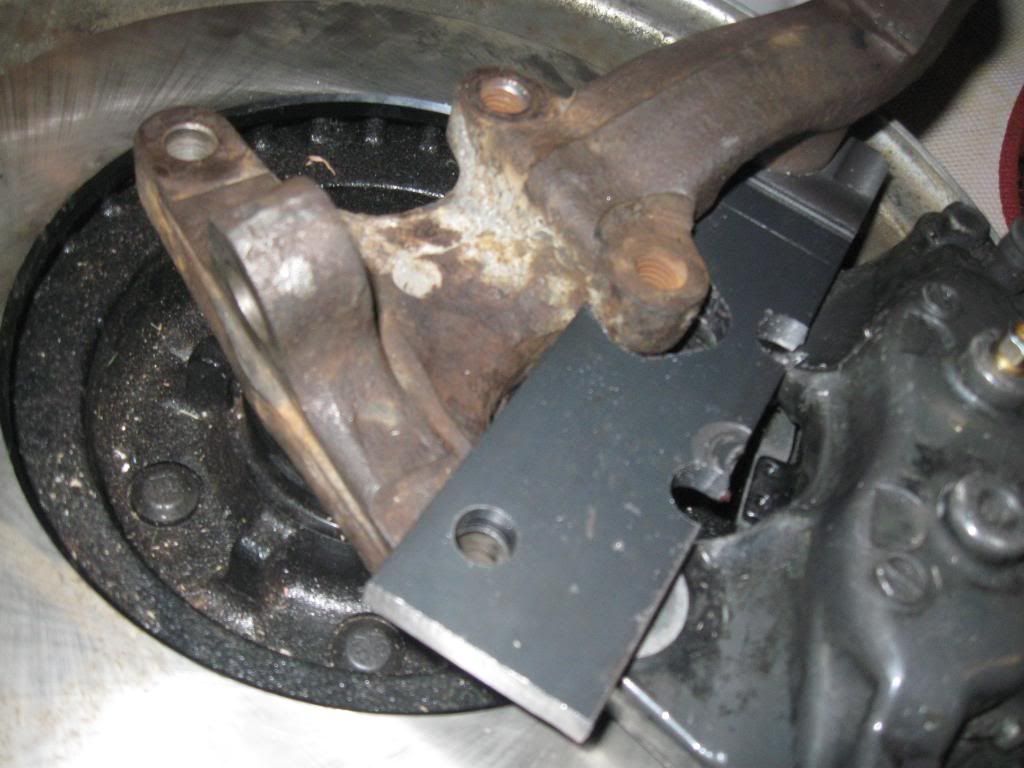
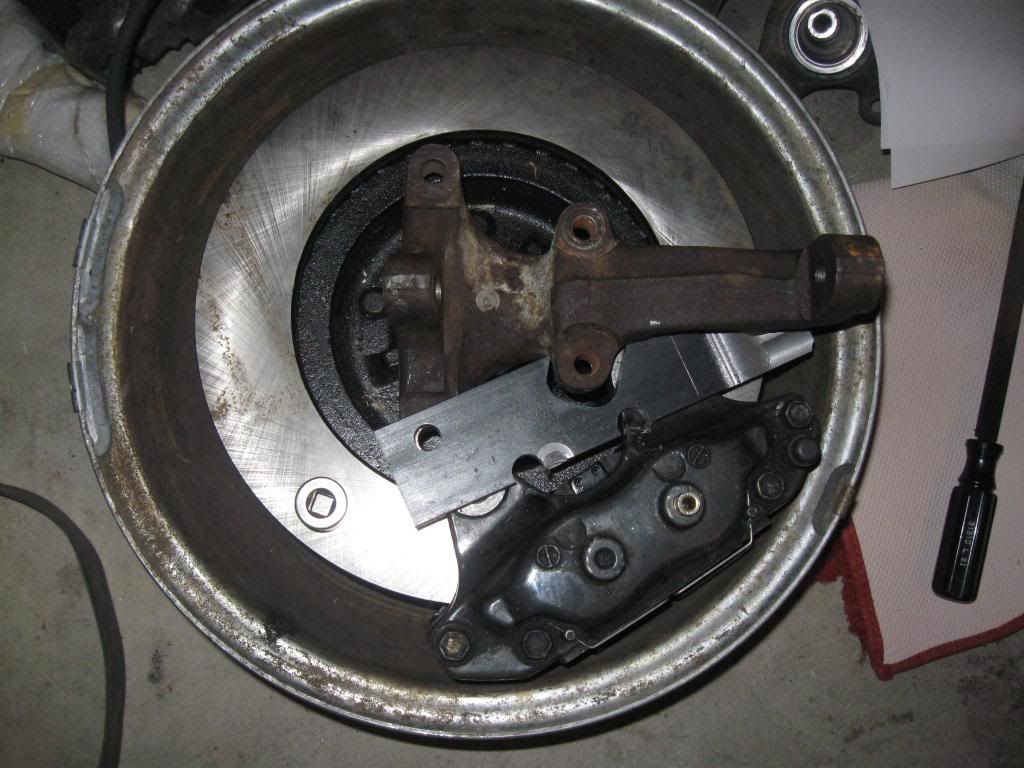
I still have to clearance the bracket to fully fit the spindle but it's most of the way there towards marking the caliper holes and getting the caliper to rotor spacing right.
I also bought a new rear axle for the car. Considering there are 0 rear gear or limited slip options for the stock rear end nor any easy disc brake kits I decided that I'd just swap the rear axle for a modern one. After searching through applications I found one that would work! S-10 Blazer 4WD axles are a bit less than 59in wide and the stock axle is 59 11/16in wide so with a pair of 3/4in thick 5x4.75in to 5x5.0in adapters the net result is pretty close to the stock rear track.
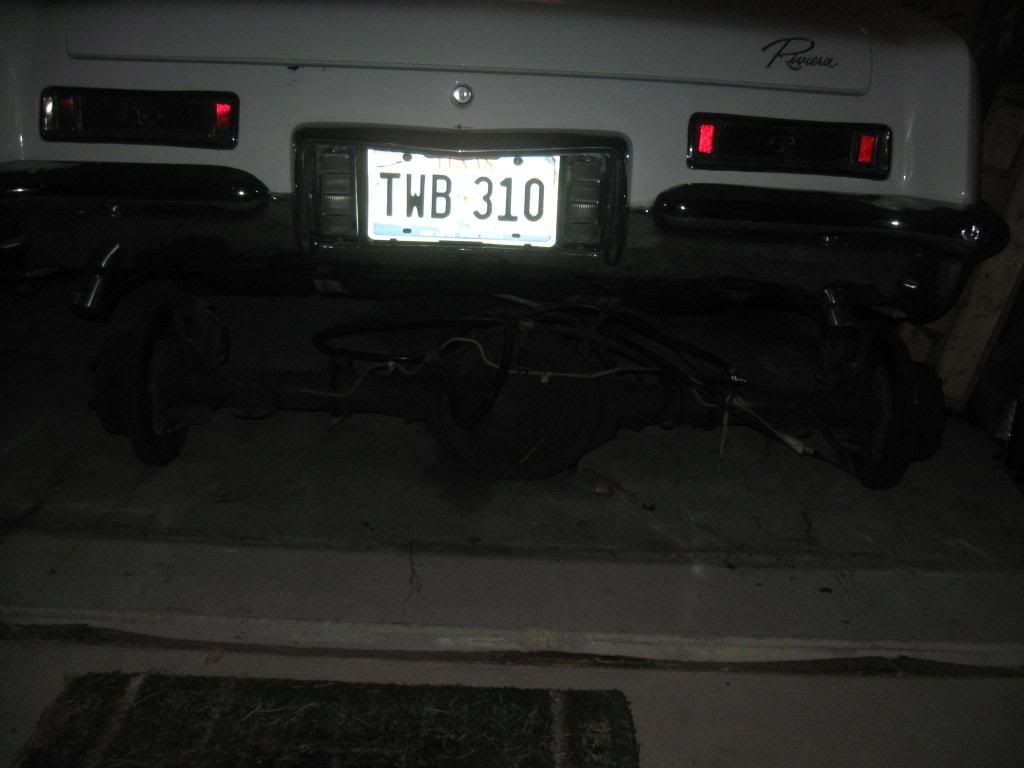
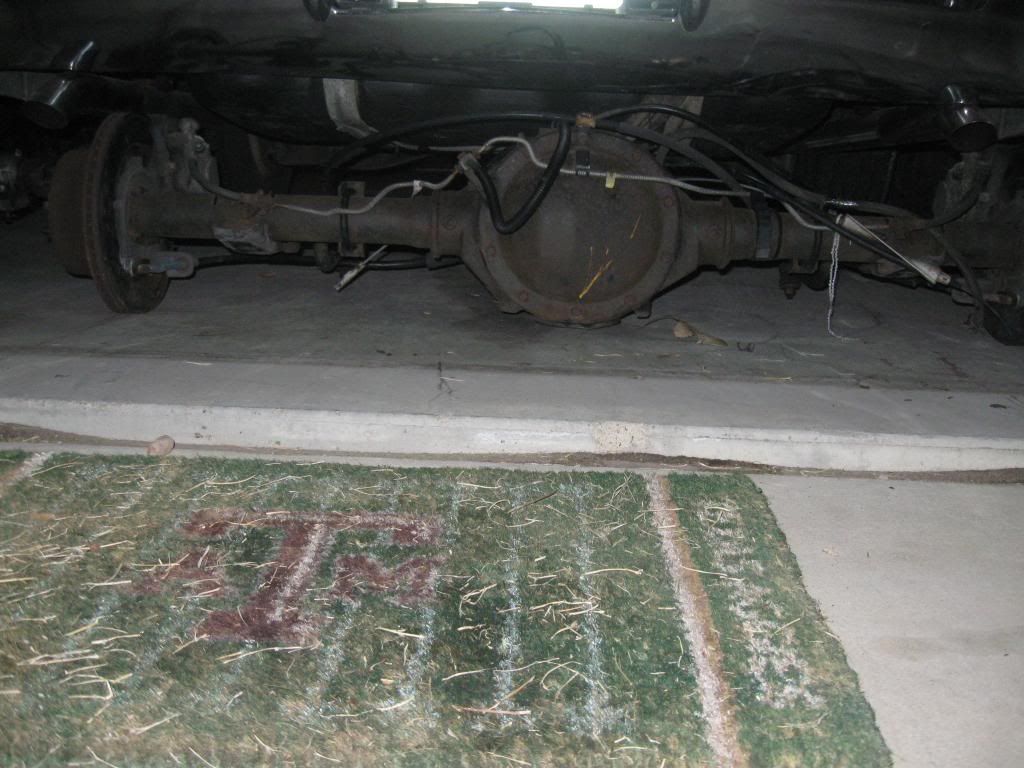
Bad pictures I know but I didn't get a chance to take any in daylight. Better ones tomorrow showing the fit.Central TEXAS Sleeper
USAF Physicist
ROA# 9790Comment
-
I generally put my trouble light just out of the frame to take pics in low light. That seems to work pretty well though yours seem pretty good to me. I'm interested to see how the caliper mounts work out. Nice to see it moving along.
DanComment
-
Scarebird make a kit but it doesn't use 4piston calipers. https://scarebird.com/index.php?rout...&product_id=60TomOverdrive is overrated
Comment
-
Well finally caught a chance to work on the caliper bracket and the prototype is largely finished.
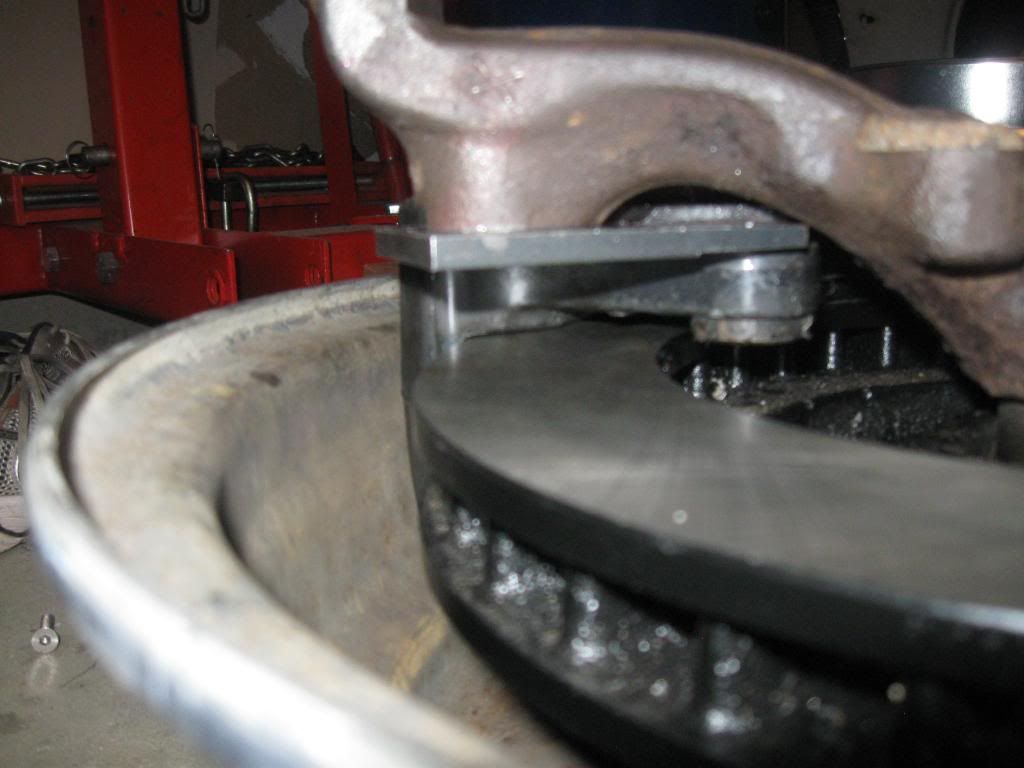
Big things to do are to pickup the bolts I need from Fastenal; 9/16 NF for the upper mount and a 13mm x 1.25 socket head caps screw for the caliper to clear the spindle. I also need to work on getting the caliper to rotor spacing correct. I shaved the bracket 0.060in and it's enough that I can turn the rotor if I get a good grip but definately not centered on the rotor.Central TEXAS Sleeper
USAF Physicist
ROA# 9790Comment
-
So fastenal lost the 9/16 NF bolt and only ordered a single anyway and despite listing the M12 x 1.25 (Ultra Fine) socket head, they didn't have any in stock. Waiting on the bolts to be delivered and get back to work on that piece of the project. Other things to do in the mean time.Central TEXAS Sleeper
USAF Physicist
ROA# 9790Comment
-
In the future you might want to order on-line from McMaster-Carr (I think it's <McMaster.com>). They have EVERYTHING and I suspect were the inspiration for the Acme Corp. that Wile E. Coyote used so extensively. Their shipping is amazing and they often have stuff to me when I haven't even ordered it yet. Well, not really but almost.
DanComment
-
Dan,Originally posted by DanStokes View Post
They are my backup source for things. They do have almost everything you can imagine but at a cost. I tend to avoid getting from McMaster Carr if I can due to the price. I do shop there and generall decided if I can't find it there, they probably don't make it. Like the M12-1.25 x 30mm bolt with a button socket head. No one carries it.Central TEXAS Sleeper
USAF Physicist
ROA# 9790Comment
-
Brake project has completed prototyping with a workable (sorta) unit. Solution to the M12-1.25 problem was to retap the mounting inserts to 1/2-20NF and use the readily available button head fasteners for that size. Only had to mildly hand file the side of the spindle to get it to clear the fastener and with a ball tip 5/16in allen key I can easily tighten the fasteners with the bracket on the spindle.

The only major hang ups are that the top bolt (9/16-18NF) is not available in shorter than 1in so you have to assemble the rotor, bracket, and caliper all at the same time to be able to tighten all the bolts since there isn't enough space between the rotor and the spindle to get the 1in bolt in there. I might mill the bolt down to 3/4in since that is 1/16 off of "proper" thread engagement for a 9/16in bolt.
Side Note on taps... The ones in the cheapo multi size sets are likely crap for sizing once you get beyond 1/4in. I did the proper tap drill (29/64) for the 1/2-20NF and used the tap from my set. The bolts wouldn't thread, way too tight. After running a die down the bolts and having that be fine I got a good tap from Fastenal and retapped the holes getting nice consistent shavings and now the bolts run down fine! I've had the same problem with the 7/16in tap from the same set so I'm not trusting it beyond 1/4 since the 1/4-20 works fine.Central TEXAS Sleeper
USAF Physicist
ROA# 9790Comment
-
Got the engine all disconnected and ready to pull these last few days, it's just being held in by the motor mount bolts and the trans mount sitting on the crossmember. Really looks empty in there when you pull all the accessories, radiator, grill and core support, and even the exhaust manifolds off. I just have to put the leveler on and potentially pull the trans dipstick out to get it ready for Monday night's "pull party" where the guys will show up and we'll roll the car back ~3-4ft to get the hoist in there and undo the last 2 bolts and pull her out! The gaskets I need are shipping today so I'll be ready to reseal the intake as soon as they arrive. The rear main is seeping a bit and while I ordered one, I'm leery of replacing it since I'll have to roll the motor over and that means more mess but I don't want to pull the engine again so I might bite the bullet and do it.
Fabrication will the big thing, with the new engine location and transmission (4L80E) I�m going to have to build a new set of motor mounts (got the longer lead items for that), new trans mount, new oil pan (center sump means the pushed back location no longer fits in the hole between the crossmember and centerlink), shorten the downpipe to still meet up with the rest of the exhaust, and probably a new crossover pipe between banks. Wiring wise I just need to undo some of the stuff I built for the old SP400 and un �hotwire� the ICM since I think that is giving me tach and ignition problems.
On a productive note though, last night I spliced and repined the 4T65E harness extensions so they match up with the 4L80E plugs. Now I still need to spline all ~24 wires into the main harness but it is really just as easy as cut the plugs off of the existing harness and splice the same color wires (with 1 exception) together as I left the 4T65E cannon plug on the main wire harness and soldered the other end to the 4L80E harness pigtail I got at the junkyard. Now I was disappointed to find that the one I got from the yard had been spliced but it looks like someone got a GM/Delphi pigtail kit to do it as the splices are the same as the one I got on my old 99 Silverado�s Delphi fuel pump which required a different plug than the original and look well done. Just need to add the 5-pin relay to invert the Sol-B signal and reprogram the computer tables to match the 4L80E and it �should� work. We�ll see when I get the other piece of the puzzle done, shortening the driveshaft, I already have the Trans-Adapt BOP-C to Chevy trans adapter.
Central TEXAS Sleeper
USAF Physicist
ROA# 9790Comment
-
***Disclaimer: Pictures to come tonight when I have a chance with some light***
So my Monday night men�s group is suffering the problems of summer, the kids are out of school and trips of all kinds are going on. This week was one guy and next week will be no one but me (and I leave the next morning for the rest of the week). However in commentary to what Glad said in CCM, �if you are doing it alone, you�re doing it wrong�. I have to say he�s got a point, it probably took me 10-25% longer to pull the engine last night than it would have by myself because we were standing around talking about �what does this do, why do it that way, how�s the family�etc�; but I had 3x the fun doing it! I can�t wait till my sons are old enough to help.
Anyway, we got the engine and trans pulled last night and the trans separated and pushed off to the side for determination of where it�s final home will be (might be the scrap yard if no one wants to buy it as I don�t want to take it with me). Other than the trans puking ATF all over the floor it was a pretty simple job. My friend (and neighbor) had never pulled an engine before so he was pretty stoked to help. Got as much coolant out as we could by tipping the engine forward on the chain and draining it out the water pump then put it up on the stand. Still waiting on gaskets to redo the intake and still debating on the rear main seal; oil pan is just a given. I also got the motor mount parts and the materials I need to fabricate them. Will cut the old mounts off of the frame on Thursday and start mocking up the new mounts, oil pan, and trans cross member (modified original). The exhaust and oil bits will wait till I get the engine in. Same story with the minor refurb job on the 4L80E (new filter, pan gasket, and a drain plug in the pan). Good news is that one of the members of my men�s group is very well connected around town and referred me to the right place to get a new front shaft section made.
Full speed ahead for July cruise ins then off to the body shop for some fender and front end work before it gets shipped to DC!
Central TEXAS Sleeper
USAF Physicist
ROA# 9790Comment
-
I apologize for the poor cell phone quality but I was in a bit of a hurry and couldn't find the regular camera in time.
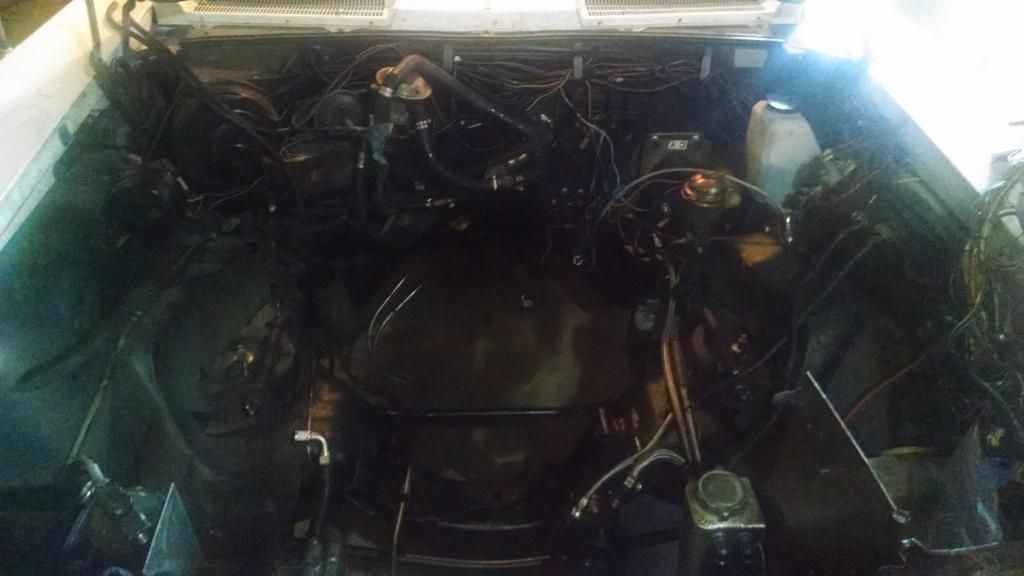
Engine and transmission out of the car, the hose is the upper radiator hose that I just didn't pull off of the engine since it is an AN threaded connection. The box of gaskets and rear main seal is leaning up against the engine in the lower left.
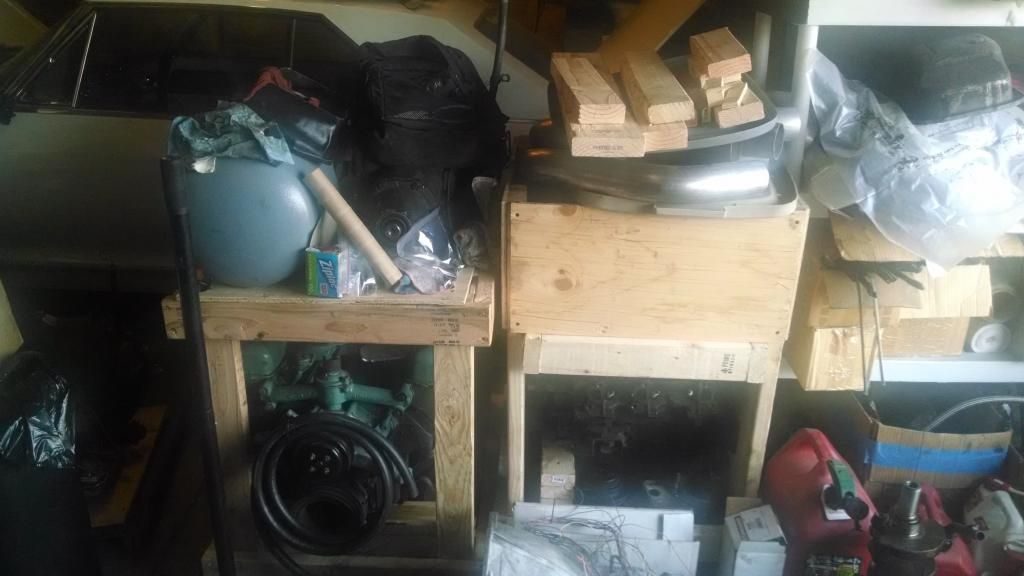
Empty engine bay.
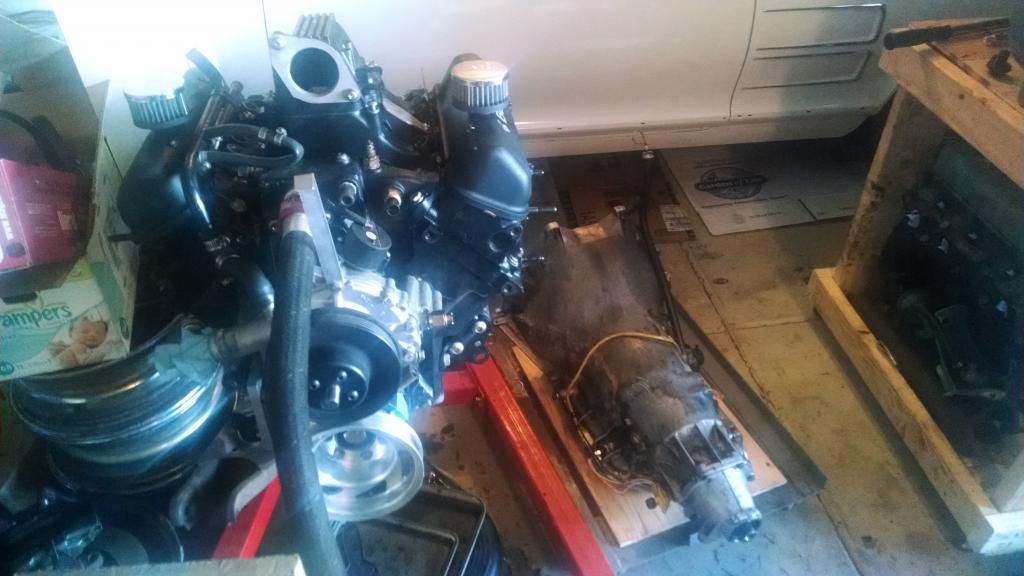
Nailhead and the 3.0L destroker crated up and ready to ship (and saving me a lot of floor space too).
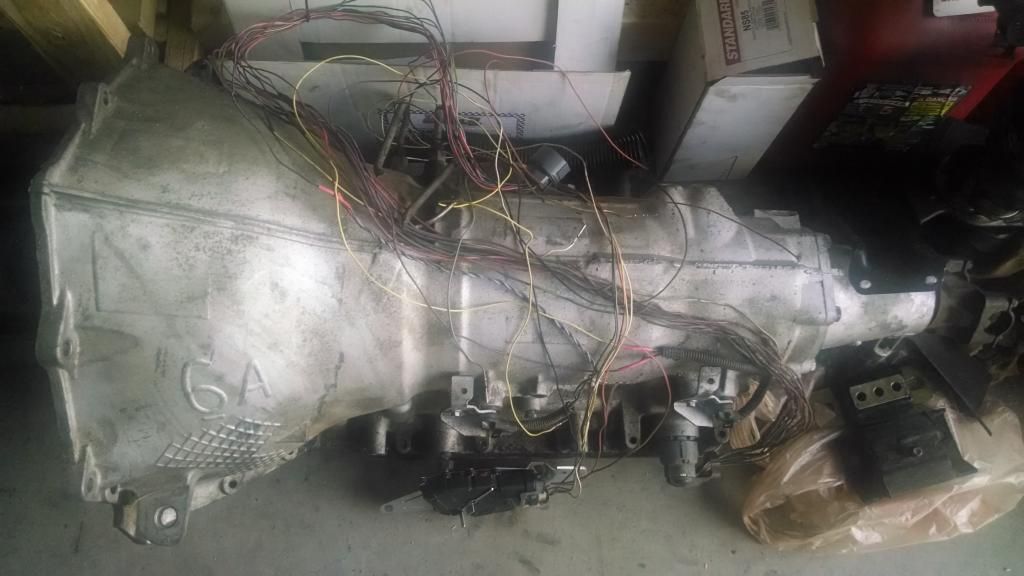
The 4L80E with harness attached. Just need to find the right bolts to hold the sensor to the shifter linkage and install the sensor and lever arm.
Thursday I'll get better pictures before I start and after I'm done.Central TEXAS Sleeper
USAF Physicist
ROA# 9790Comment
-
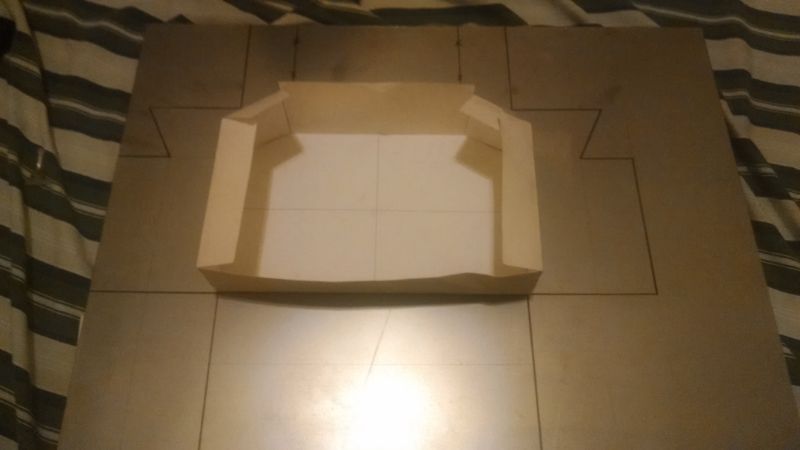
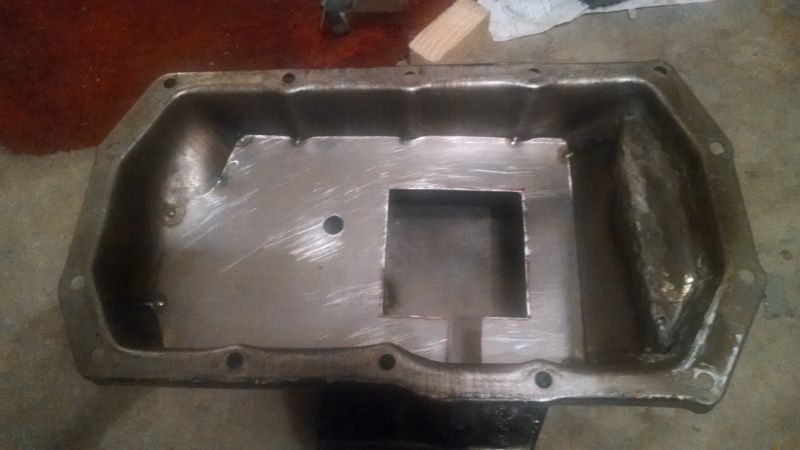
Hallelujah!!! It's finally shipping to VA! I've been trying to get the shipping company to come through on shipping the car for over a month now and they have finally loaded it onto the truck after my neighbor took the effort to put the console back in and duct tape cheap carpet (he says he got the carpet free) to the floor. Anyway it's on its way and I can take pictures of all the mad thrash work I did to pull the engine and transmission, fabricate a new oil pan and motor mounts, modify the cross member for the 4L80E and all the other things I did while I was at it but was working till 0200 for 1.5 weeks to get done without taking hardly any pictures.
Here's what I have of the oil pan under construction. I started with a stock V6 oil pan and cut the bottom off 3in from the rail since that's was the distance between the pan rail and the crossmember with the old motor mounts.
 Central TEXAS Sleeper
USAF Physicist
ROA# 9790Comment
-
Good stuff all around. Glad it's finally on it's way.
DanComment


Comment