 Tweet
Tweet
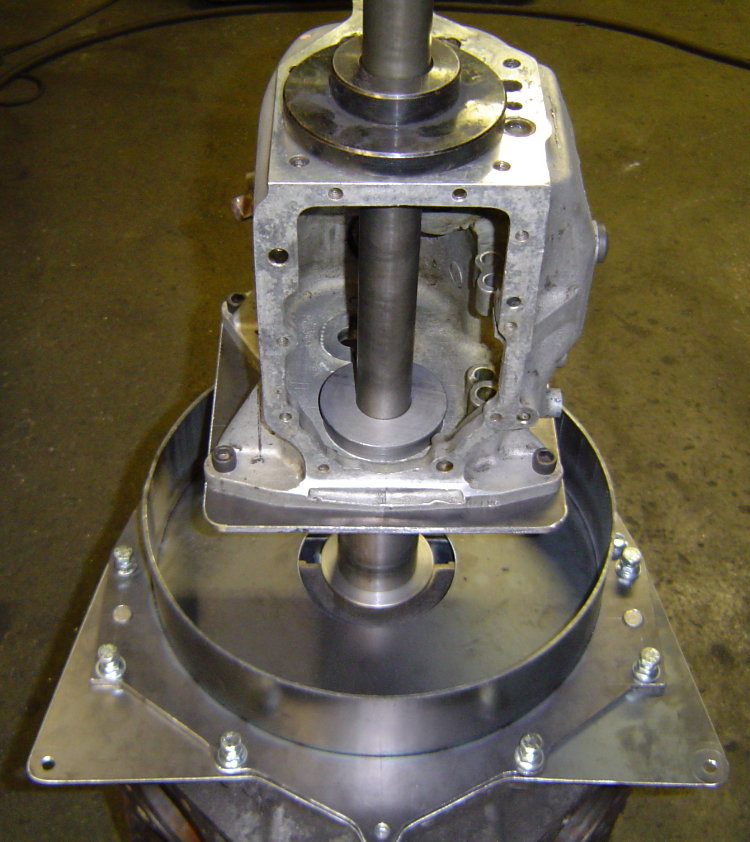
Re: V8 powered RX-7 w/ engine setback
awesome work.
I recognized the front end, strut bars etc.. relating to an 87 subaru (same japanese time frame)
I am inspired to do the solid rod end, just urethane washer. the biscuits arenlt exactly precise, munches on stuff..
love the build. I have been poondering a 400ci my bro-n-law has sitting around in the crazy welded subaru wagon.
these 80s j-tinners are similar to the vega...with unique traits. Intersting about the rx-7 tunnel being unusually tall. The subaru is unusual for the tranny and way engine sits in the bay (I would plop a big block right in on oem springs). kinda funny.. ;)
awesome work.
the original strut rods were modified from biscuit bushings to rod-ends for more front end travel.
I recognized the front end, strut bars etc.. relating to an 87 subaru (same japanese time frame)
I am inspired to do the solid rod end, just urethane washer. the biscuits arenlt exactly precise, munches on stuff..
love the build. I have been poondering a 400ci my bro-n-law has sitting around in the crazy welded subaru wagon.
these 80s j-tinners are similar to the vega...with unique traits. Intersting about the rx-7 tunnel being unusually tall. The subaru is unusual for the tranny and way engine sits in the bay (I would plop a big block right in on oem springs). kinda funny.. ;)


 and seems to make it easier to find a sucker.
Comment