Announcement

Collapse
No announcement yet.

88 pony

Collapse
X
 
  • Filter
  • Time
  • Show
Clear All
new posts

  • 88 pony

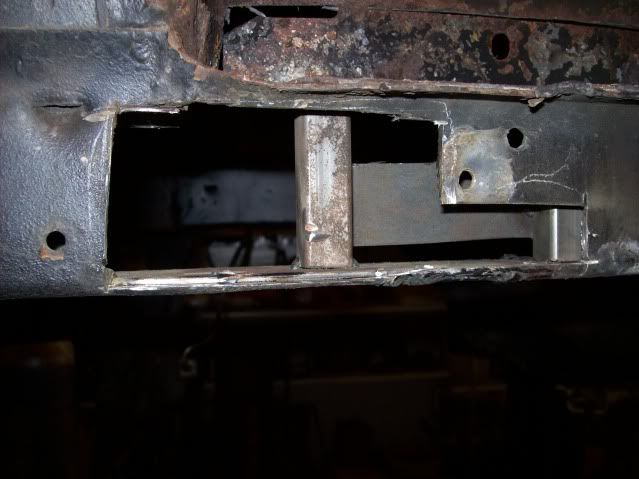
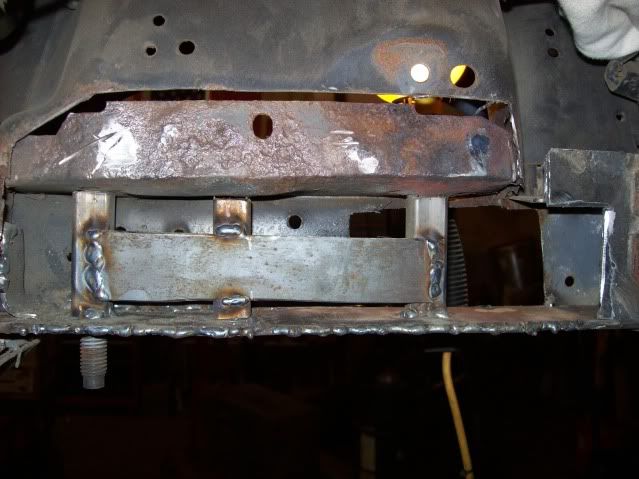
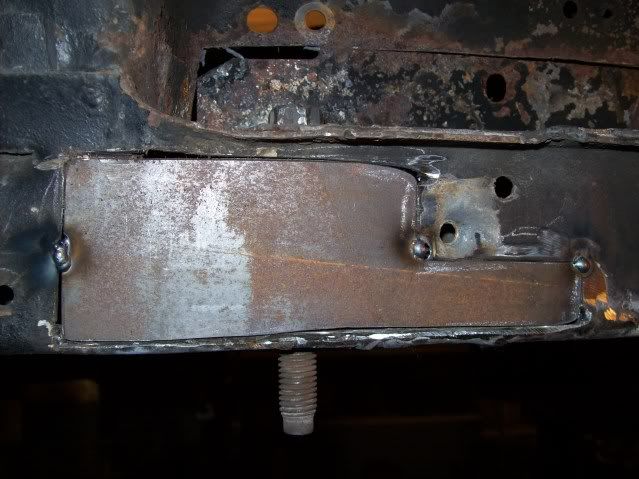
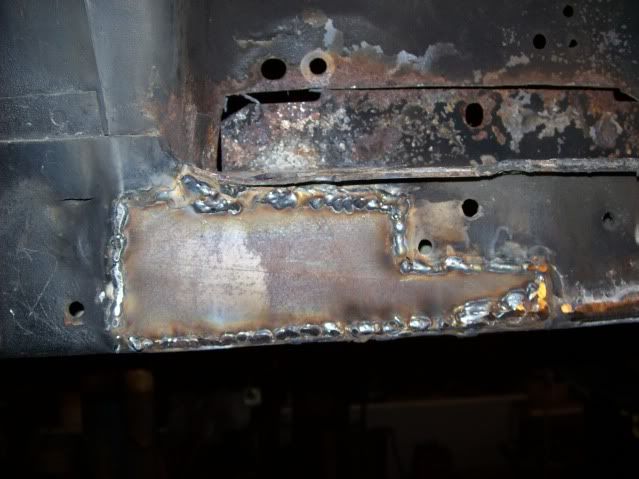
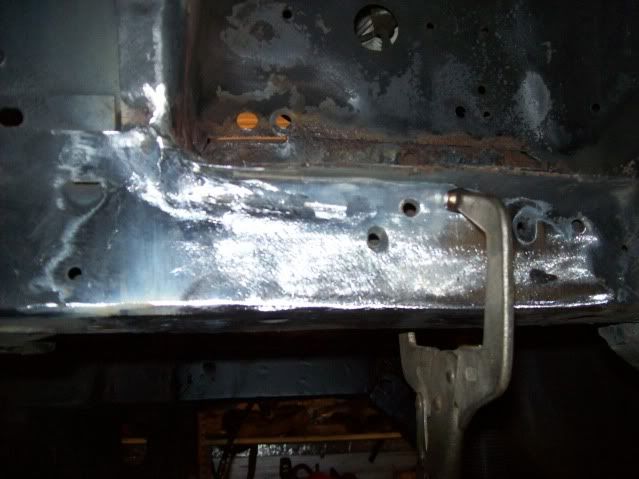
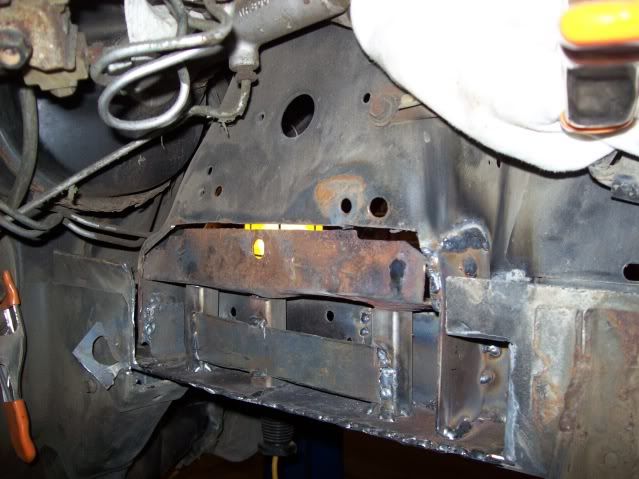
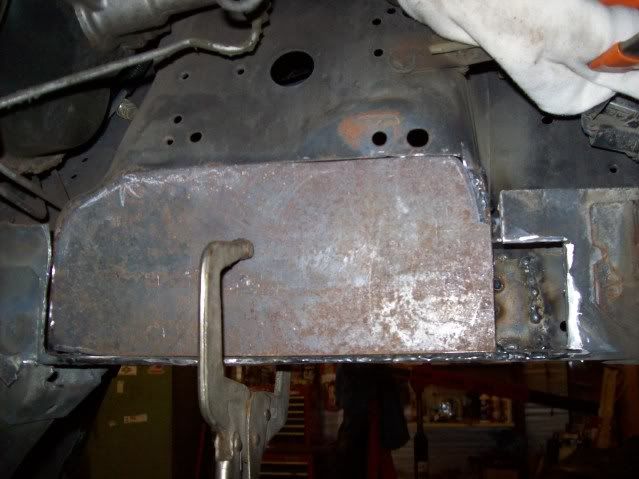
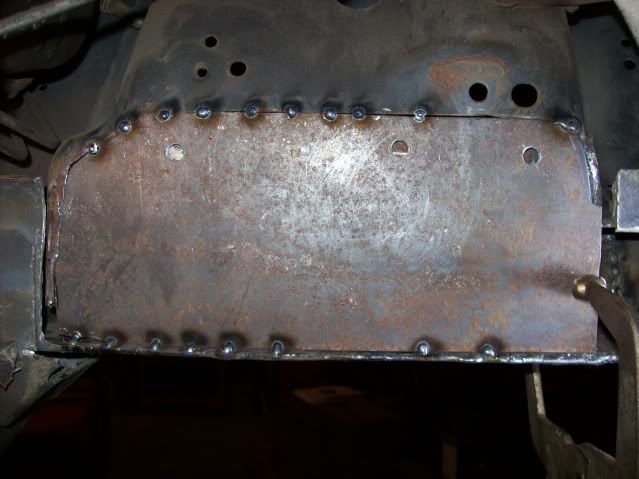
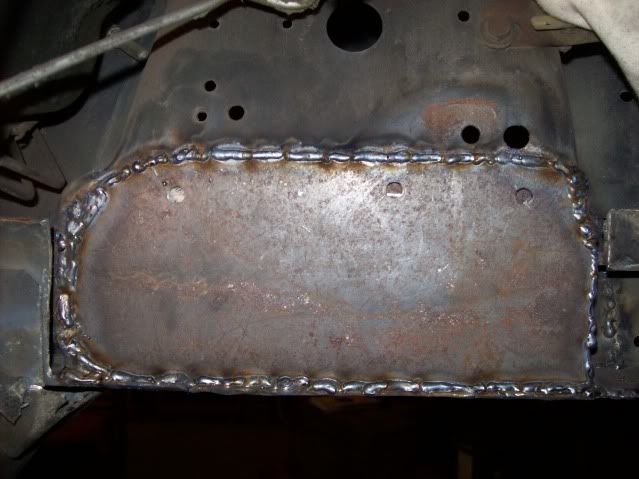
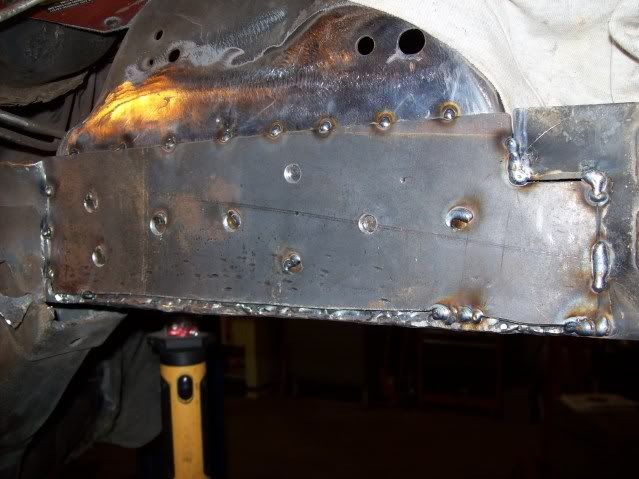
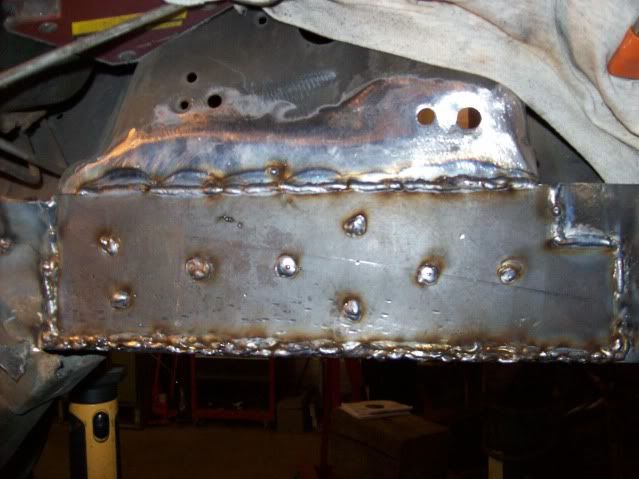
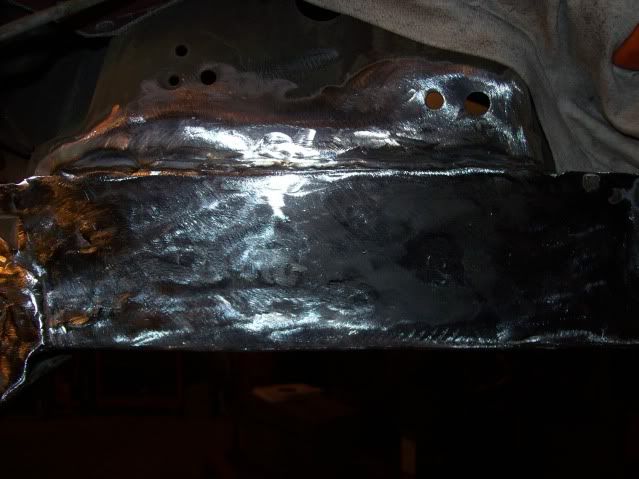
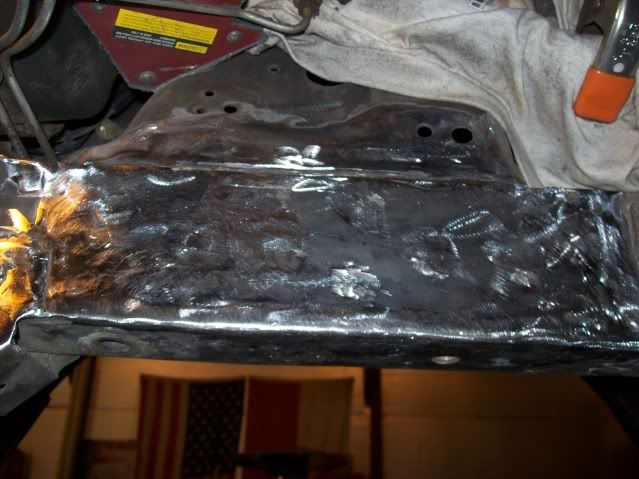
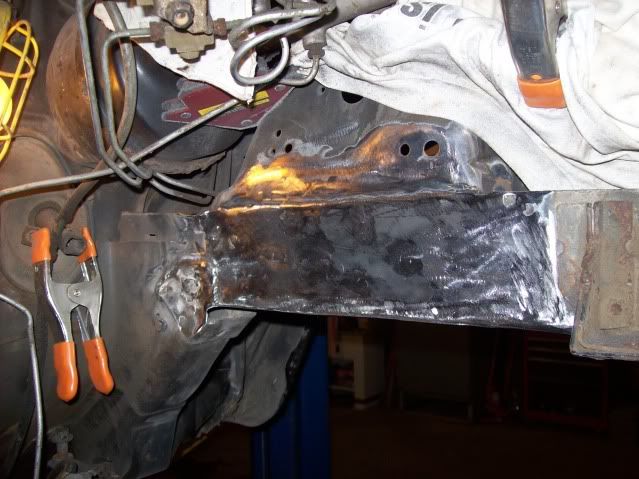
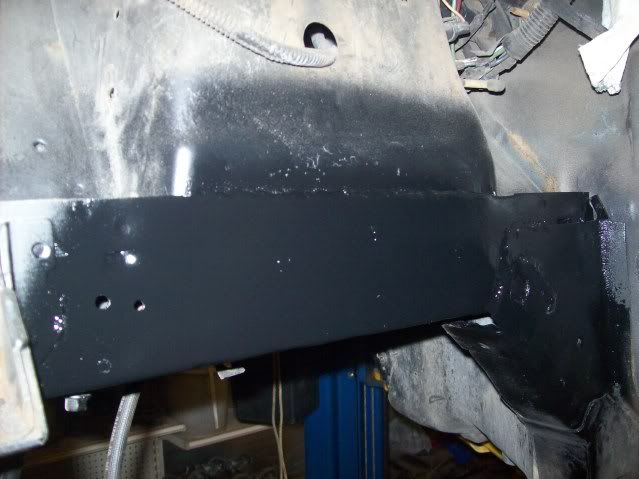
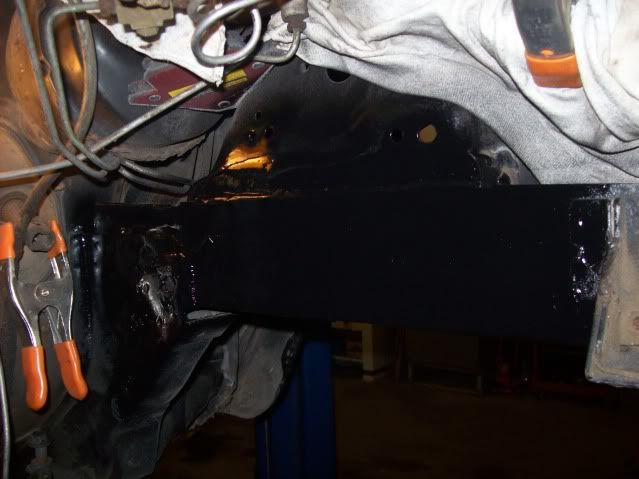
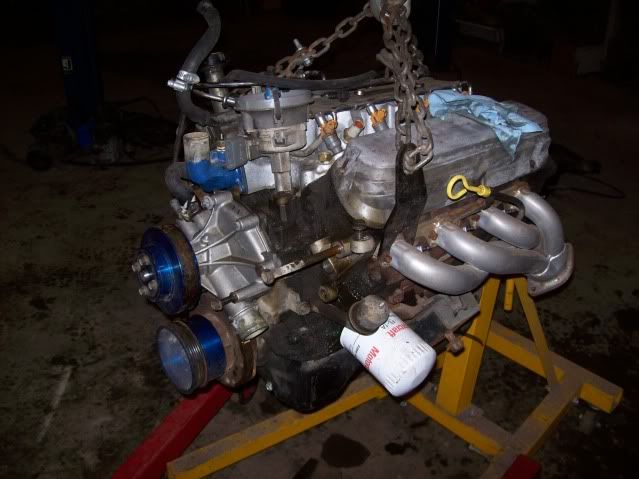
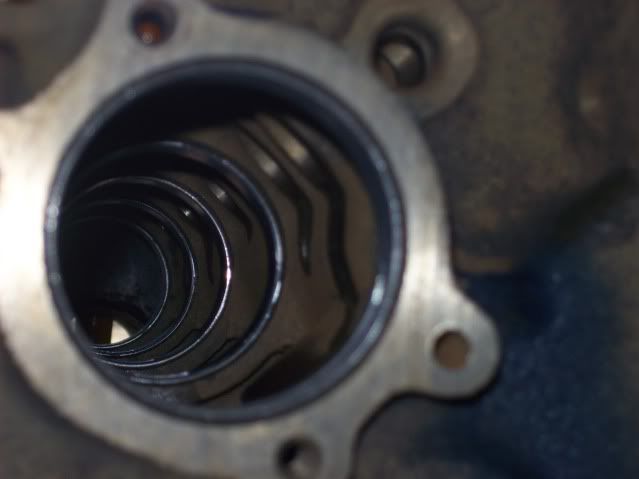
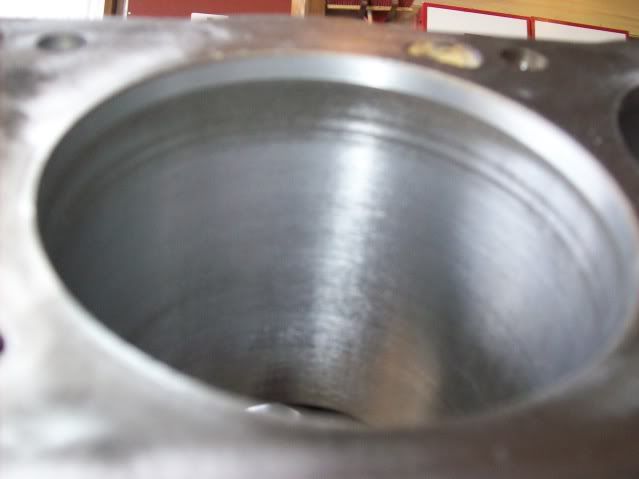
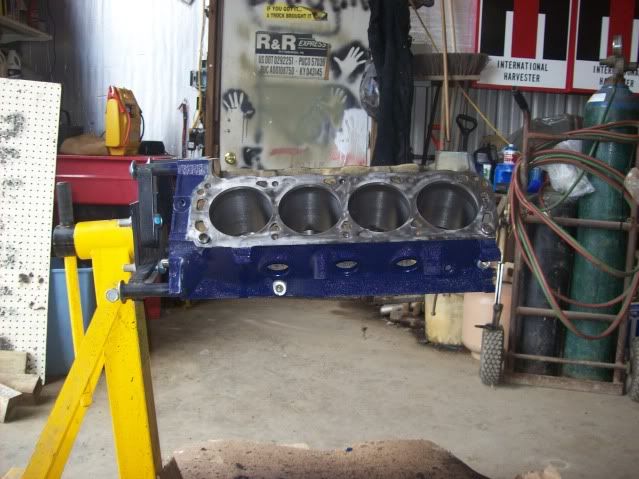
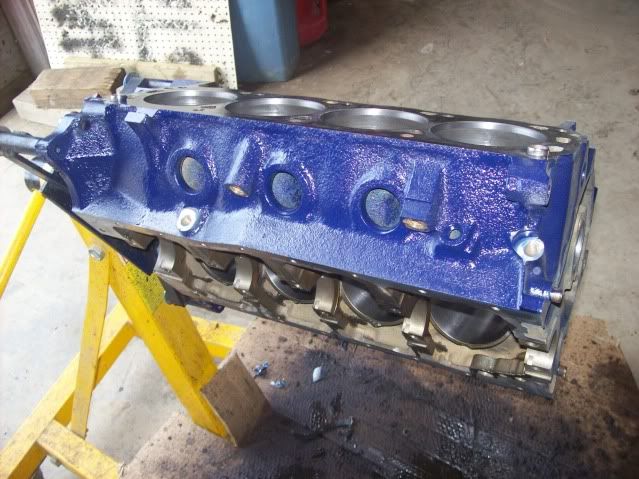
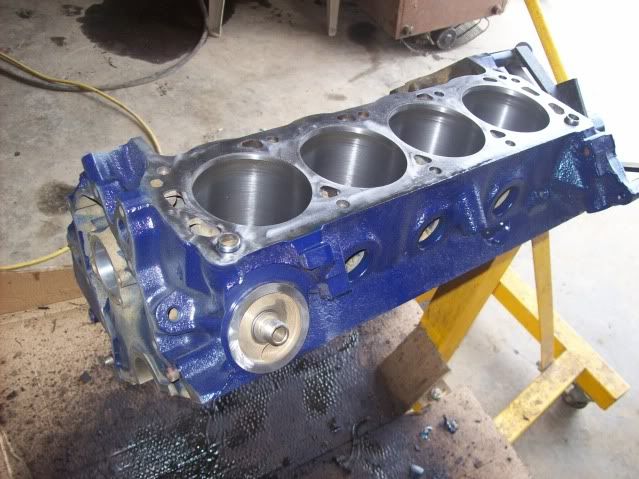
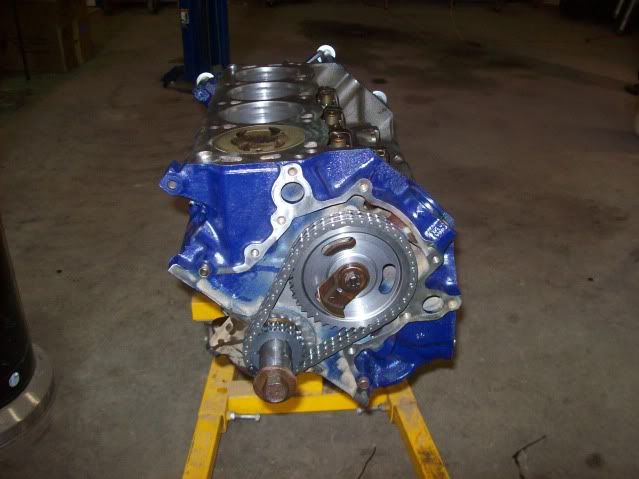
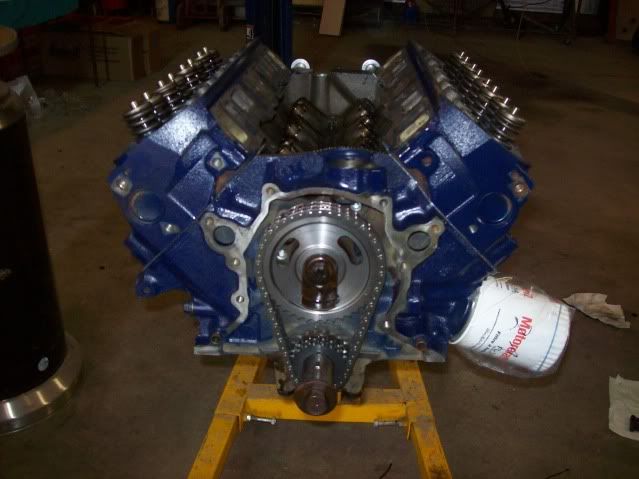
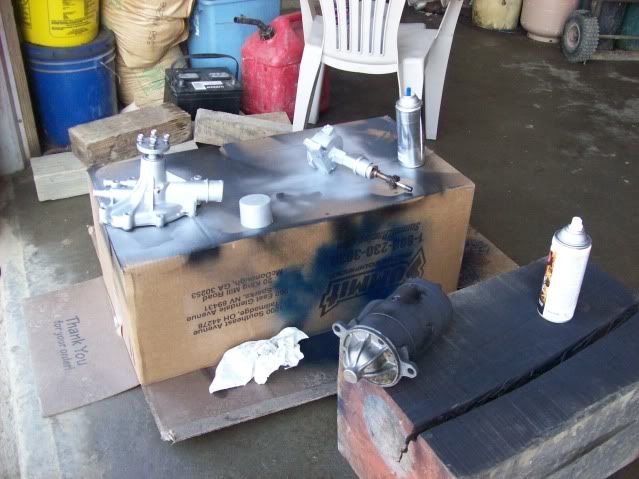
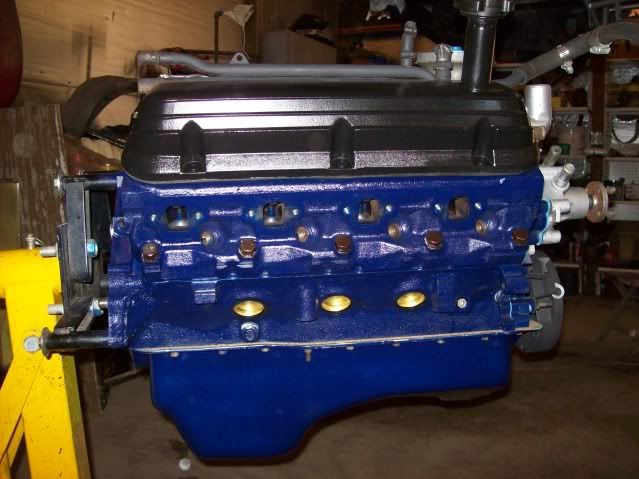
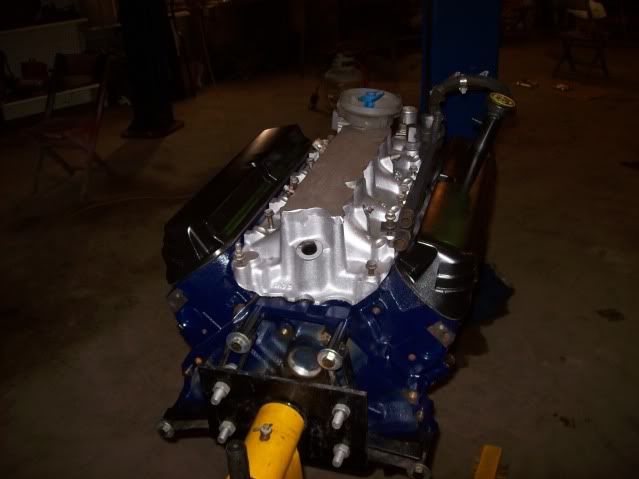
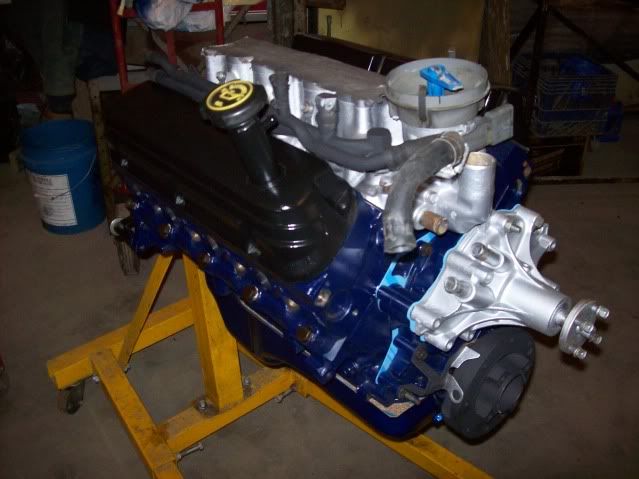
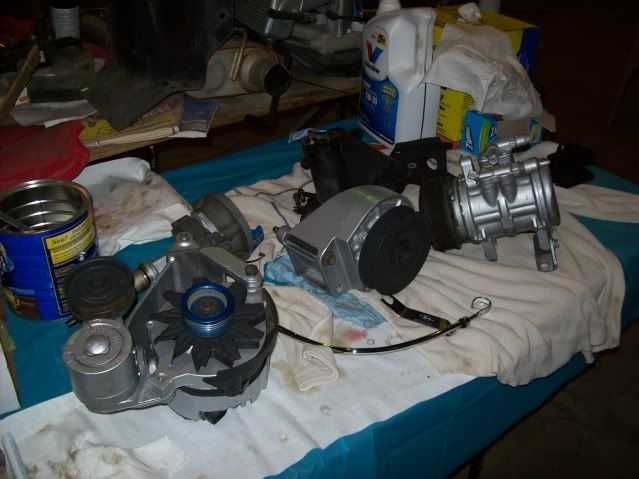
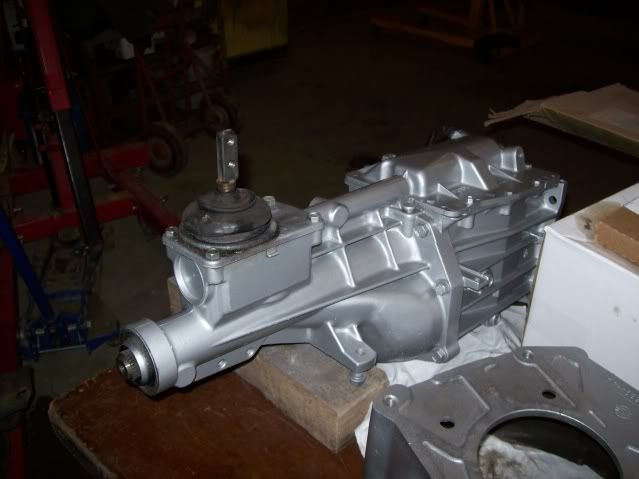
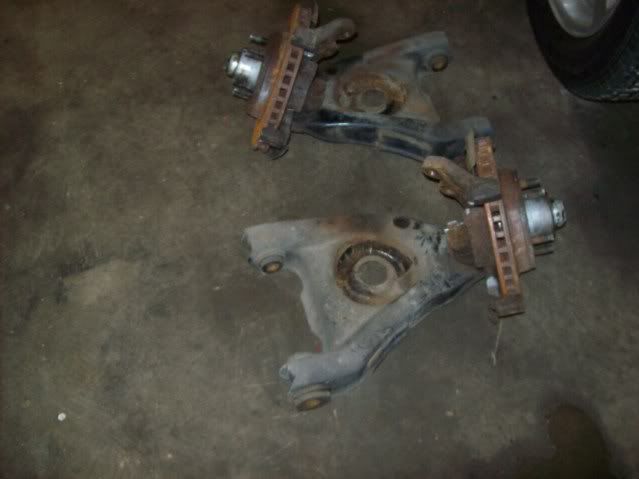
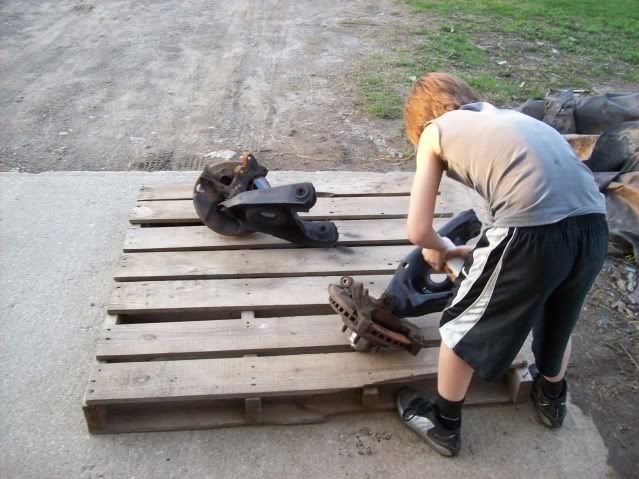
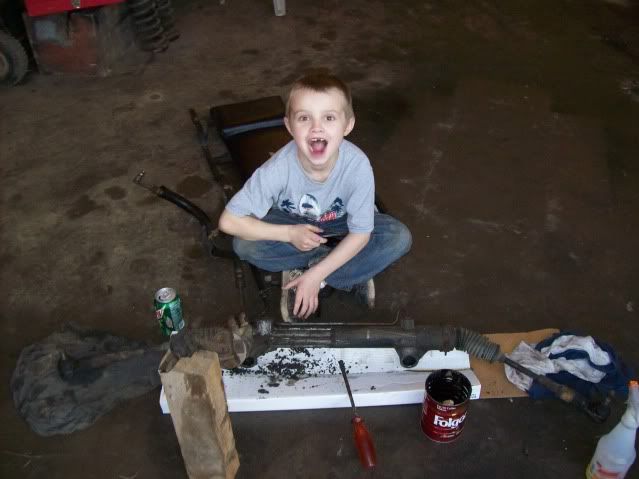
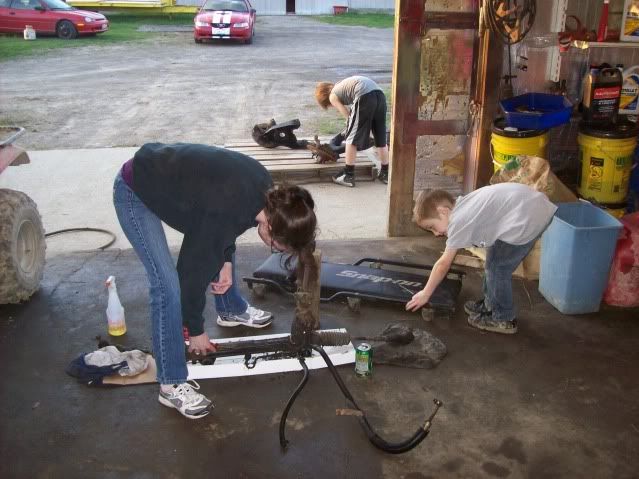
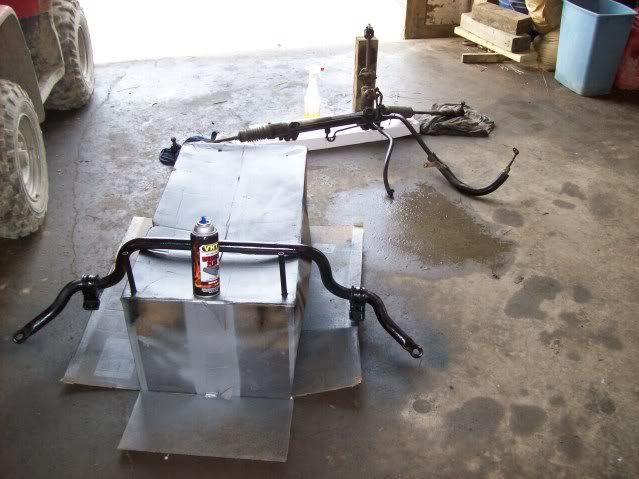
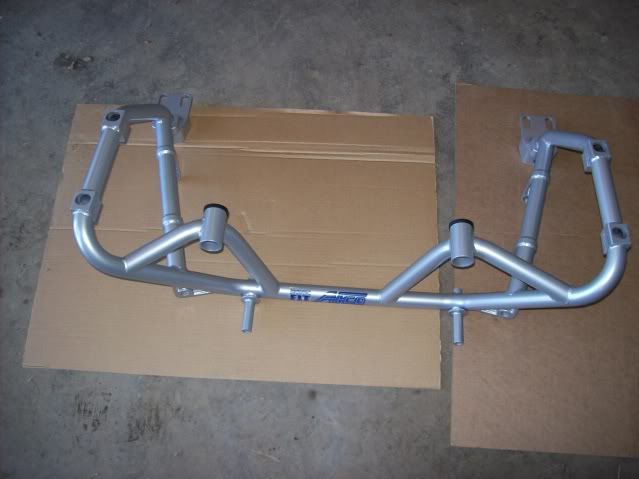
    I planned on having this page up and added to and maybe even done this late in the year, but you know how things sometimes go. Now, with a little less that a month before power tour, its back on the ground and running. I can see the light at the end and within the week the last parts should be on. The second week of this year I began to take my car apart for some repairs. My main concern was the aod slipping and the strut tower rust. 101_1180.jpg (77.4 KB) I figured the best way to get to the rust was to drop the entire k-member and suspension, engine, and trans as one. How I did this was to remove everything I could in the air, then put large blocks under the k-member and trans pan and jackstands under the a-arms. I lowered it to the blocks and pulled the 4 k-member bolts per side. 101_1242.jpg This is what the 23 year old bolts looked like. 101_1233.jpg Then lifted the car up similar to how Buddy did his f-body, but using dads lift. 101_1250.jpg 101_1258.jpg 101_1253.jpg Here is the rusty, oily mess that wont make a return to my car anytime soon. 101_1260.jpg I wish some of that intake oil spillage would have made its way to my strut towers -it would have saved me a ton of work and frustration!
    Attached Files

  • #2
    88 pony

    101_1285.jpg The drivetrain got rolled to the corner for the next 6 weeks. Now on to the rust issues. I have not ever driven my car in the winter, but it was 11 years old when I got it so it must have had some salt at one time or another. There is(were) only a few rust spots on it. Years ago I replaced the drivers door and the hatch because of rust bubbles. 101_1246.jpg This shows the right side tower. I thought it was the worst of the two, but I was wrong. The drivers side had alot more rust thru and was harder to work on with the brake lines and valve in the way. 101_1248.jpg I figured the strut brace would work okay for keeping everything in place and started to cut out the cancer. I did one side at a time beginning with the passenger side. 101_1294.jpg 101_1296.jpg I ended up making new supports on the inside if the framerail. 101_1351.jpg Hard to see in the picture, but I wanted to try to weld it with the Lincoln stick weler- very much not fun. I got the inner supports in place and started on the inner plate. I burnt thru more than I welded for two nights. 101_1356.jpg I gave it a break for a week or so and started fresh with a new welder.... More to come.
    Attached Files

    Comment


    • #3
      Win! Keep it up!
      Life is short. Be a do'er and not a shoulda done'er.
      1969 Galaxie 500 https://bangshift.com/forum/forum/ba...ild-it-s-alive
      1998 Mustang GT https://bangshift.com/forum/forum/ba...60-and-a-turbo
      1983 Mustang GT 545/552/302/Turbo302/552 http://www.bangshift.com/forum/forum...485-bbr-s-83gt
      1973 F-250 BBF Turbo Truck http://www.bangshift.com/forum/forum...uck-conversion
      1986 Ford Ranger EFI 545/C6 https://bangshift.com/forum/forum/ba...tooth-and-nail

      Comment


      • #4
        Nasty! You're doing good work.

        I know I have a problem like that with the DD SVO. Not looking at it isn't going to make it go away. Maybe I'll attack it, just like you did, when I change engines.

        Thanks for the pictures.
        I'm still learning

        Comment


        • #5
          Good work on the car! I cringed when I saw the rust in the photos, and started having flashbacks... I involuntarily reached for my cutoff wheel to chop it out, but then I realized that I'm at work looking at my computer screen, and not in my garage.... Man I really HATE RUST!!!!

          I just welded the last cab corner into my old '77 dump truck last night. That was the last of the rust repair that I started in January. I ended up doing drivers and passenger floor pans, both cab corners, and the entire door sill/rocker/cab crossmember on the passenger side. All I have left to do is do the bodywork on the last cab corner, prep and paint everything, and I'm finally DONE... At least until I tackle the rust on the dumpbed...
          Still plays with trucks....

          Comment


          • #6
            88 pony

            So I ended up spliting a new welder with my dad. I had been looking at them for about a year. Lincoln ProMig 140. Nothing fancy, just for light work. And it works well. I had to do some touch-ups from the stick welding and then things came together nicely. These pictures are all on the passenger side. I hit it with some spray paint until I found something suitable to coat it with. I ended up brushing on POR 15 Chasis Black. Its temp. rated to 1200* which should be way overkill. I had planned on just using rubberized undercoating but felt that it might melt or burn off right near the headers.
            Attached Files

            Comment


            • #7
              Looks good! Keep up the good work!!
              Jeff
              Follow My Build

              Comment


              • #8
                On the drivers side, I maybe should have used a tower from a donor car. The inside was a bit more extensive than the right side, but it also had a hole in the outside and the bottom. I just cut away until I got back to good metal. The double plate in the bottom was completely gone, the entire rail was kinda just turned to dust. In the fourth and fifth pics you can see where I slid longer pieces into the rail and used the stick welder to tack them back in the pockets. Picture 6 is the bottom hole fixed and shows how much it sucks welding upside down. Once I had the bottom supported, I cut the rest of the rust on the outside and cut a plate to fit. It got easier as I went along.
                Attached Files

                Comment


                • #9
                  Well, my pictures didnt come out in order, so...pic 4 is the bottom hole I had to grind and re-weld several times. Pics 2 and 6 are the ones I welded down inside the rail. Now to figure out how to post pics in order...

                  Comment


                  • #10
                    Good deal on the Lincoln 140. That's what I have, my buddy and I went together on it about 5 years ago. I did have an issue with it where it wouldn't burn in and would sputter constantly. I took it to the dealer and they fixed it for about $100. Besides that, it gets used very hard and often and never quits. Should do good for you.

                    Good progress on the rust, keep it up.
                    Still plays with trucks....

                    Comment


                    • #11


                      I used square tube to make the inner supports because it was easier and in was in stock.

                      This is the outter patch getting test-fitted.


                      This is the final sized hole after much cutting on the inner tower.


                      Rust repair complete. Sorry for the poor pics of the POR-15.
                      Now for the motor....

                      Comment


                      • #12
                        Now my plan for the motor was this; valve job, oil pump and pan toss in a cam maybe gt-40 heads and call it a day. Yeah right-that didn't happen but i'm pleased with my cheap-a$$ results.

                        After tearing it down and looking things over I decieded that I may as well take some time and do some stuff that needed done. There was nearly no ridge and could still see the cross lines in the cylinders. I took the block to get cleaned and cam bushings installed. Then I did a quick hone on it myself.


                        Then my son and I washed it down and sprayed some paint.


                        Here's Austin blowing out all the bolt holes and passages.


                        I got the entire family to wire wheel, clean and paint all the parts off the motor. It only took a few nights and everything looks like new. And they can say they did something on the car.


                        I changed my mind on the black valve covers, it was just too dark.


                        I did away with the air pump. For whatever reason I left it there when I lost the cats a few years ago. I did a little hunting around the net and found instead of buying a pump eliminator, you can just re-route a shorter belt. It even worked with my underdrives.

                        Comment


                        • #13
                          Man, this is just a thread-full of win. Awesome job on the rust repair! You rebuilding or replacing the AOD?
                          Formerly Shannon (aka: HillbillySailor). 2549 posts.

                          Comment


                          • #14
                            Thanks Shannon. The aod is OUT! and the man pedal is installed.

                            Comment


                            • #15


                              Comment

                              Working...
                              X