 Tweet
Tweet
Just... impressive. You make me want to be a better, more patient welder. Thanks.
-
Bakersfield, CA. -
It's always fascinating to see a perfectionist at work in any craft! Thanks for sharing your work on here.
JamesComment
-
I don't think I could learn more if you shot a vedio great coverage. Thanks!Greg & Mendy Dayton, Ohio 2007LH 2008LH 2010LH 2011LH 2012 1st 2 stops 2013LH 2015 1st 2 stops2016LH 2017 first and last stops . 2018 LH ("It's better to be dead and cool than alive and uncool!! Harley Davidson!")Comment
-
Thanks for the comments guys. Some more cleanup work on the roof weld, didn't get much for in process pictures, but then this part gets pretty boring anyhow...
Inside...
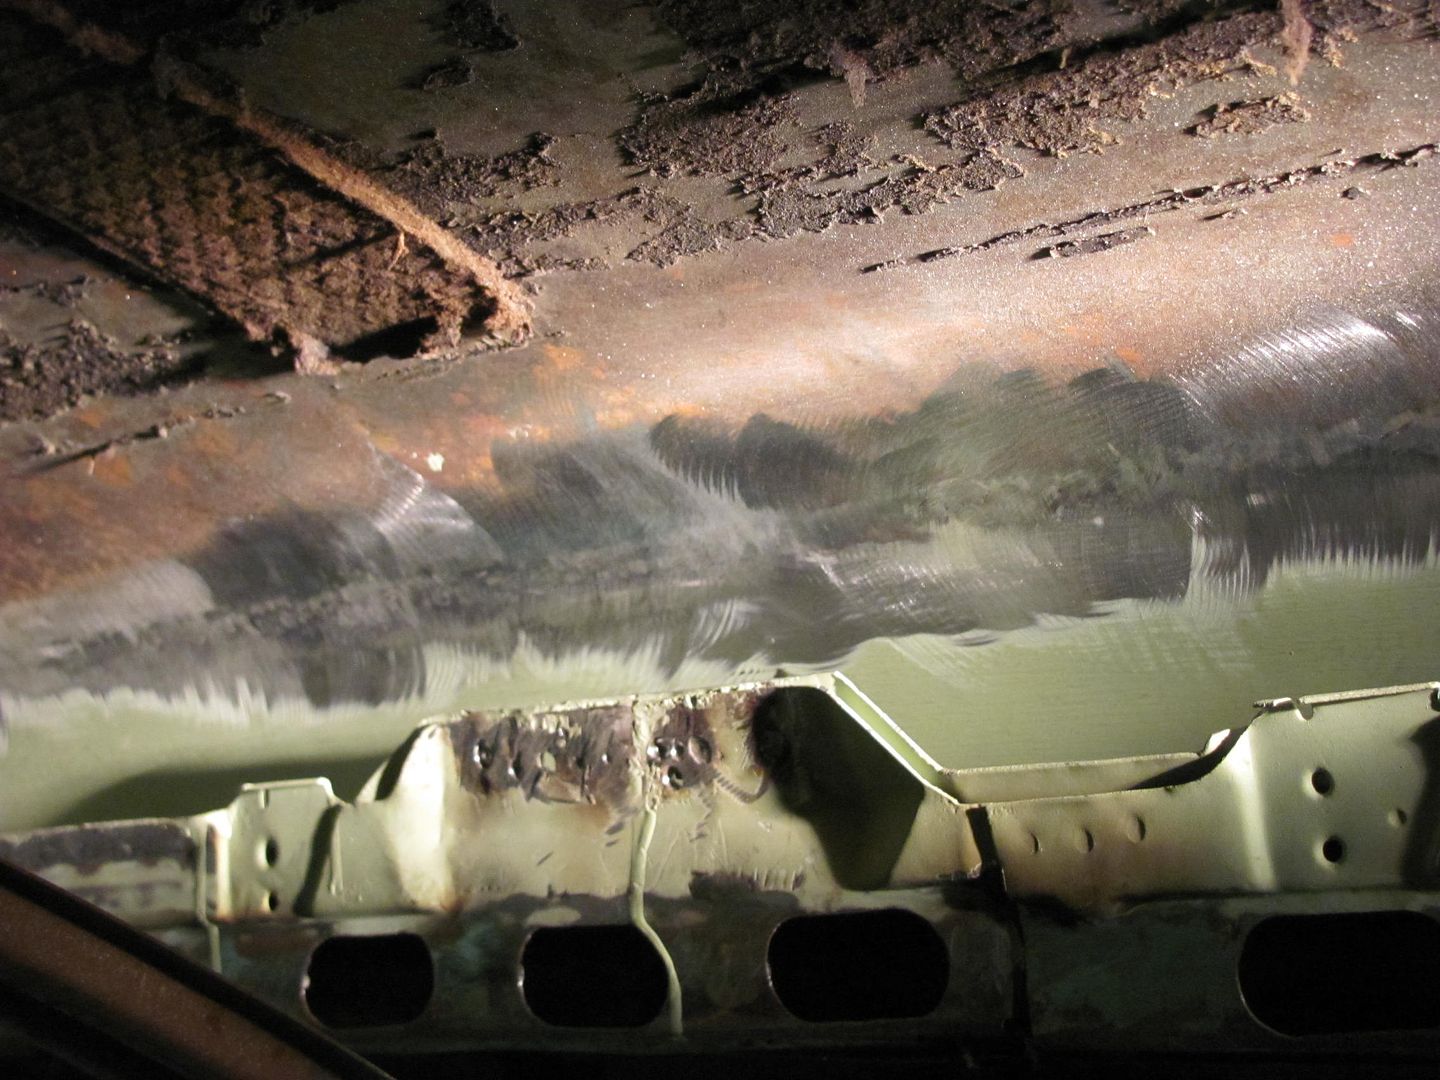
I'm pretty pleased with how it turned out this time. Still has some metal bumping needed to address some highs and lows, which we'll work on next time in the shop, as well as welding in the last pieces of the lift gate..Comment
-
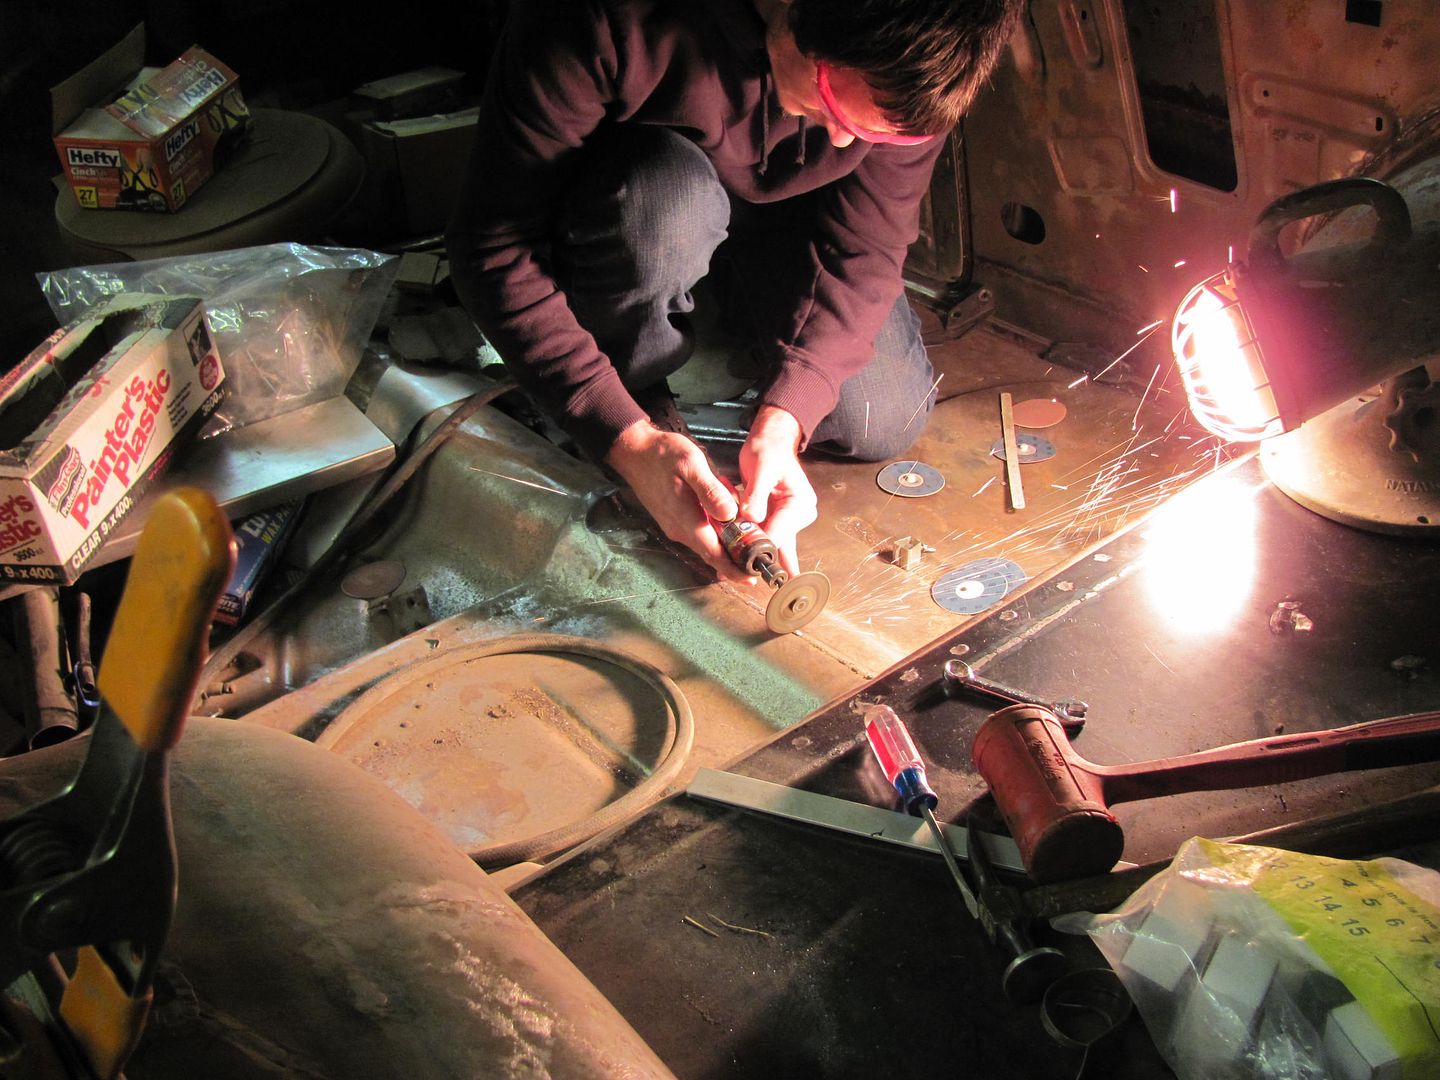
My nephew Chris worked inside the wagon to clean up some of the welds...
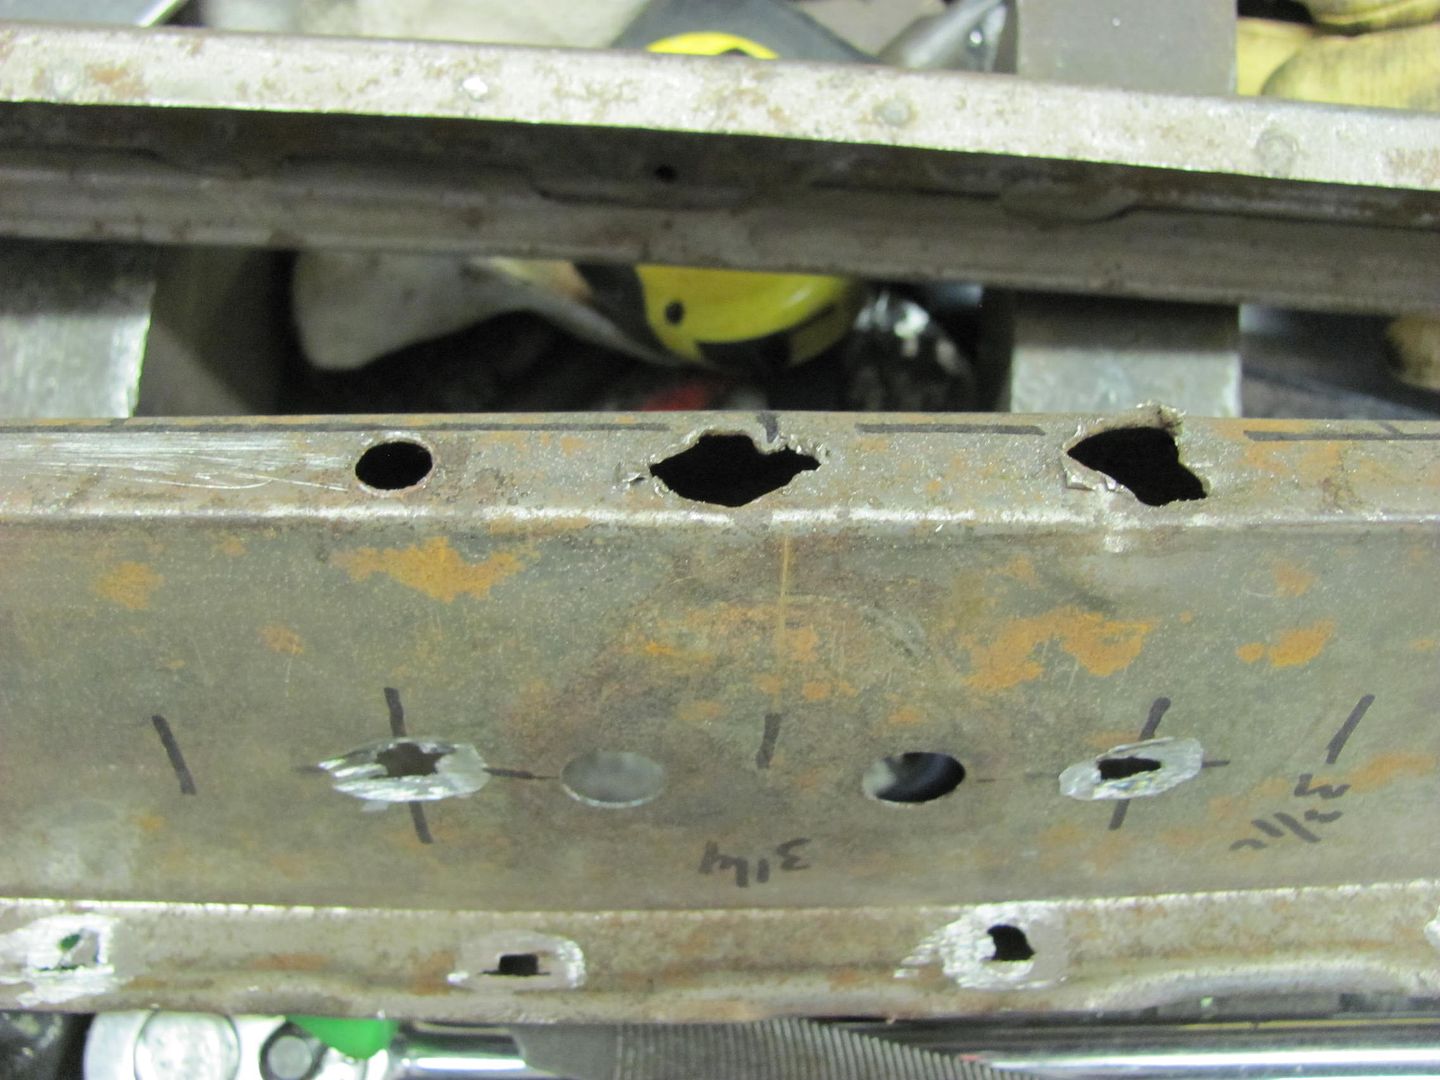
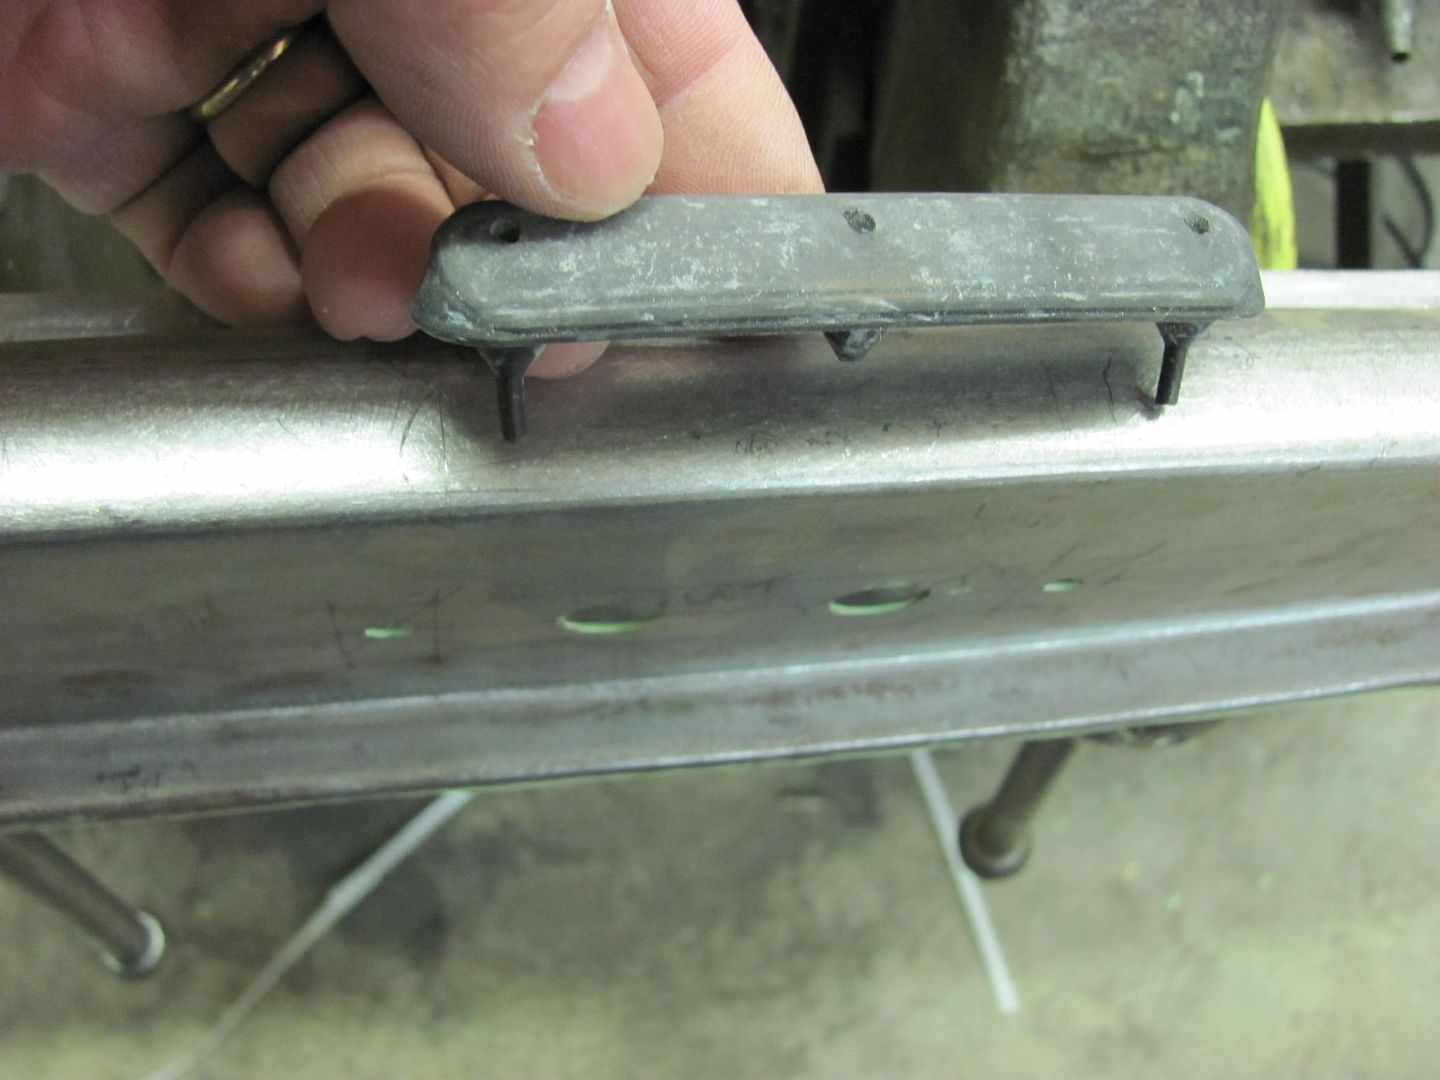
Before closing up the lift gate, we have a couple more items to cross off the list. A rubber bumper gets installed at the bottom in case the gates are closed in the wrong order, you won't scar up the paint on the top of the tailgate...
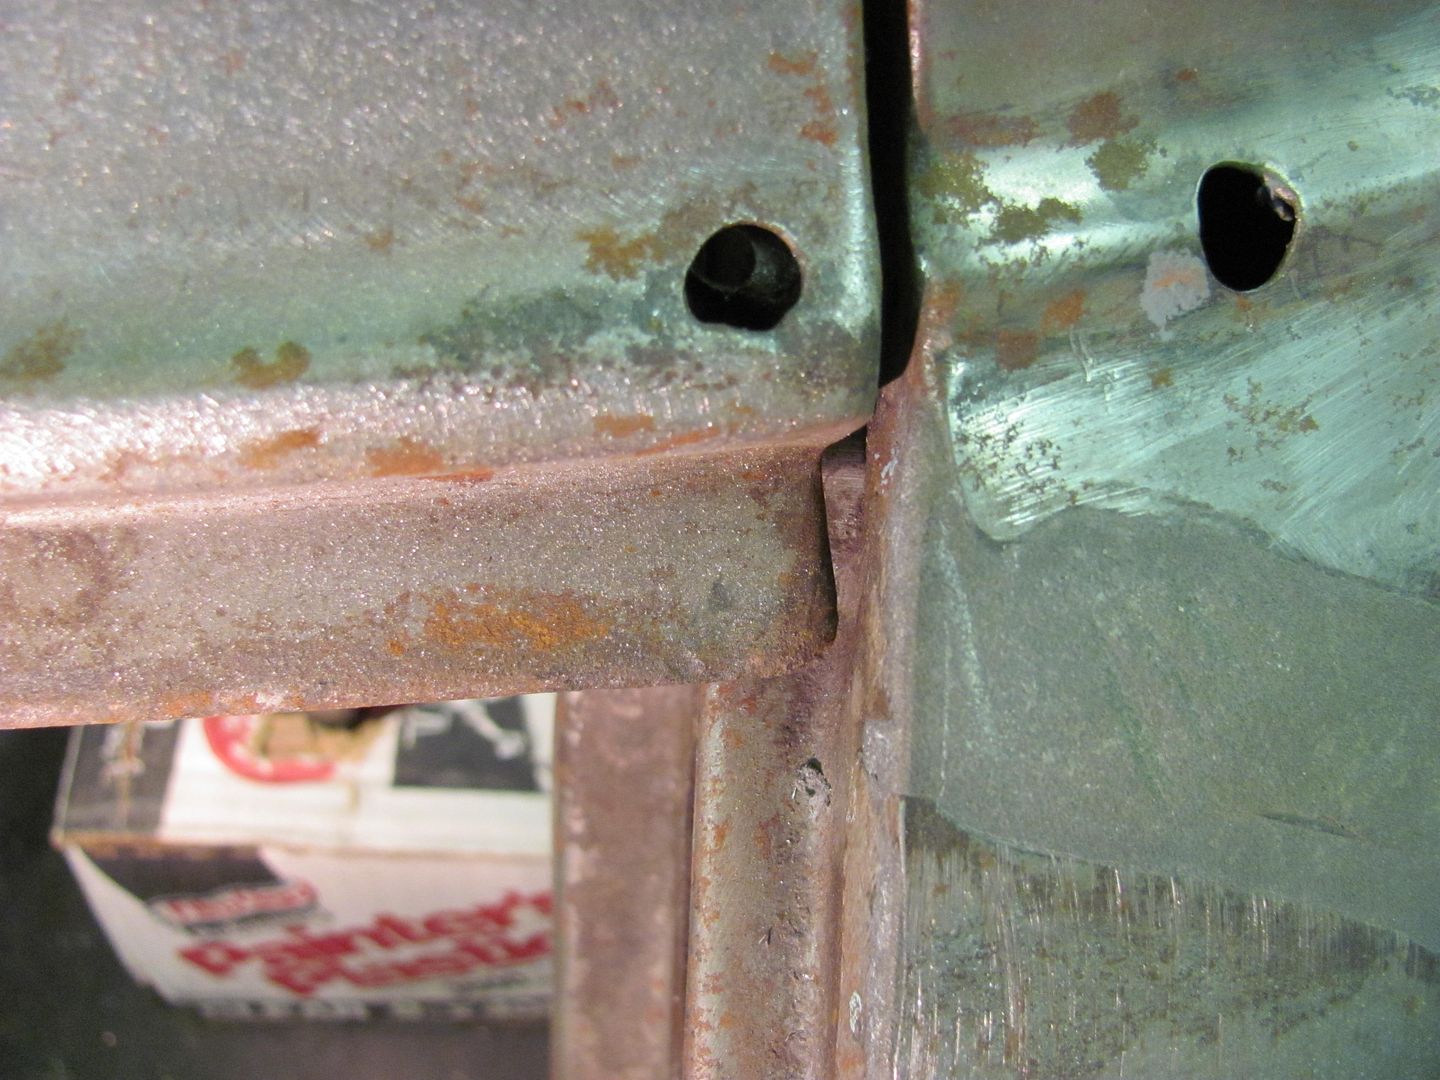
The old sample only had one good hole location for us to use...
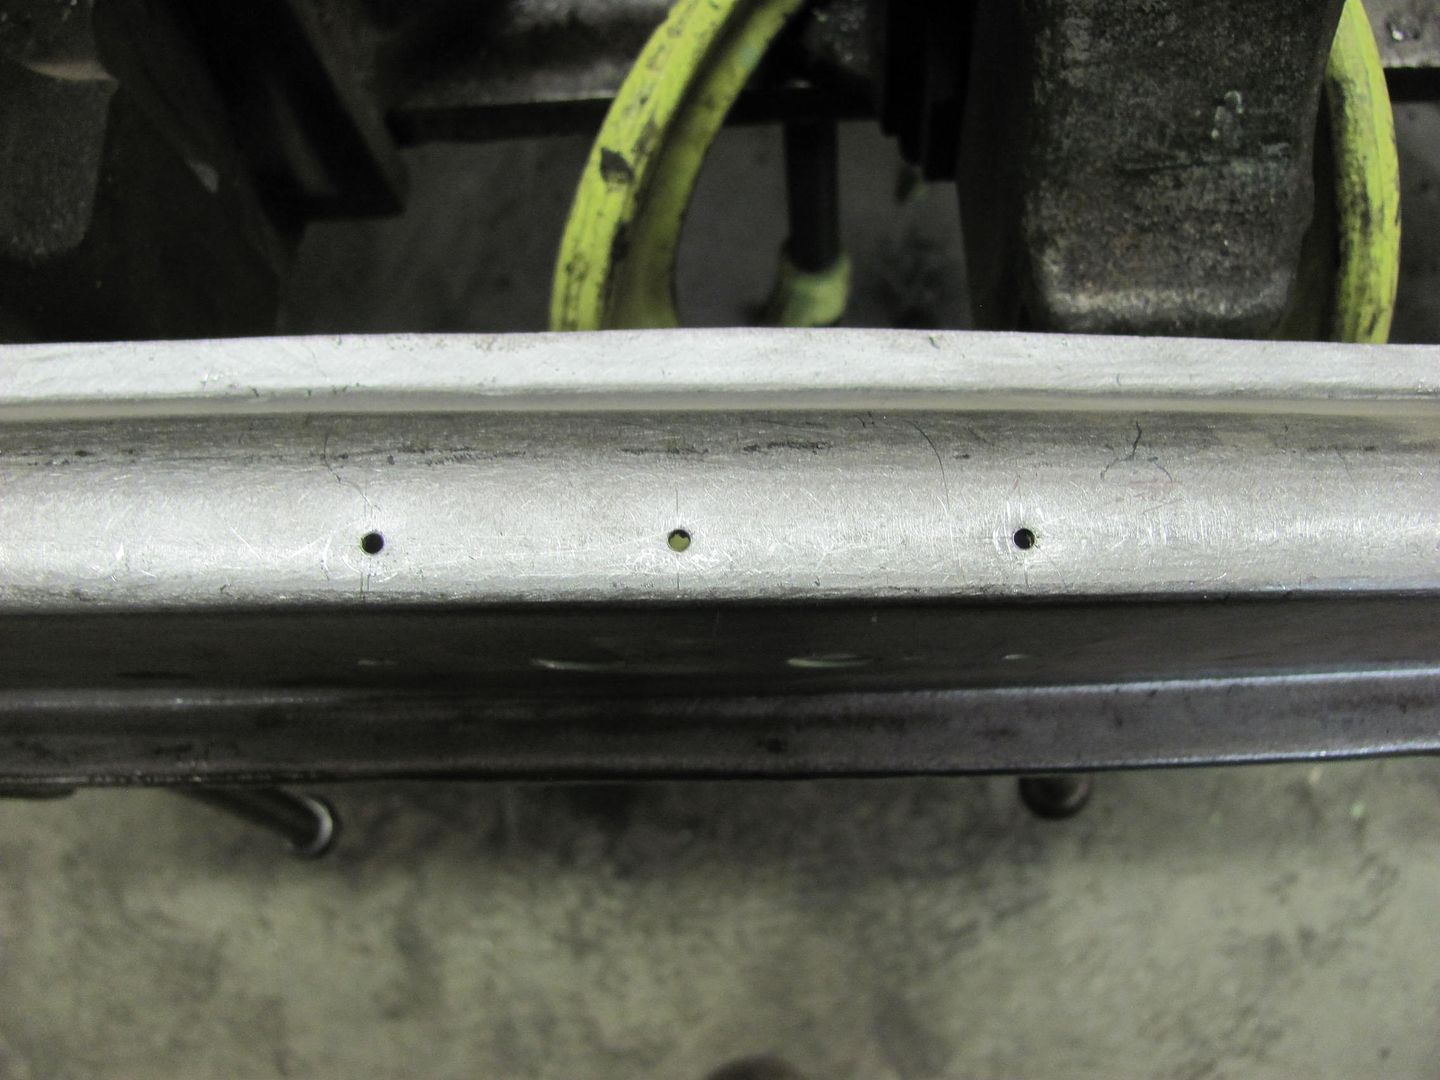
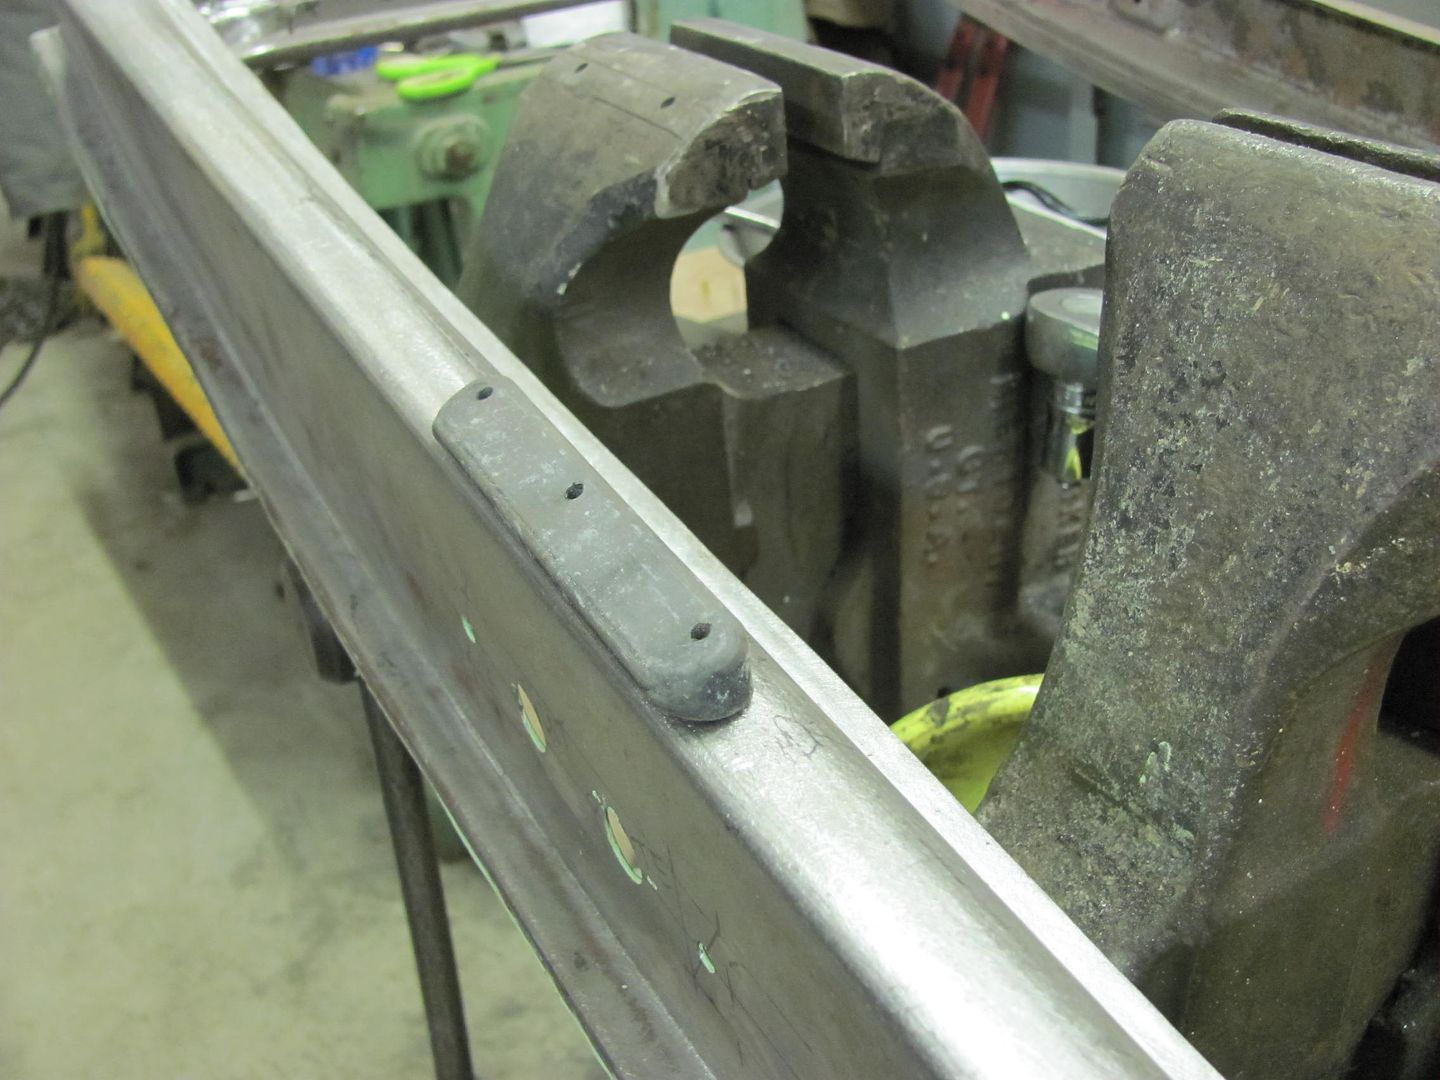
Next, the floating nut plate was plug welded to the bottom....
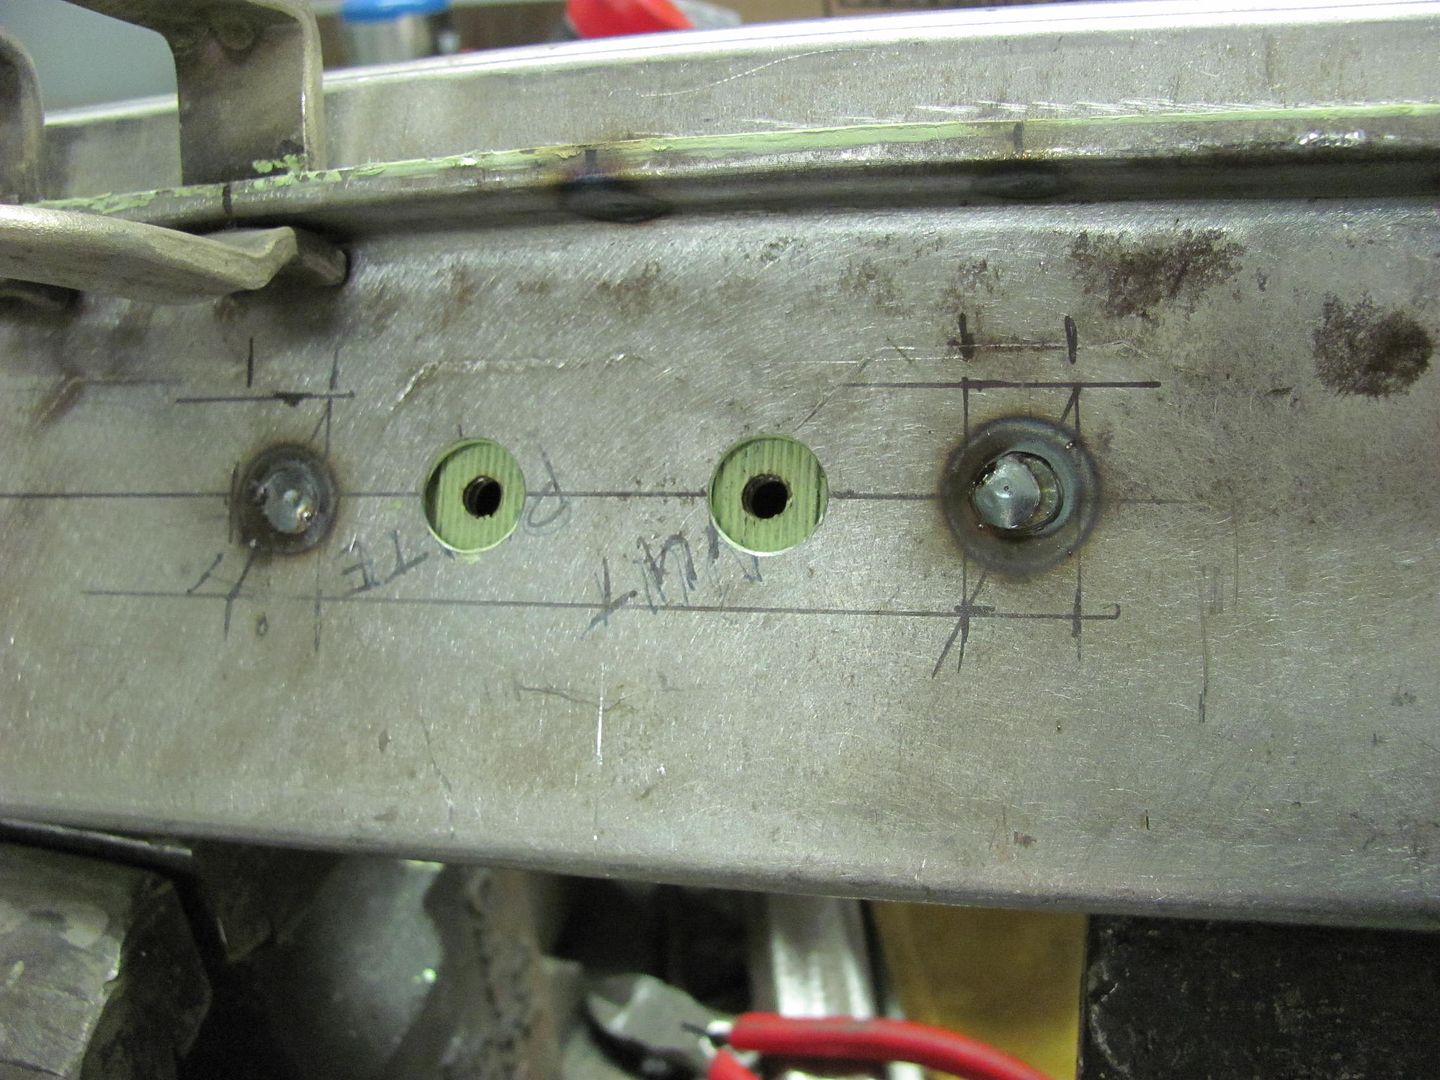
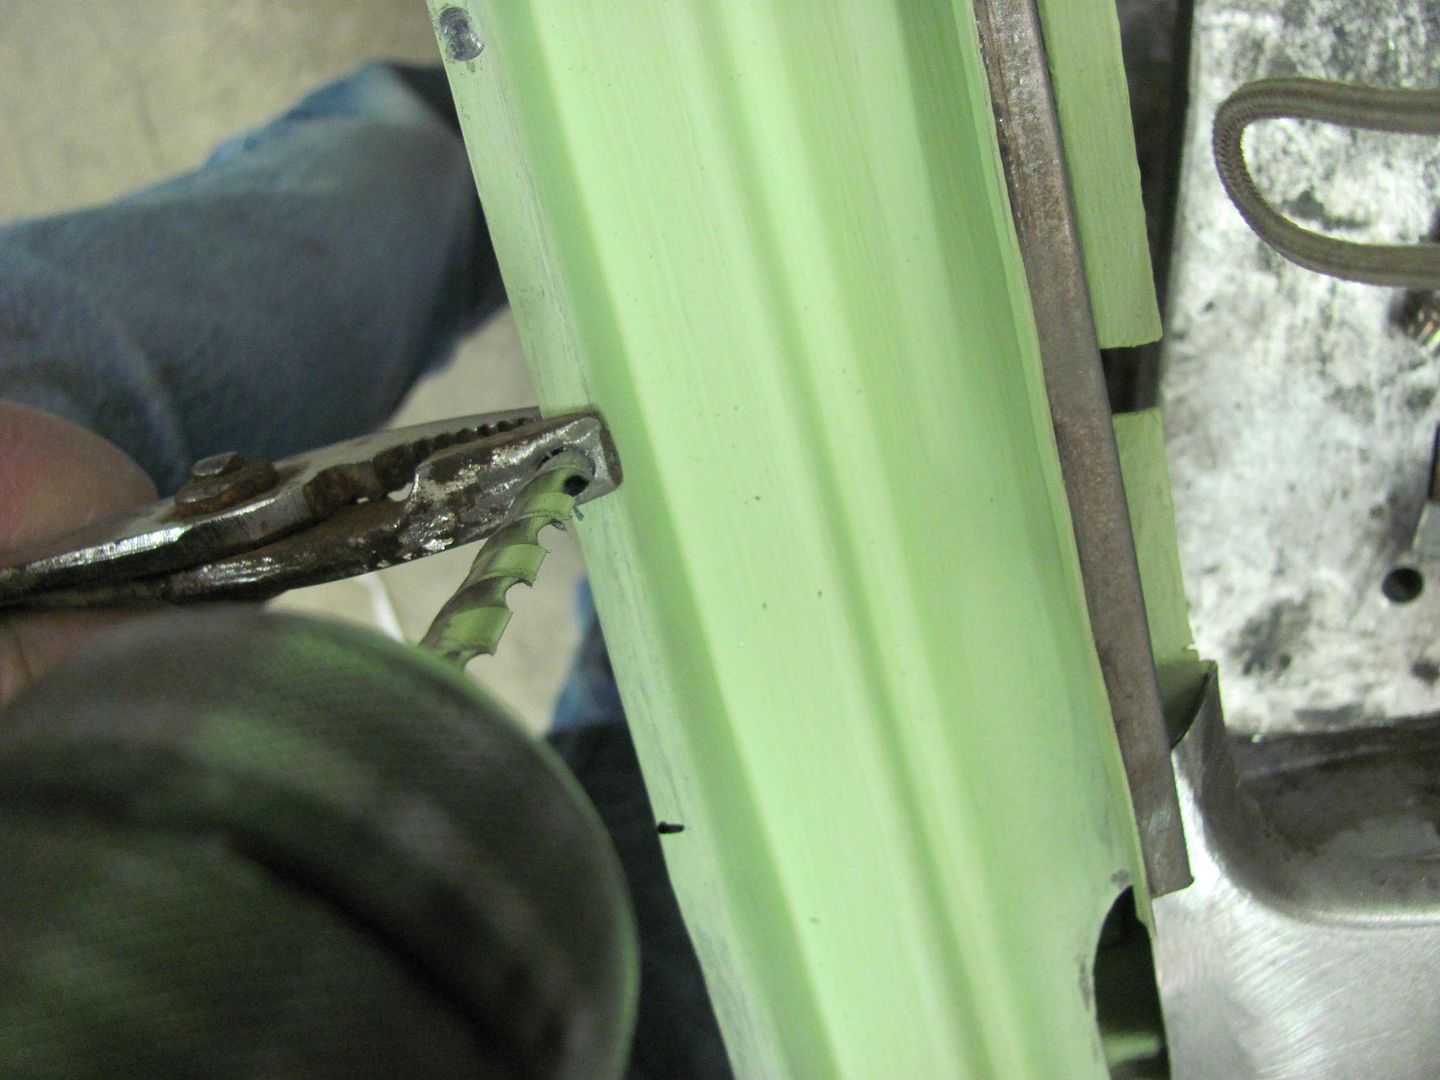
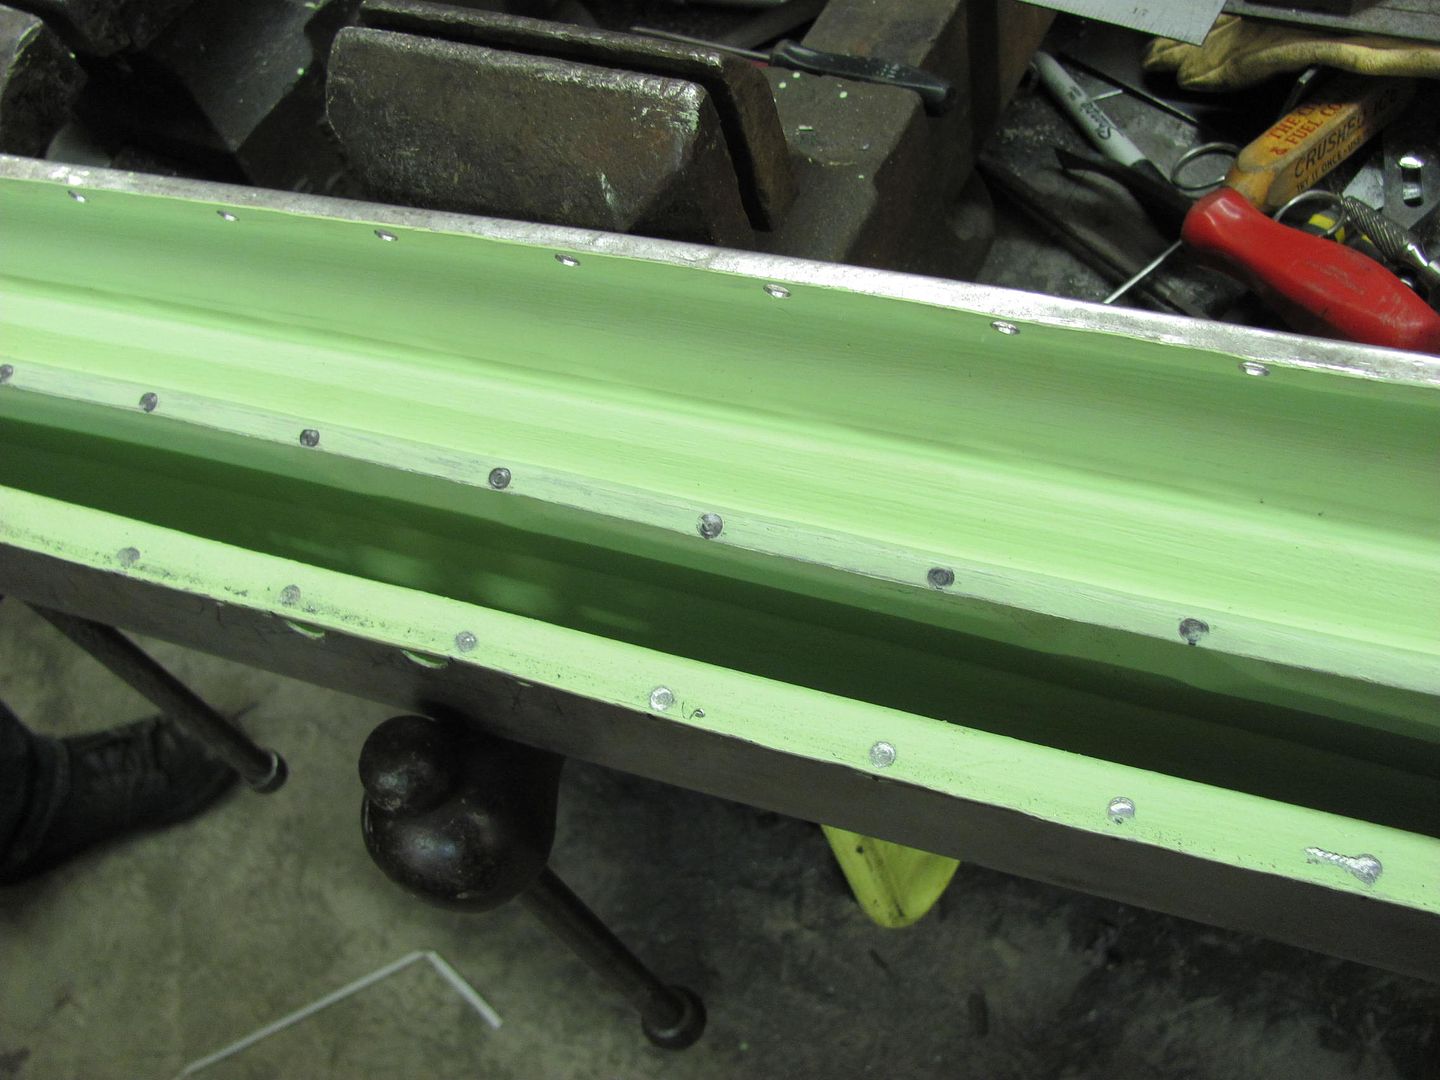
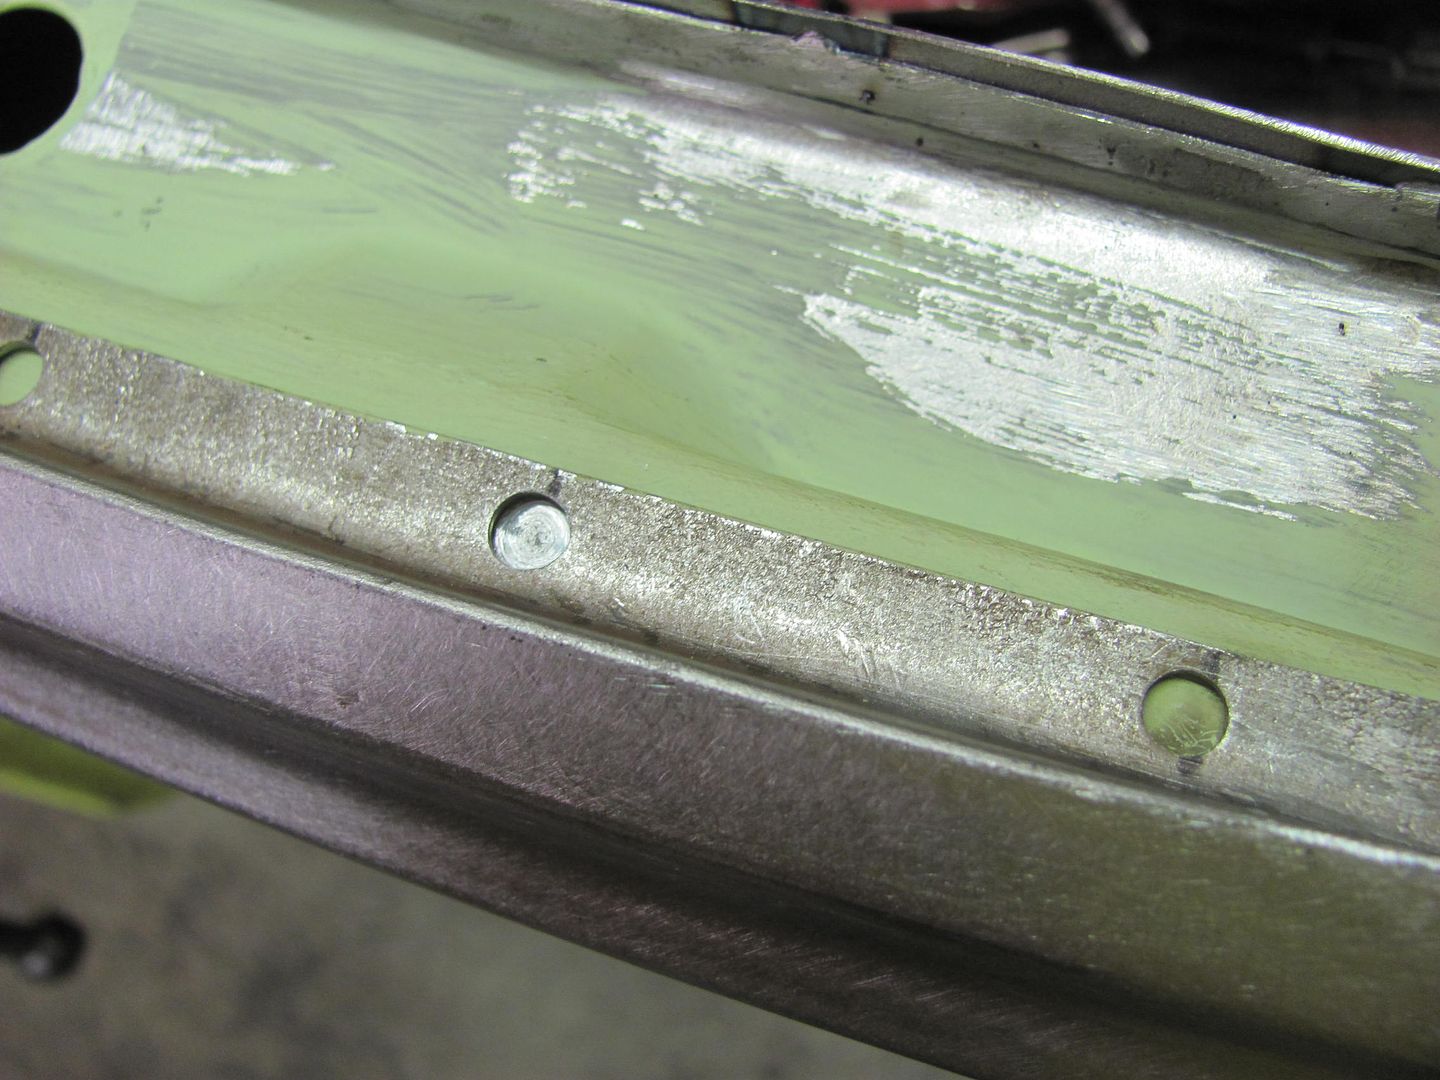
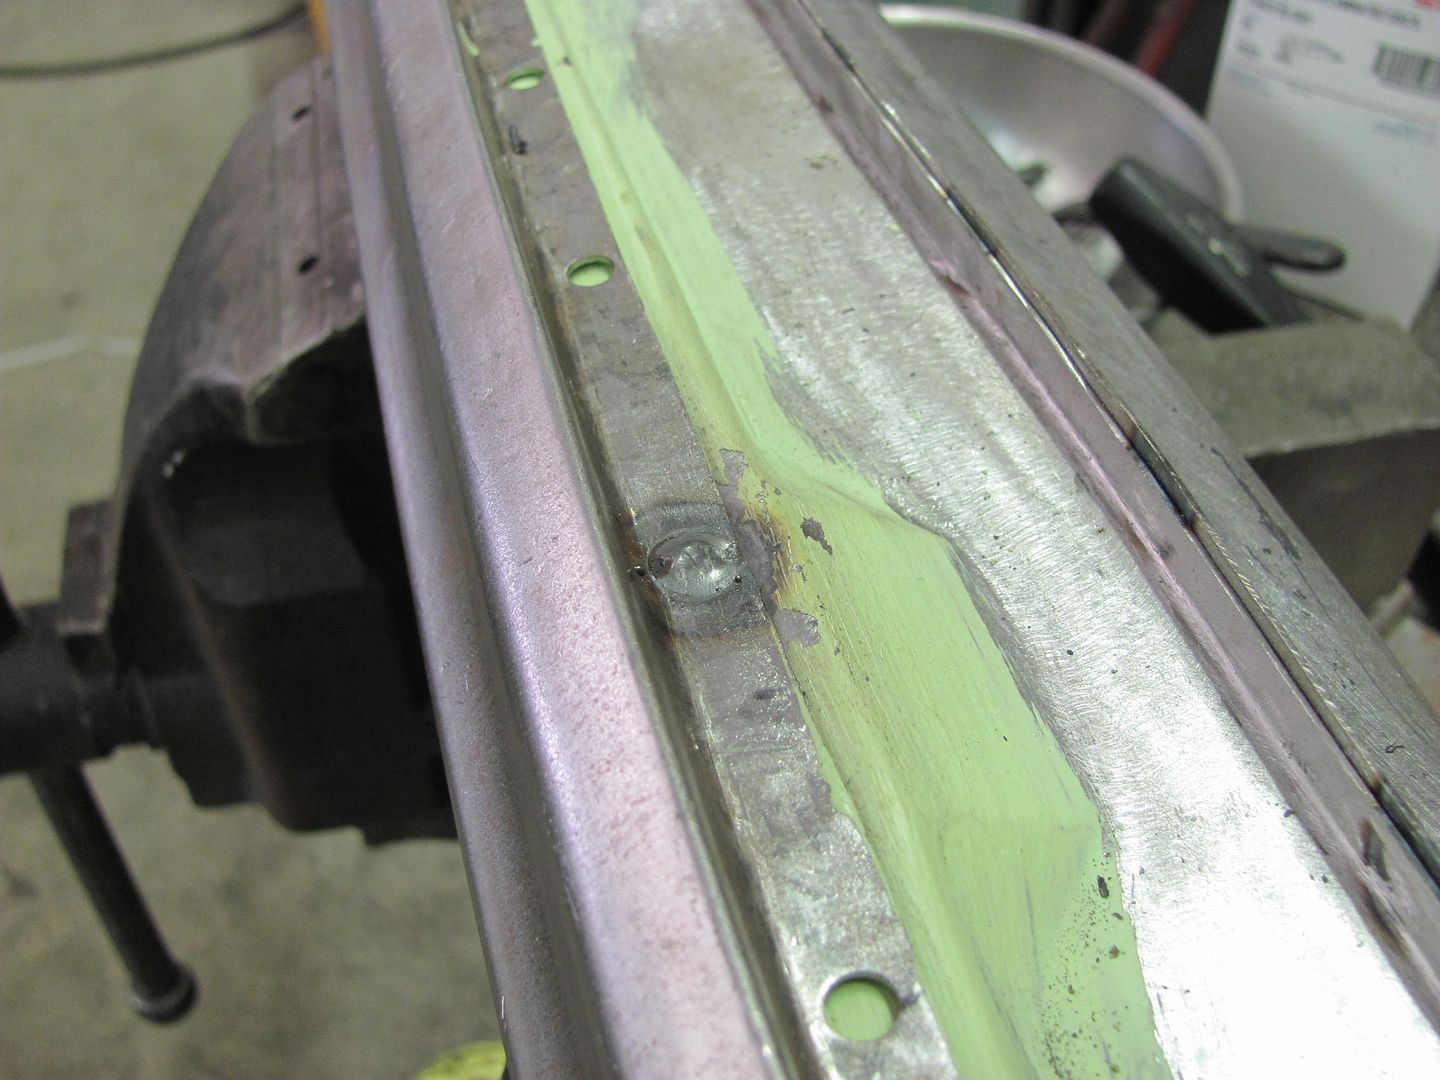
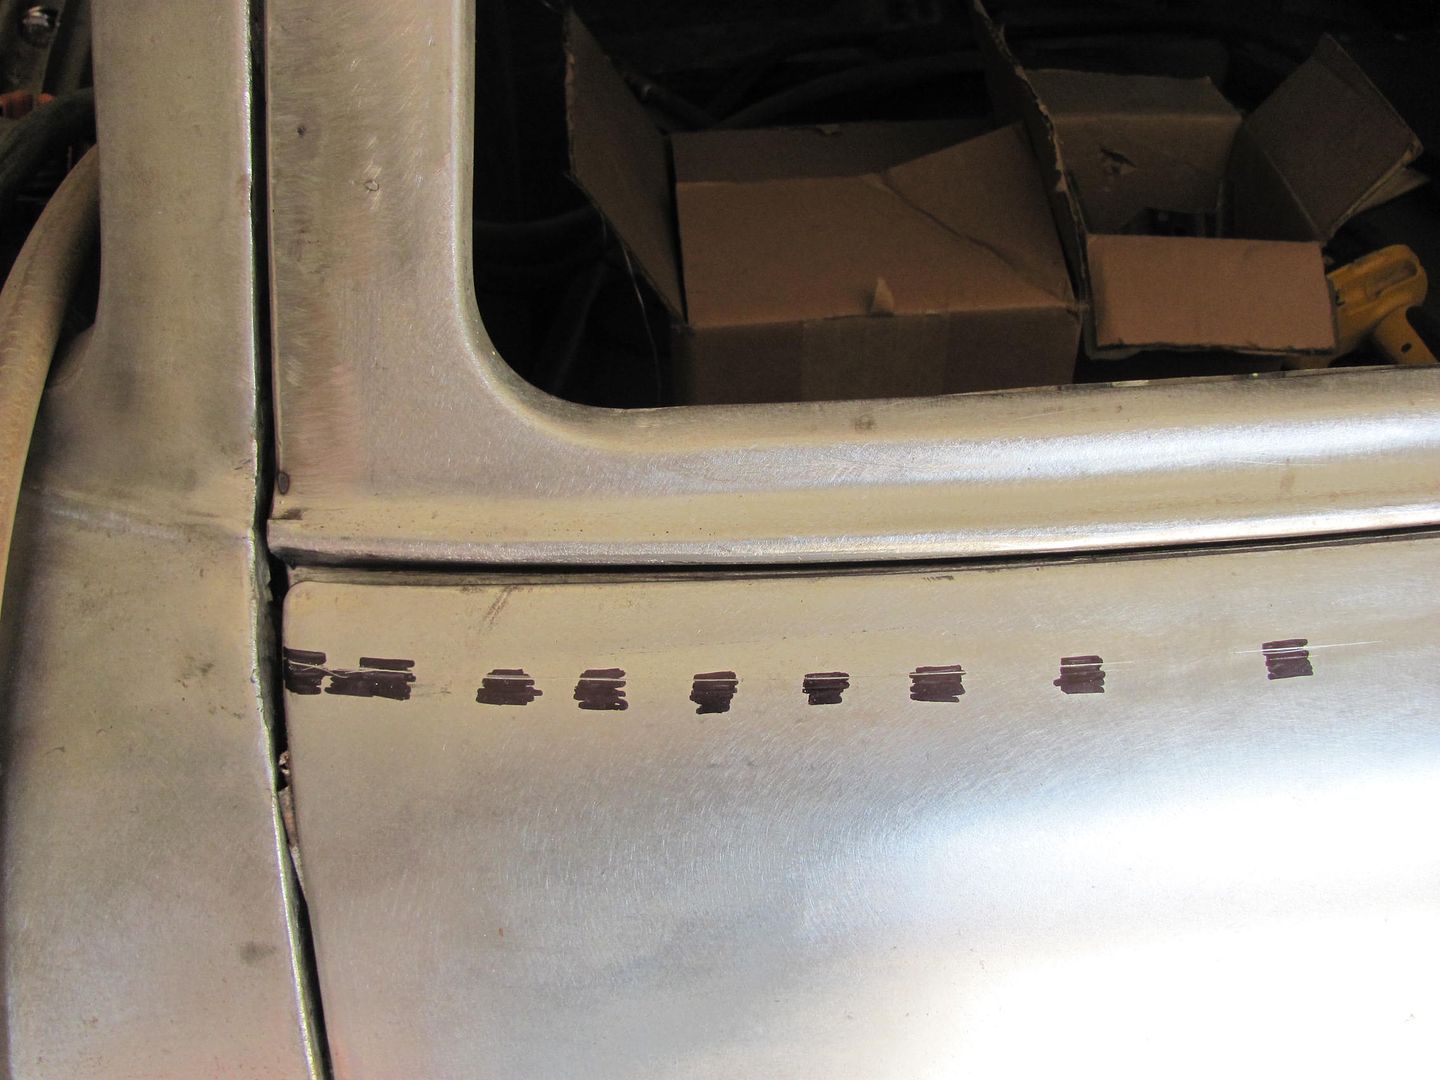
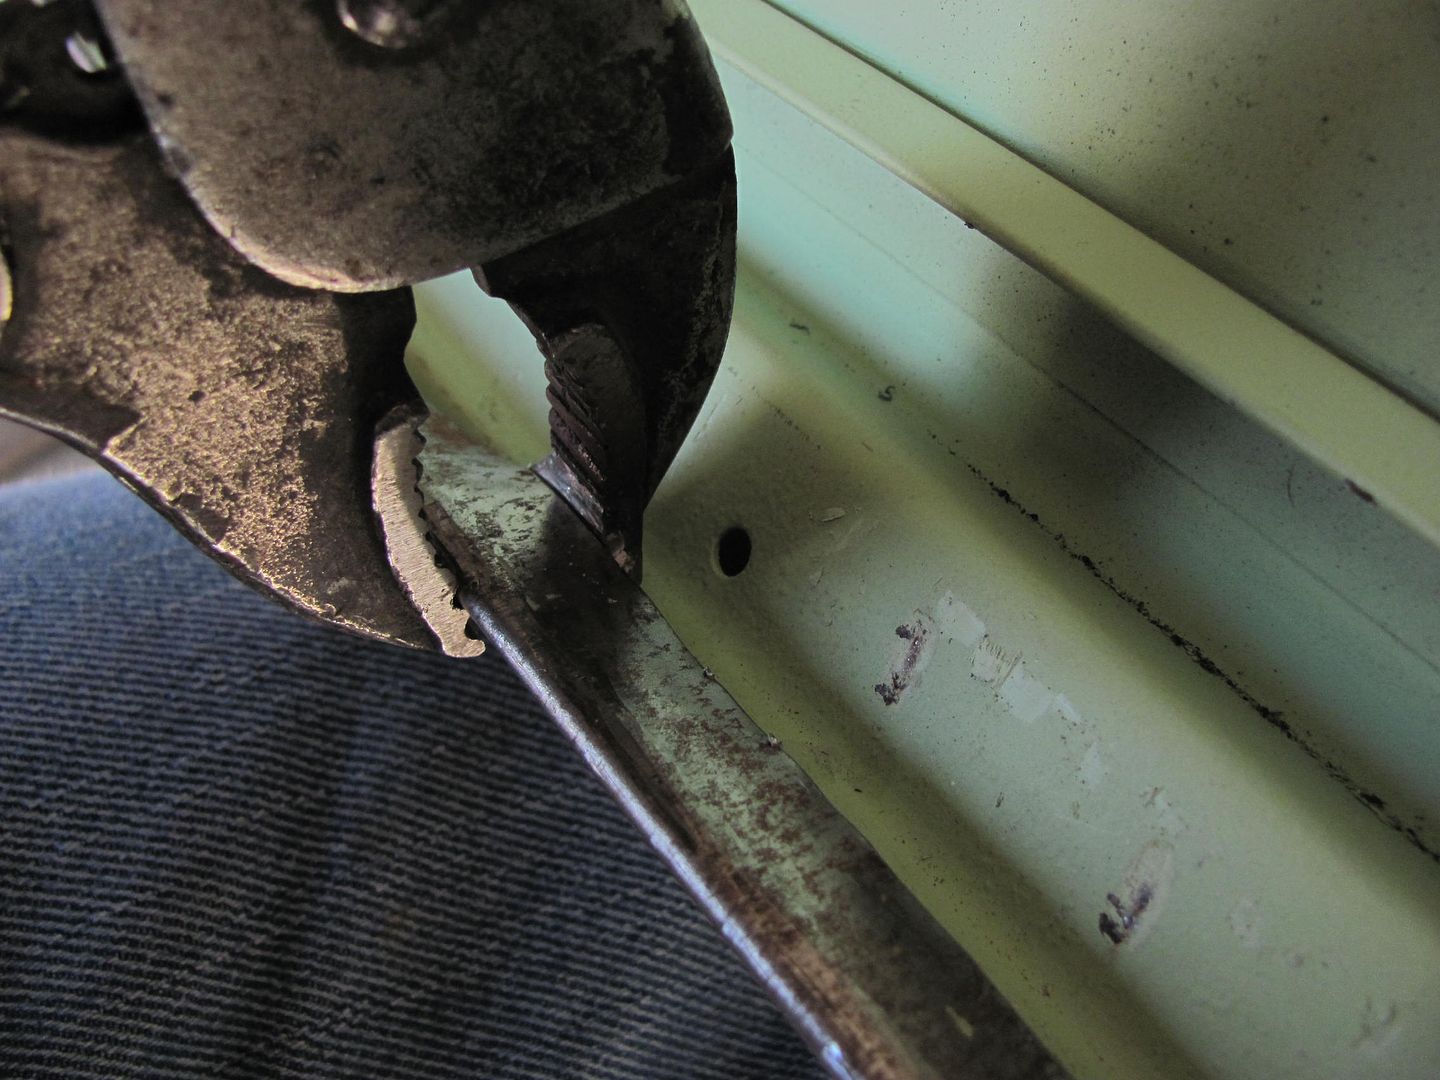
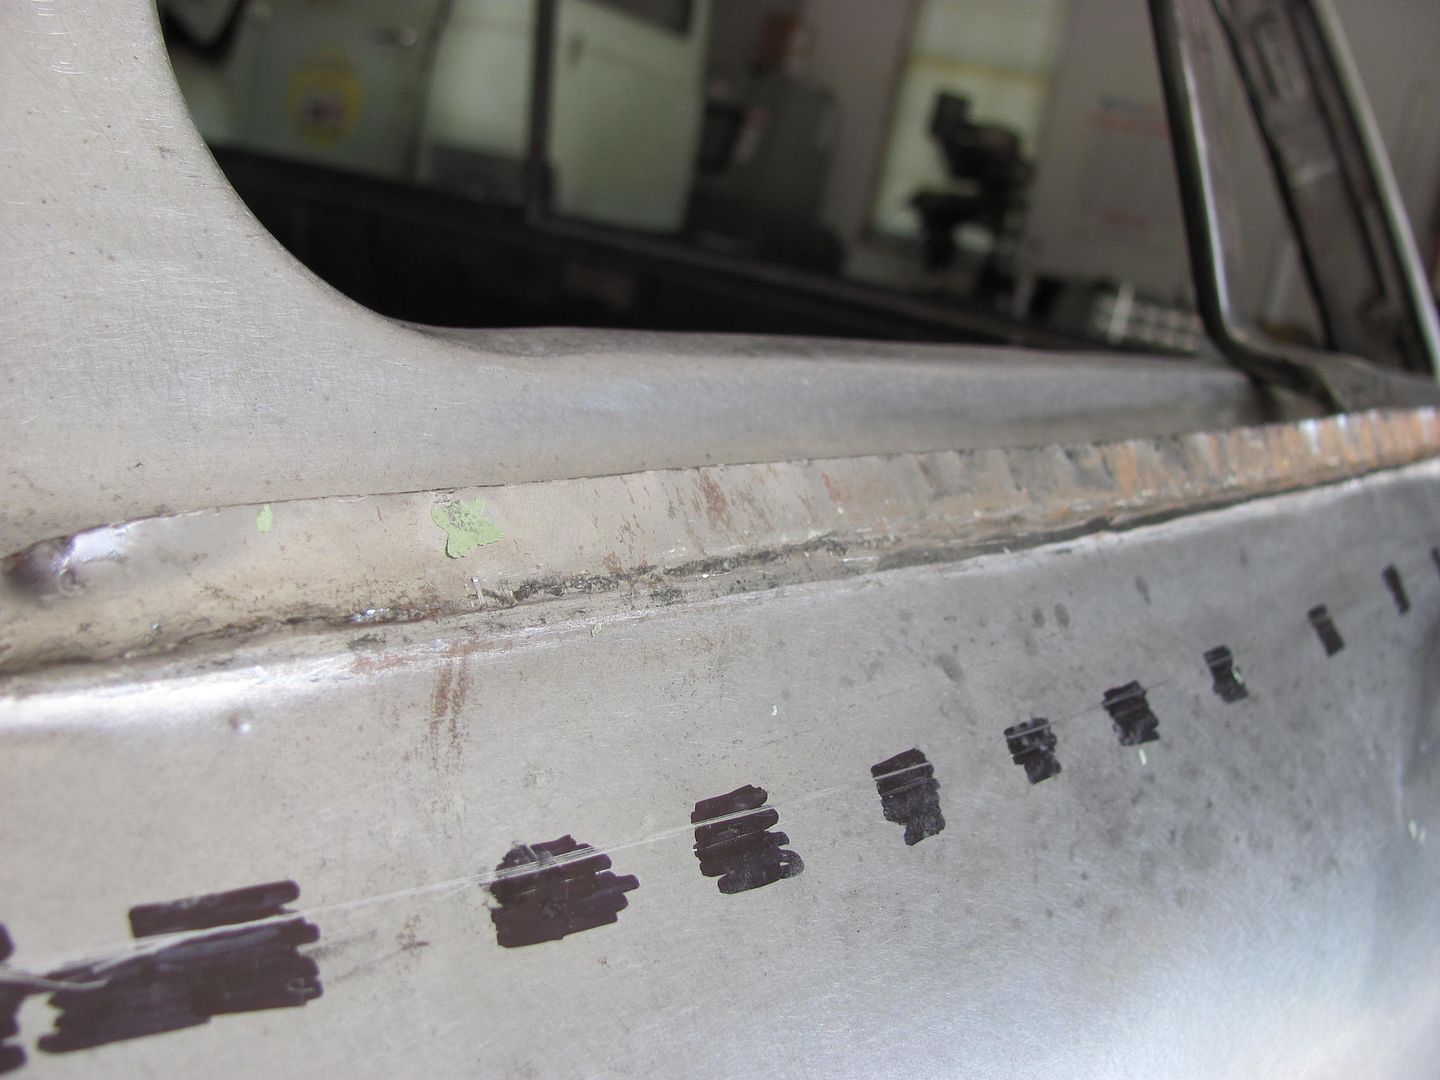
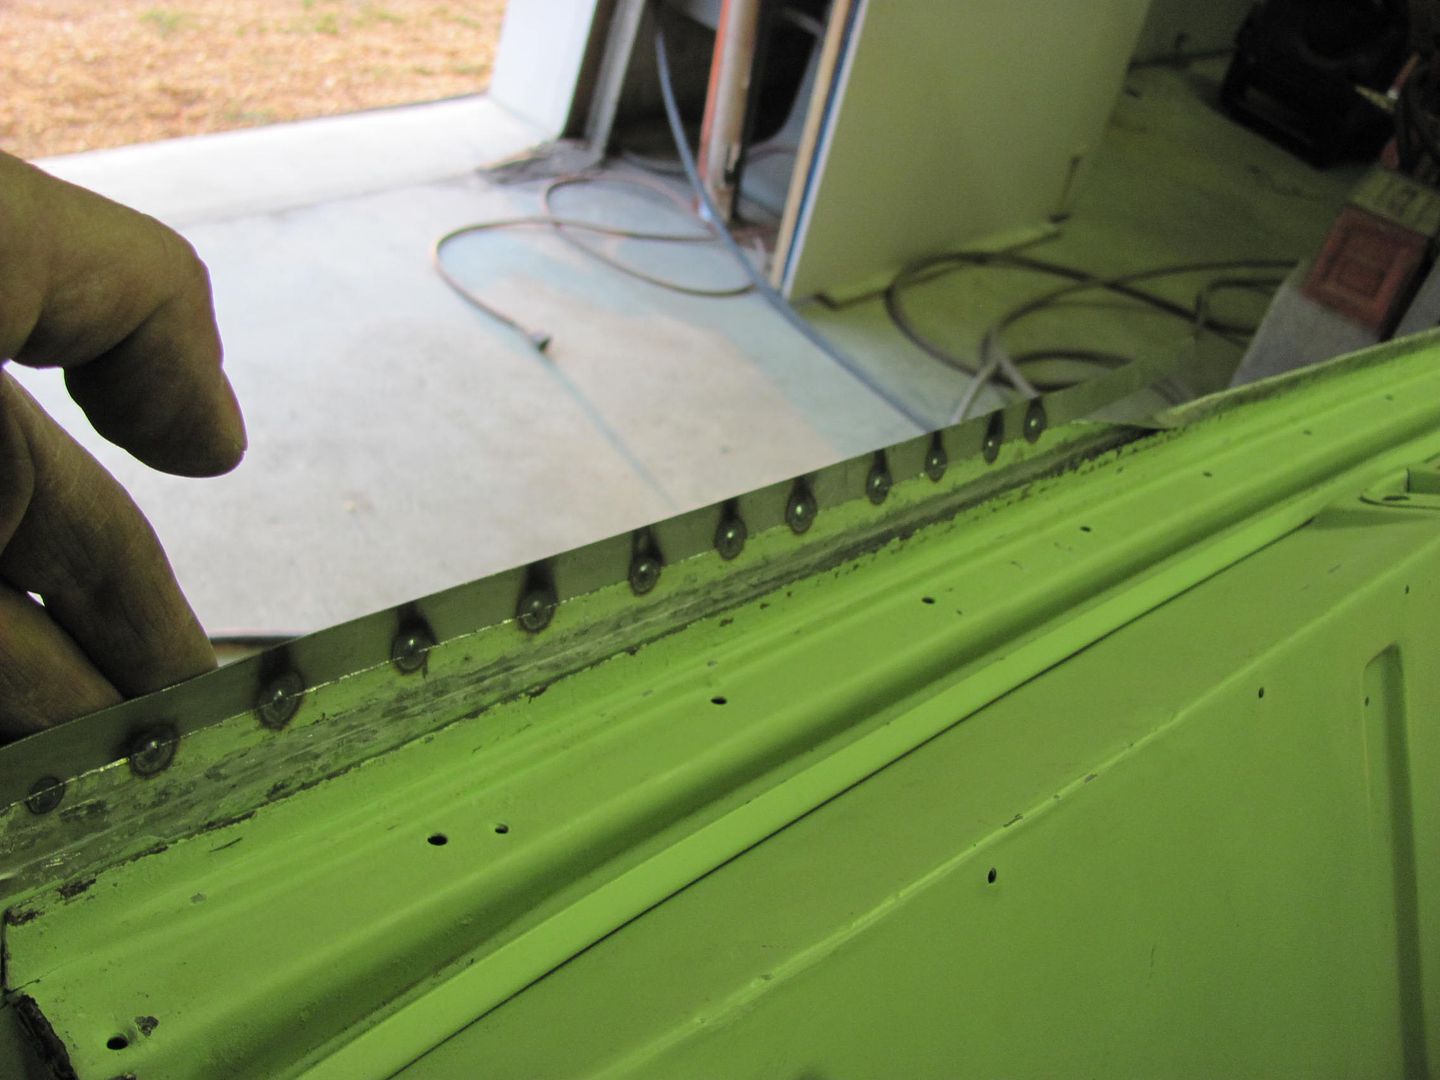
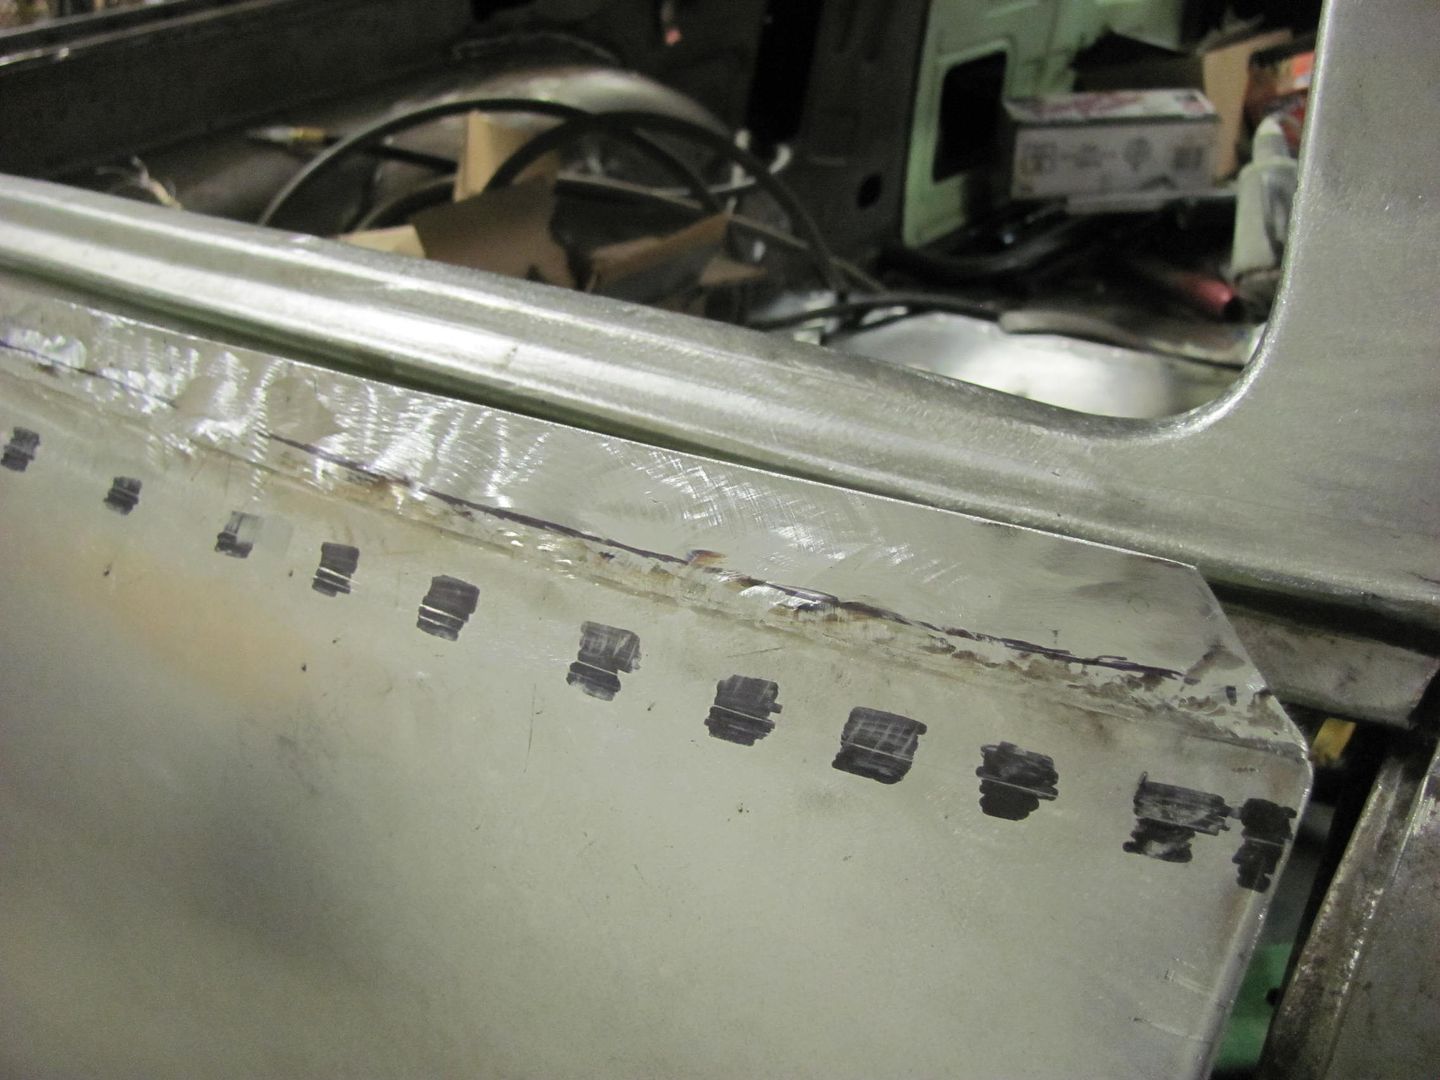
With that done, we could prep for closing up the bottom. In order to use the spot welder along the bottom seam, we needed to clean off some epoxy primer where the spot welds would be located. Used and even spacing of 2" and marked both flanges...
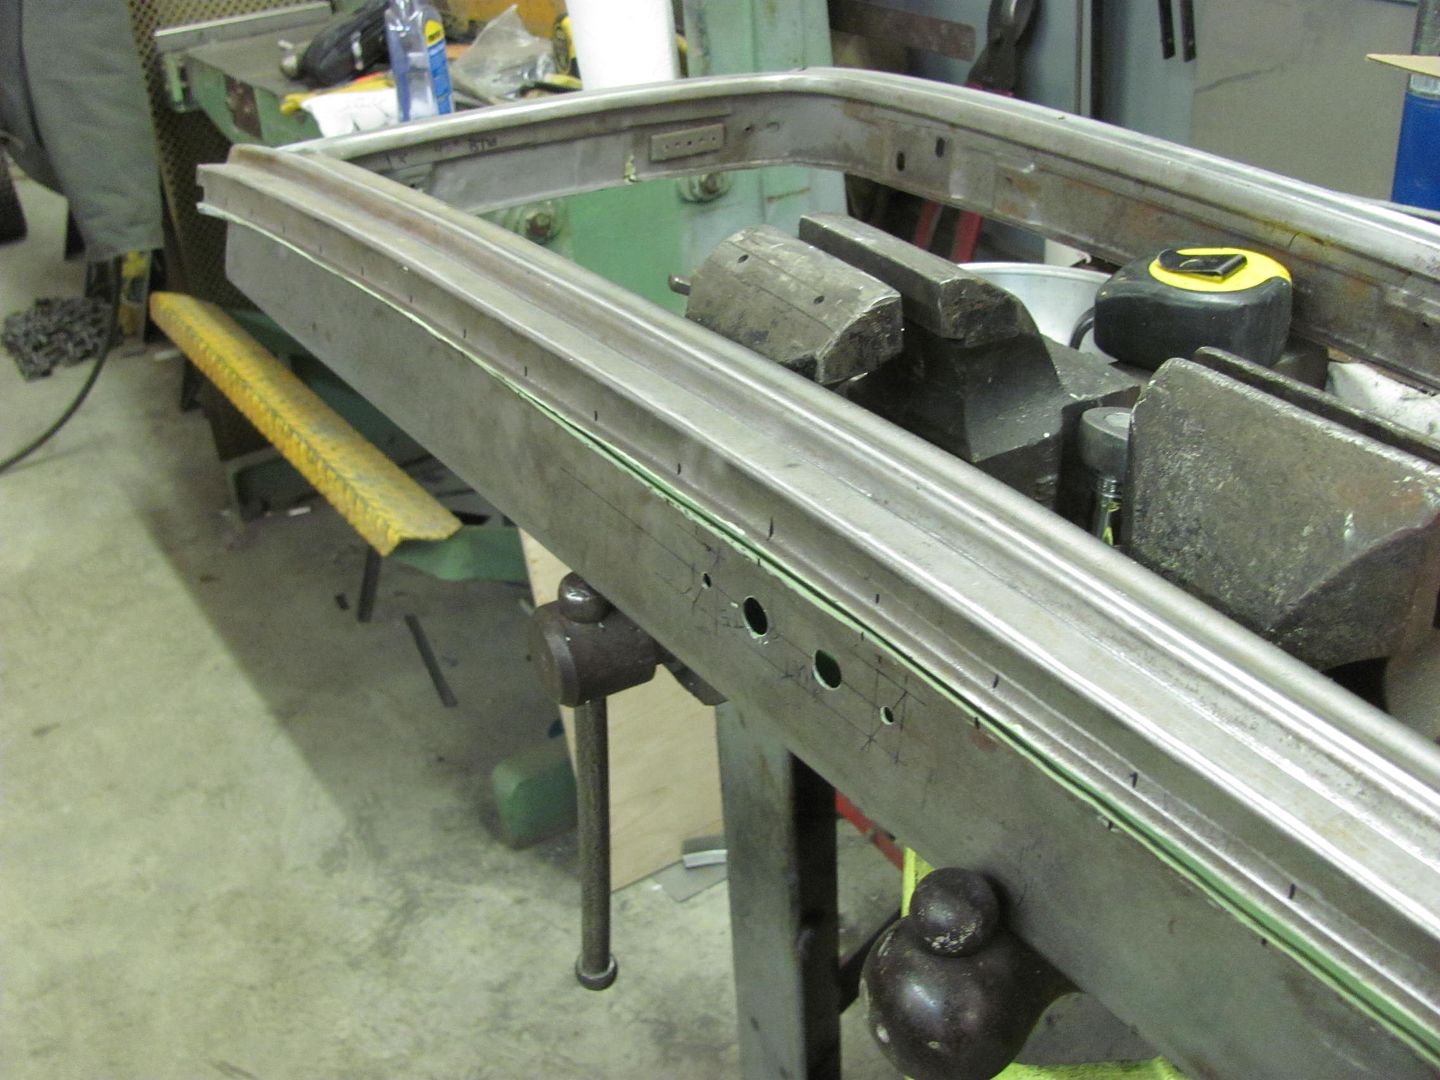
In order to remove as little epoxy primer as possible, we decided to use the modified plug weld drill bit (the flattened one) over all the errant marks a roloc sander would make. In order that the flat drill bit didn't walk all over the place, another specialized tool was made....
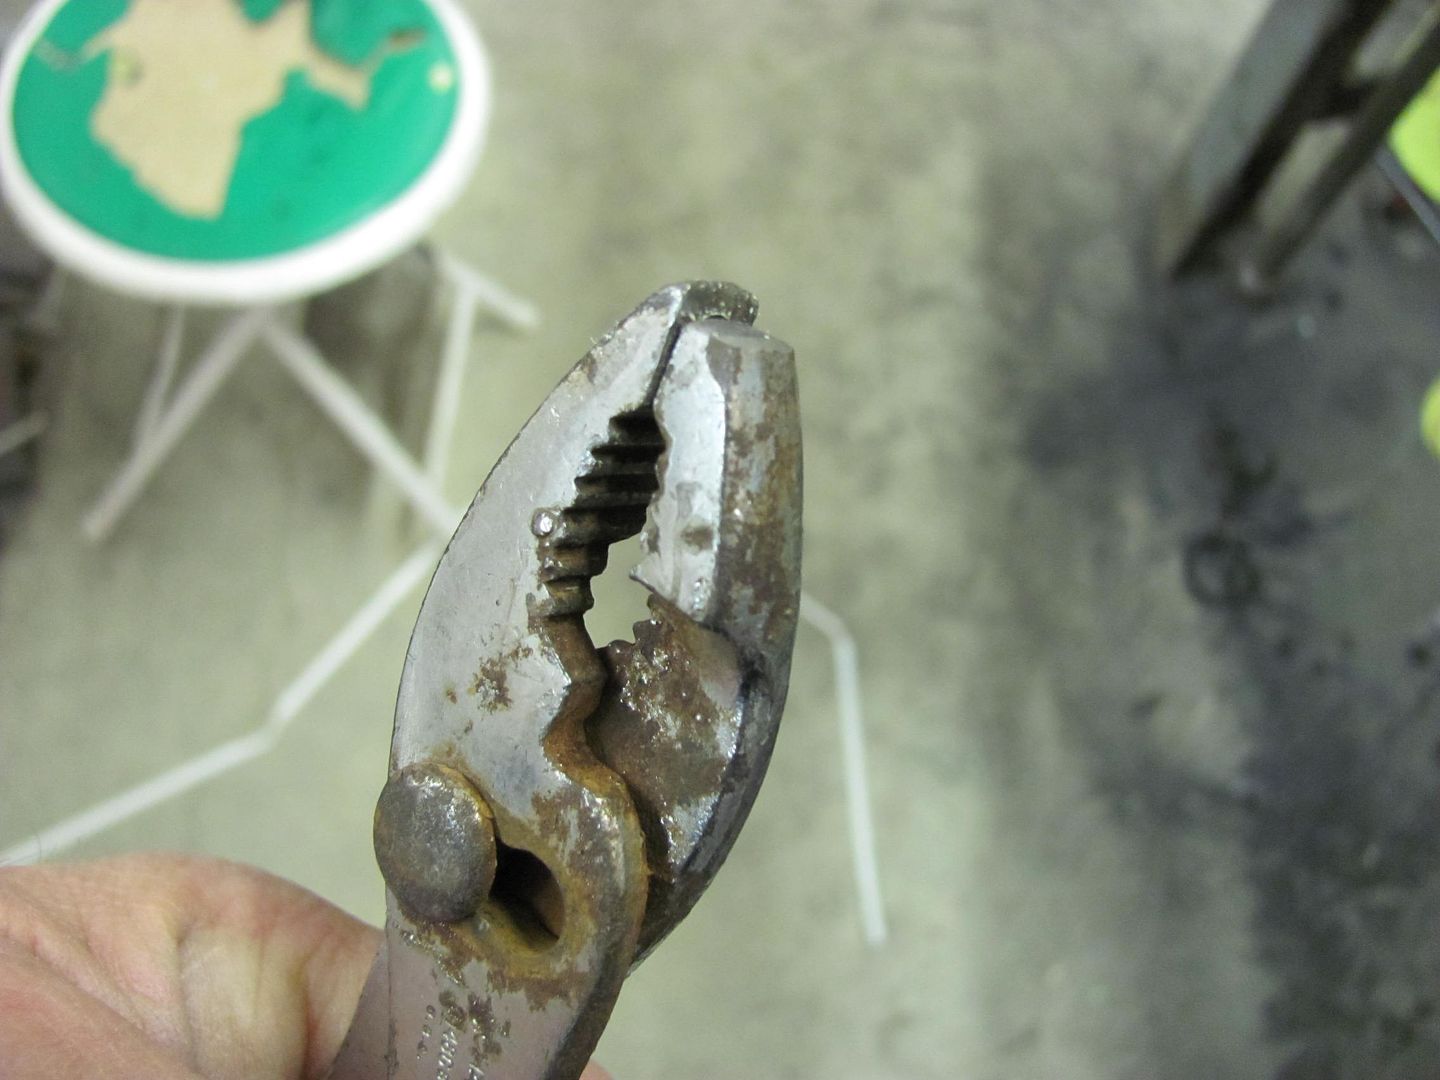
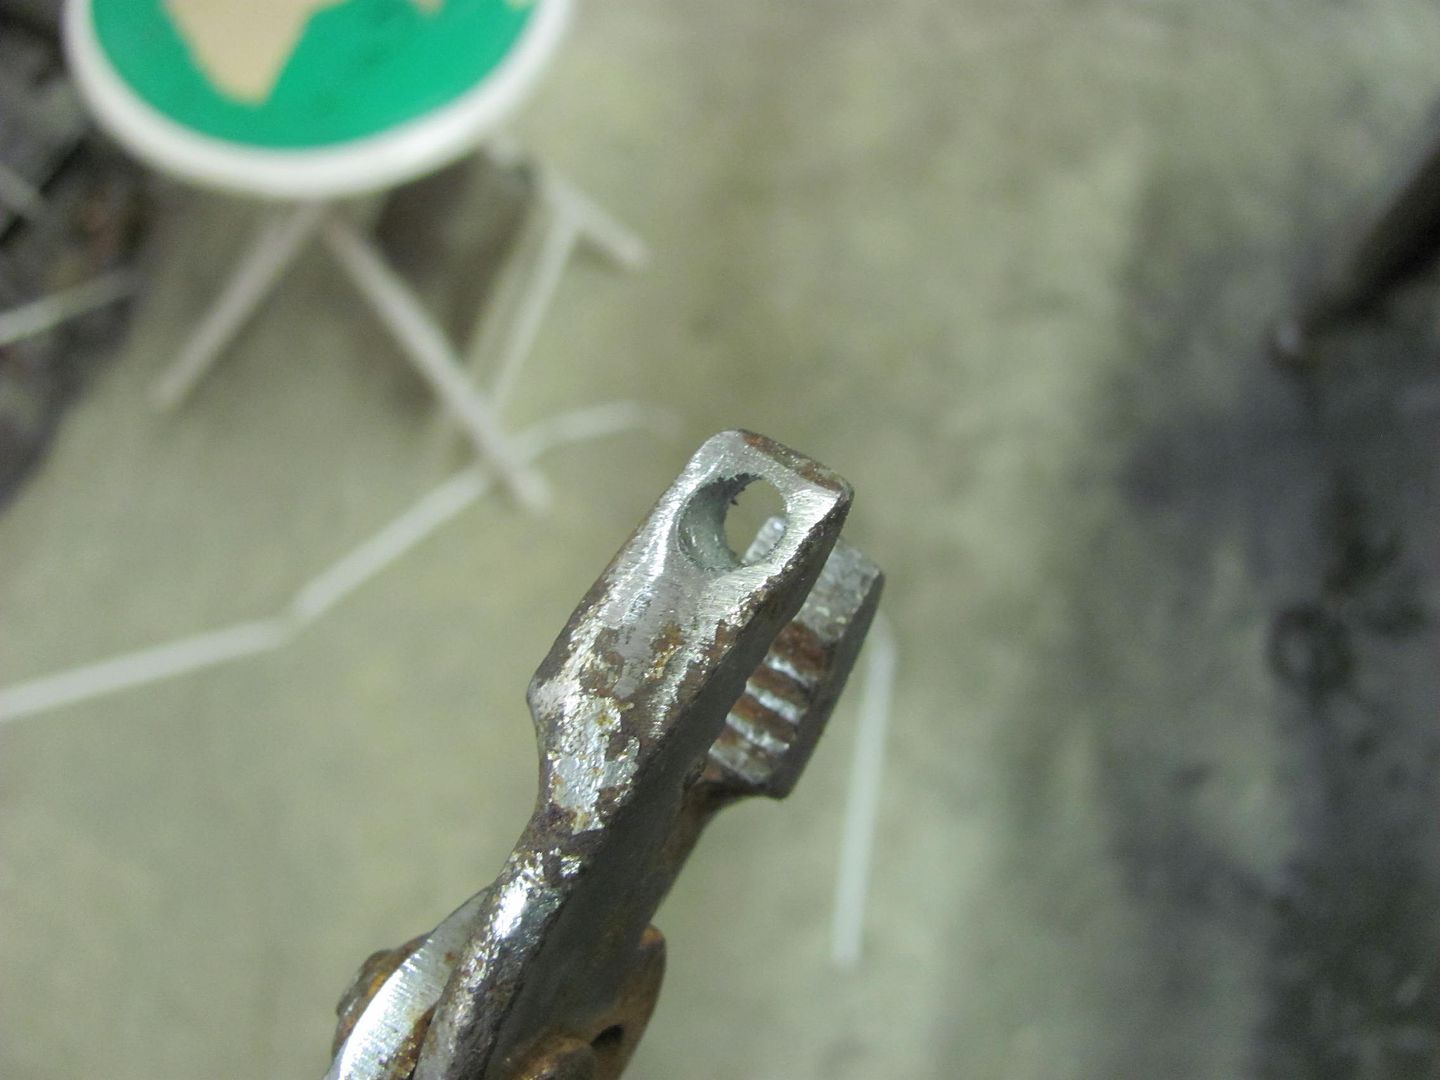
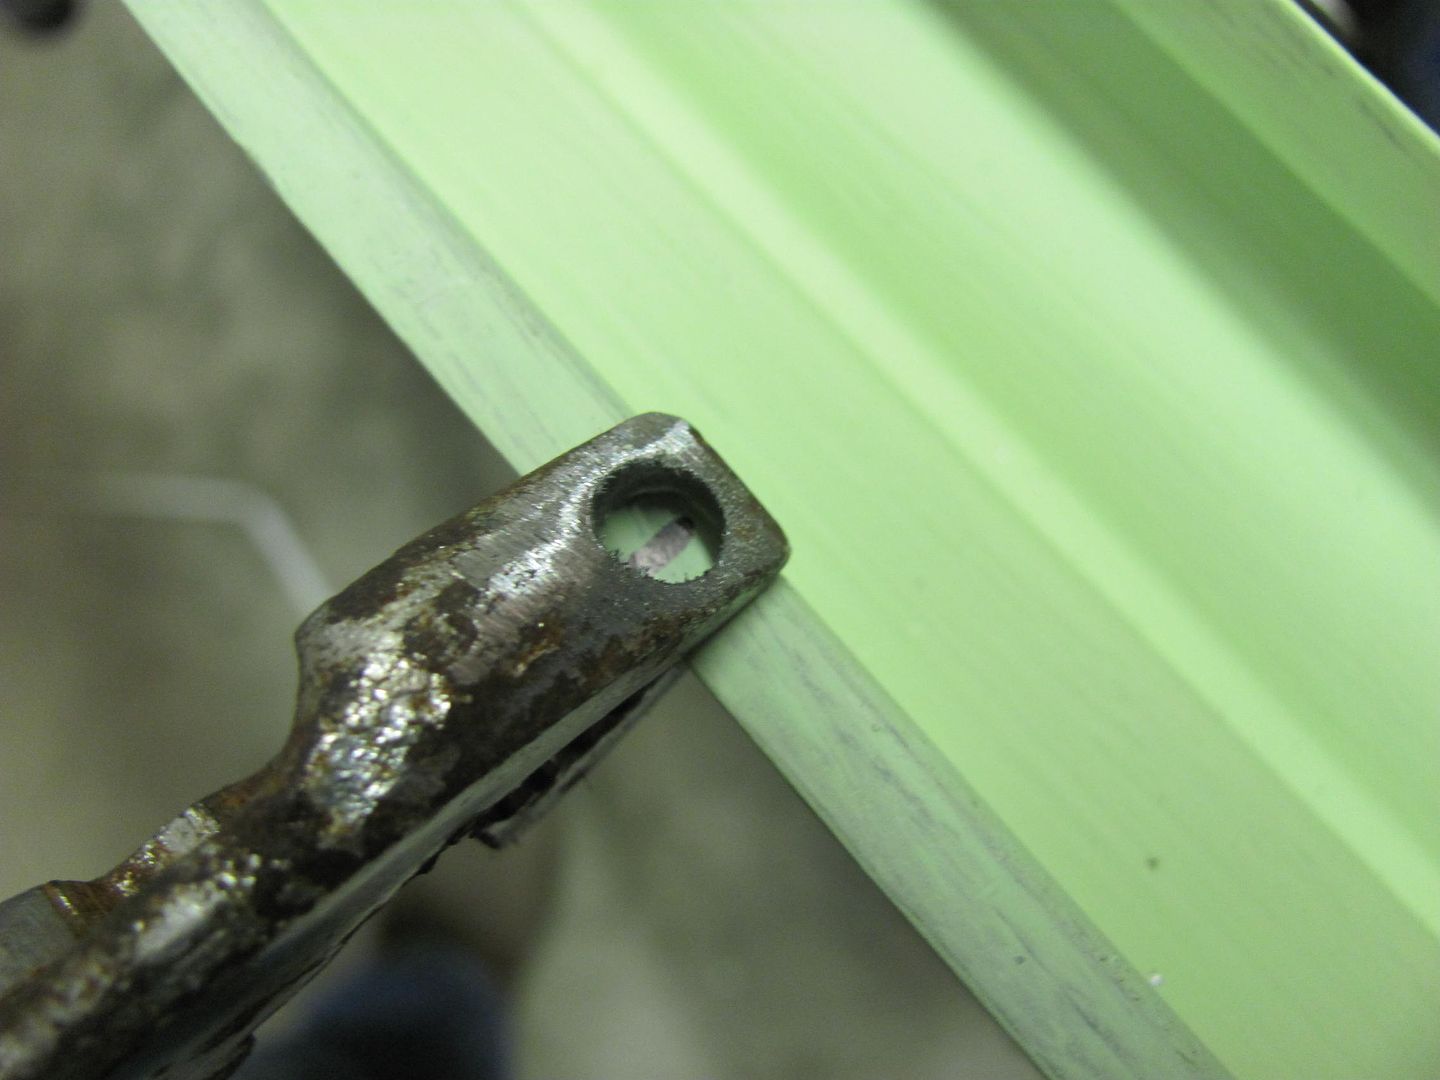
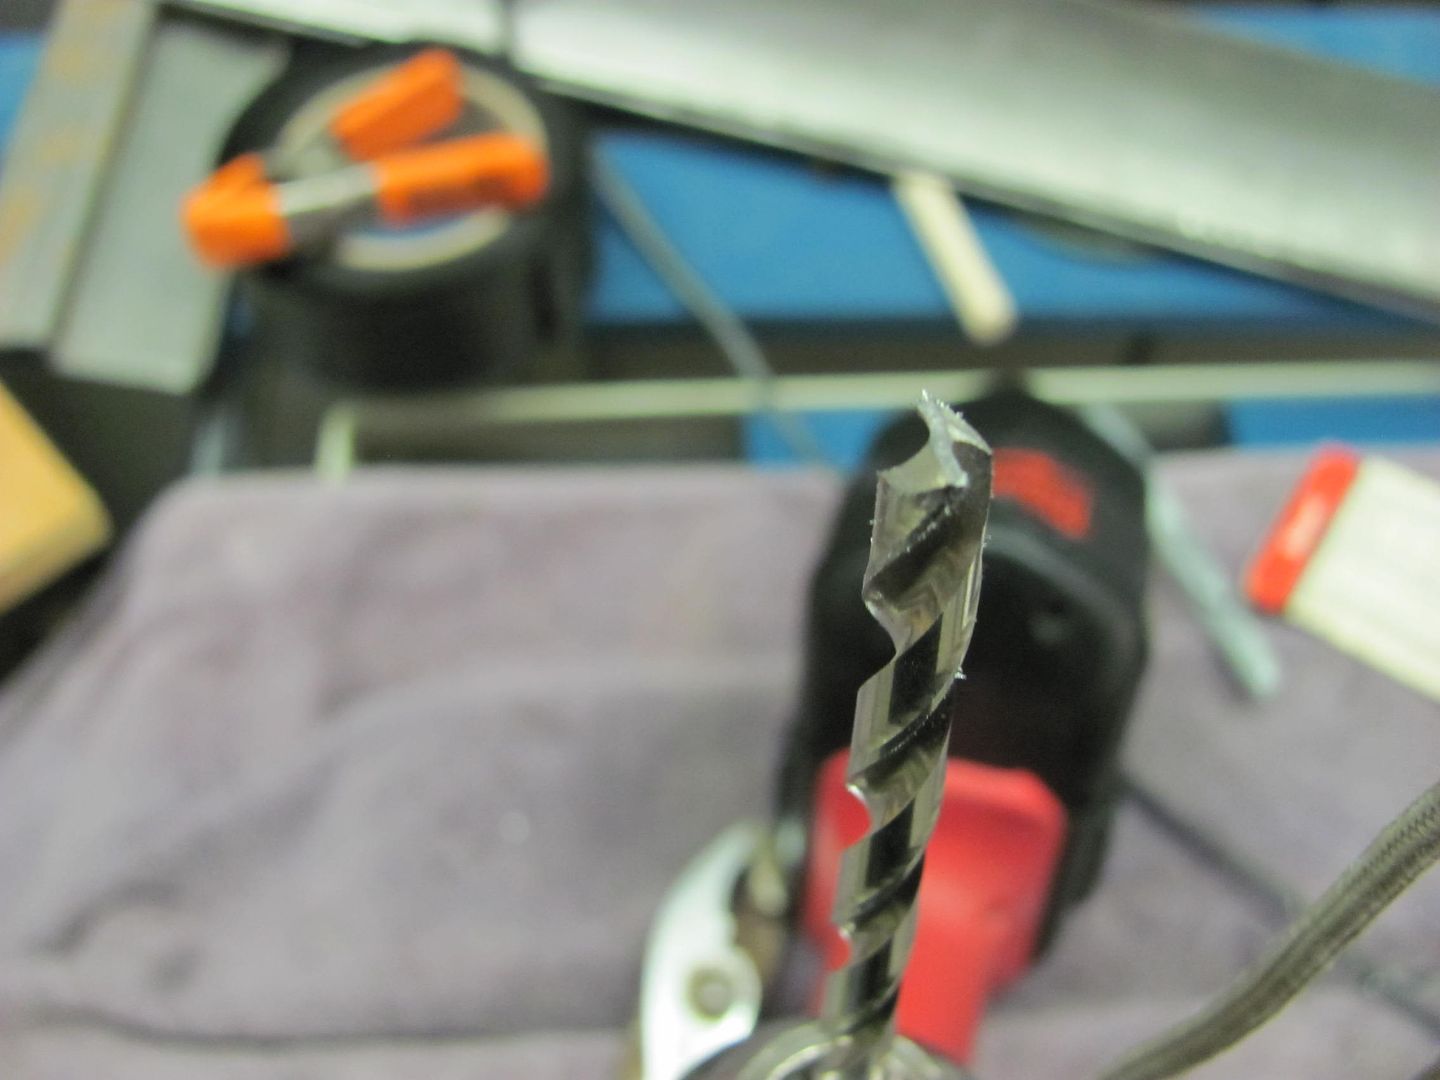
Here's another close up of the modified bit...
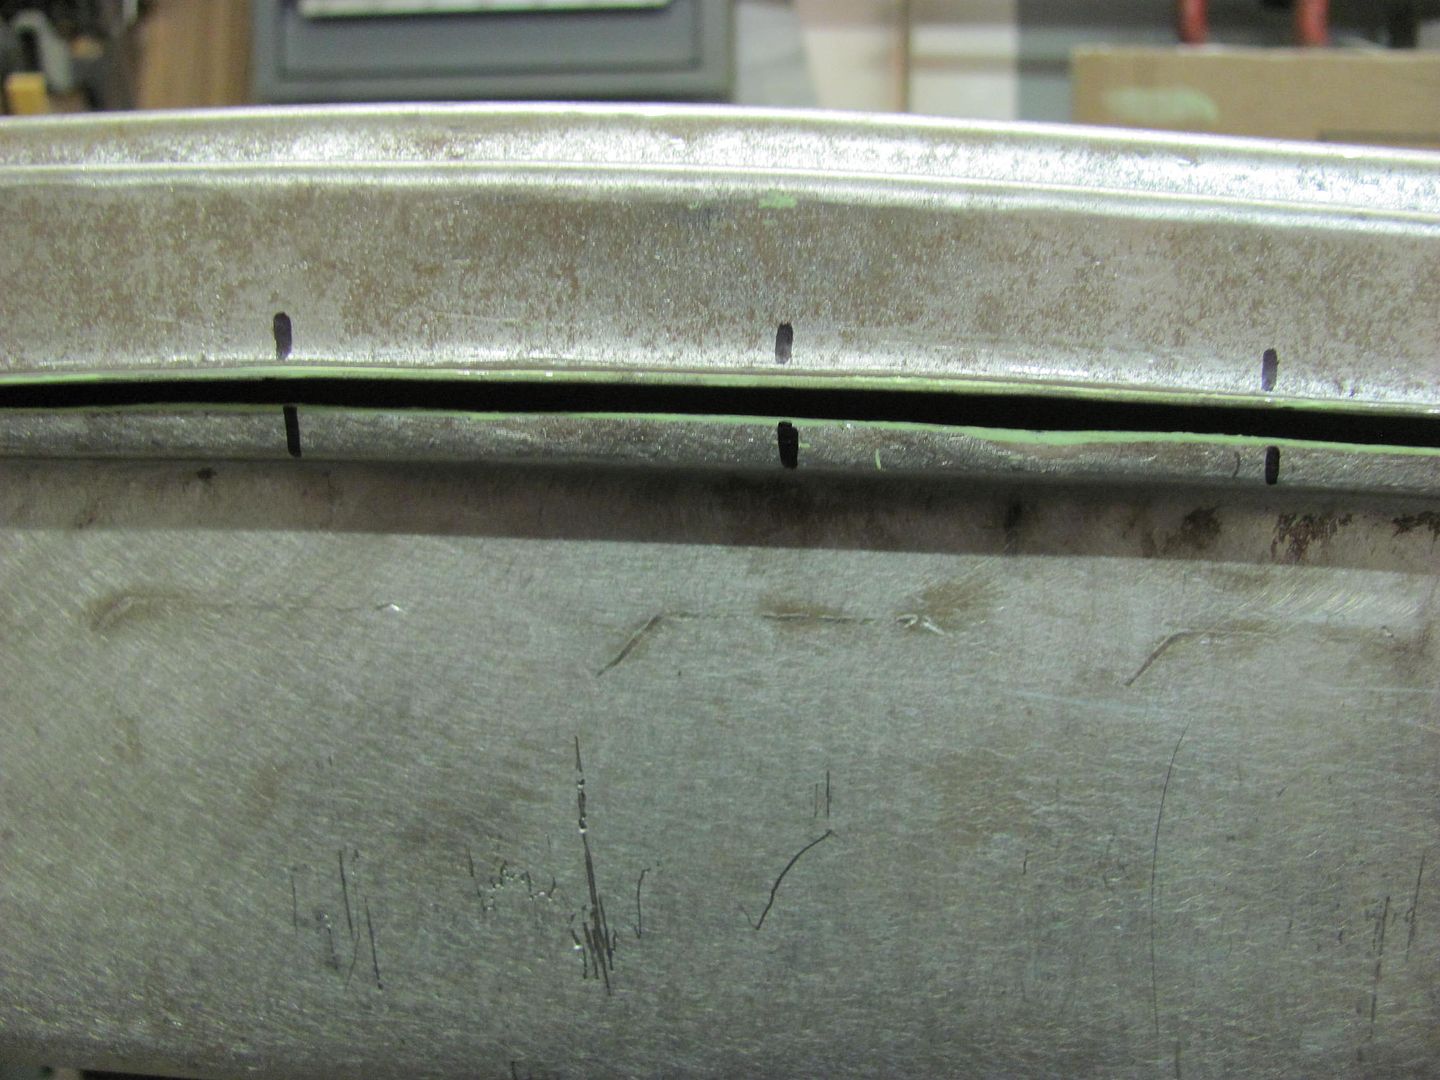
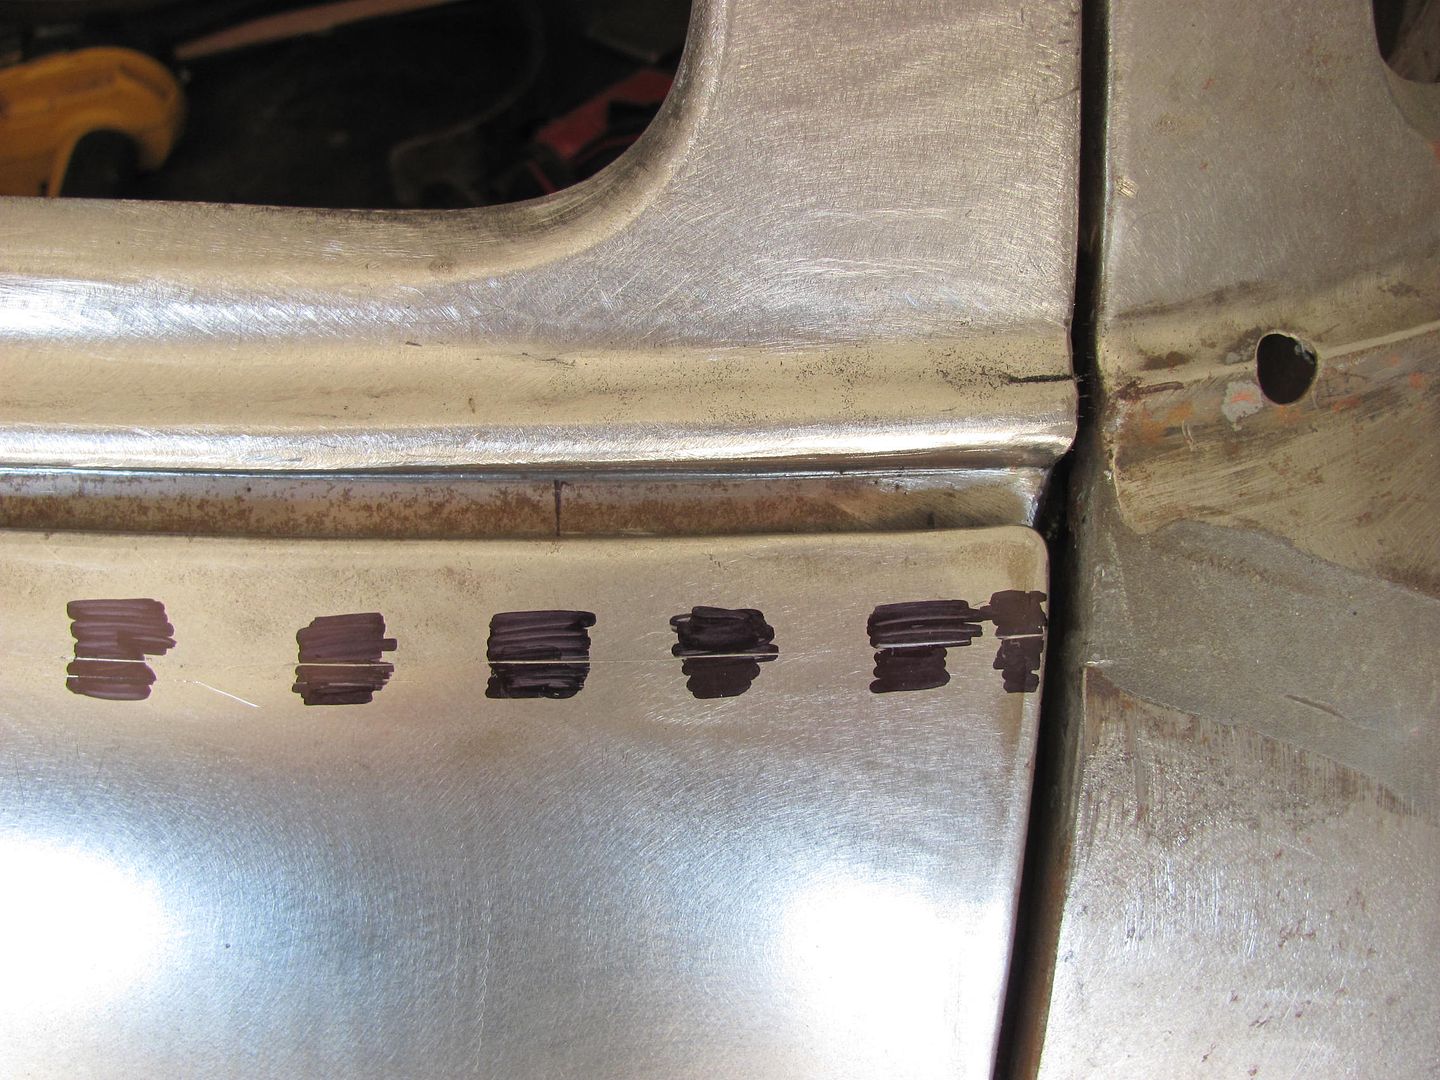
.....and the "prepped" flanges...

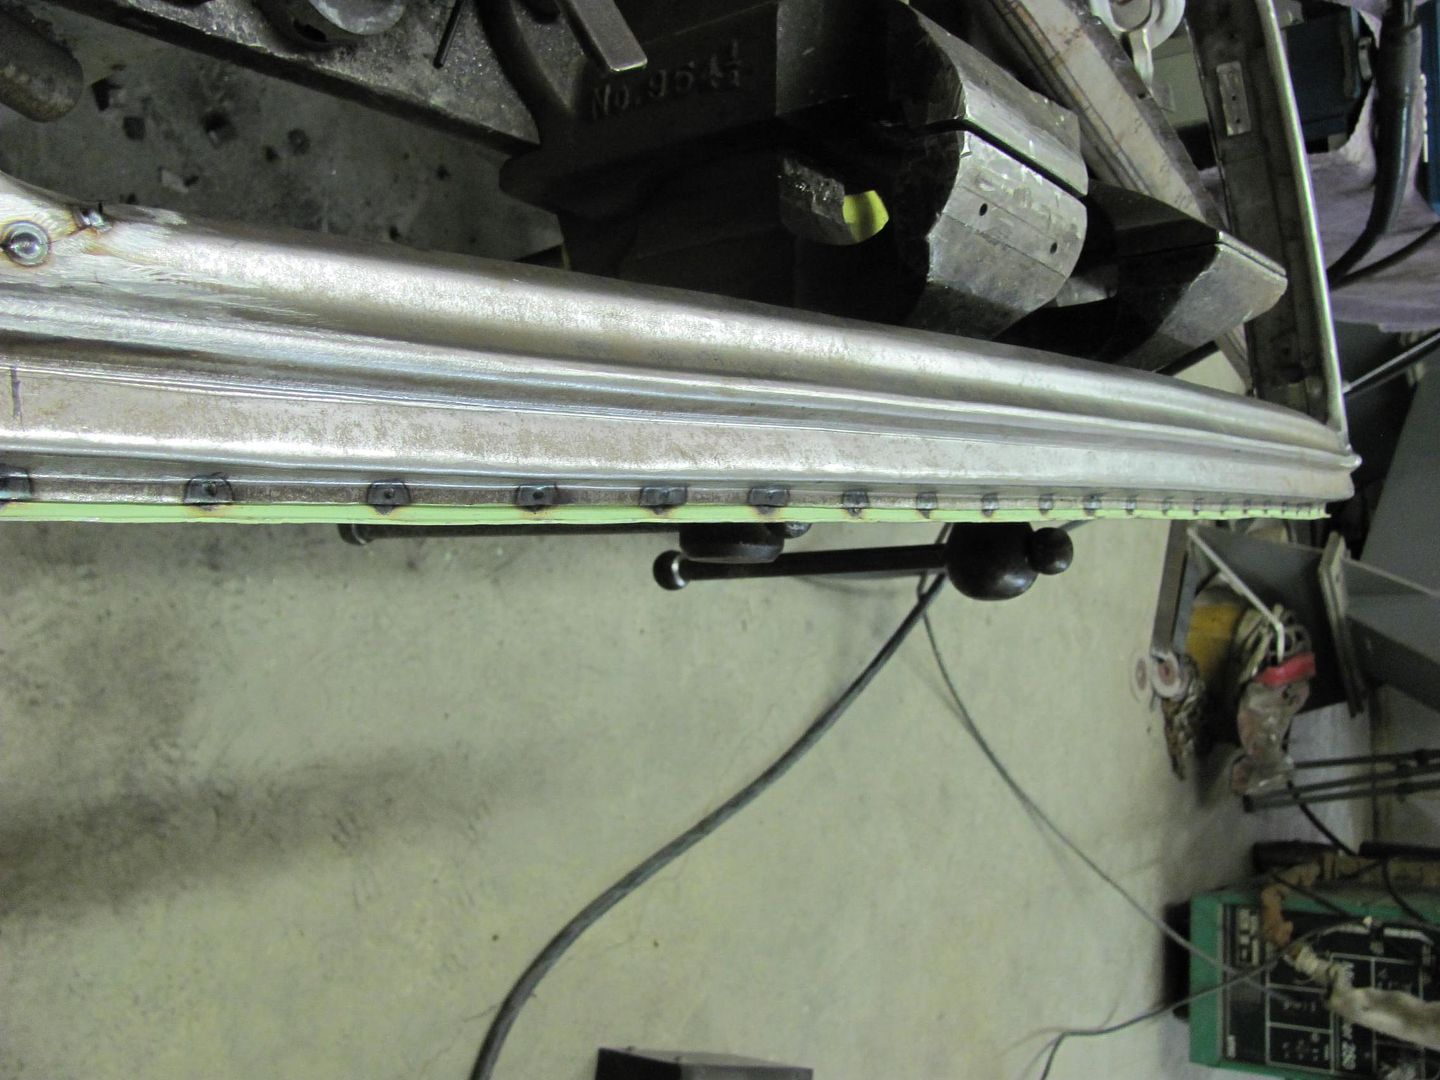
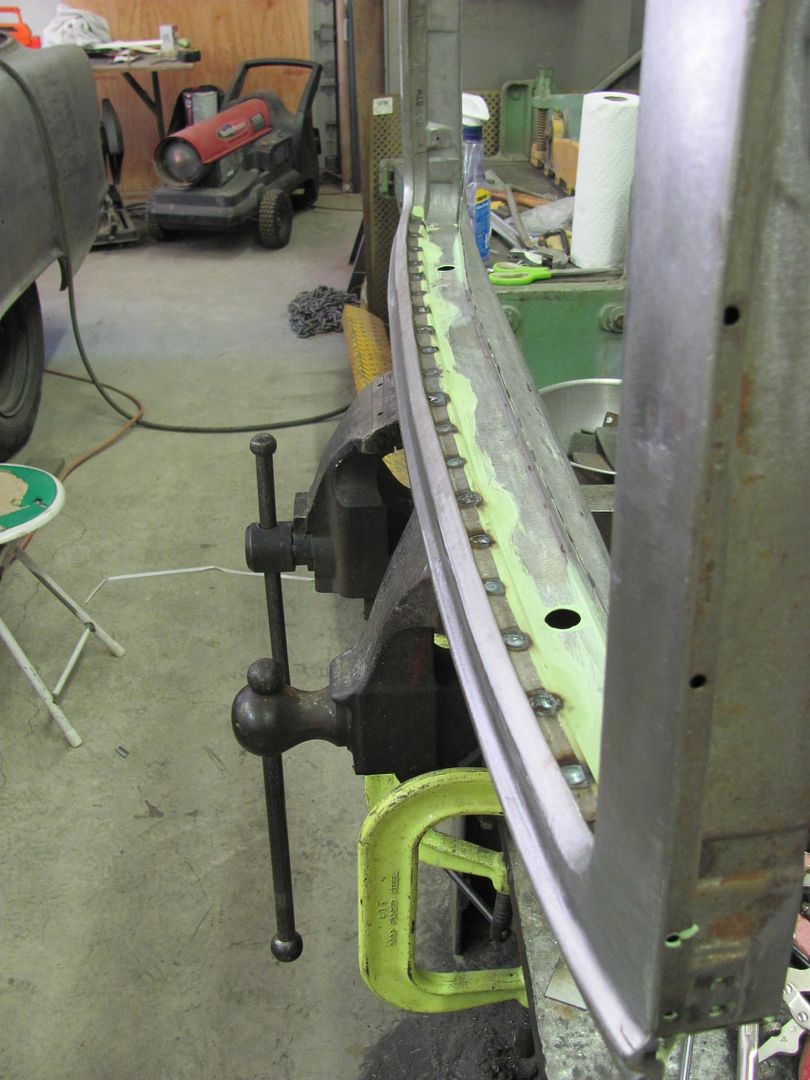
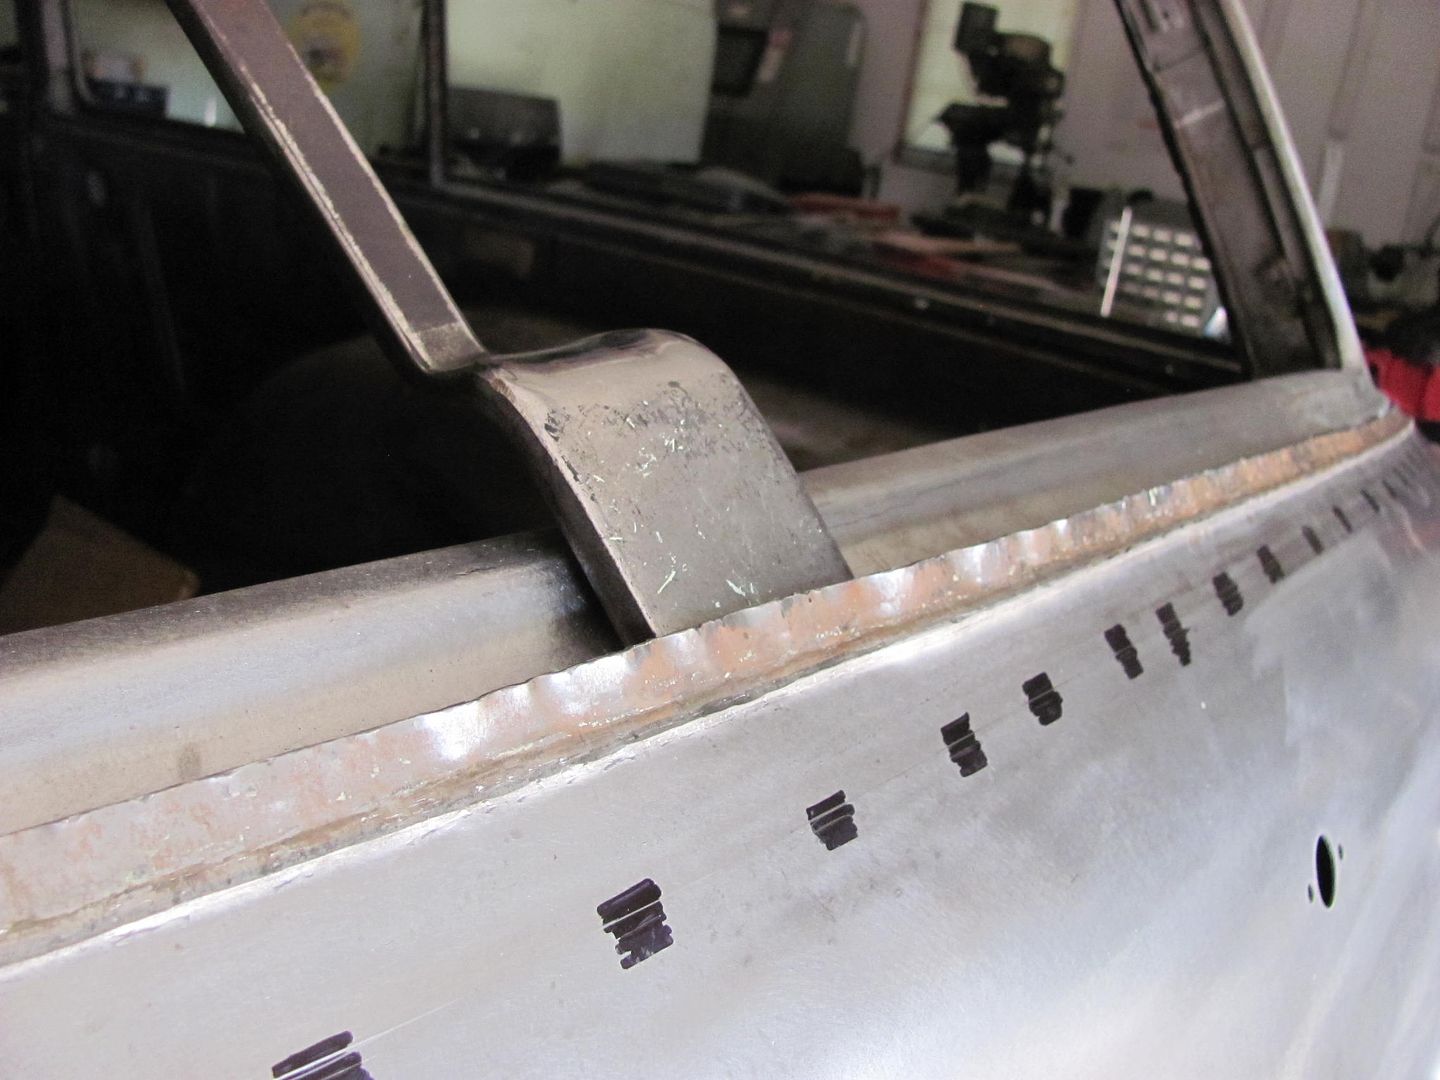
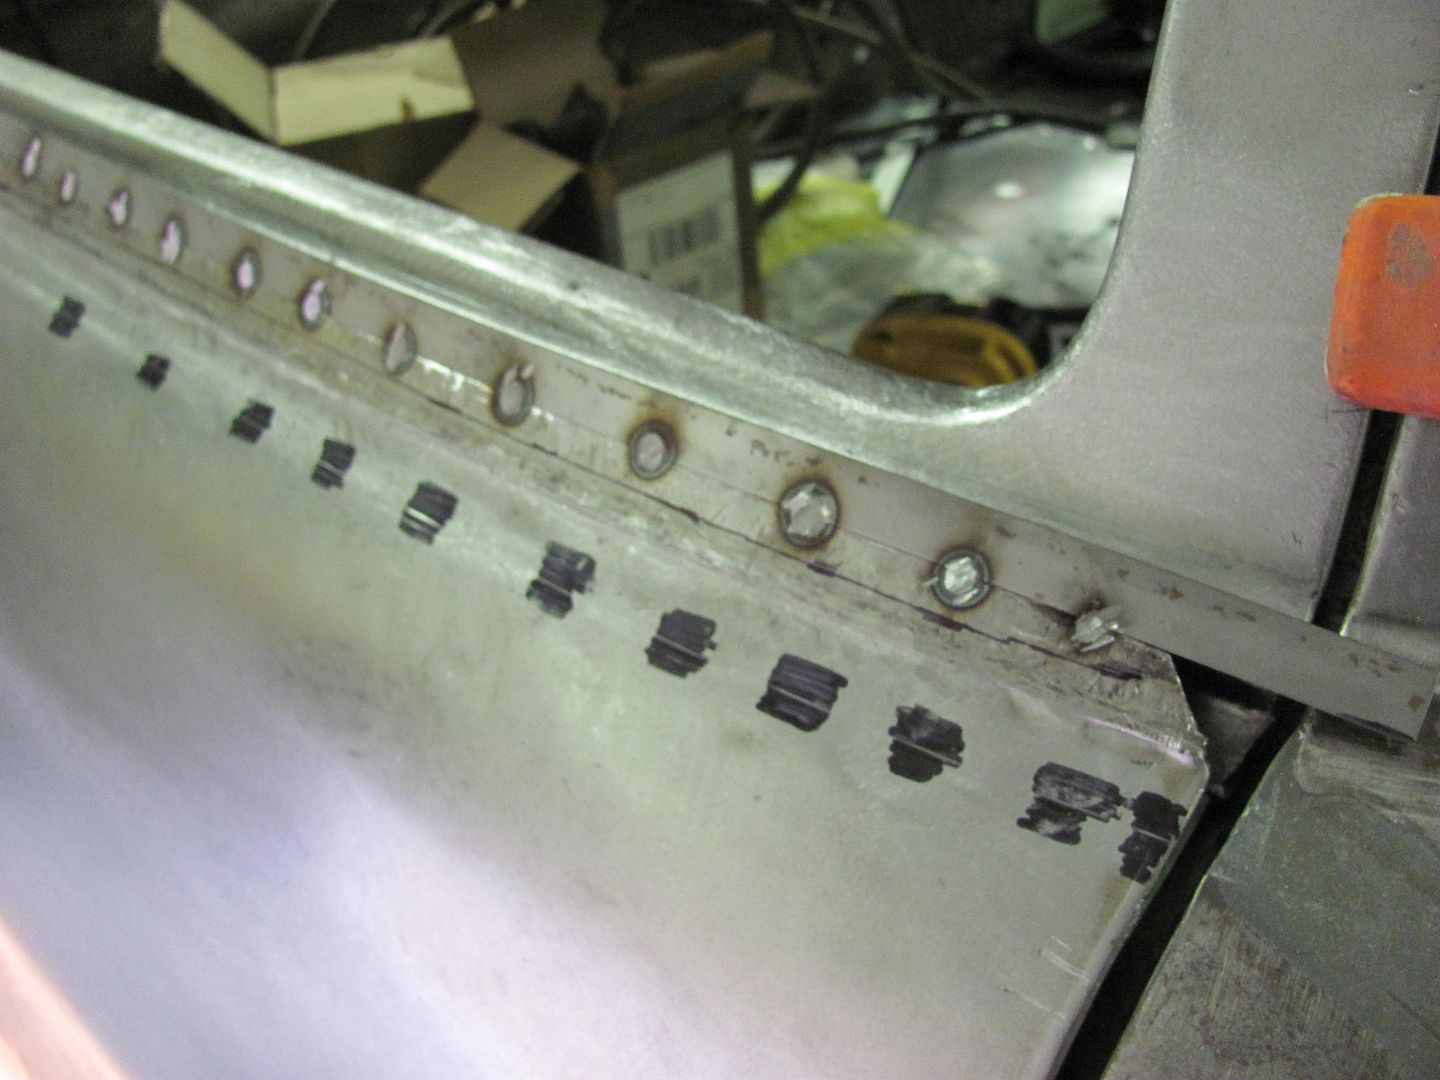
Ends tacked in place, and spot welded the bottom flanges together...
Comment
-
A bit more welding today.......

Cleaned up....

Other side.....
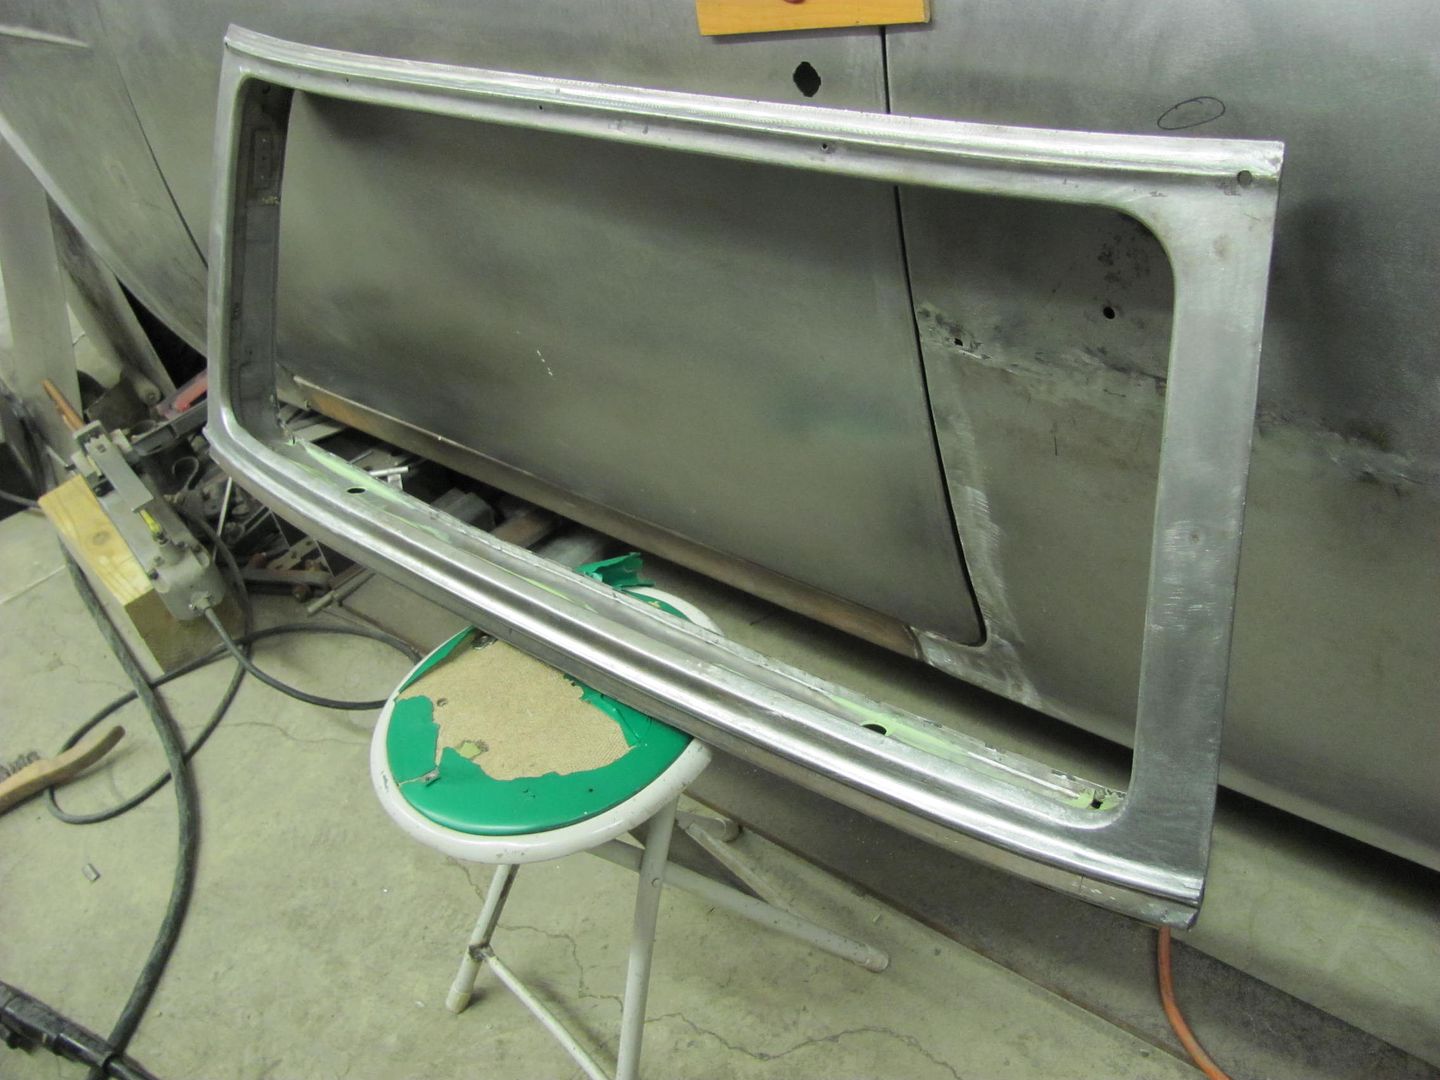
Only thing left on this piece is the plug welds in the window opening. Need to put the rubber on the window glass and fit it to the opening to see if this part needs shifting prior to welding...
This might even work....
Comment
-
Looking great I need to get in the shop and work on my car,but just can't get motivated on it yet.Greg & Mendy Dayton, Ohio 2007LH 2008LH 2010LH 2011LH 2012 1st 2 stops 2013LH 2015 1st 2 stops2016LH 2017 first and last stops . 2018 LH ("It's better to be dead and cool than alive and uncool!! Harley Davidson!")Comment
-
Well, it's been awhile, ever since the last software update my laptop has not played nicely with the site and I couldn't post anything. I emailed Chad recently and it looks like he got the IT guys to work their magic. Thanks Guys!
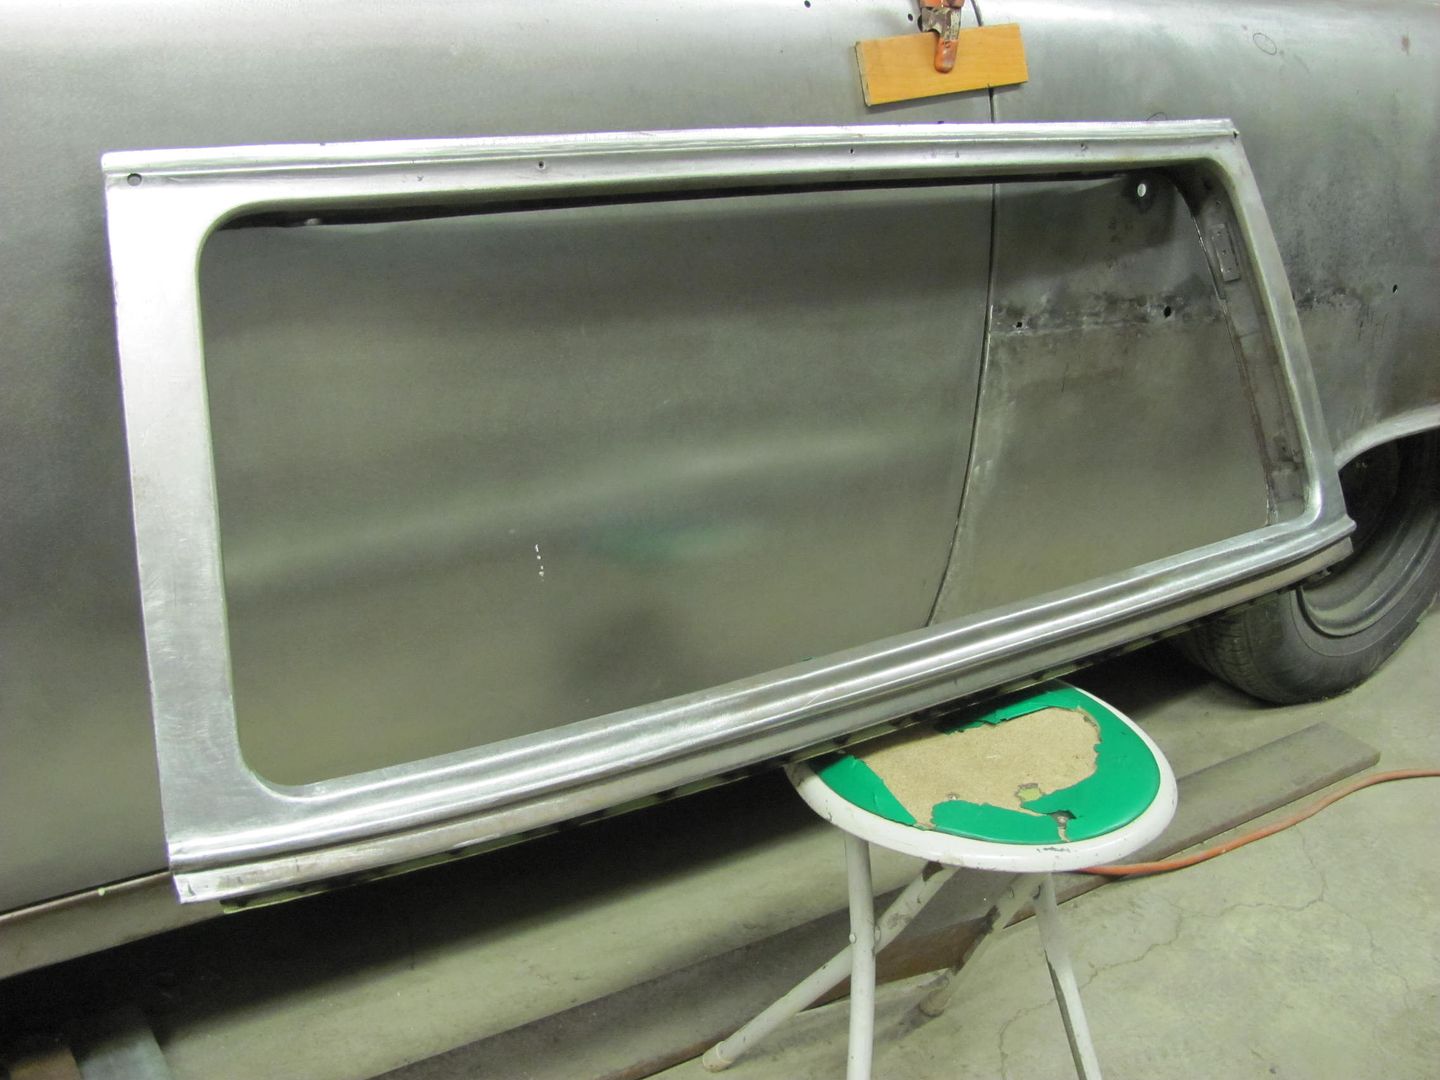
Back to the 55's updates...The rear window glass was test fit to verify the contour of the opening, and then finished the plug welds. Cleaning the epoxy out of the holes...
Welds cleaned up.....
 Last edited by MP&C; November 11, 2014, 07:21 PM.
Comment
-
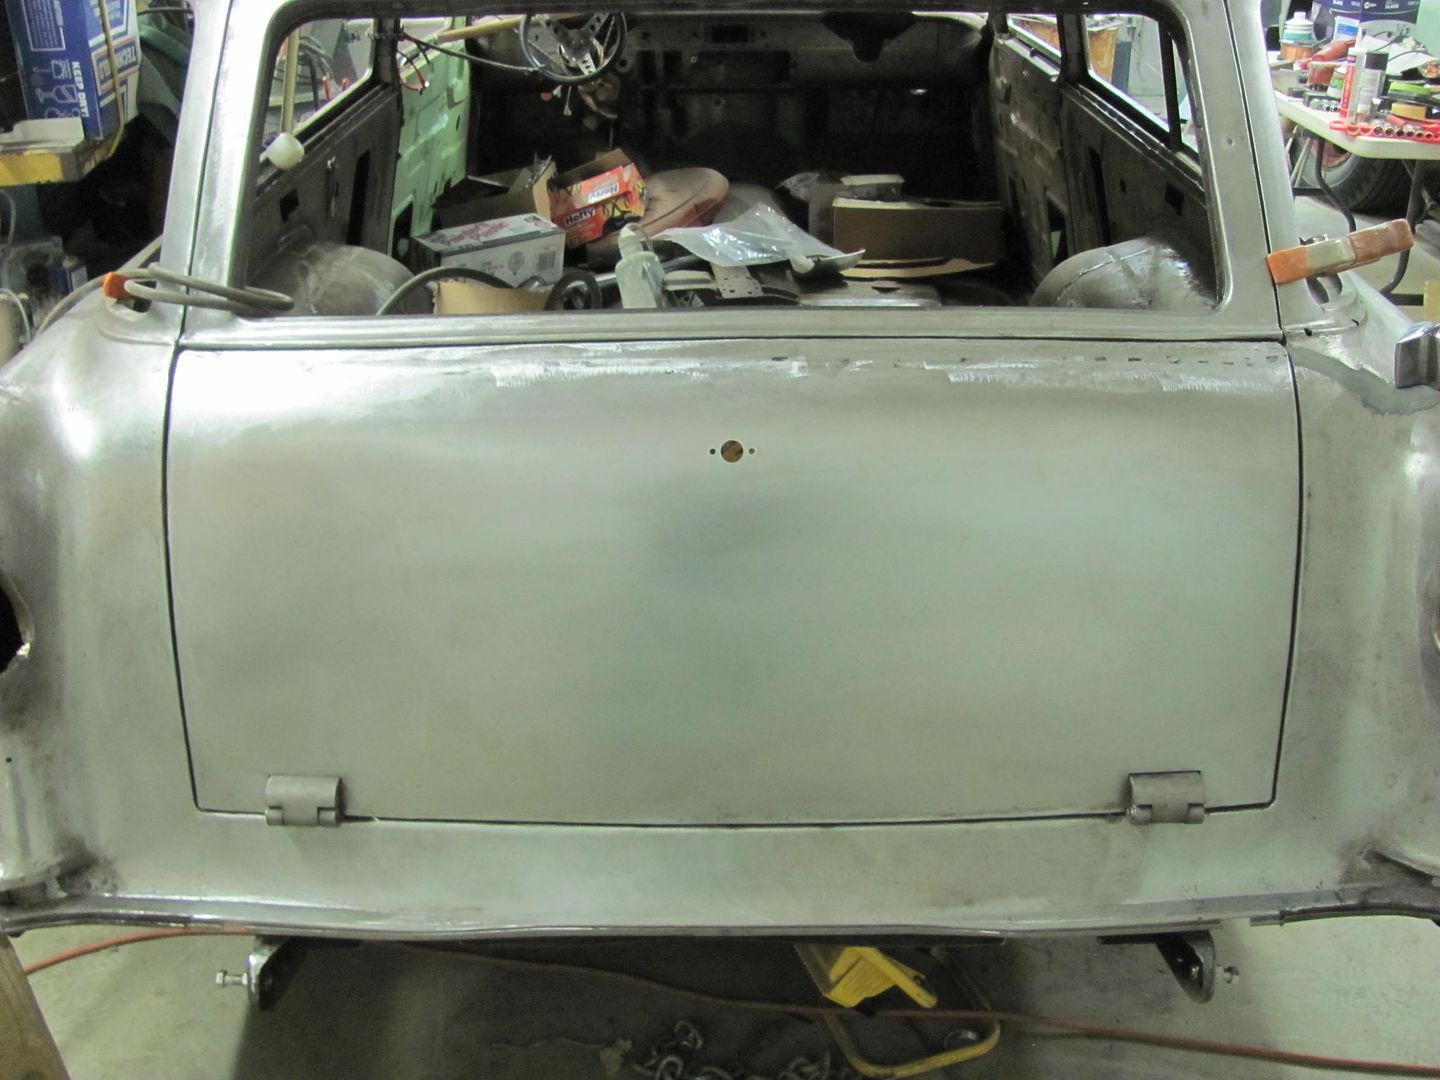
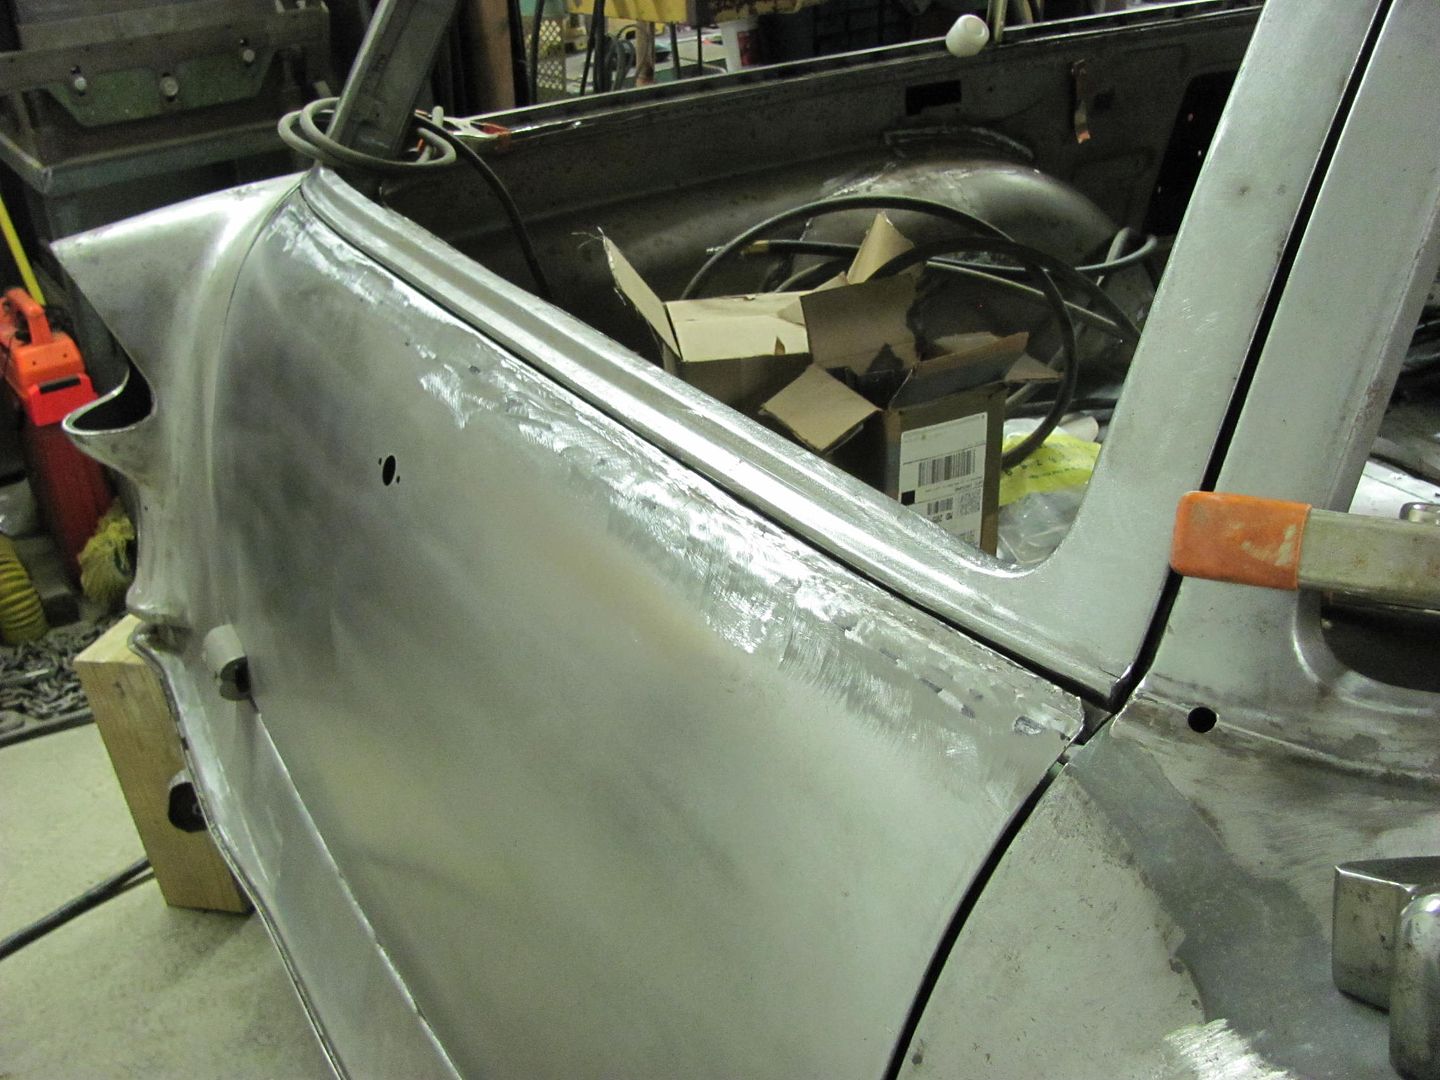
The tailgate skin didn't align too well to the upper lift gate, the gap was way out of whack. I guess this is what I get for installing the skin based on the old tailgate.
Note to self, don't fold door skins unless adjacent panel is there to set gaps..
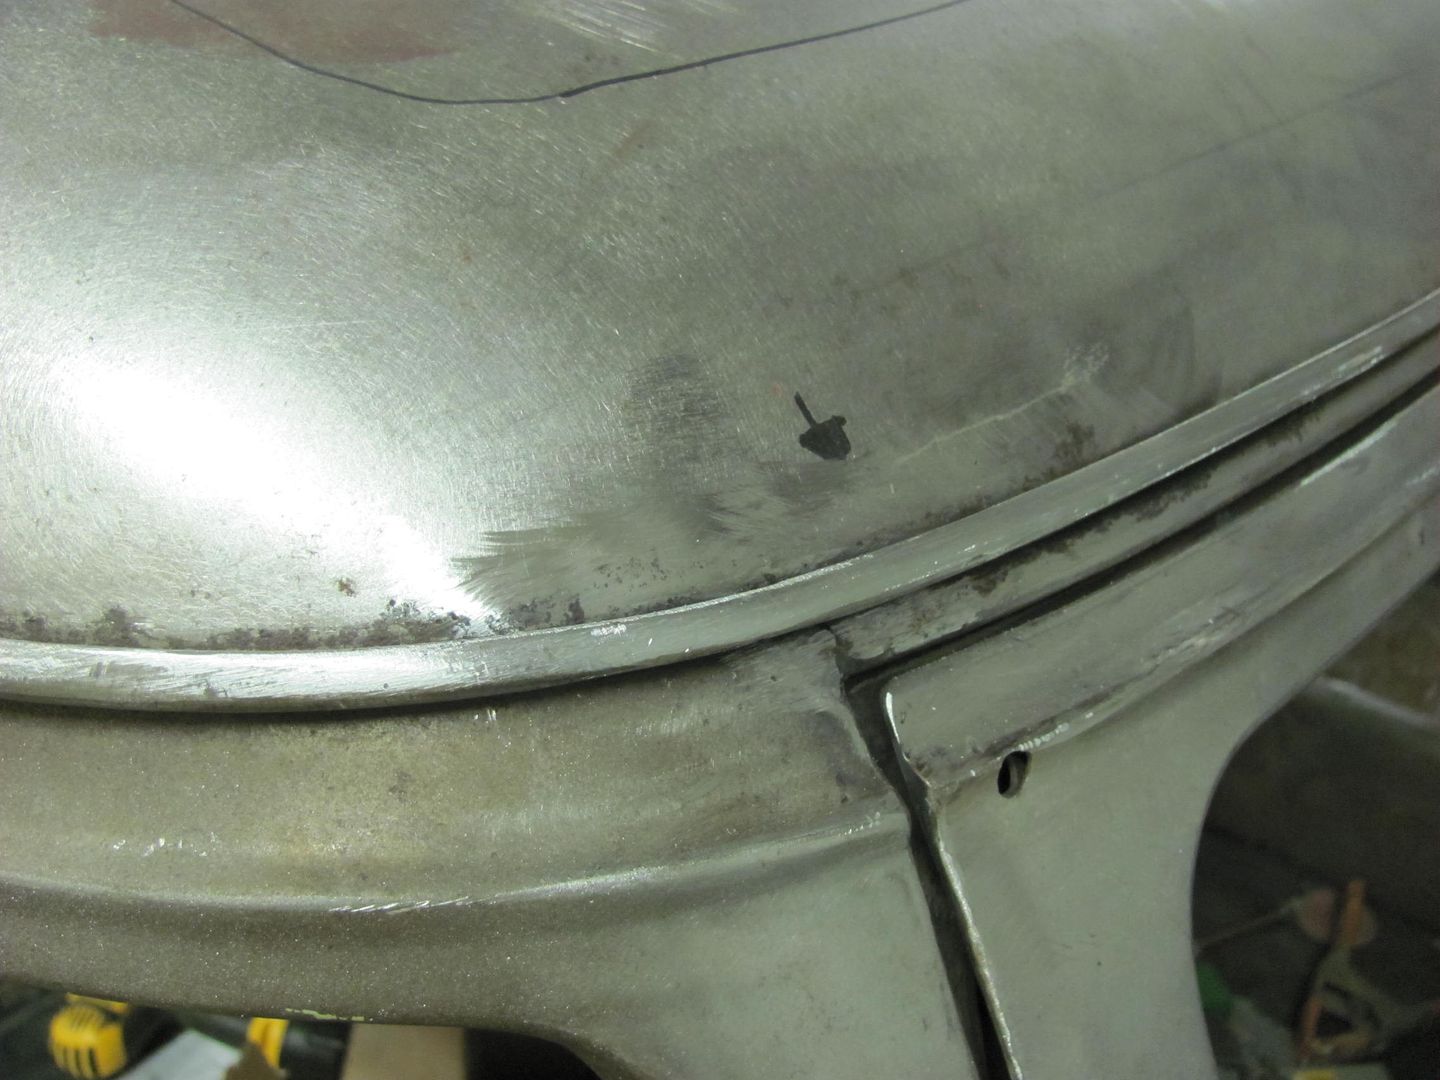
Looking back at some of the earlier pictures in original form, the belt line detail between it and the body were mis-aligned.
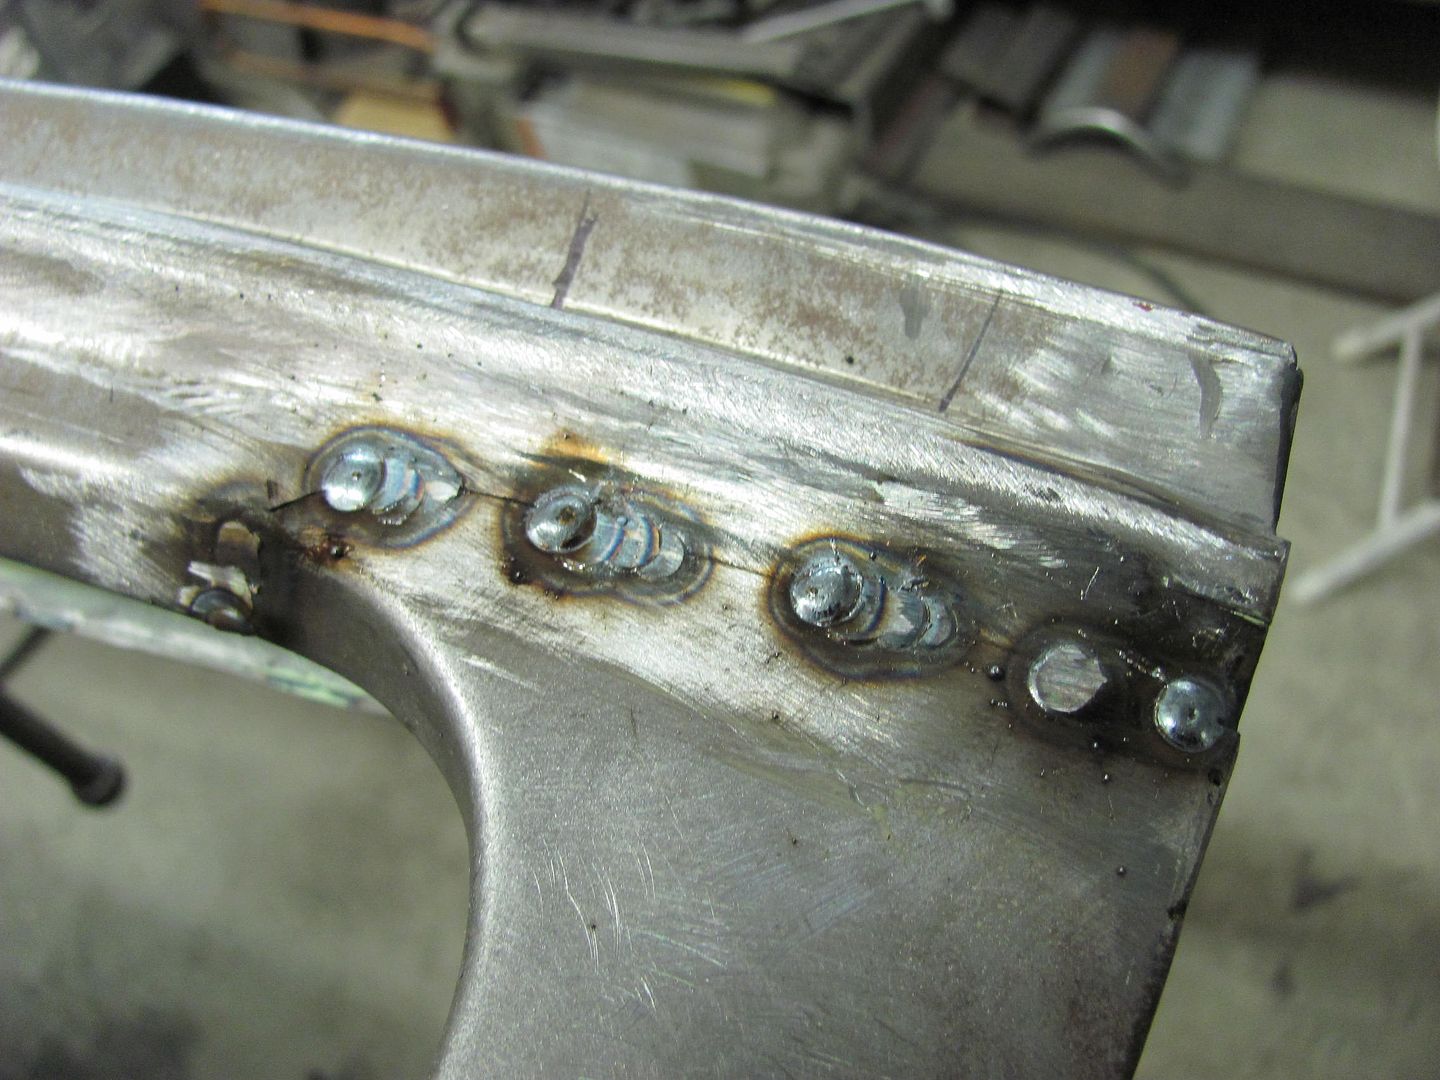
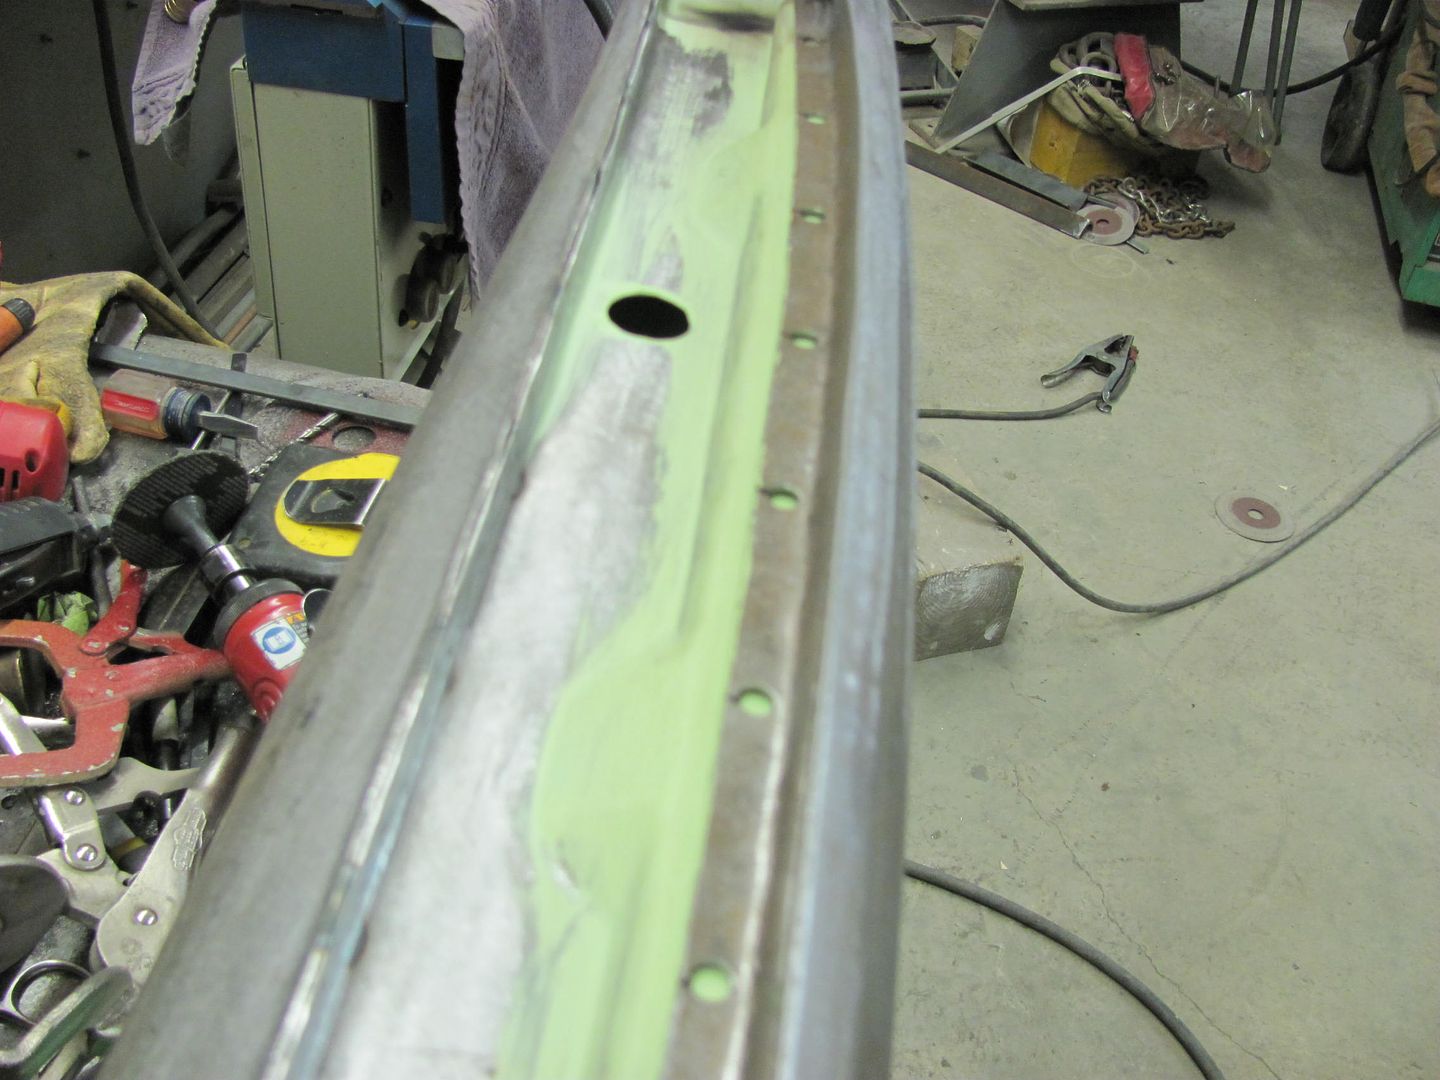
During the repairs of the lower part of the lift gate, the mis-alignment of the beltline was addressed.....
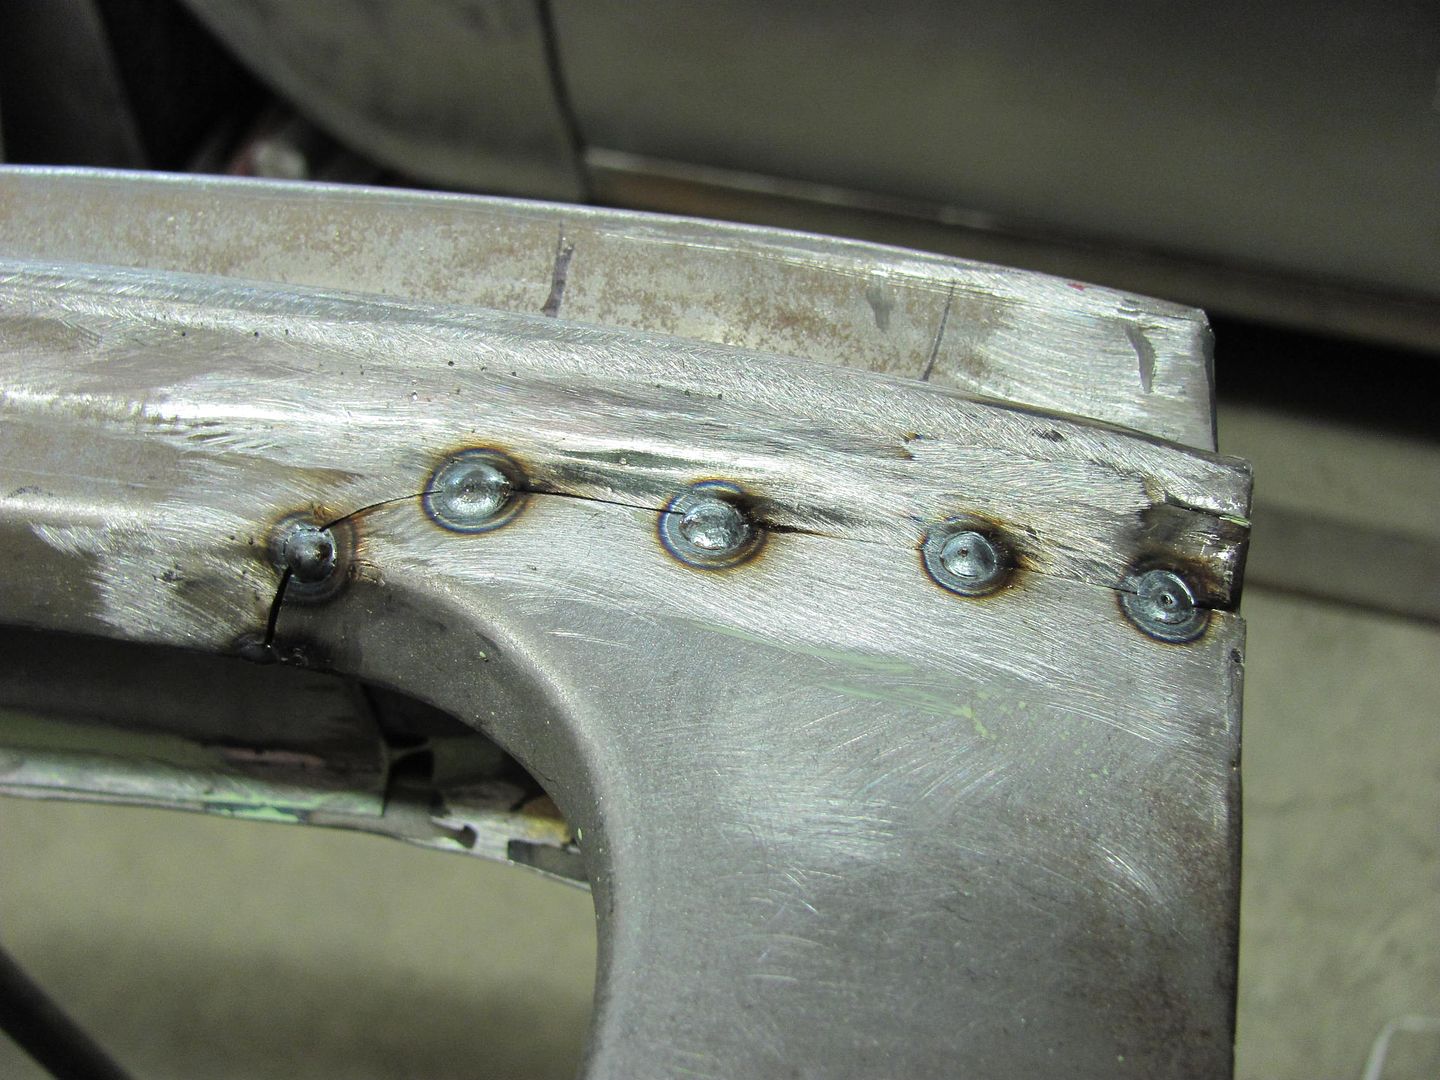
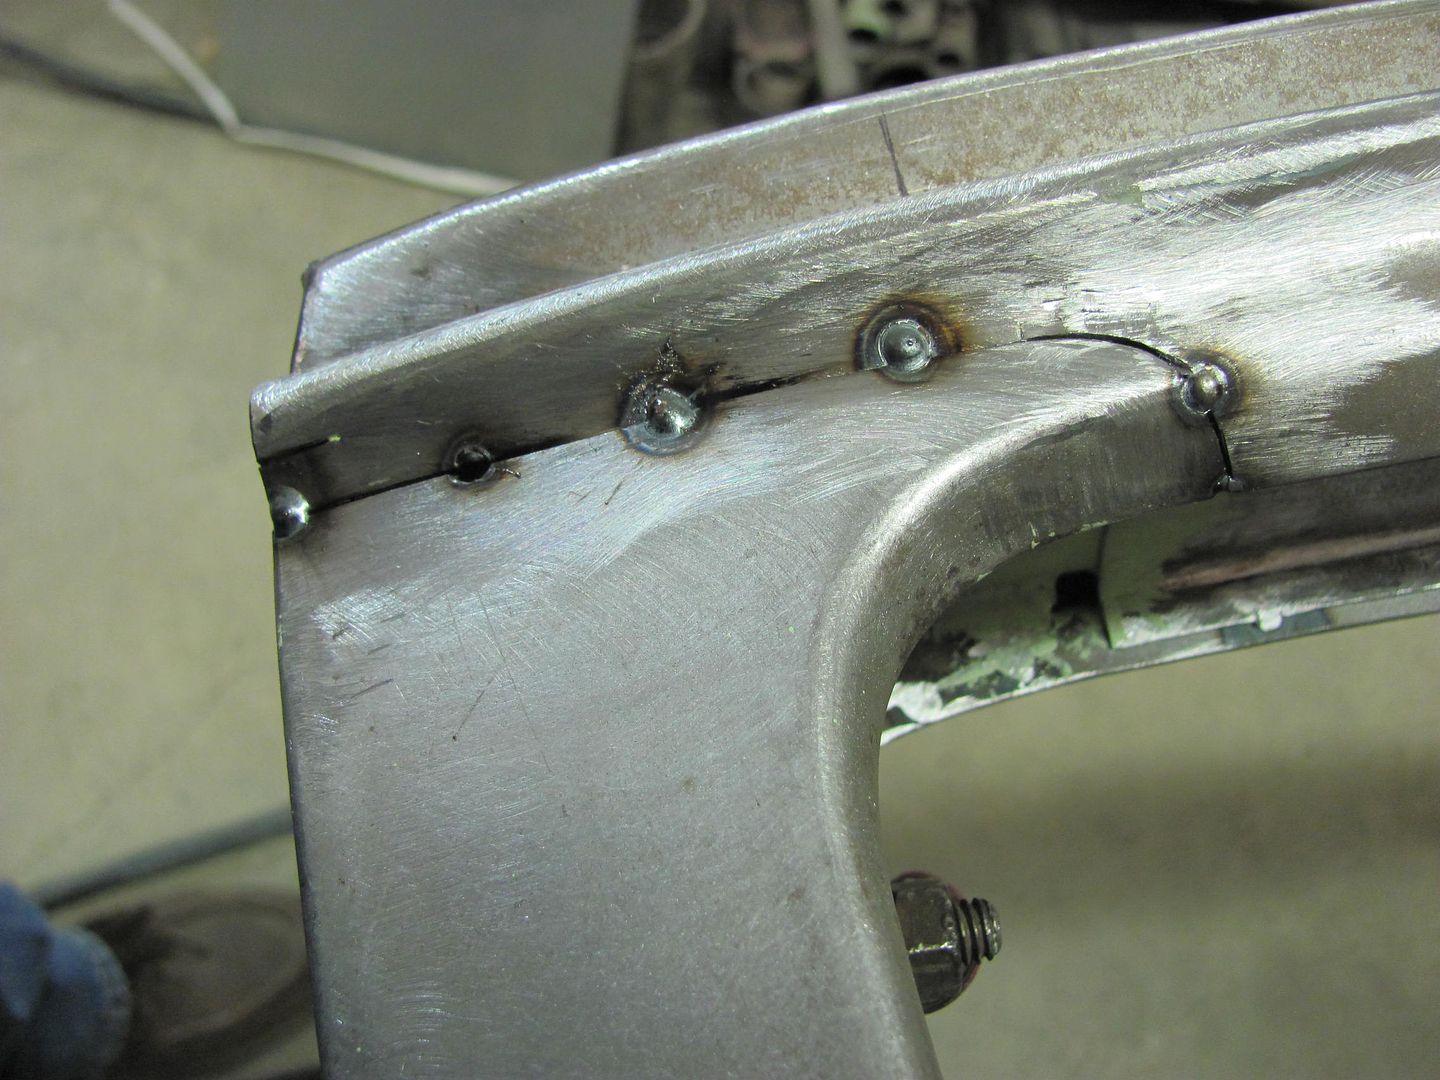
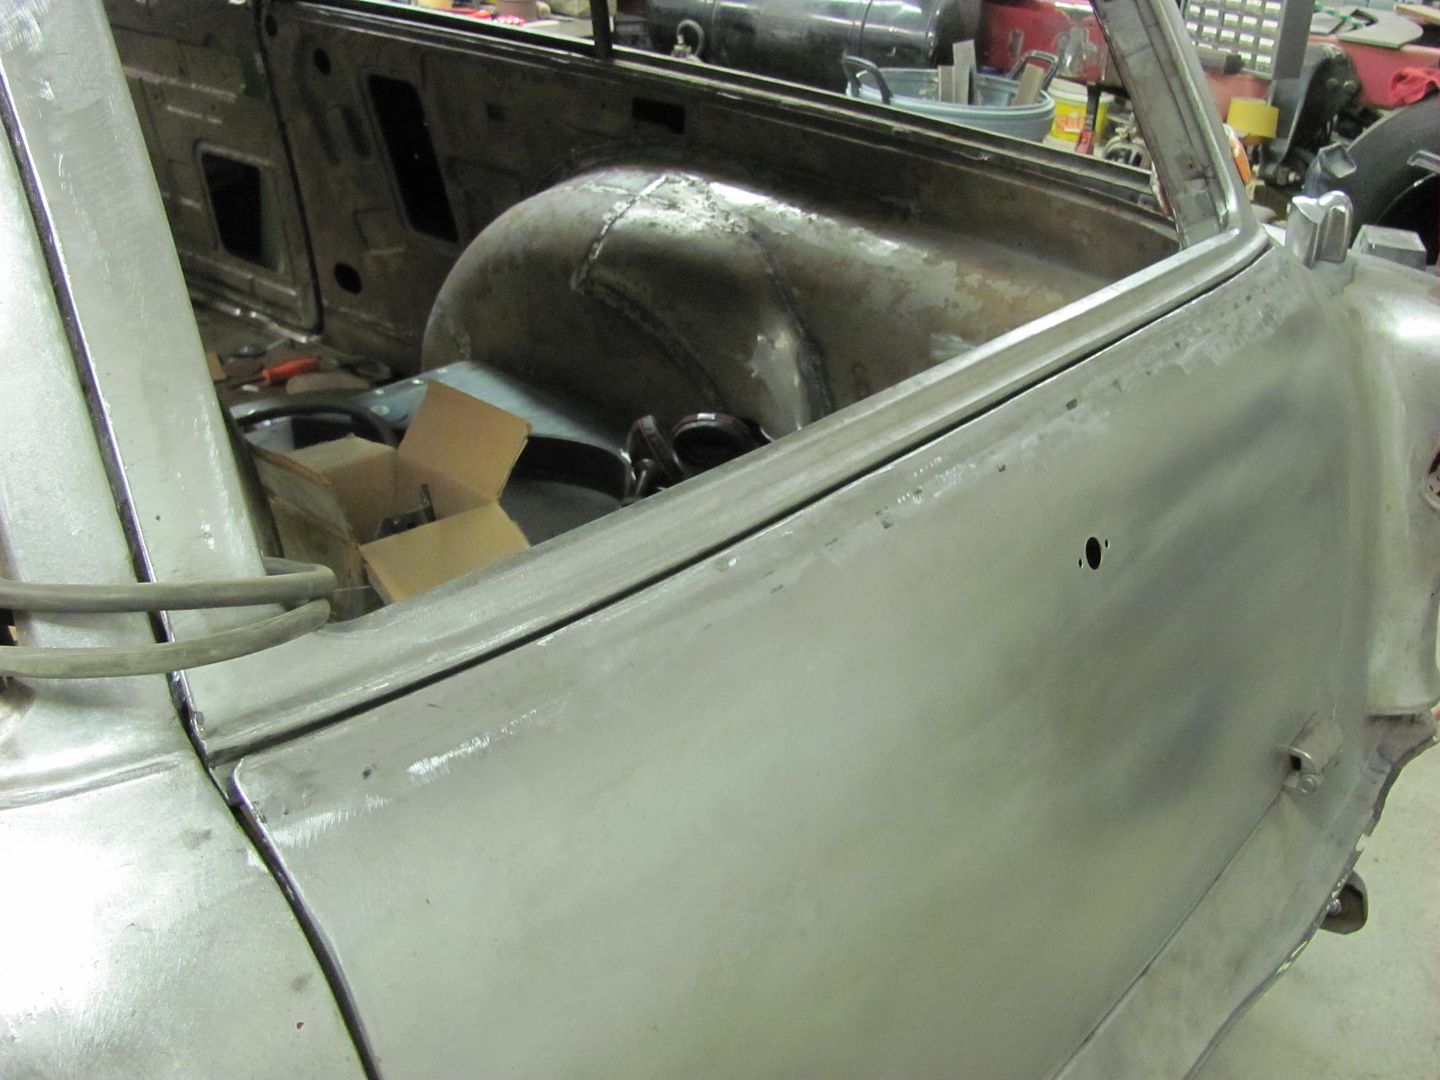
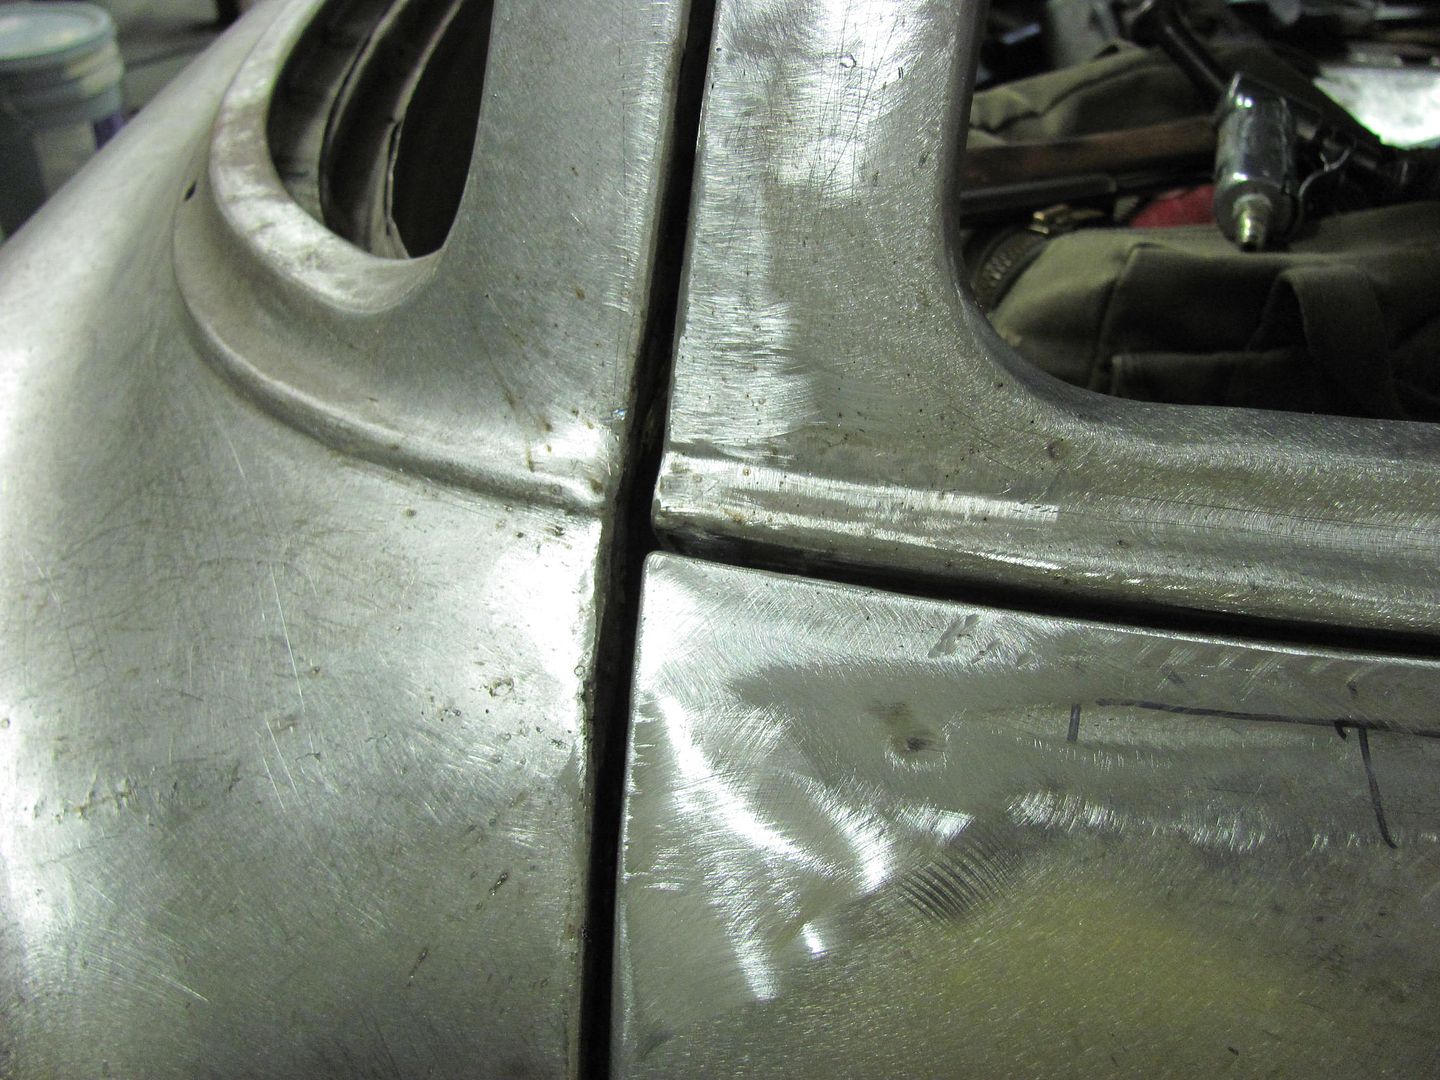
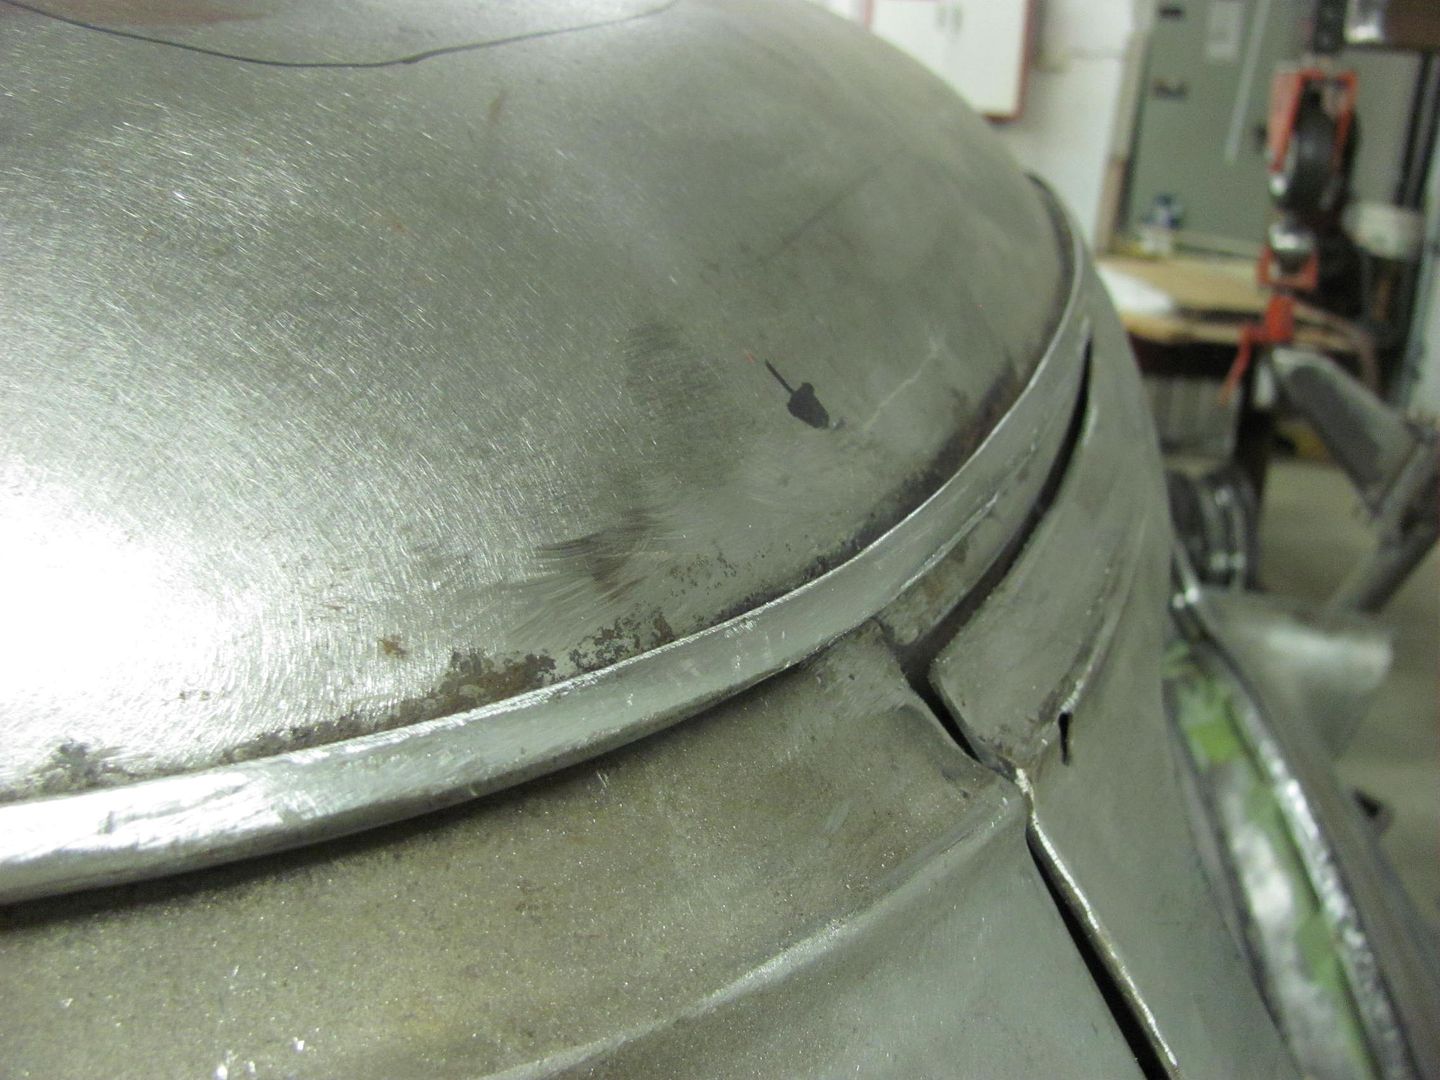
The patch piece was marked off on both ends to bring the lower bead detail up into the car for better alignment...
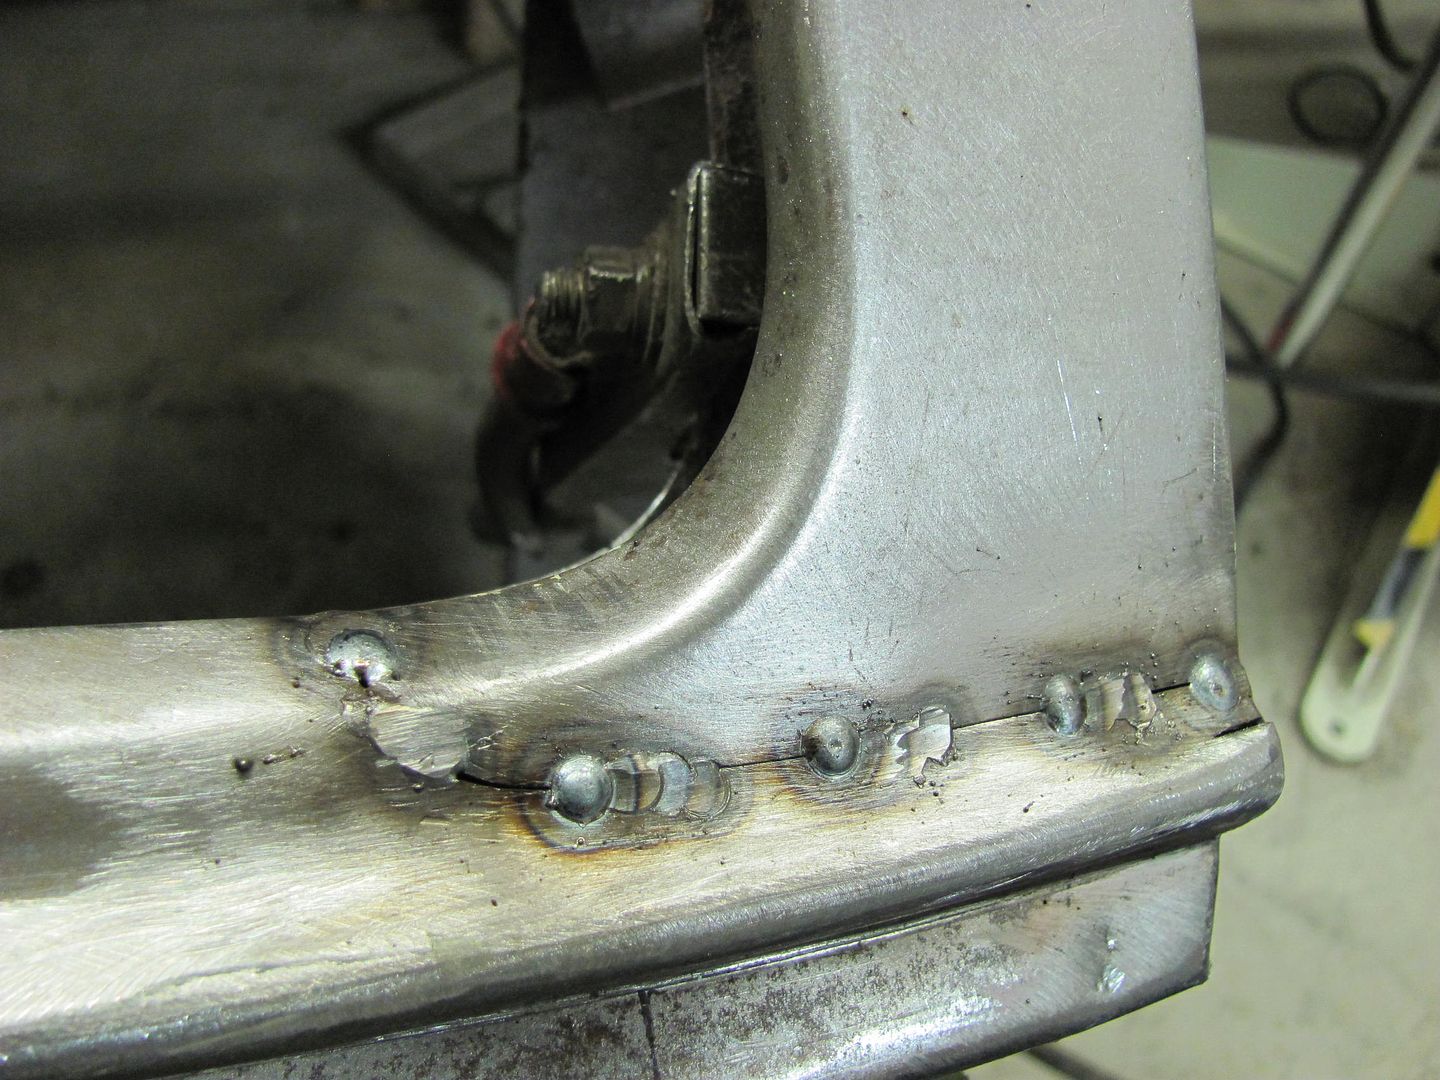
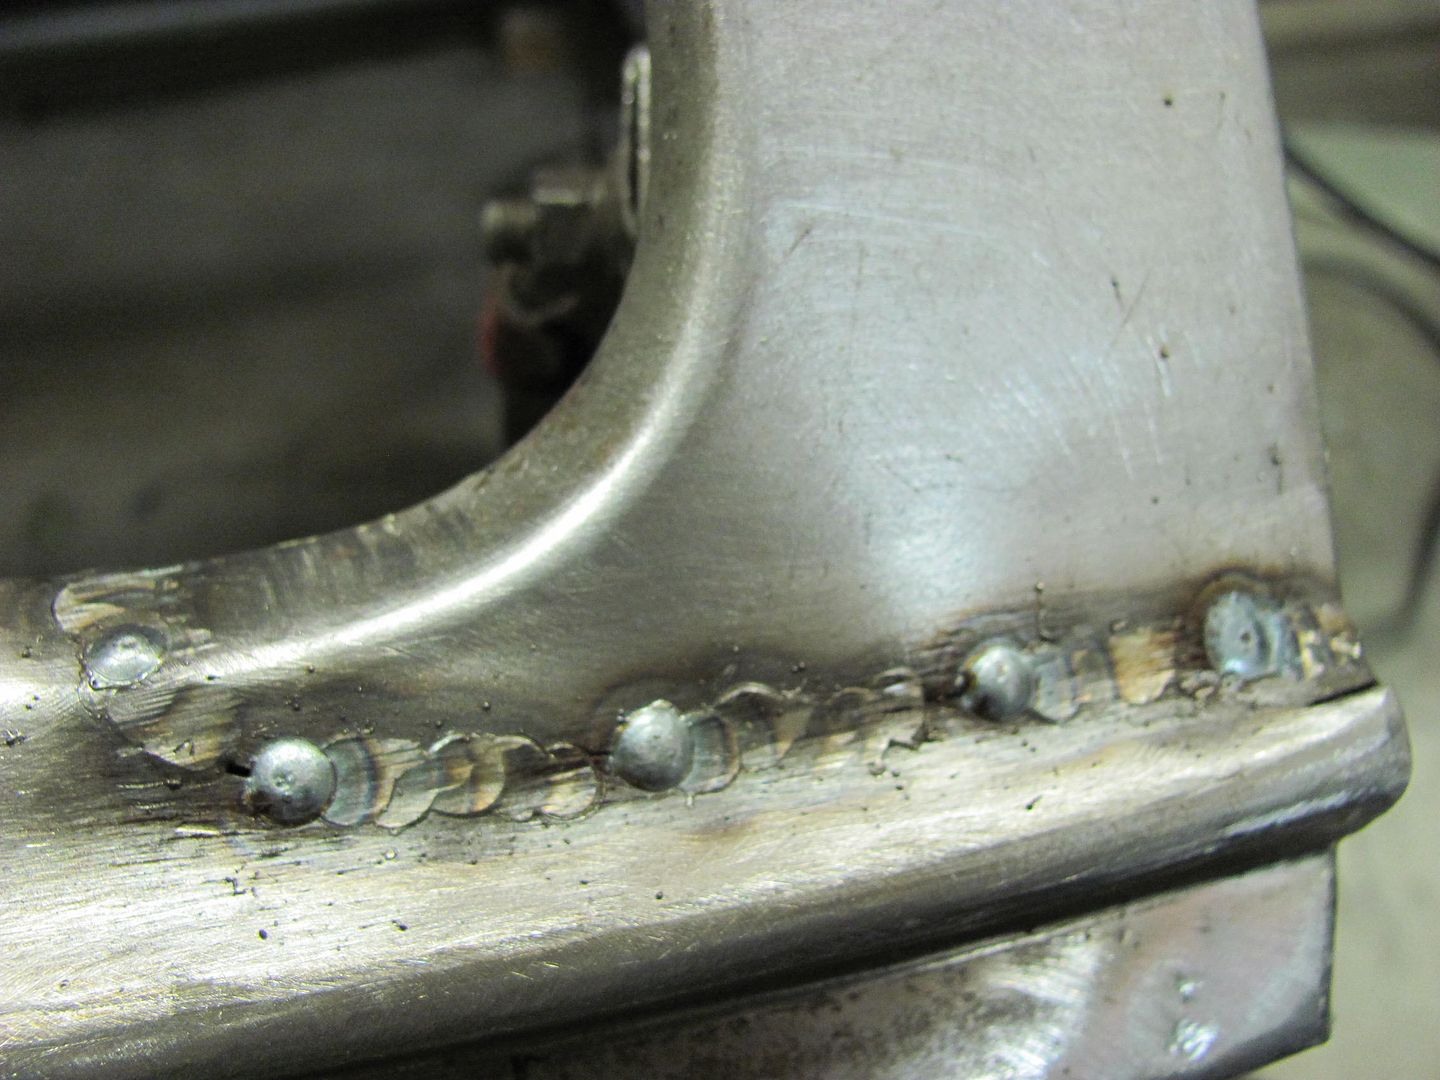
Here's the driver's side after cutting and welding, shows a much better alignment. Good weld penetration on the inside, the seam at the end will be finished after folding onto the lift gate..

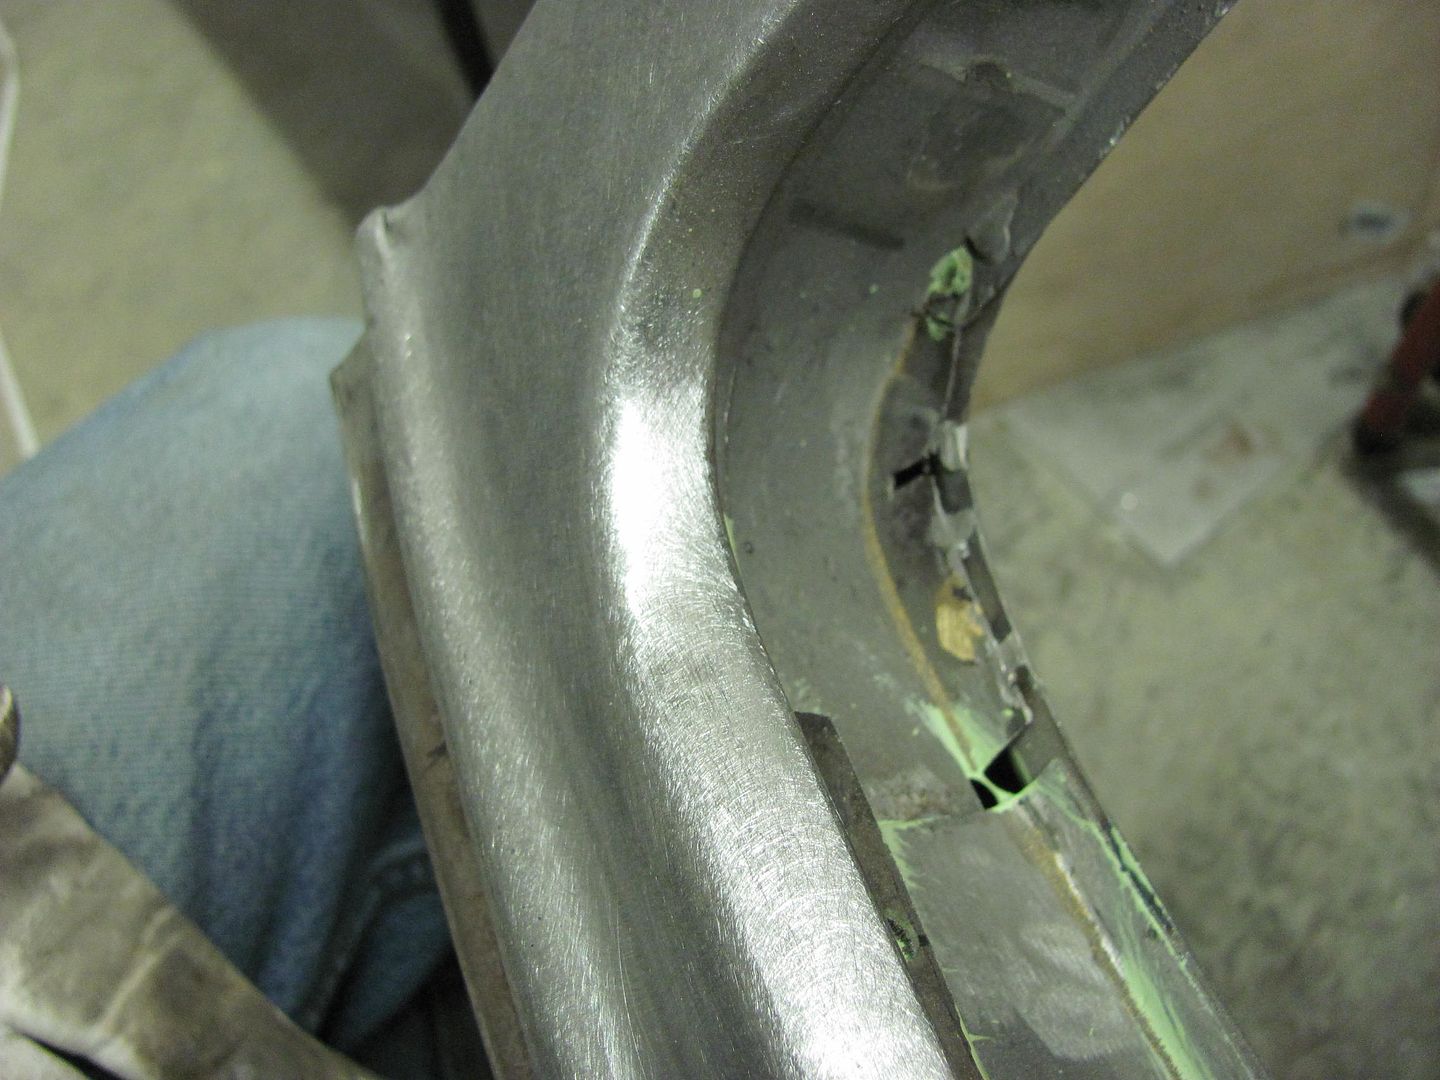
Since the tail gate skin had already been folded prior to that point, it compounded the gap issues, making it necessary to unfold and re-hem the tail gates upper fold...
Time to break out the door skin removal tool....
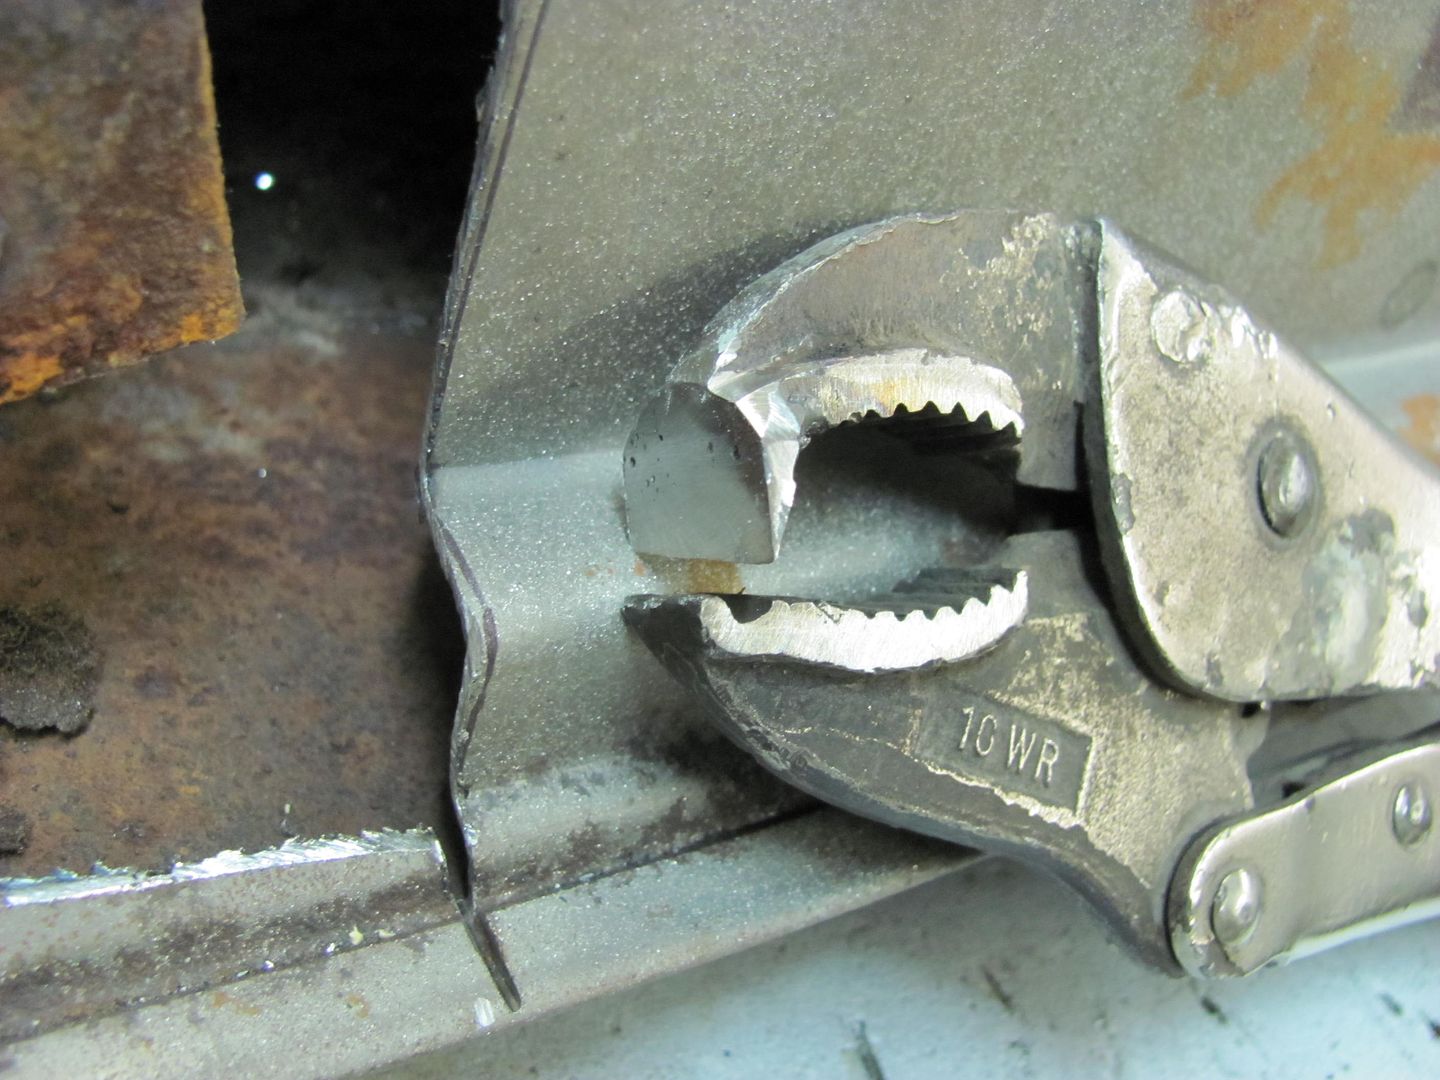
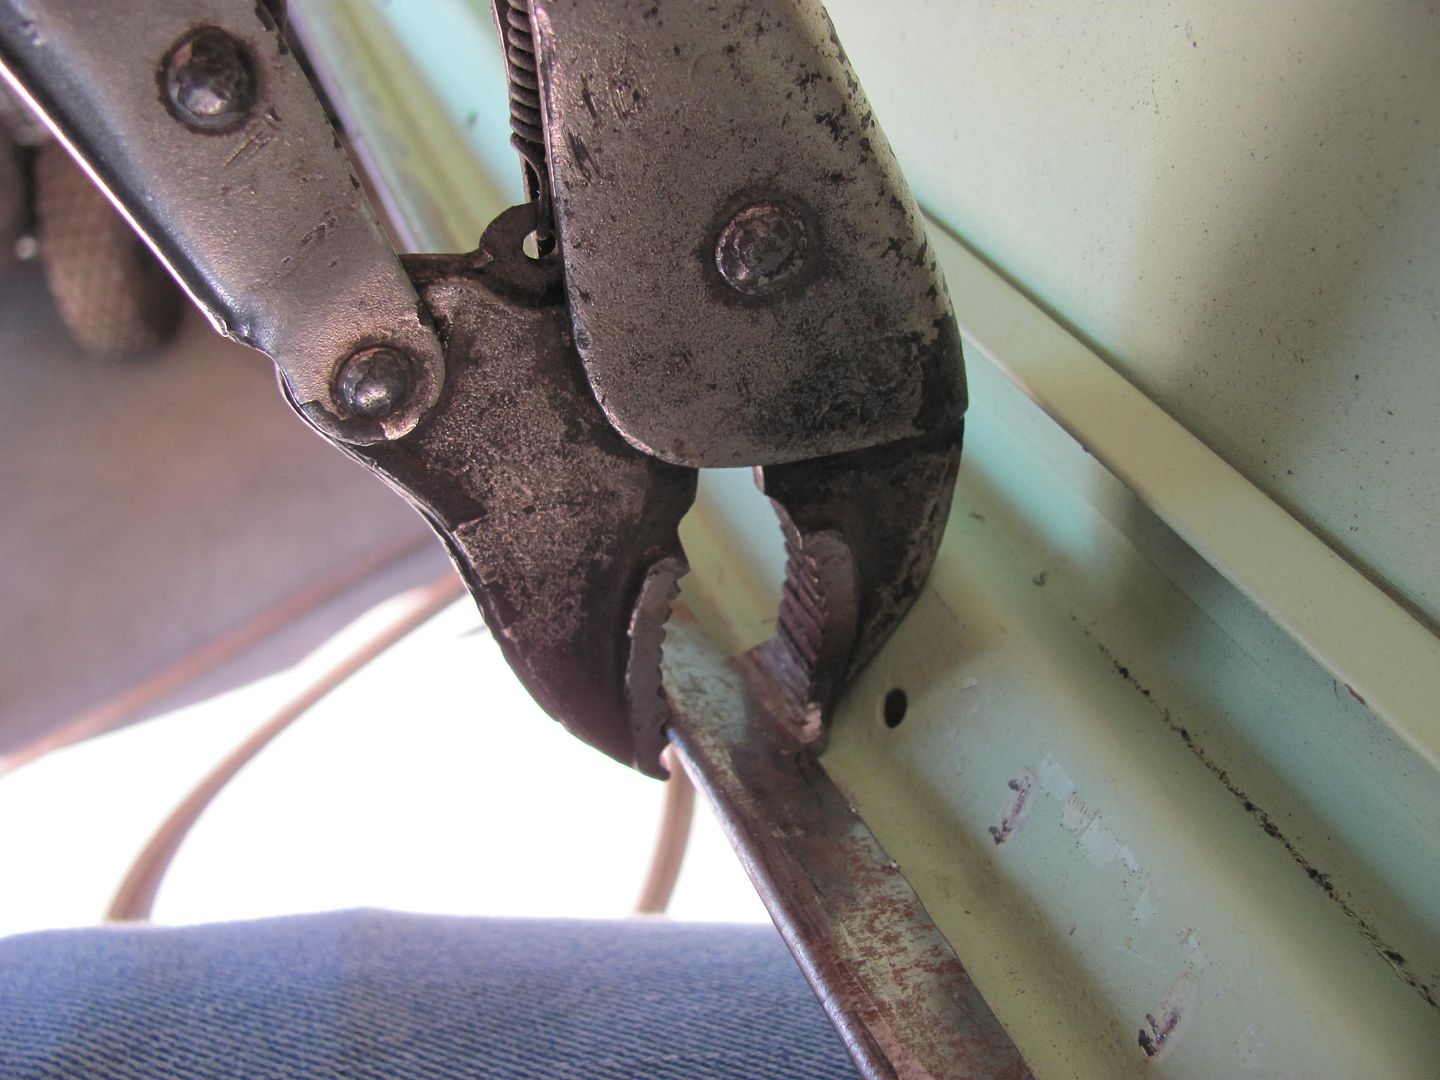
Flange unfolded....
Spoon was slid between the skin and inner panel and body hammer used to flatten out the crease...
Right side flange is now a bit short, so added a strip of metal..
Flange re-folded, just needs some fine tuning and finishing the corners..
That made up for most of it, Still need to add some metal in the corners.
Comment
-
Finishing the tail gate and lift gate gaps.....

Comment
-
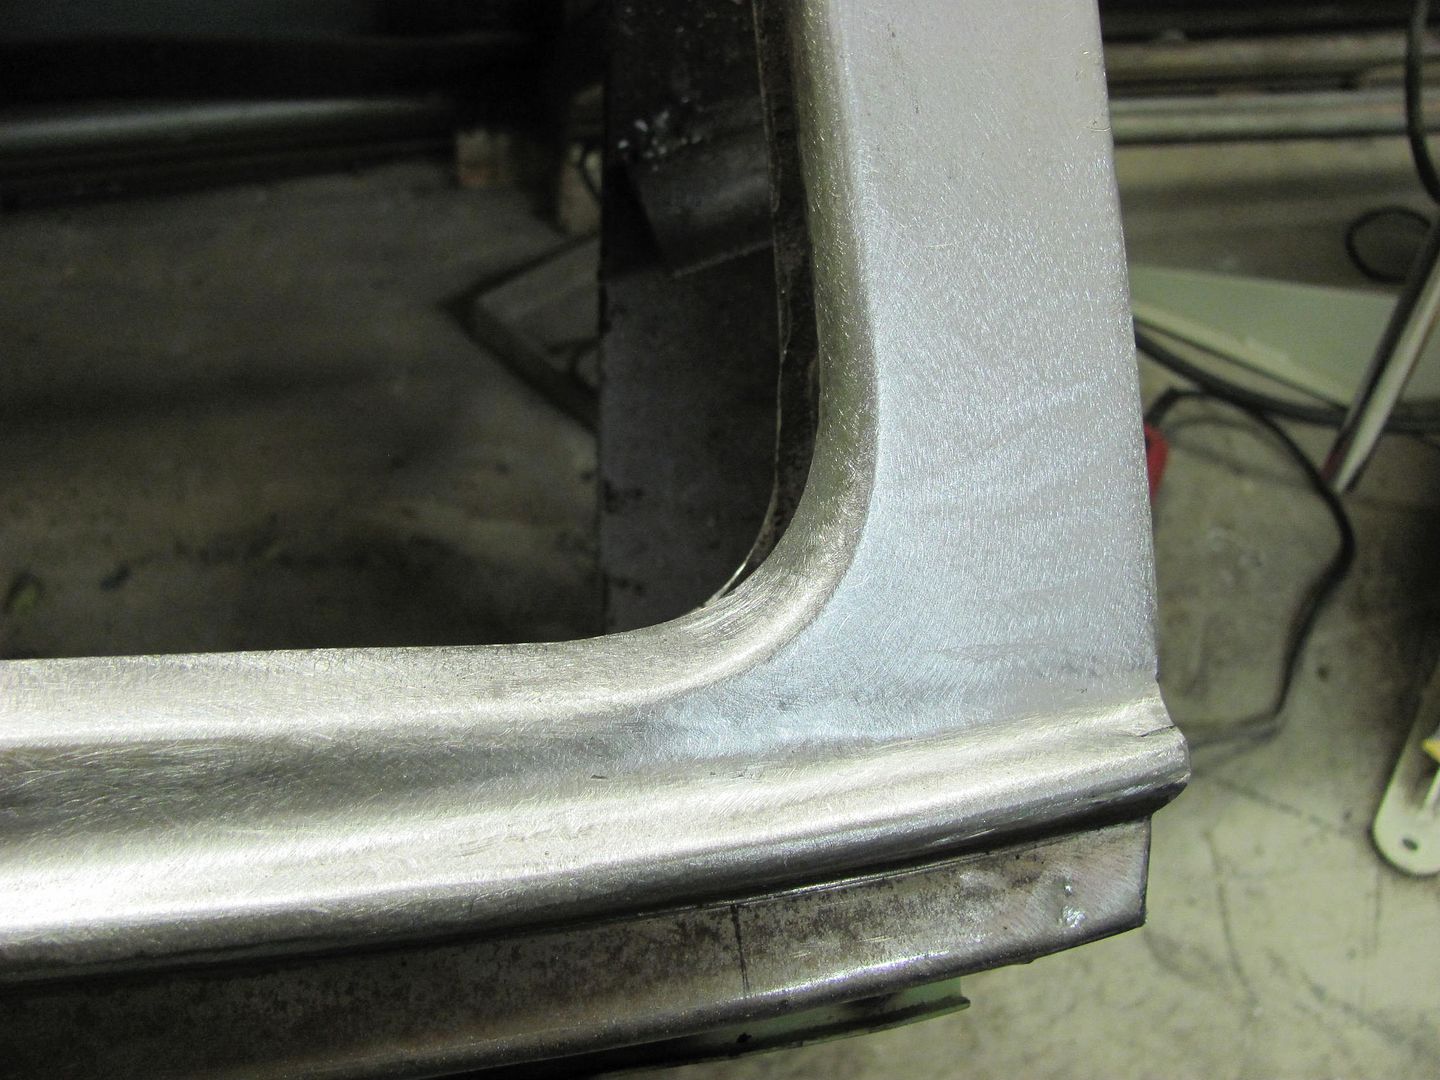
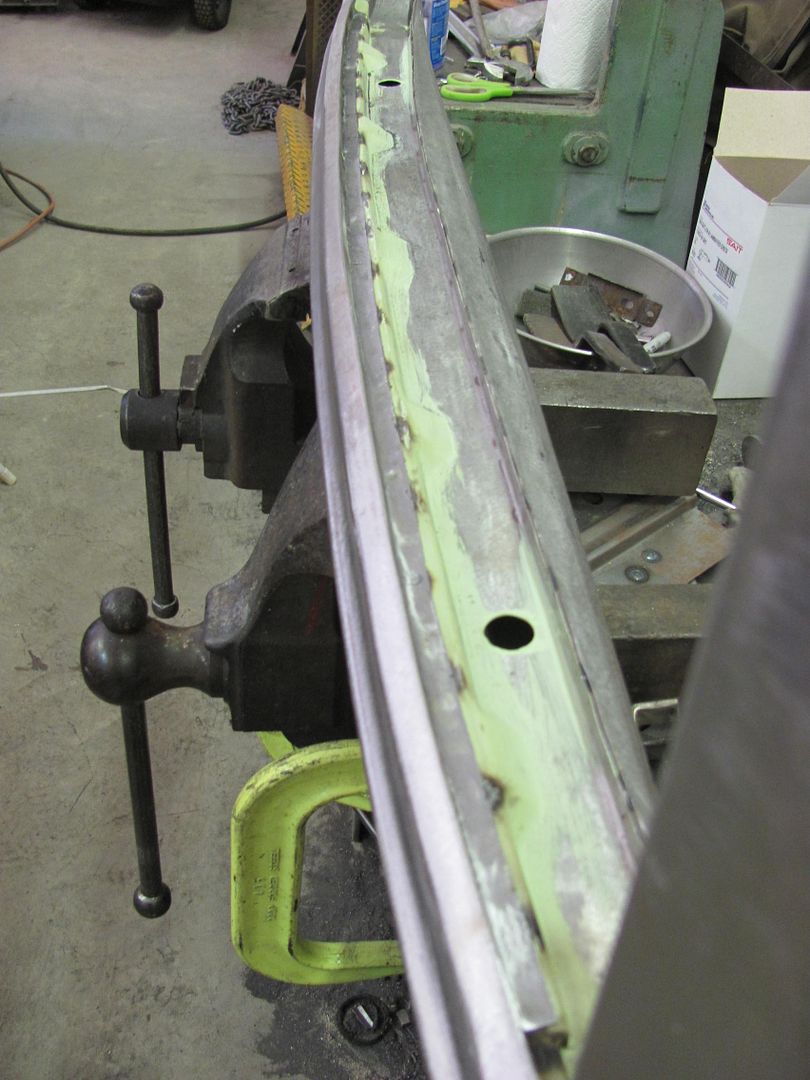
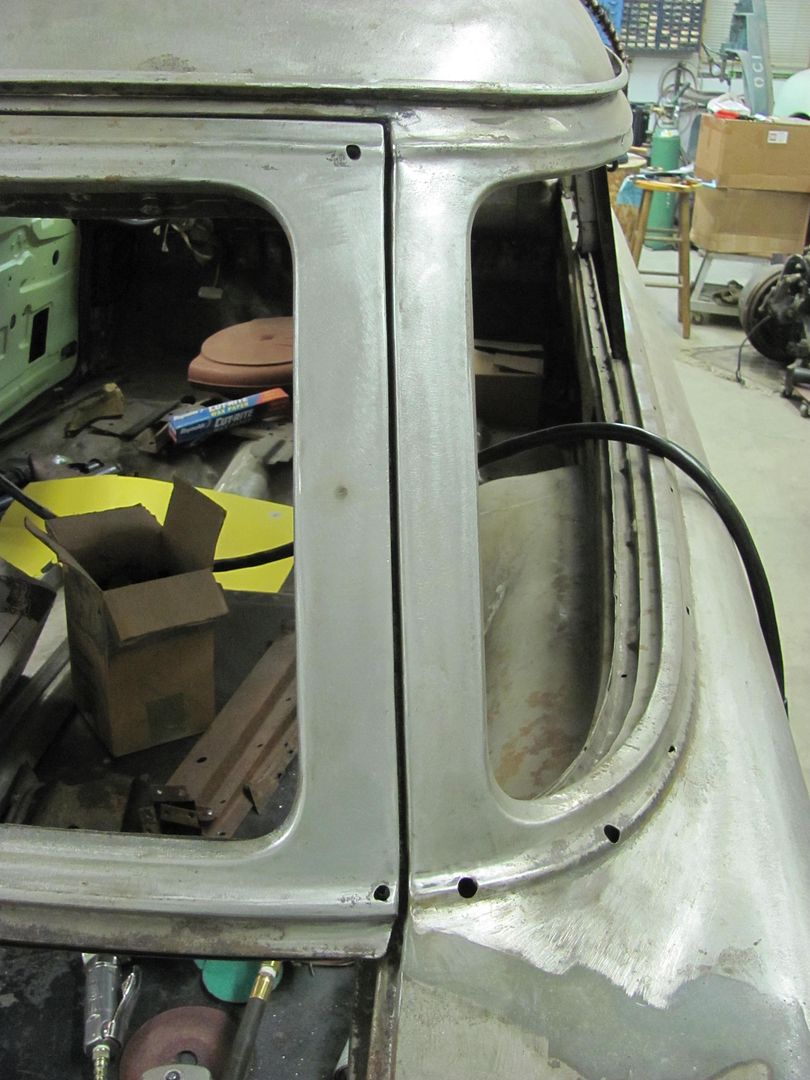
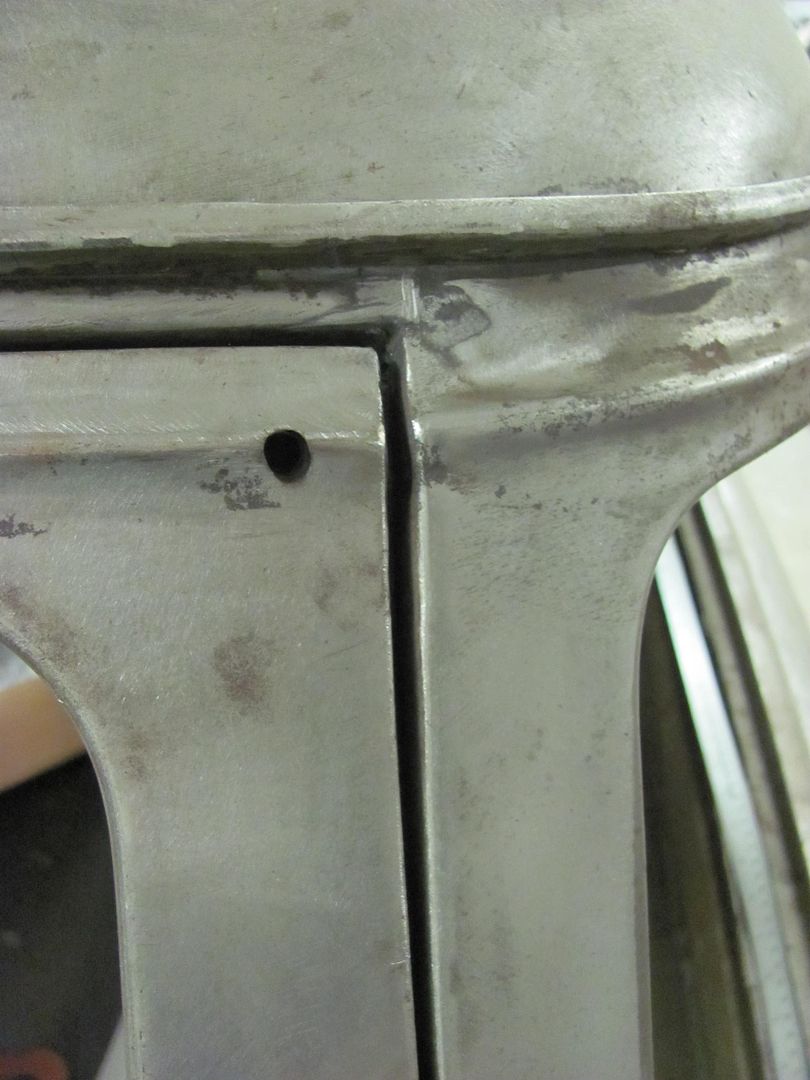
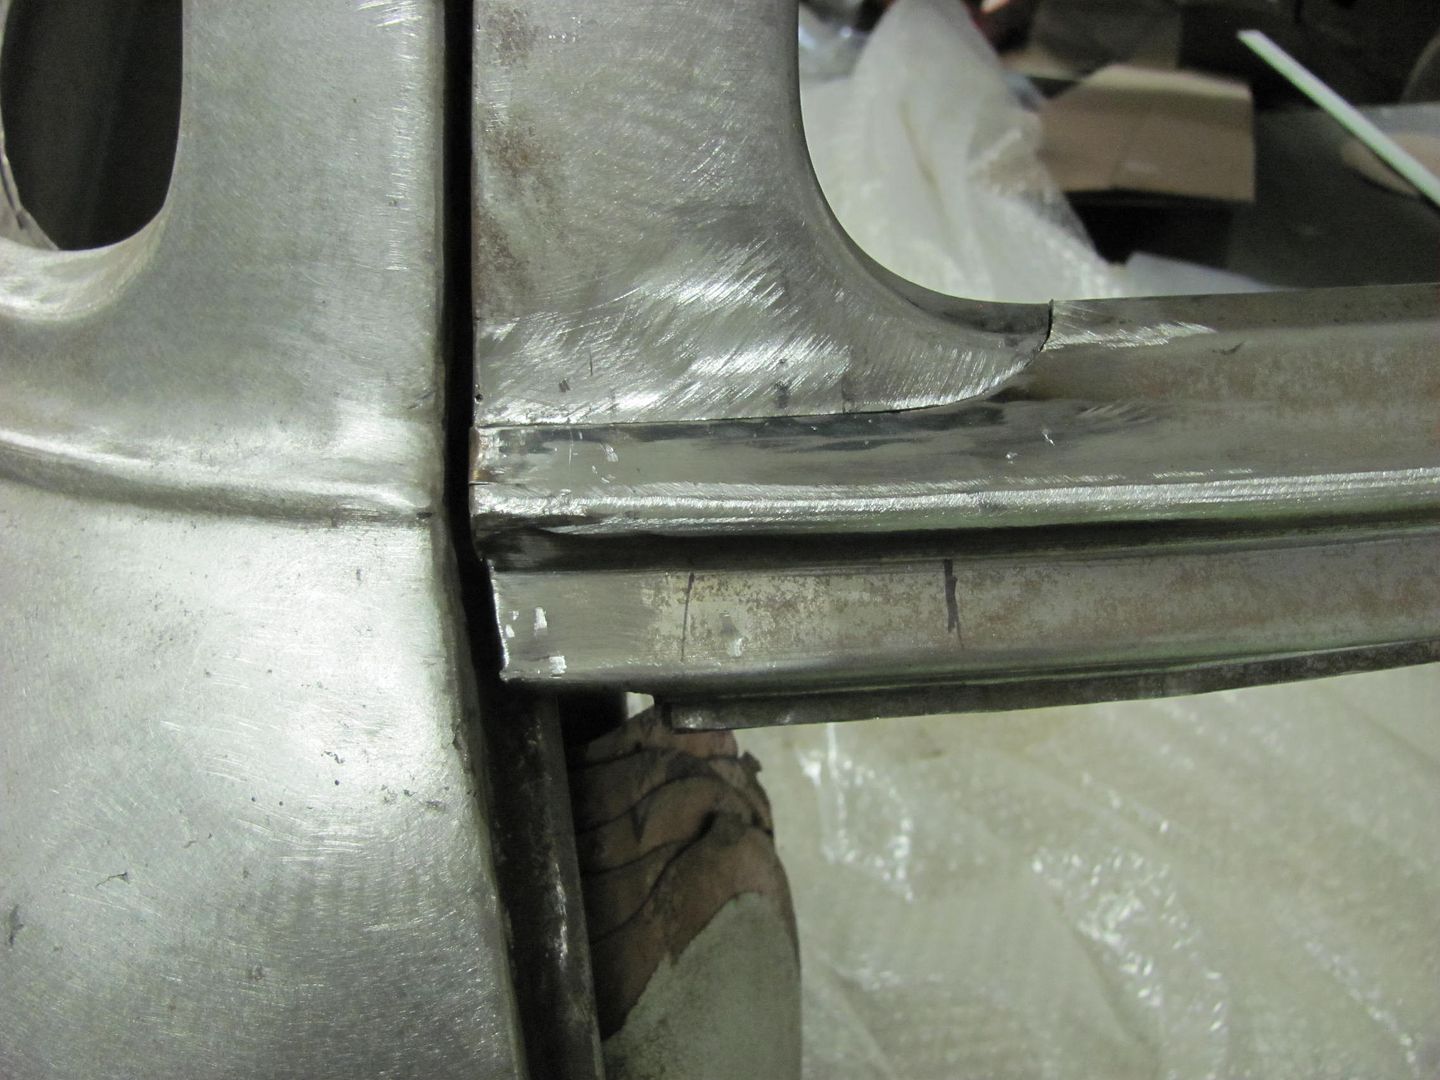
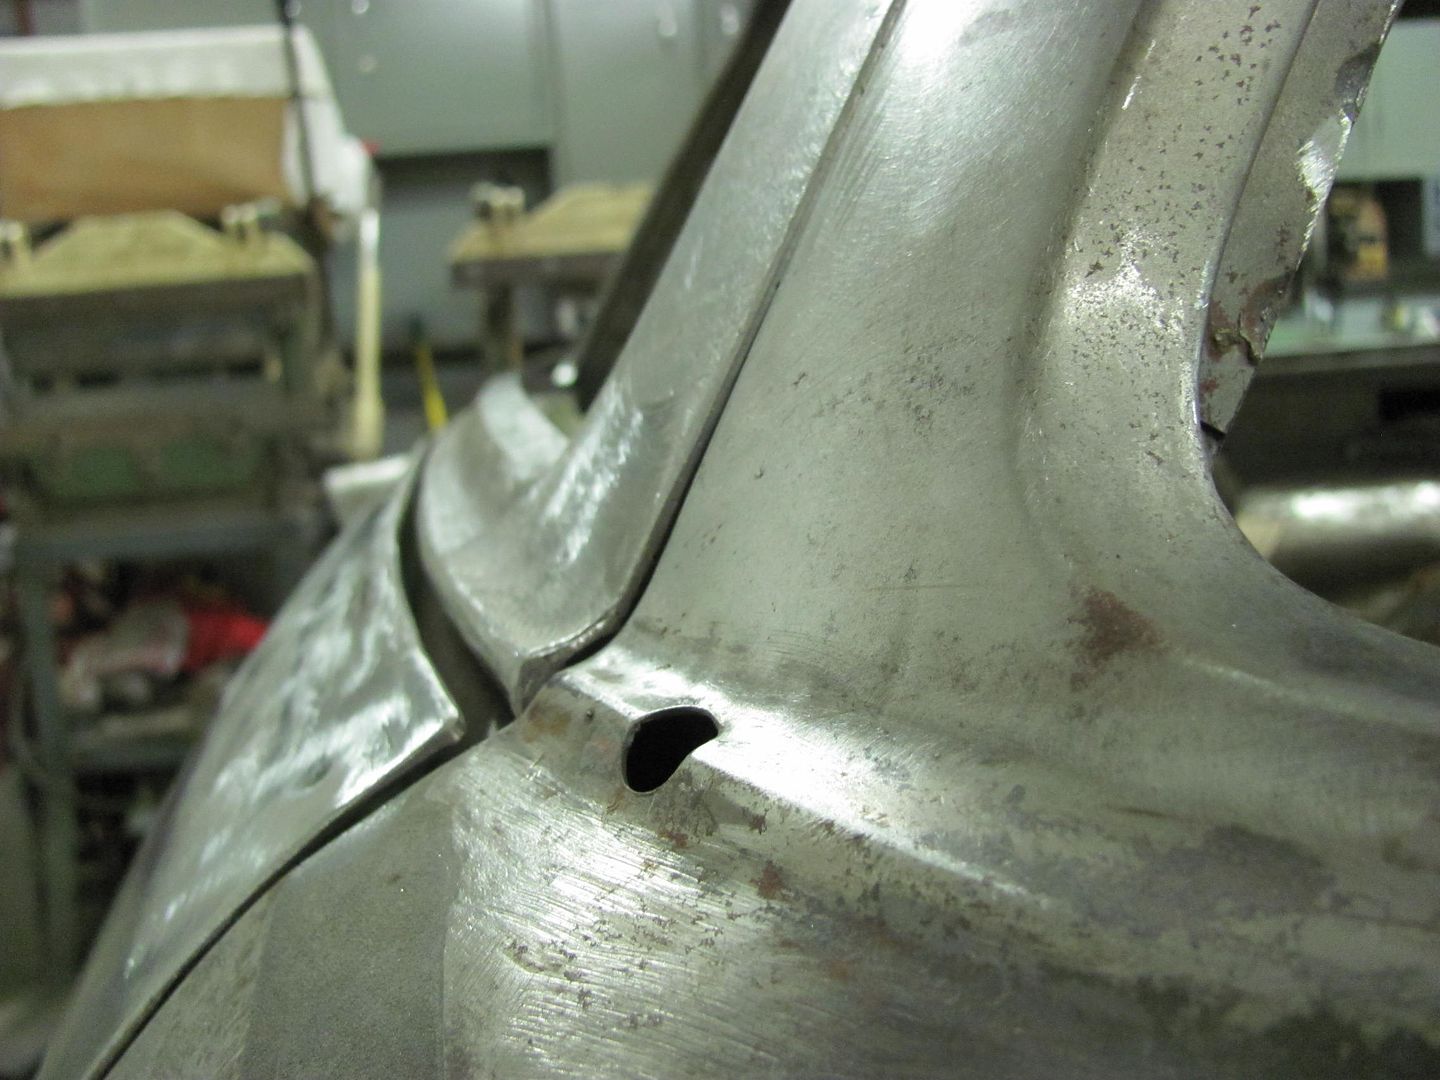
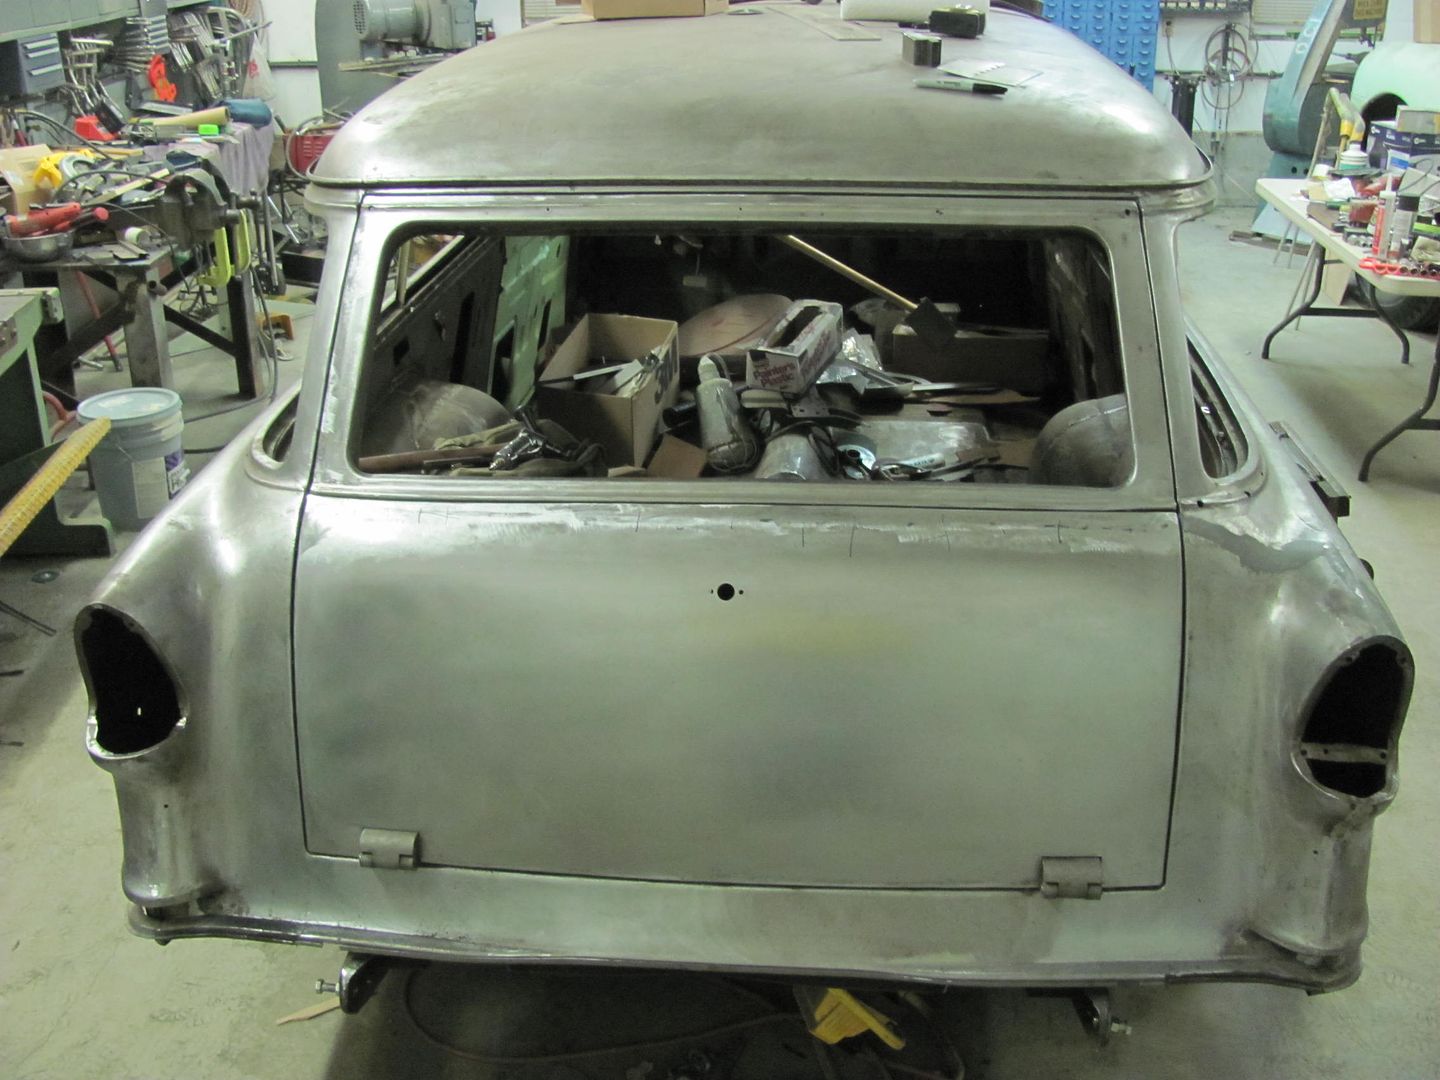
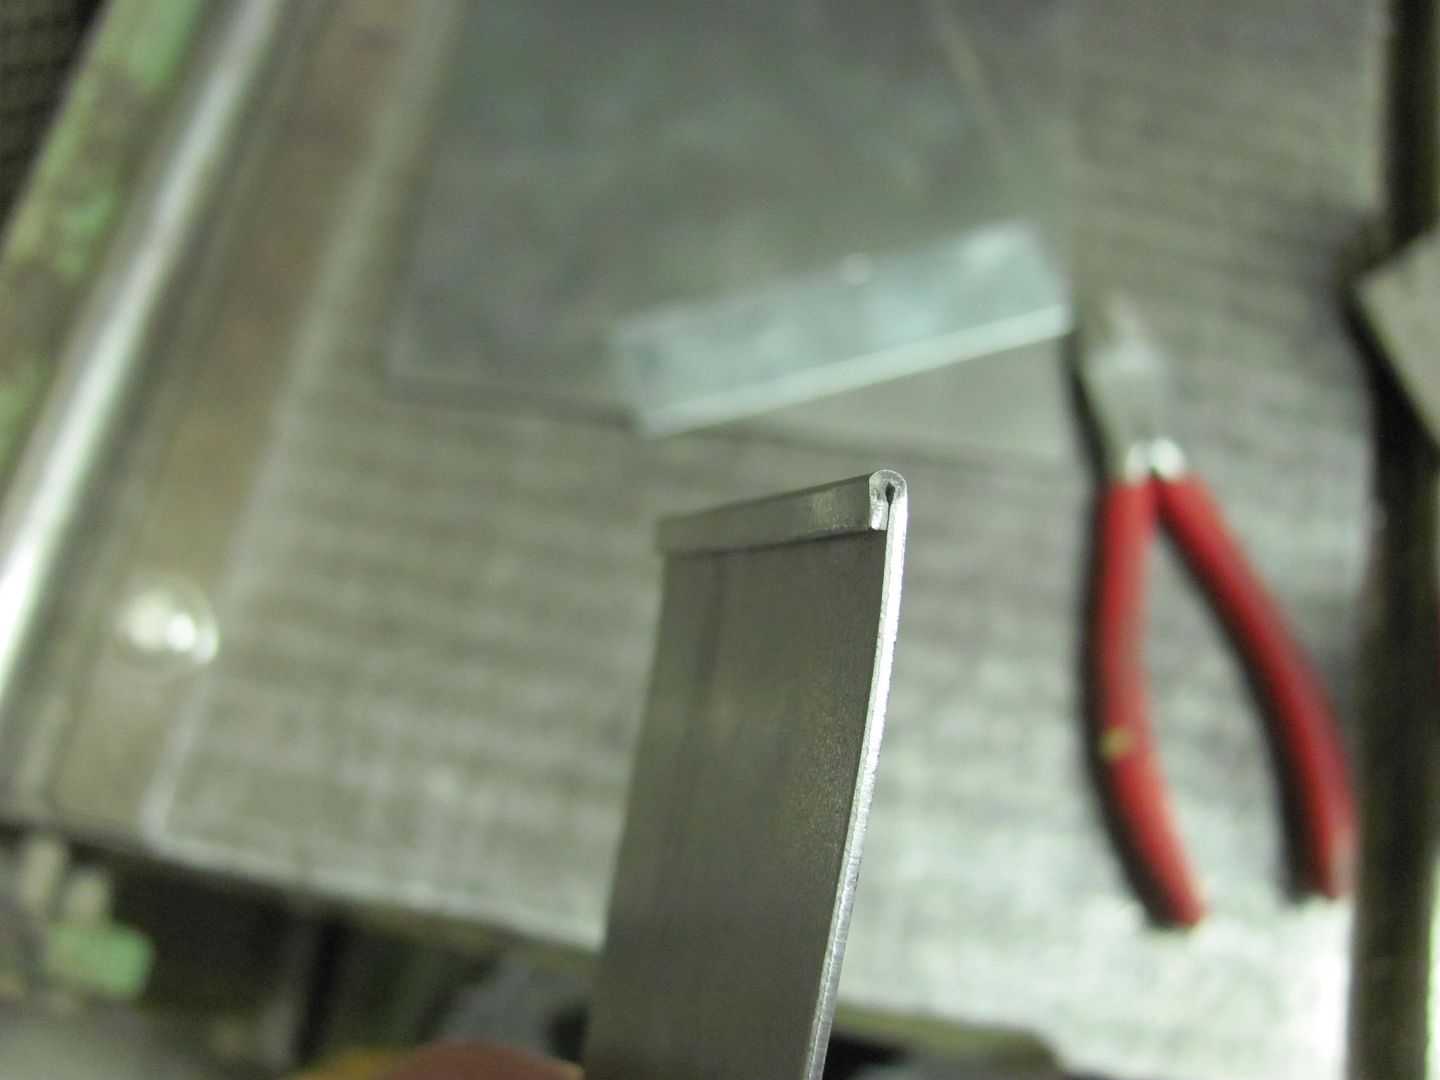
Another item to get crossed off the list, there was a questionable area on the drip rail above the lift gate.
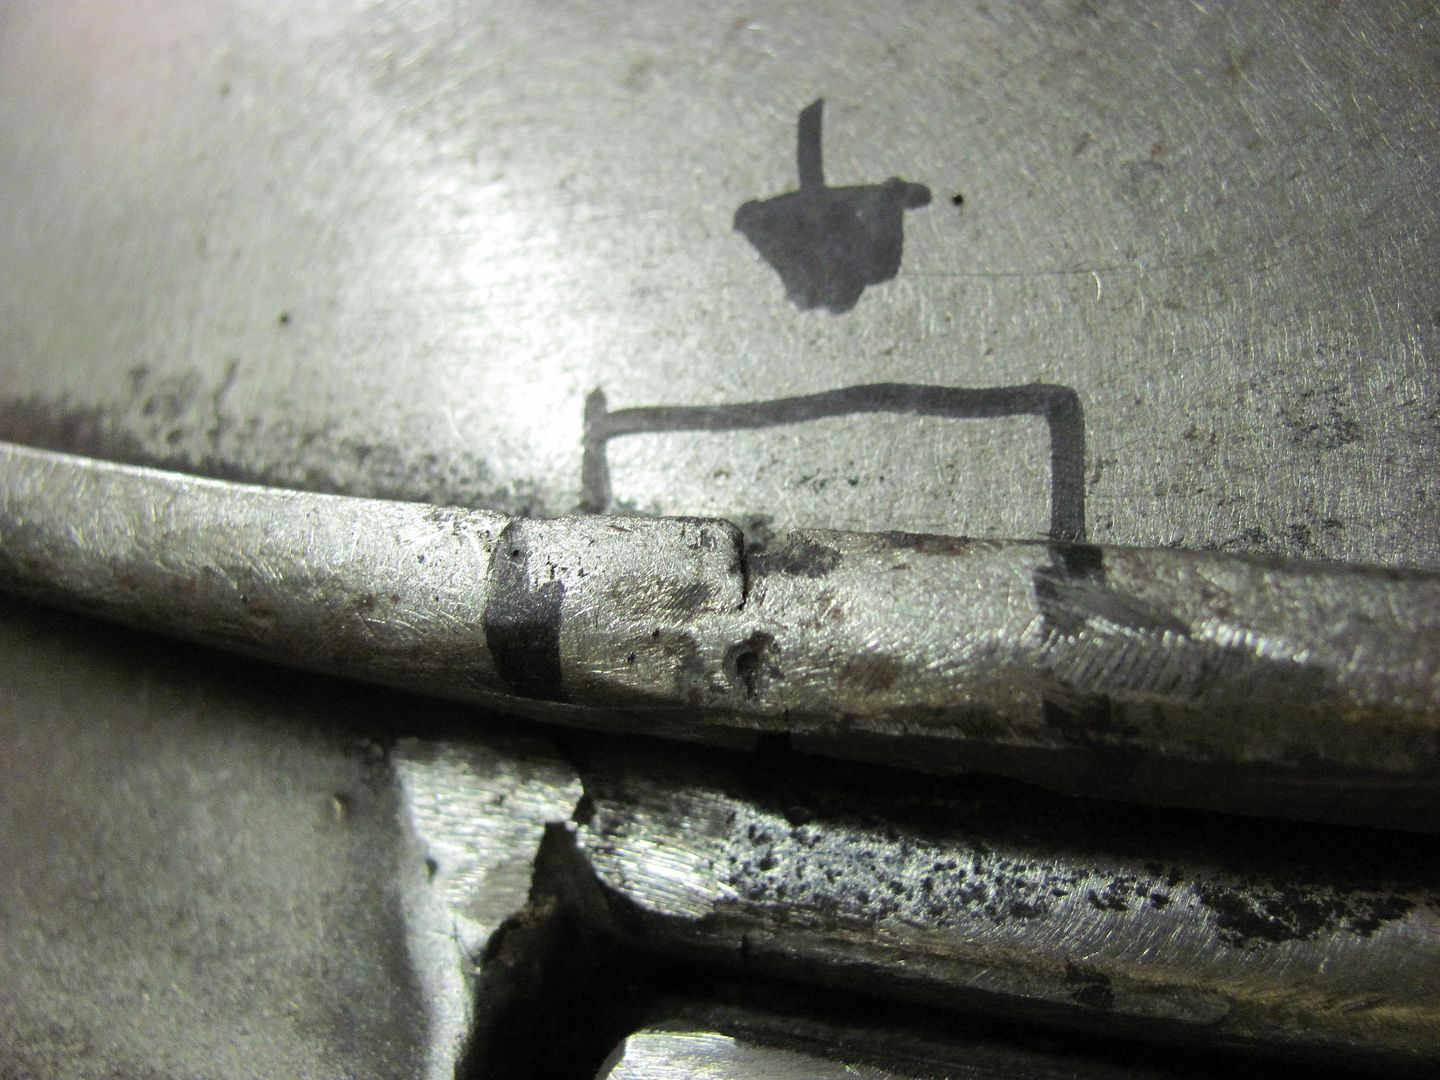

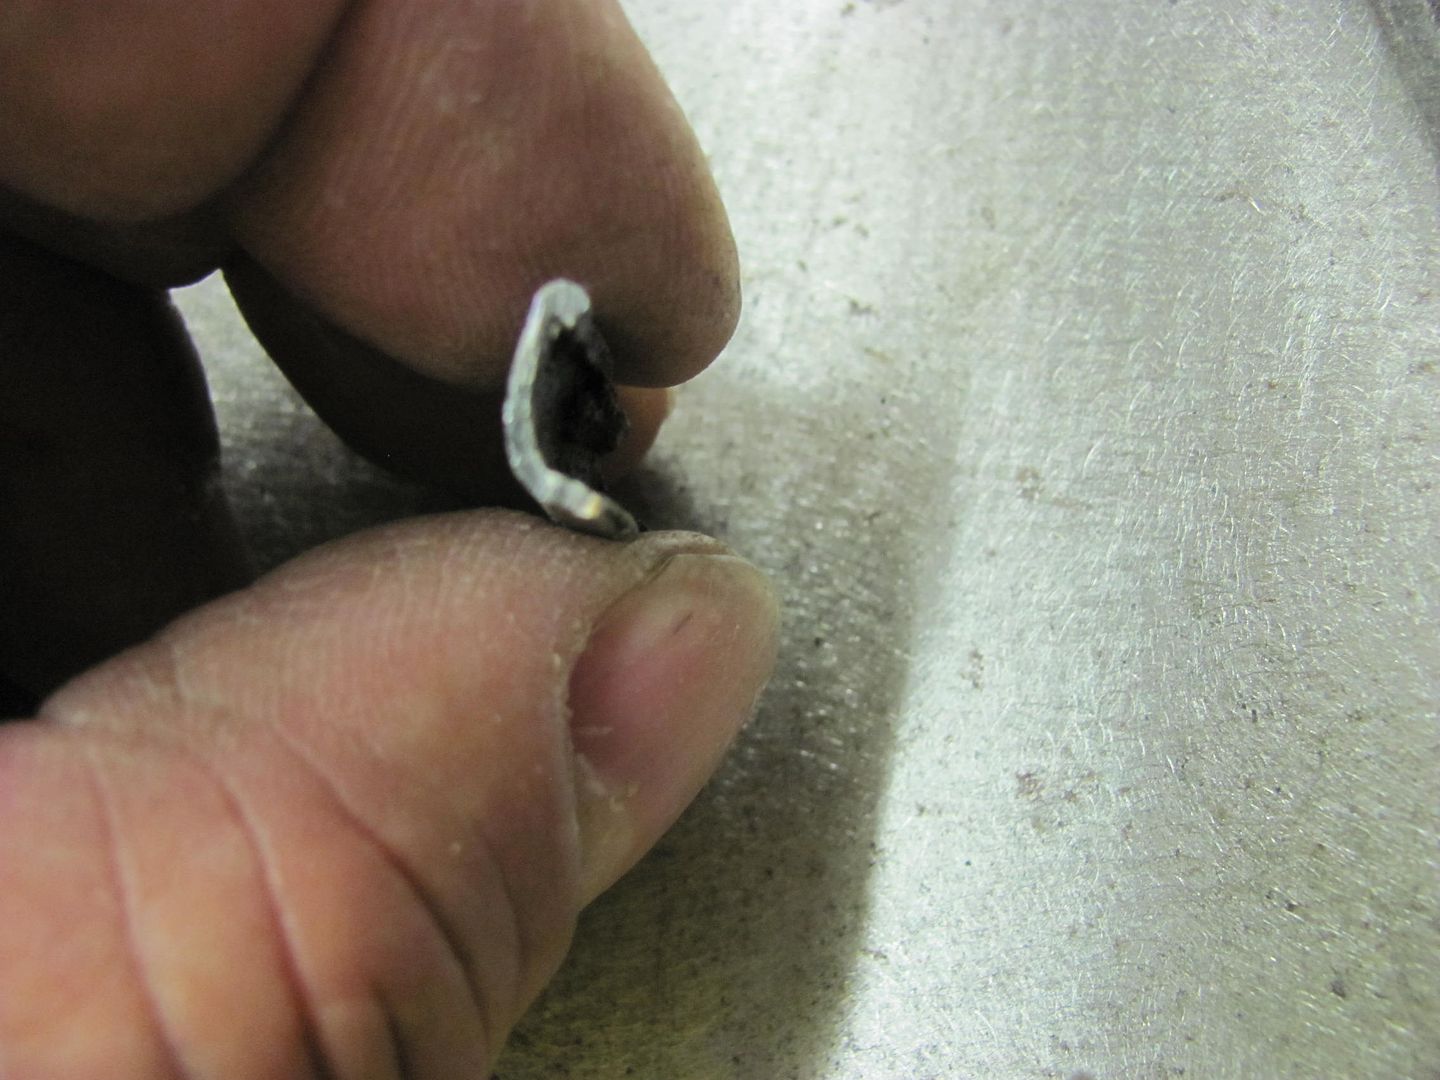
After cutting it out, this appears to be the factory seam for joining two sections.
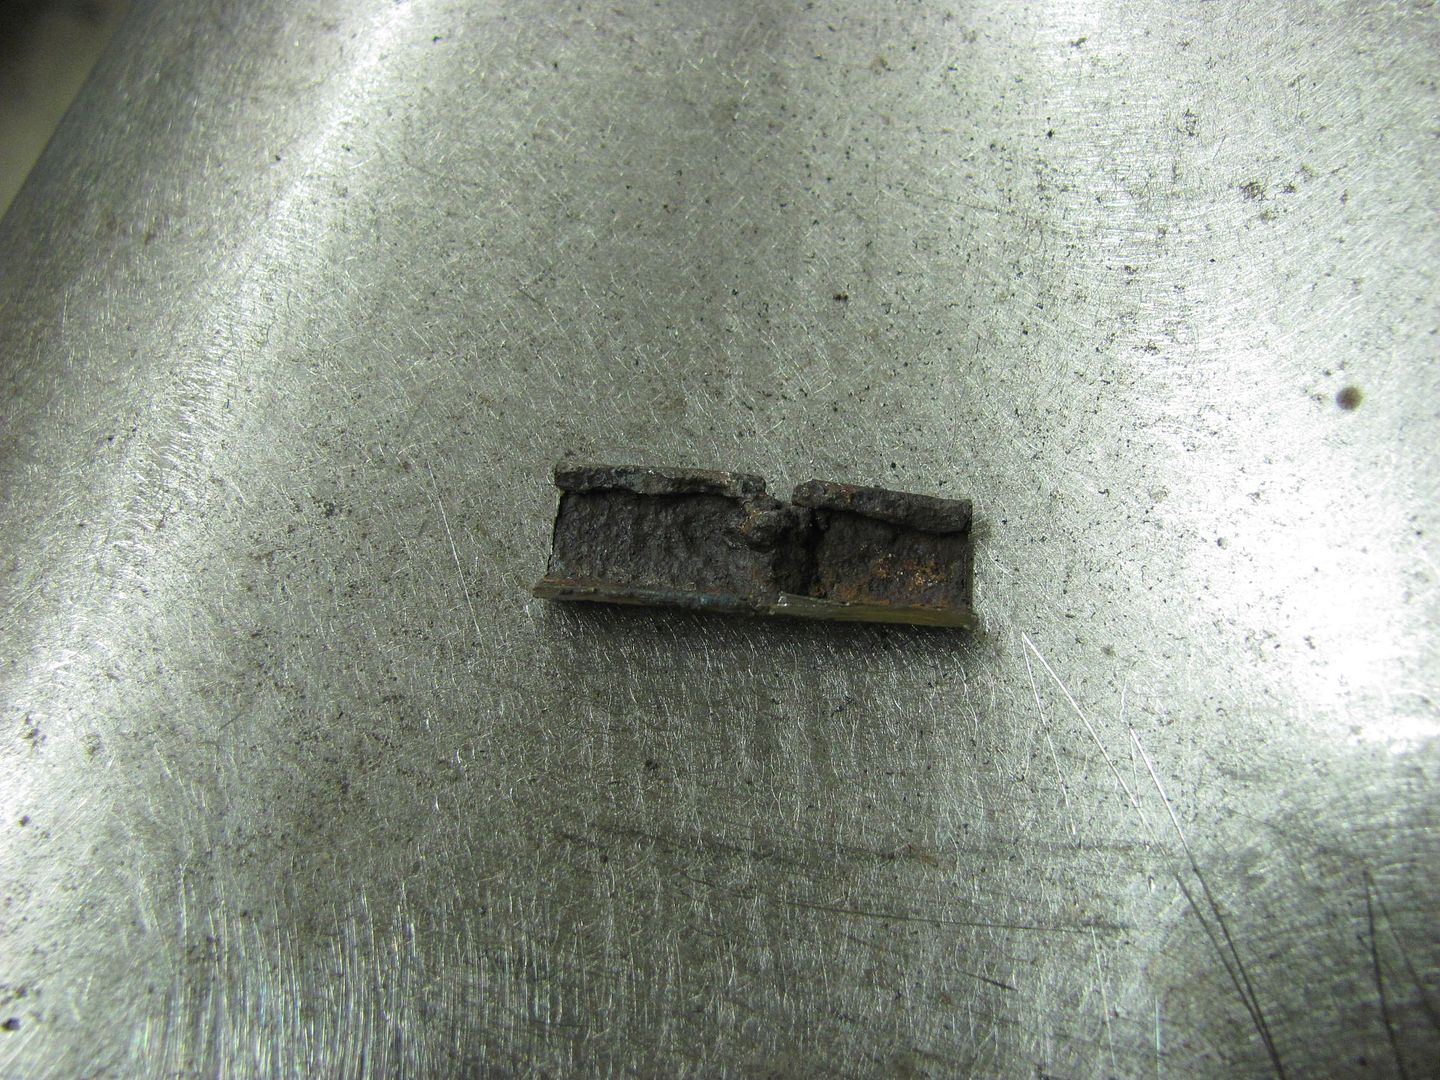
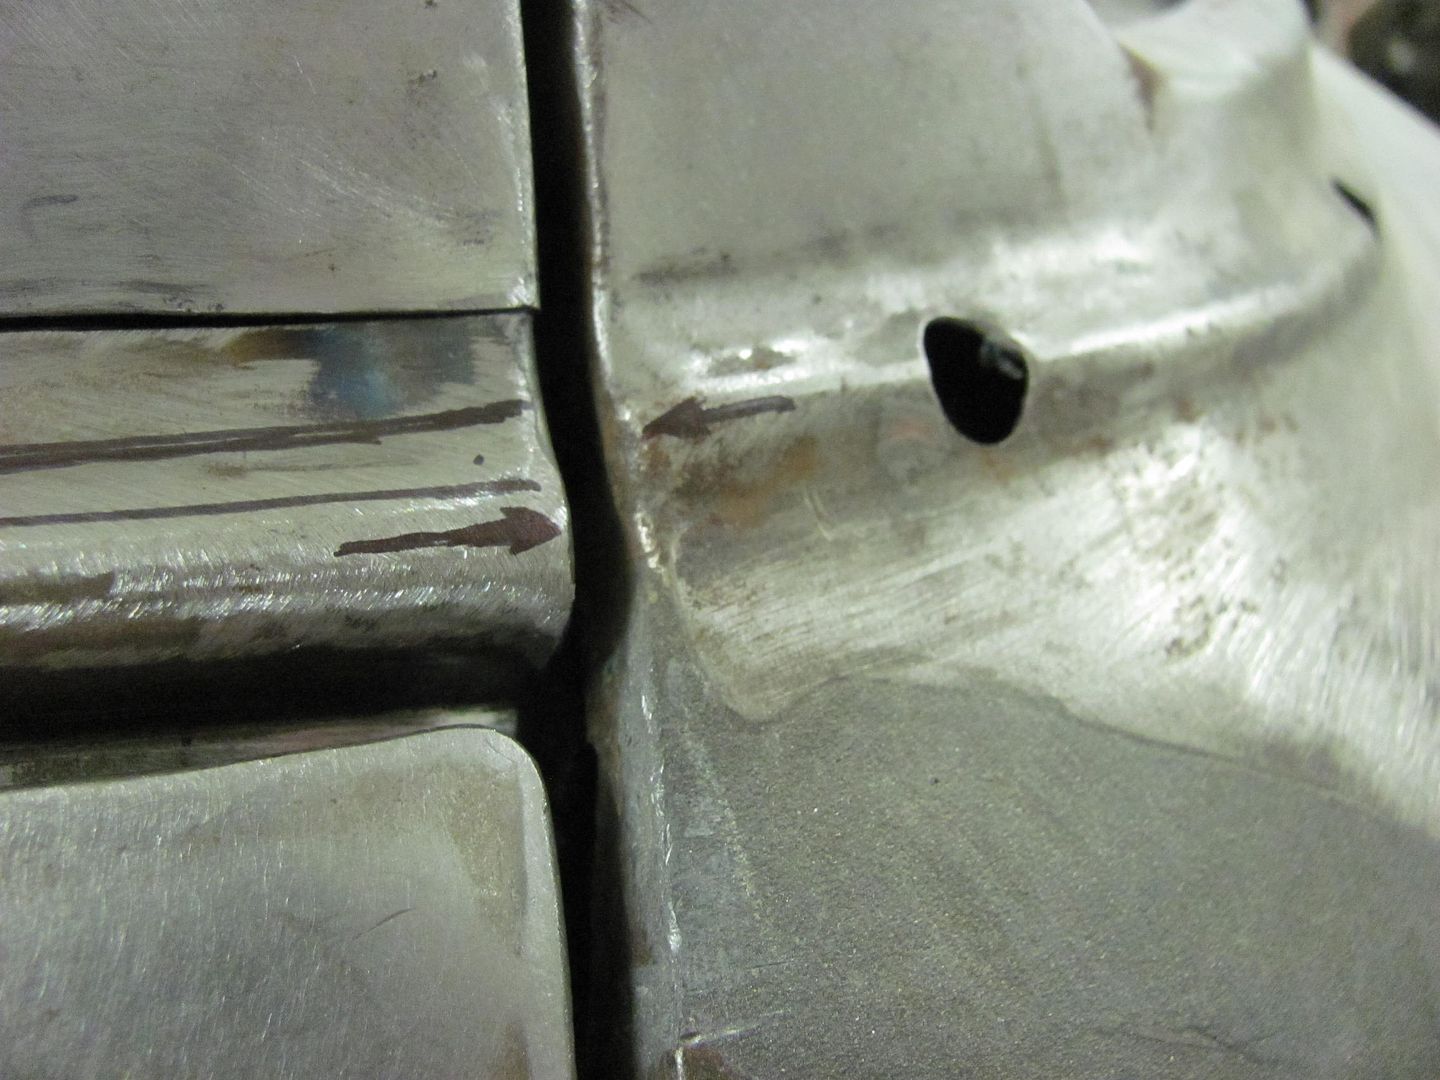
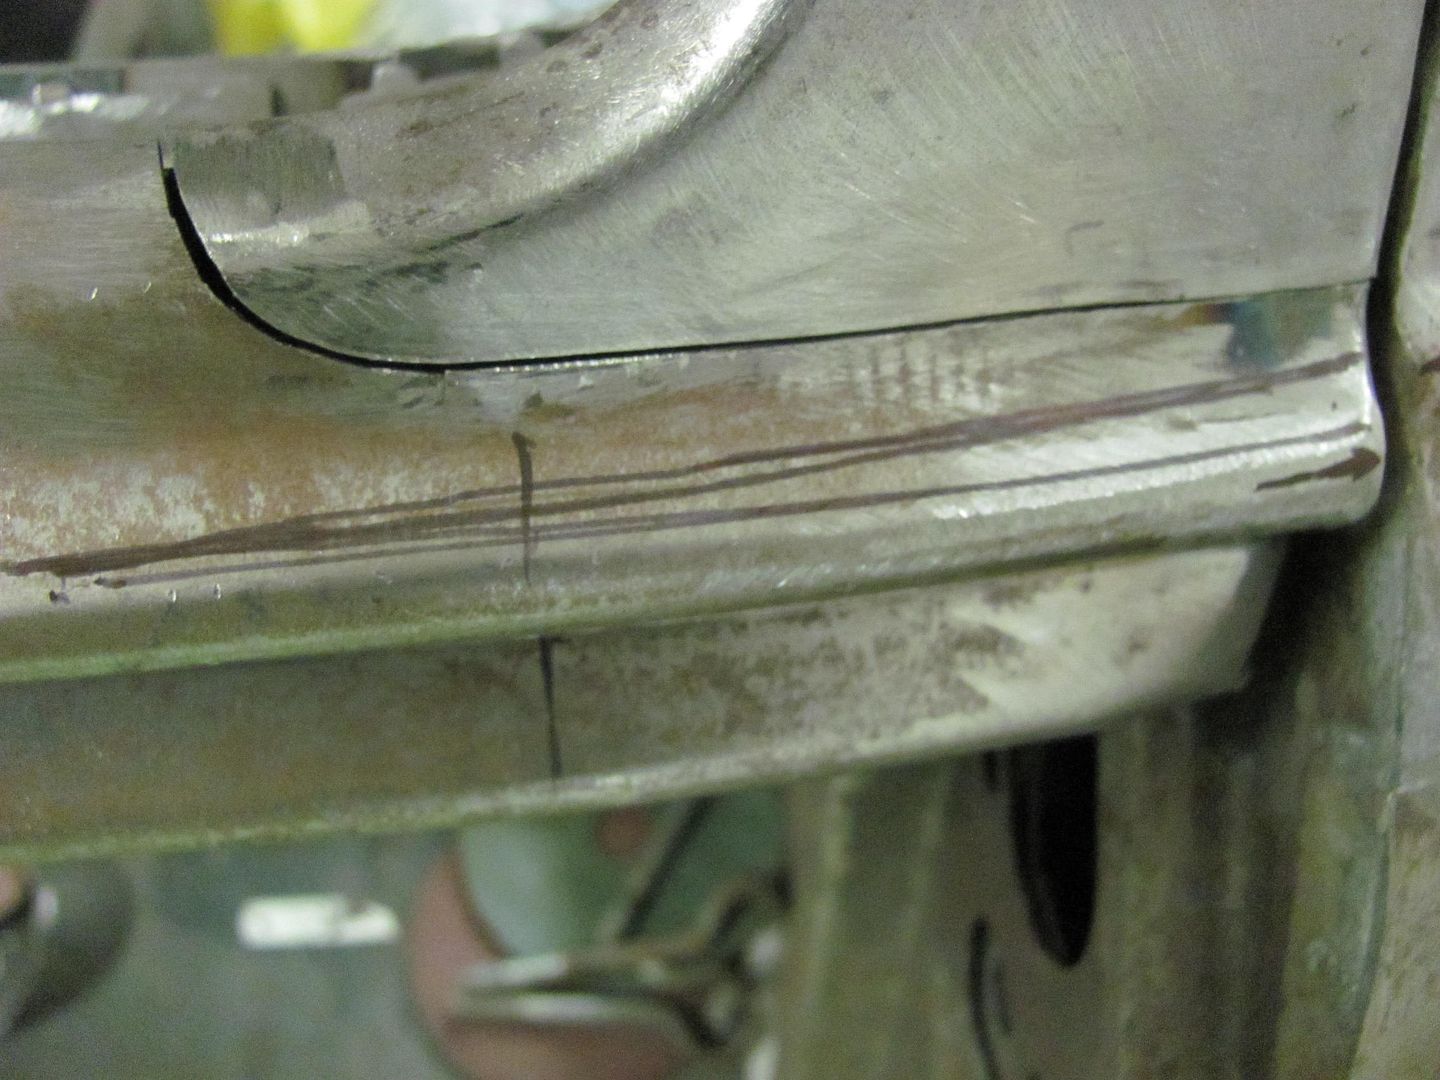
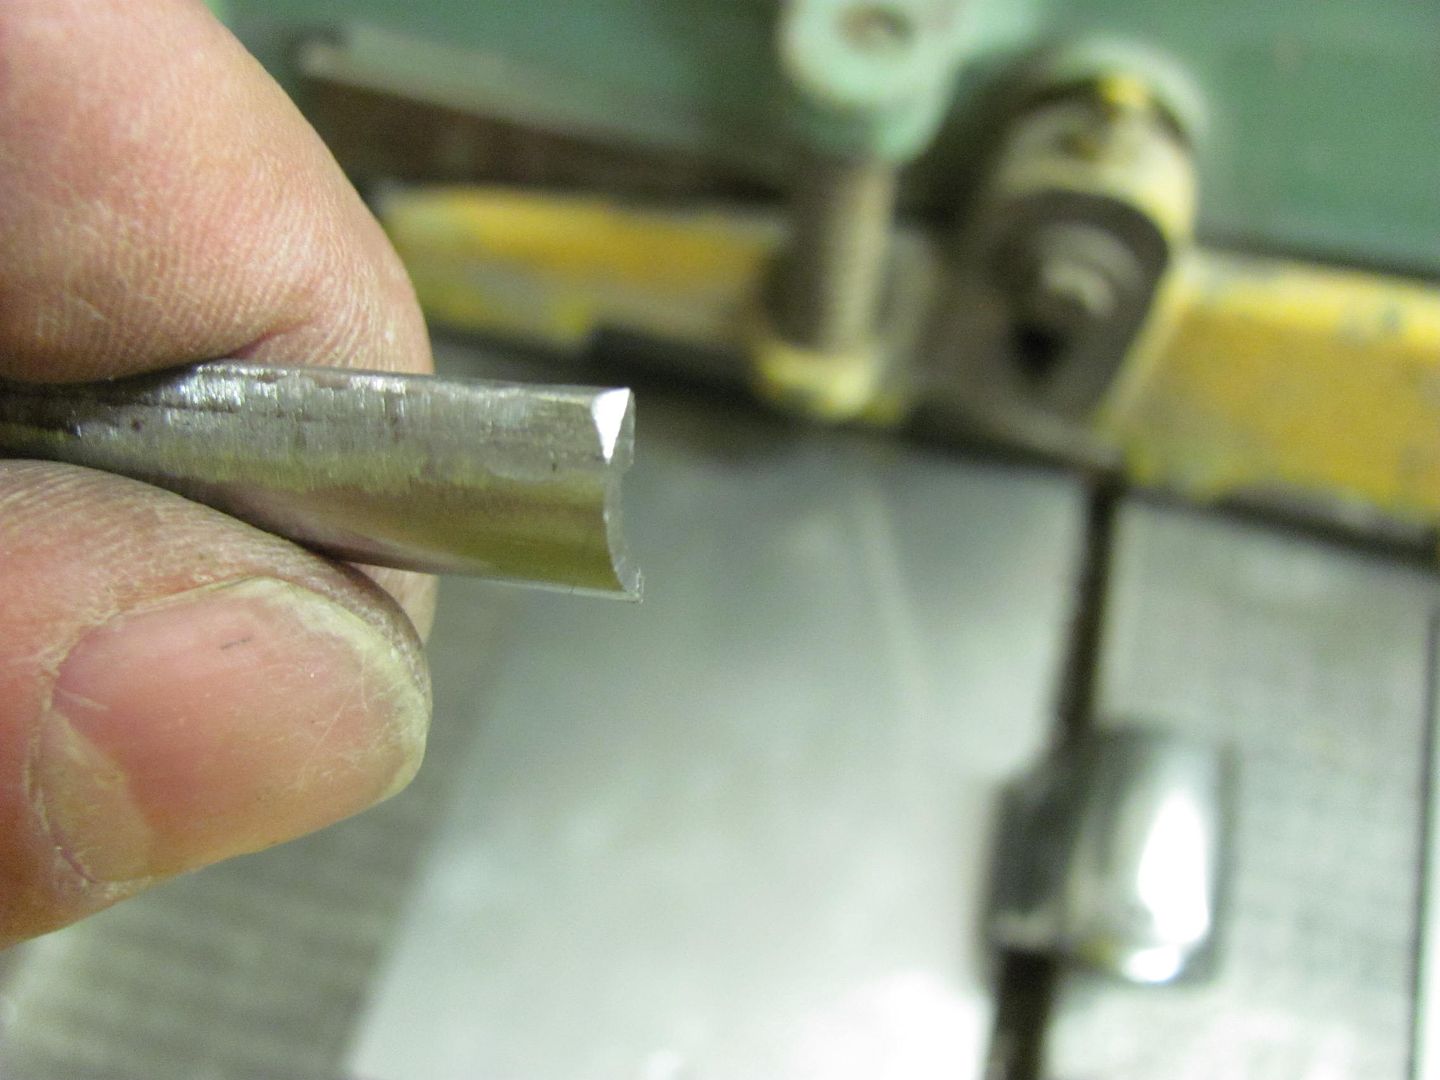
Looking at the profile, we'll add the top hem first...
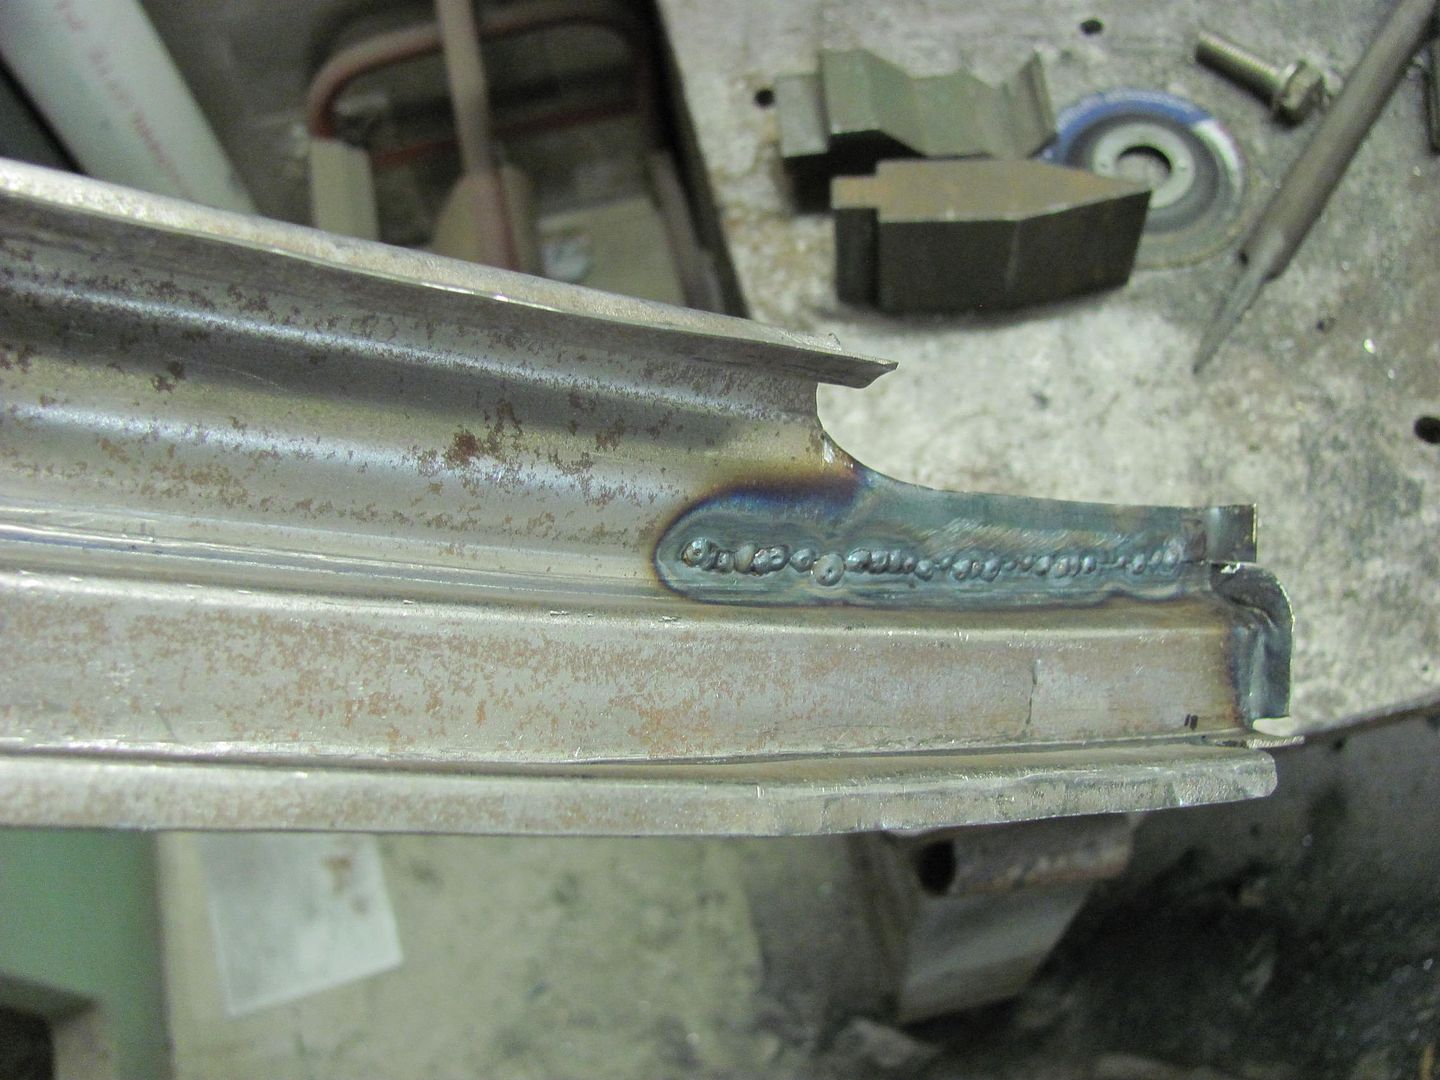
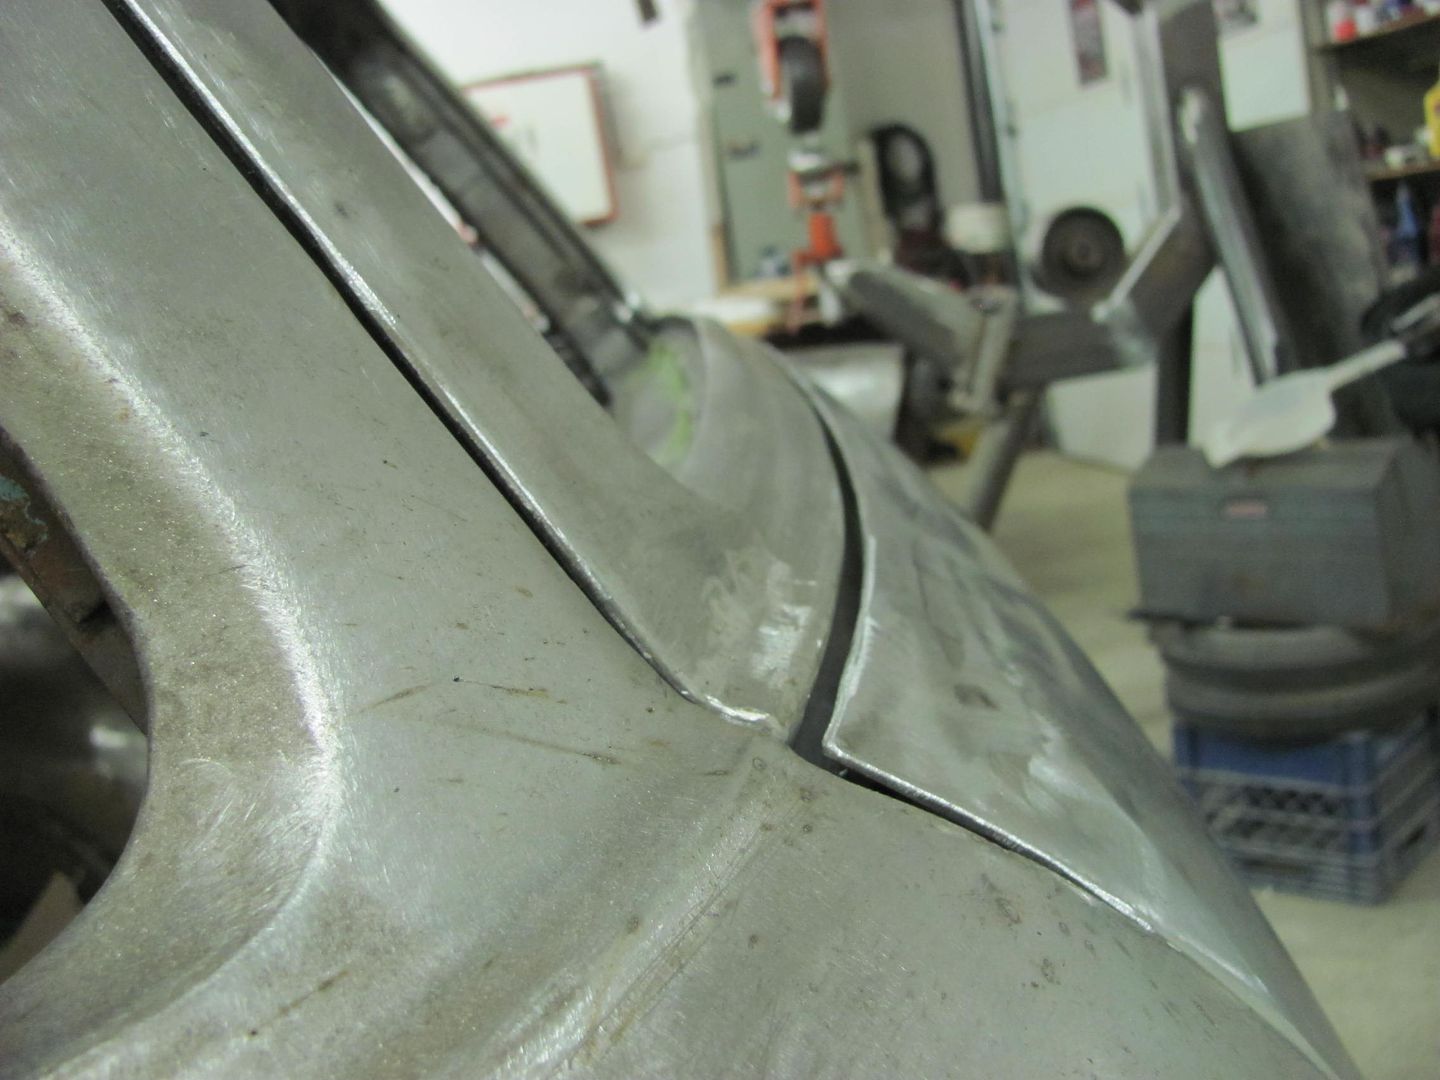
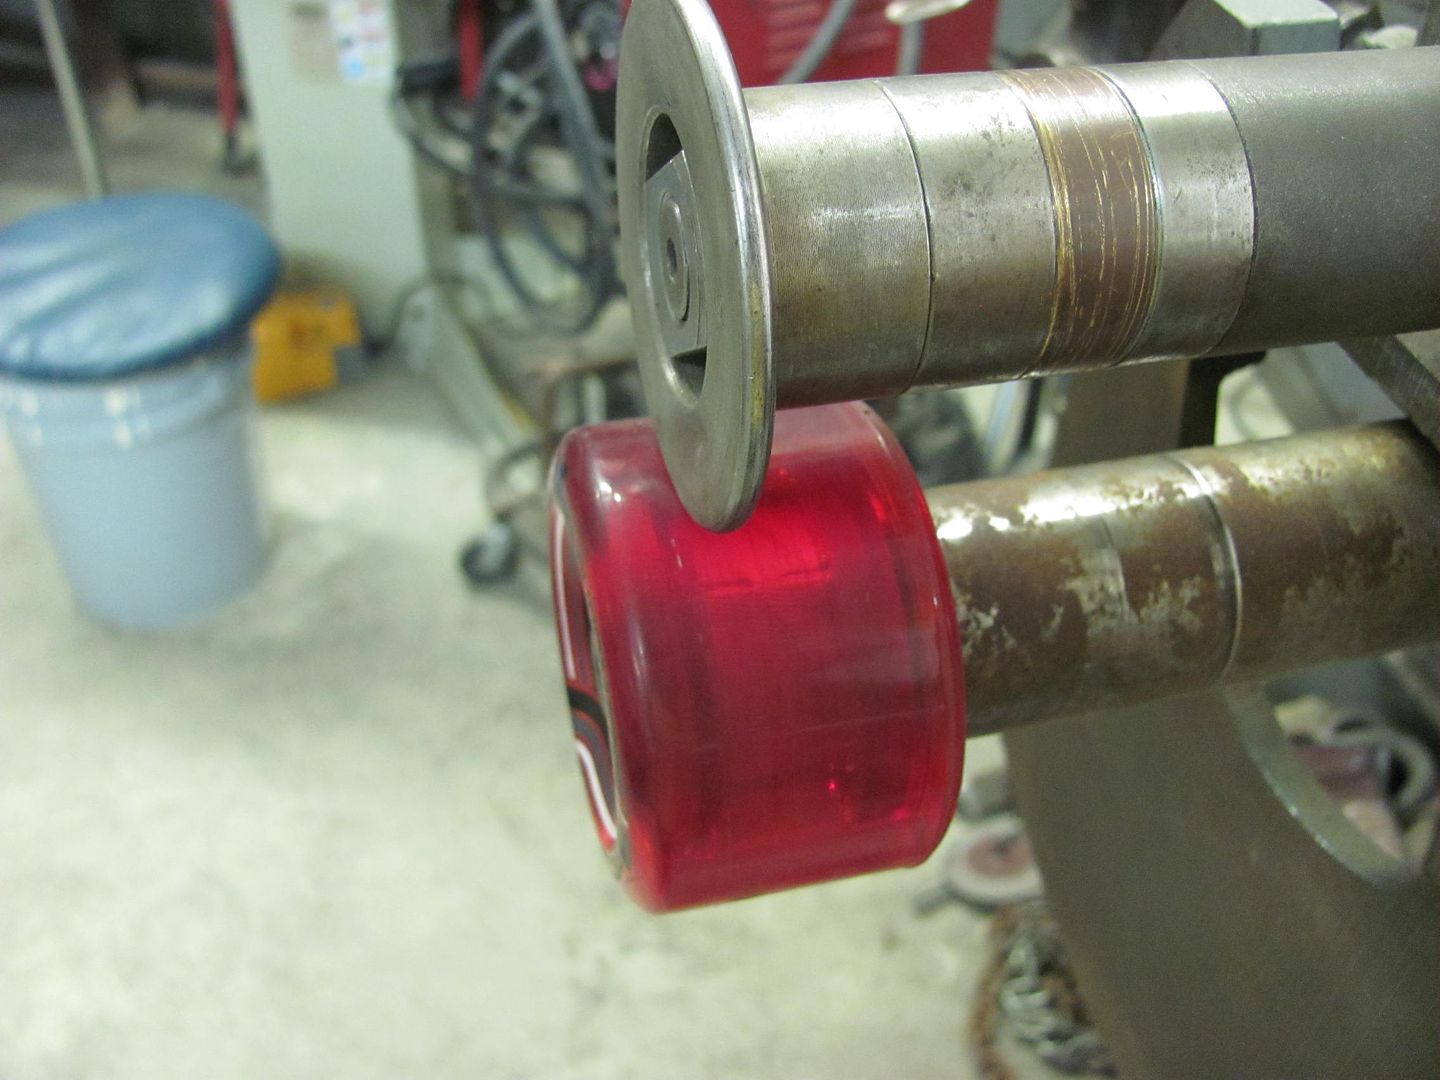
Then a radius die and the skateboard wheel in the bead roller was used to add the profile to the replacement...
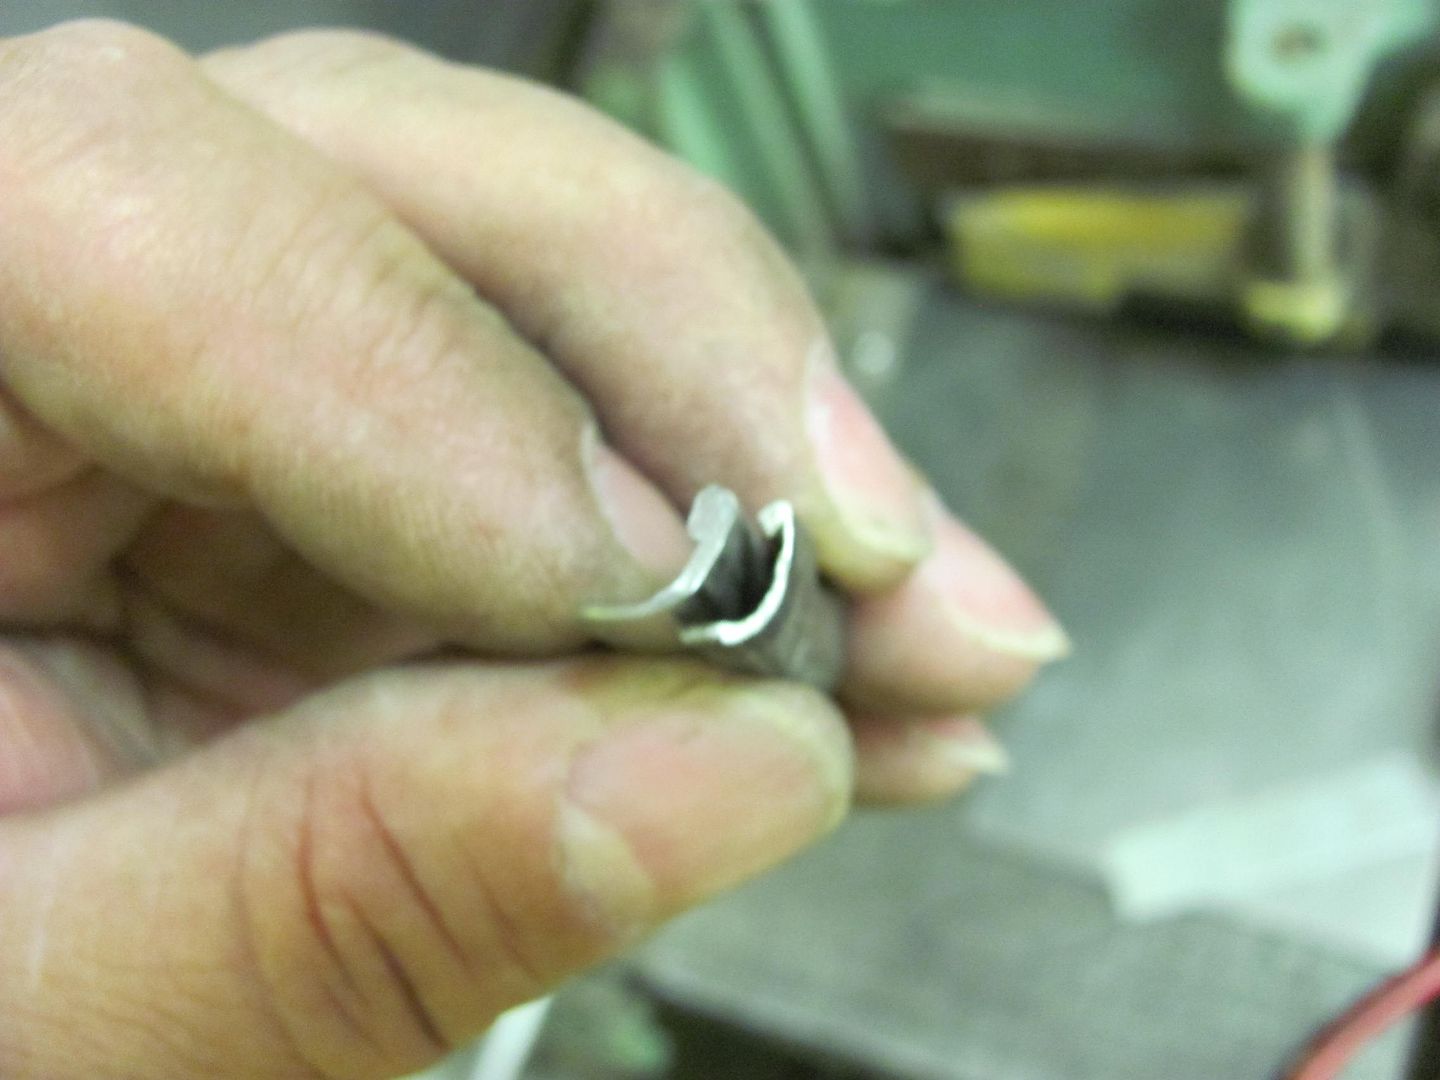
The area where the hem adds another thickness is chamfered to insure good weld penetration...
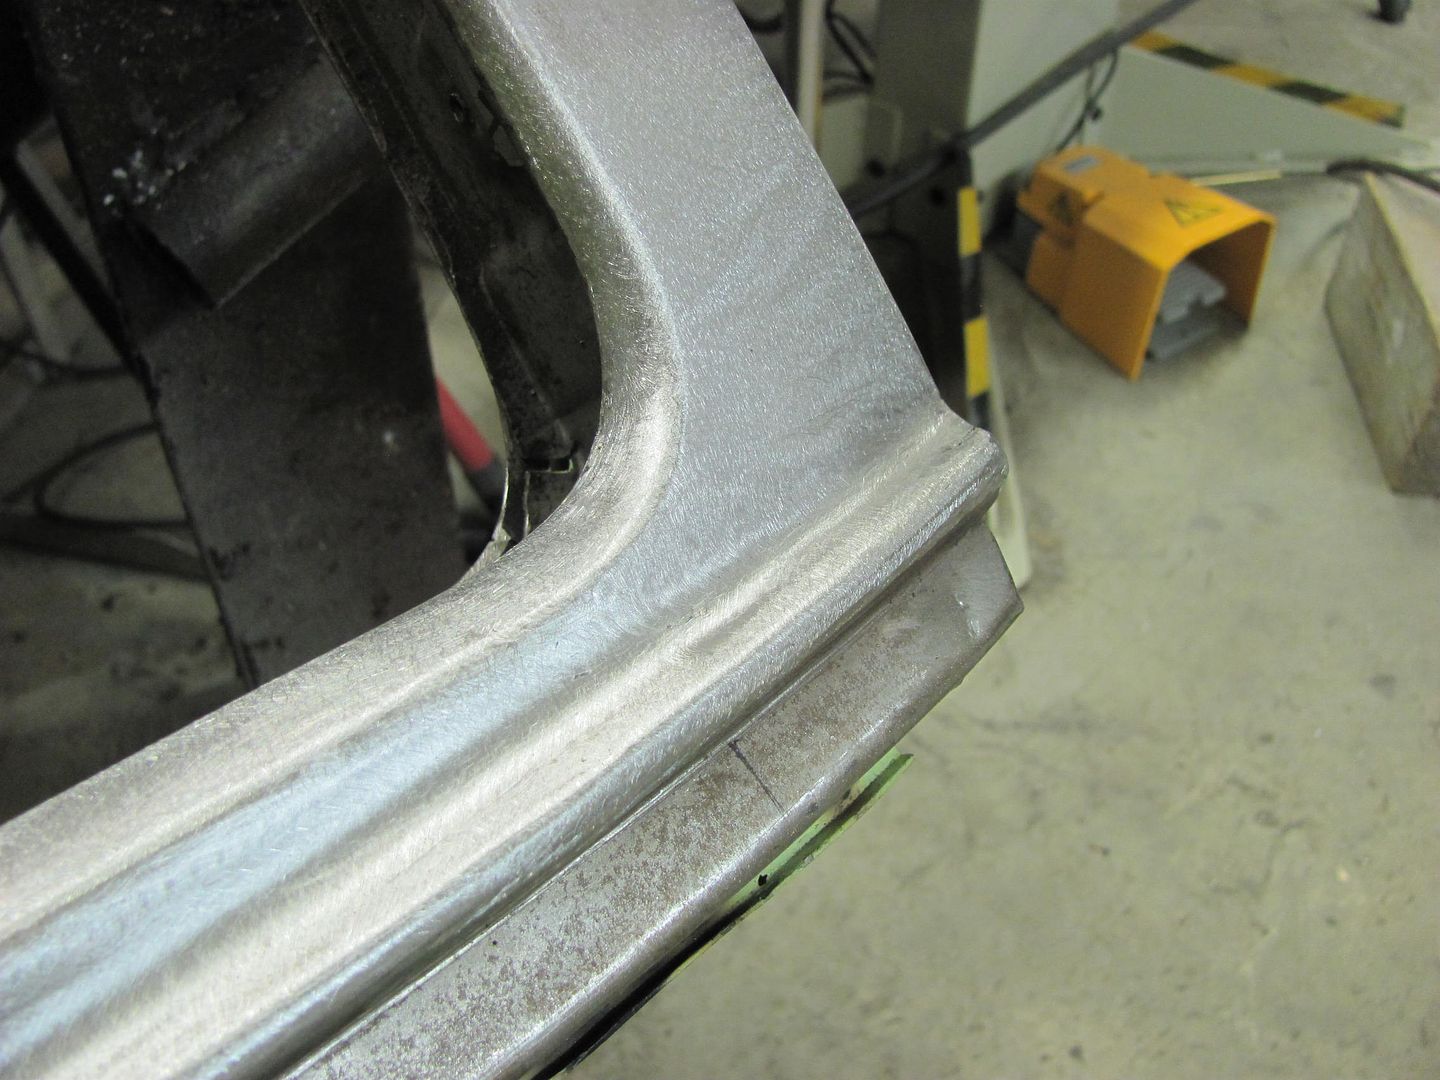
All welded in place and welds dressed...
Much better!
Comment
-
Towards the end of August I took on an apprentice in the shop, so hopefully project updates will be on a more regular basis.. Kyle is the 16 year old son of a guy I went to high school with, and now Kyle plans to restore the 57 Ford pickup that his dad drove in high school. It needs quite a bit of work, so he's definitely looking to pick up some skills...
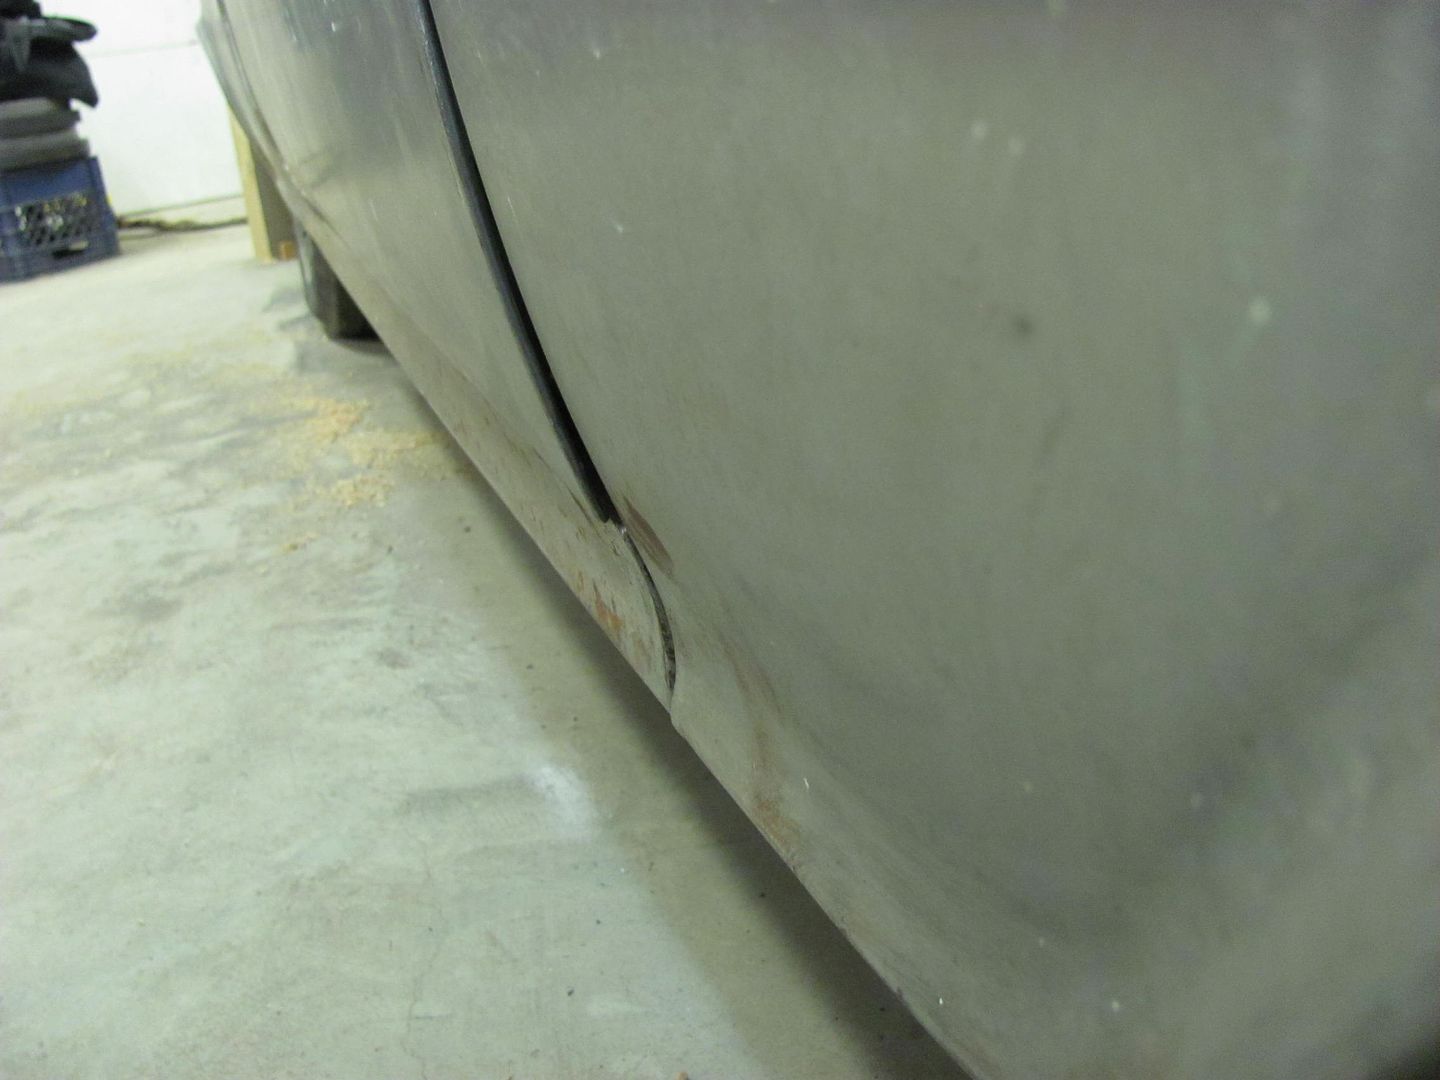
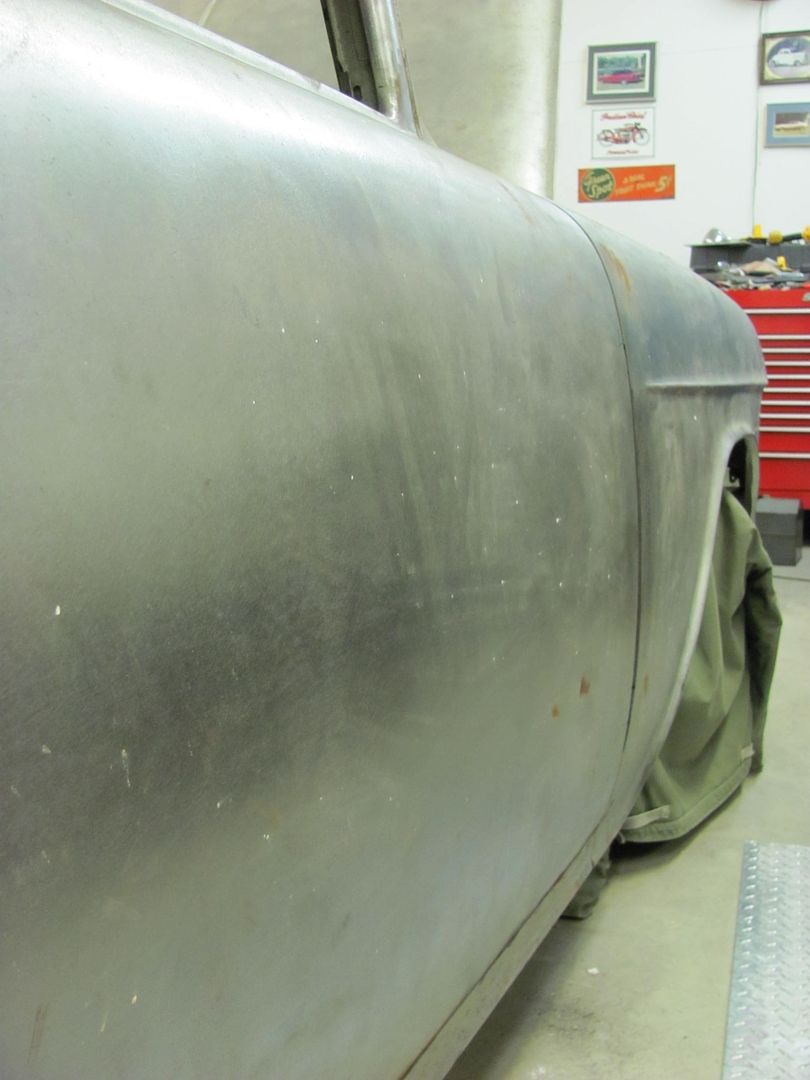
Working around the car to check the rest of the gaps and panel fitment, we had a slight mis-alignment at the front corner of the passenger door..
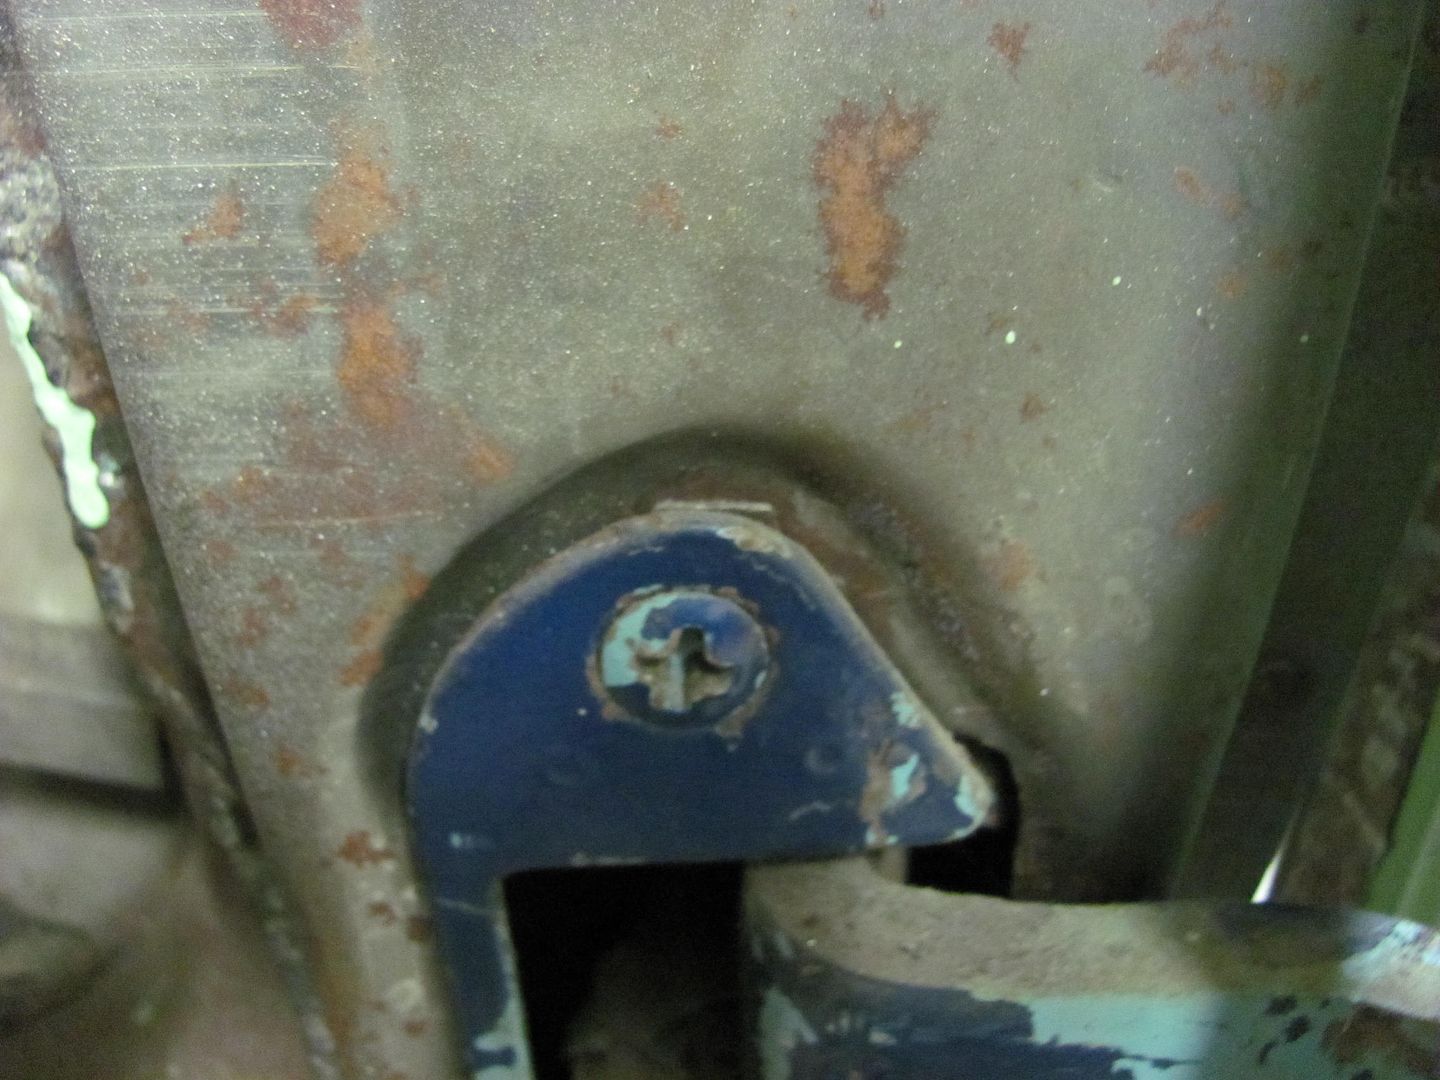
The lower hinge had already been adjusted as far as the floating nut would let it...
So the door was removed, and since we have no milling machine, we went through about 8 of these 60 grit sanding discs..
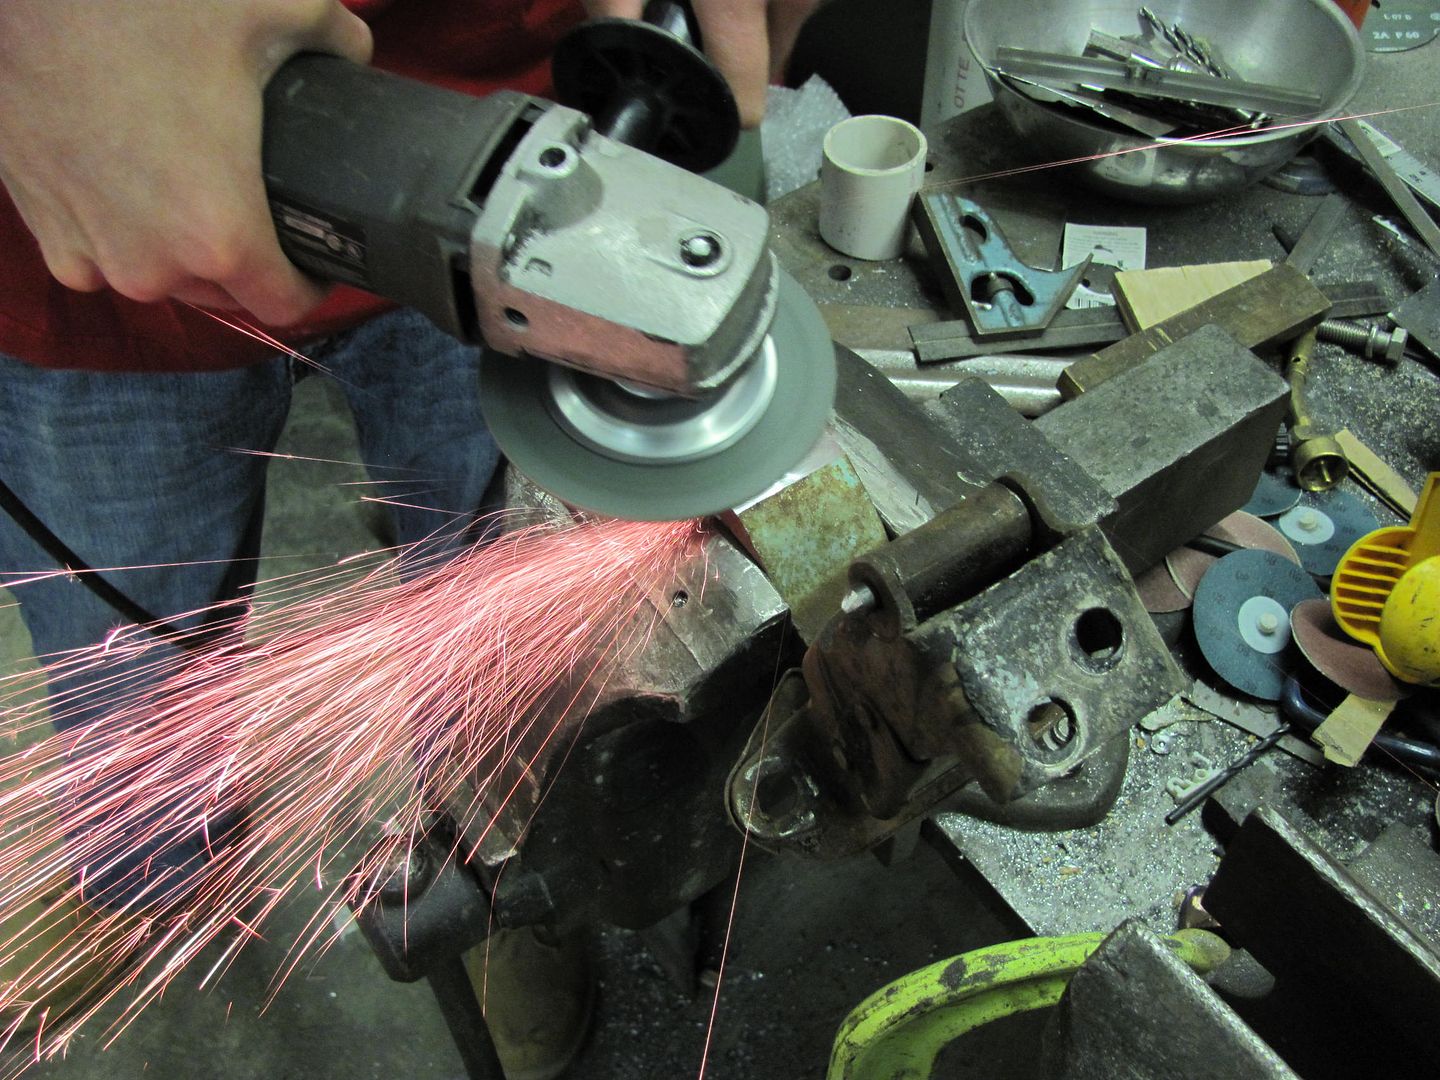
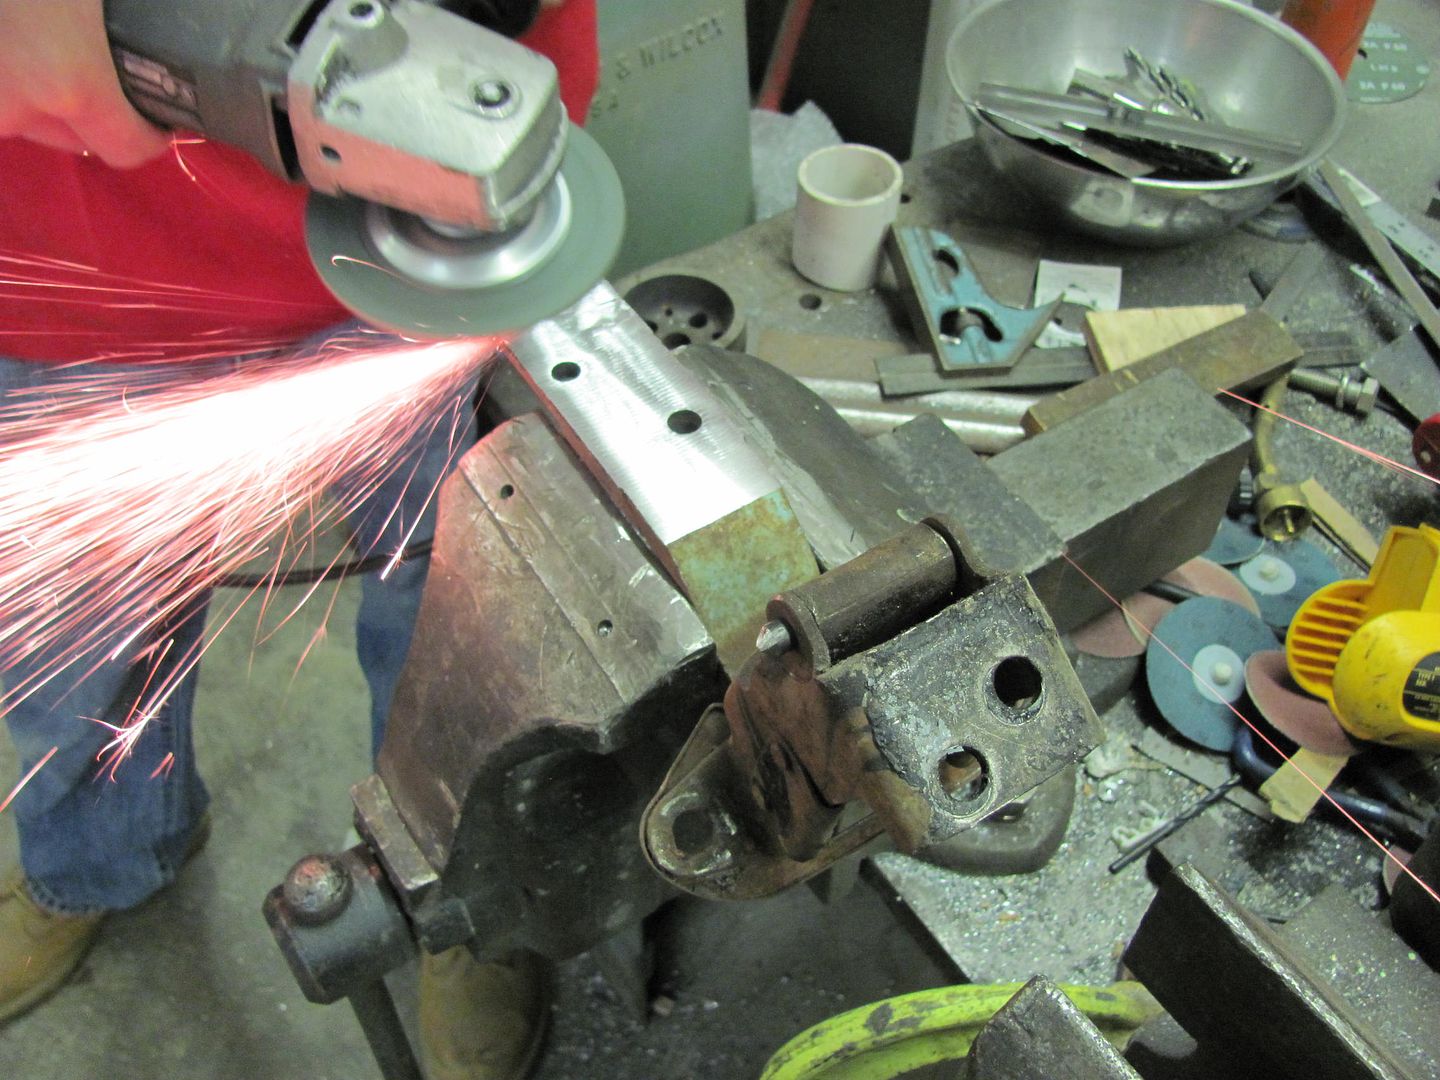
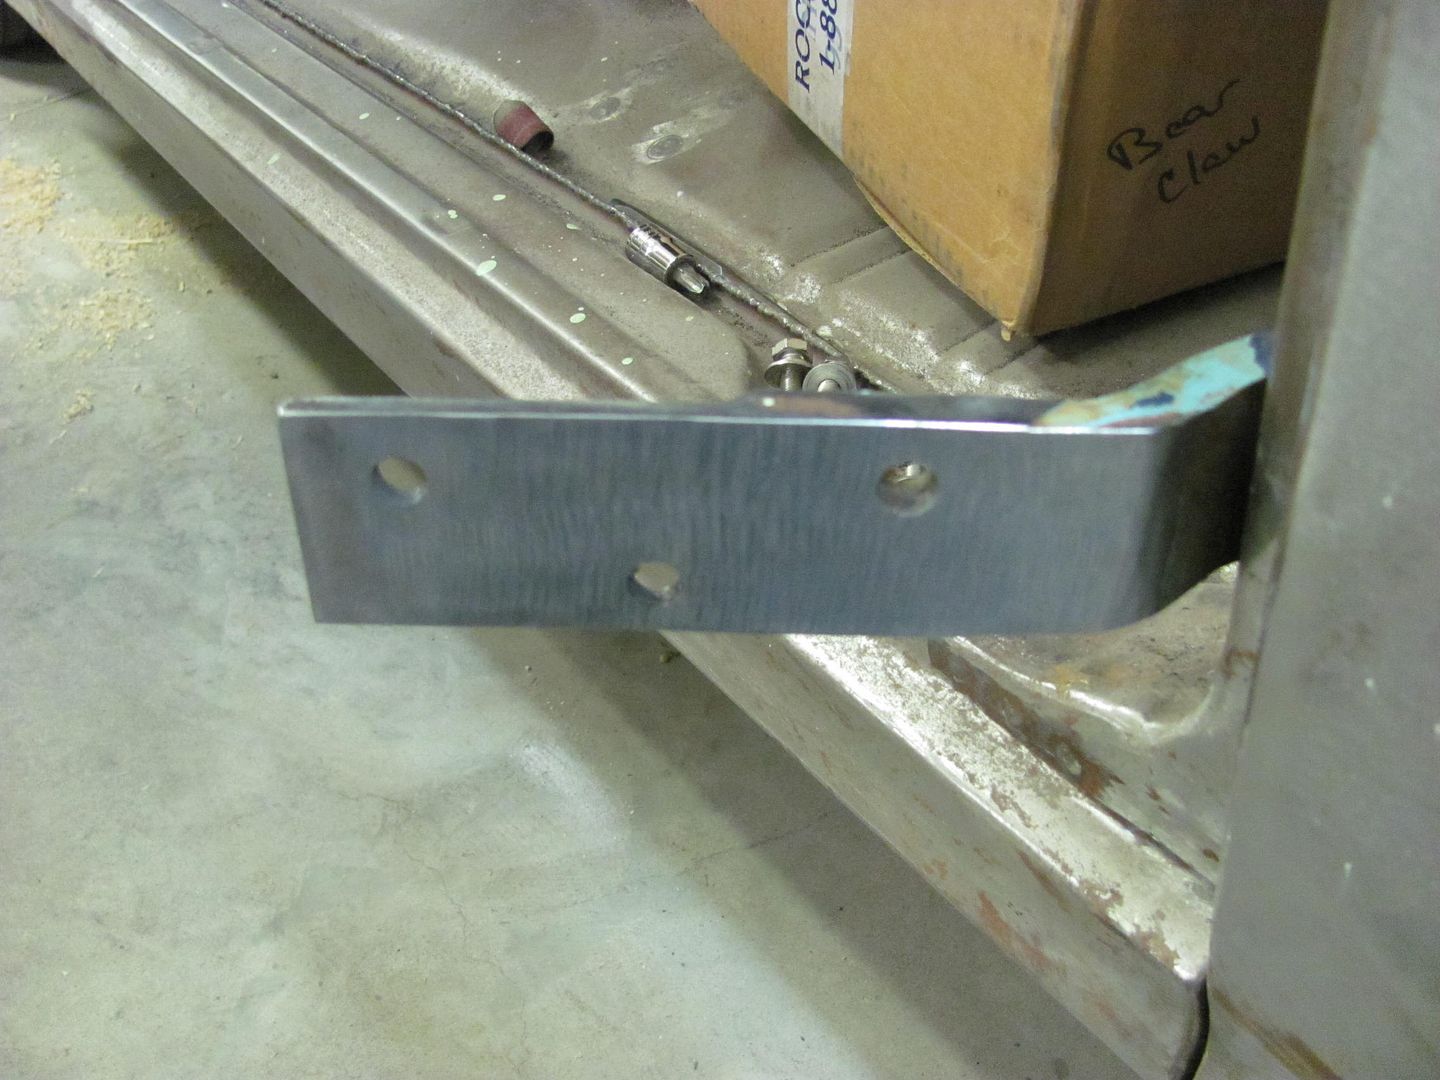
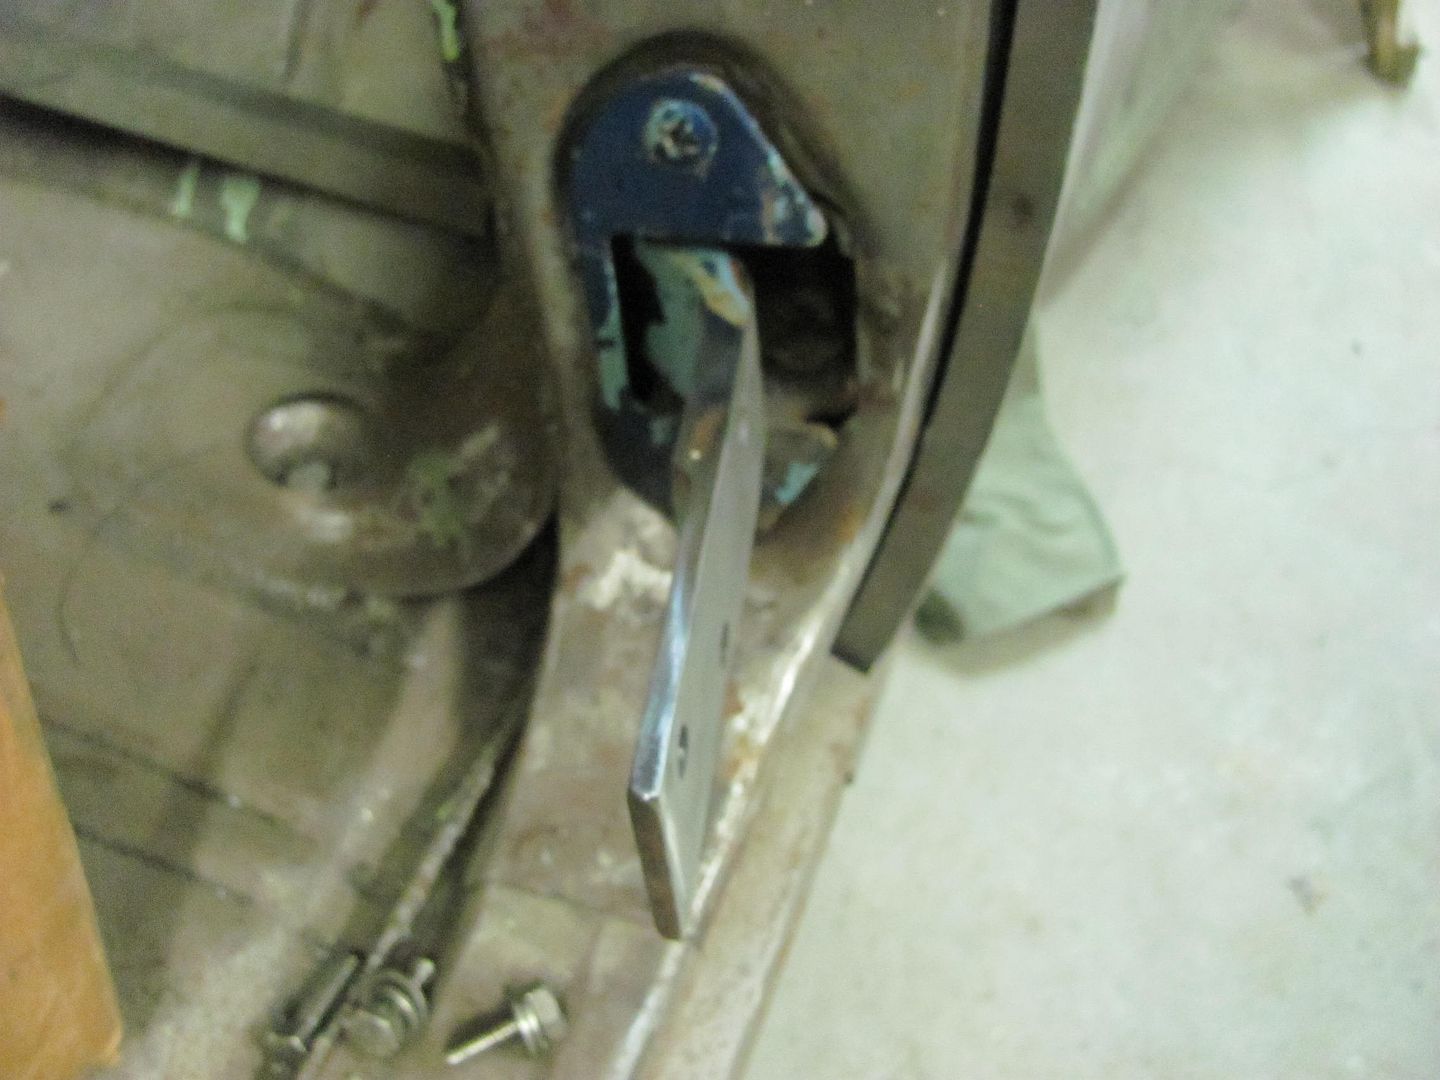
For a better comparison, here's the before again...
After
Comment
-
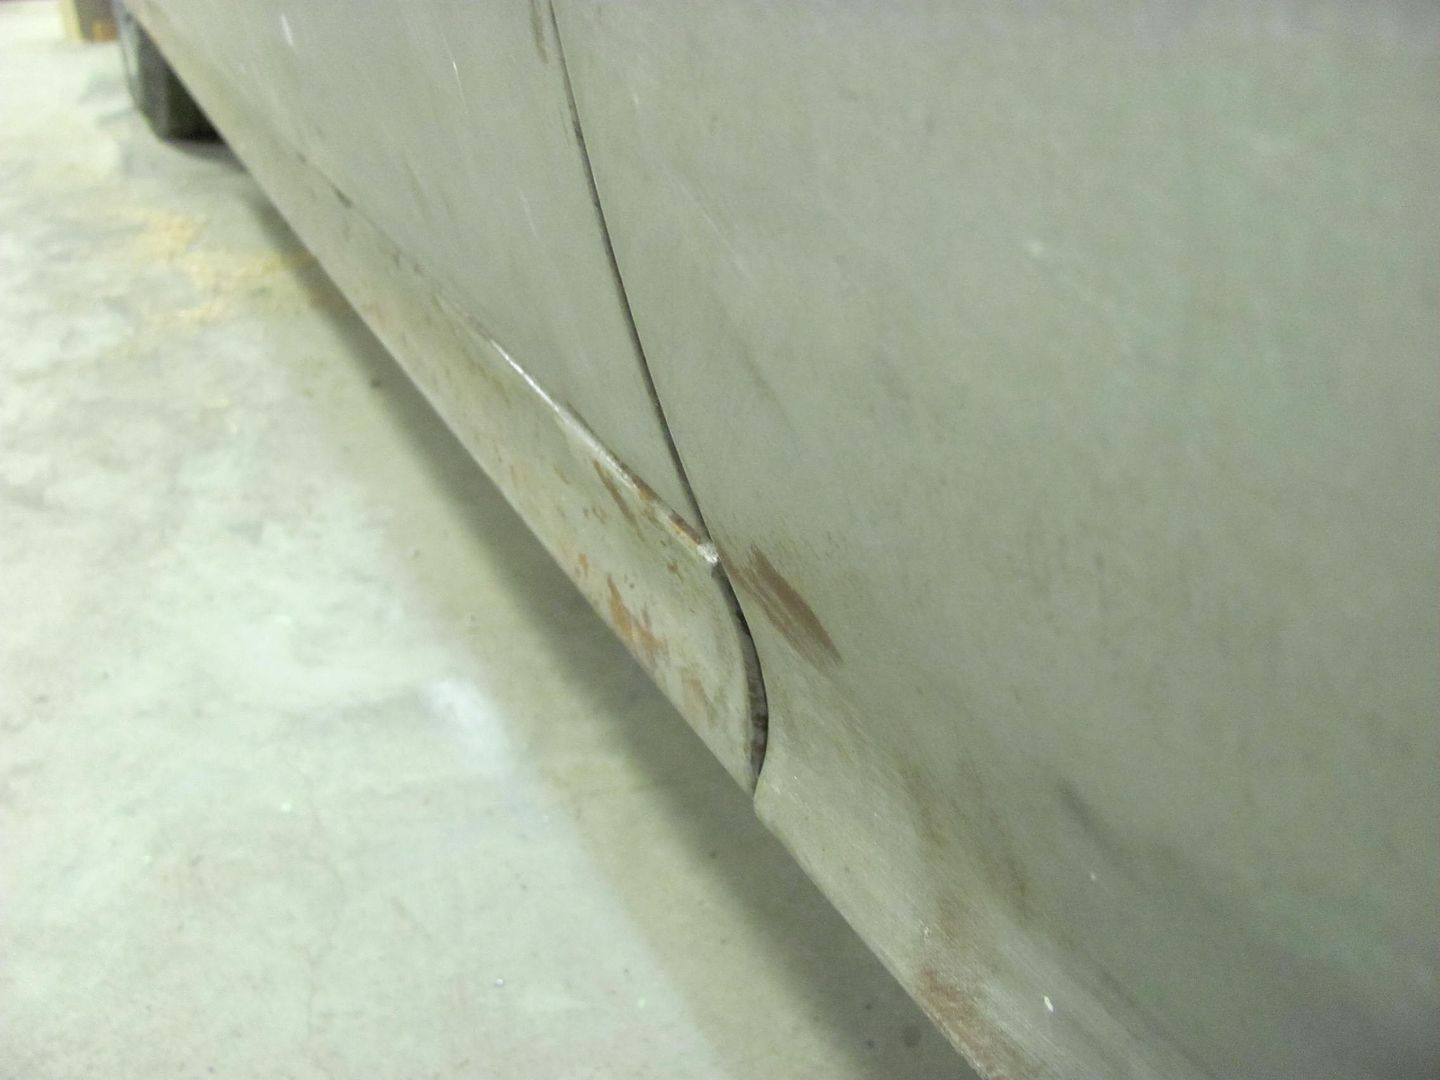
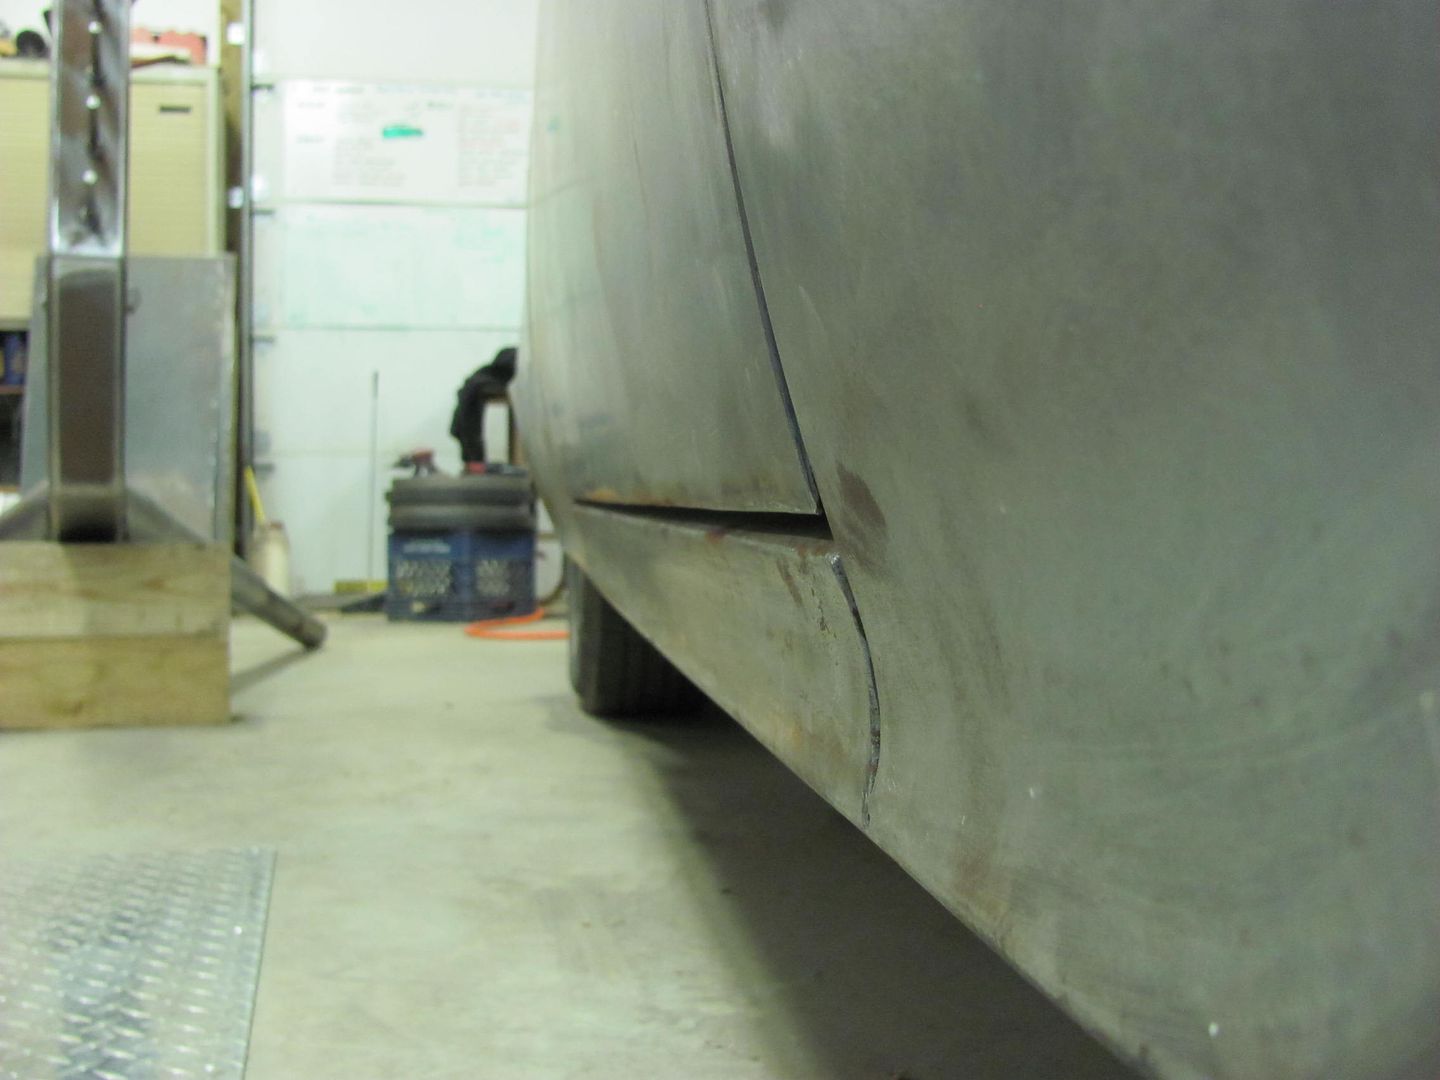
With the lower corner of the door fitting better, it becomes all the more obvious how poor of a reproduction these outer rocker panels are. The "concave" radius does not match the fender to the front or the quarter to the rear of the rocker. This would have been a good fix using the Wheeling machine with a Go Kart slick, had it been noticed before installation.
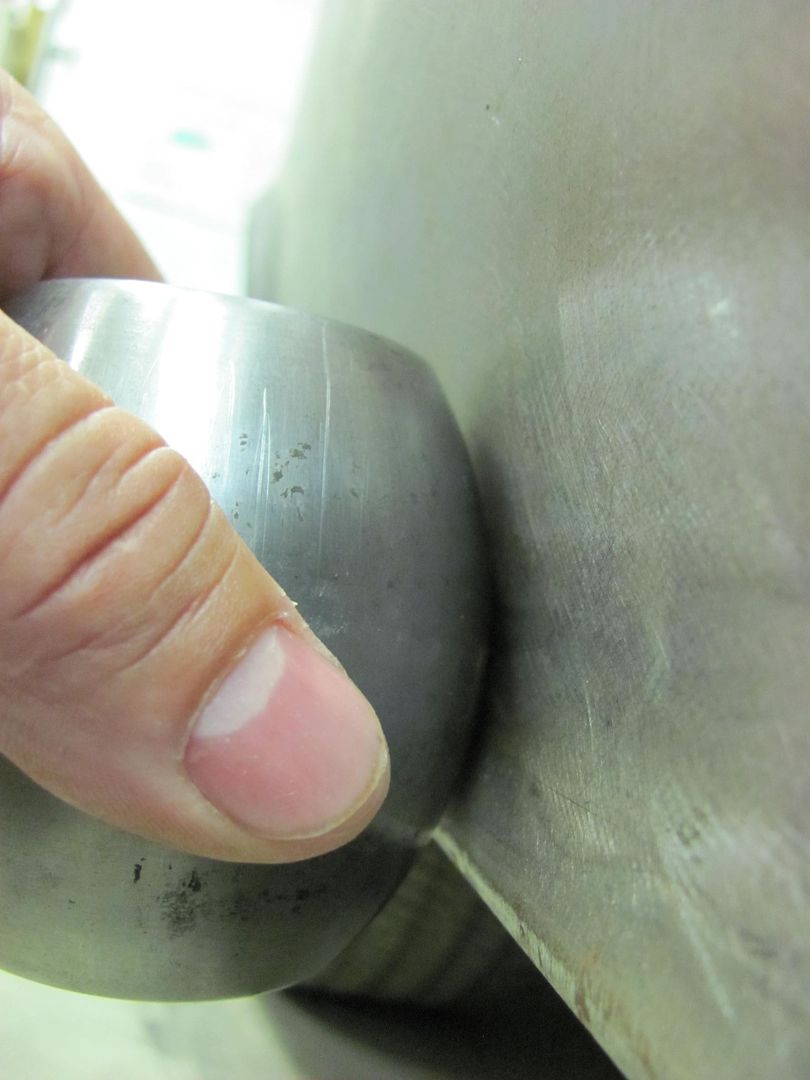
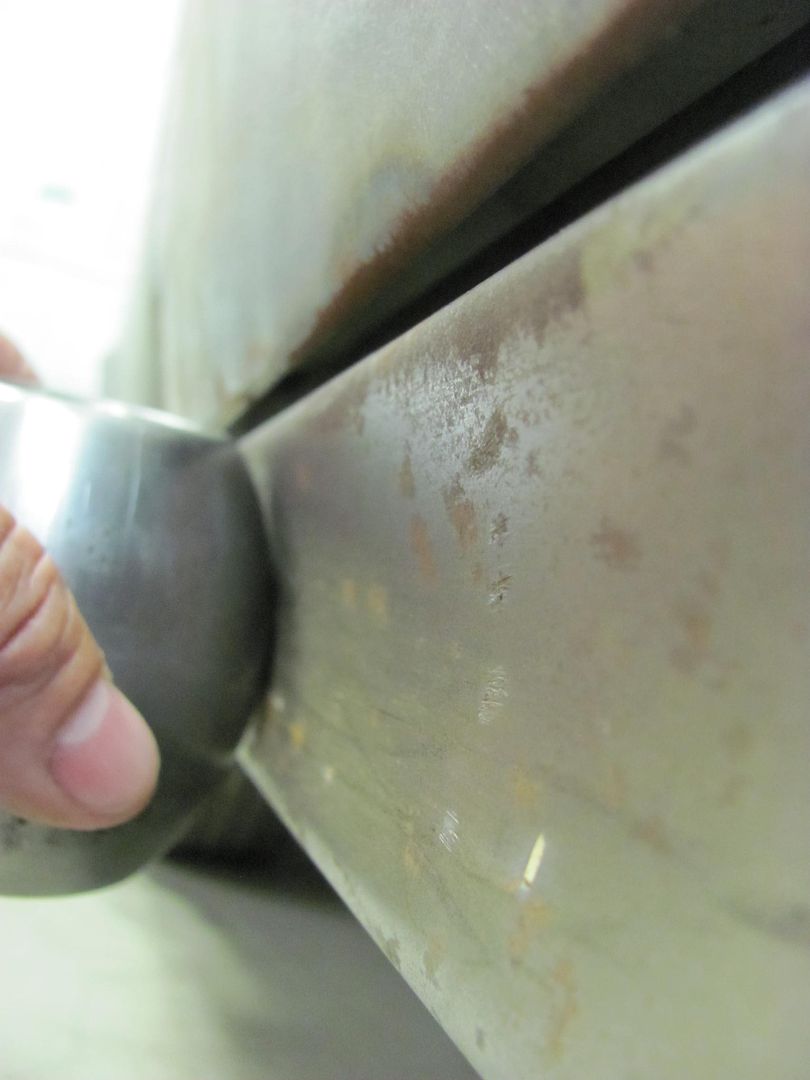
Still, let's look at what we can do with the lower anvils of the English wheel. Matching the lower anvils to the radius on the quarter, this one fits the best. Also notice how it doesn't fit as well in the rocker panel..
At this point I thought I'd try a "portable" version of the Wheeling machine to add a bit more radius to the rocker panel.

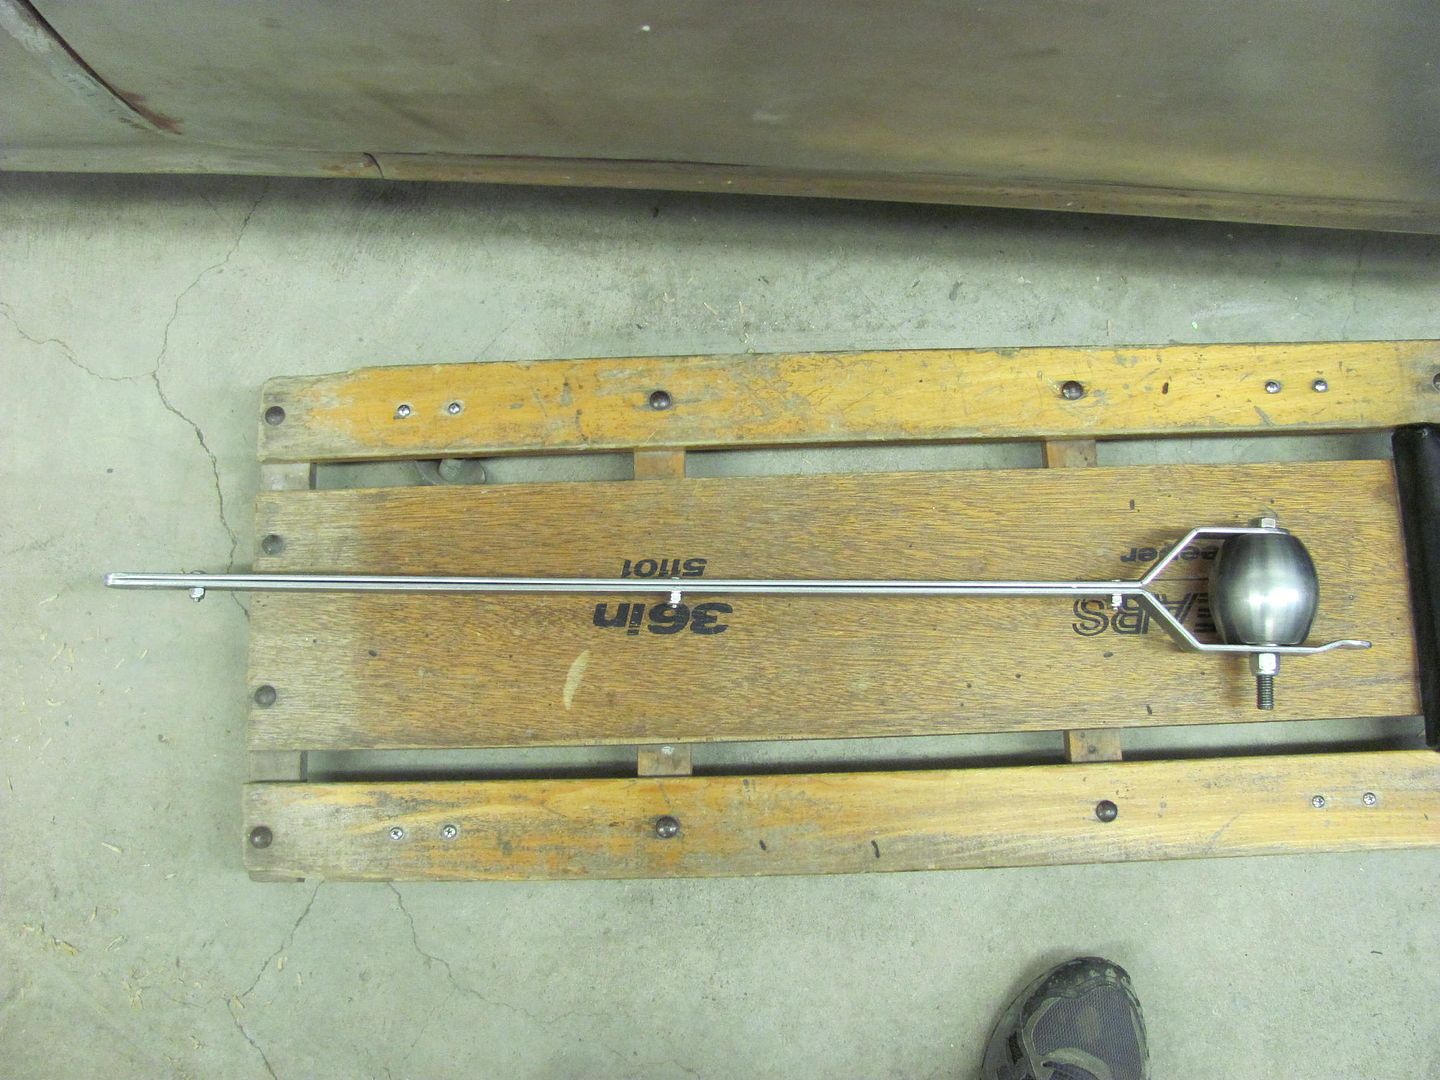
Built in guide......
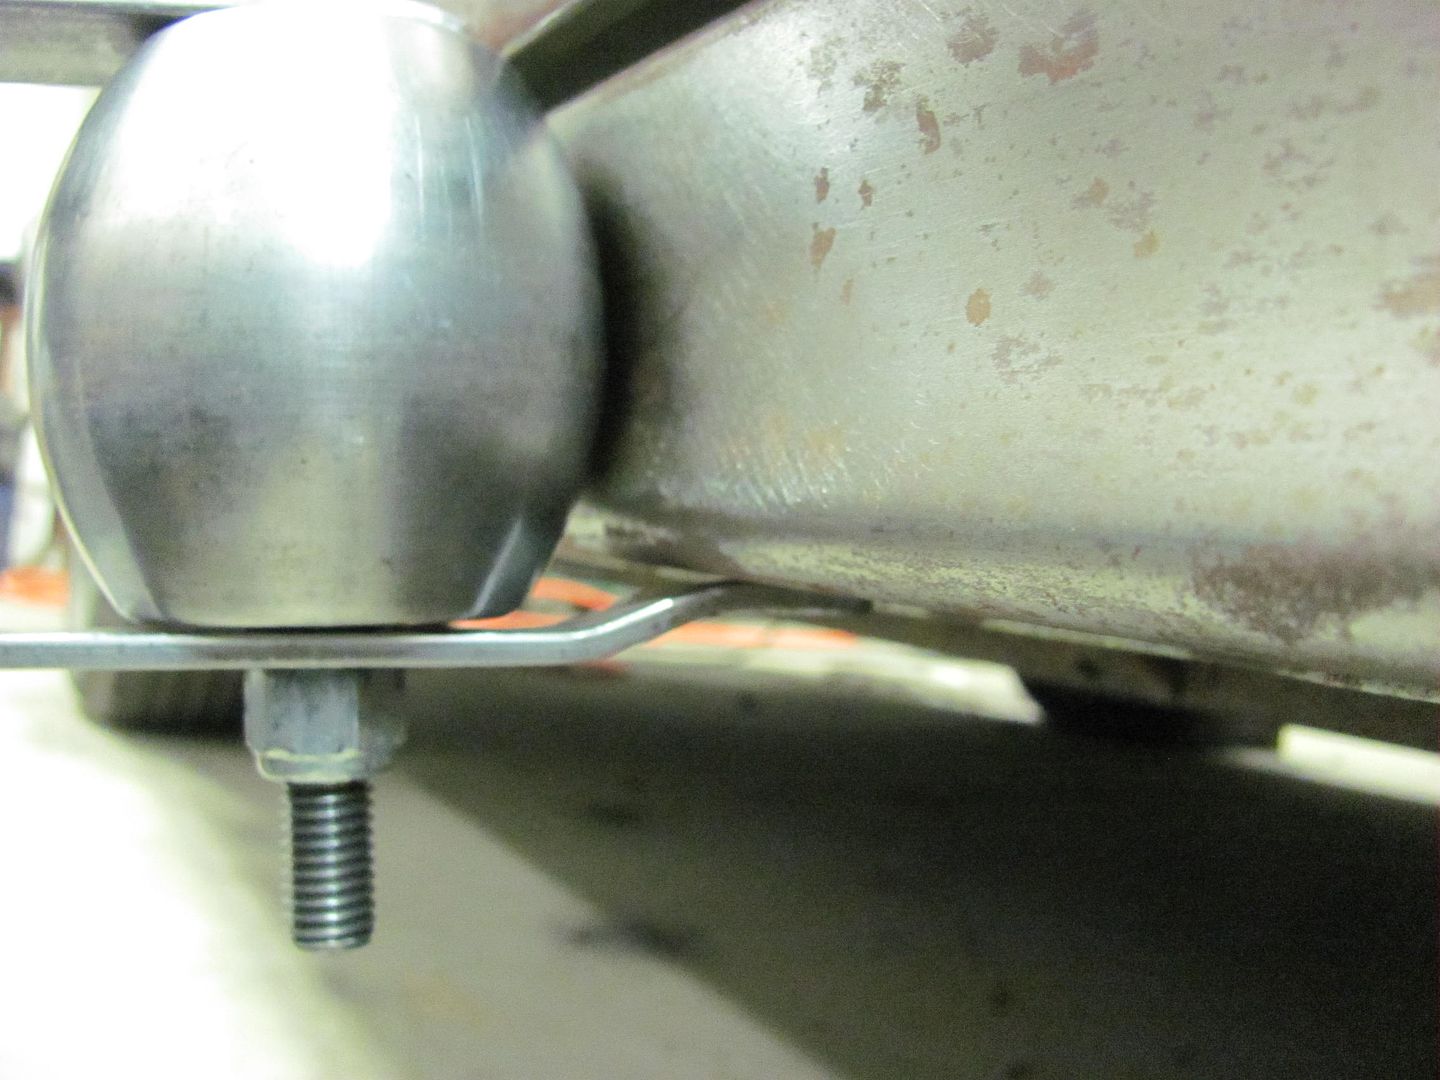
I started working on the rocker laying on a creeper, and found the casters counter-productive.
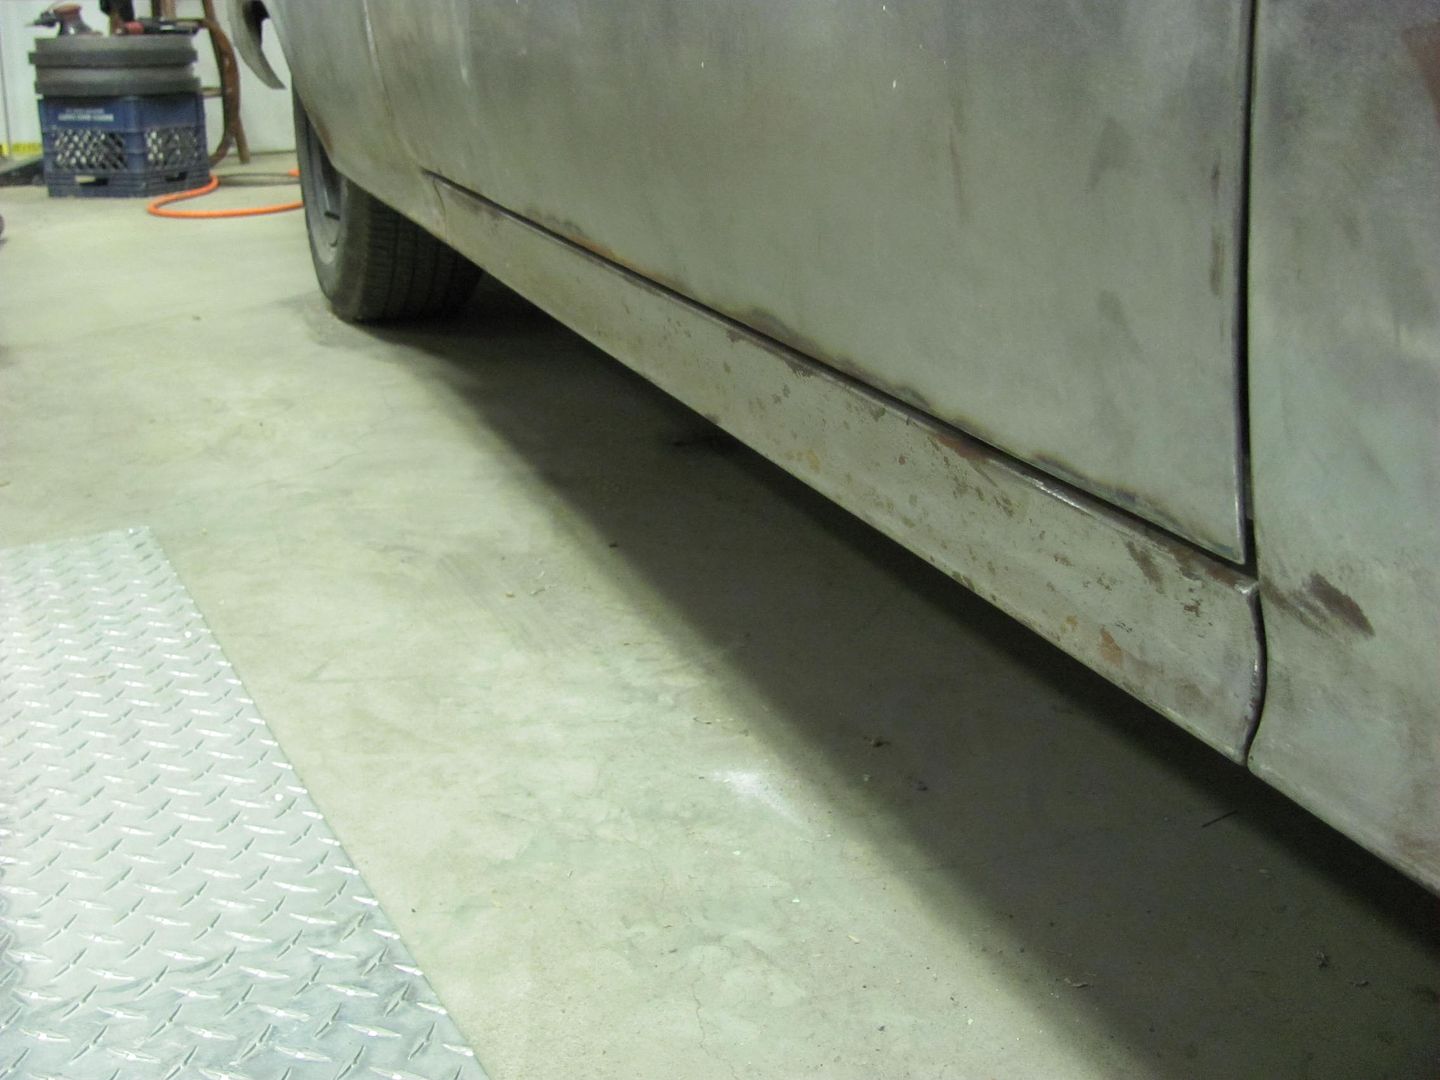
Once I put a piece of diamond plate on the floor I could get a bit more pressure applied. Rolled it back and forth a few times with pressure applied, and even though it has a guide, by adjusting height of handle end, you could move anvil's path up and down on the rocker about 1/2 to 3/4 inch. So worked it front to back and then moved postion slightly and repeat. Pretty much even pressure the whole time... After about ten minutes of "wheeling", and some bumping of the leading edge with a door skin hammer:
Just to show the comparison, before
After:
Comment
-
Absolutely amazing work, good to see you back.Comment
-
dittoCharles W - BS Photographer at largeComment
Comment