 Tweet
Tweet
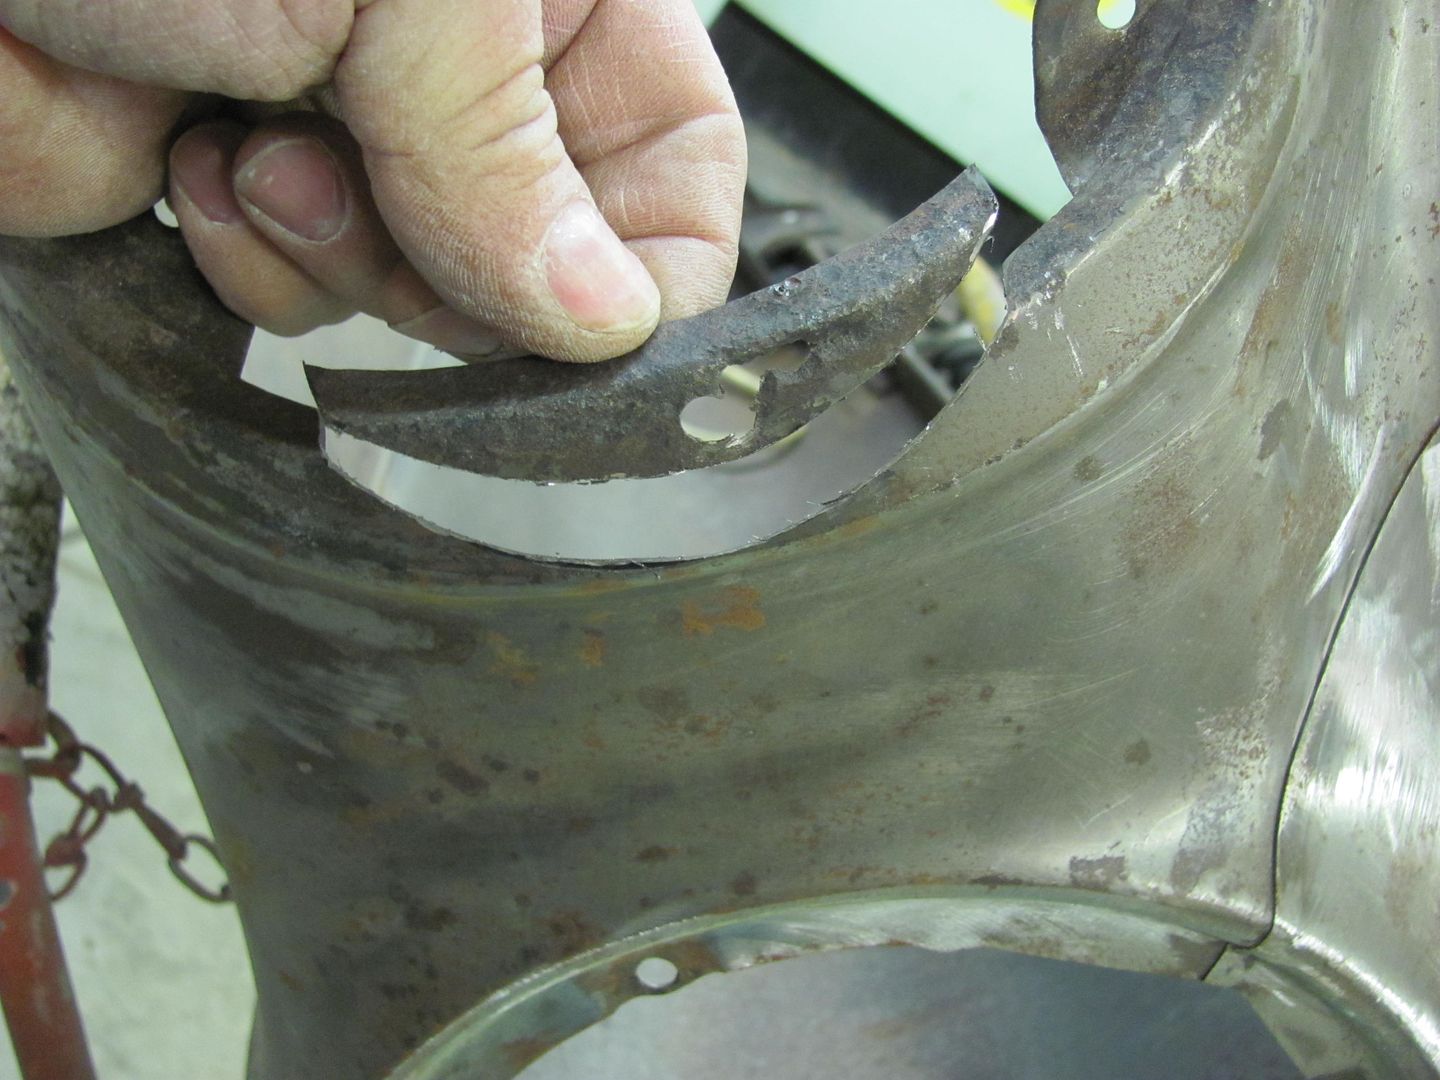
In order to get that much shape in the front of the fender, the factory made it with that overlapping seam inboard of the headlight. It is formed similar to the weld process used assembling two gas tank halves. So I think that would really be a challenge to separate that seam cleanly.
-
-
My '55 3100 has the same deal from the headlight opening down through the parking light......I simply welded them shut.Ed, Mary, & 'Earl'
HRPT LongHaulers, 08, 09, 10, 11, 12, 13, 15, 16, 17, 18, 19.
Inside every old person is a young person wondering, "what the hell happened?"
The man at the top of the mountain didn't fall there. -Vince LombardiComment
-
One more piece to finish up the shave, the inner flange for the grille opening needed connecting together after trimming the bolting flanges.
Trimmed and holes drilled for plug welds....

All welded and dressed out....
Comment
-
Thats some really nice work do you own or work at a body shop or is this just a hobby.Greg & Mendy Dayton, Ohio 2007LH 2008LH 2010LH 2011LH 2012 1st 2 stops 2013LH 2015 1st 2 stops2016LH 2017 first and last stops . 2018 LH ("It's better to be dead and cool than alive and uncool!! Harley Davidson!")Comment
-
Thanks Greg, I have my own shop at home with paint booth. I focus mainly on metal fabrication/metalshaping for cars needing rust repair and bringing back to life, ie no new plastic stuff. This presently is a part time gig until I can get the wife comfortable with me leaving the day job...
Comment
-
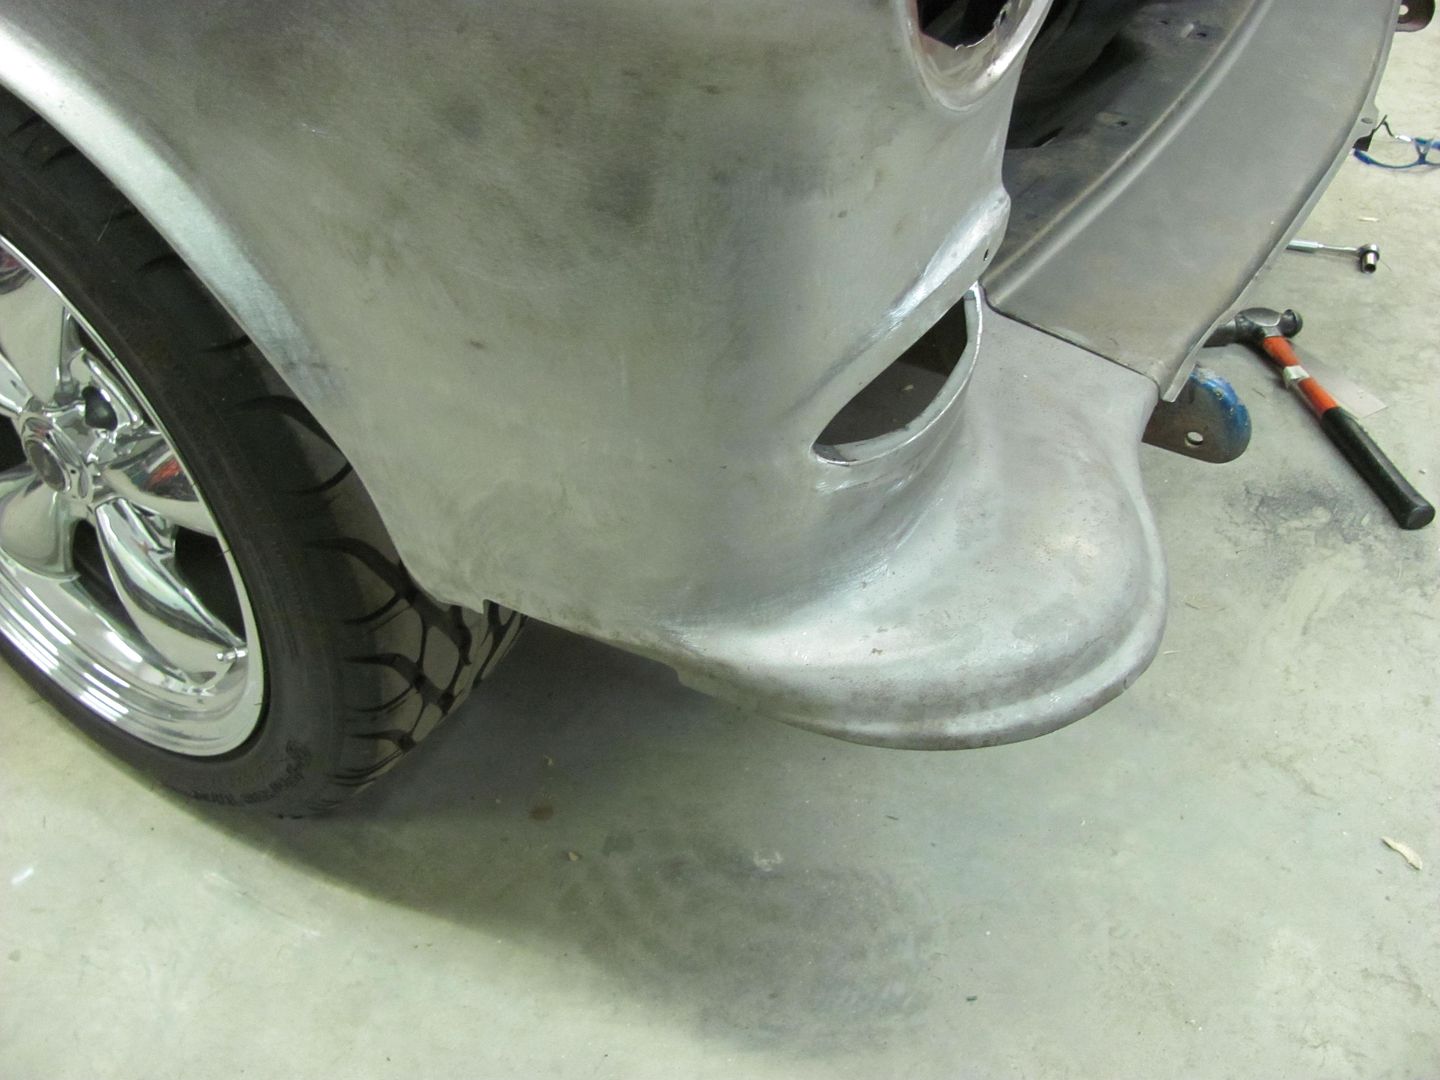
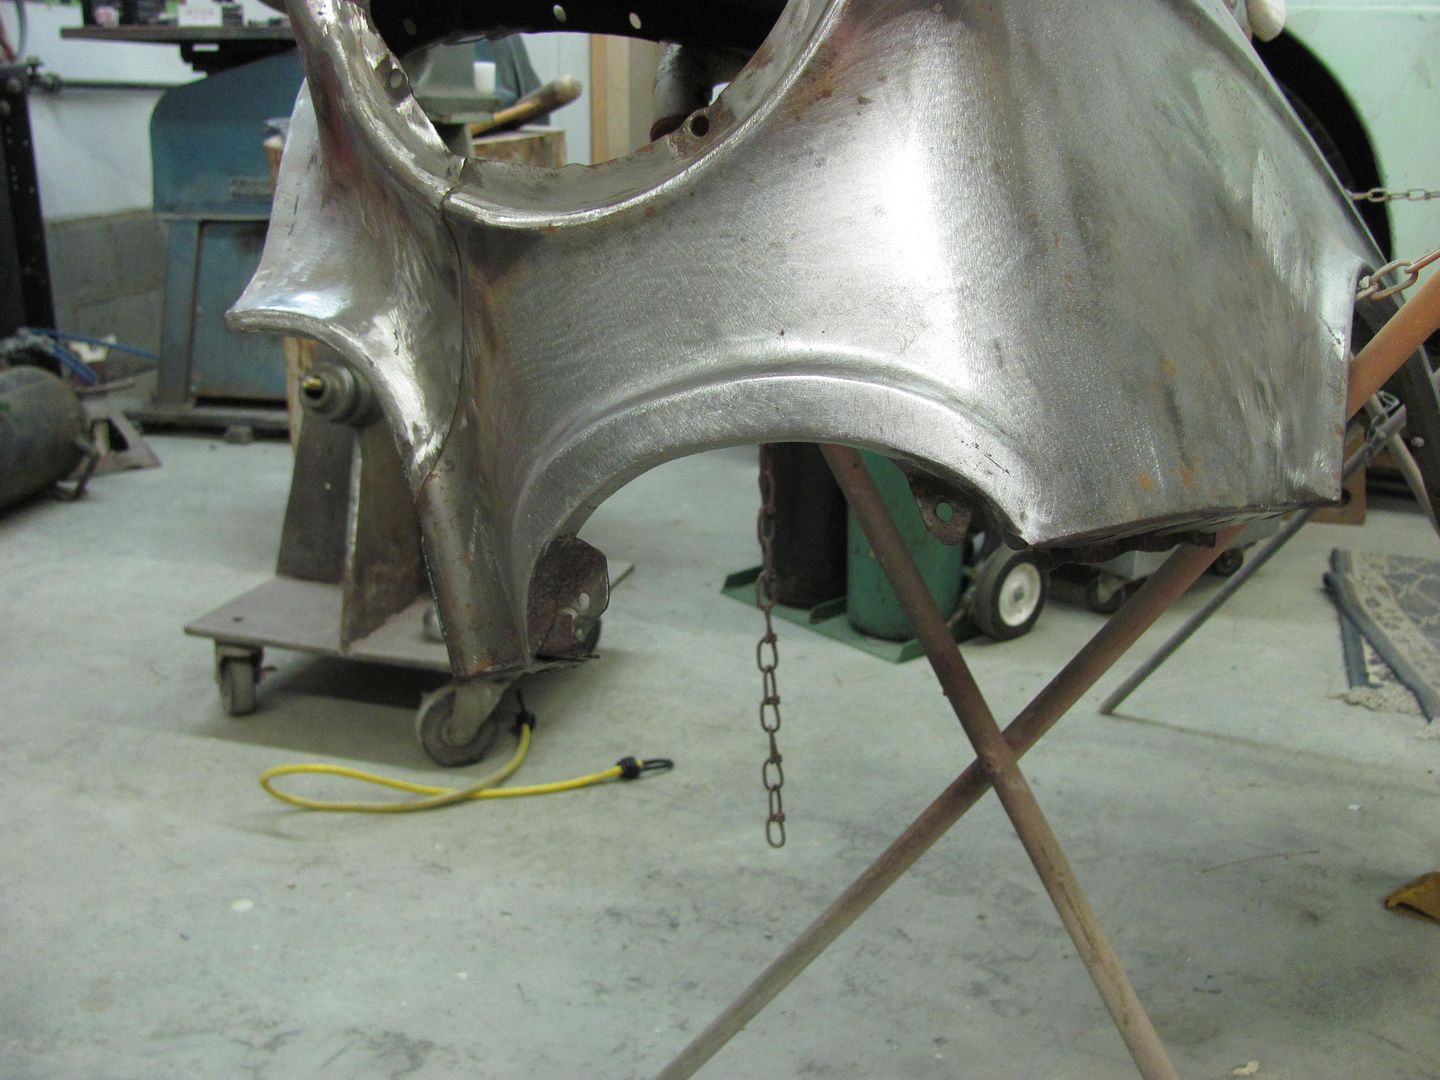
I was going to start the shave on the driver's side, but a few stumbling blocks along the way...
Mocked up all the front sheet metal just to see it together again.. Gotta love that hood bird..

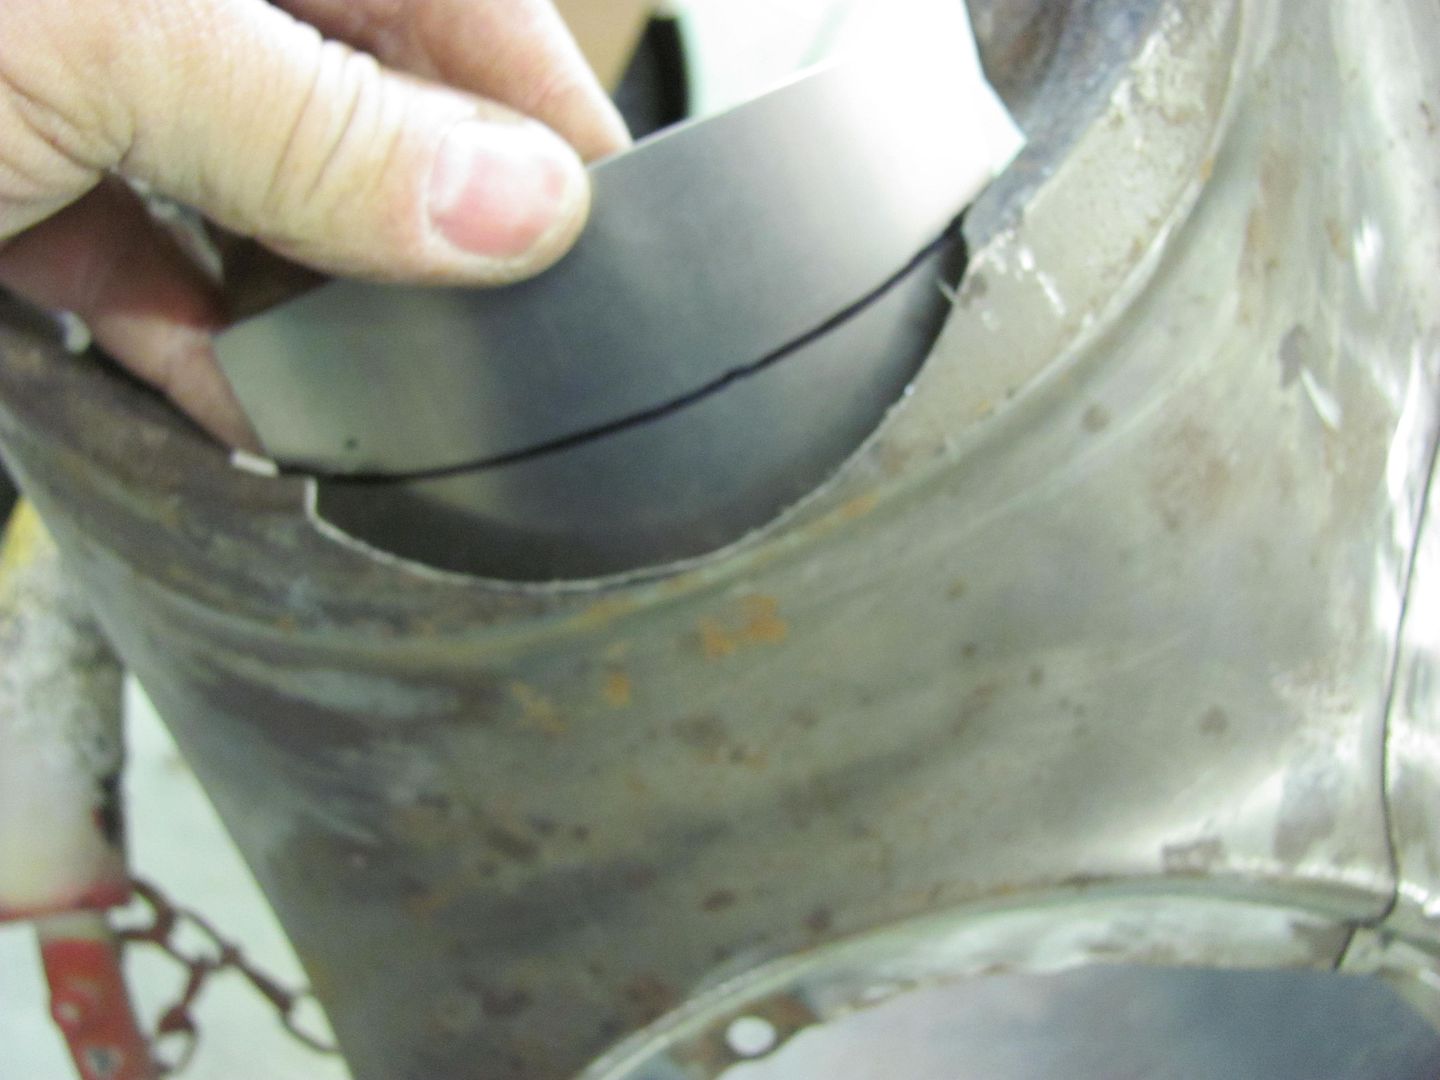
Here's the factory seam to compare to the shaved version...
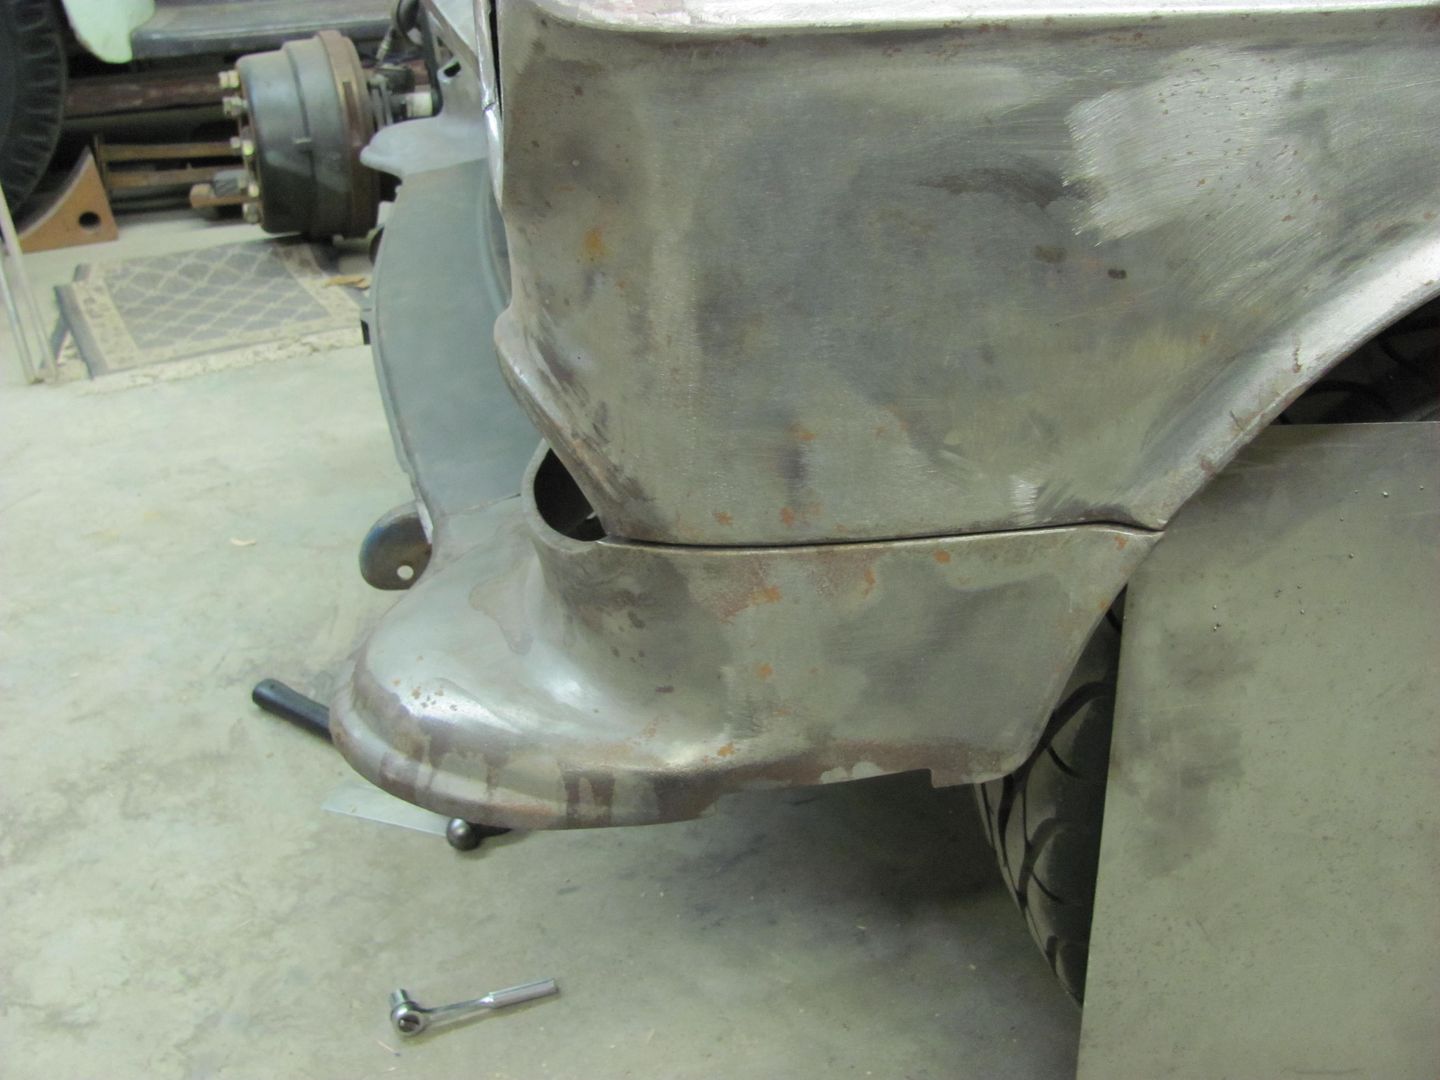
Bumper filler panel had been tweaked at some point in the past 50 years, so let's see what we can do to straighten it out some....
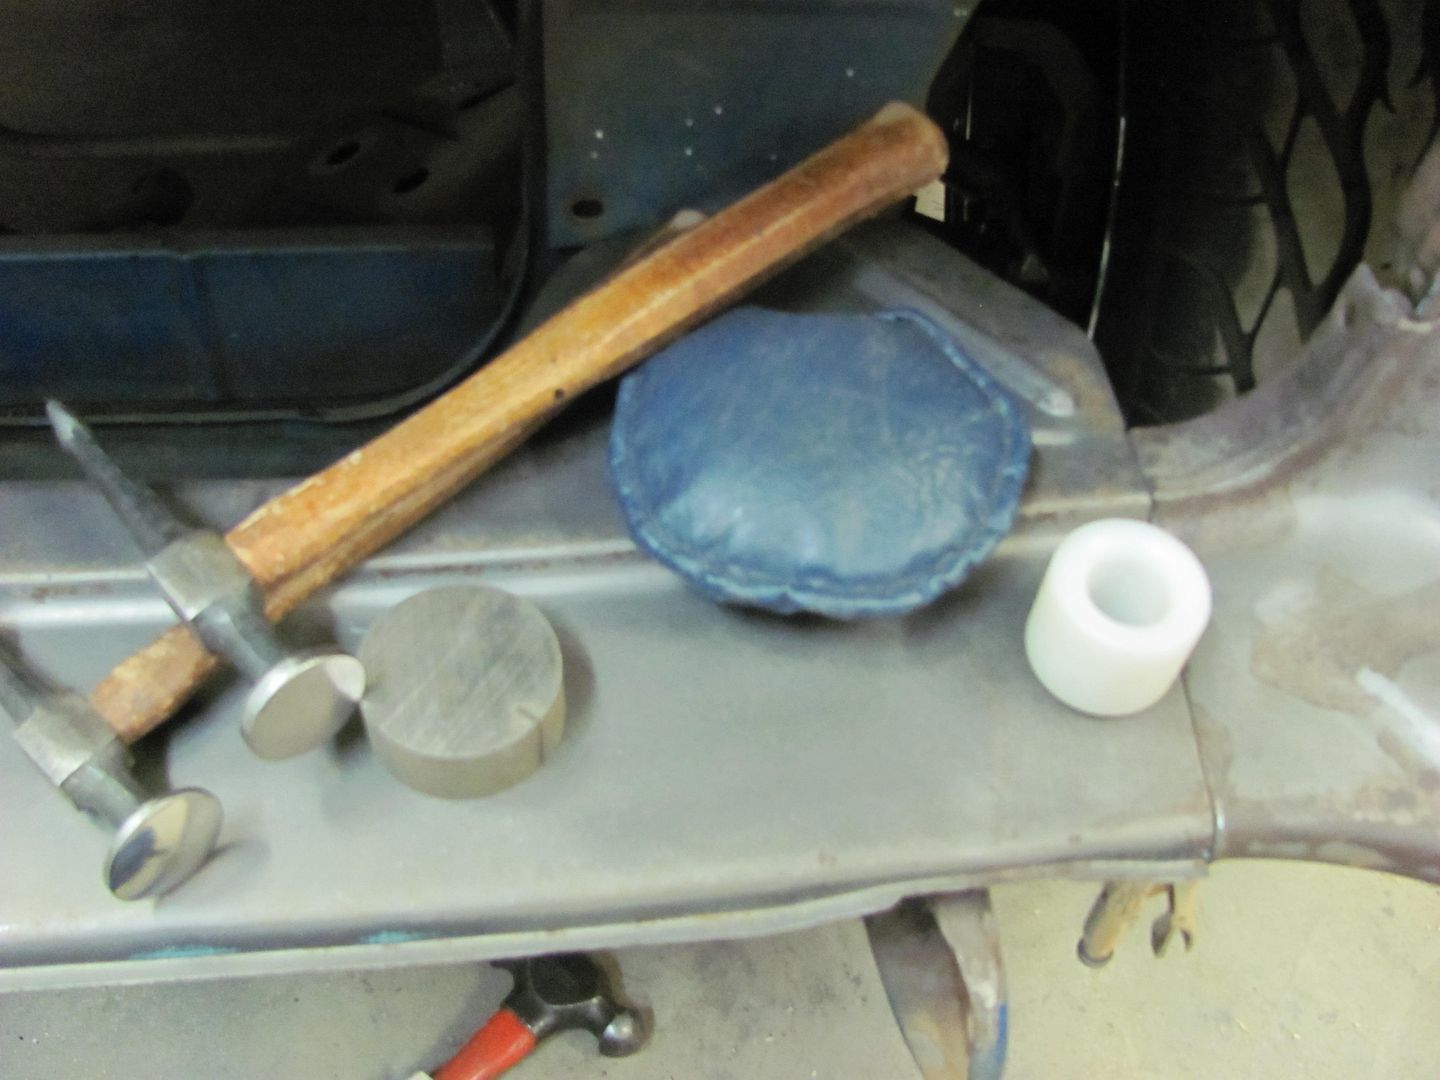
Used a combination of the flat and crowned body hammers, the donut dolly, the 5" dia shot bag, and a round hunk of steel.
Much better...

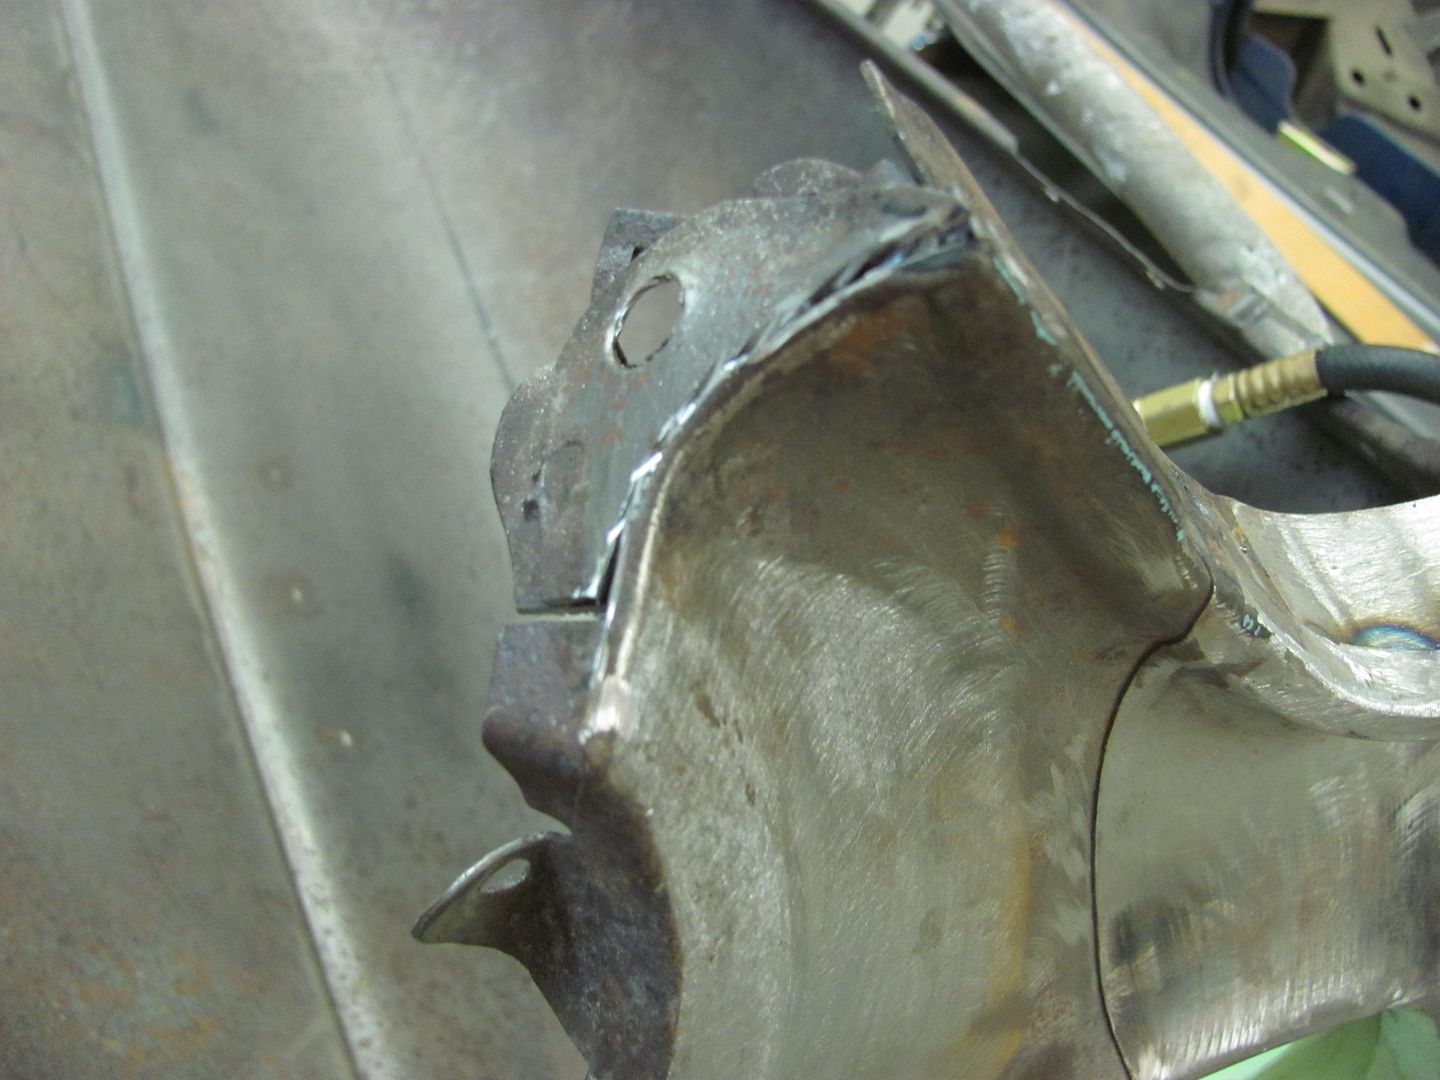
Next on the list before the next shave, a bit more rust to attend to...
Used a wide sweeping radius on the cut to minimize any extra shrinking that occurs inside tight corners.
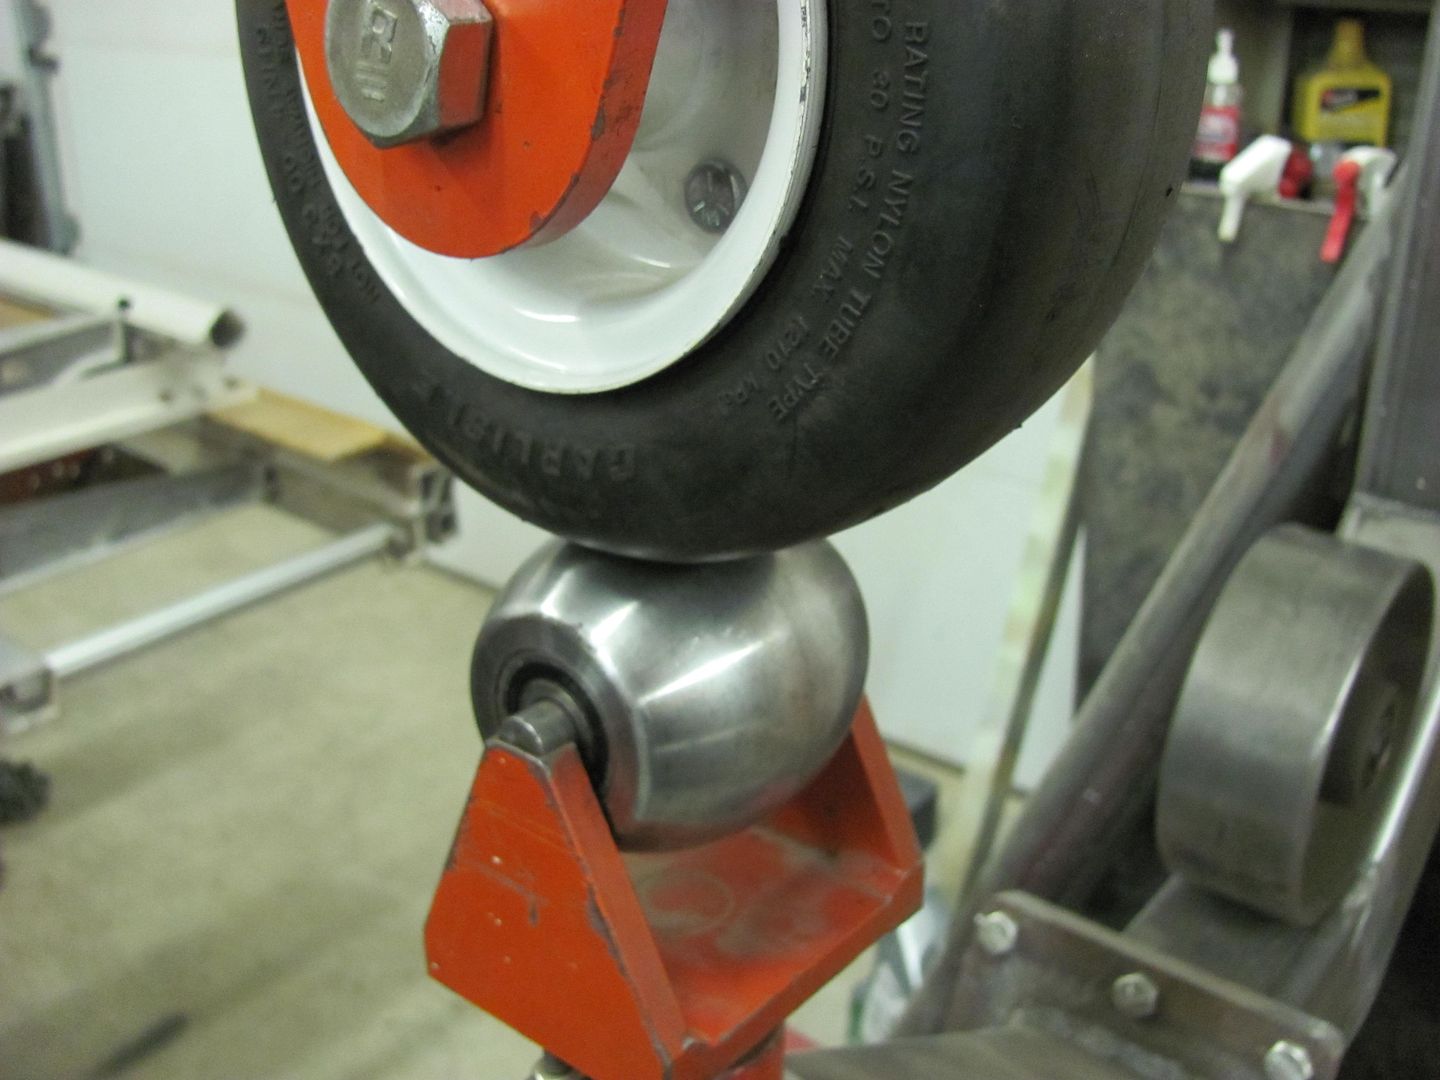
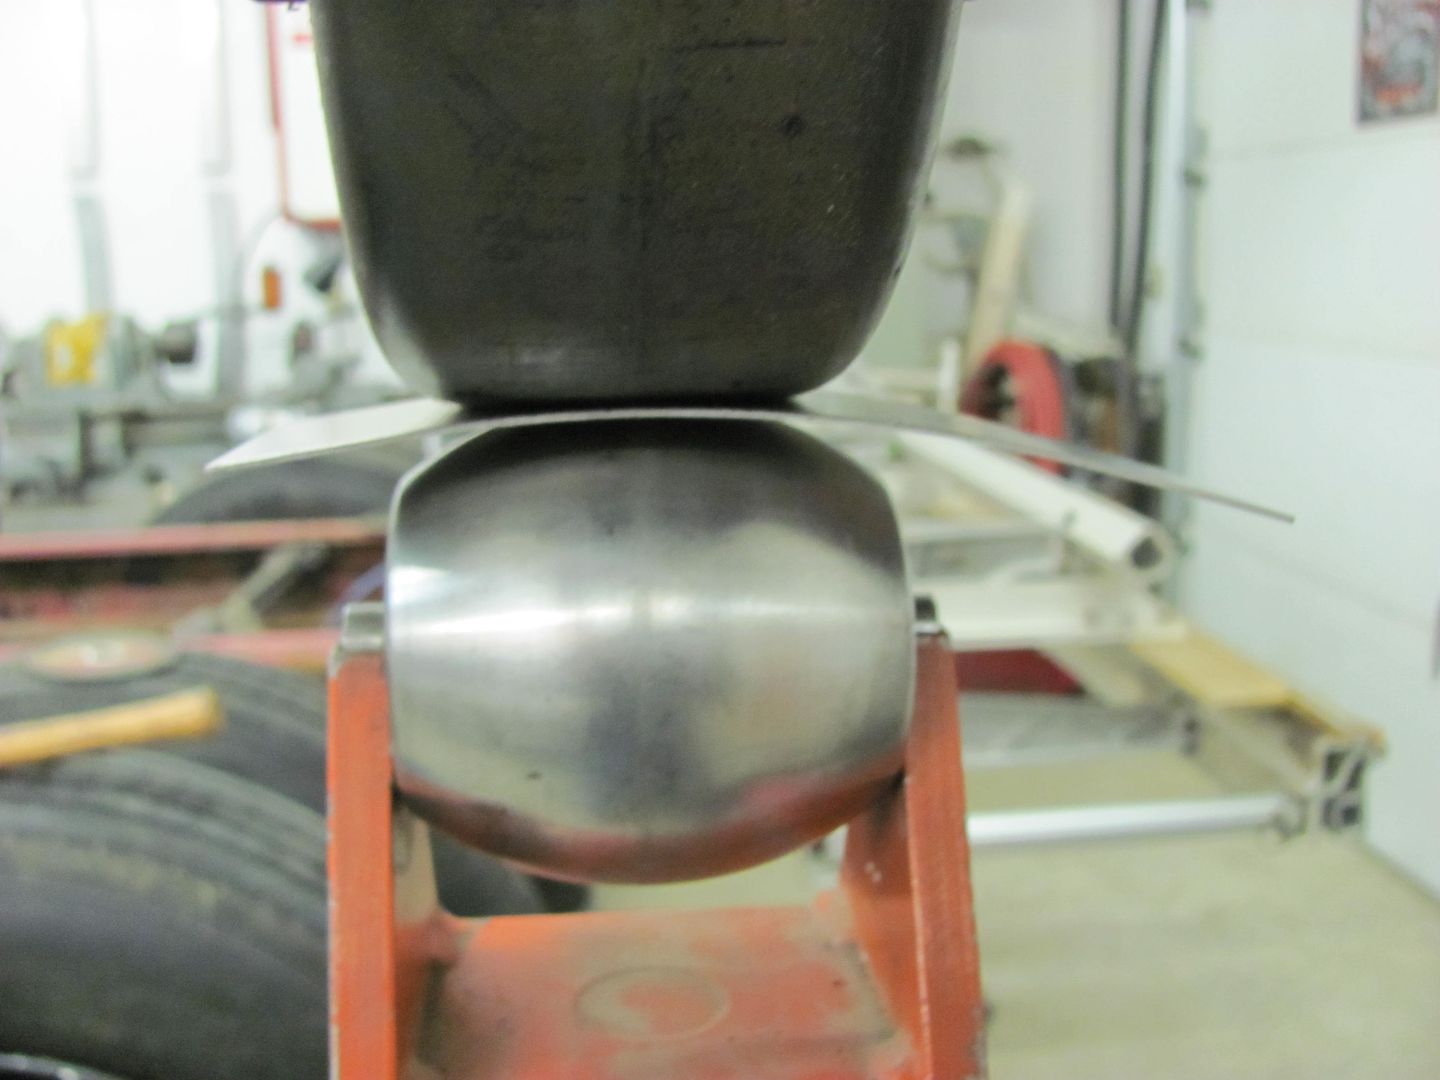
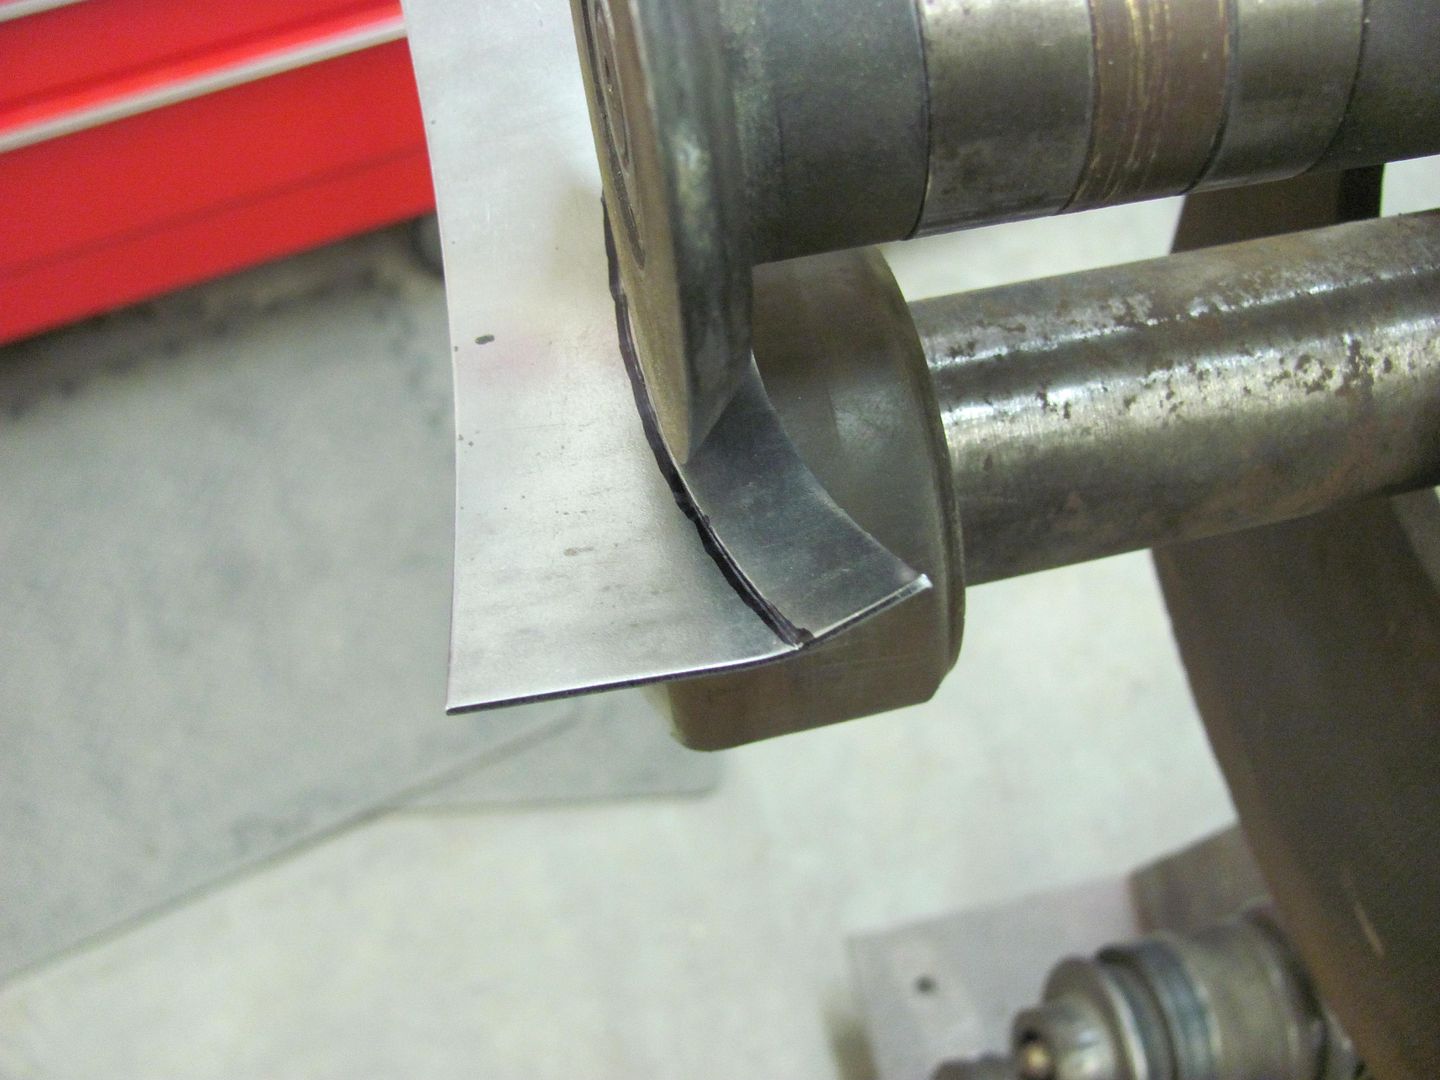
To get a good, consistent profile on the patch, I used the go kart wheel...

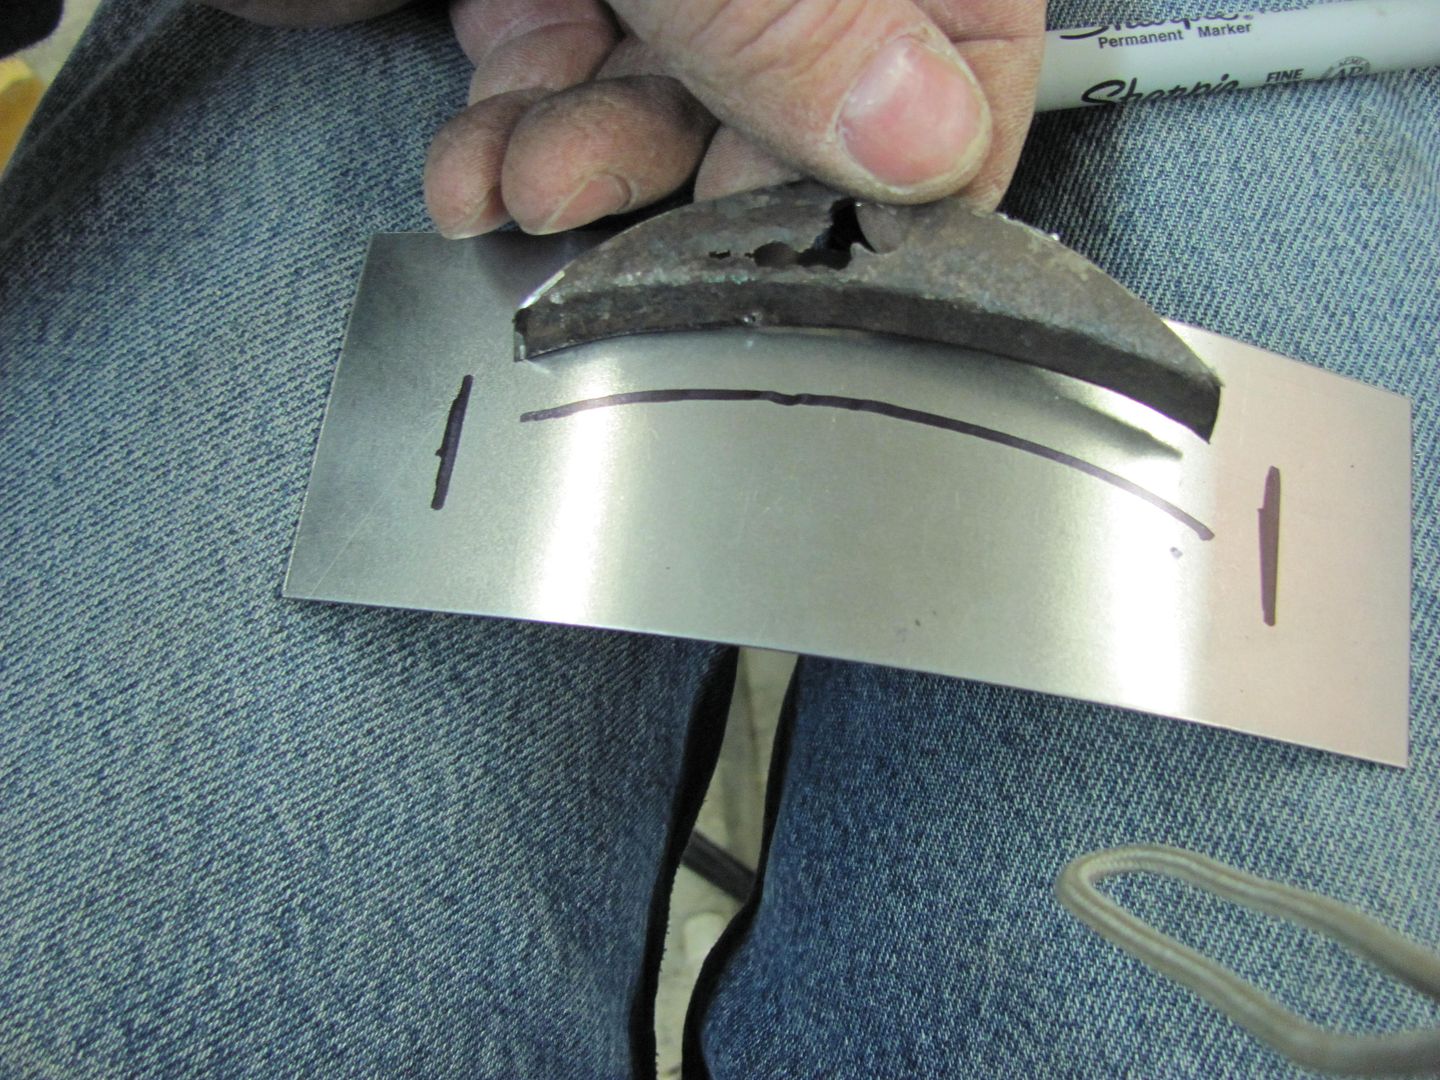
Laying out the pattern..

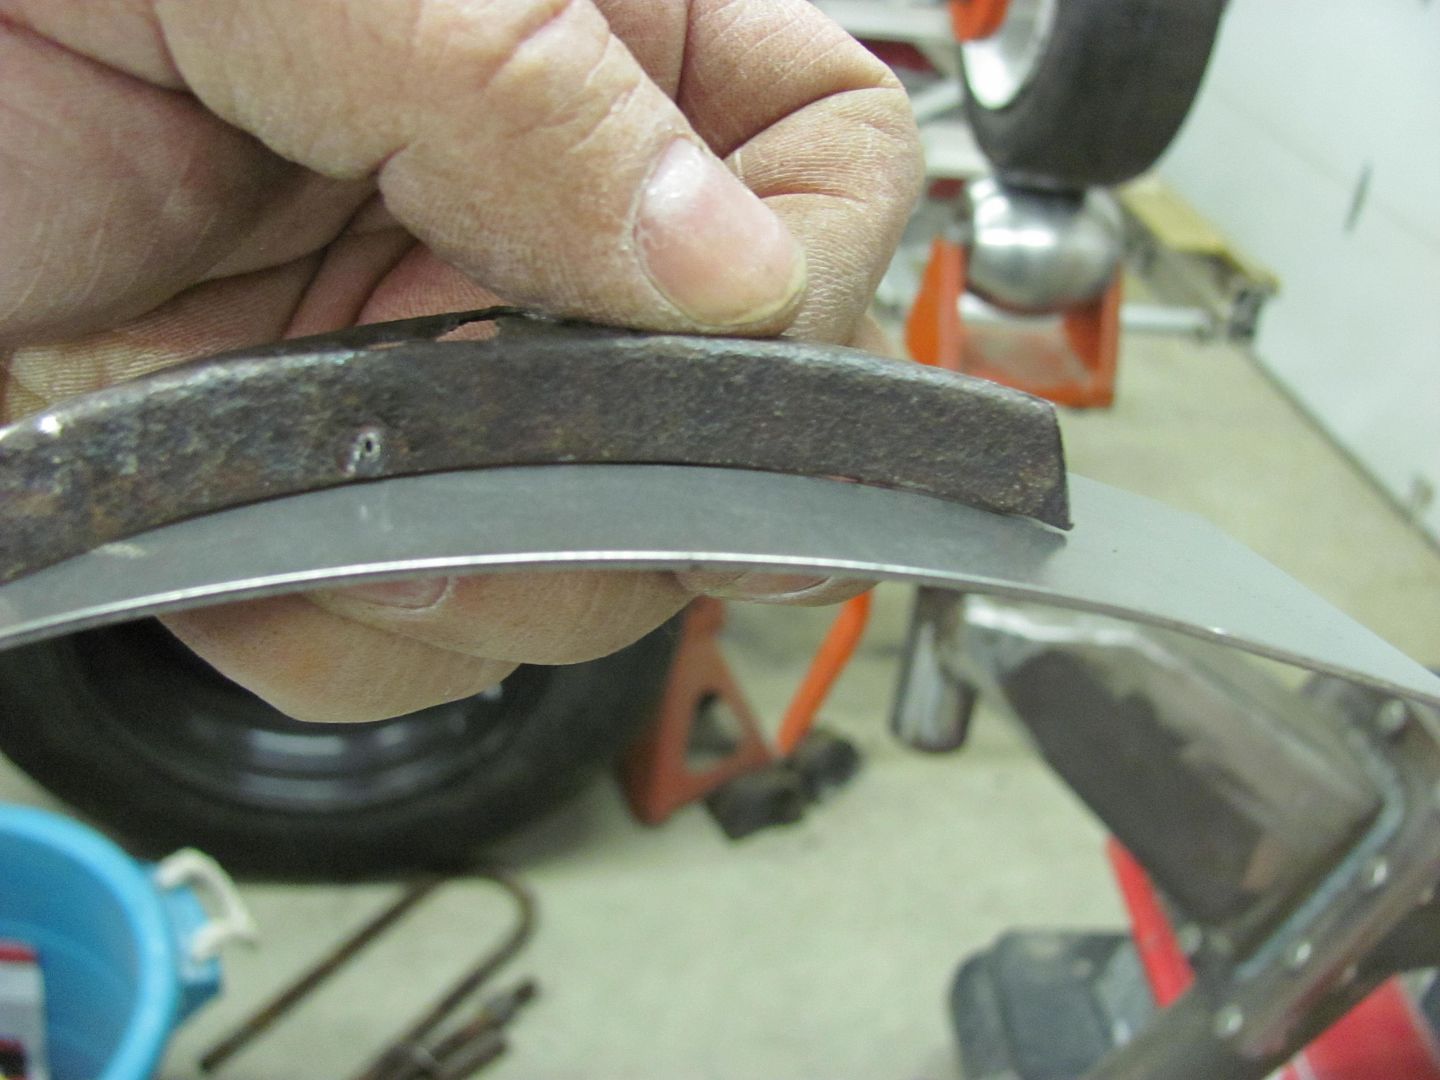
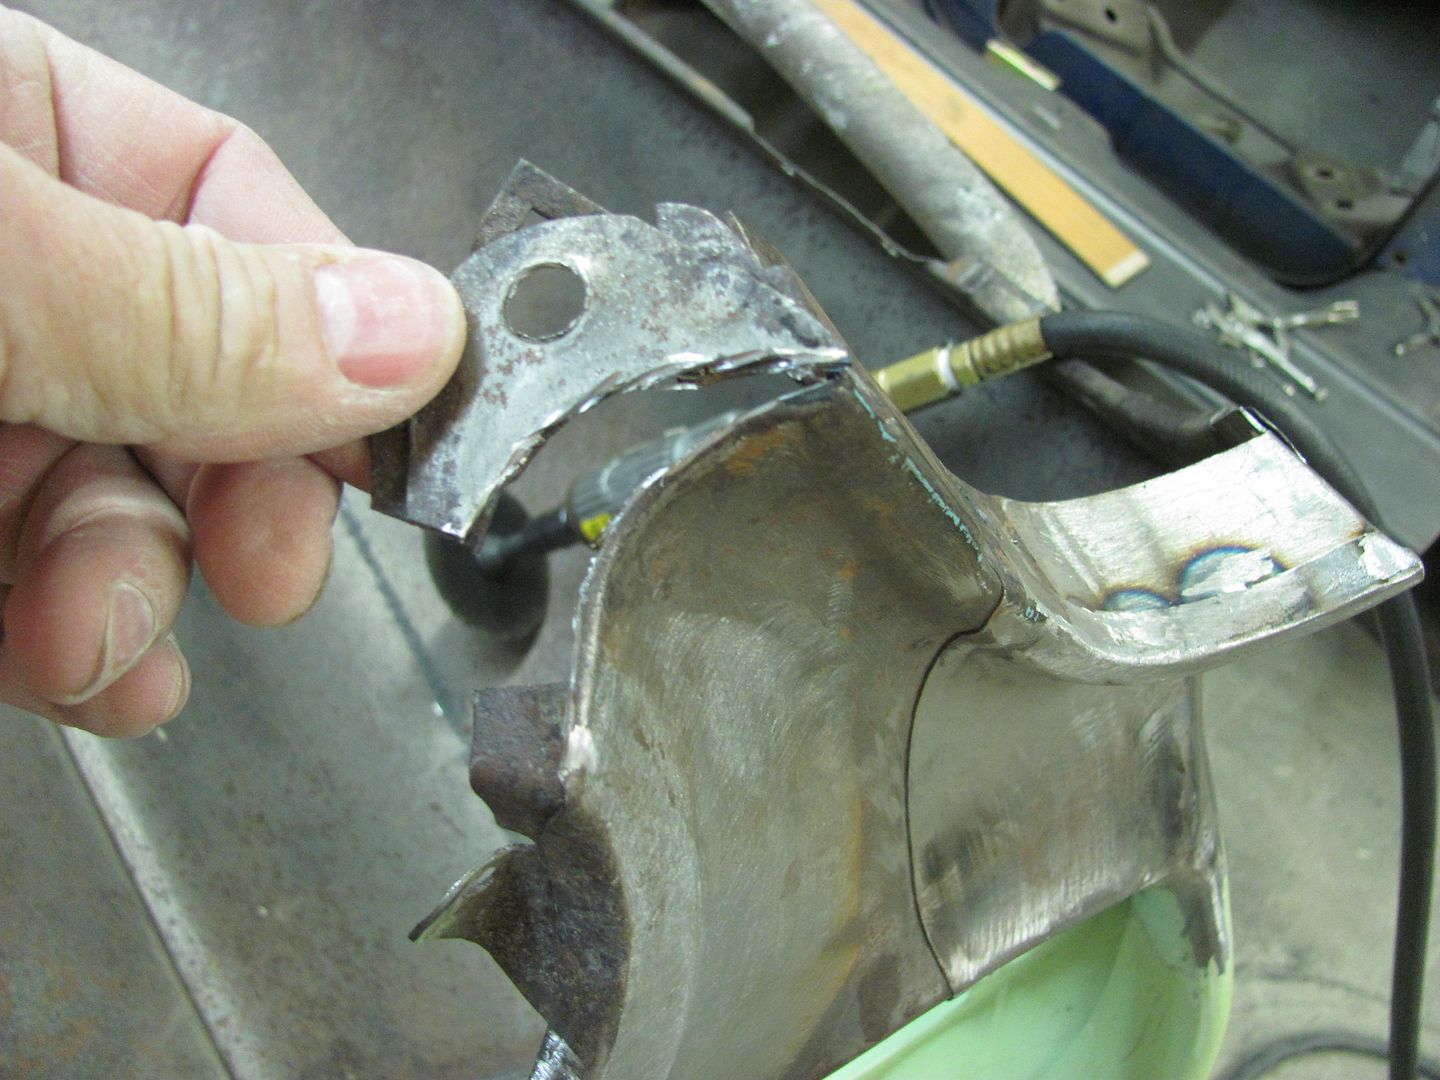
One last test fit before tipping the flange...

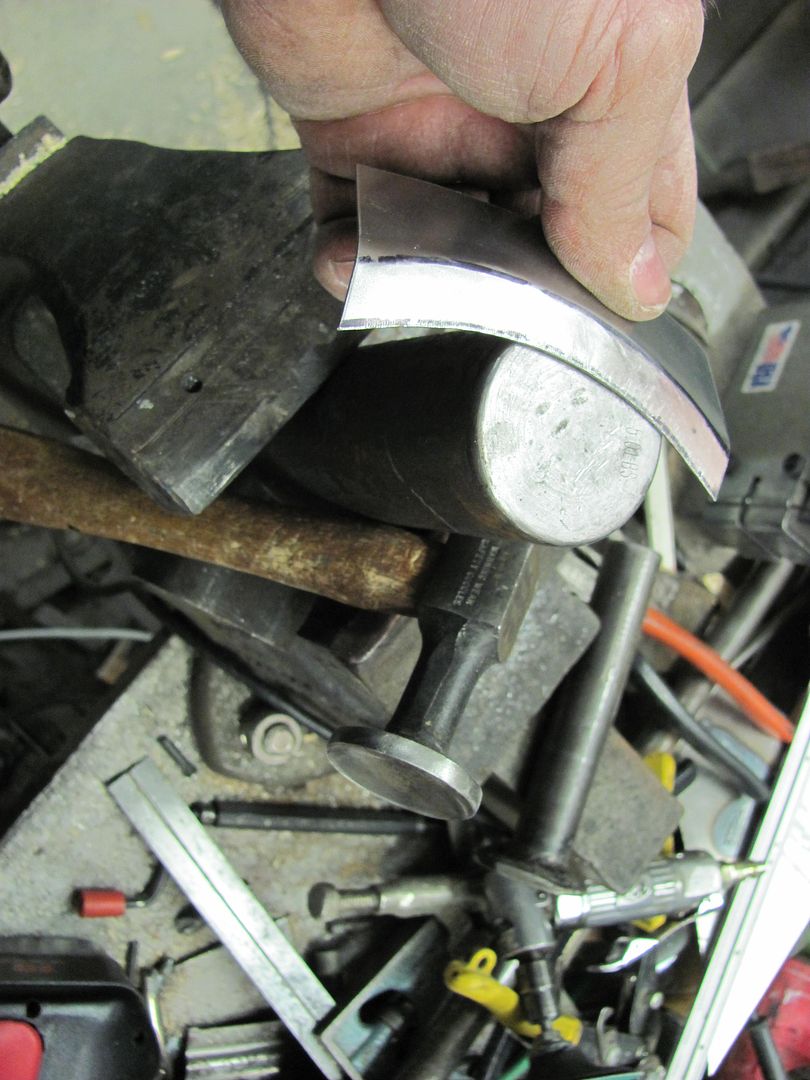
Dumb mistake number one....don't cut the patch so small you can't get leverage to force the flange to tip...
Well, we do have a good crease to work from now. Some hammering on the 2" round anvil will work
Trimmed to fit...
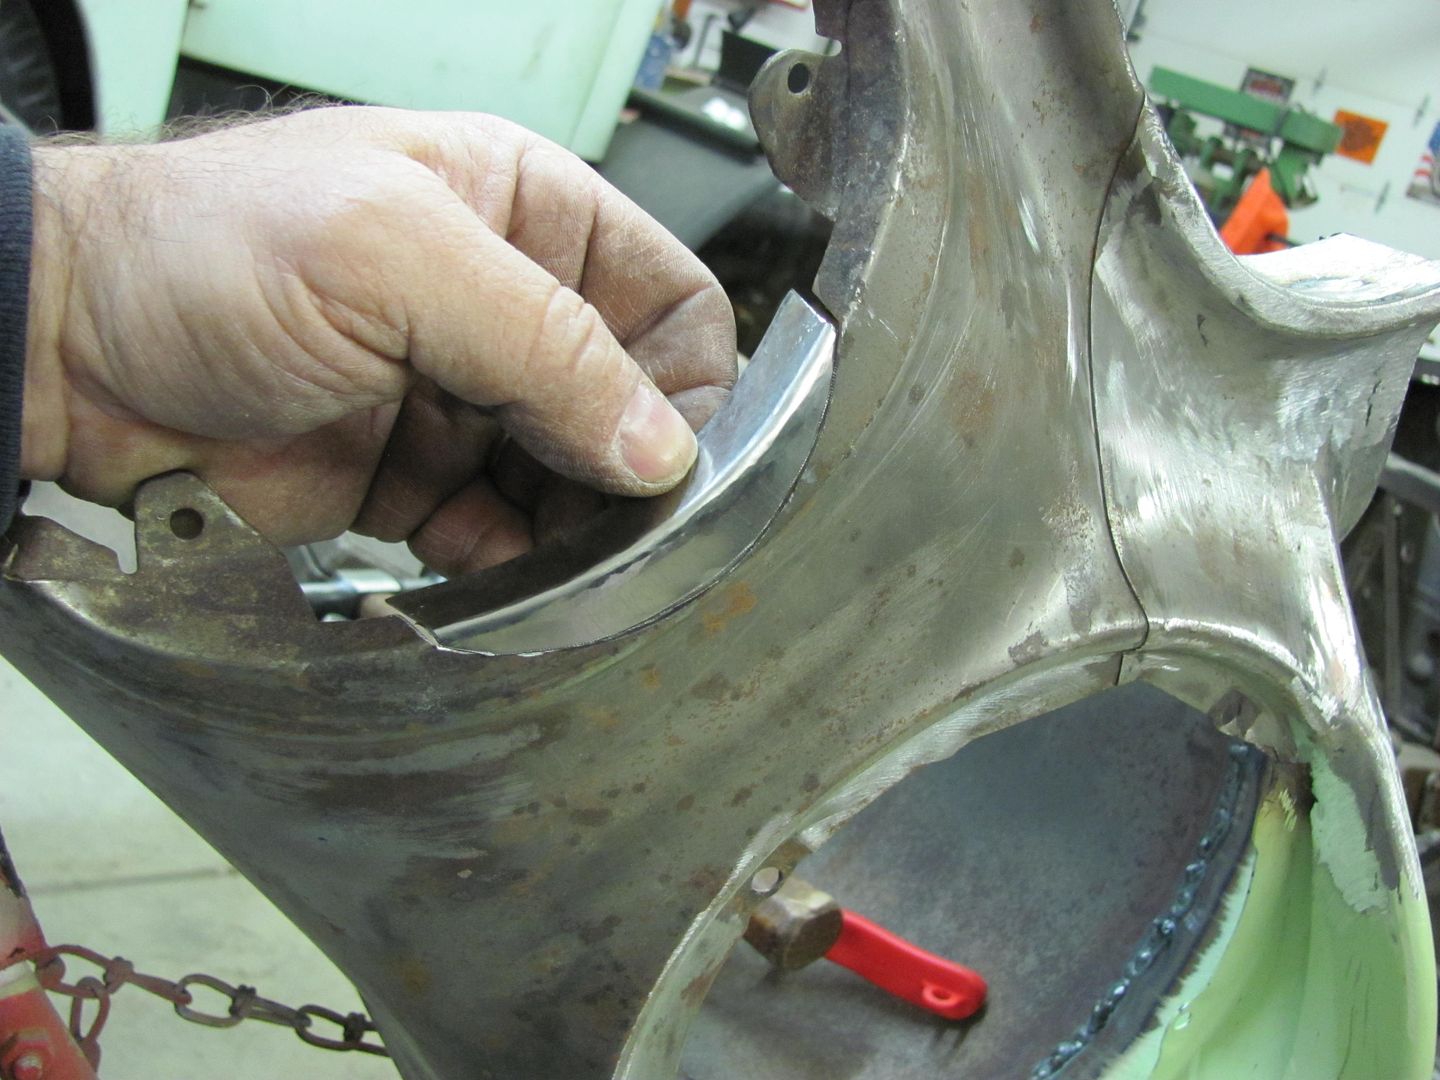
Welded and dressed...
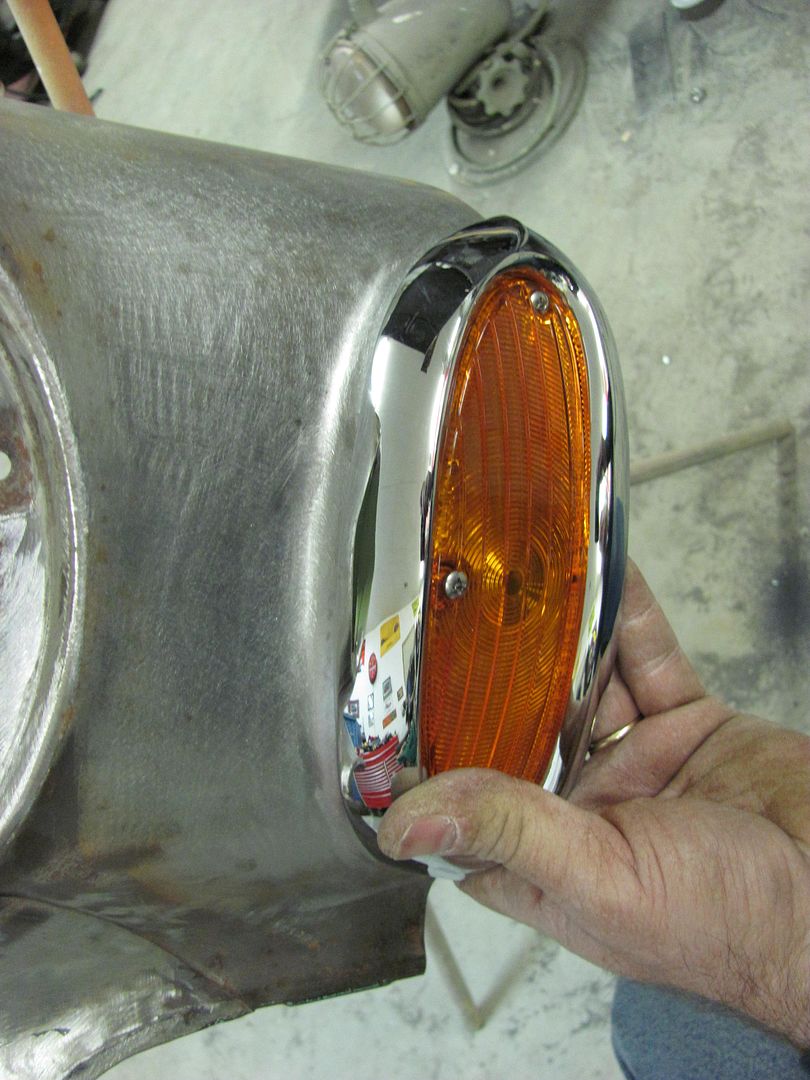
Hey...the light even fits
Comment
-
You make that look easy are you really that talented or is it a trick with mirrors.HaHa Nice work.Greg & Mendy Dayton, Ohio 2007LH 2008LH 2010LH 2011LH 2012 1st 2 stops 2013LH 2015 1st 2 stops2016LH 2017 first and last stops . 2018 LH ("It's better to be dead and cool than alive and uncool!! Harley Davidson!")Comment
-
Smoke and mirrors...haha. Lots of practice. I've always tried to improve my methods with each new project, and I'm finally getting to a point where the scrap pile is staying smaller than the sheet stock.
Working on other peoples stuff kinda backs you in a corner to deliver also.
Last edited by MP&C; February 2, 2013, 09:06 PM.Comment
-
I've said it before and I'll say it again. I hated talented people *LOL* Nice work!TomOverdrive is overrated
Comment
-
Haha! Thanks Tom.
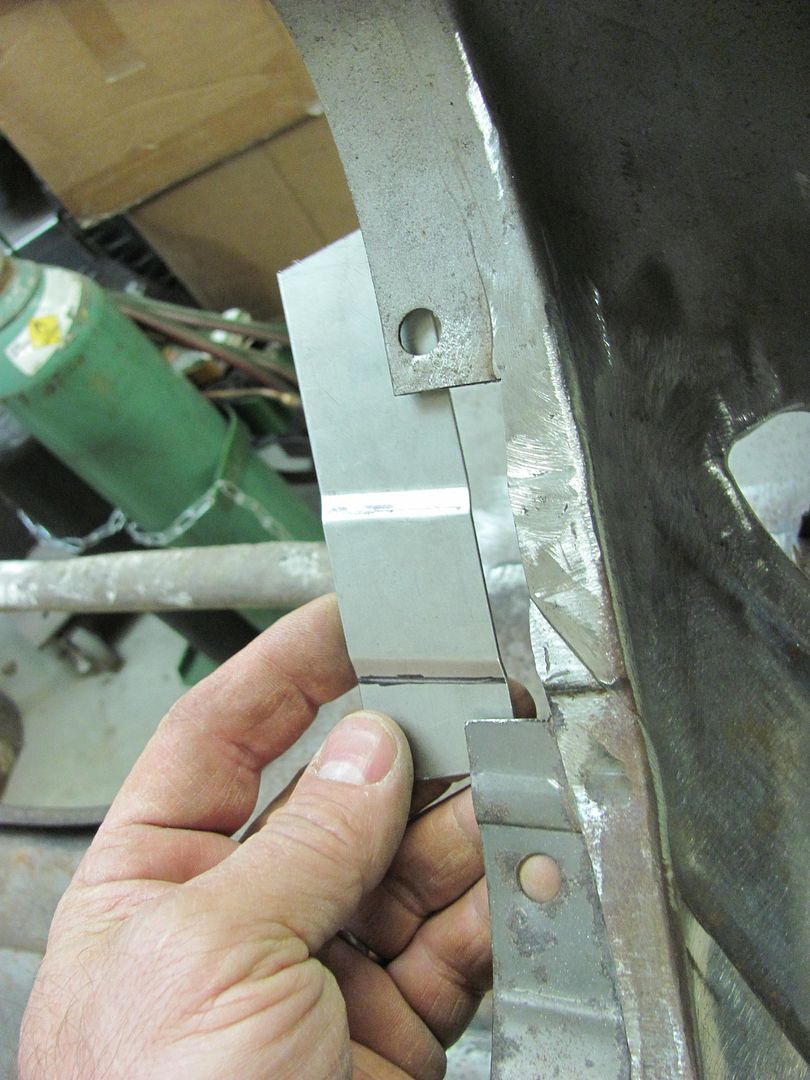
started the prep for shaving fender number two.....
Then the top of the seam was trimmed....
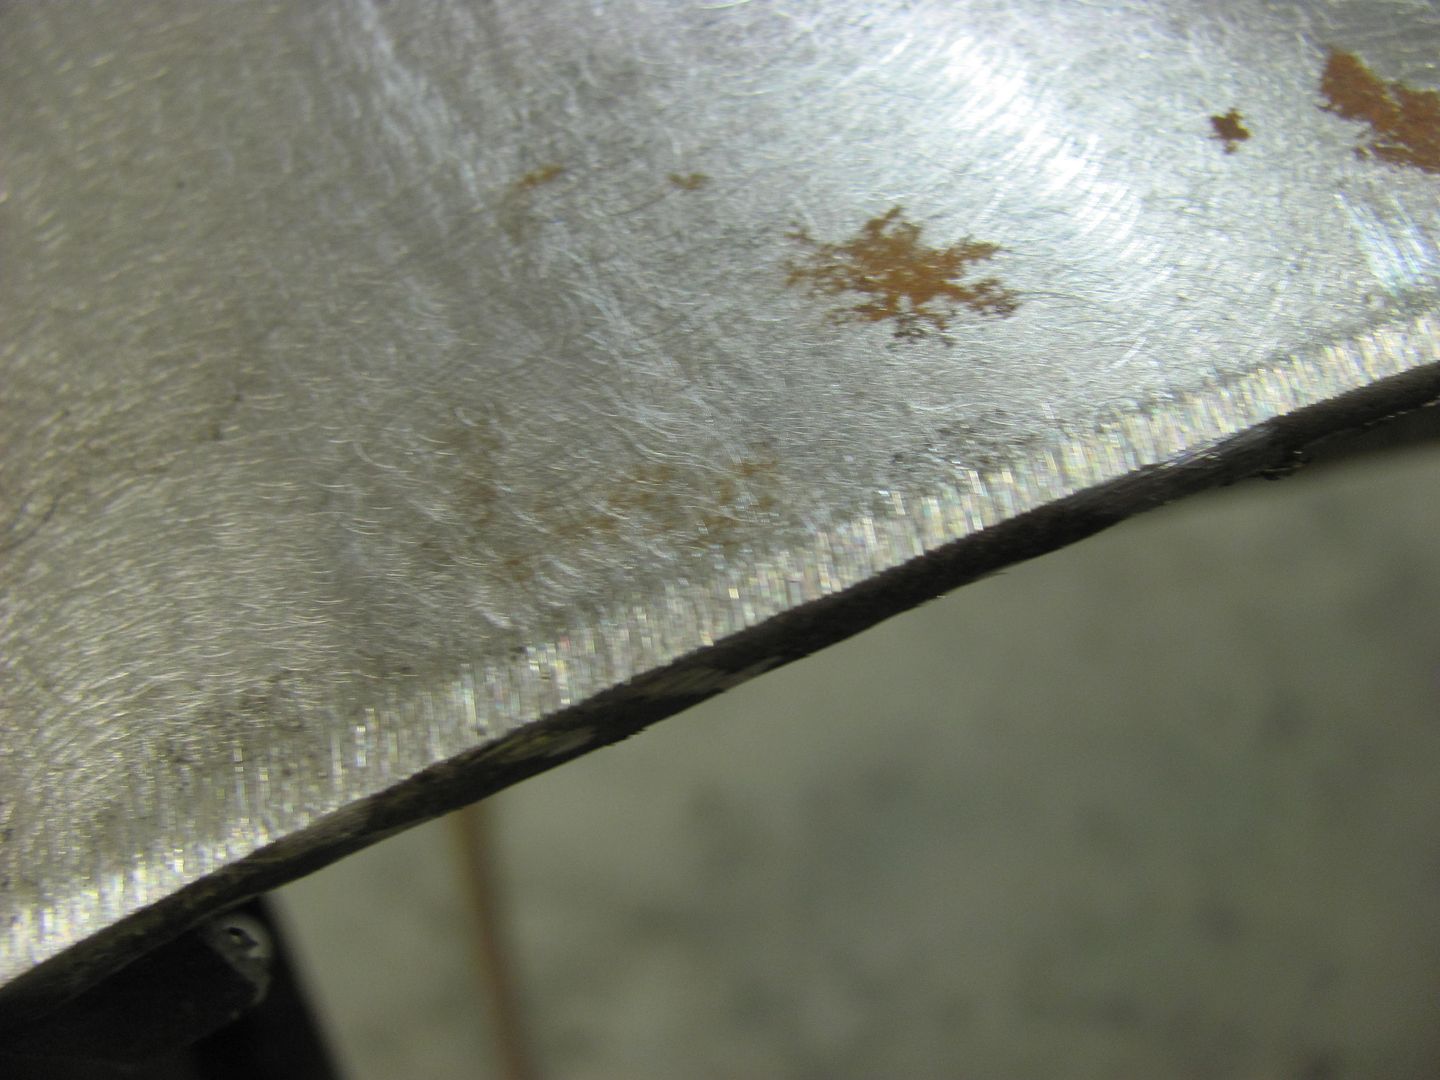
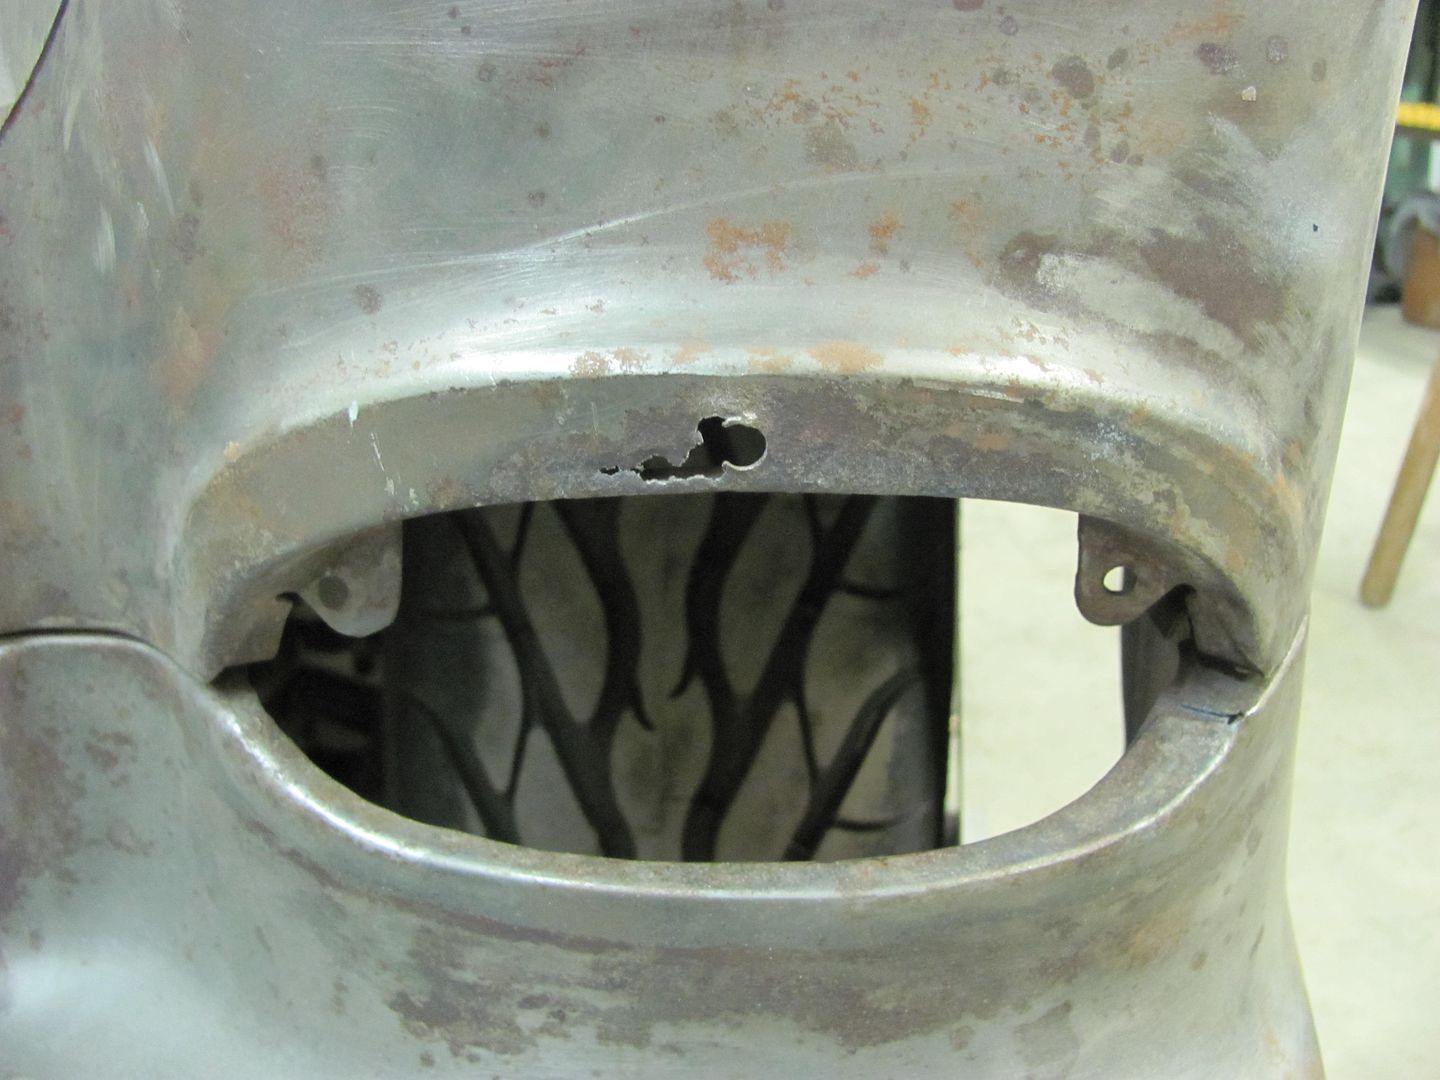
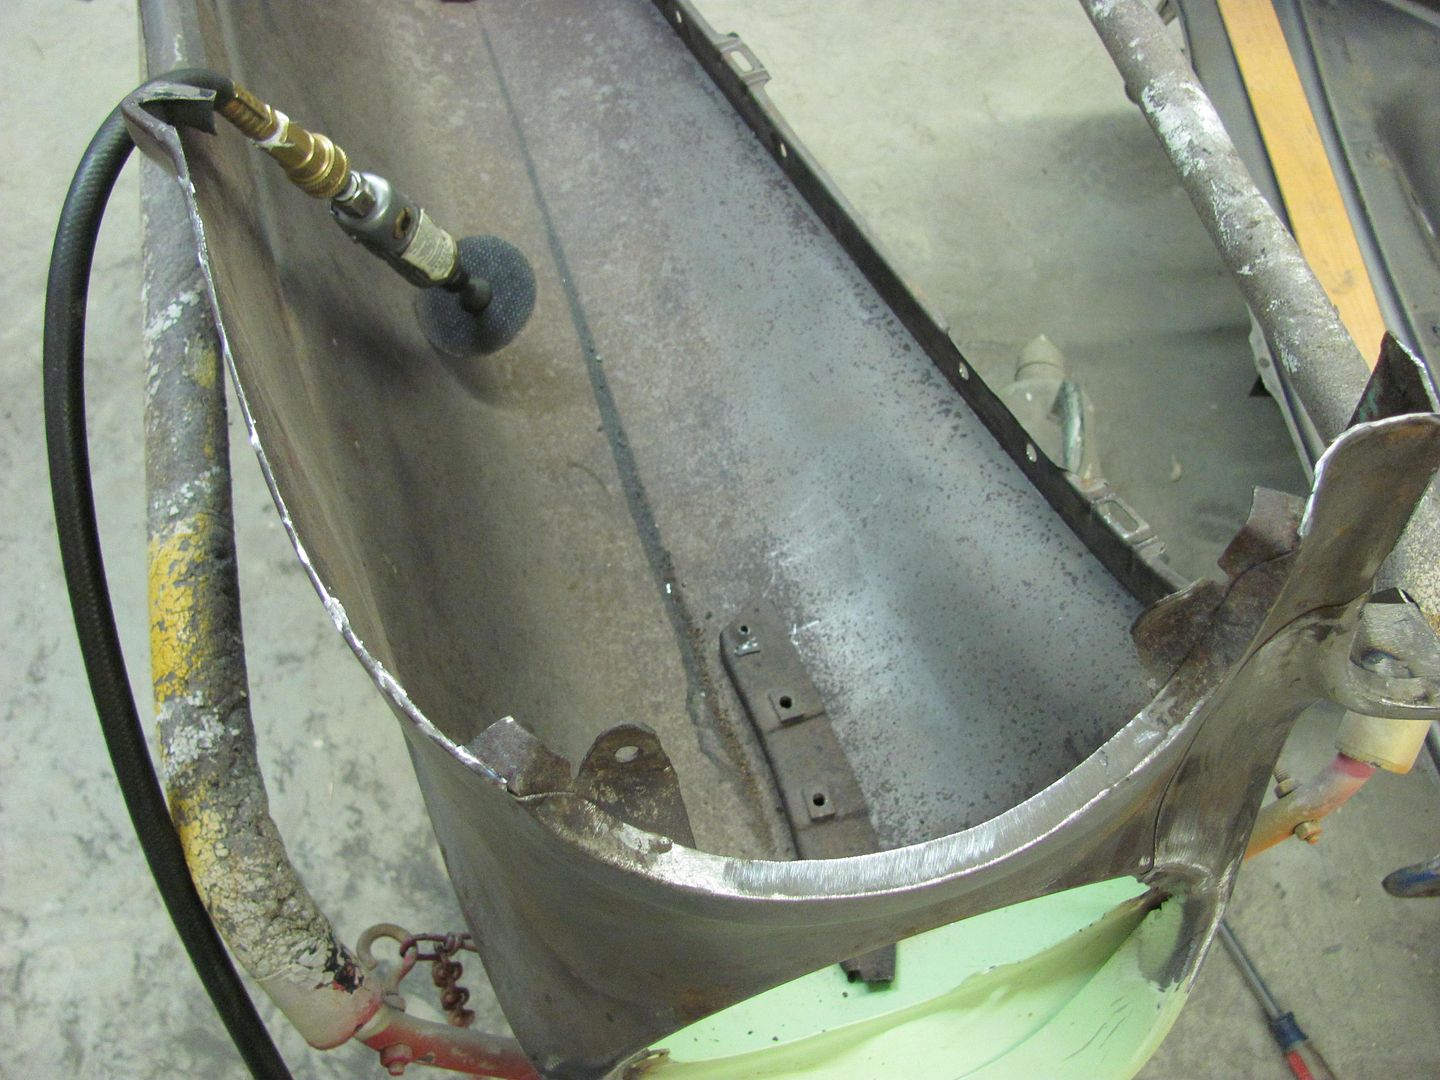
When trimming along through the center, I noticed a weak spot on the back side....


This is where some dirt had been trapped behind the bolting plate on top of the flange, and looks like it wouldn't have been long in coming through paint. To be able to trim the pitted area out, the lower section was trimmed with about 3/16 extra... see the scribe mark...
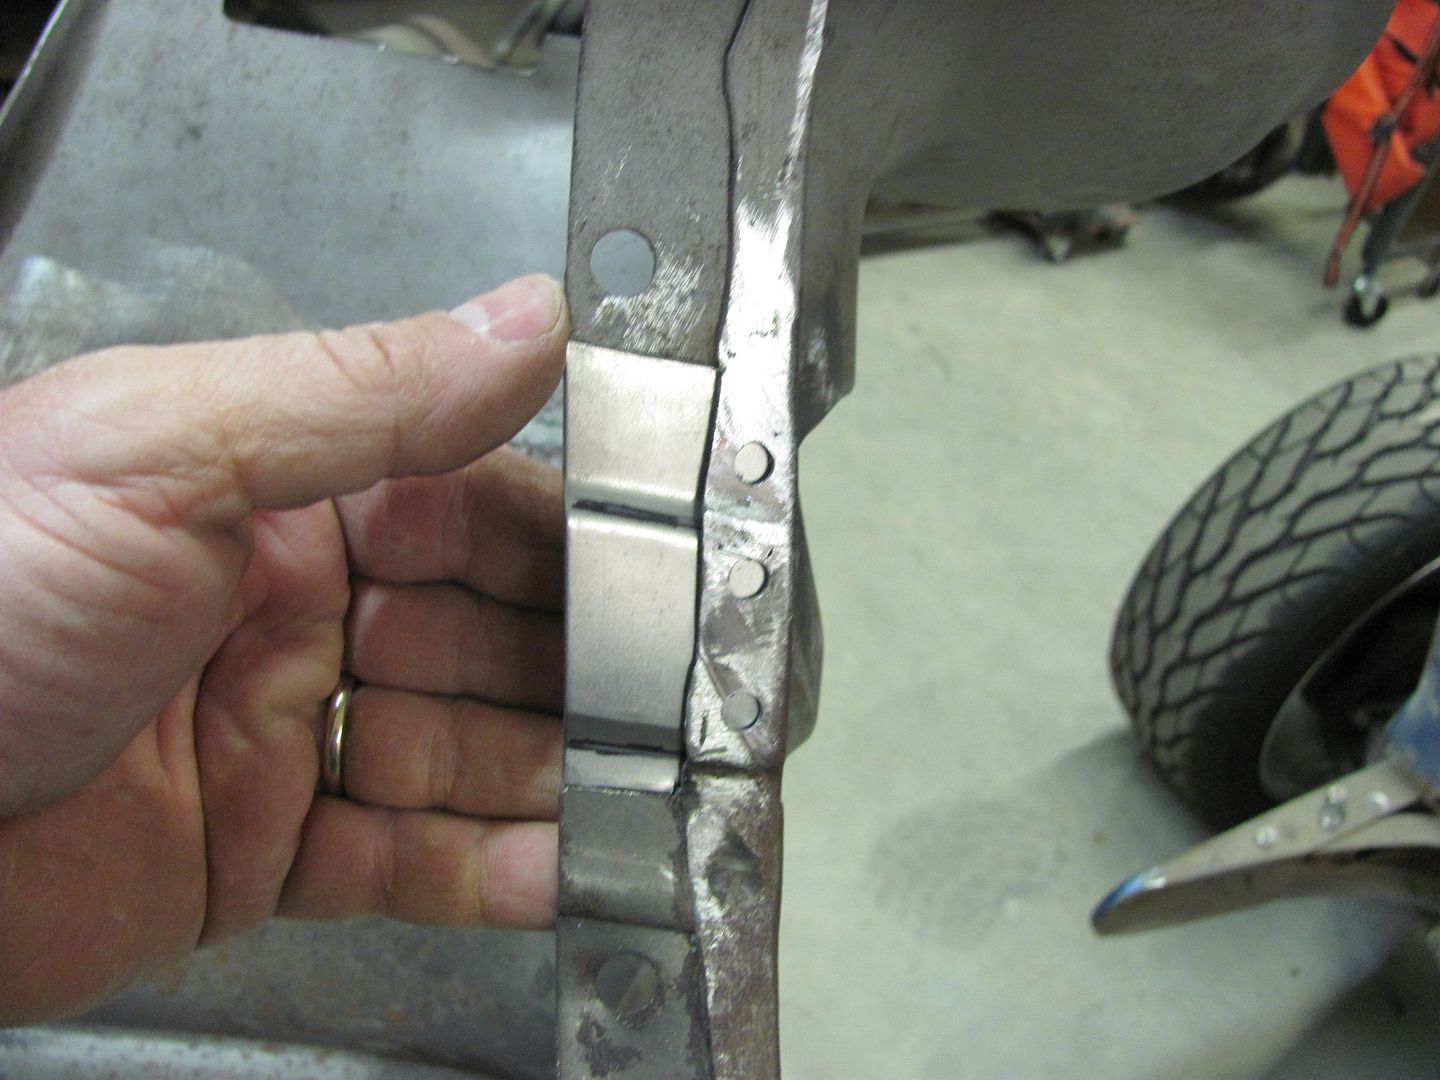
Planished flat..

Clamped over fender and scribed....
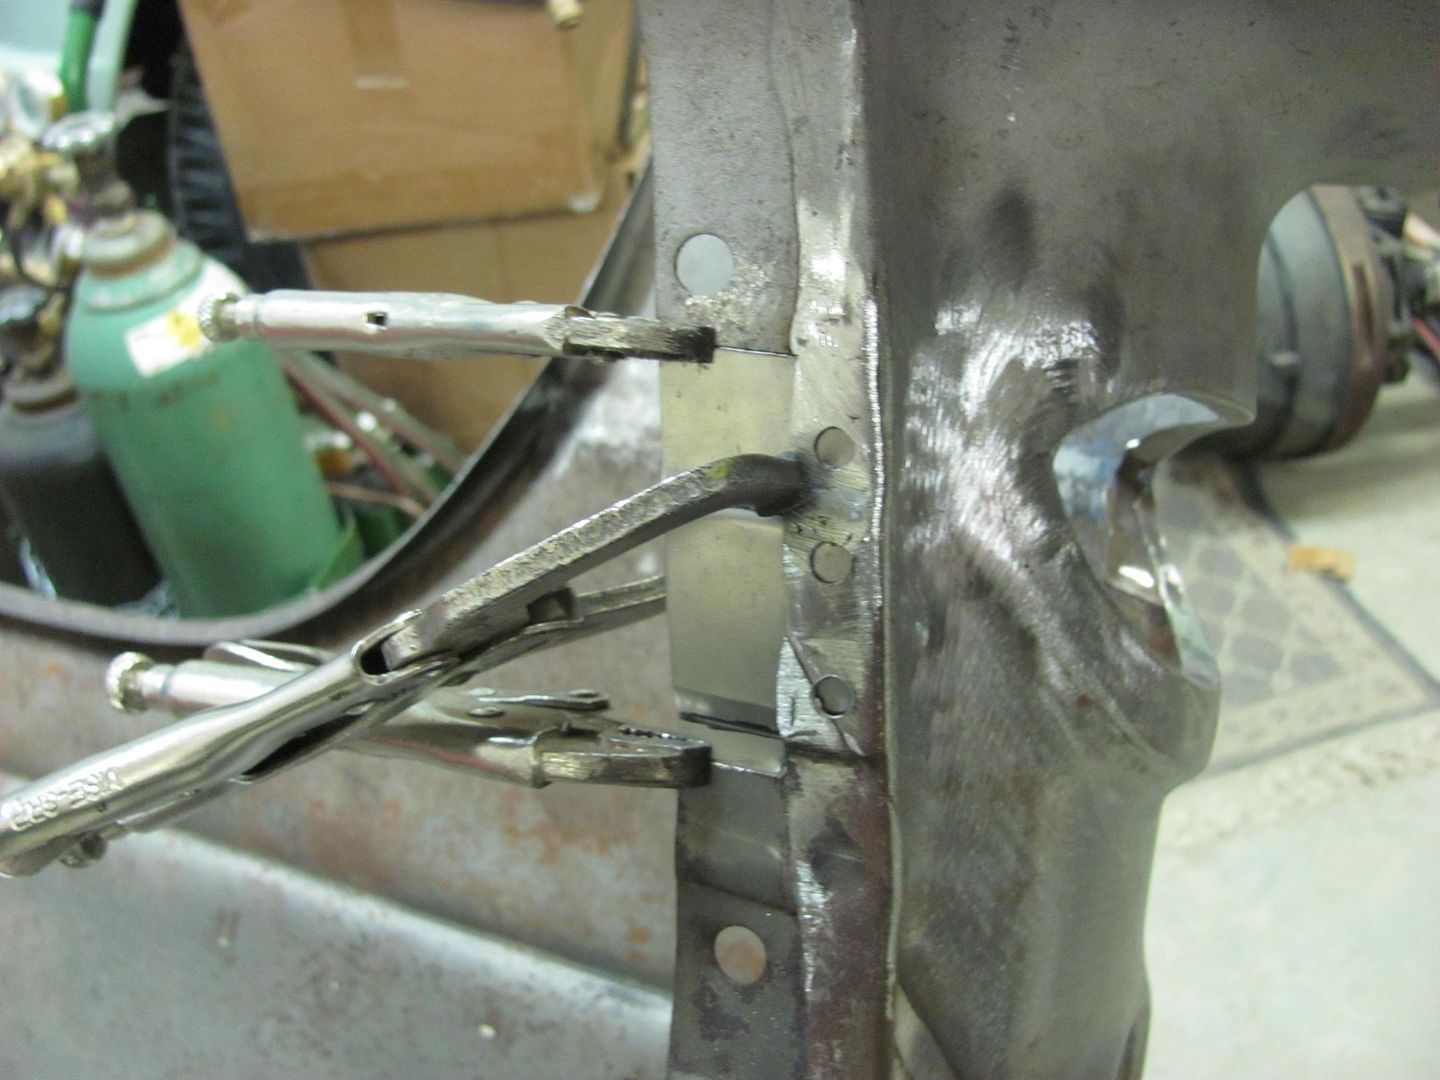
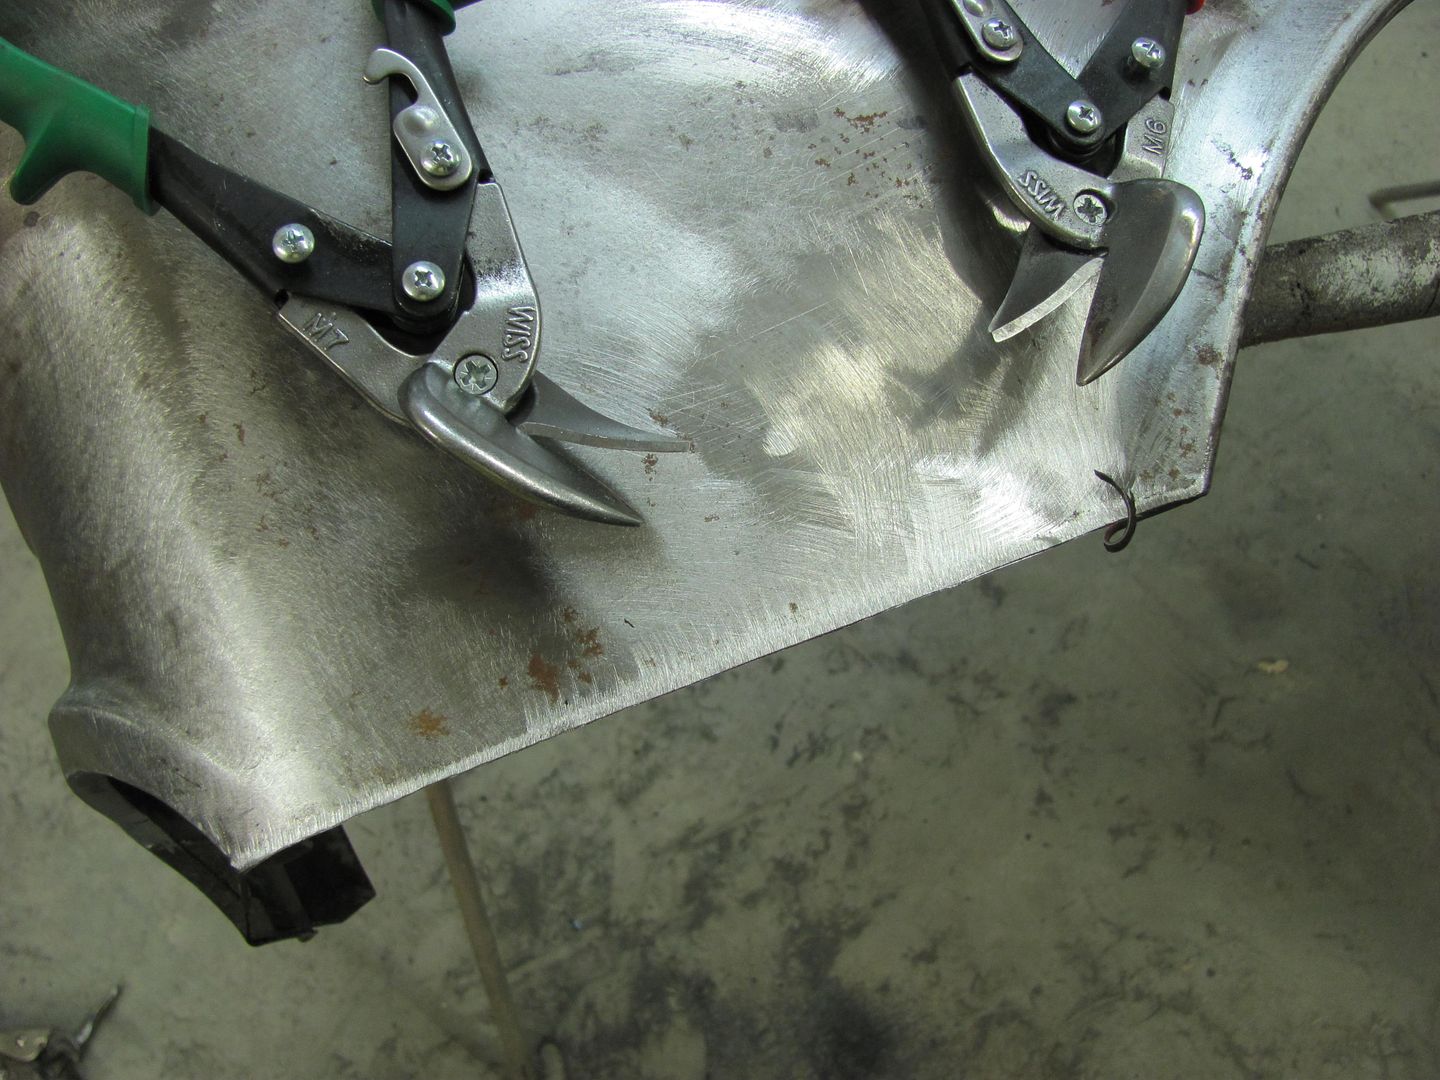
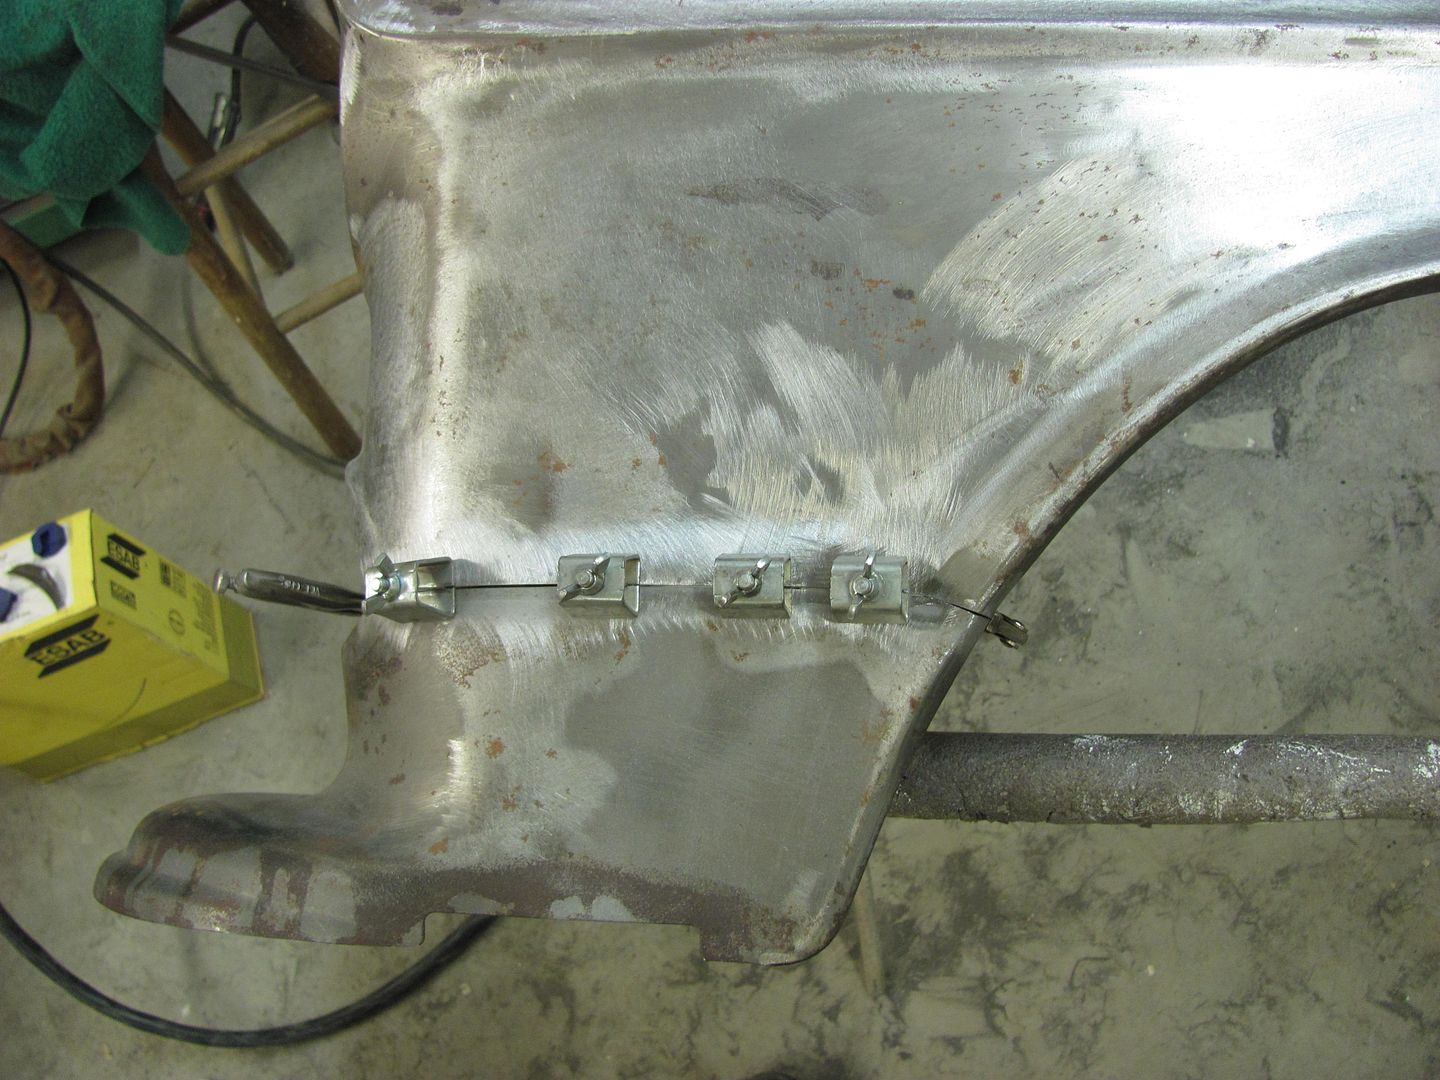
Trimmed for tight fit. Note that butt weld clamps are used to hold for fitment only, joint will be butted tight when welding...
until next time....Comment
-
Man this thread is like a cliff hanger movie I can't wait to see what you post next I check everyday just to see if you have posted new stuff. It is very detailed even though I have been doing this myself for years you still show me easier ways to do it and for this I thank you keep up the good work and the great posts.Greg & Mendy Dayton, Ohio 2007LH 2008LH 2010LH 2011LH 2012 1st 2 stops 2013LH 2015 1st 2 stops2016LH 2017 first and last stops . 2018 LH ("It's better to be dead and cool than alive and uncool!! Harley Davidson!")Comment
-
Yeah, this is great stuff. We're all going to school here......thx.Ed, Mary, & 'Earl'
HRPT LongHaulers, 08, 09, 10, 11, 12, 13, 15, 16, 17, 18, 19.
Inside every old person is a young person wondering, "what the hell happened?"
The man at the top of the mountain didn't fall there. -Vince LombardiComment
-
Seriously - thanks for taking us along for the ride. Wish I was closer and could come over to see this stuff in person.There's always something new to learn.Comment
-
Thanks for the comments guys.
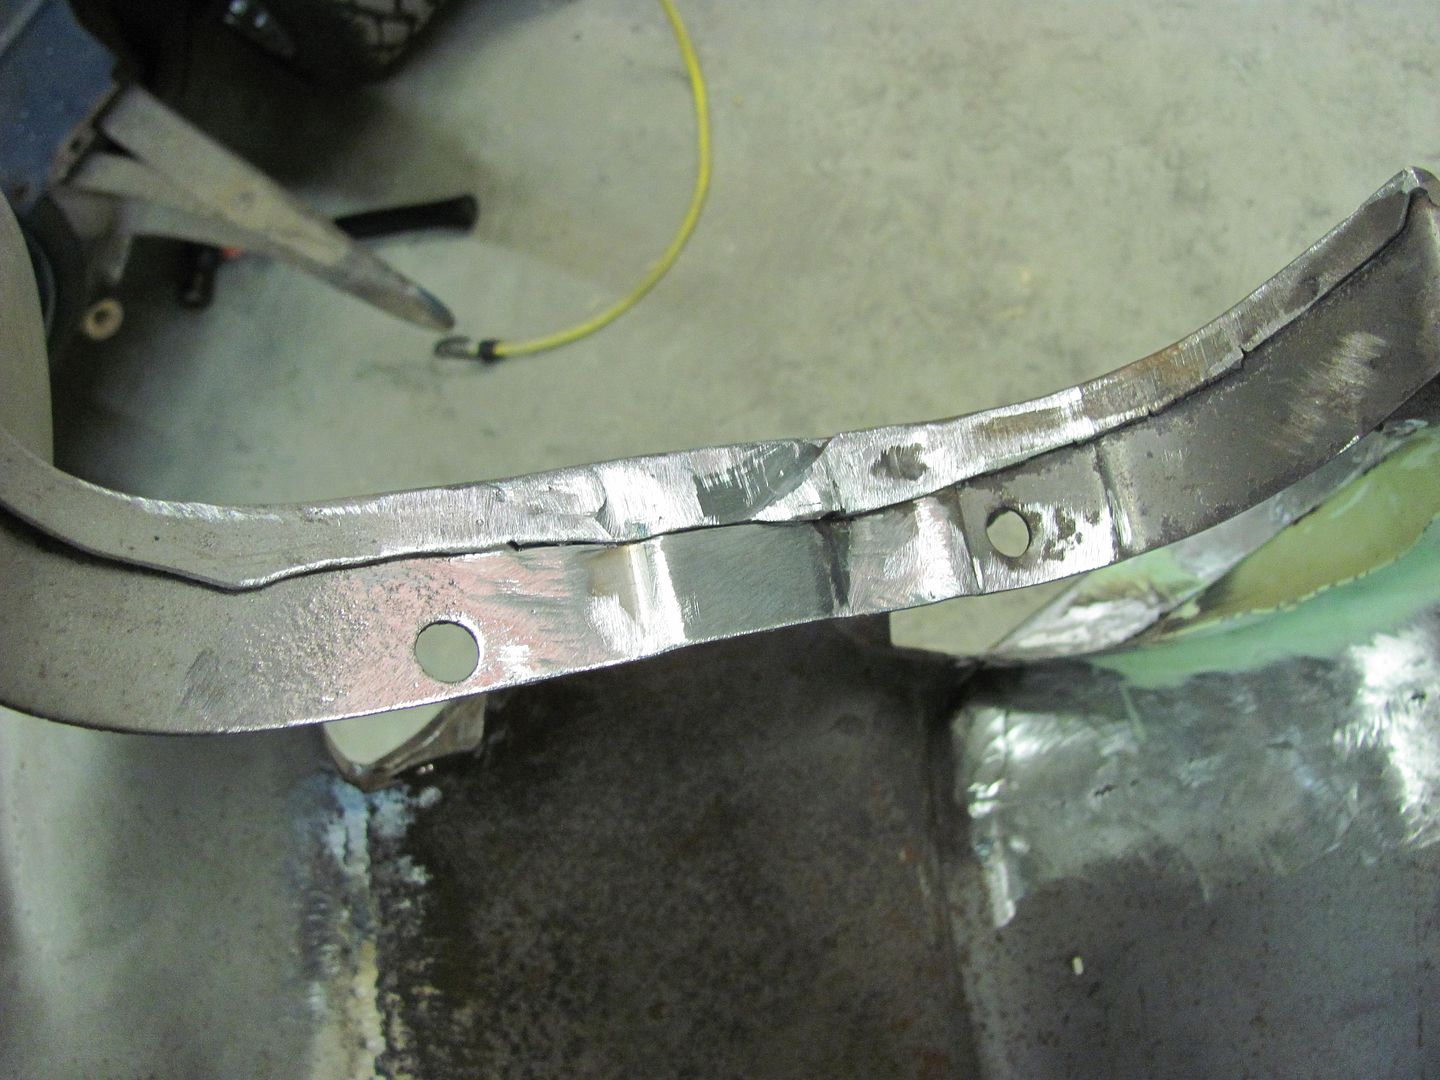
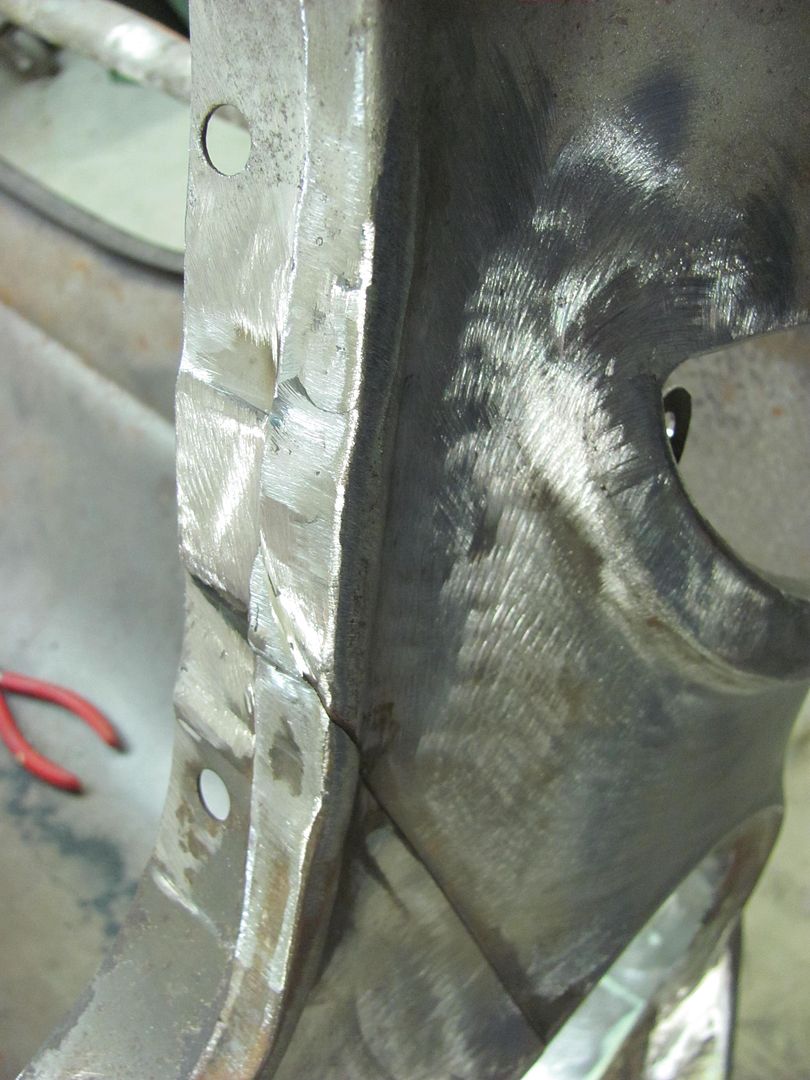
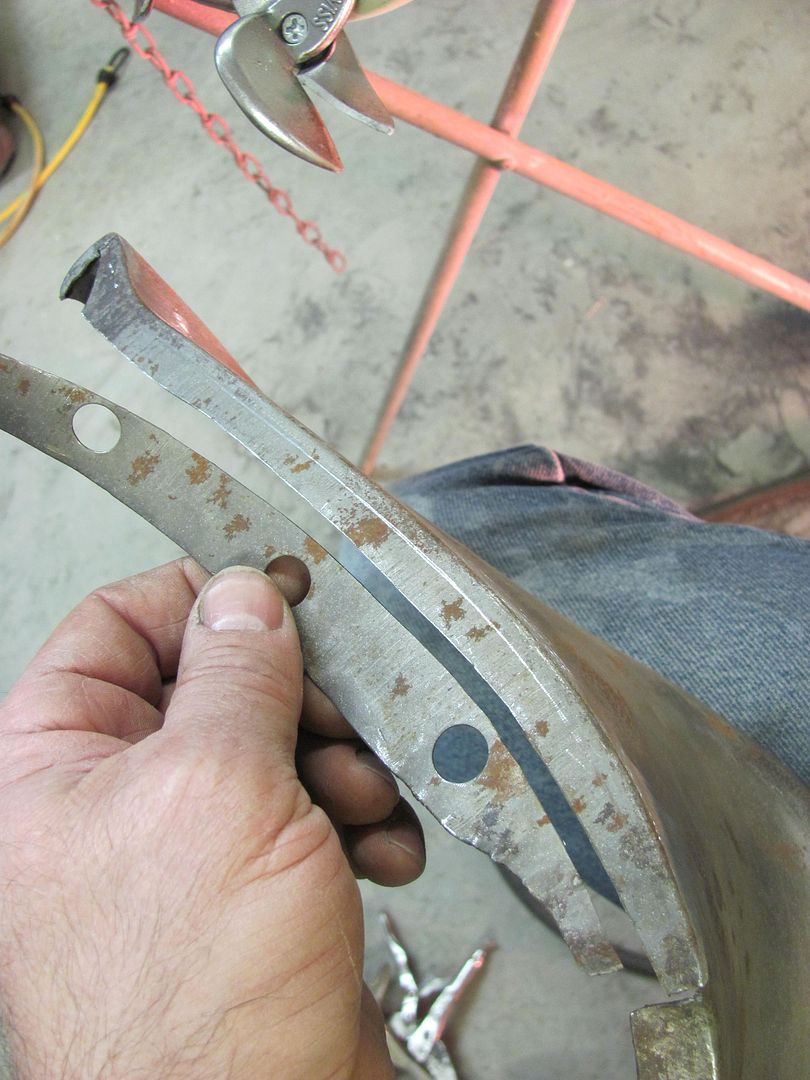
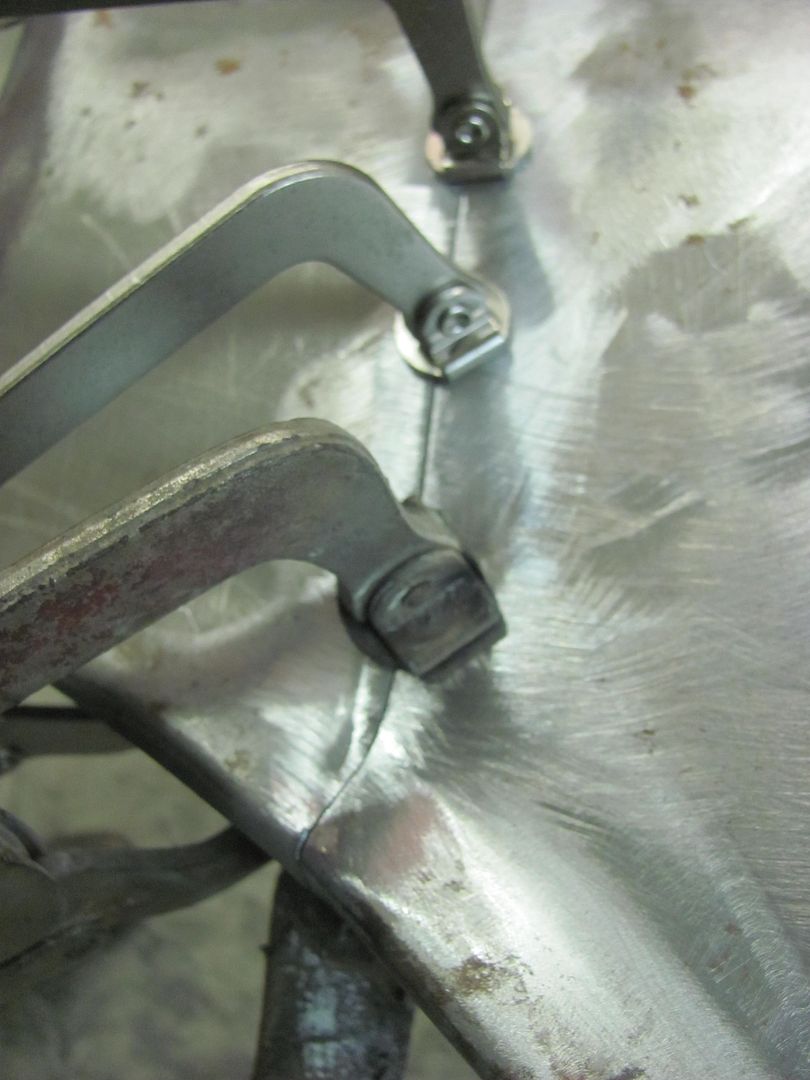
Well after the 390 valve cover diversion, time to get back to work on the 55's driver fender. The two pieces have been trimmed for a tight butt joint, shown here clamped together...
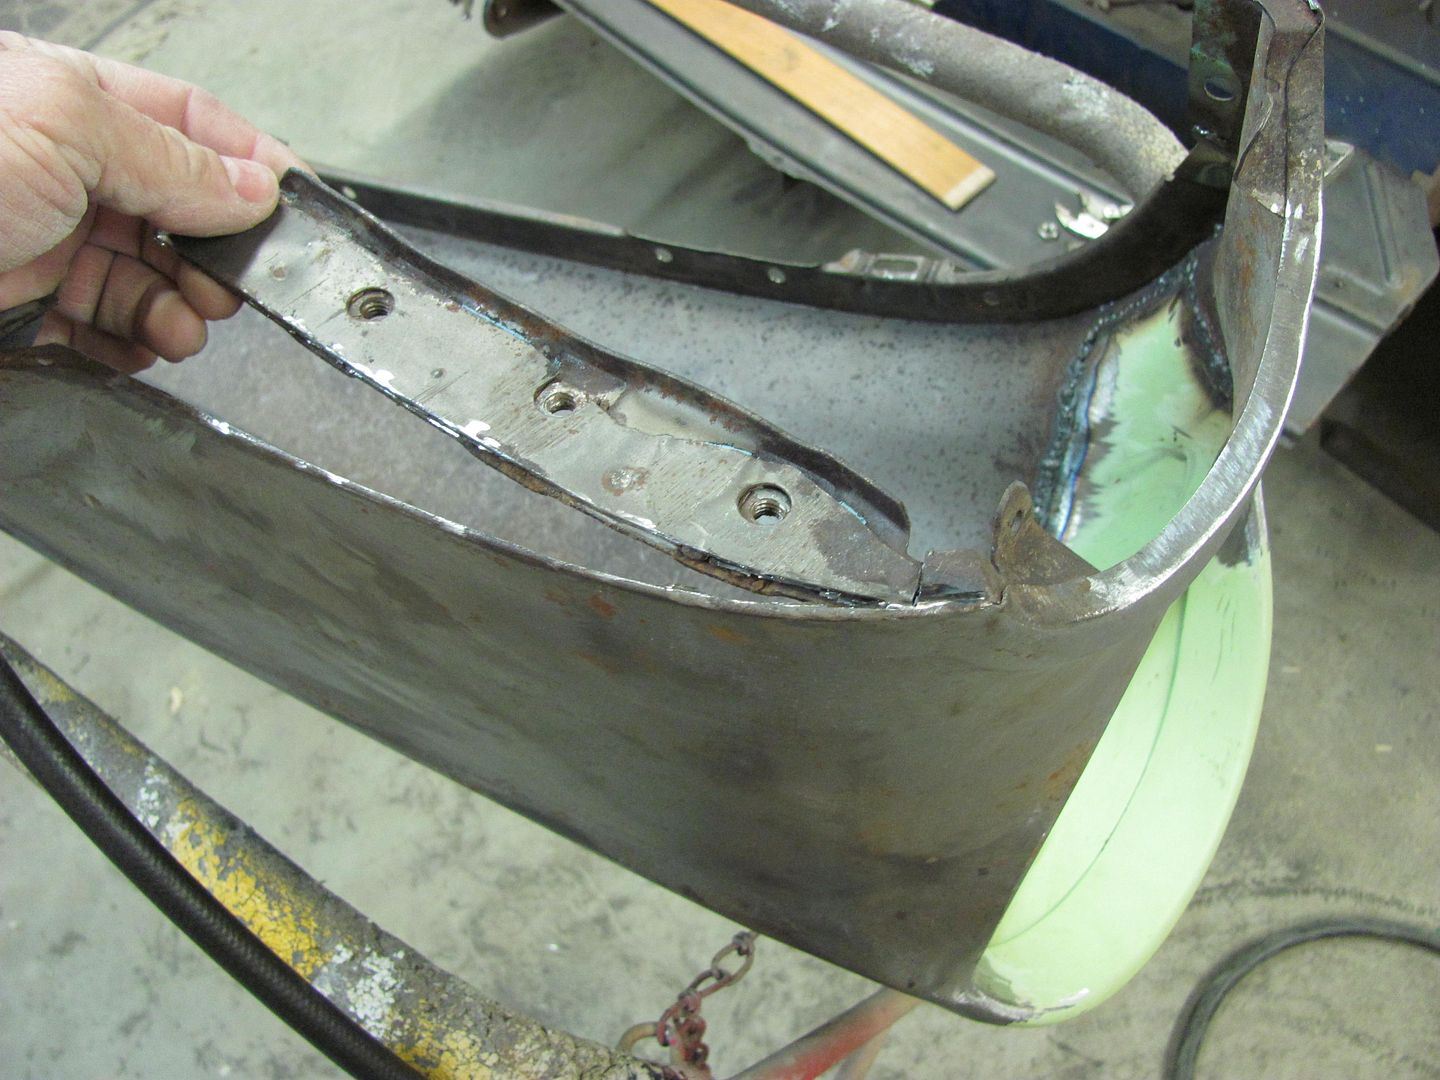
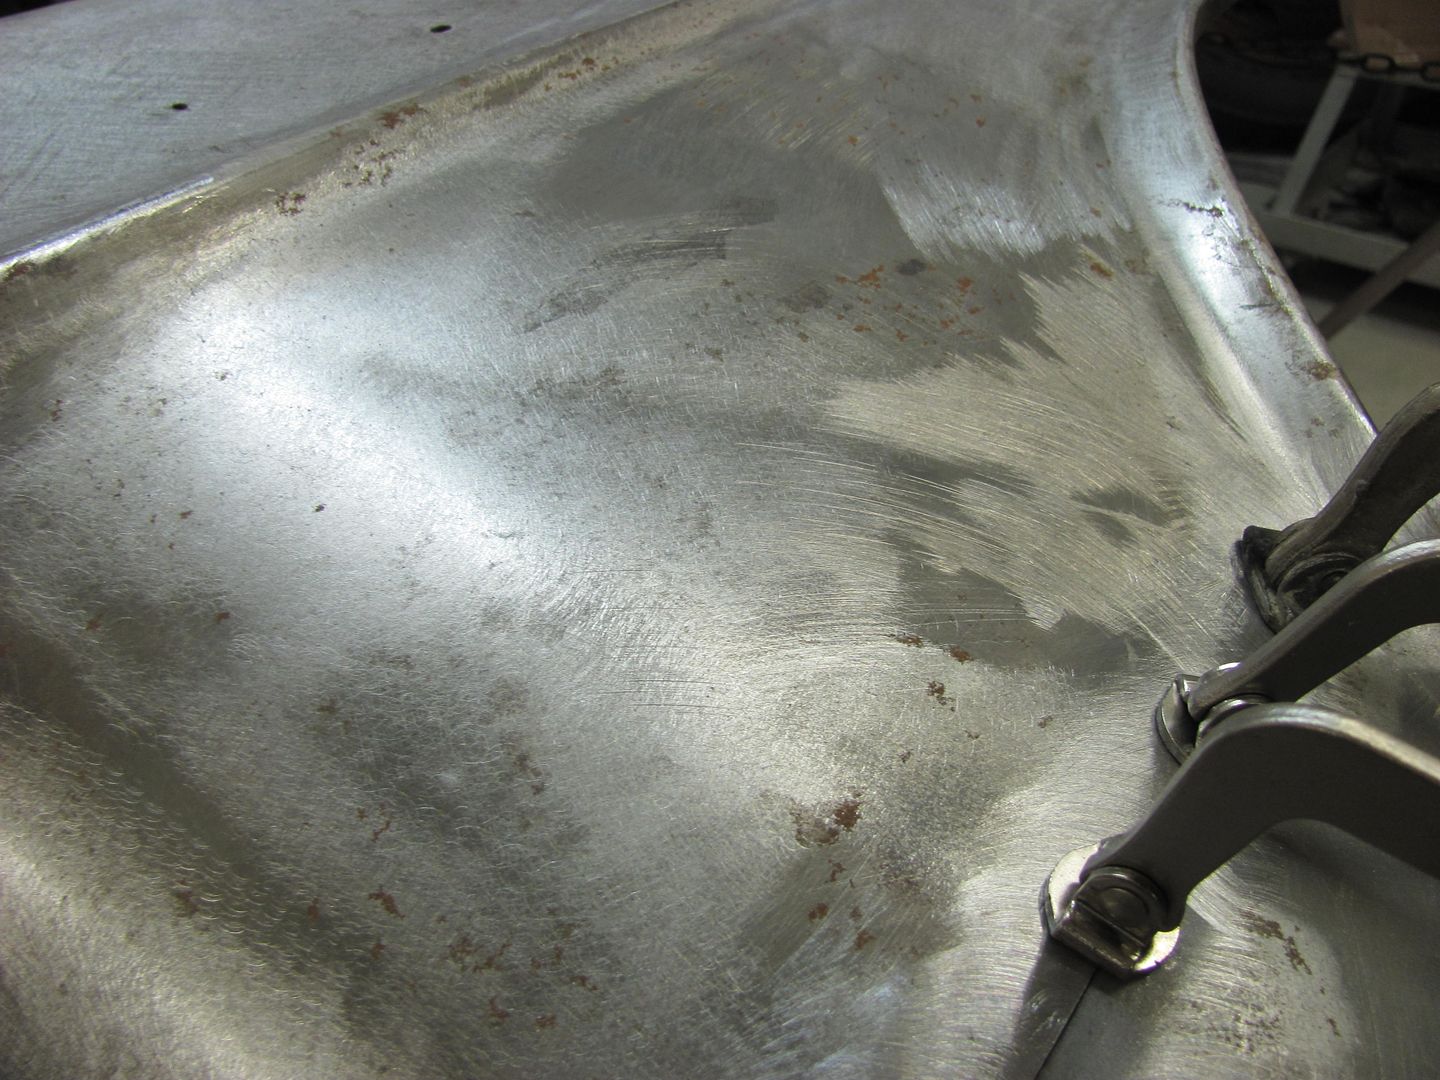
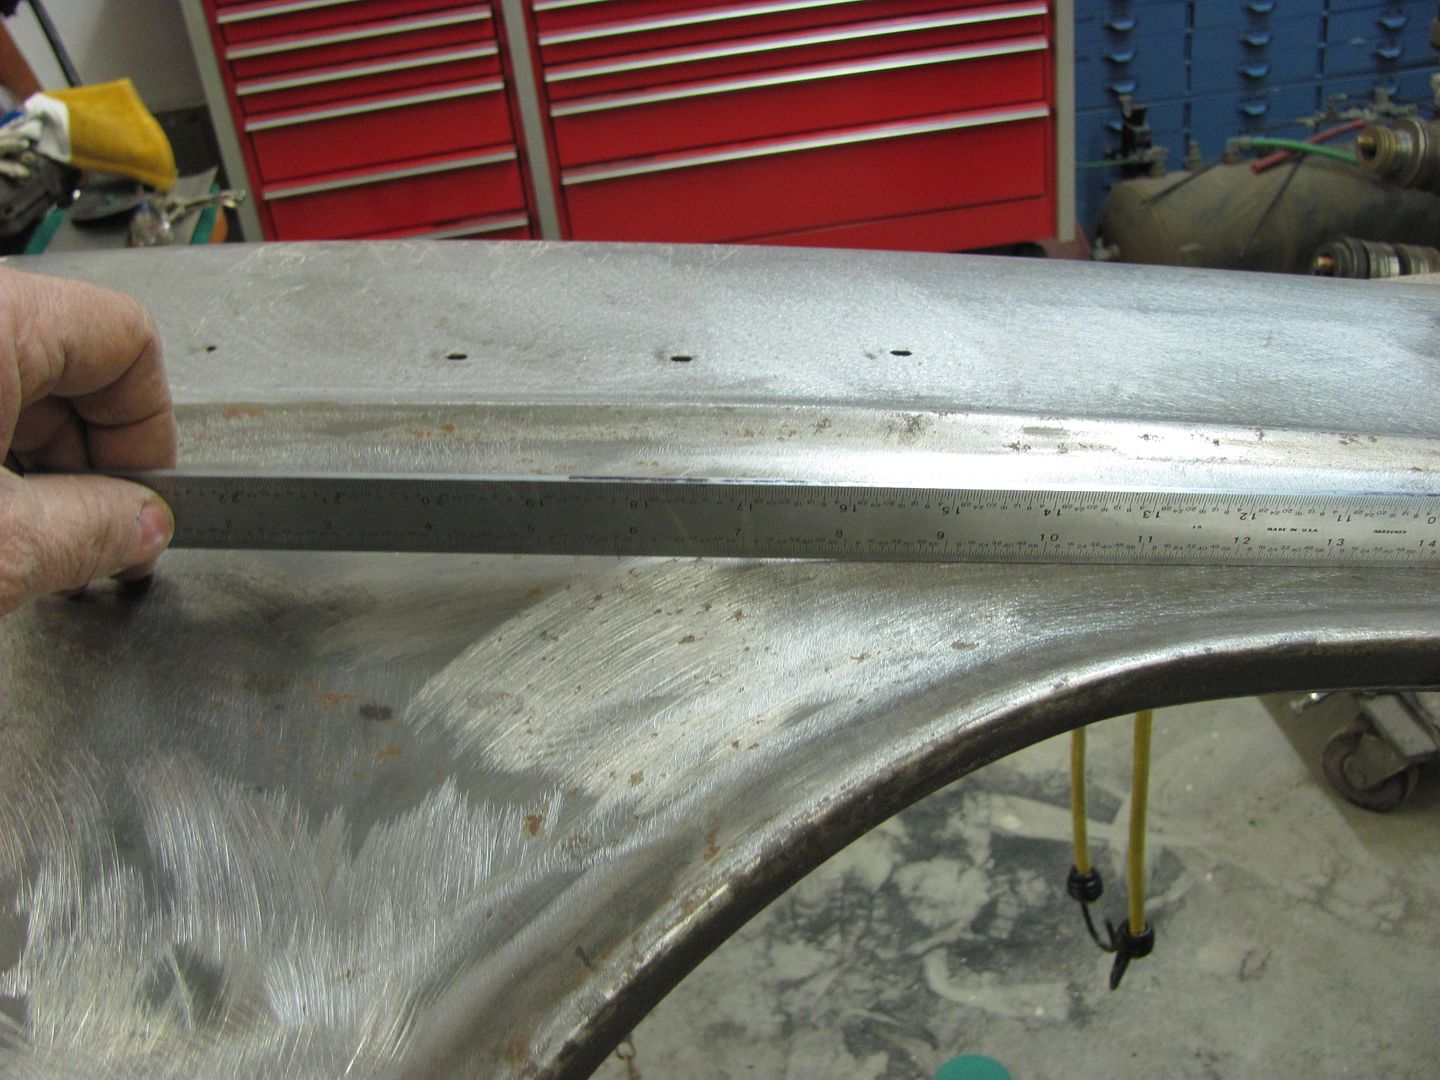
It was then I noticed the crease just above the seam..
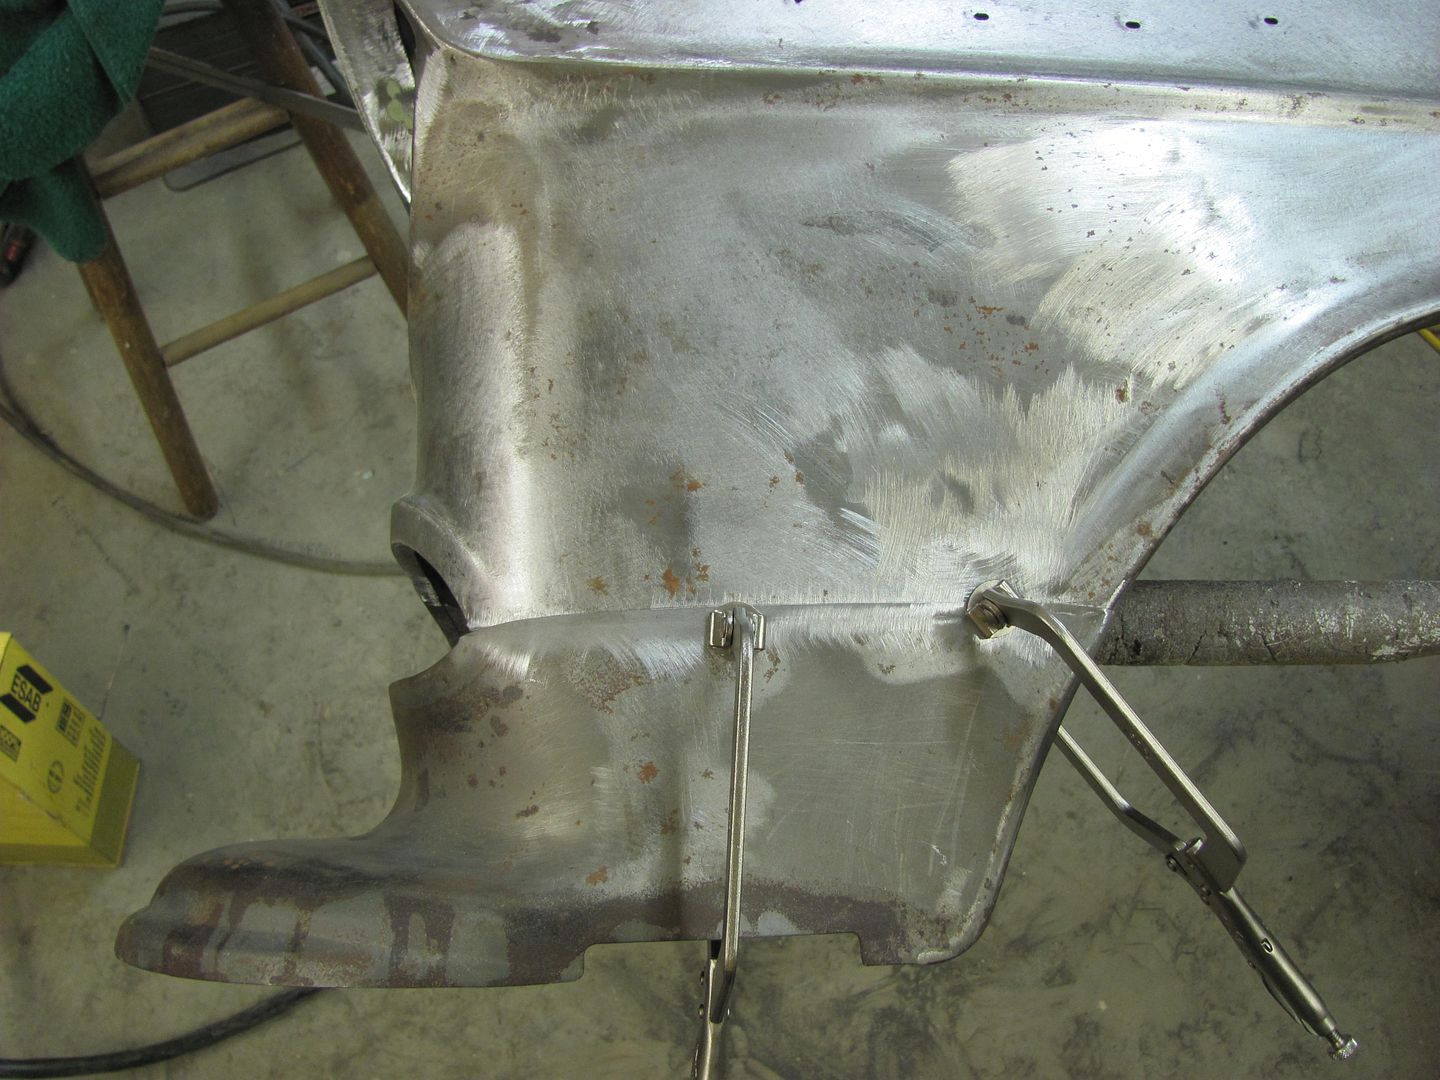
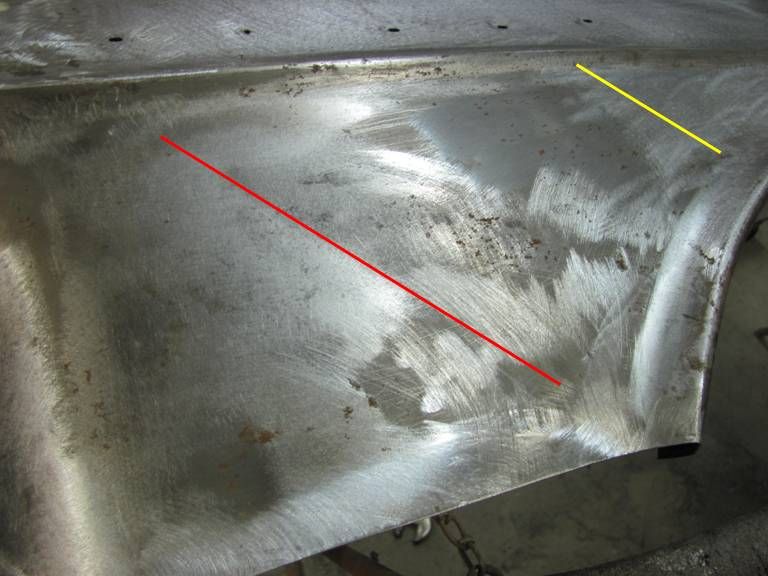
Ahhh, the dreaded fender bump. I believe this is caused by someone bumping into something with the corner of the bumper, which in turn forces the lower portion of the fender backward, thus forming the inward crease (red line) and outward crease (yellow line). Always better to fix the body damage before attempting to weld panels together.
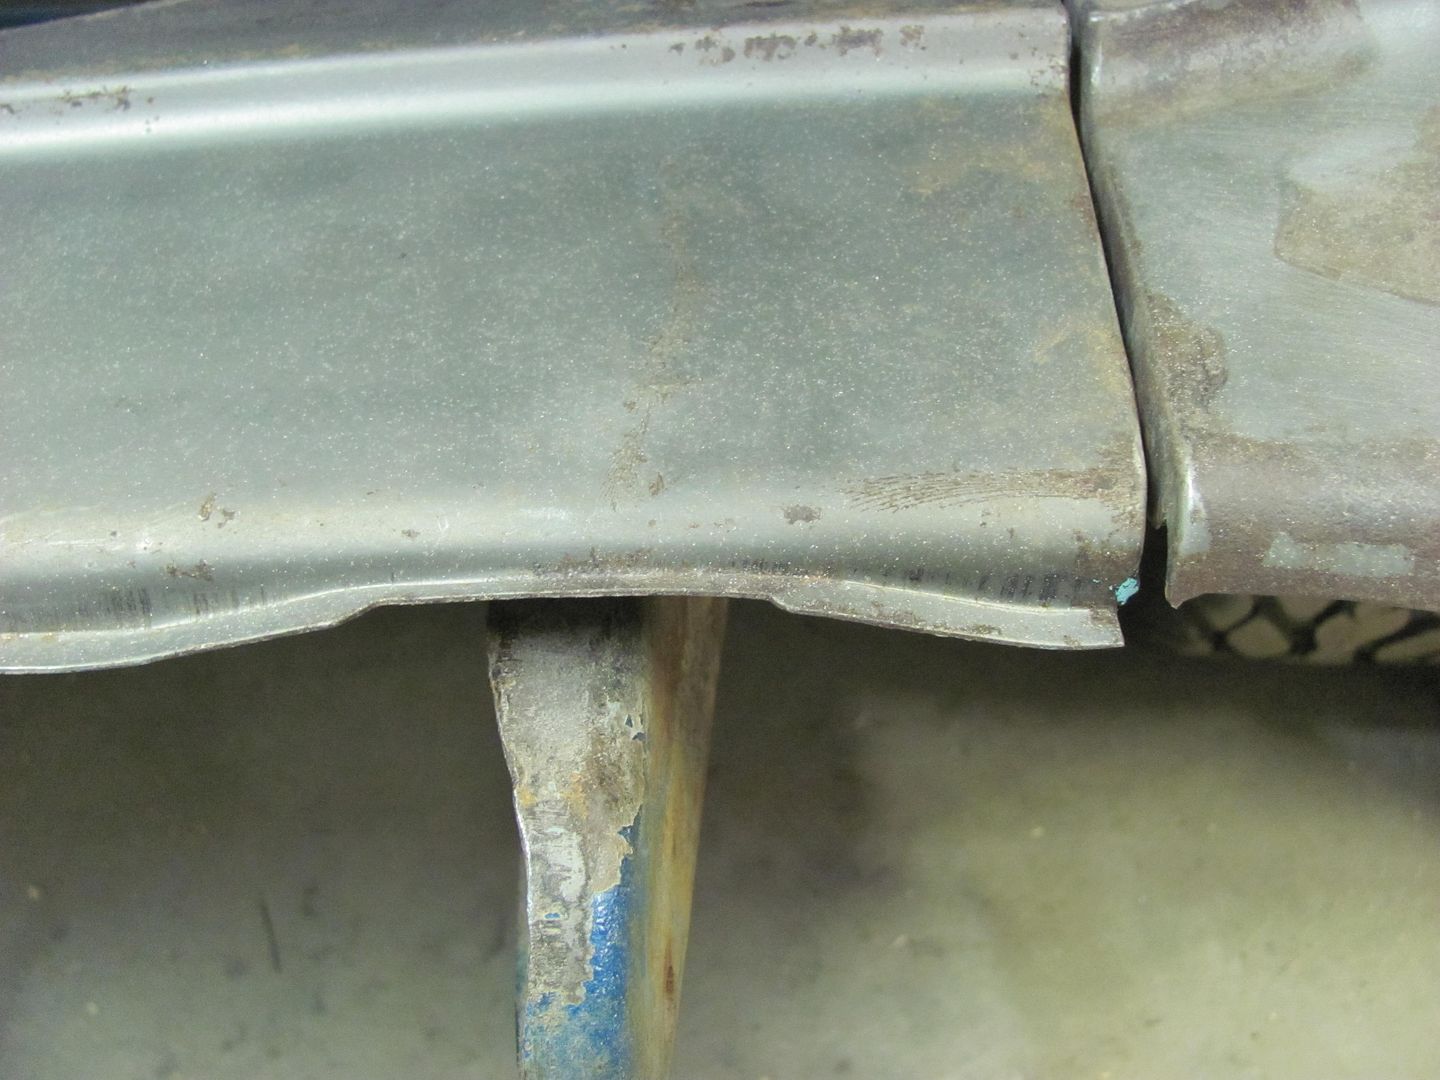
Another view of the outward crease....
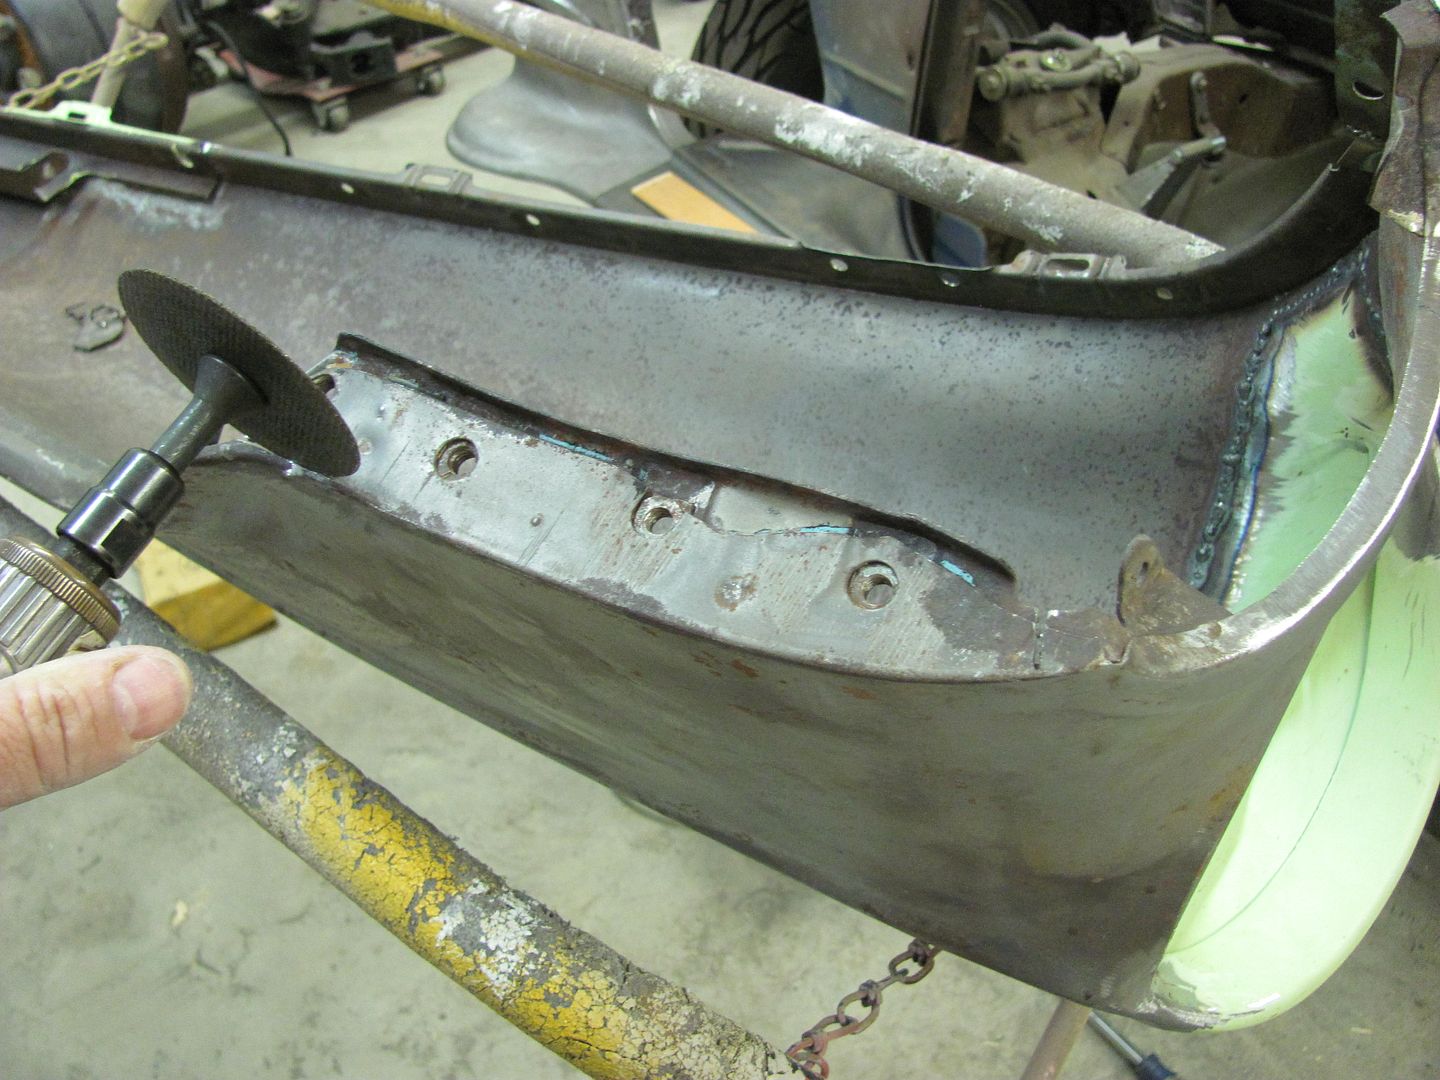
A 3" roloc disc scuffed across the lower crease on the inside of the panel quickly shows the area that needs to be bumped outward...
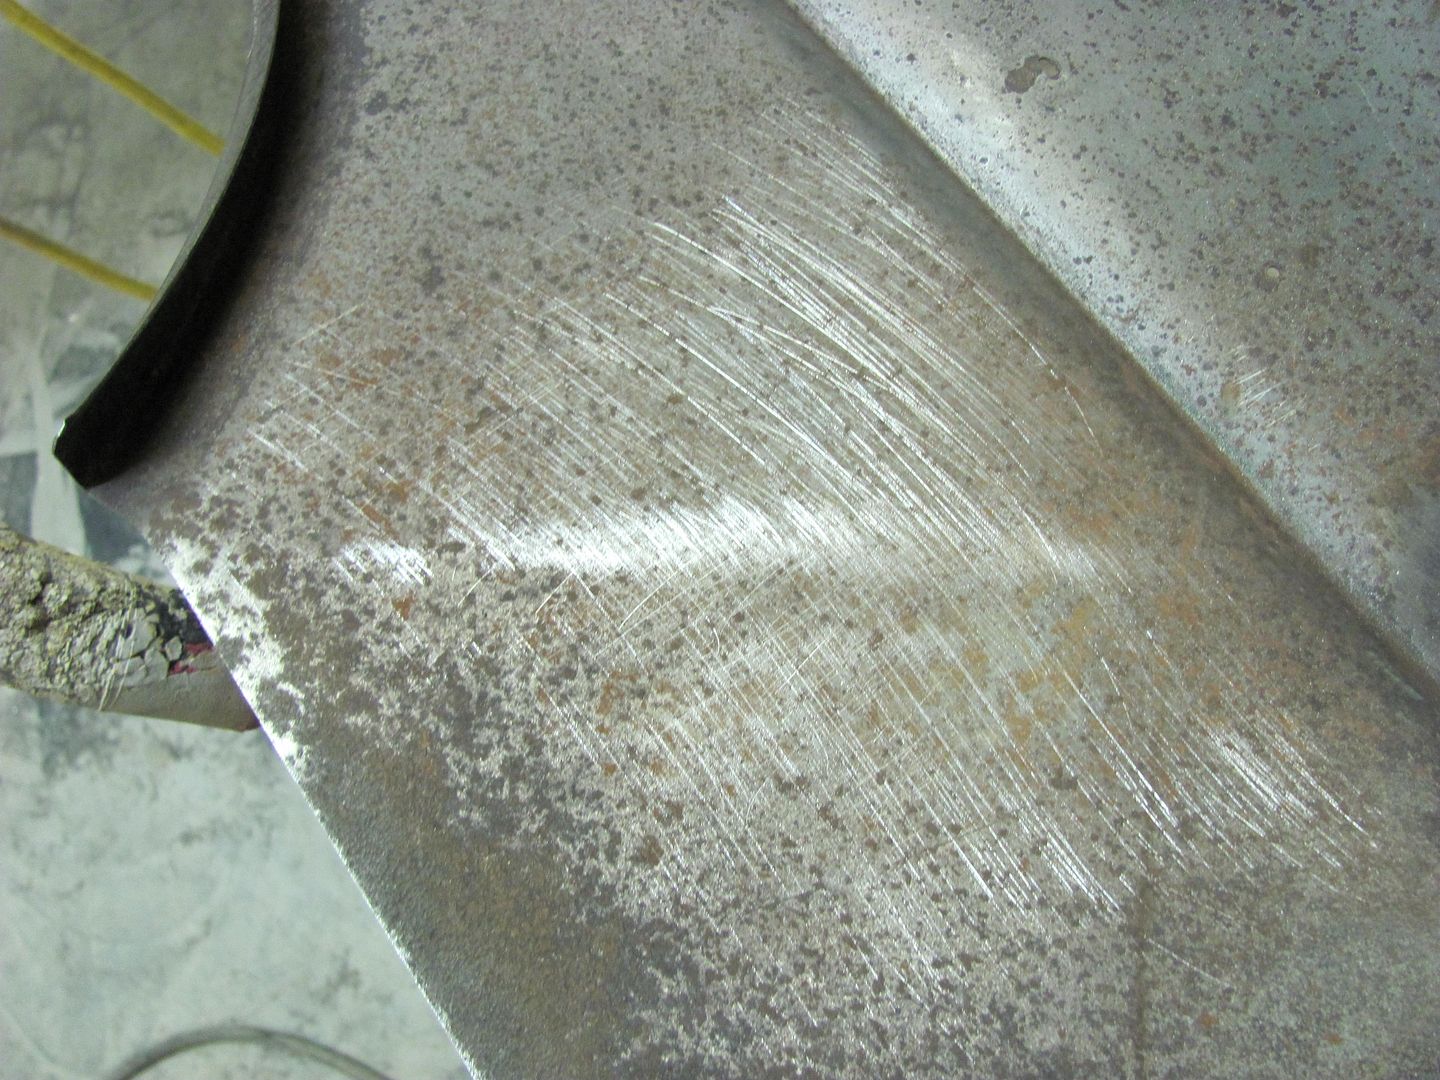
The tools used will be the donut dolly, a small shot bag, and body hammer.
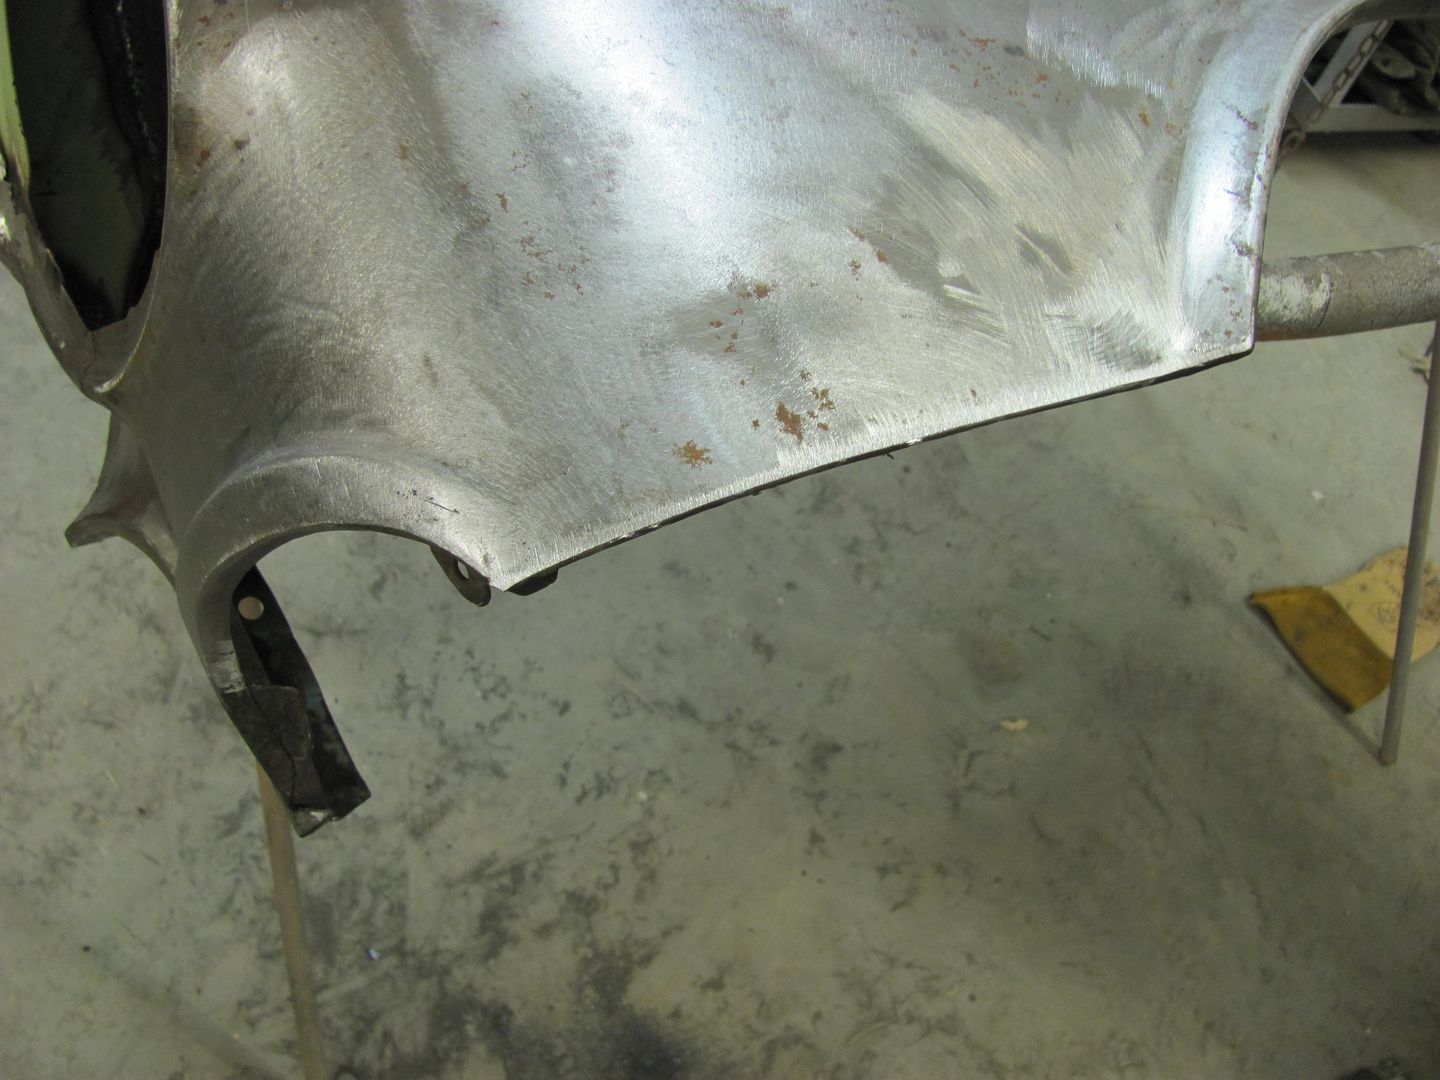
The area was worked using the hammer and dolly, with progress checked by scuffing with the roloc disc.

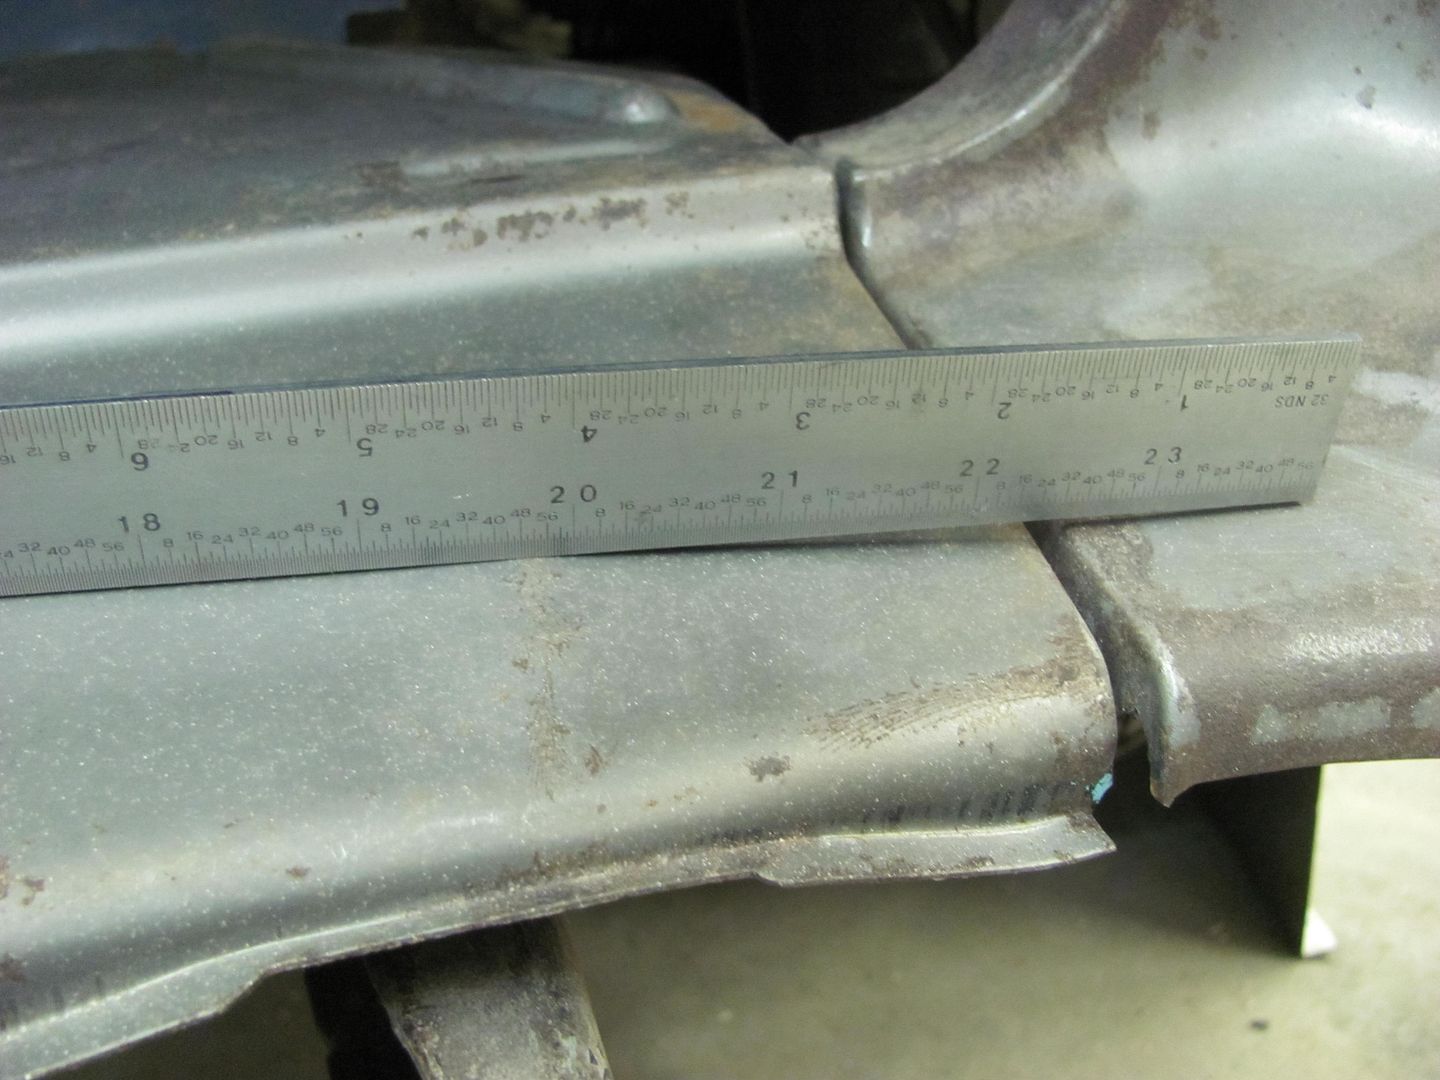
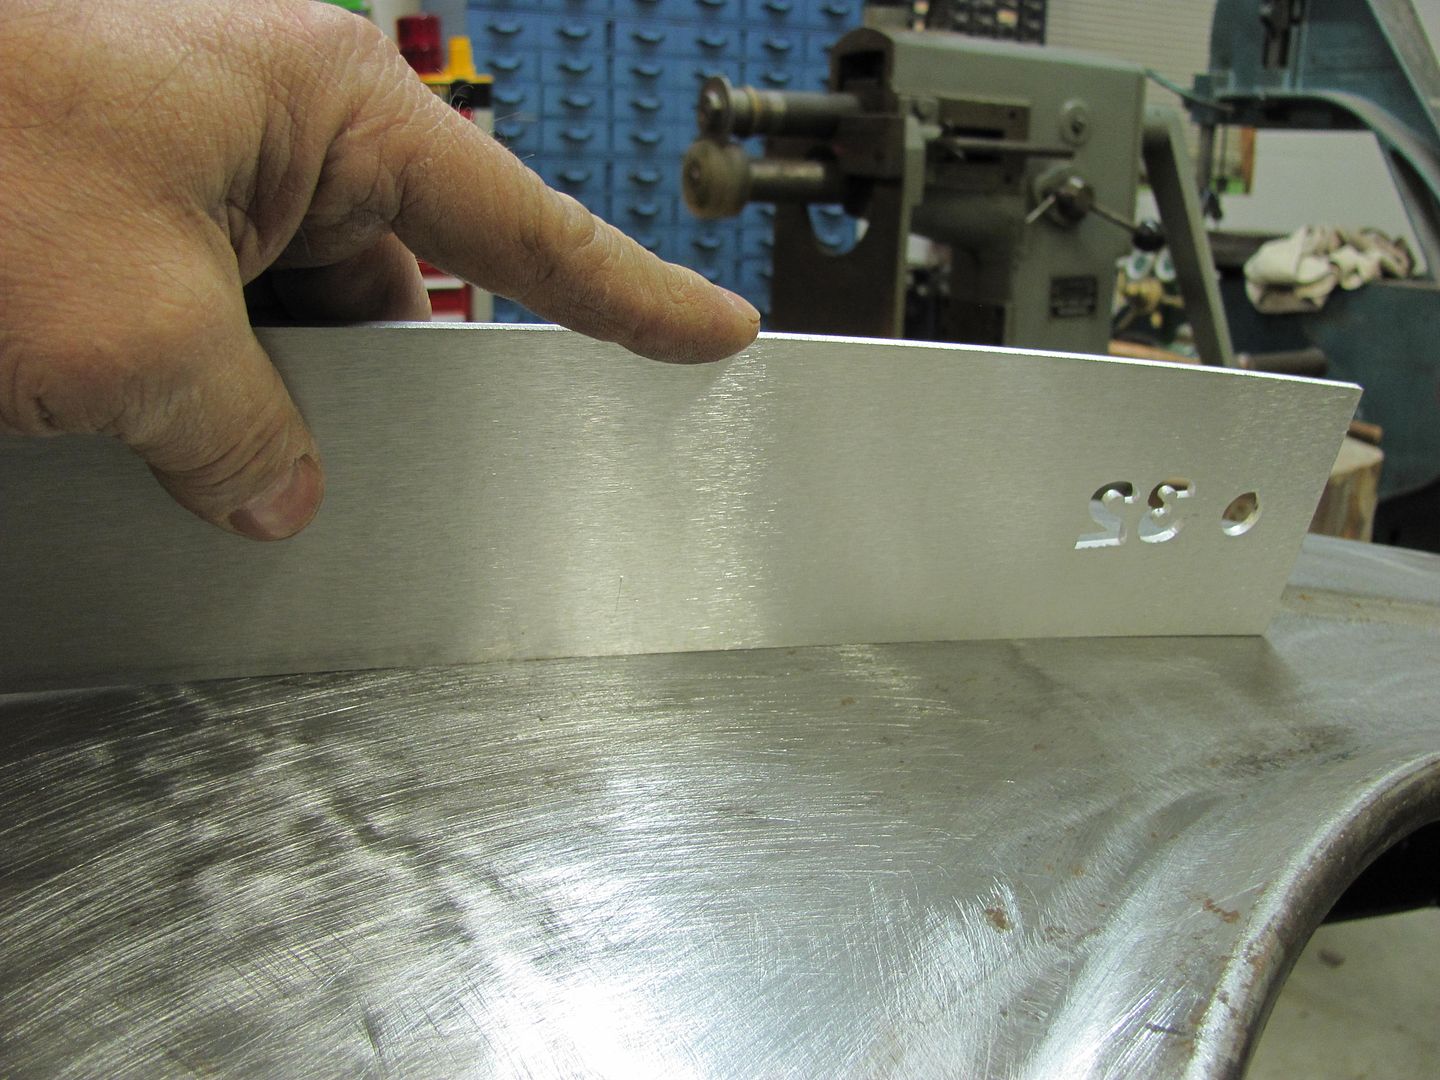
Needs just a bit more cleanup, but shows a much more repectable crown, as shown by the #32 sweep
 Last edited by MP&C; February 17, 2013, 07:07 PM.
Comment
-
I'm going to mail you my dented header panel to fix. You could fix in an afternoon.BS'er formally known as Rebeldryver
Resident Instigator
sigpicComment
Comment