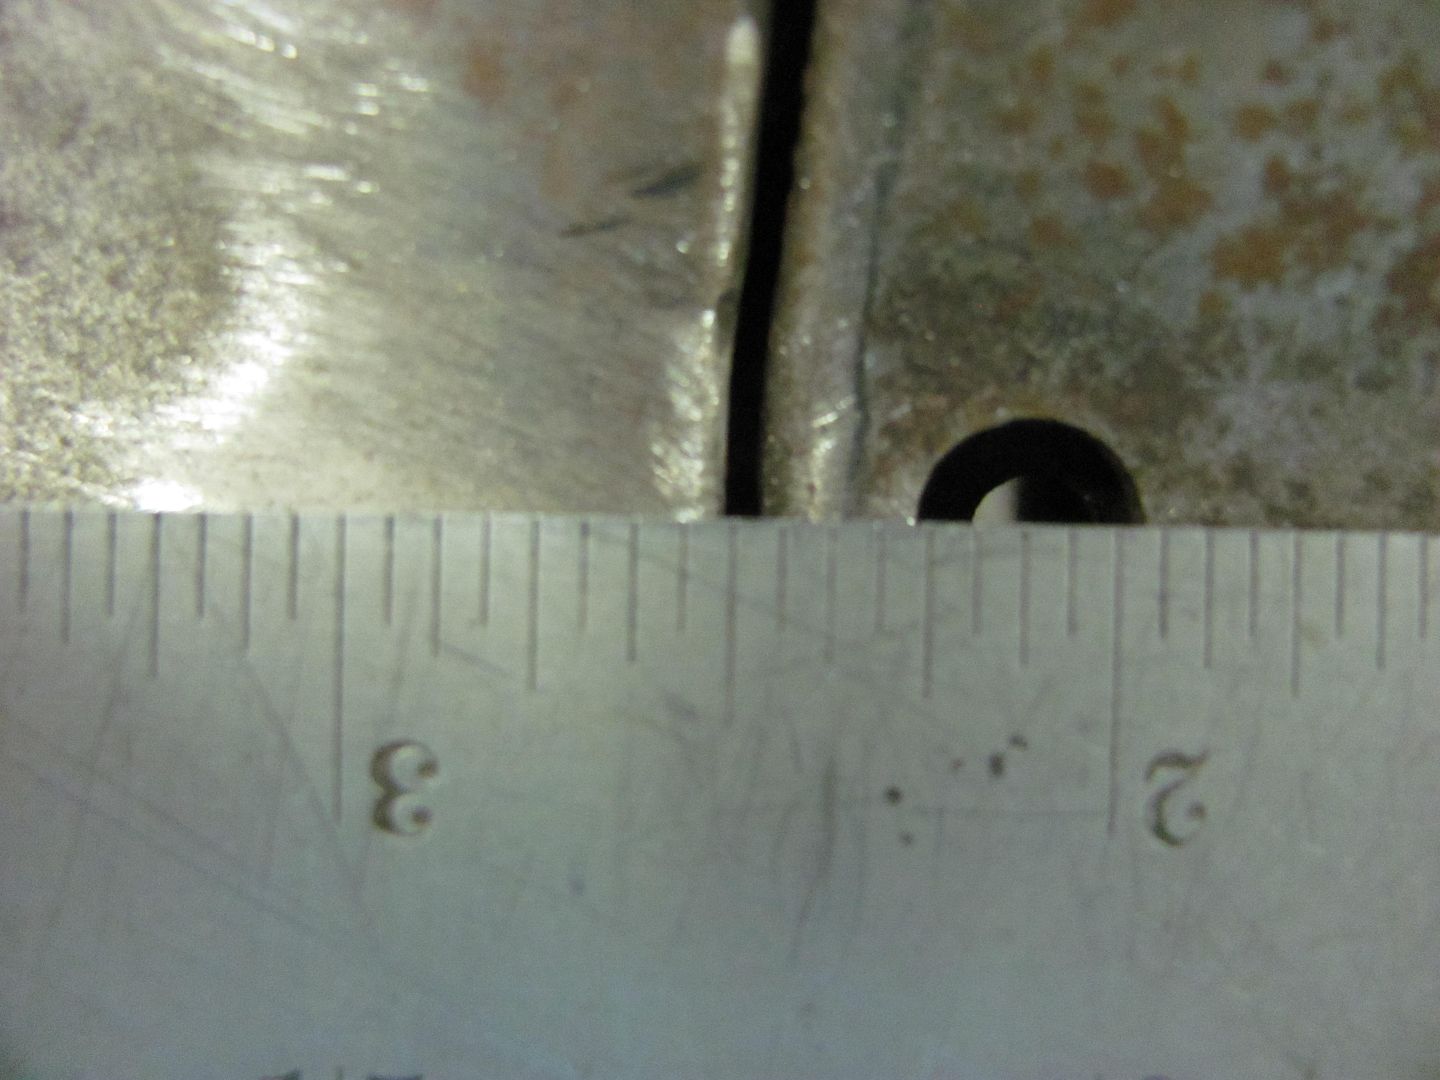
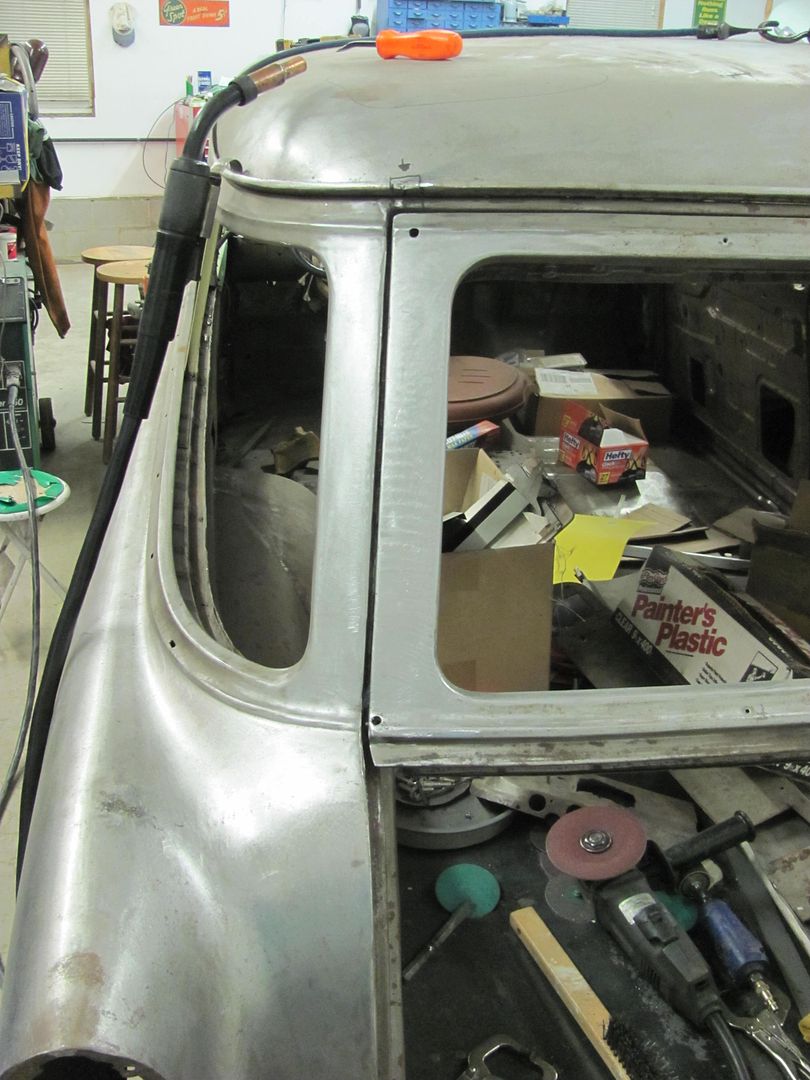
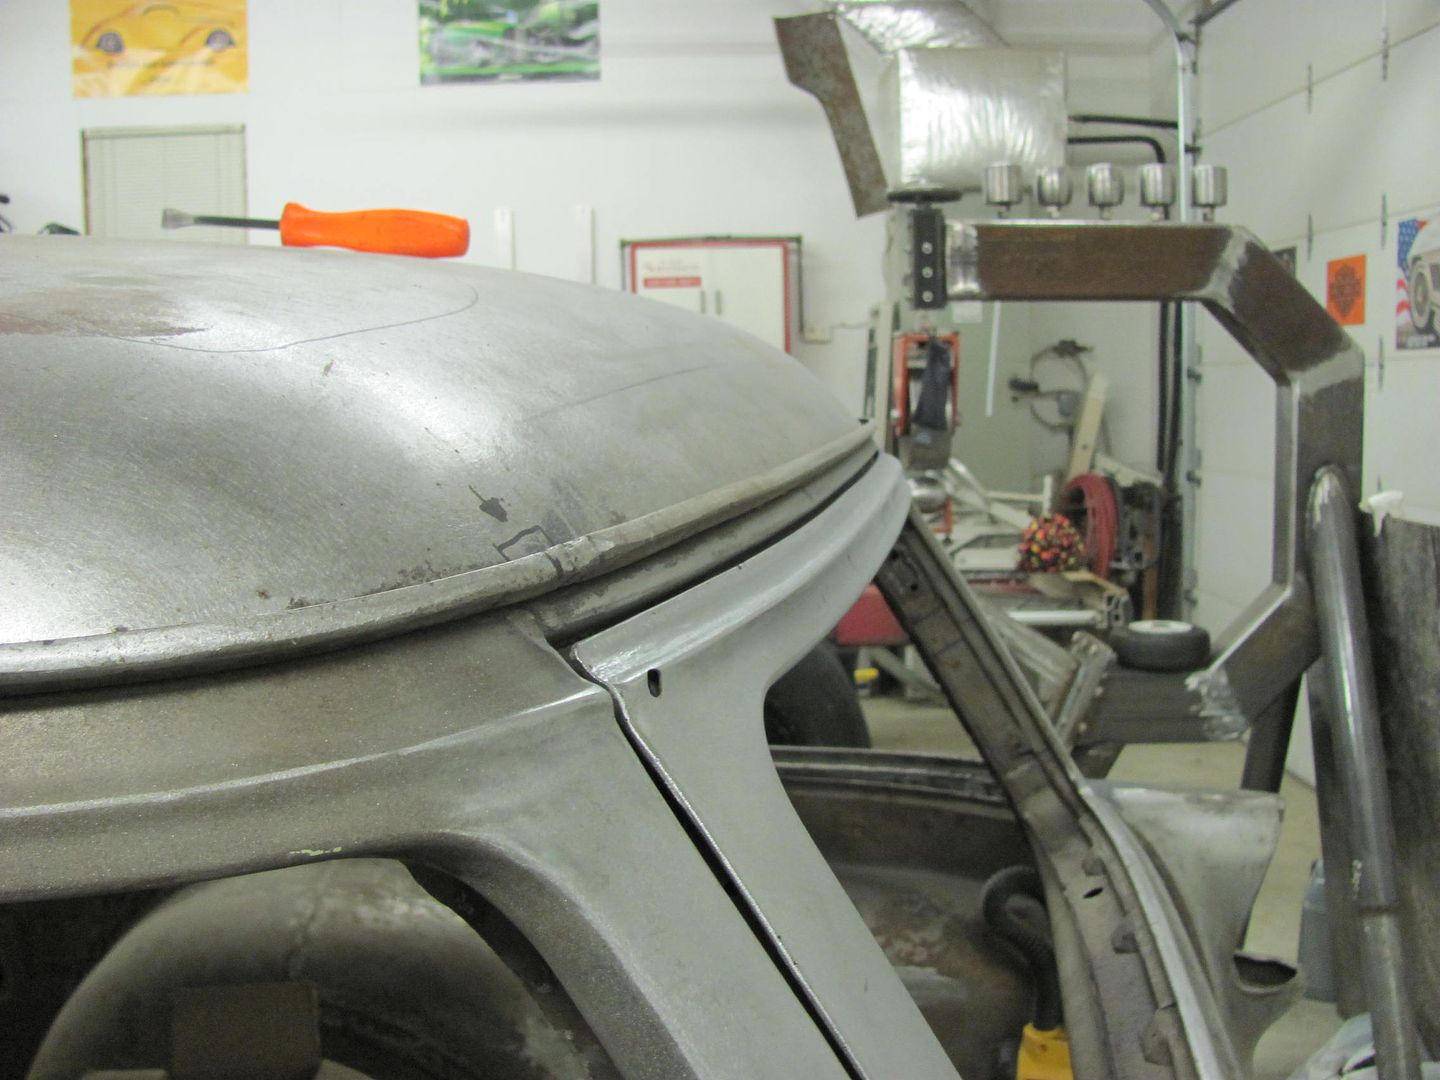
Continuing on to the driver's side, this one is a bit tighter at the bottom than the other, shows about 1/32 gap. Used the compass again to mark the cut line...
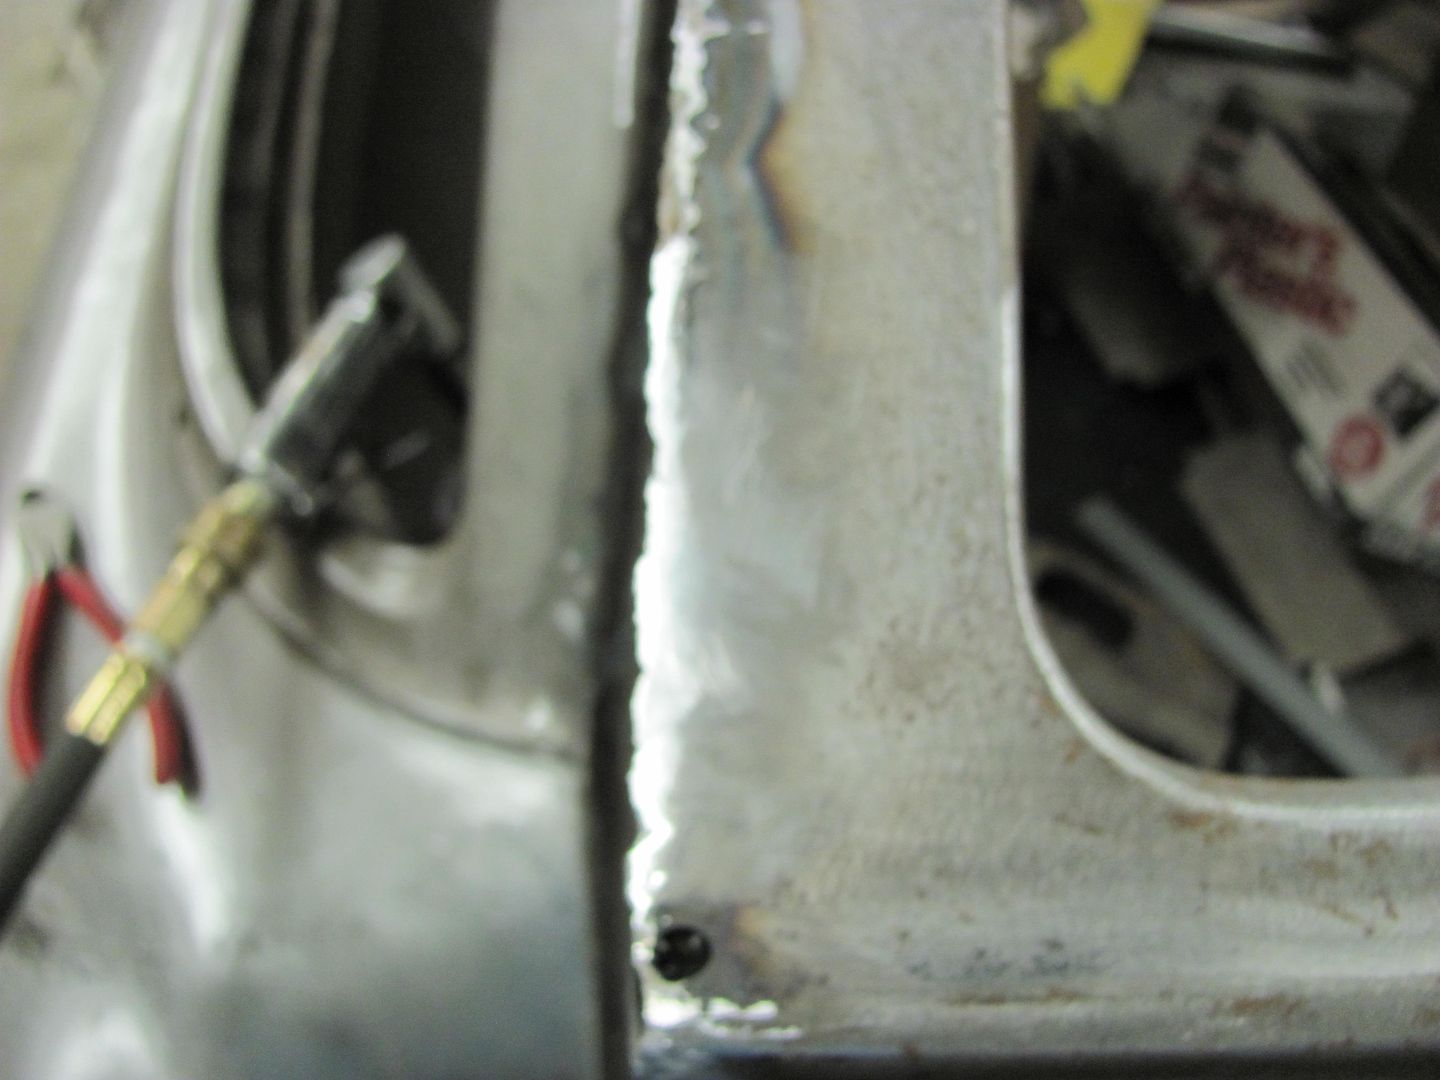
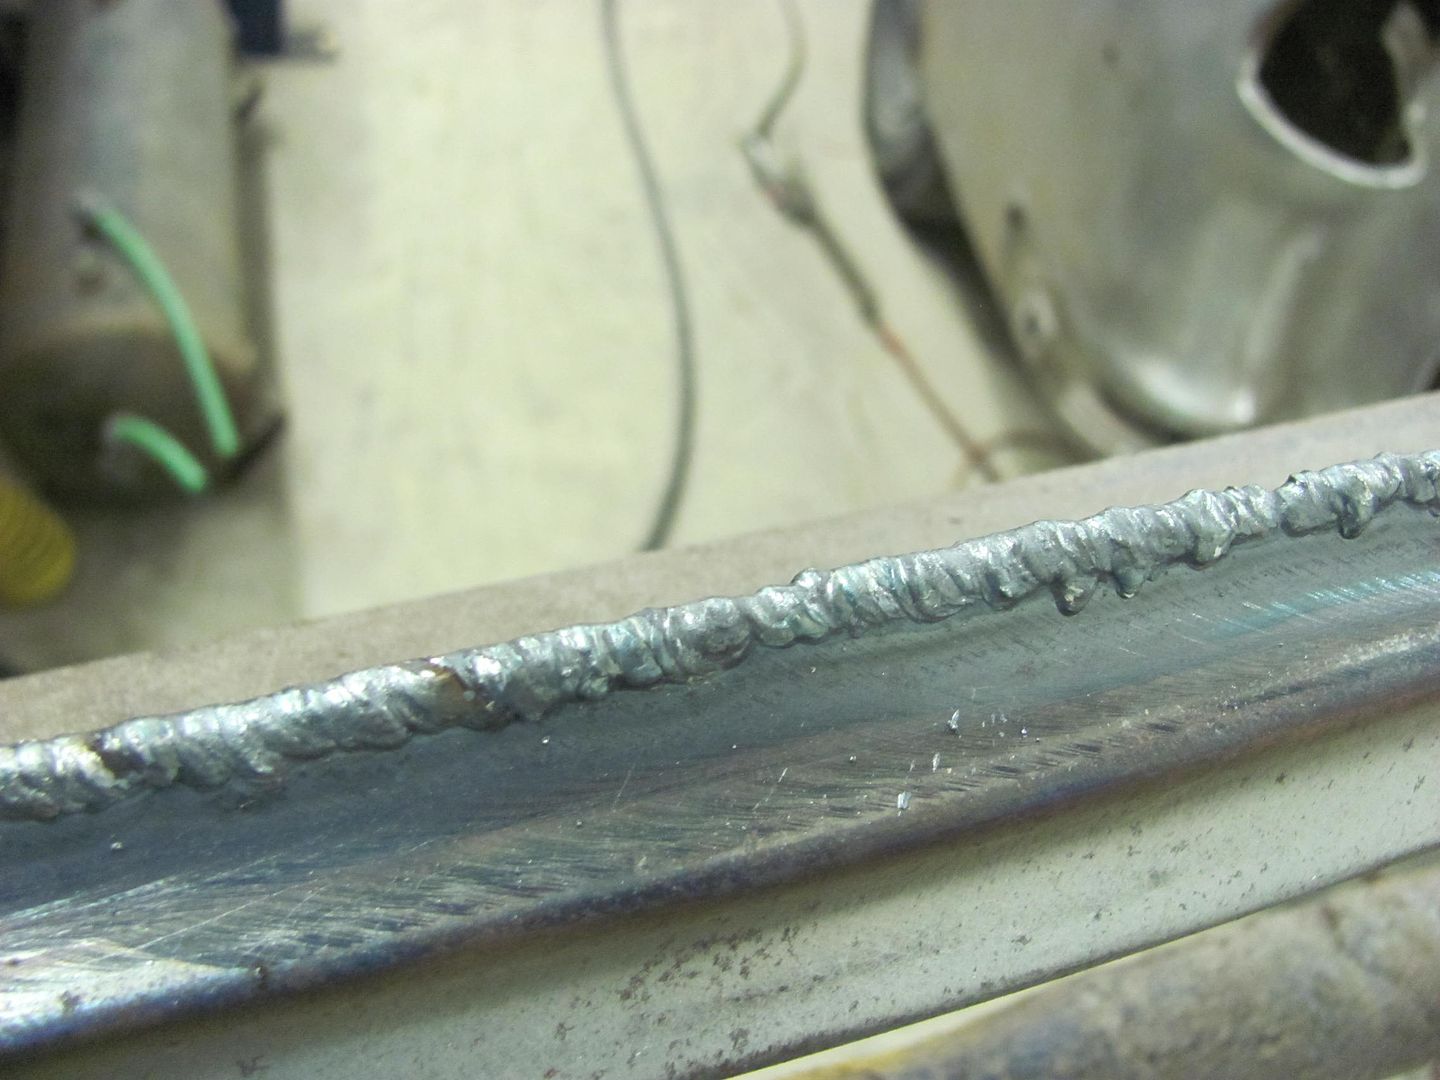
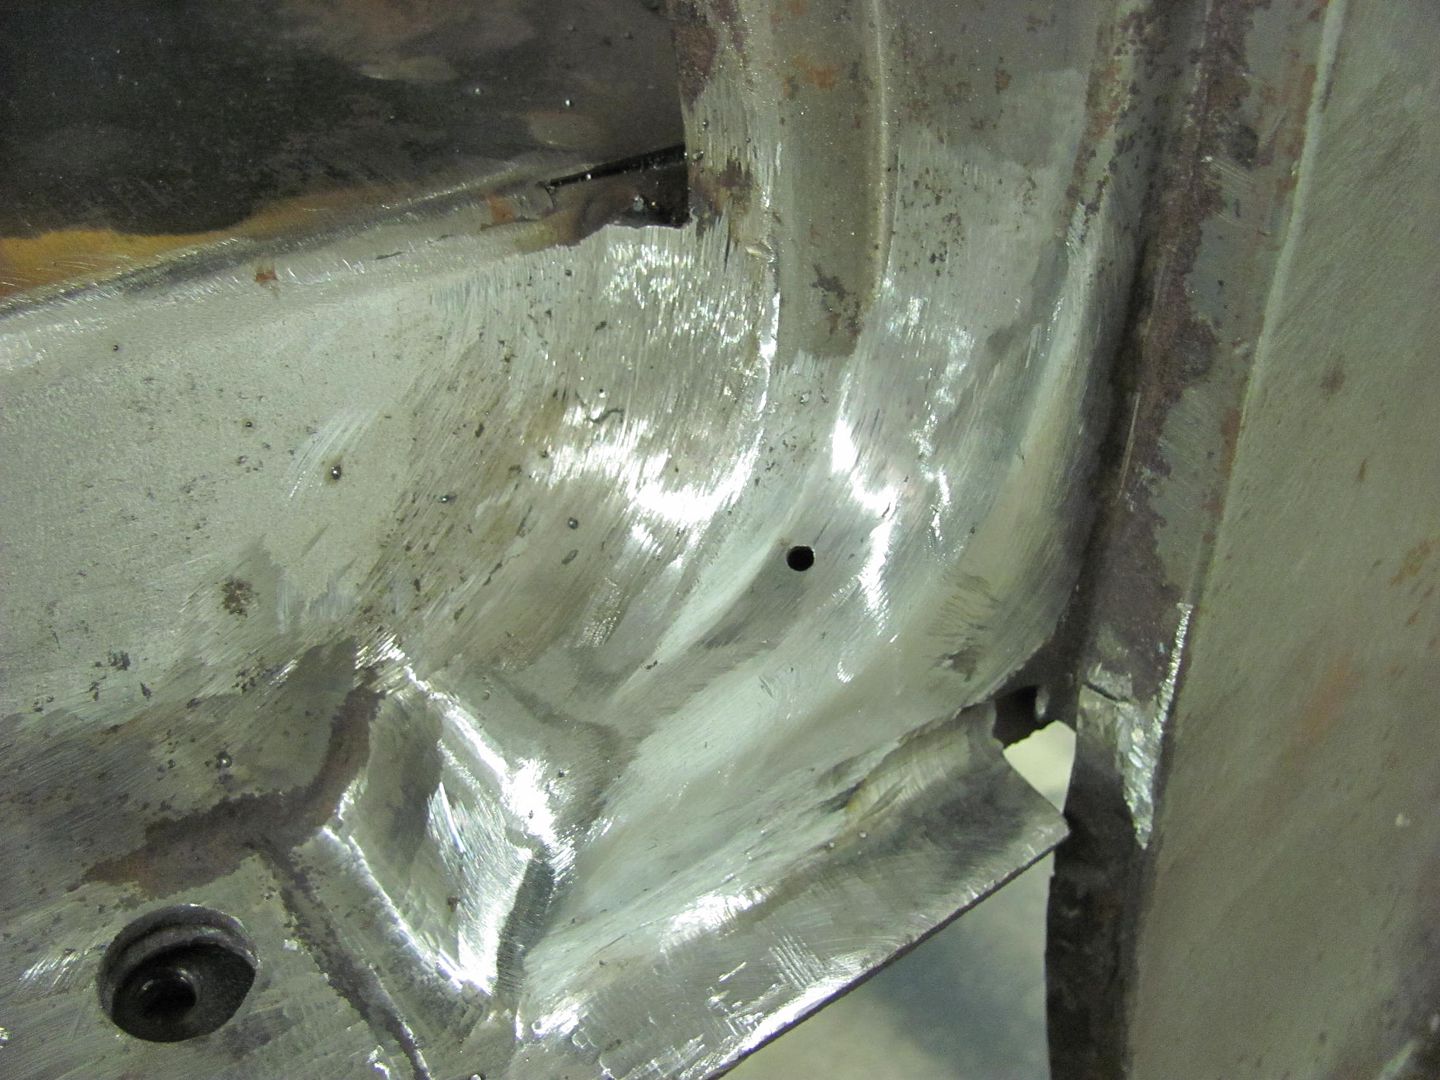
Tacked, welded, and welds dressed...
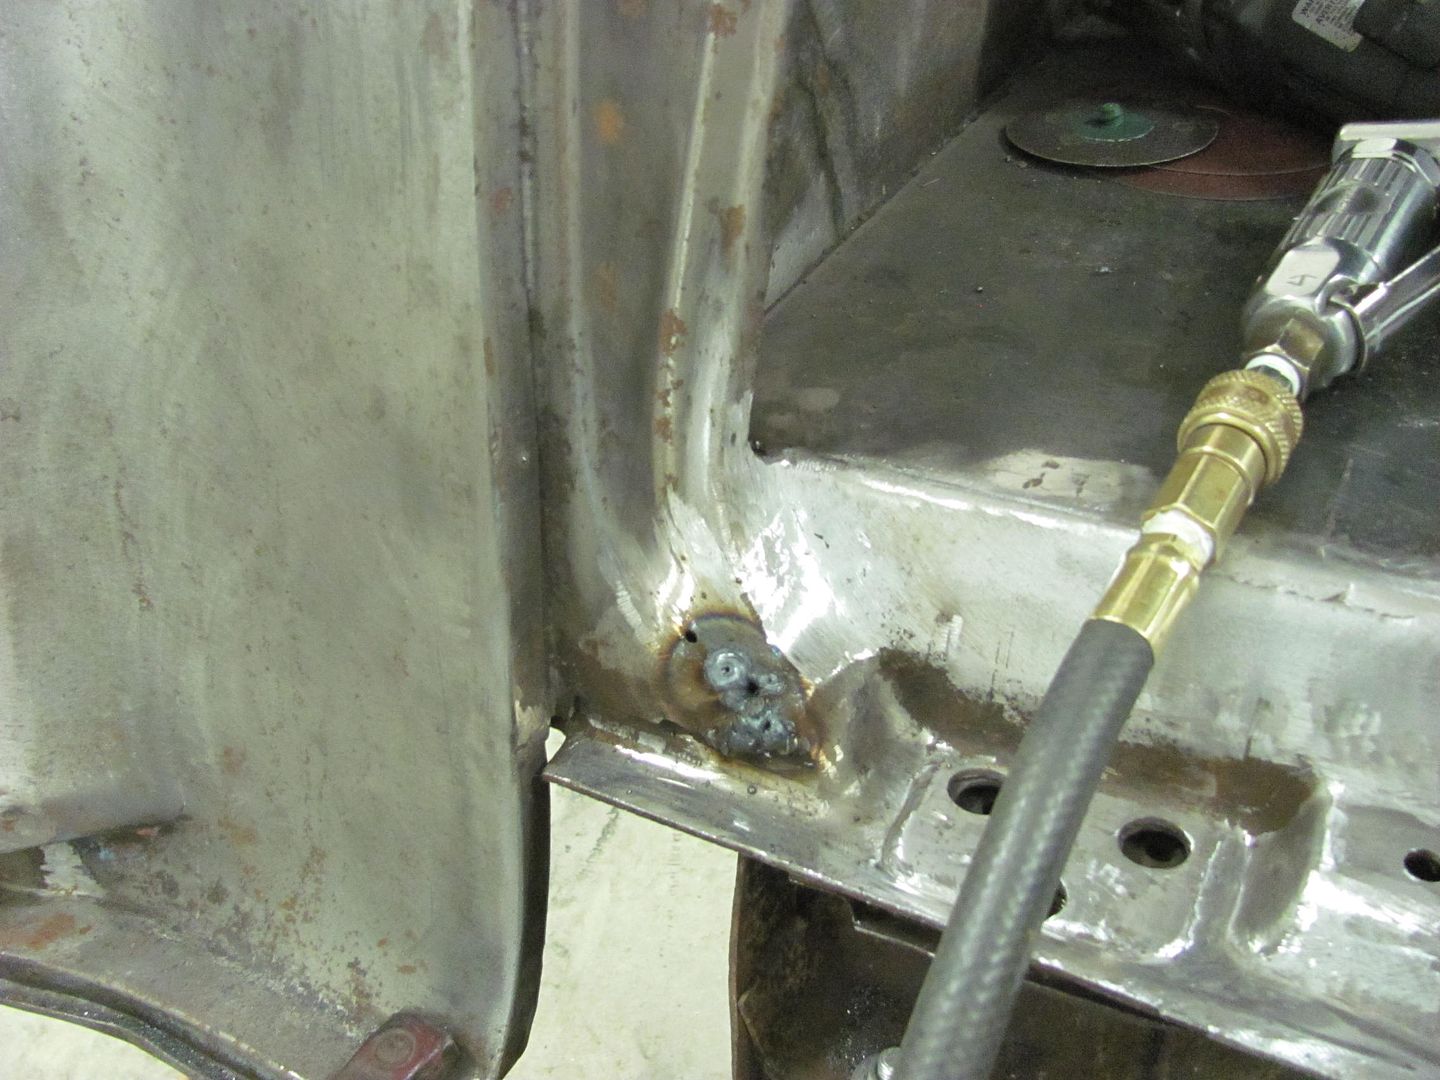
All finished for this evening, have a couple pin holes to fix, will get them when we do the top...
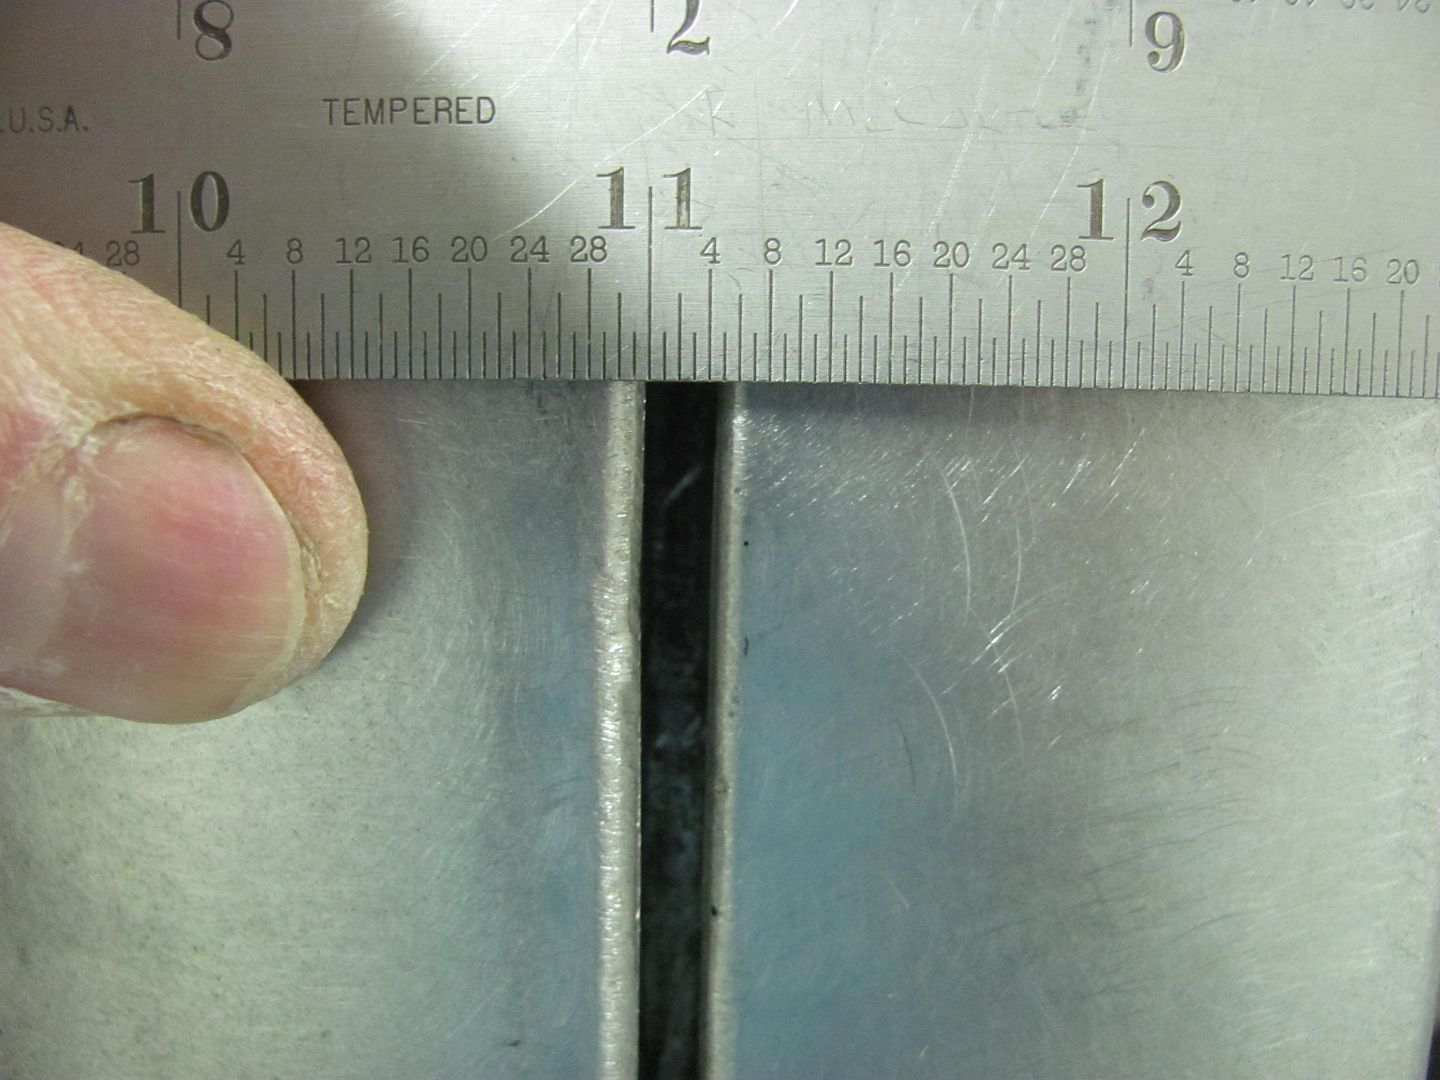
New gap is right at 5/32", or to be more technical, one paint stick width....
I must say your detail and instructions is way better thank most books I have read on the subject......I surely appreciate you blogging this......Powerblock TV needs you..........
That steely eyed look I had behind the wheel was me trying see..........
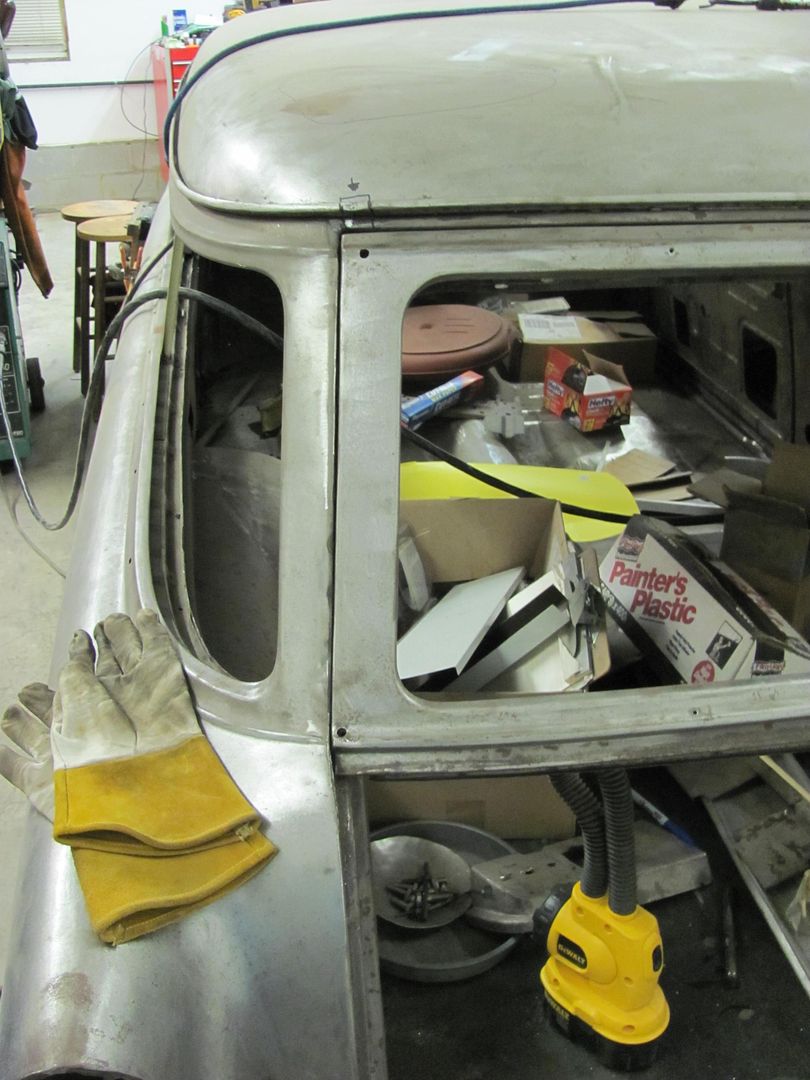
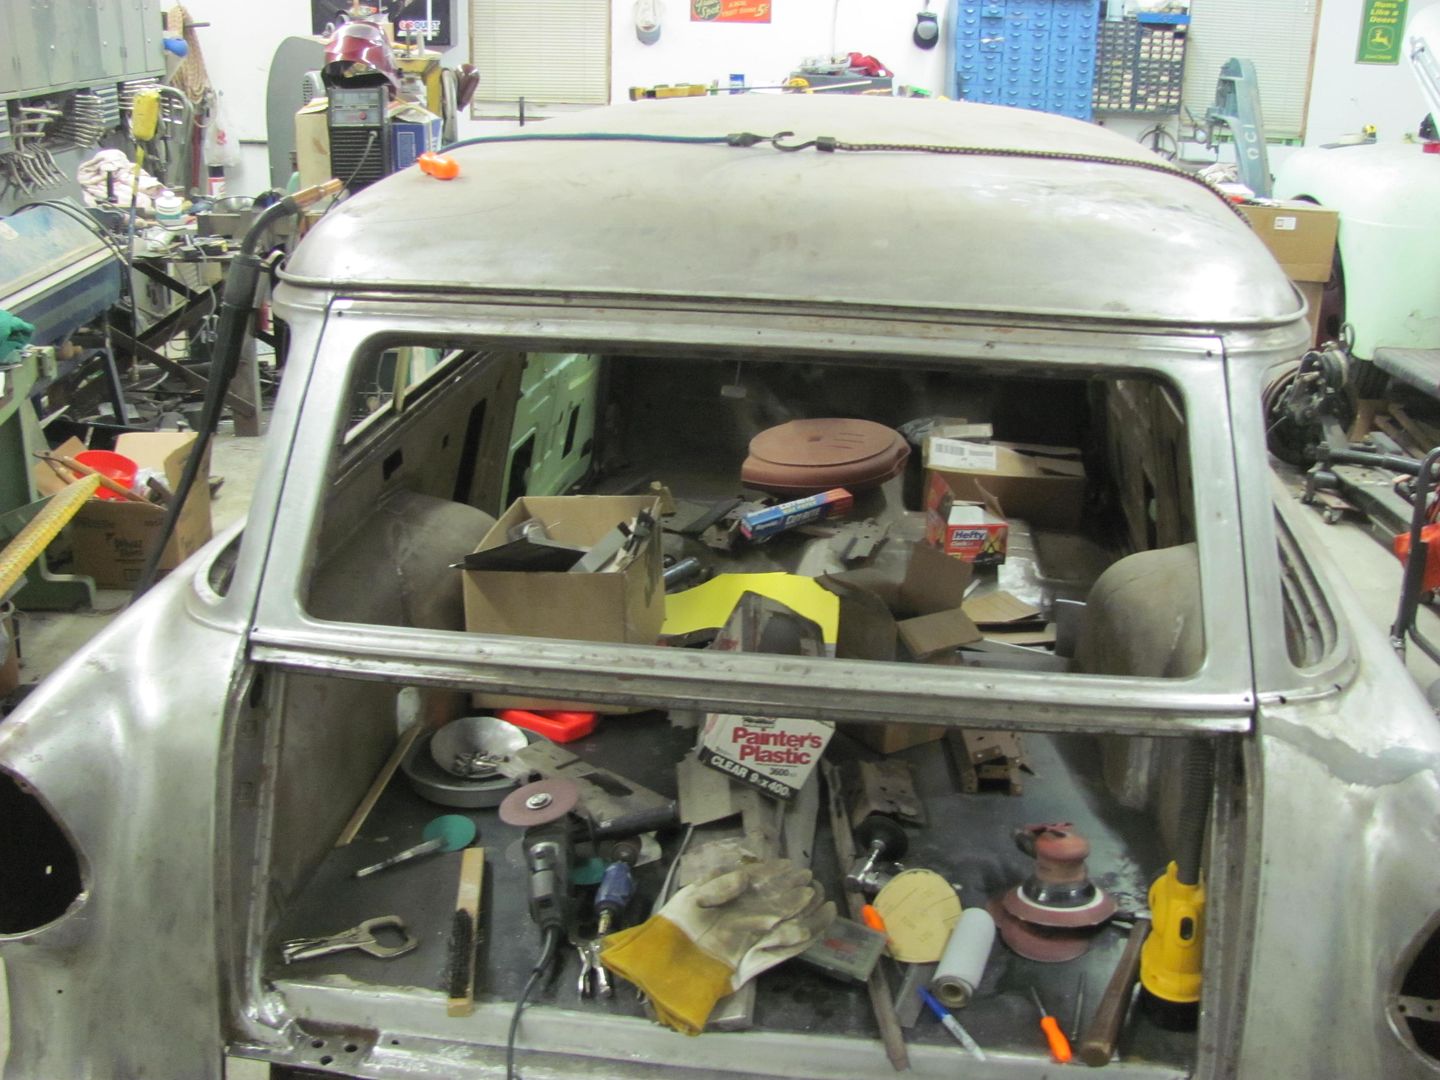
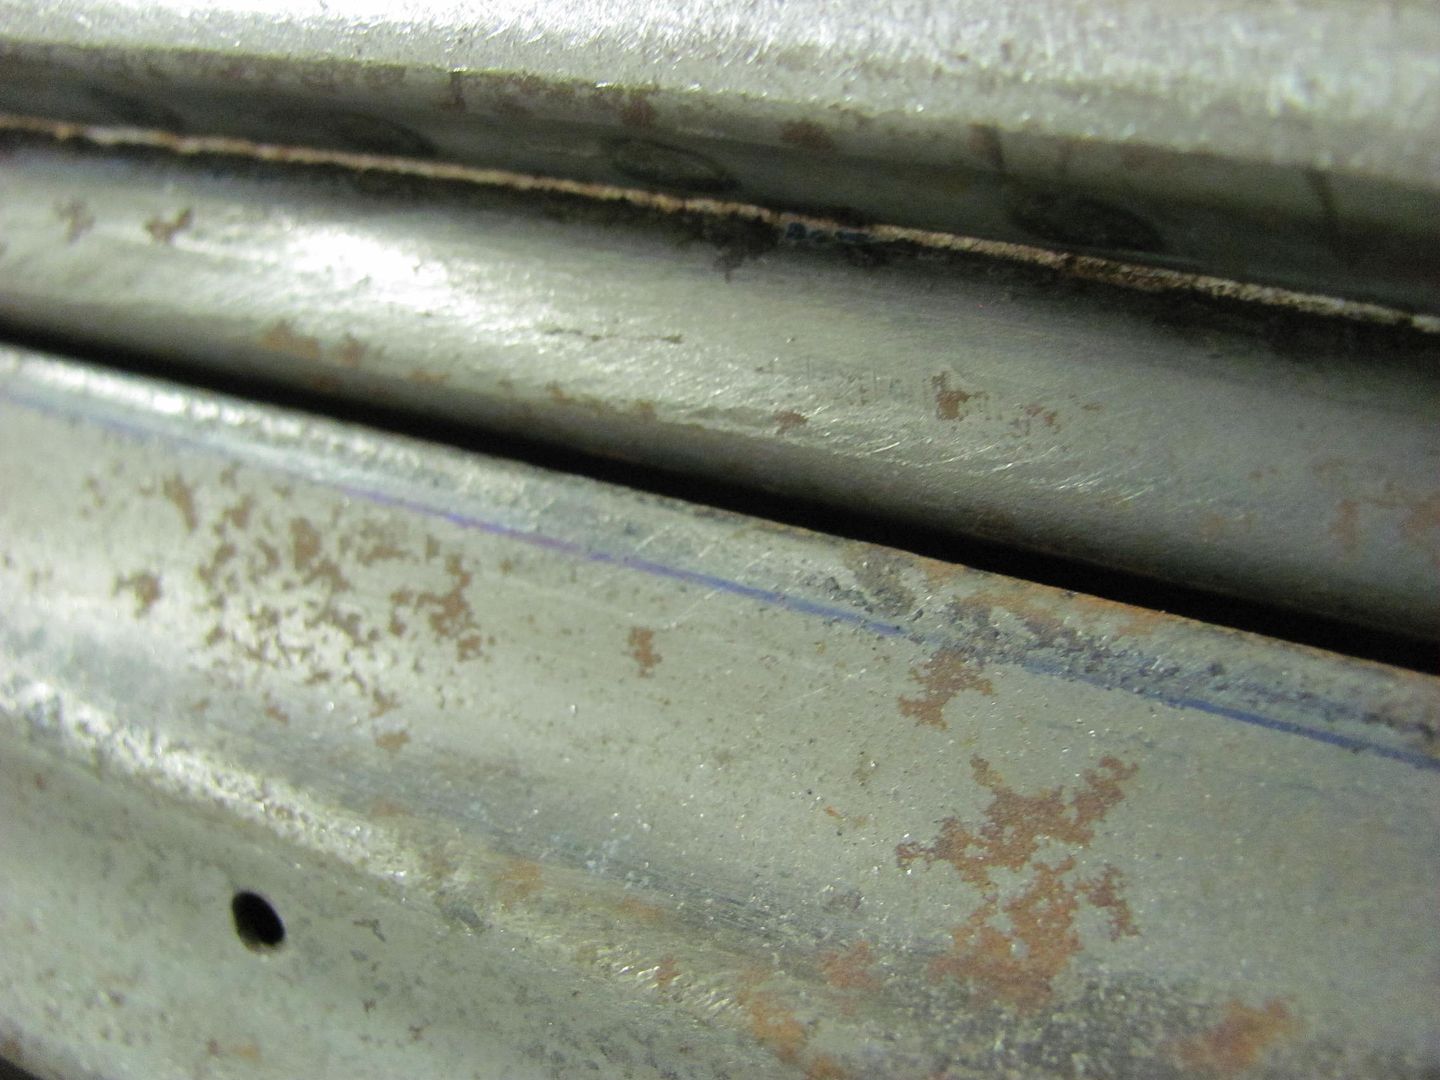
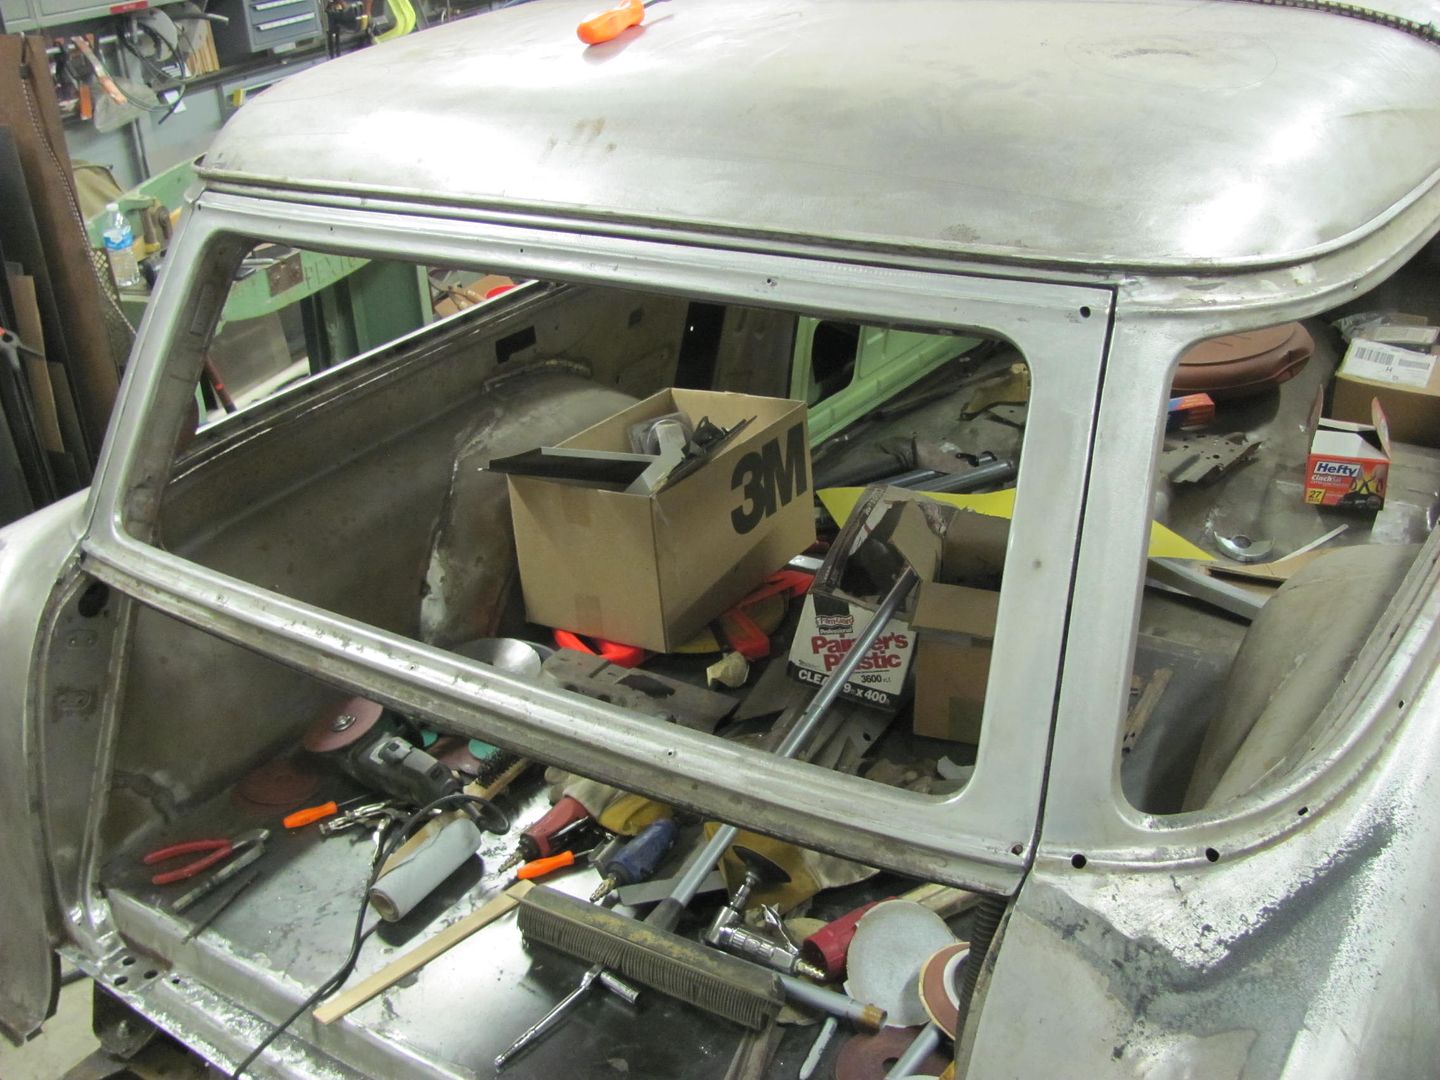
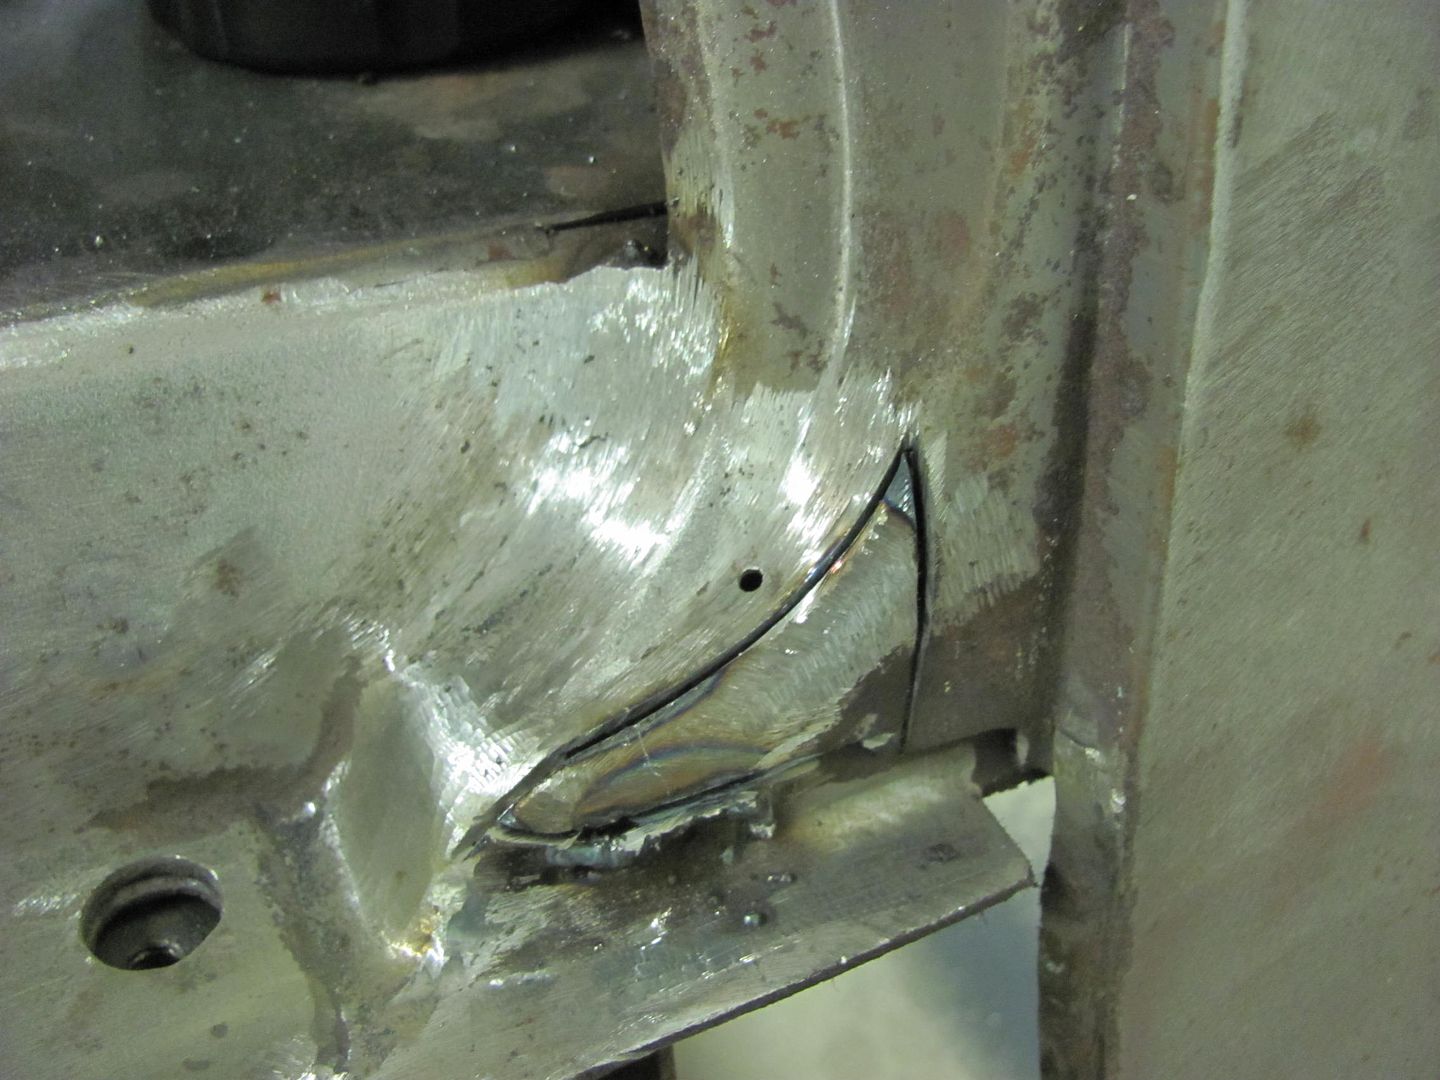
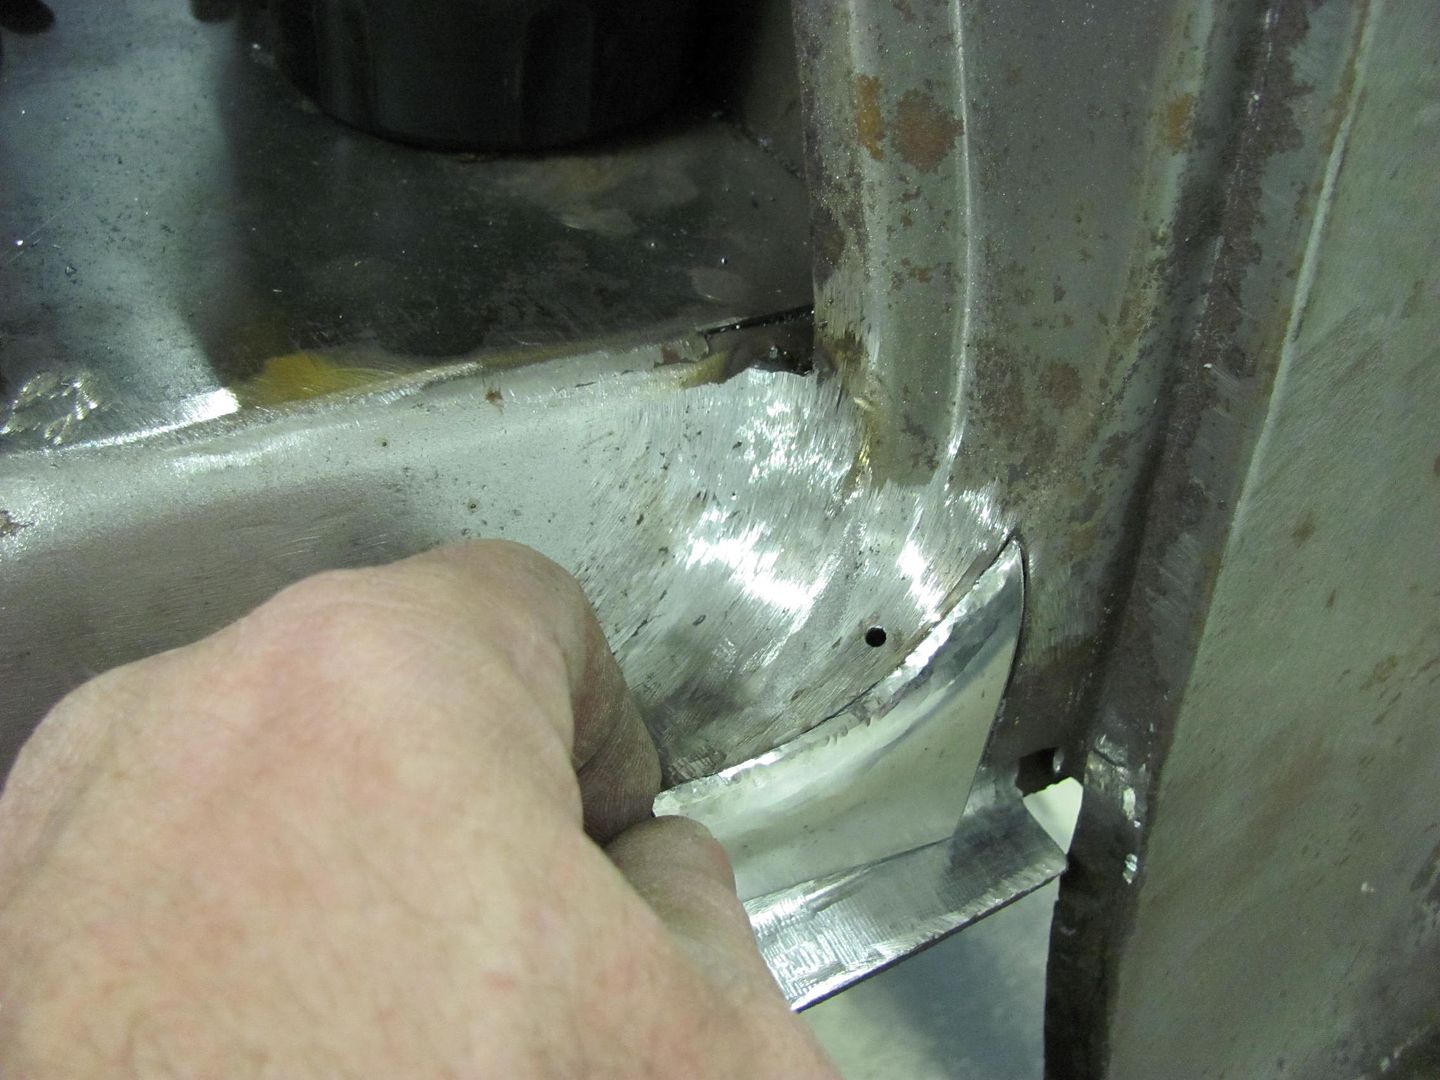
Thanks for the comments fellas. Spent tonight working on the tailgate jamb area, touching up some factory welds in preparation of installing the rear tail pan. Wasn't too long before Murphy's law reared its ugly head, and the lower part of the jamb showed some signs of rust lurking inside.
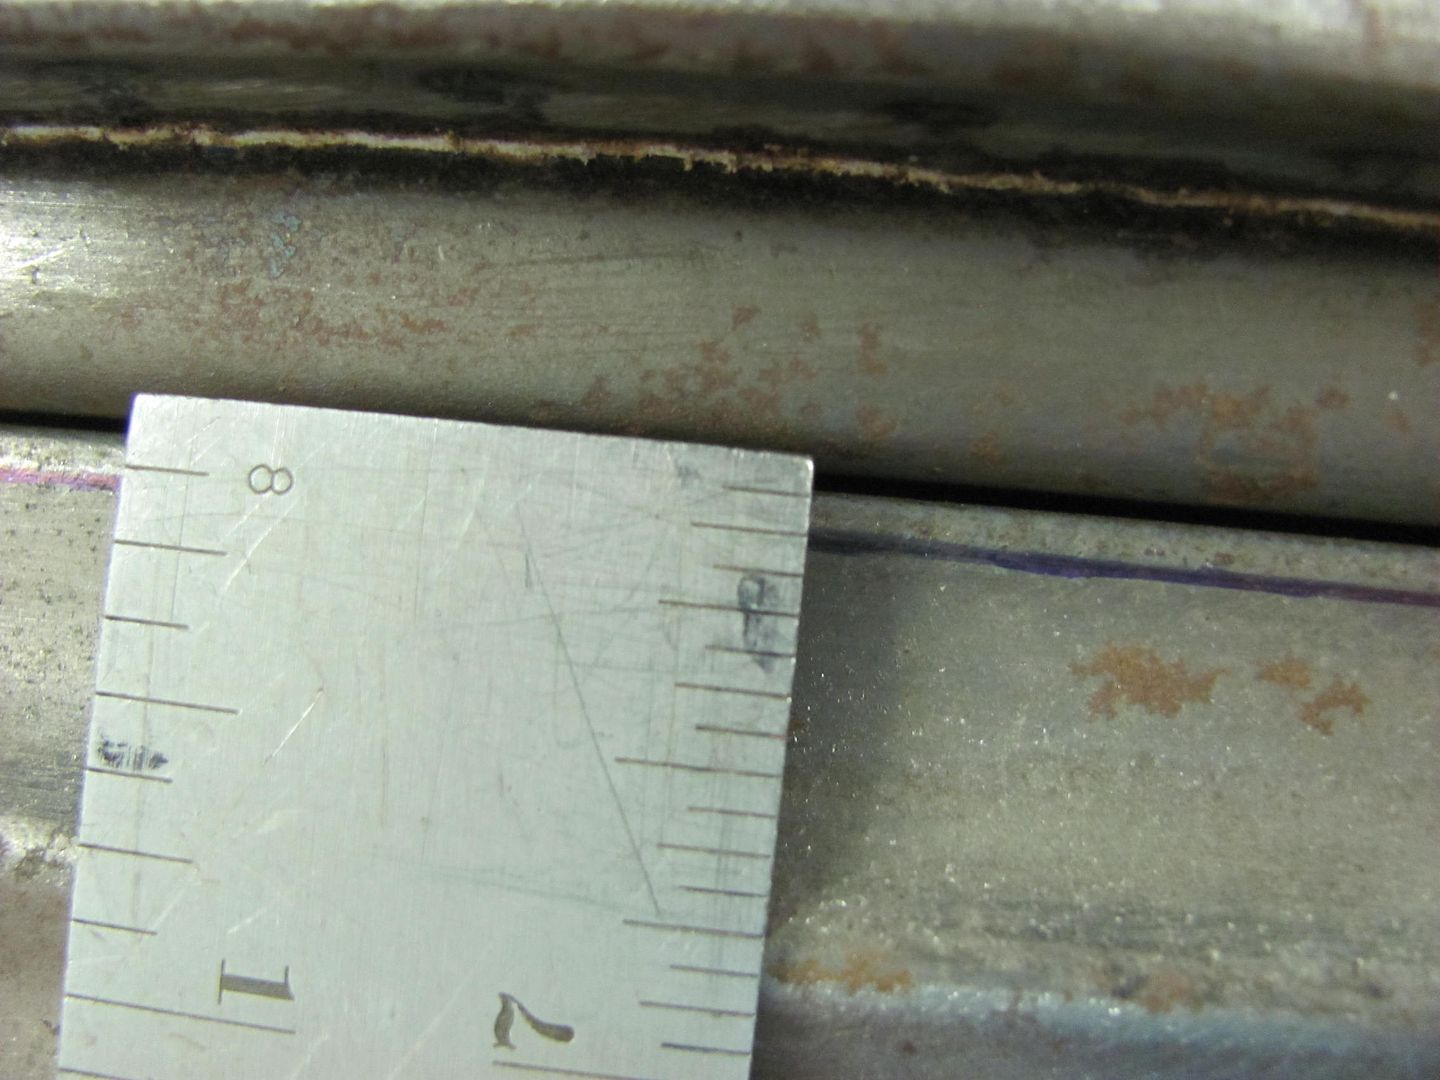
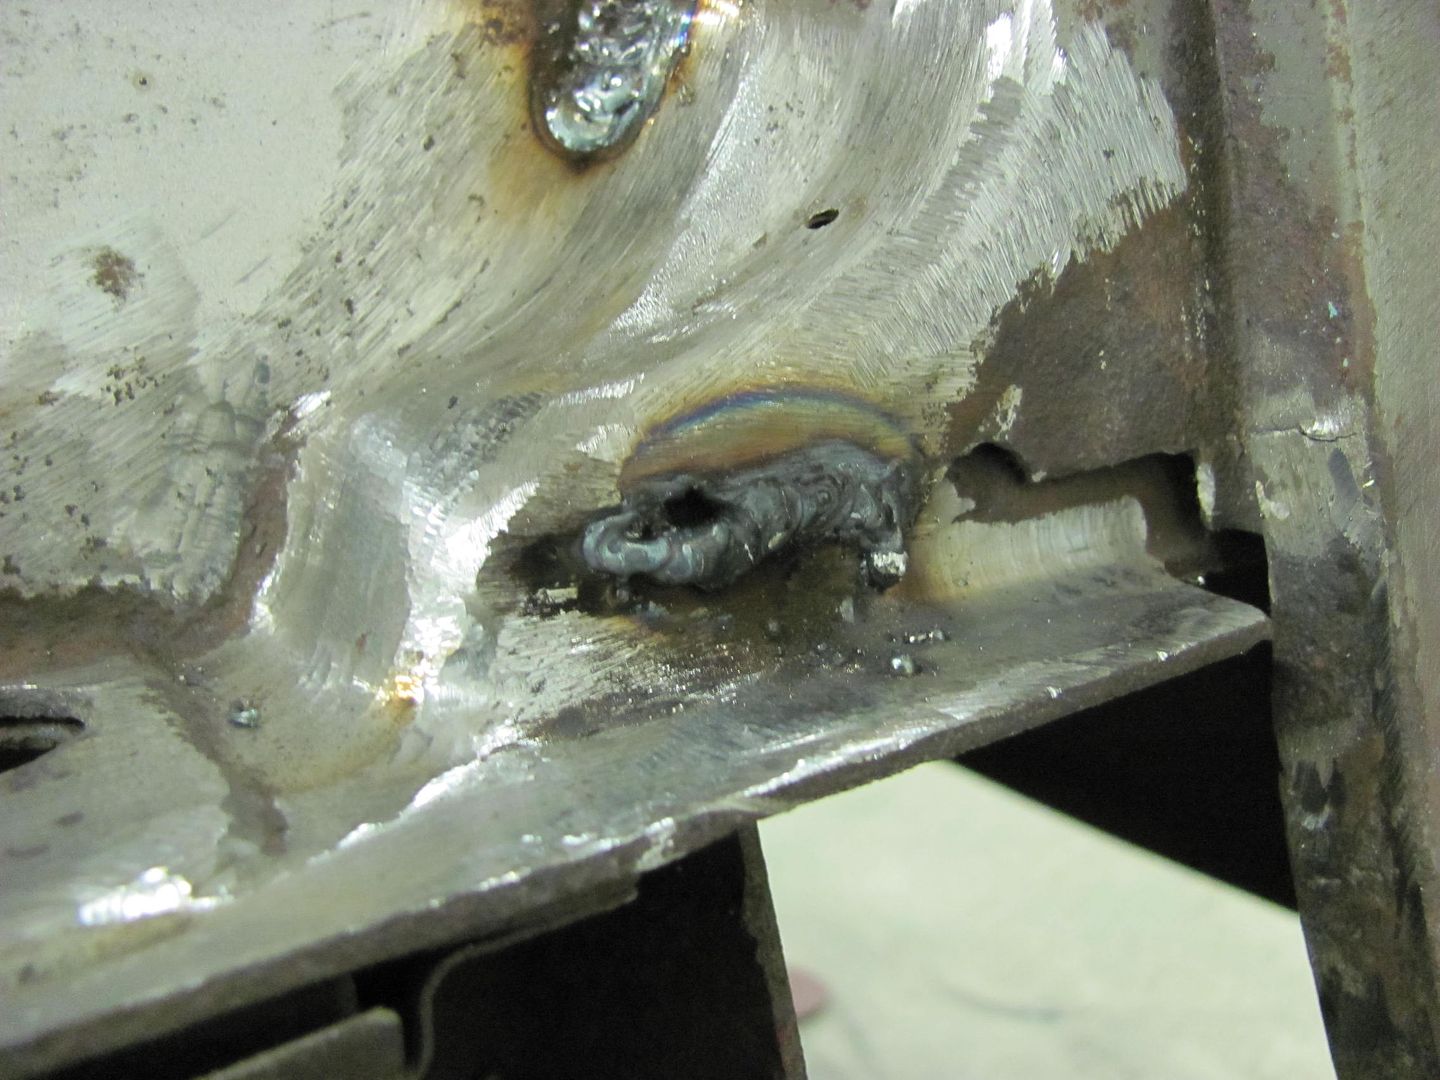
Cut open an access hole and cleaned out the inside as best I could for welding in some new metal..
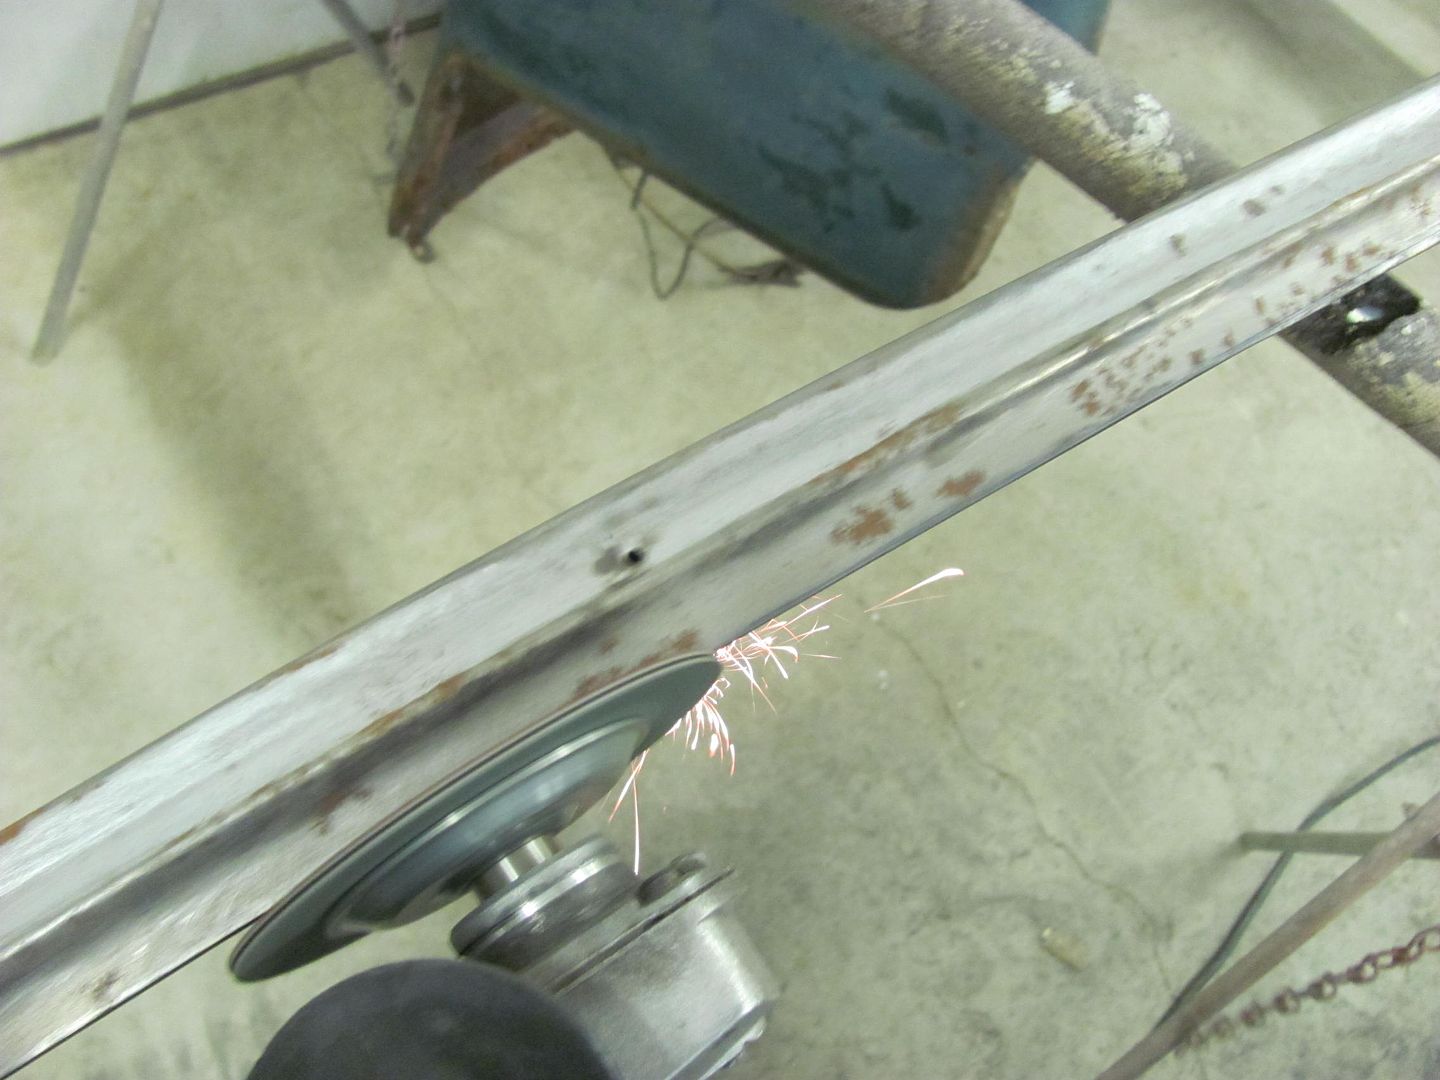
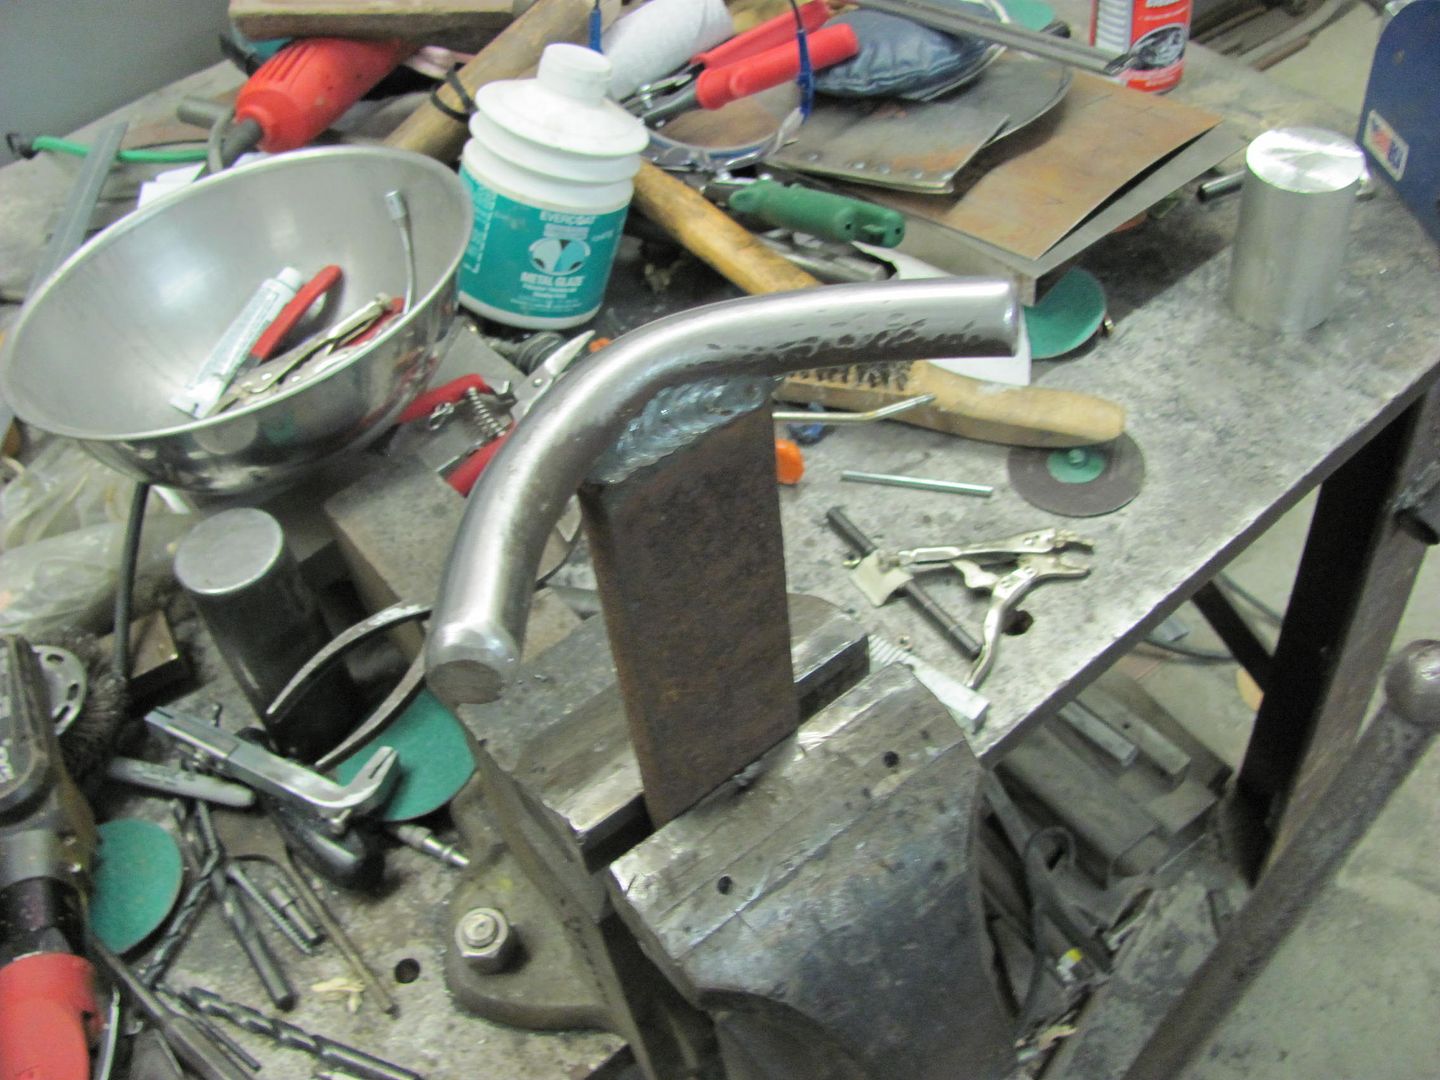
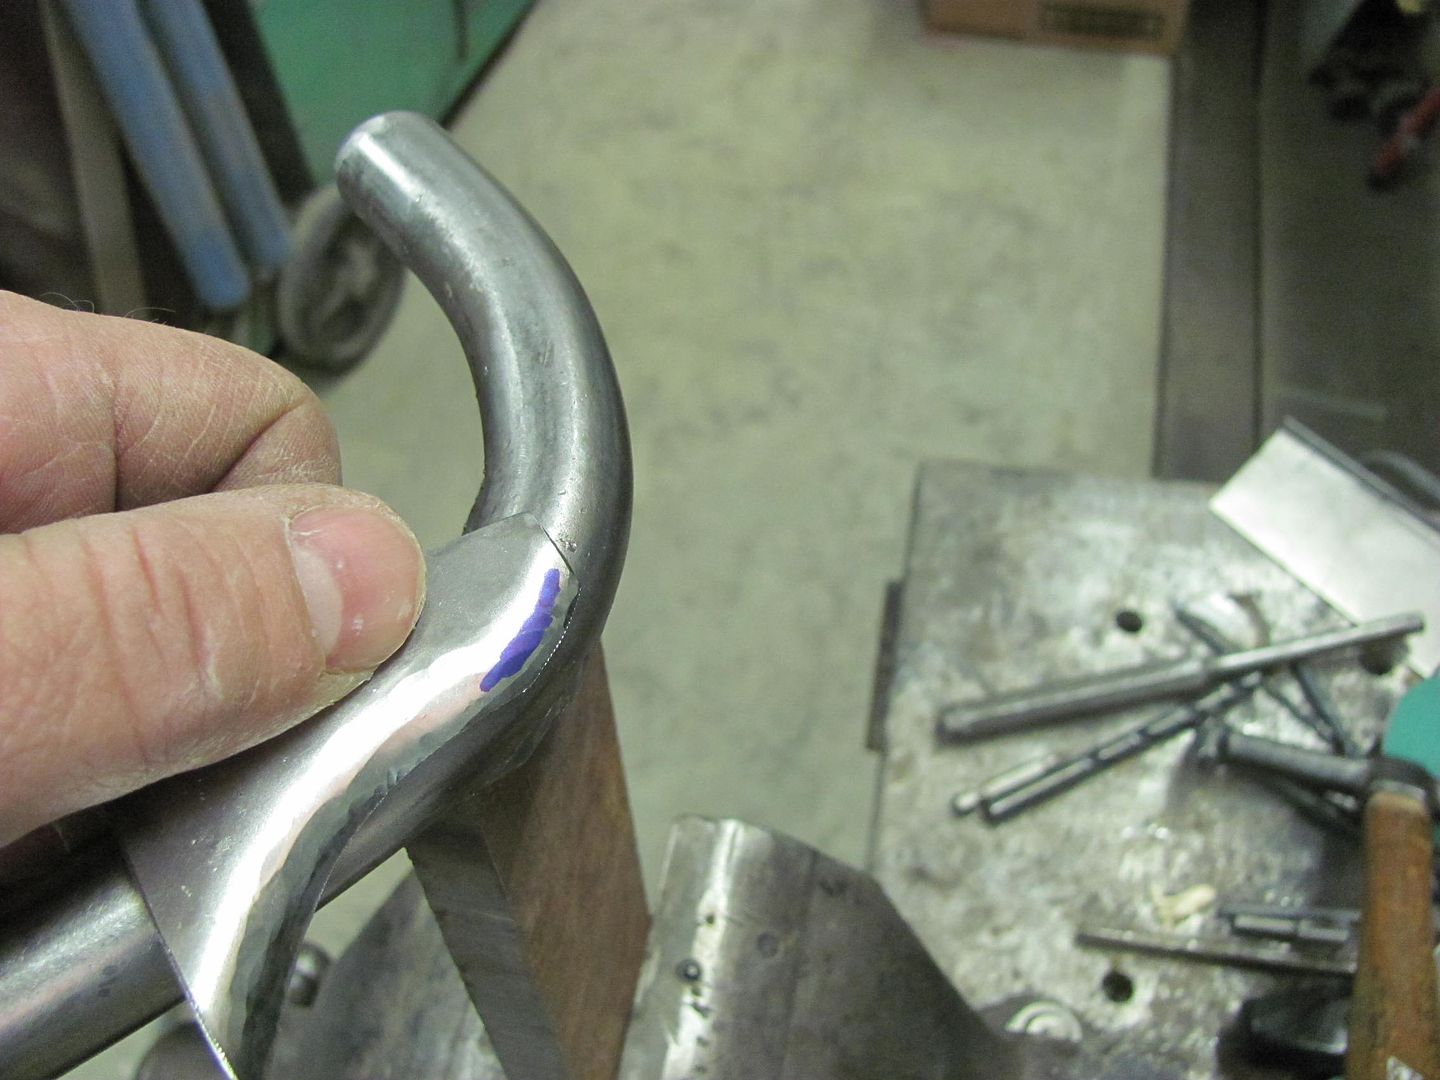
For making a replacement, I have an "anvil" I made recently out of some scraps from under the welding table...
Here's the anvil end we'll use this evening as matched up to the original...
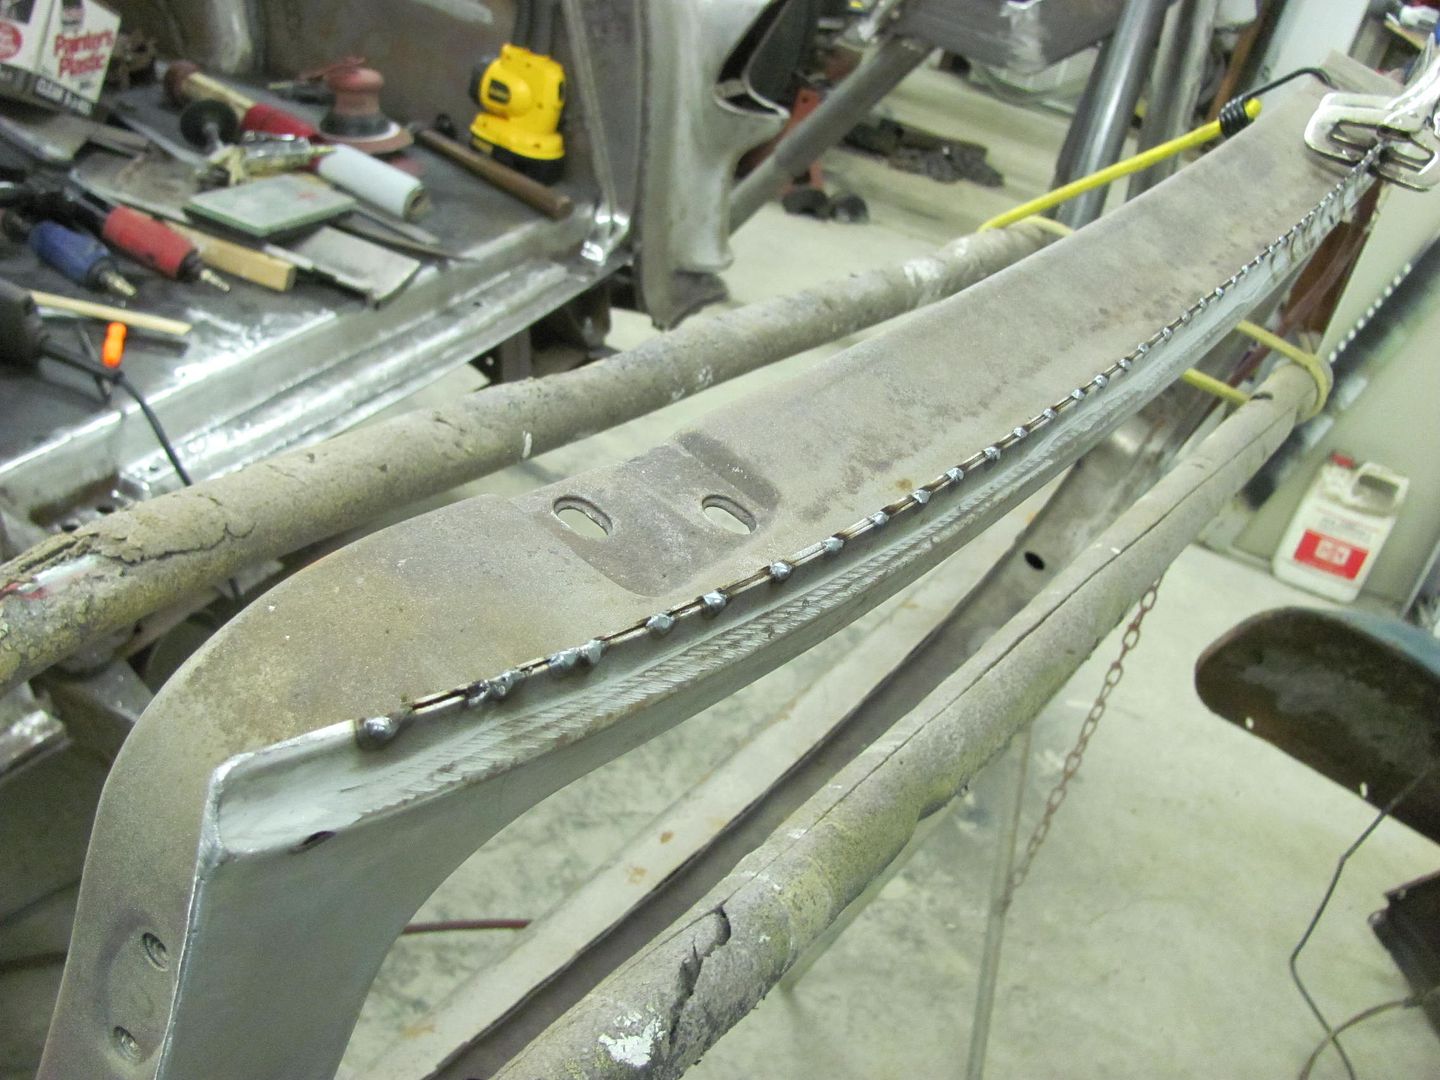
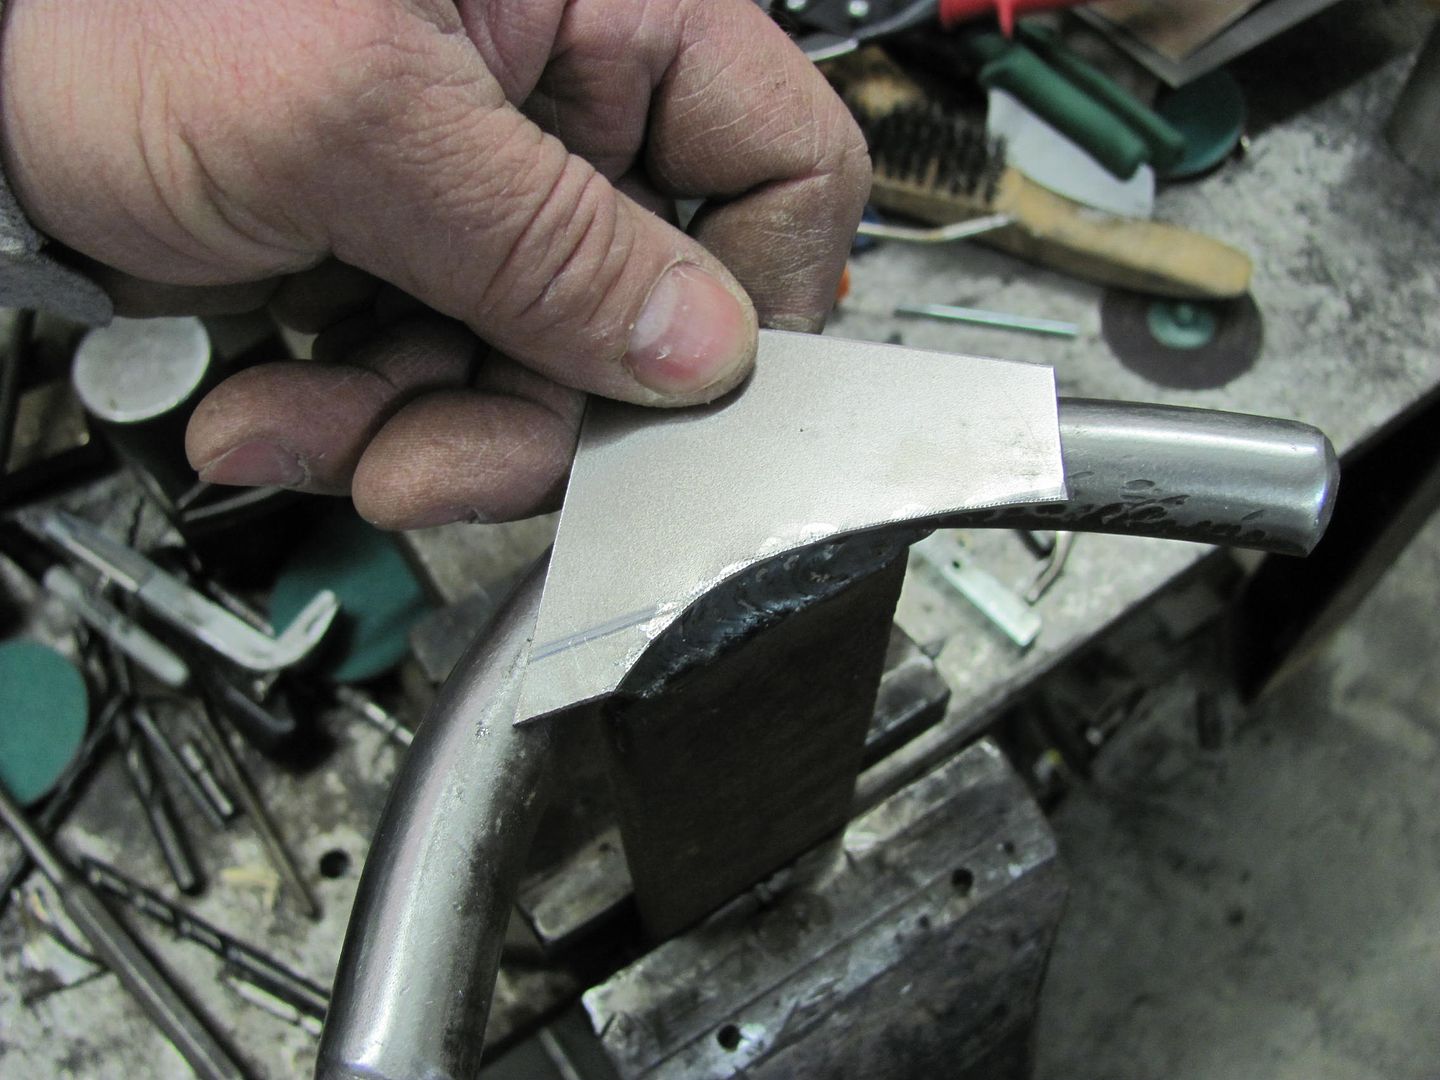
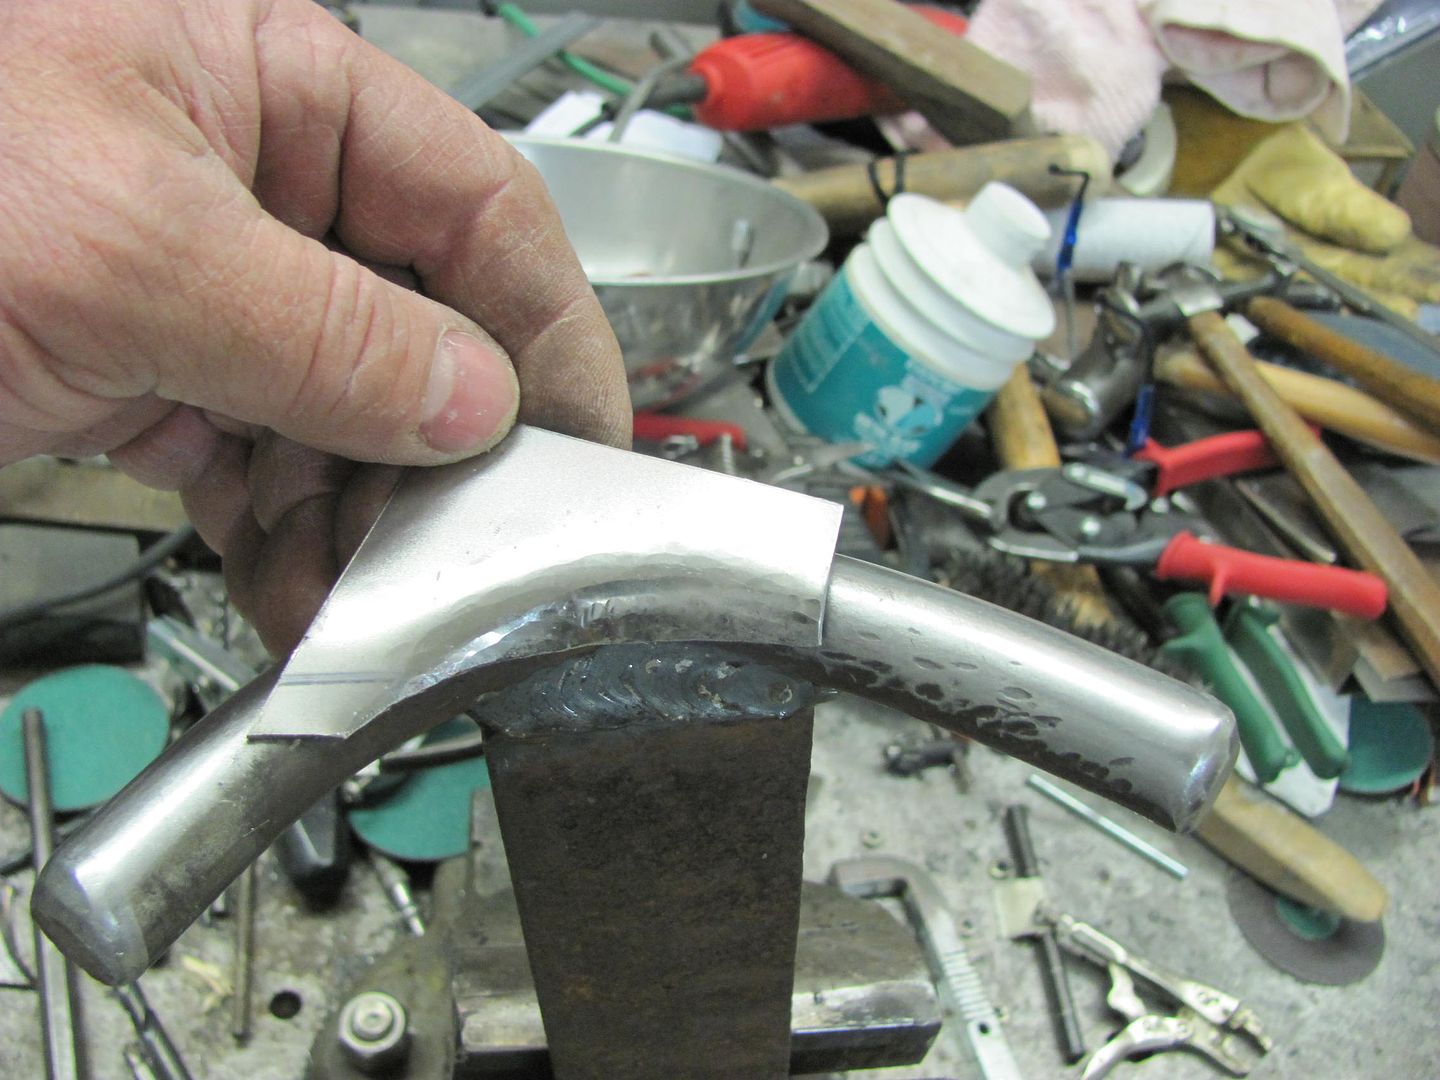
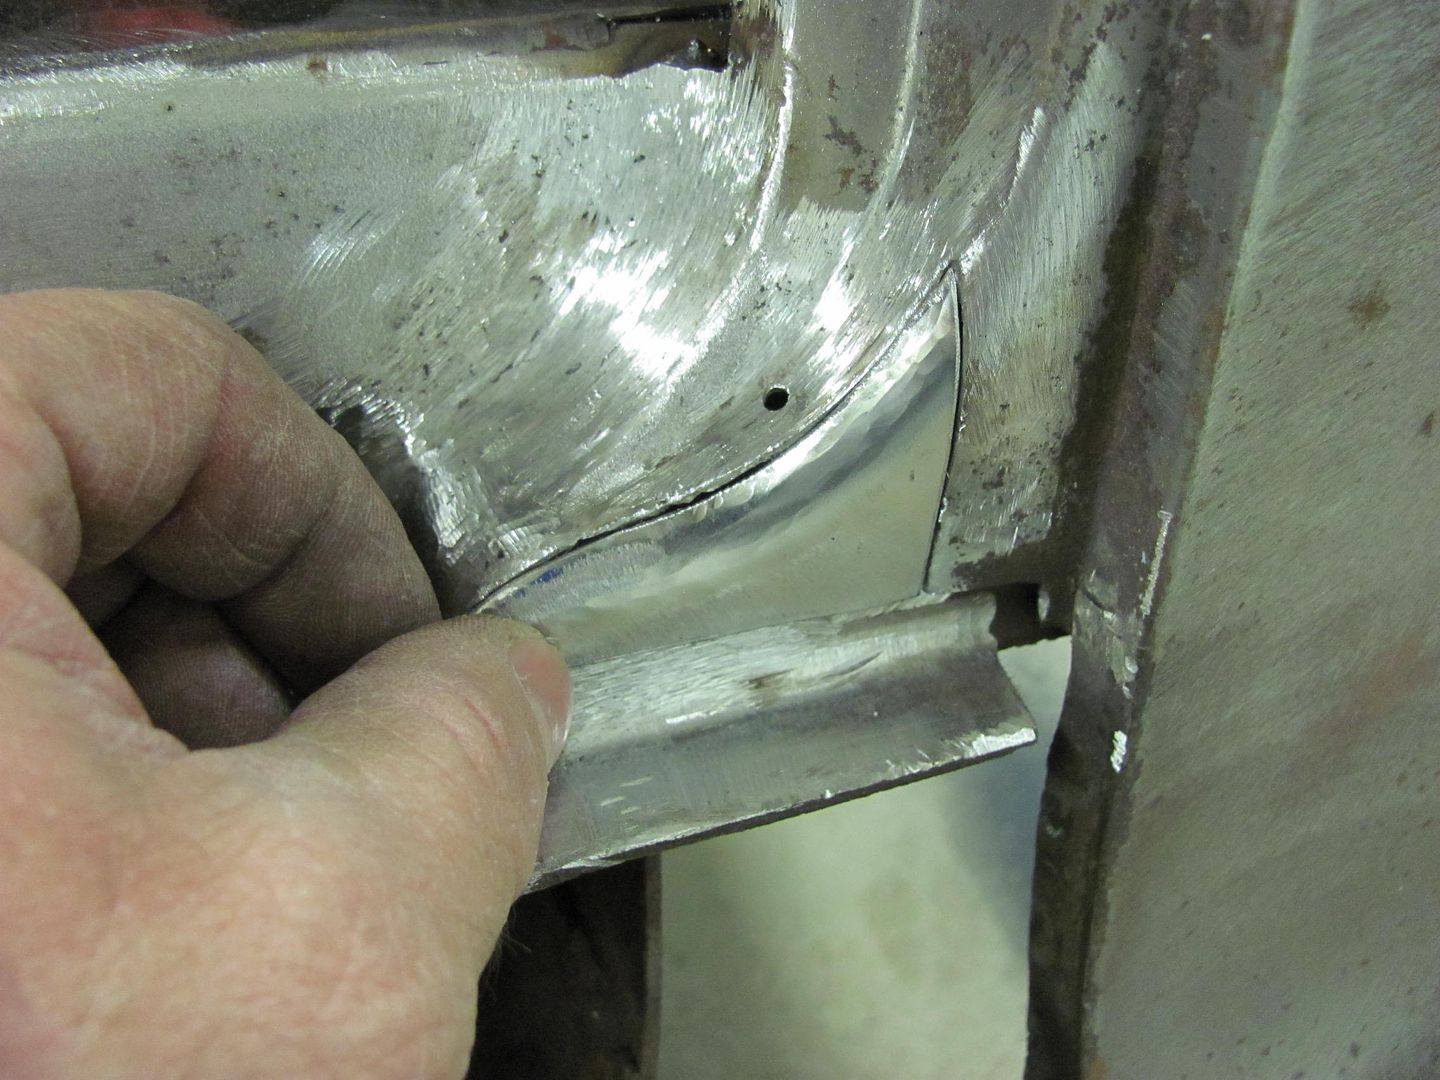
Fitting, trimming, and welding...
....and, as can be expected, one more to go... Until next time.
When your this good at body work I don't think you need Bondo.
Greg & Mendy Dayton, Ohio 2007LH 2008LH 2010LH 2011LH 2012 1st 2 stops 2013LH 2015 1st 2 stops2016LH 2017 first and last stops . 2018 LH ("It's better to be dead and cool than alive and uncool!! Harley Davidson!")
 Tweet
Tweet

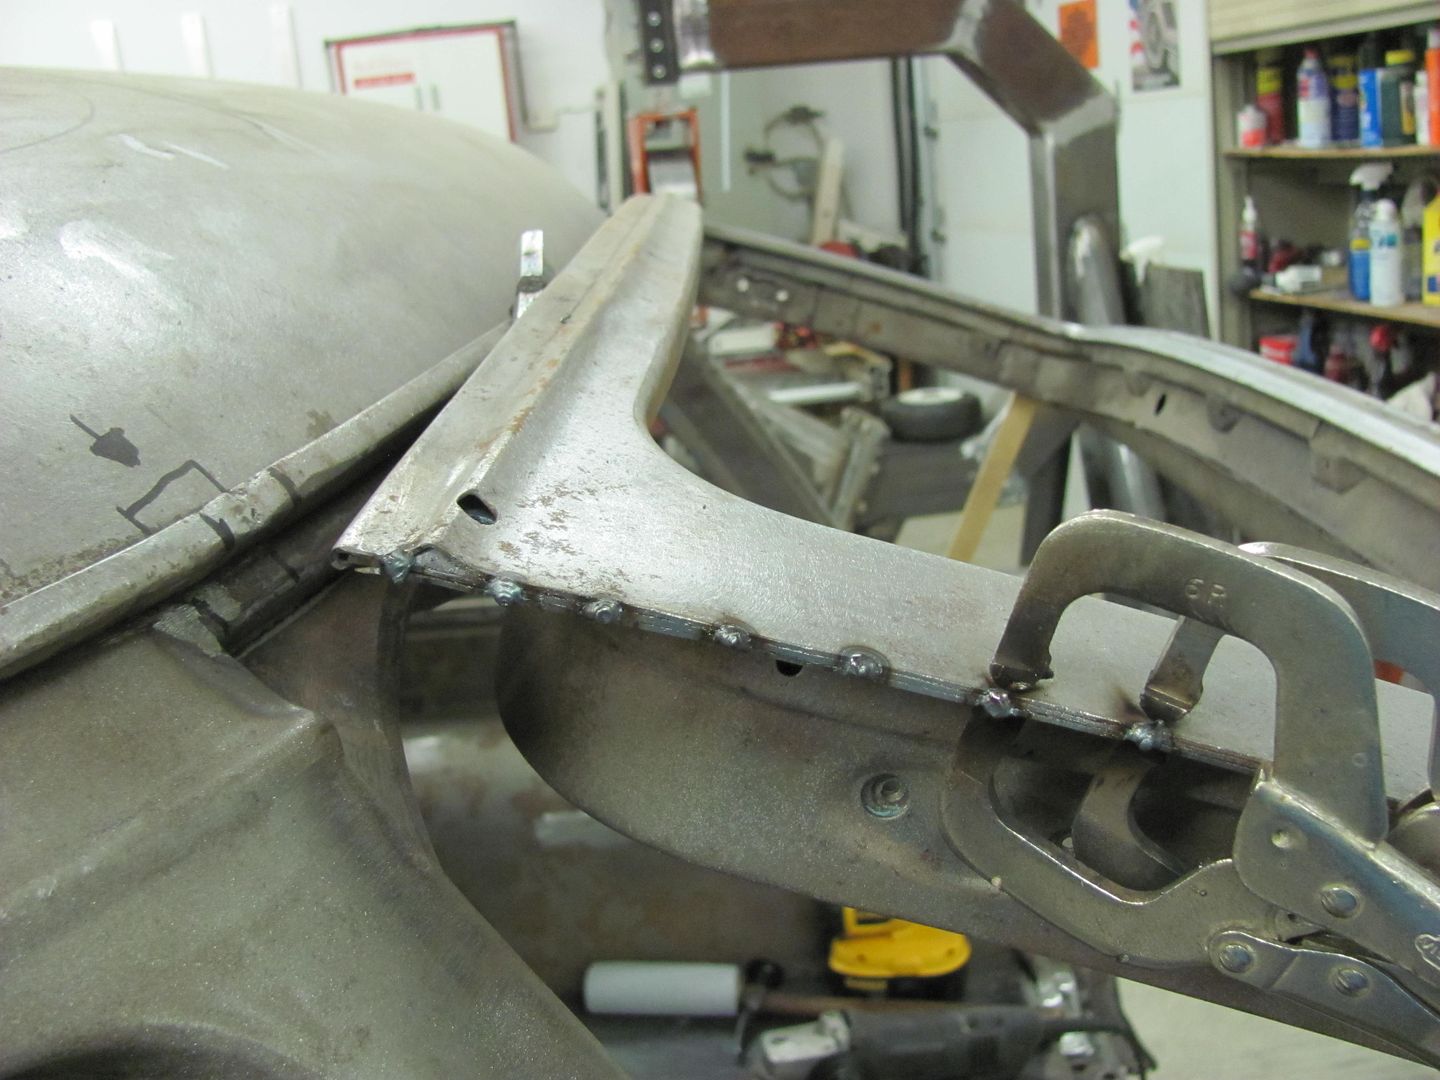
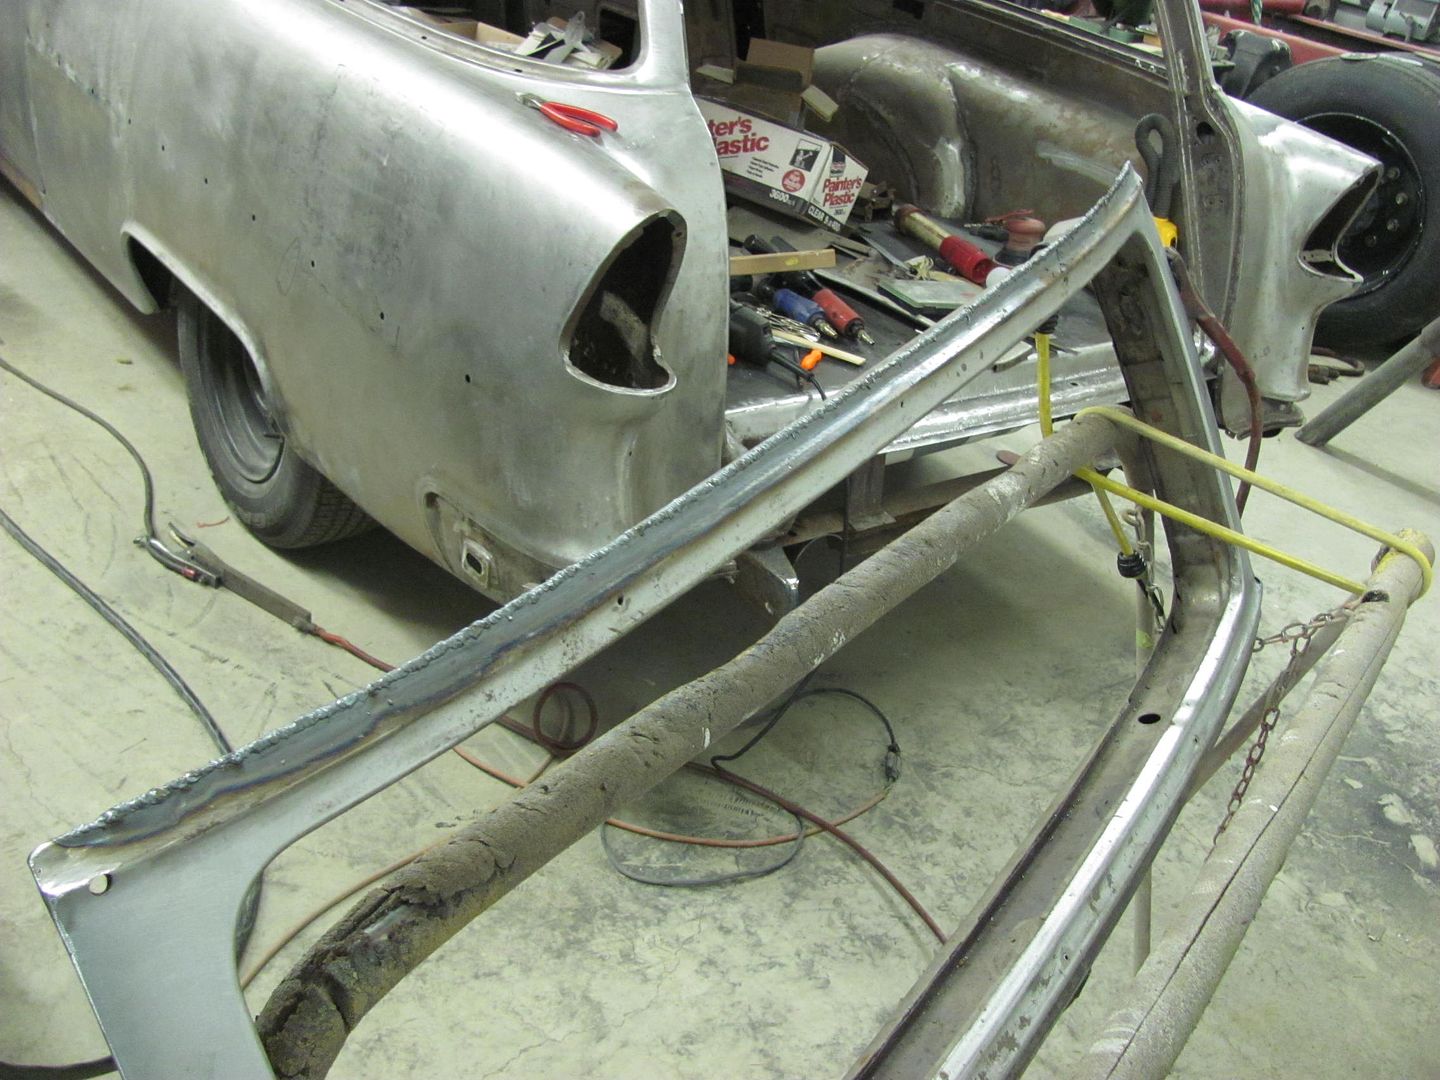
 Still a couple brackets to complete on the air ride rear install...


Comment