 Tweet
Tweet
Inspiring - truly inspiring - thank you for taking the time to take pictures and post them.
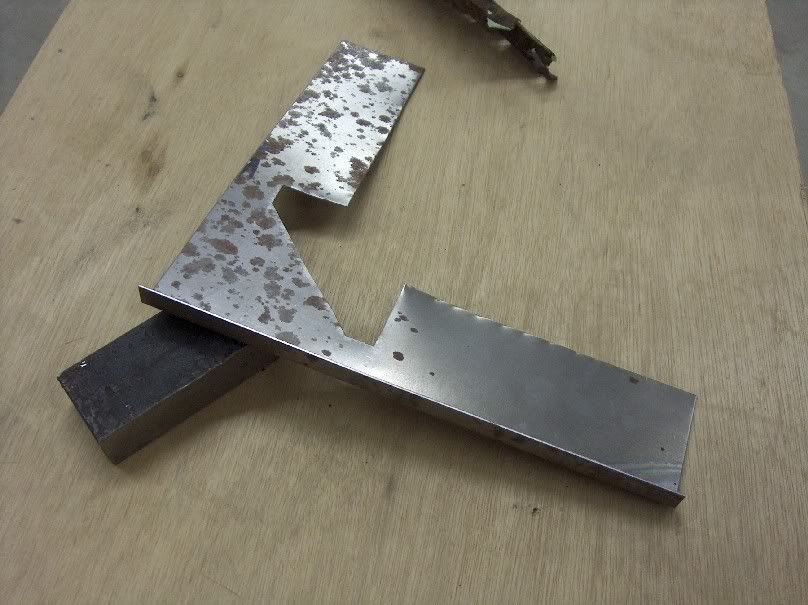
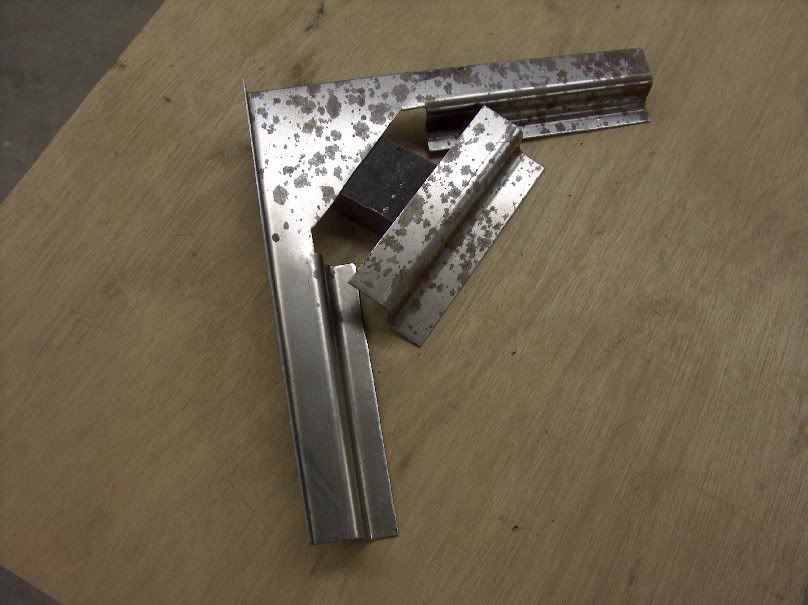
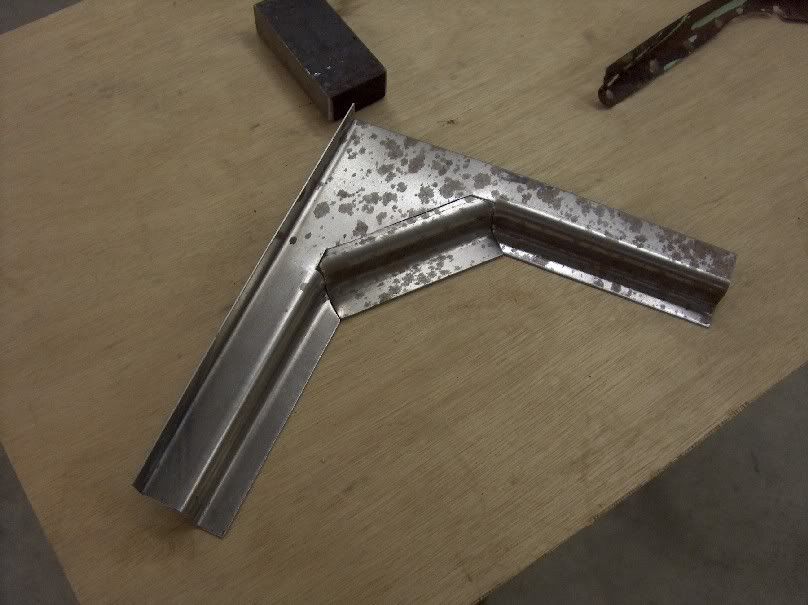
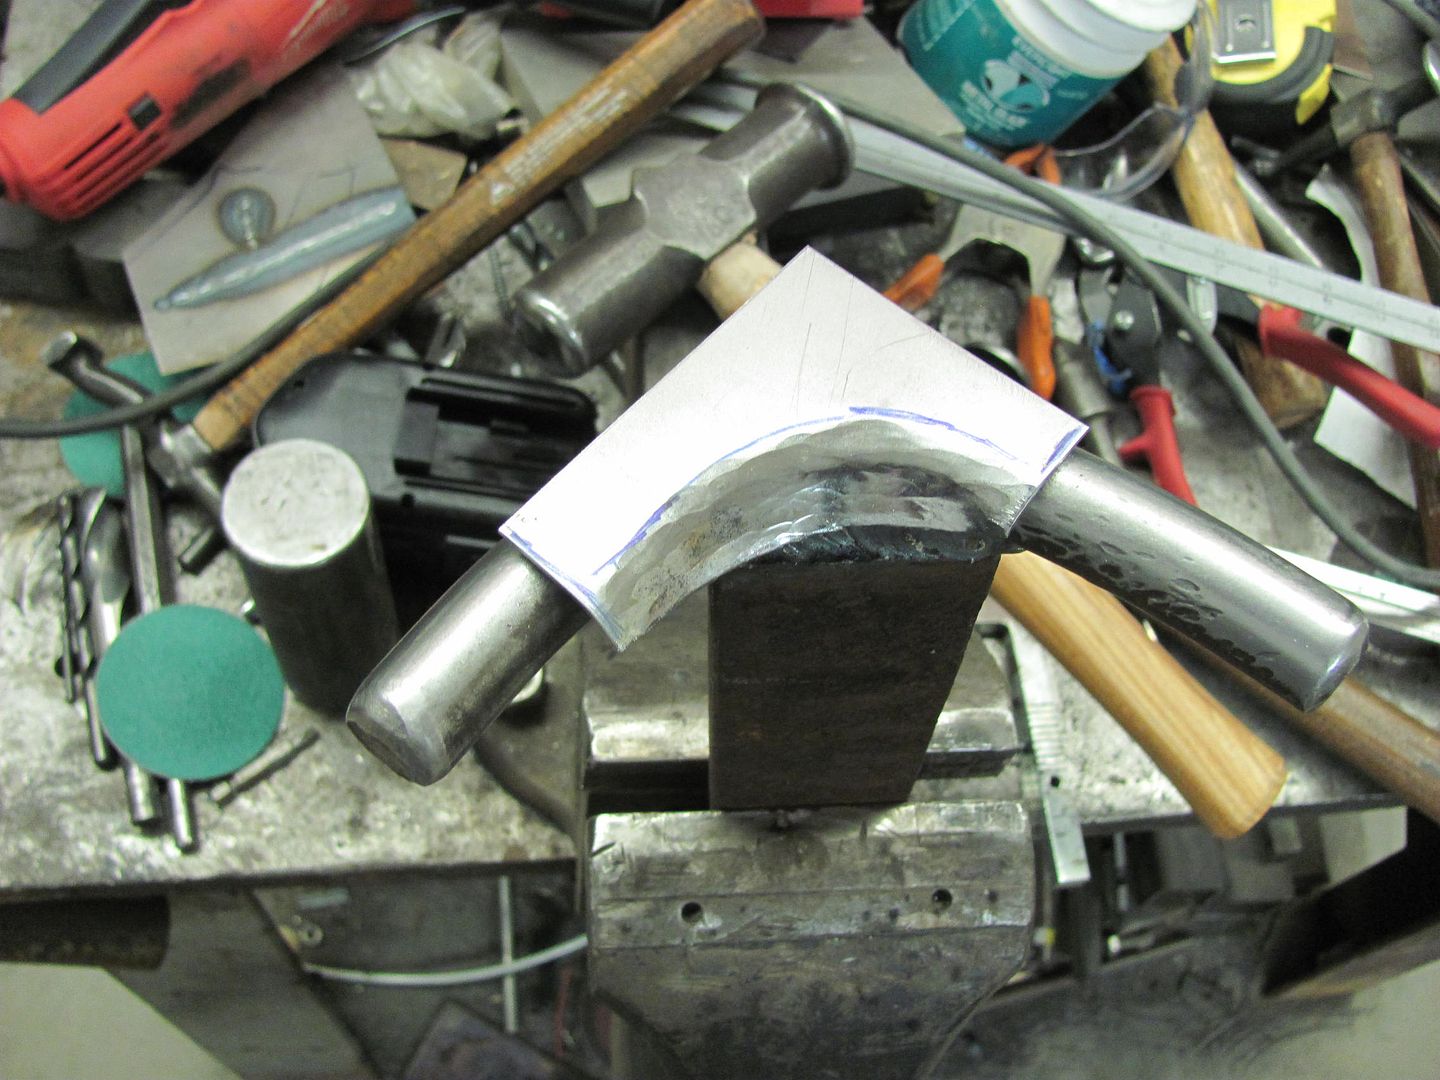
One question about technique - is there any merit to getting a patch "close" then tacking and hammering to get it to final shape?
I've done this on floors and places that wouldn't be "finished" with good results - saved allot of time compared to getting the perfect fit before I started welding, but - those were not finished body panels.
Speaking of not using bondo - has anyone used the "lead substitute" with any luck? I've always wanted to try leading - but I don't see any reason to try to learn with anything but the "unleaded metal body filler" at this point. Just like if I'm going to learn to spray - it's wise to learn with HVLP.
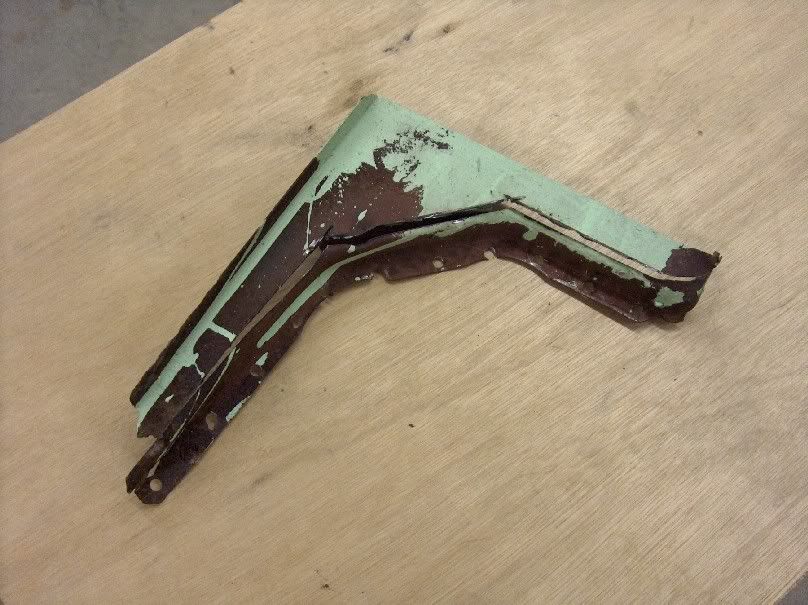
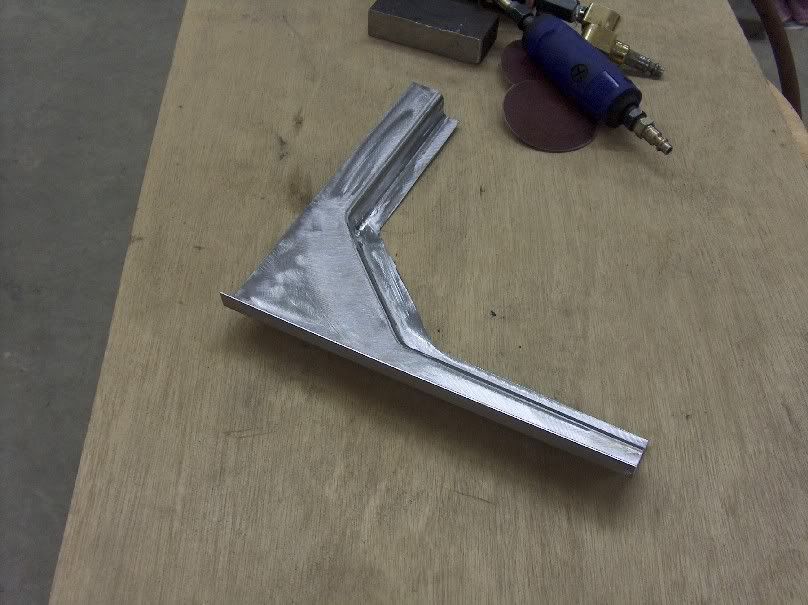
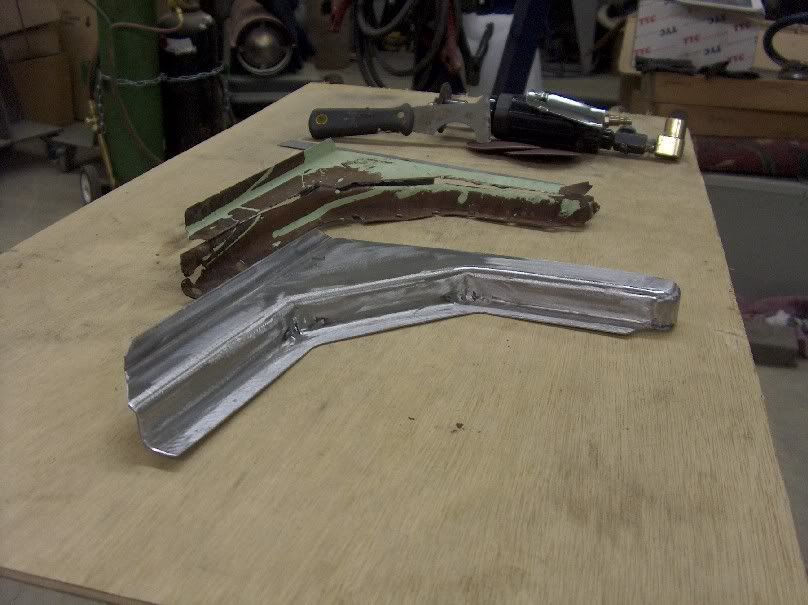
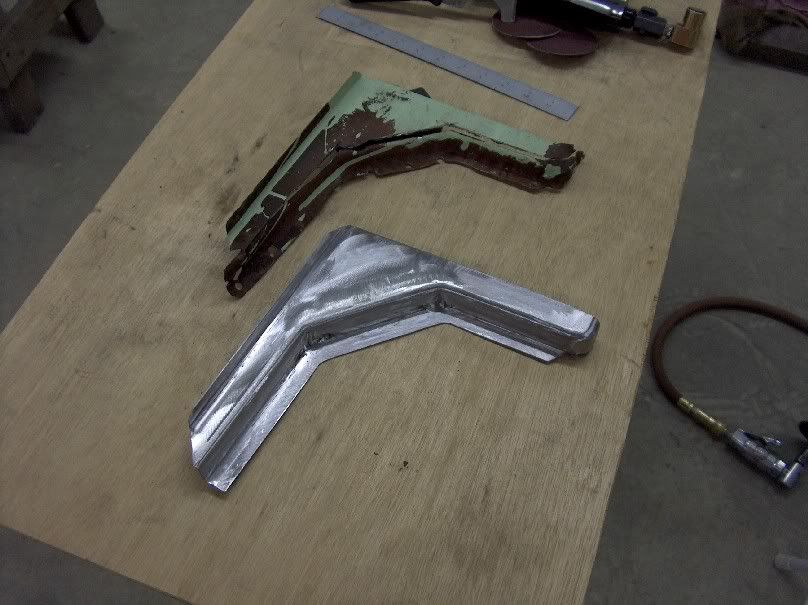
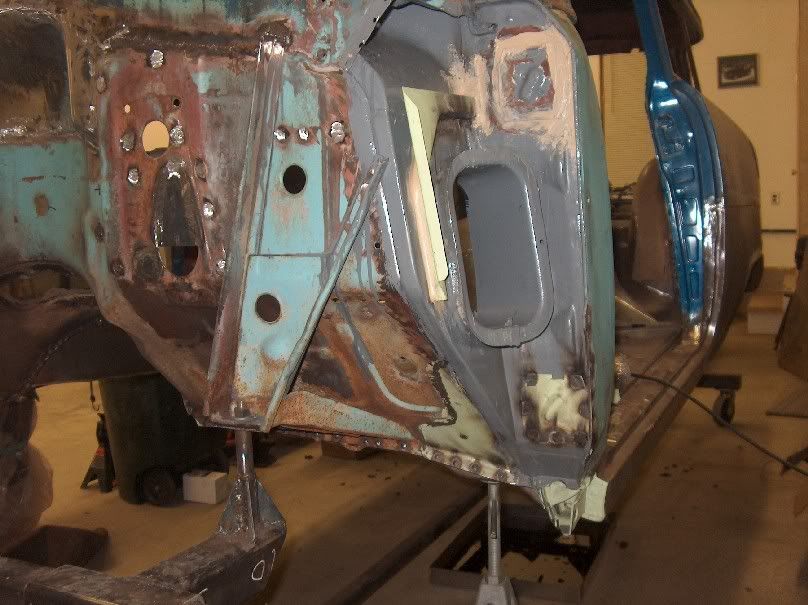
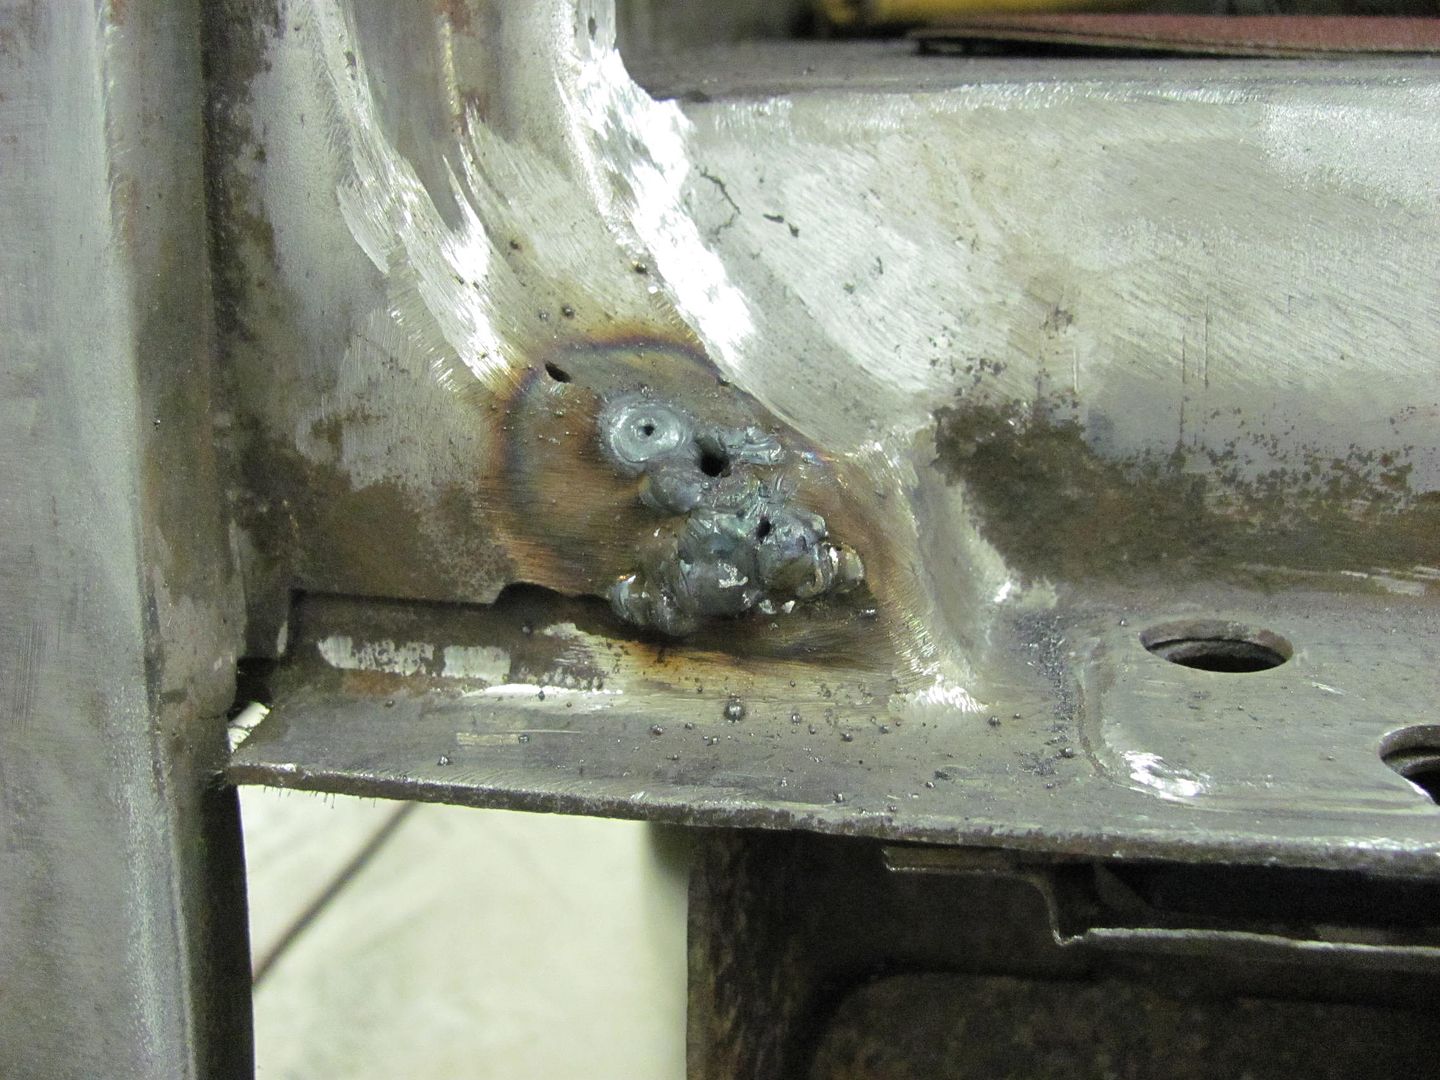
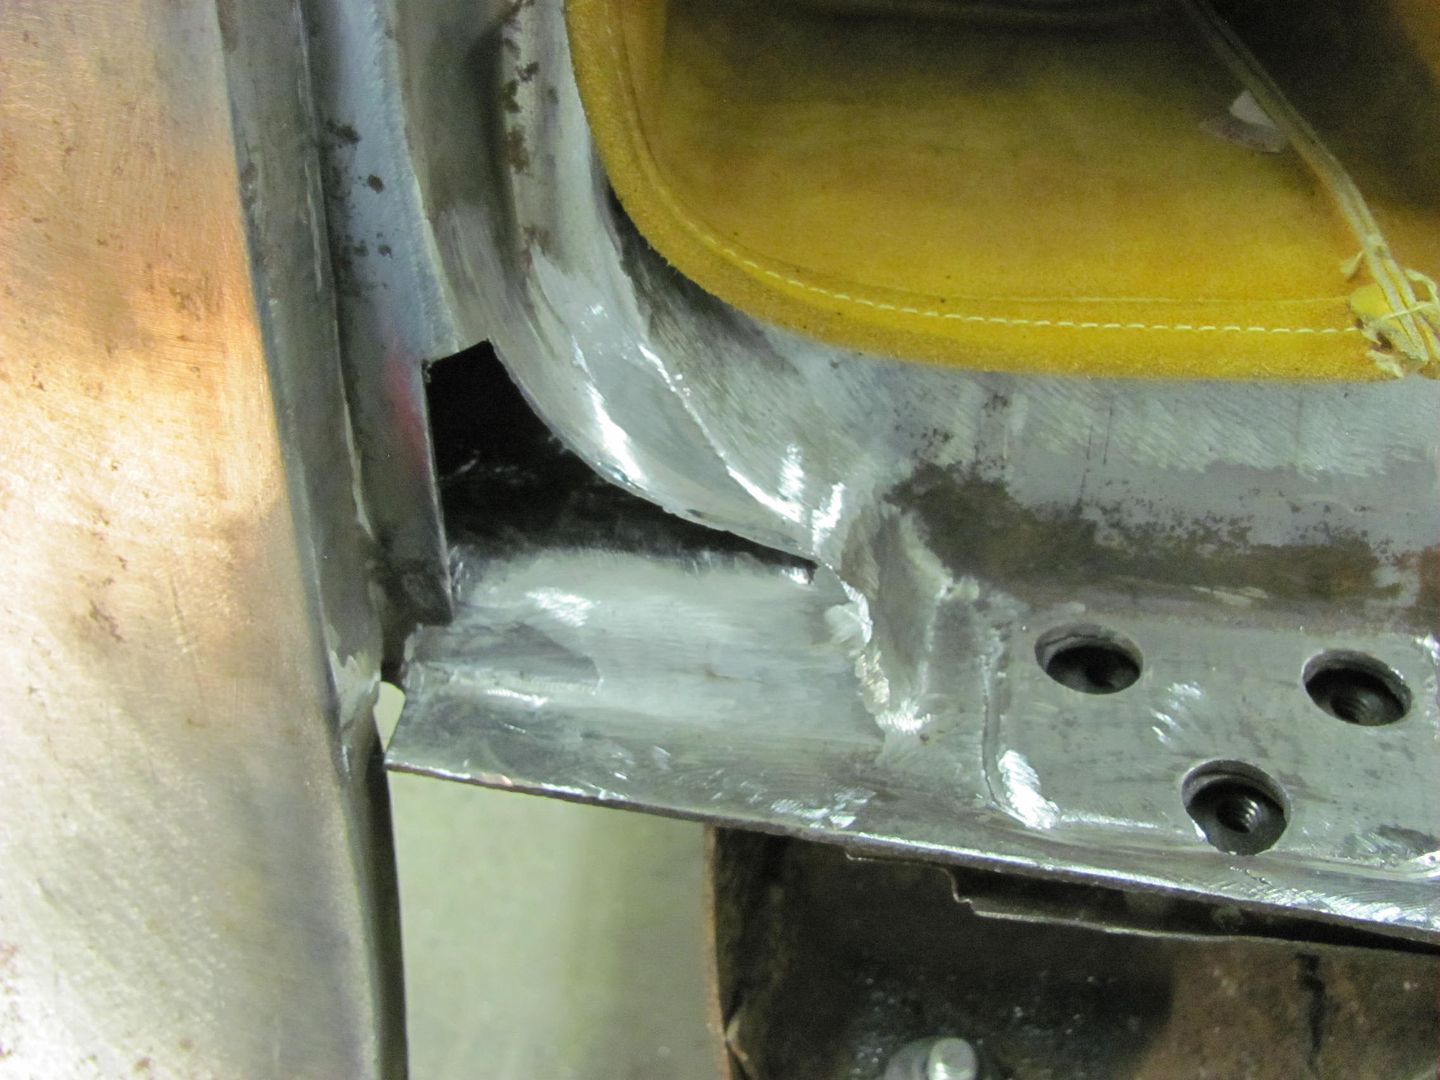
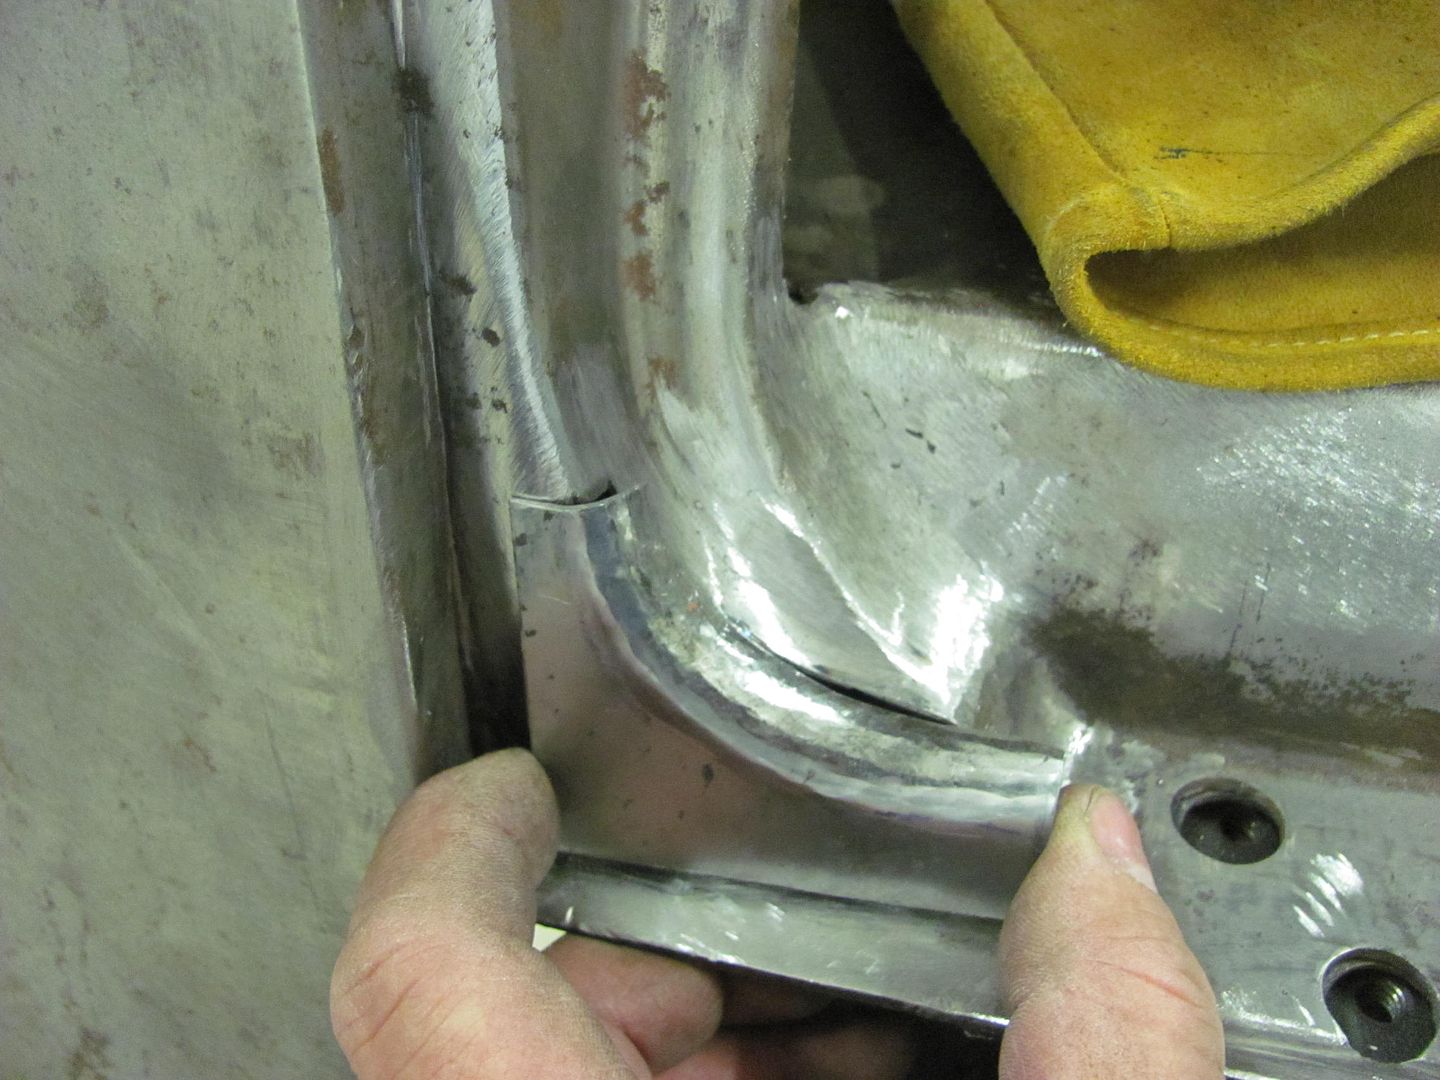
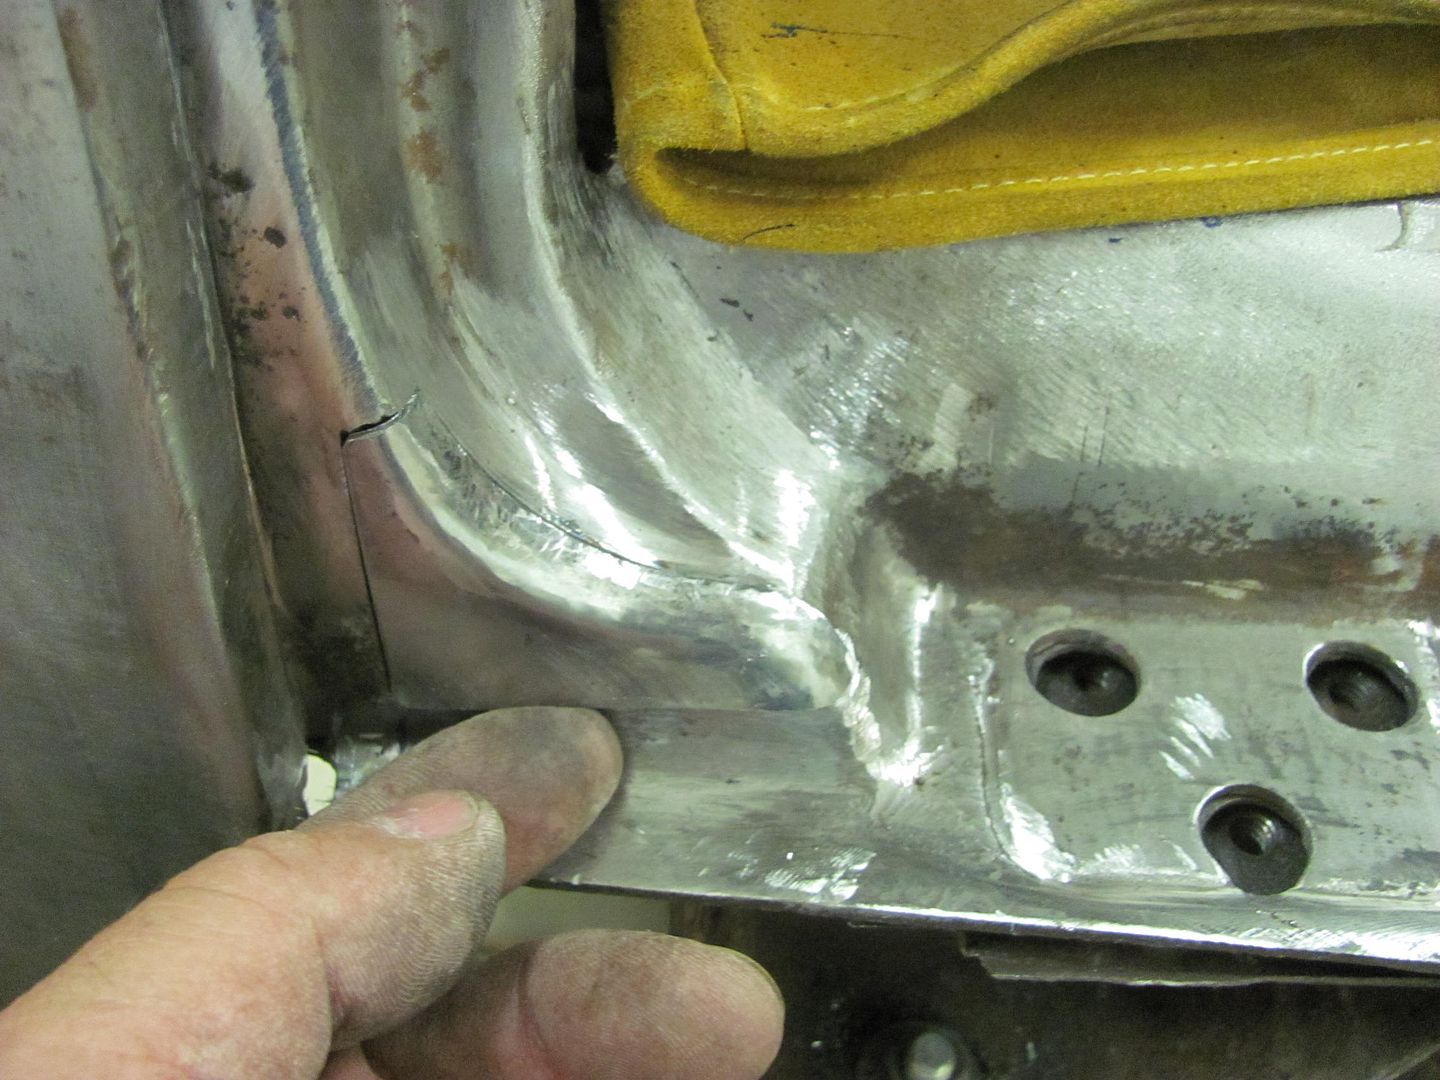
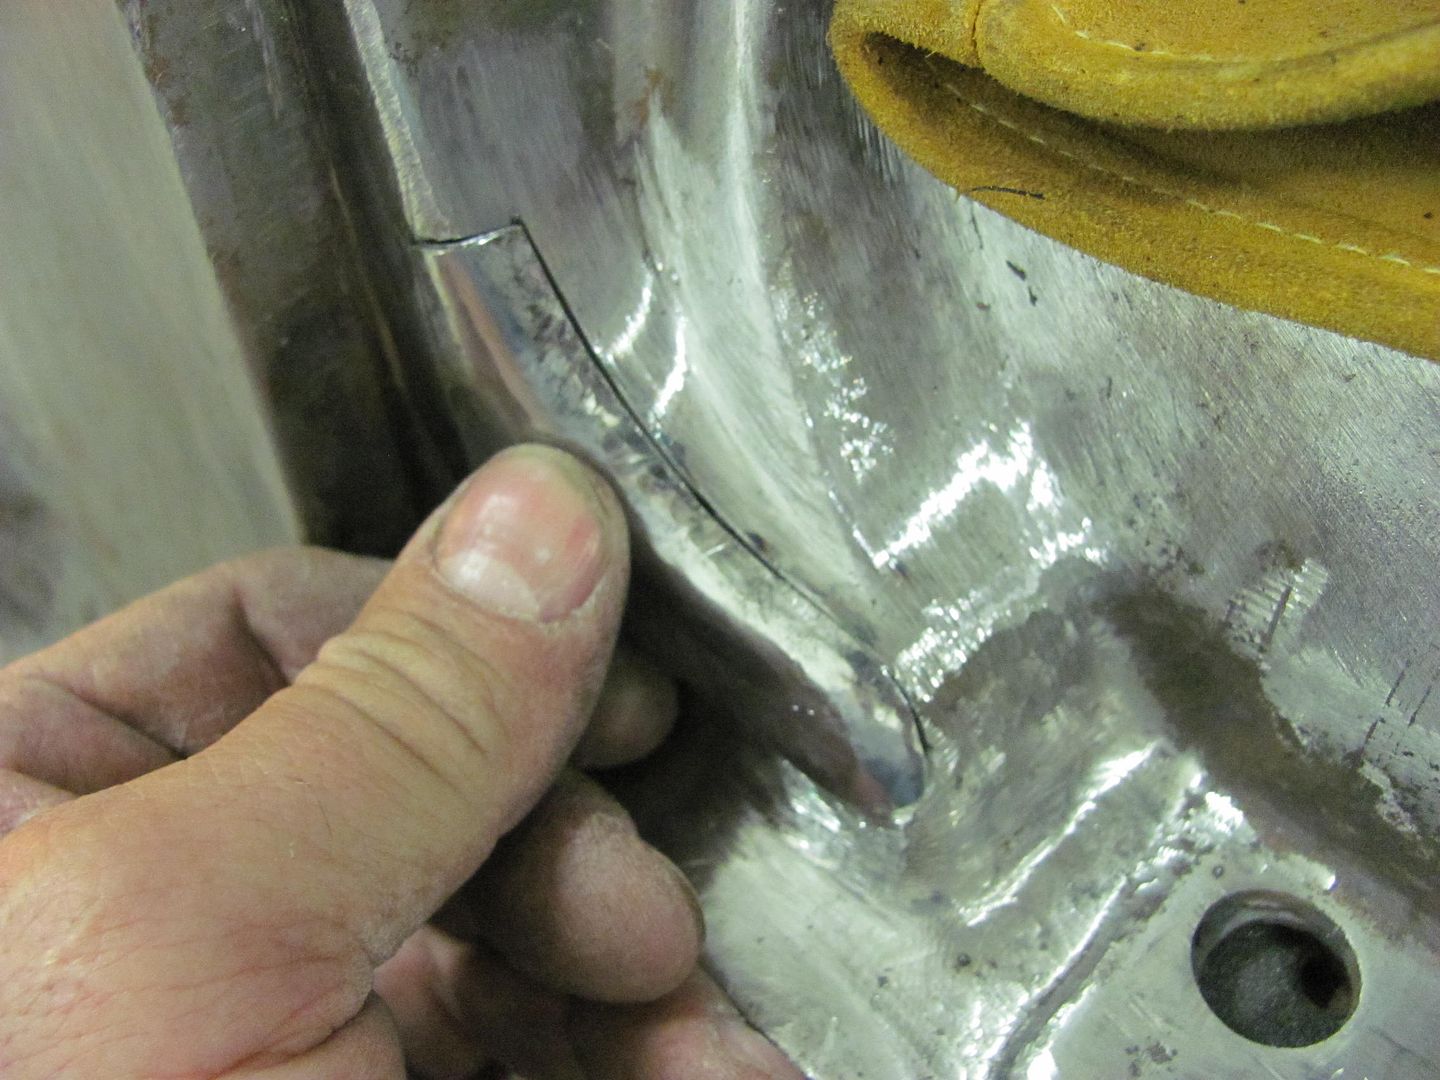
 Actually the green is House of Kolor epoxy primer, the black is some spray paint I used for a guide coat. It still needs some metal bumping there to get rid of the guide coat you see.


Comment