 Tweet
Tweet
Cool you guys are awesome.
-
Greg & Mendy Dayton, Ohio 2007LH 2008LH 2010LH 2011LH 2012 1st 2 stops 2013LH 2015 1st 2 stops2016LH 2017 first and last stops . 2018 LH ("It's better to be dead and cool than alive and uncool!! Harley Davidson!") -
Thanks so much for passing along these nifty tricks and tips. While I've welded and beat sheet metal into submission I've never really developed this skill set and it sure is fun to see it done well.
DanComment
-
Thanks for the comments guys!
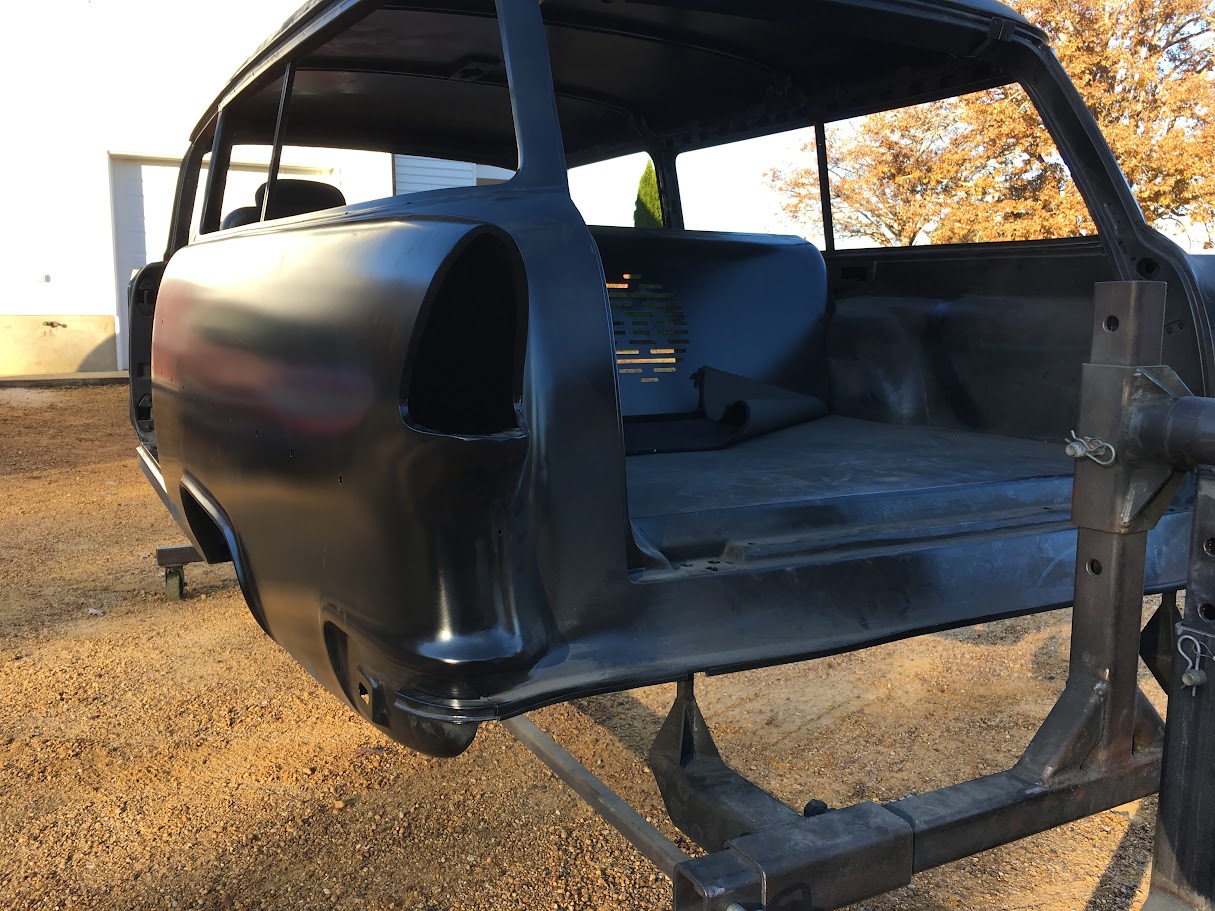
We got the wagon parts pulled out of the booth this past weekend where we had them stored during the metalshaping class.
Getting back to tying up some loose ends.. Mike cuts out the driver side of the console..
All ready for thinning the bend lines..
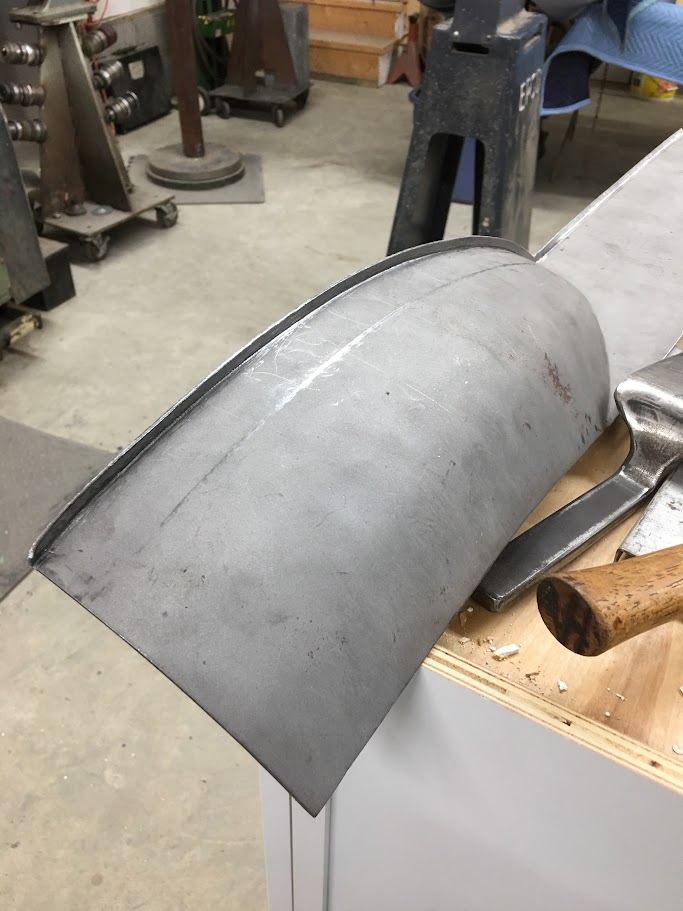
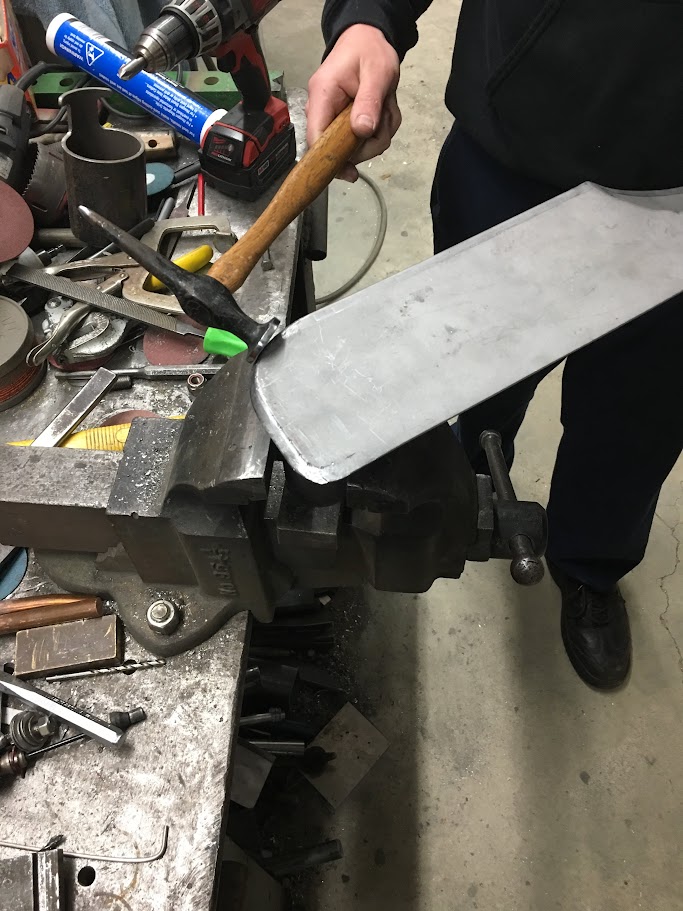
.....while Jake and I worked on tipping the edge on the second seat bolster..
Comment
-
Been in Florida the past couple weeks for the day job, got back in time for Saturday's shop day. Jake worked on the rear seat bolster, the top profile was traced from the one we made for the driver's side but this mark needs to be on the opposite side for us to tip the flange. Easy transfer is to use a punch on the line to transfer the mark's location through the panel and then trace..
....and then he used various round anvils for hammer forming the corners.
I got started on welding in the corners of the passenger console side...
This might work yet...
While Jake was tipping flanges he needed some stretch in the crowned area. Looking at the too many pieces that came out of the Erco, it's possible that Jake has too much kick. We made some new spring plates out of 1/16 stainless sheet..
Back in business...
Comment
-
Man it would be so cool to attend one of your classes you have a beginners class.Greg & Mendy Dayton, Ohio 2007LH 2008LH 2010LH 2011LH 2012 1st 2 stops 2013LH 2015 1st 2 stops2016LH 2017 first and last stops . 2018 LH ("It's better to be dead and cool than alive and uncool!! Harley Davidson!")Comment
-
At all of our classes we seem to have had a good mix of both experienced folks looking to improve and novices looking for where to start. For something more around the corner to you, Mike Wagner of Cornfield Customs is in the Cincy area and has classes throughout the year. A good one to follow if you're on FB or IG, he puts my work to shame..Comment
-
This weekend's progress... Jake finishing up on the seat bolsters.
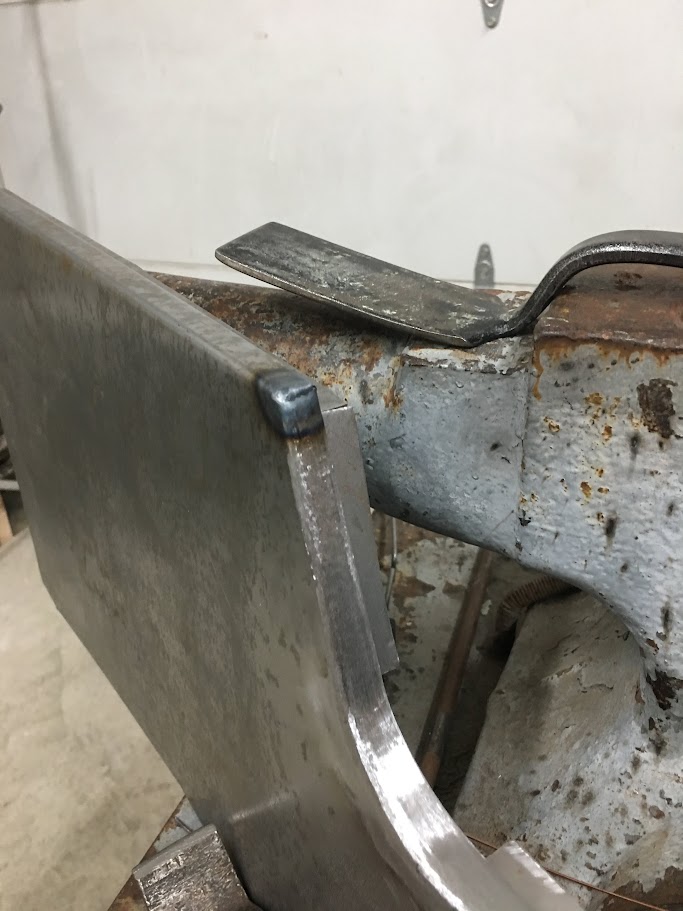
We don't always have the right tools to use, so on occasion we make them. This corner of the panel needed a sharper shape on the anvil
With both bolsters done and fitted to the rear seat, Jake media blasted both and hung them up in the booth where he applied some SPI Epoxy primer.
Meanwhile Mike and I worked on getting the driver's side of the console folded up..
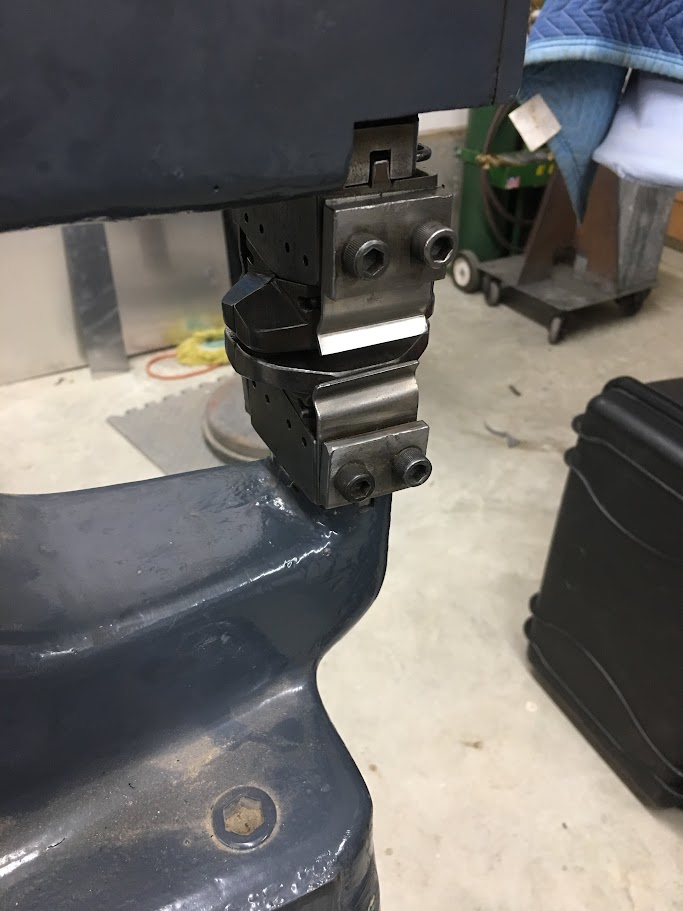
We started by using the tipping die in the Lennox for thinning the bend lines. This both gives a sharper bend and also gives a "feel" for when the press brake's upper die is located in the proper bend location.
Here's the highly technical back stop used to set the fold distance. We have a growing collection of these starting as the dimensional requirements change..
With two sides now, a spacer was made to clamp in the middle to hold our proper width..
Seats above are all the way forward, compare front location to next picture where they have been moved back to normal location, as well as mocking up the Chevelle shifter..
Next we'll get the radius pieces added and start on the internal structures of the console.Comment
-
The all the way forward position look OK to me. I have VERY short legs! As always, GREAT WORK!
Dan
Comment
-
Robert I could not imagine someone doing better quality work than you and your guys and gals. I will check into that Thank You!Originally posted by MP&C View PostGreg & Mendy Dayton, Ohio 2007LH 2008LH 2010LH 2011LH 2012 1st 2 stops 2013LH 2015 1st 2 stops2016LH 2017 first and last stops . 2018 LH ("It's better to be dead and cool than alive and uncool!! Harley Davidson!")Comment
-
Thanks for the comments guys! Greg, I think I read on IG that Cornfield Customs will be holding a metalshaping class in February.
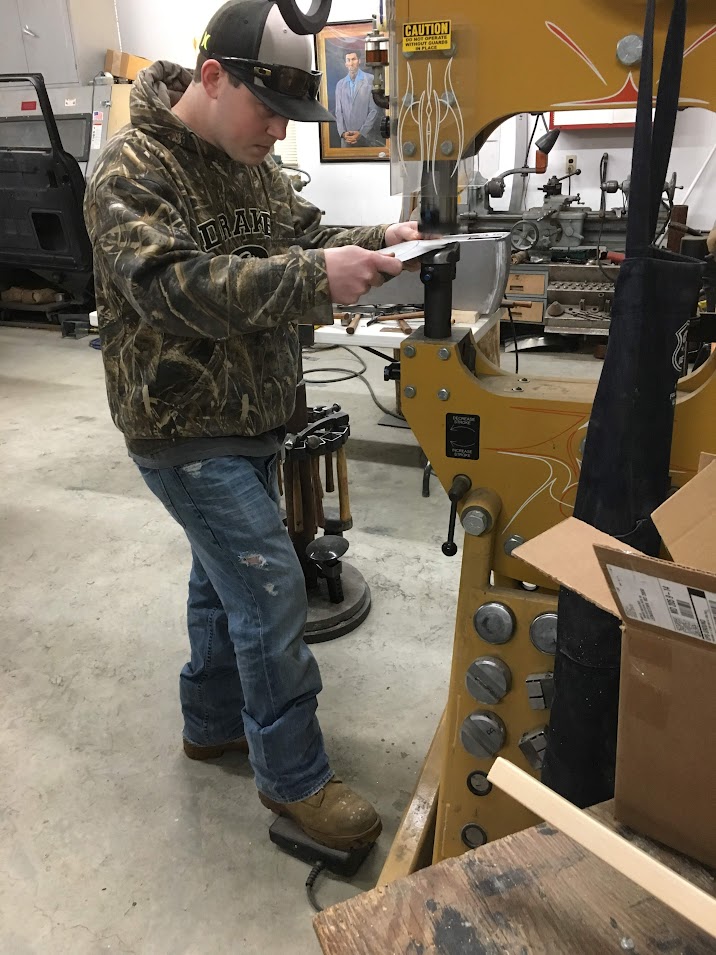
Progress last night on the console, as I was welding the remaining bits in the drivers console side (sorry, no pics) Jake was using the GoKart slick in the Wheeling machine to add the correct contour to the rear panel for the console...
Matches up well.....
Then he made some practice side pieces so we could test the fitment to the rear panel after using the tank roll die in the Lennox. There's quite a bit of work in the console sides at this point, and we didn't want them to be the guinea pigs..
View of them clamped:
We can use this rear panel on the console, and this weekend we'll use the tank roll die on the console sides and get them welded together..
Comment
-
Thanks Robert I may check into that.Greg & Mendy Dayton, Ohio 2007LH 2008LH 2010LH 2011LH 2012 1st 2 stops 2013LH 2015 1st 2 stops2016LH 2017 first and last stops . 2018 LH ("It's better to be dead and cool than alive and uncool!! Harley Davidson!")Comment
-
Merry Christmas and Happy Holidays to everyone!
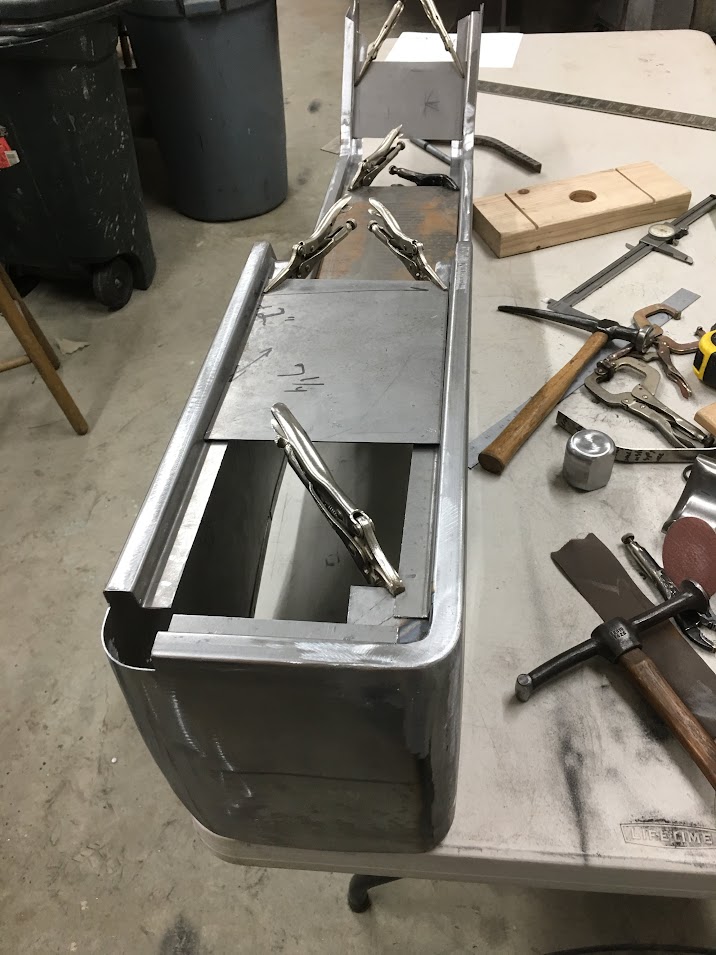
More progress today on the console, time to weld in the back section.. We had it clamped like so:
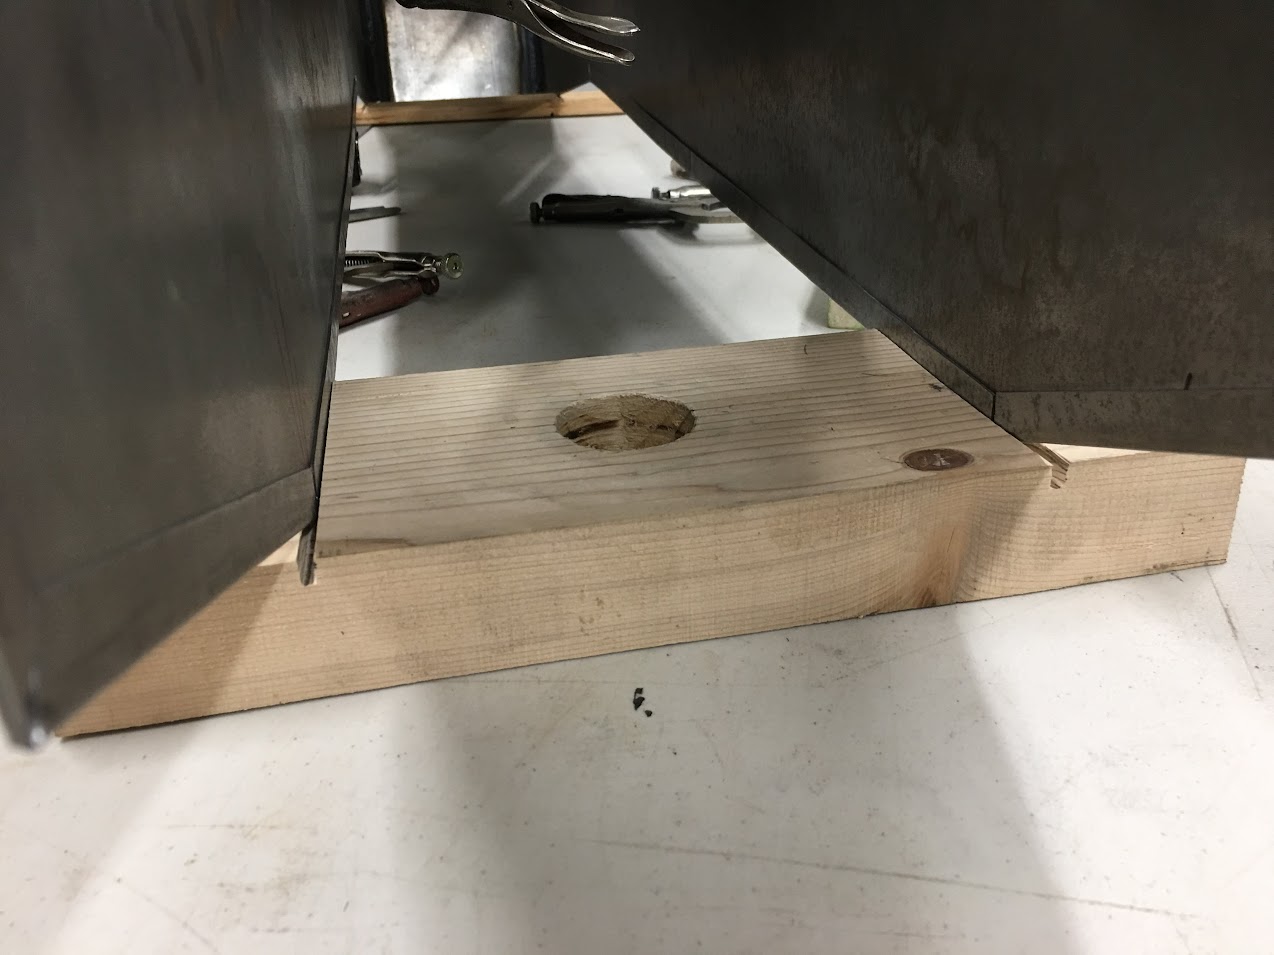
But on second thought, it should be clamped on the upper portion...
....and to keep the bottoms from sliding out from under, some spacers were made out of scrap wood....
Tacked and welded with the TIG....
Jake cut out some corners, tipped some flanges, and used the Vise Grip tucking tool to gather up some of the excess metal. A torch heats up the tucks for an easy flattening.
Trimmed and test fit...
Inner corner finished in the same fashion...
Comment
-
Damn! Just DAMN! I know how difficult that is.
Dan
Comment
-
Happy New Year to everybody!
Had a visit by the shop this week from cousin JB, who works at Interiors by Shannon in Alabama. He was up for the holidays. They have recently picked up a bead roller so we did some practice runs on pre-stretched and non-stretched beads, and then some beads using the Lennox Nibbler. Finished up with some shrinking on the MH-19. We ran out of time to punch louvers. Great to see him again, nice to spend time "playing" in the shop.
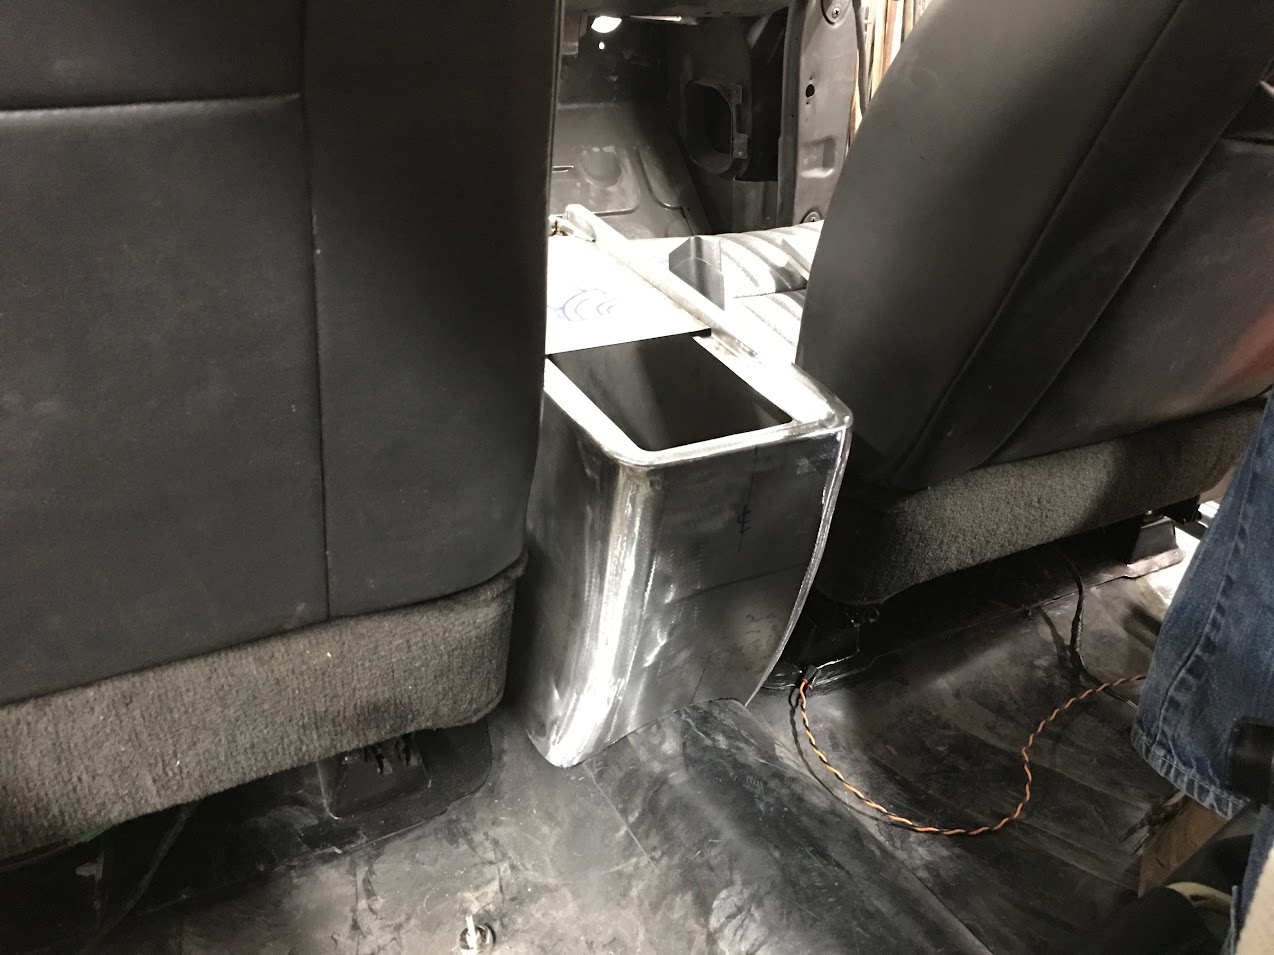
Progress on the console this weekend... Mike is still in California visiting family, so Jake and I have been texting pics to him of what he's missing haha..
Corner number two, we've already shown some shrinking, so no we'll show stretching the inside corner..
Placing the part on a suitable flat anvil, a barrel roll hammer is used to provide stretch the inner corner...
You get to a point where flat is no longer useful, so then we use another anvil, this one in the form of a square tube. Works well for what we're doing here...
Fitted and welded....
Next, a pattern made of the rear hump for trimming the console.. we'll keep it snug for now for placing anchors and then trim later for carpet and sound deadening space.
Comment
-
Just wondering if you know how many hours you have into the 55 at this point.Comment


Comment