Announcement

Collapse
No announcement yet.

55 Wagon Progress

Collapse
X
 
  • Filter
  • Time
  • Show
Clear All
new posts

  • Fix it now or fix it later, right?


    Saturday morning Mike and I went to look at a 39 Ford that needs a complete new wiring harness. What a rats nest the under-dash was, with far too many splices. When people run wires with no regard to movement and function of things like the cowl vent handle or parking brake, when three separate wires are spliced to go from one point to another, you just shake your head. For me I guess it validates what I do in sharing the various tips and methods in this thread. If it helps one person to get some ideas to better improve their own build, or it keeps hack work like we saw Saturday from happening, then mission accomplished.


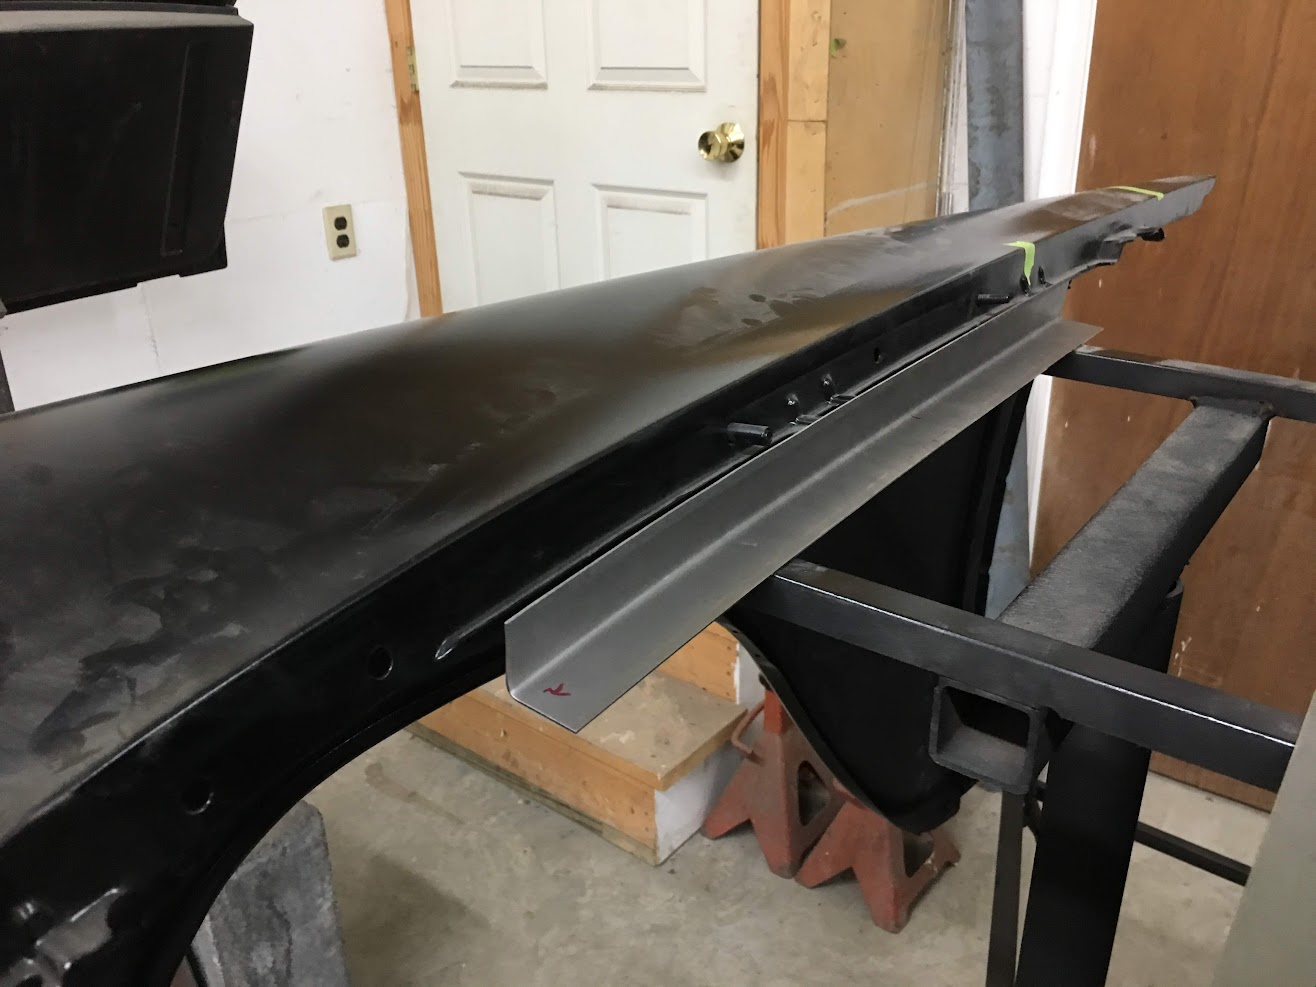
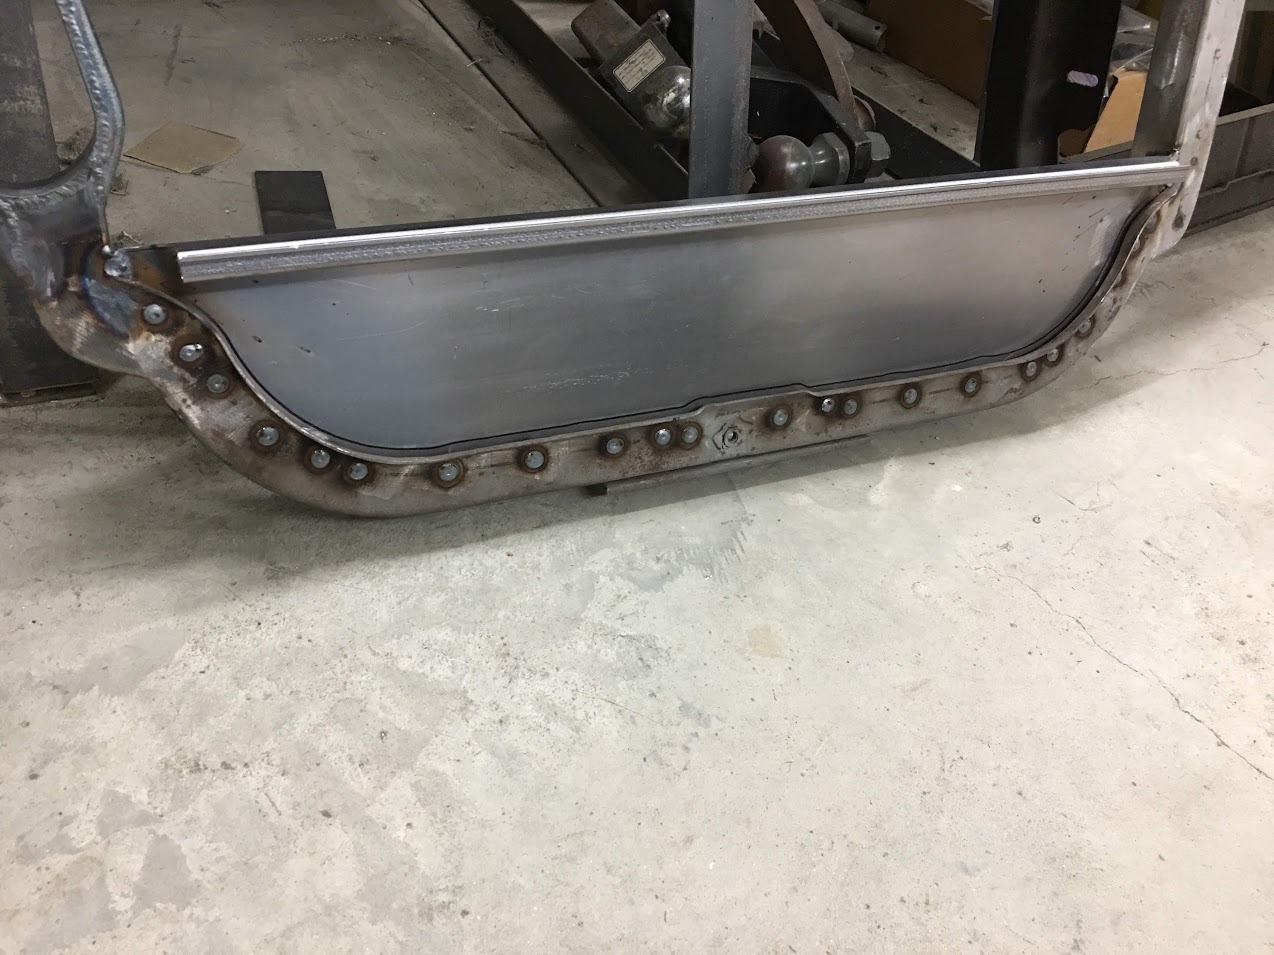
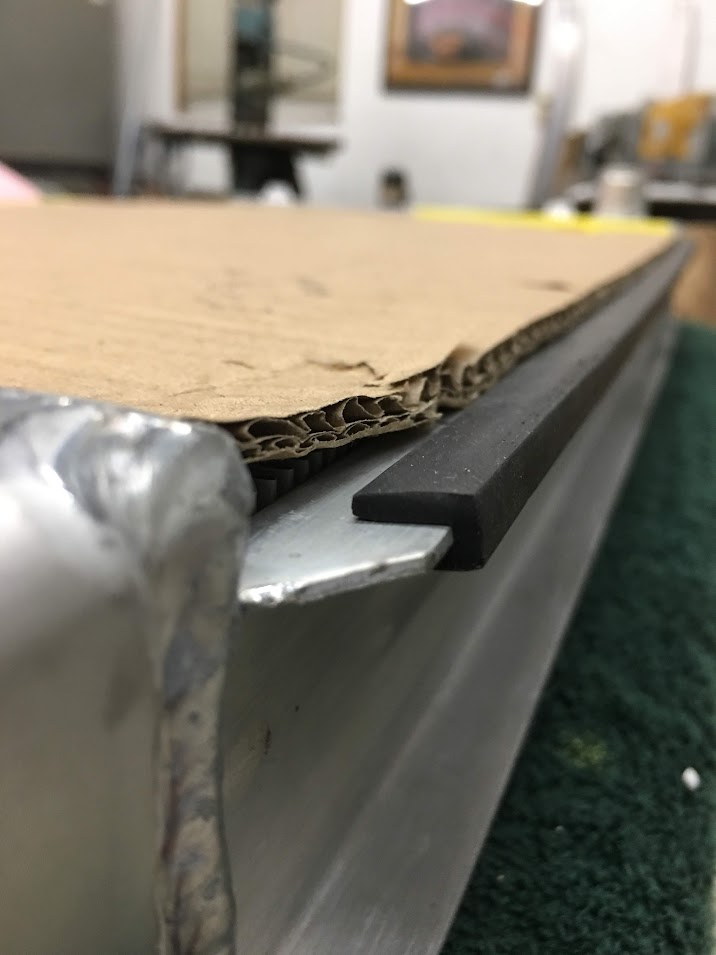
    When we returned from that, I finished up the remaining hinge conversion, and Mike cut out some 18 GA cold rolled and made some bolting angles for some inner fenders we have planned in dressing up the blah engine compartment. Undoubtedly there will be some components bolted onto the original inner fenders and these "covers", and this bolting angle will allow us to remove them for access without having to remove fender bolts.


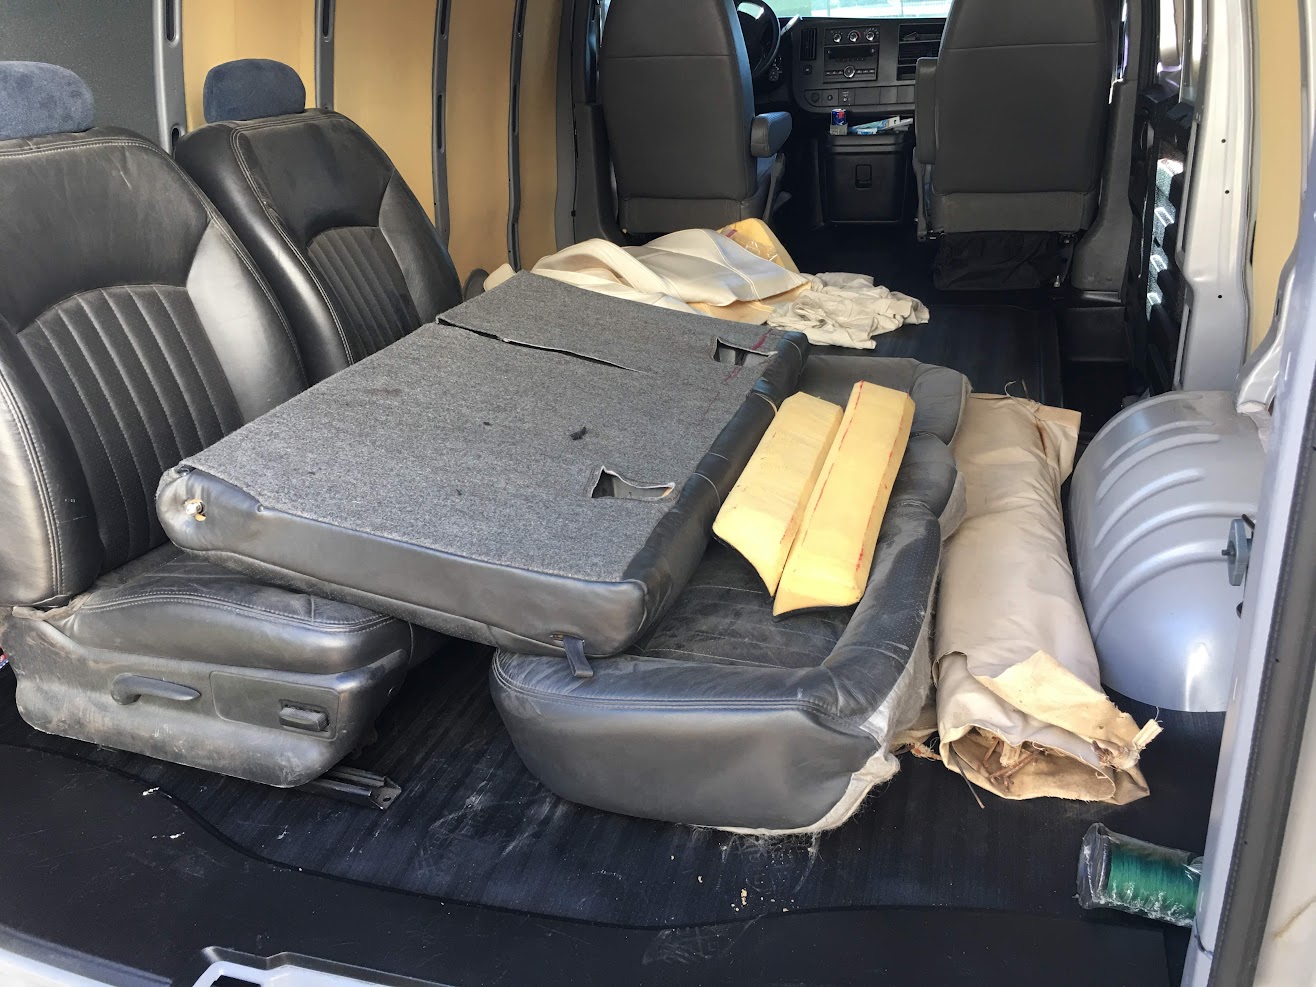
    Monday evening we had a departure, the upholstery has left the building! Well, most of it, we still have door panels, arm rests, etc, etc.... to address.


    Thanks Gary!


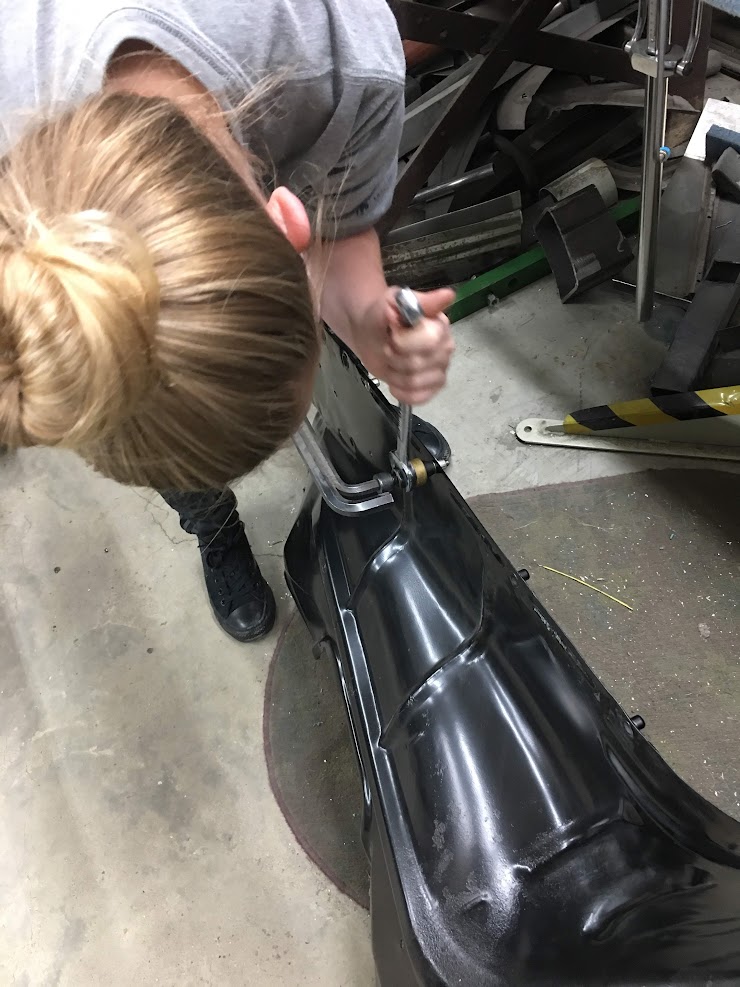
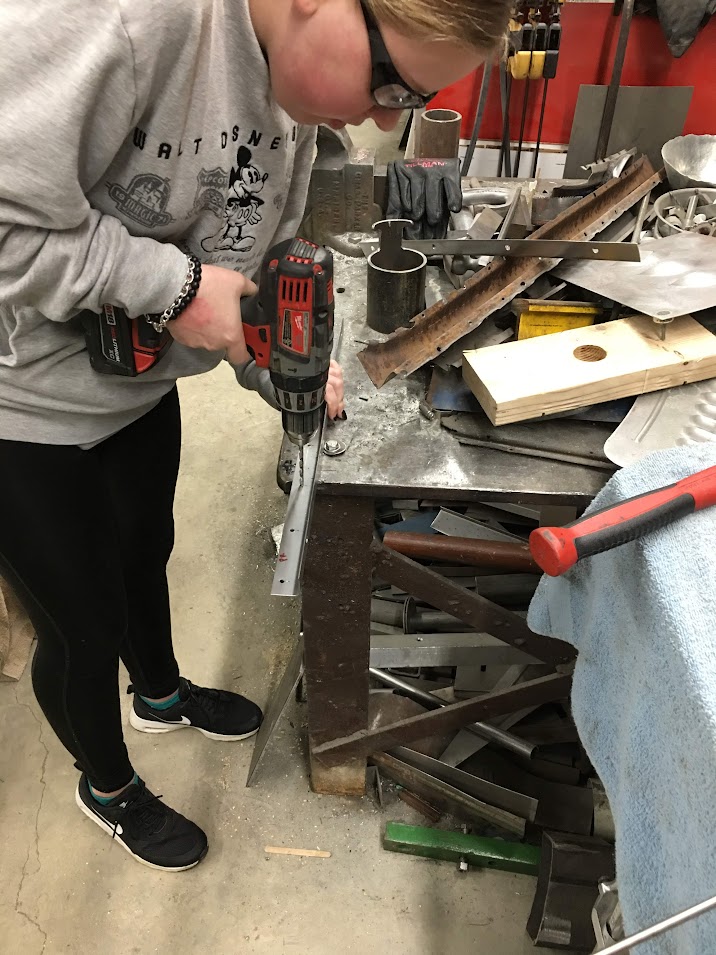
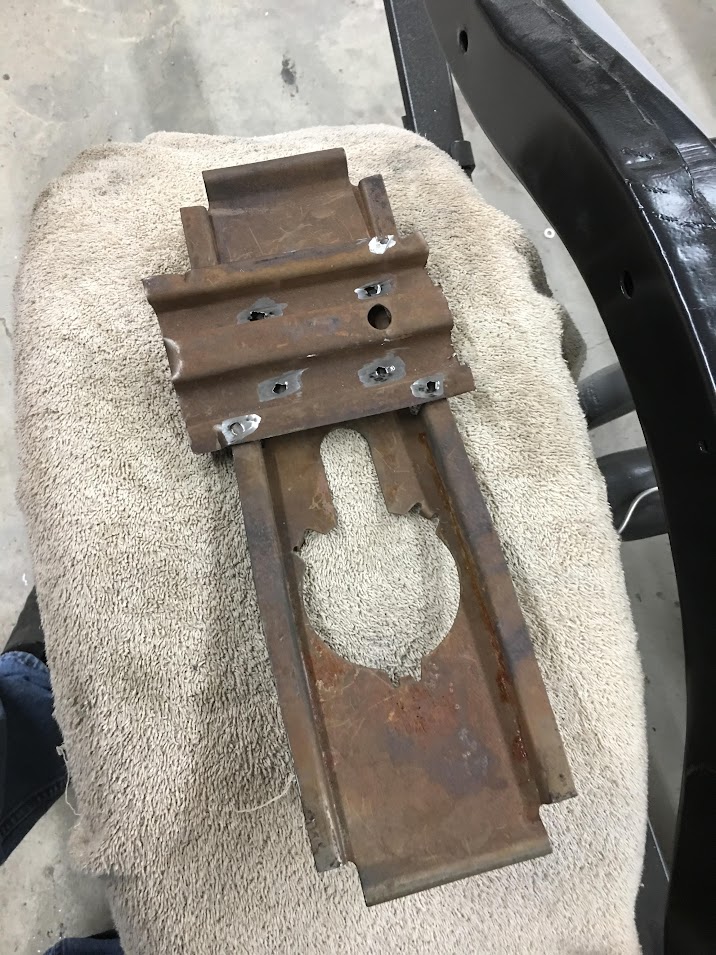
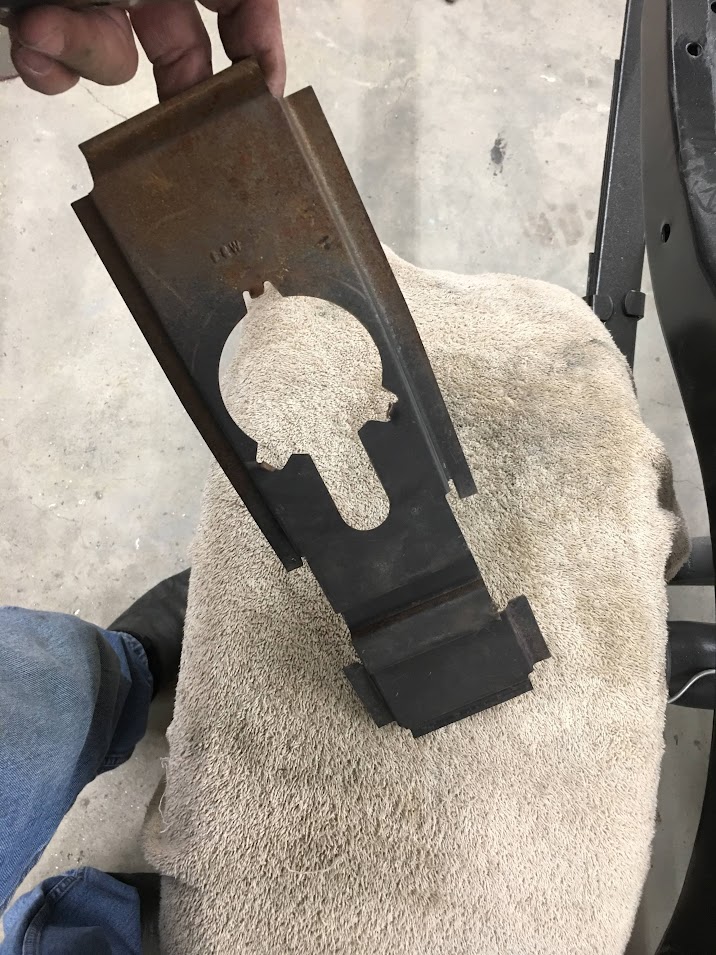
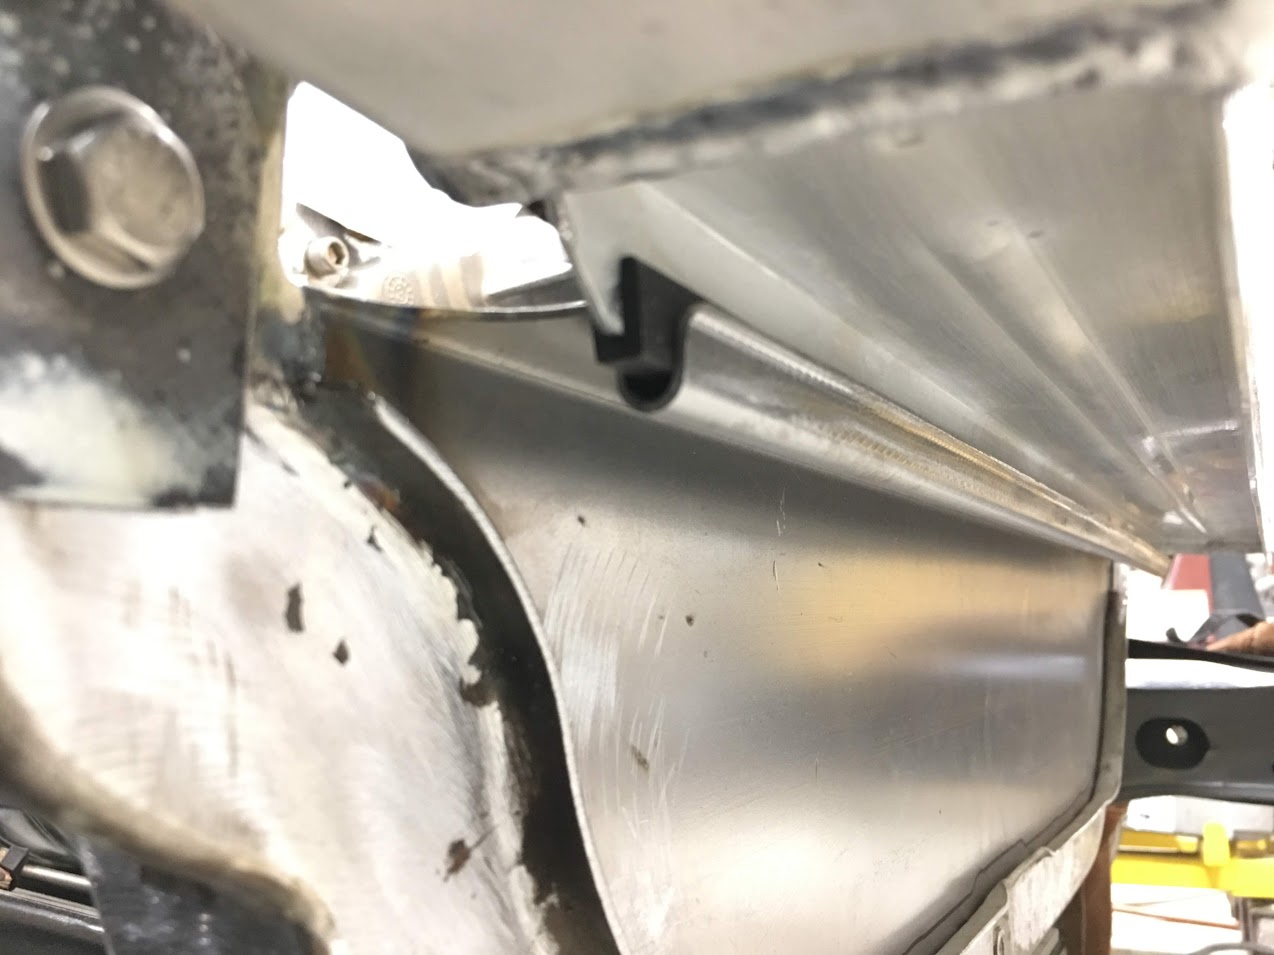
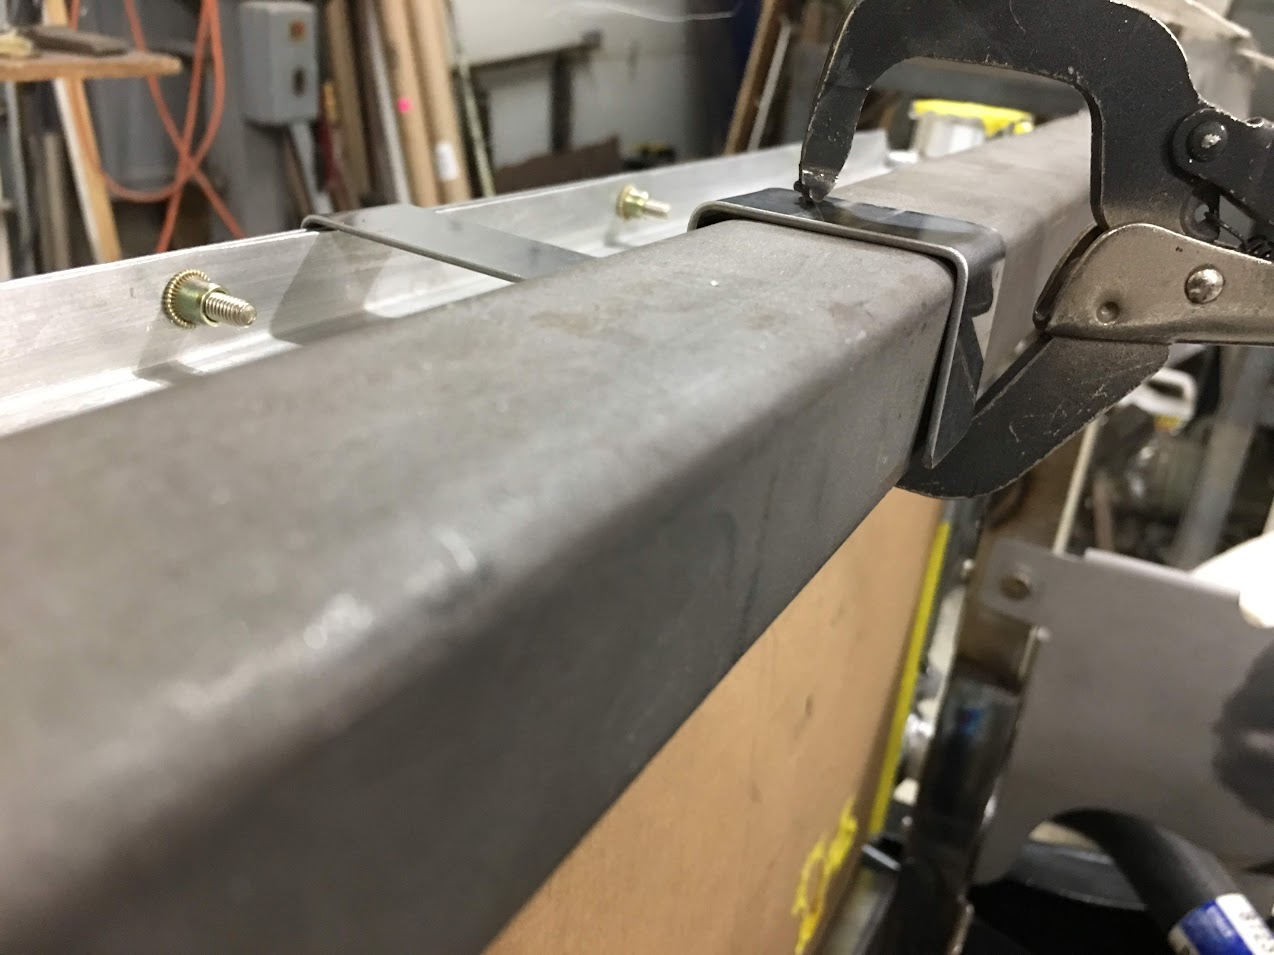
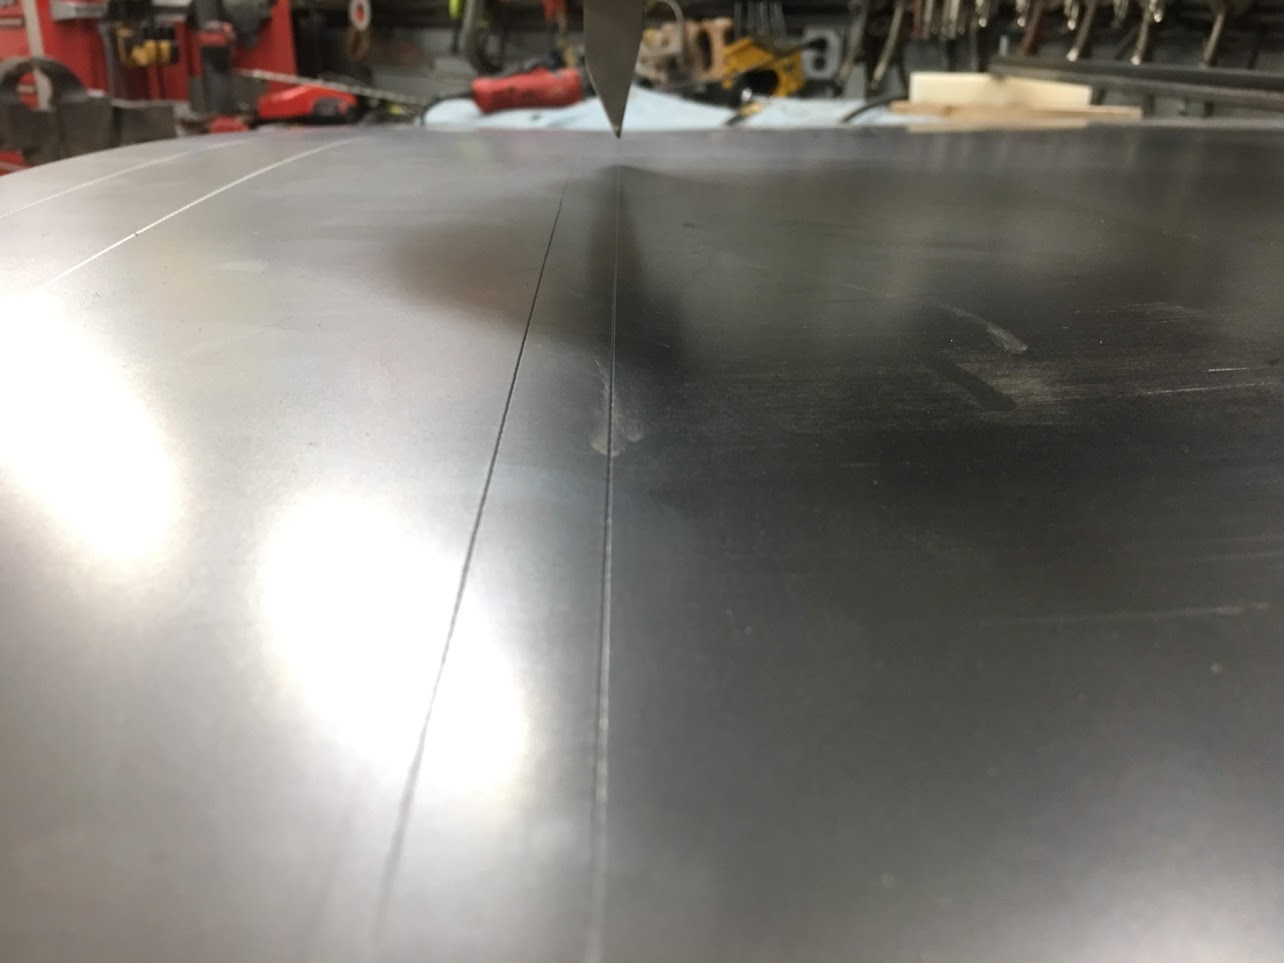
    Last night we cut out some bend sample strips to nail down our console lid insert, should get the final version cut out and fabricated Thursday night. Meanwhile, E and I worked on locating attachment holes on the mounting angles Mike had made. The original inner fenders were attached to the fender, and noticed we needed a mounting hole up front of our angles for better stability, so we added those holes and installed some rivnuts in the inner fenders. This will allow assembly without the need to hold washers and nuts on the opposite side.


    E gaining some rivnut installing skills....


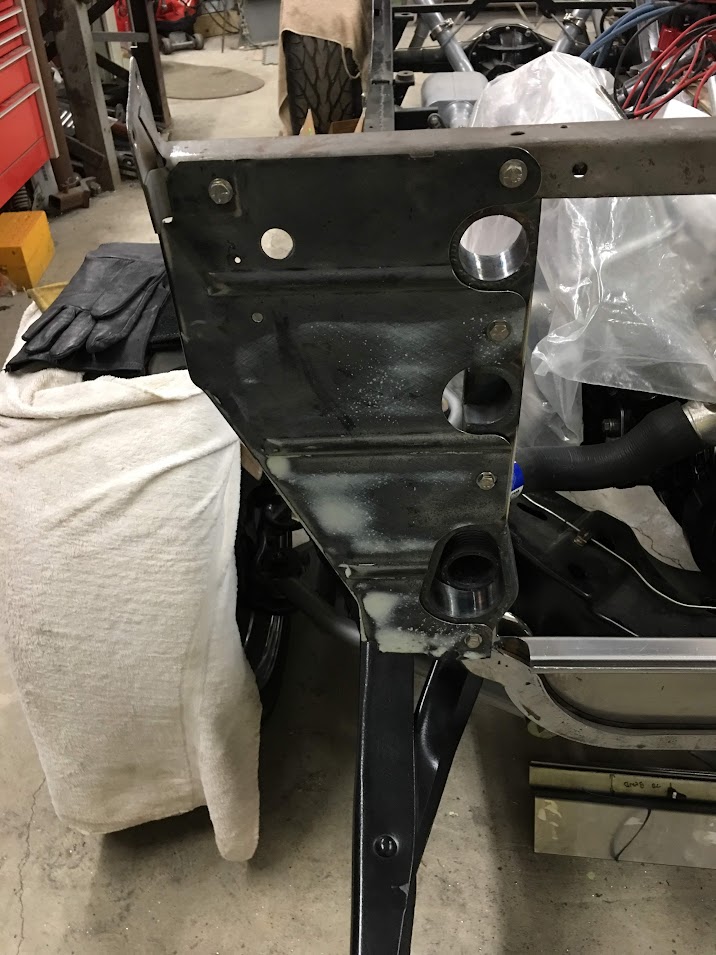
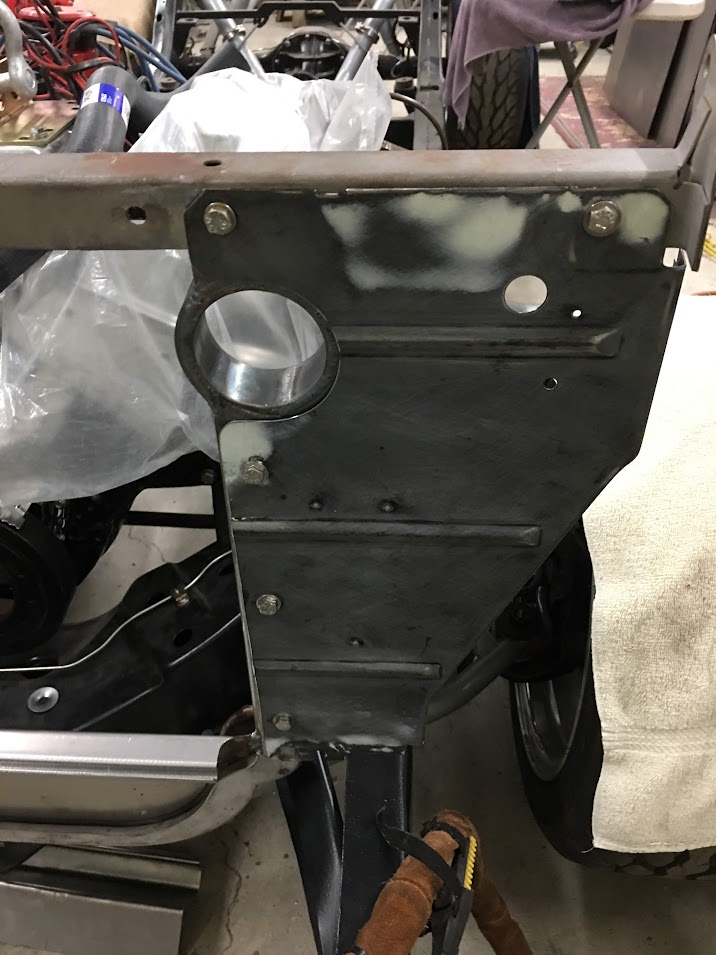
    This shows the side by side with the angles installed.


    We're adding another set of inner fenders to dress up the engine compartment, so these "bolting angles" will be used as attachment point. Mike bent these fr...


    Thursday we'll get the attachment holes for the new inner inner fenders located, drilled, and rivnuts installed. Then these parts can get sent off for powder coating.
    Robert


    Instagram @ mccartney_paint_and_custom


    MP&C Youtube Channel

    Comment


    • Rivnuts GOOD! BTW (and maybe you mentioned this and I've forgotten) - what tooling are you using to install the Rivnuts? I have the installation tool (looks like a Pop Rivet tool) and it sorta waors but sometimes it doesn't mash the nuts tight enough so they spin. I'm always looking for a better method.

      Dan

      Comment


      • I prefer the BF Goodrich style tooling (as shown in video) For smaller sizes that are more susceptible to stripping, I either use a stubby 3/4 wrench or choke up on the ratcheting wrench so you don't have so much leverage. To help prevent spinning, I've been using the AVK style with the splined sides, a sample pn from McMaster Carr is :

        McMaster-Carr is the complete source for your plant with over 595,000 products. 98% of products ordered ship from stock and deliver same or next day.
        Last edited by MP&C; October 24, 2018, 10:04 AM.
        Robert


        Instagram @ mccartney_paint_and_custom


        MP&C Youtube Channel

        Comment


        • Thanks! I'll have to find a 10-32 and a 1/4" BFG tool.

          Some of the Rivnuts I get at Fastenal have the serrations and some don't so I'll have to push them to make sure I get the "with" variety. I always seem to run out of Rivnuts in the middle of a project and end up running to Fastenal to quickly grab more - guess I COULD plan ahead......

          Dan

          Comment


          • Part numbers of the tools are C845-1032 and C845-2520 (try google). Larger size tools are the C722-3118, etc. For the AVK style that McMaster carries that I linked above, the grip range is wider such that two grip range sizes cover the same spectrum as 4 or 5 sizes in the Rivnut trademarked brand. So I just stock the AVK's, keep about 20 or so of each size on hand, if it runs low McMaster can have replacements here in a day.
            Robert


            Instagram @ mccartney_paint_and_custom


            MP&C Youtube Channel

            Comment


            • E worked Thurday evening on drilling holes and installing rivet nuts for the inner inner fender mounts.


              Oops, I think she chipped a nail..


              Meanwhile, I fabricated the console lid insert...


              Today, Mike and I worked on the lower radiator mount. We tossed around various ideas, and settled on one that would keep the lower condensor mount a separate isolated part. We decided to use the same dies used to for the J-channel detail on the back of the 52 Chevy tailpan that we made up a couple years ago.


              Here the J-channel detail is added on a piece of 16 gauge cold rolled steel..


              Radiator test fit:


              .
              Robert


              Instagram @ mccartney_paint_and_custom


              MP&C Youtube Channel

              Comment


              • Another part we're adding due to the length of this car is a second interior light. We chose to go with the original version, so here's a factory mount, spot welds ground out from the back side of the included section of roof crossmember. Then it will get media blasted, epoxy primed, and plug welded in place.


                We got the baffle/lower radiator mount plug welded in place...


                ...and the rubber edge trim for our lower radiator mount added.. The "final" version will include weather strip adhesive to keep it locked in place on the radiator.


                Needs to be pressed in a little more but this is the idea...


                Side baffles for the core support were trimmed on the inside (for our larger opening) , new mounting slots added, and access holes opened up..


                Lower radiator hose clearance to the battery support bracket...


                Robert


                Instagram @ mccartney_paint_and_custom


                MP&C Youtube Channel

                Comment


                • I have a couple radius bends to do on the AC condenser bracket, so a piece of 1/2" 4130 was added to the Magnetic Brake die.. This will help keep things from moving, and it is welded on what is usually the back side, so no interference otherwise...


                  This will be the mounting flange to the radiator..


                  1" rod is used to form the radius on the side "covers"


                  A test fit before we cut out the gaping hole for air flow....


                  Using 16 Gauge cold rolled steel and the Magnetic brake we formed the mount for the AC condenser. The flanges used 1/4" radius die and the side covers used ...


                  The center hole is cut out and a flange tipped for wrapping a 3/16" rod for wire edge. This should add plenty of strength, if the 16 GA wasn't enough..


                  Our anvil we made up for stretching the metal in the corners for tipping..


                  Where we left off....to be continued..


                  .
                  Last edited by MP&C; November 15, 2018, 07:42 PM.
                  Robert


                  Instagram @ mccartney_paint_and_custom


                  MP&C Youtube Channel

                  Comment


                  • Air flow hole installed in the condenser mount and finished wire edging the opening this morning..


                    https://www.youtube.com/watch?v=w8Ay...ature=youtu.be


                    Wire edging complete:


                    .
                    Last edited by MP&C; November 20, 2018, 10:58 AM.
                    Robert


                    Instagram @ mccartney_paint_and_custom


                    MP&C Youtube Channel

                    Comment


                    • beautiful
                      Doing it all wrong since 1966

                      Comment


                      • At some point this ceases to be craft and becomes art. You're there.

                        Dan

                        Comment


                        • Your just showing off now (keep it up I enjoy watching )
                          Last edited by Russell; November 22, 2018, 06:40 AM.
                          http://www.bangshift.com/forum/forum...-consolidation
                          1.54, 7.31 @ 94.14, 11.43 @ 118.95

                          PB 60' 1.49
                          ​​​​​​

                          Comment


                          • Happy Thanksgiving everyone! ...and thanks for the comments guys!


                            Had a request to show how the inside corners were tipped for wire edging the AC condenser opening. Here's a video (with poor audio.. iPhone seems to want to do a noise cancelling) that shows stretching the inner corners. I do spend a bit more time and accuracy on the real part, this was a quick, down and dirty demonstration. ;)


                            https://www.youtube.com/watch?v=bkfr...ature=youtu.be


                            We drilled out mounting hole pattern in the AC condenser to the radiator, and added AVK style rivet nuts to the radiator cross bars to secure..


                            Installed, this will be the profile of the upper mounting bracket (about 24+ inches wide), that will share the AC condenser upper mounting screws. Not sure if we want to do this in polished stainless or paint. Thoughts?


                            The upper bracket will be attached to the core support also using rivet nuts, mainly from the back side to hide some of the hardware..


                            Last edited by MP&C; November 23, 2018, 09:30 AM.
                            Robert


                            Instagram @ mccartney_paint_and_custom


                            MP&C Youtube Channel

                            Comment


                            • We are all thankful for the tutorials from you! Happy Thanksgiving to you and your crew!
                              Patrick & Tammy
                              - Long Haulin' 2008, 2009, 2010, 2011, 2012, 2014...Addicting isn't it...??

                              Comment


                              • Thanks for stopping by to check out the progress!


                                So this weekend I worked on the "new" dolly to remove some of the rust..


                                Started with the media blaster to remove all the rust and scale...


                                Next, the pits were removed using 60 grit roloc sanding discs, followed by brown, red, and then blue scotchbrite discs. Then some media blasting to give a good finish..


                                Lastly, some 320 on the DA to remove scratches from the dolly face, and a trip to the pedestal buffer with some thick gloves.


                                All that fun aside, back on radiator mounts. The upper will be a combination mount and also cover for the top of the core support. This will be 44" long, so to help the magnetic brake make some more crisp bends we'll thin the bend lines in the Lennox using a tipping die. the 44" length on the panel is a bit long for my 48" linear slide, so another section is added to give us 96" to play with. Just clears the Pexto shear..


                                Motion picture of the process:


                                Using tipping dies in the Lennox nibbler to thin the sheet metal at the bend line. This should give a more crisp bend, since this is 44" long sheet we're u...


                                Bend lines in place ....


                                ….and we left off there for some turkey dinner. Should get it trimmed on the sides and folded up this Tuesday night.


                                Robert


                                Instagram @ mccartney_paint_and_custom


                                MP&C Youtube Channel

                                Comment

                                Working...
                                X