 Tweet
Tweet
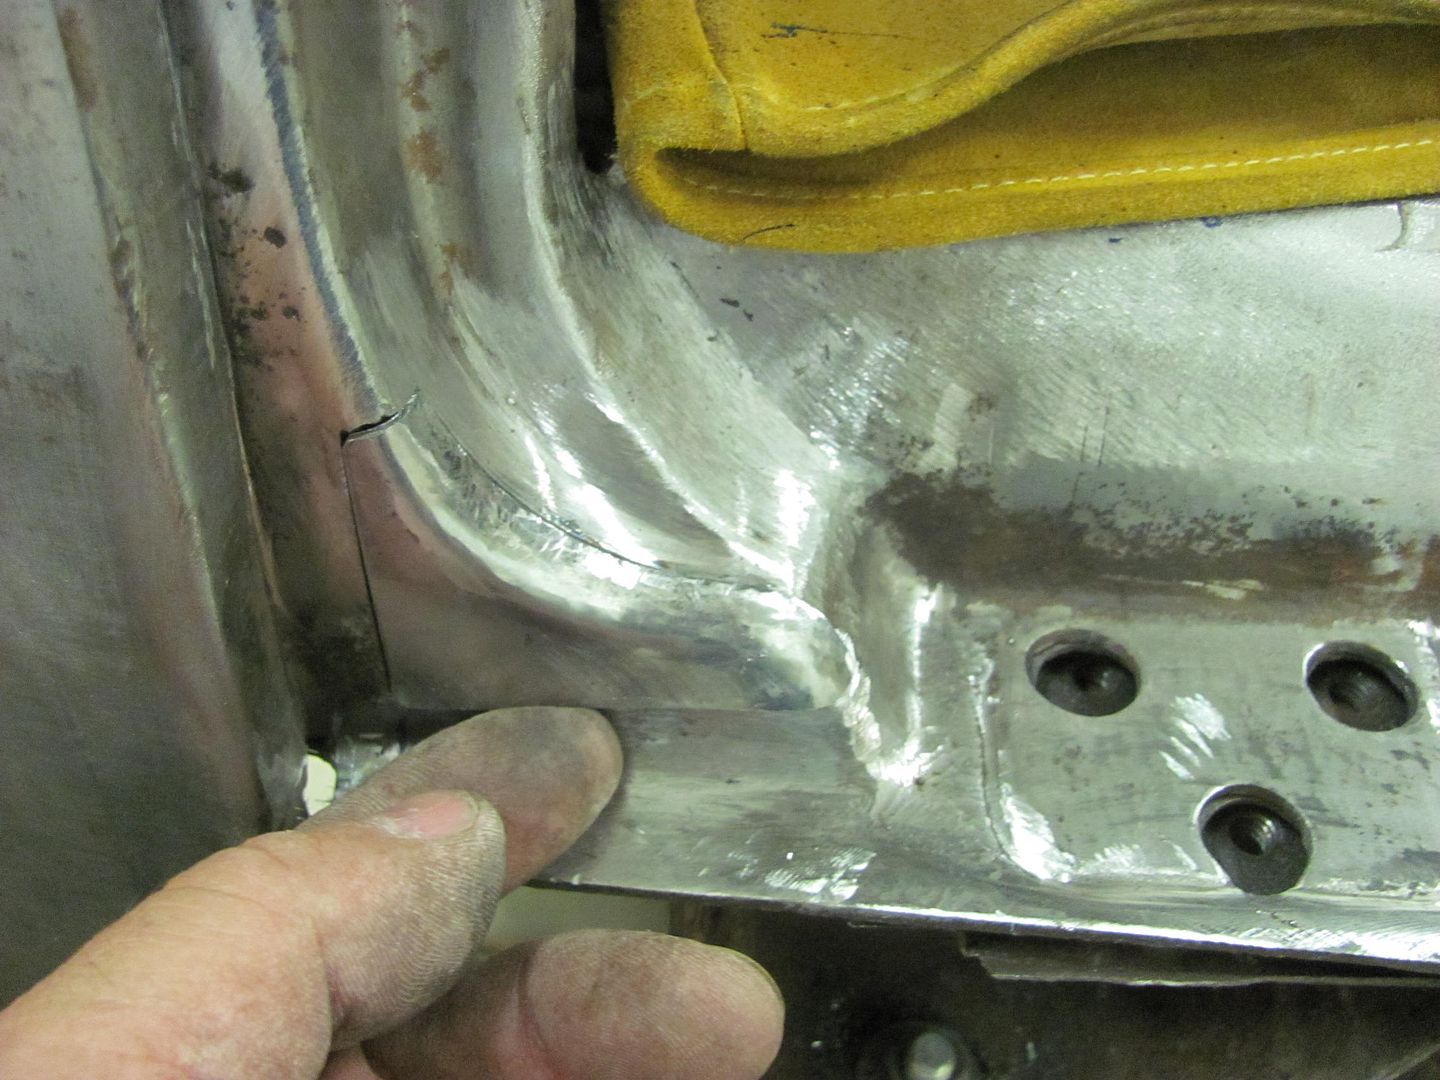
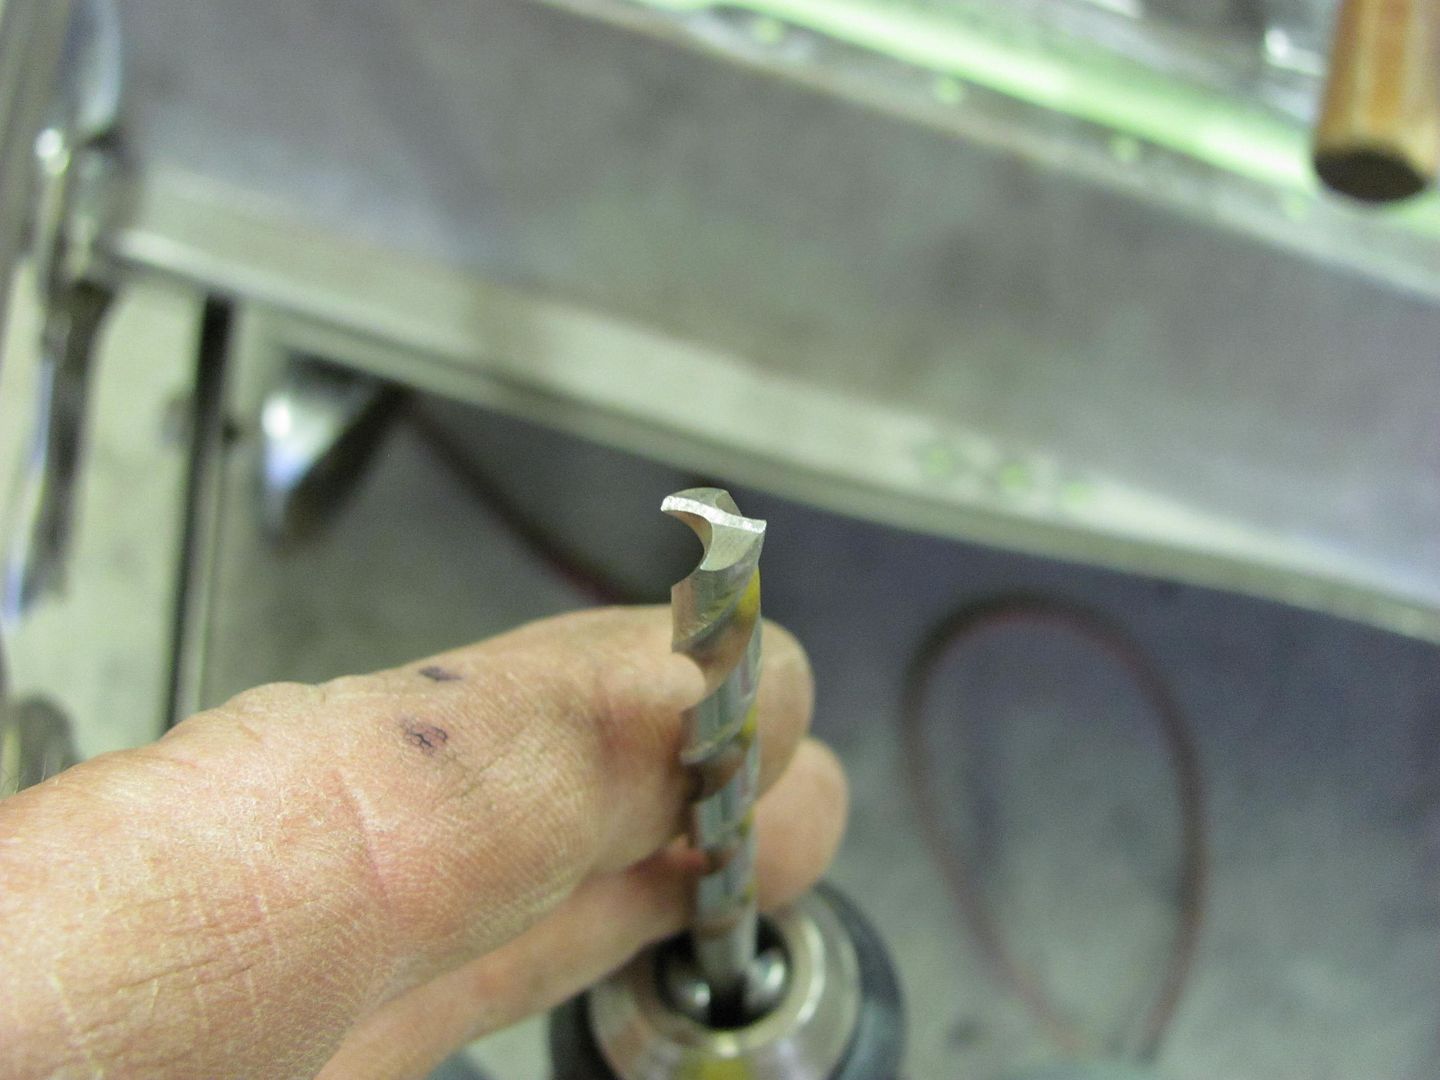
To be honest, I was installed some pin drive concrete anchors last July and smacked the be-jesus out of that thumb. It's been about three months that I haven't seen the remnants of that day... 
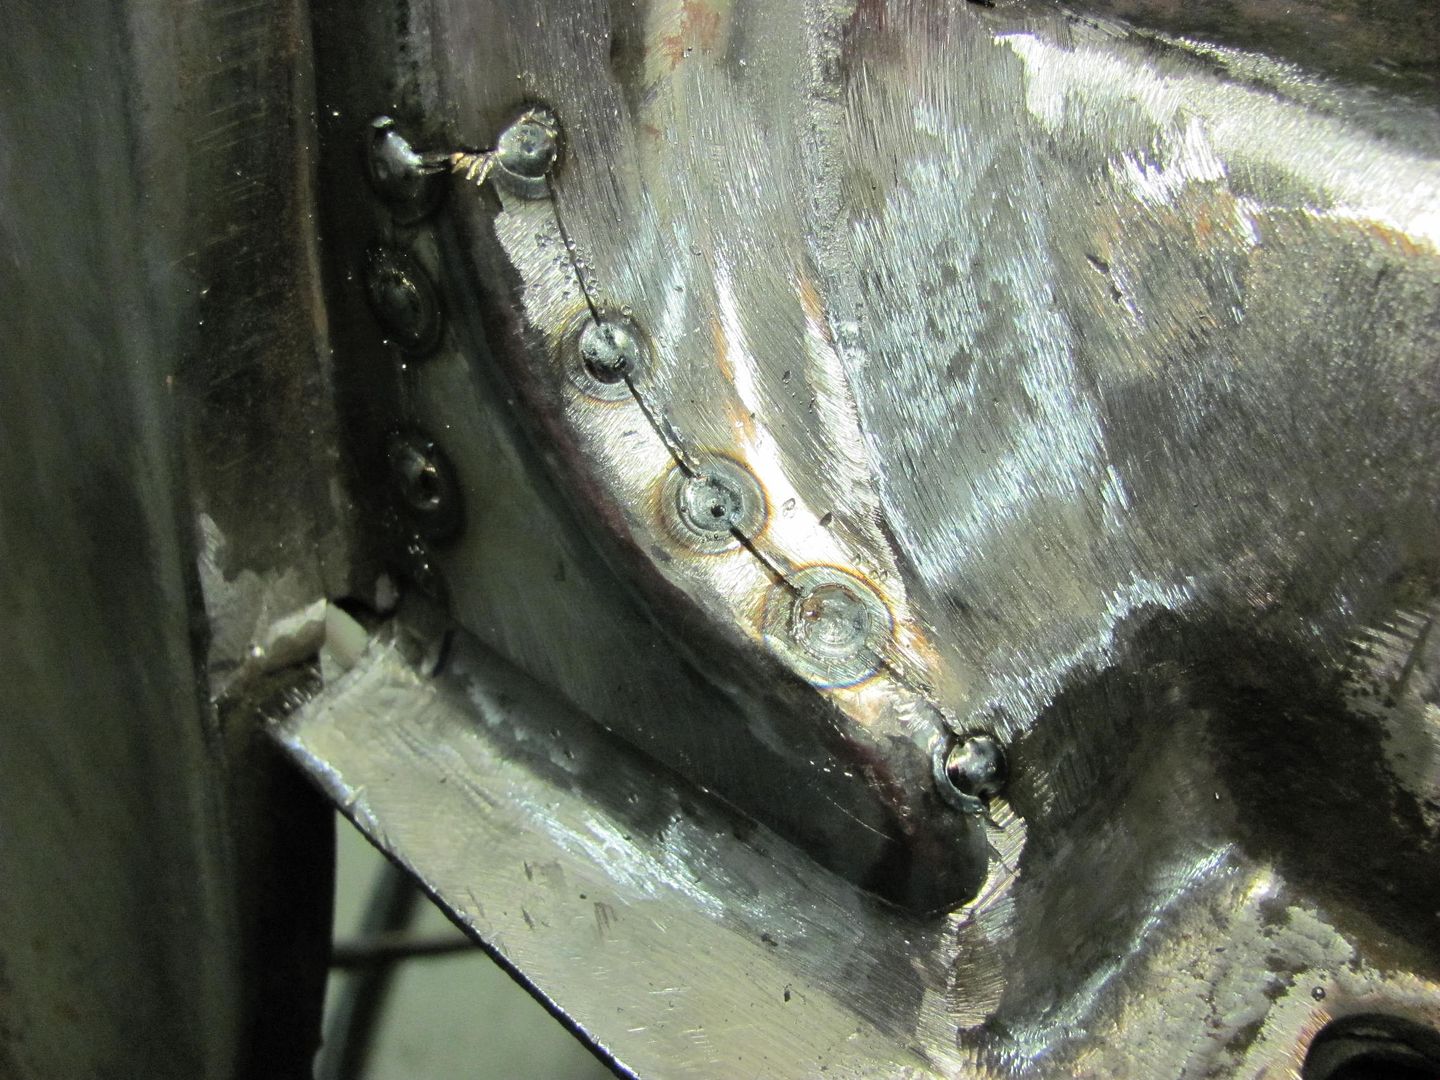
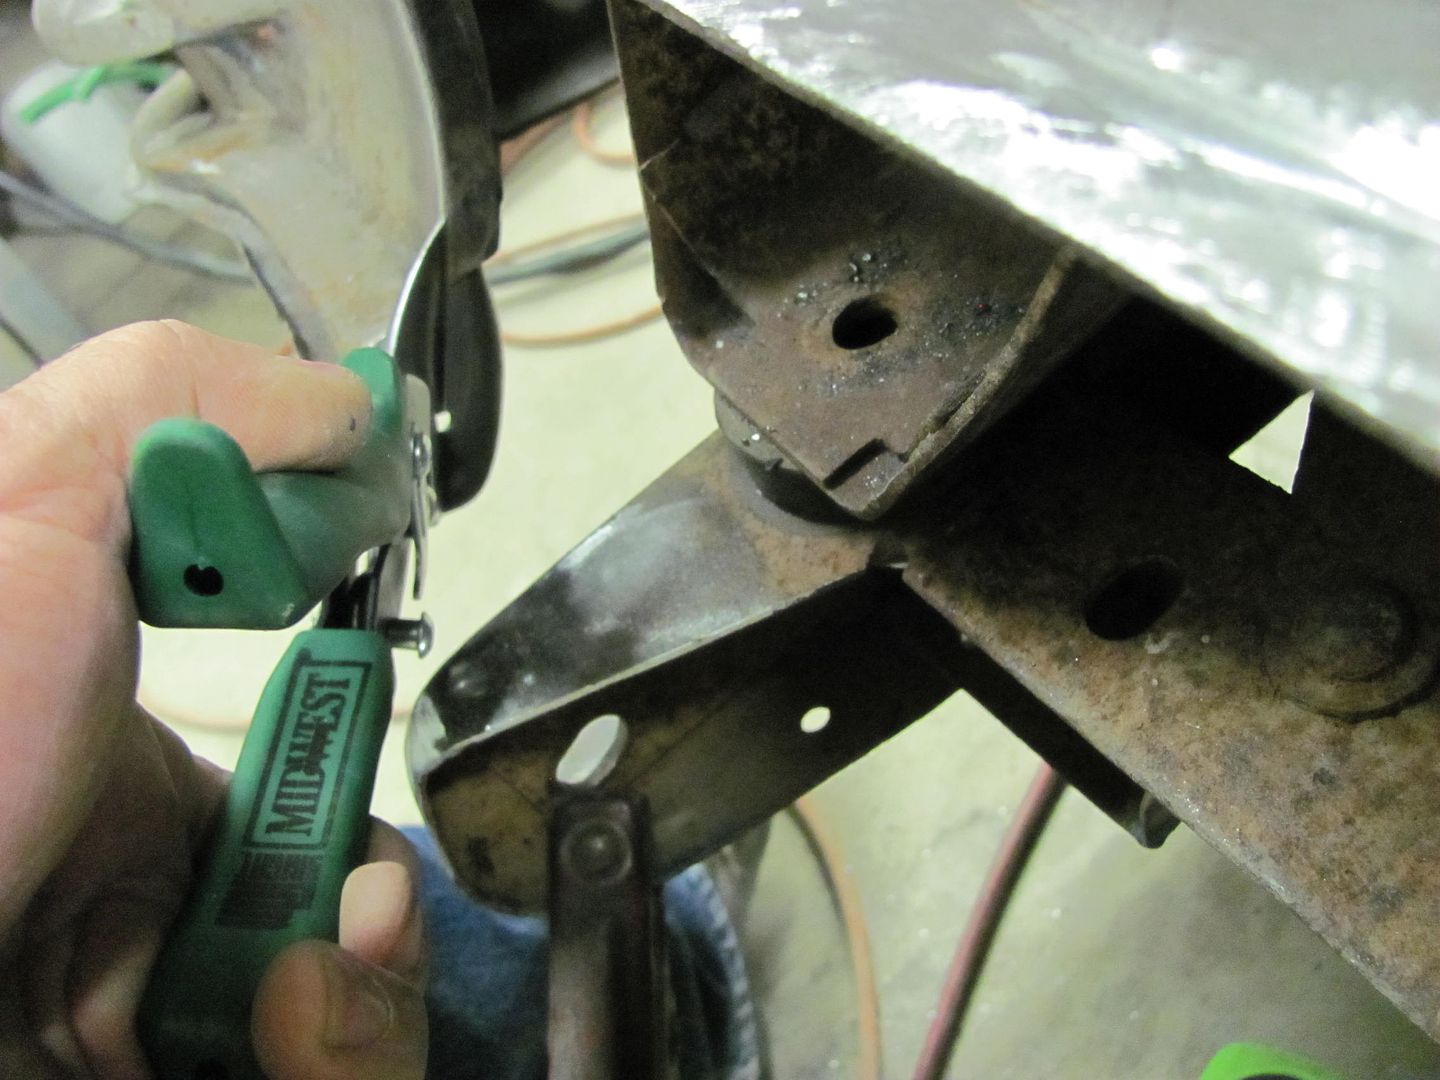
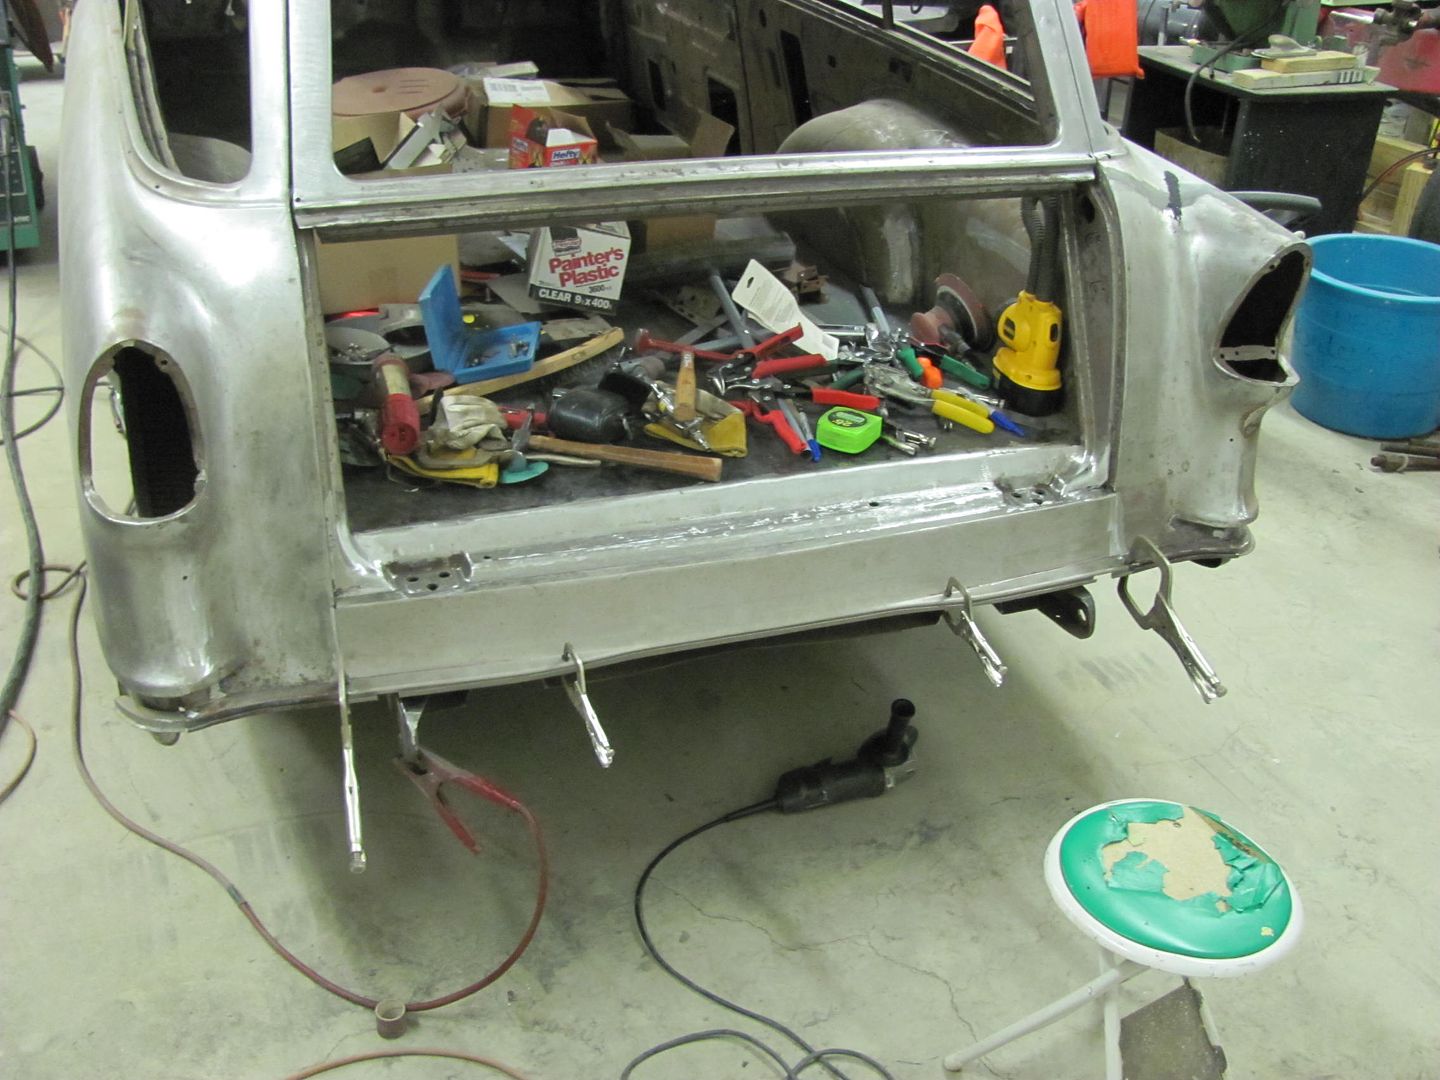
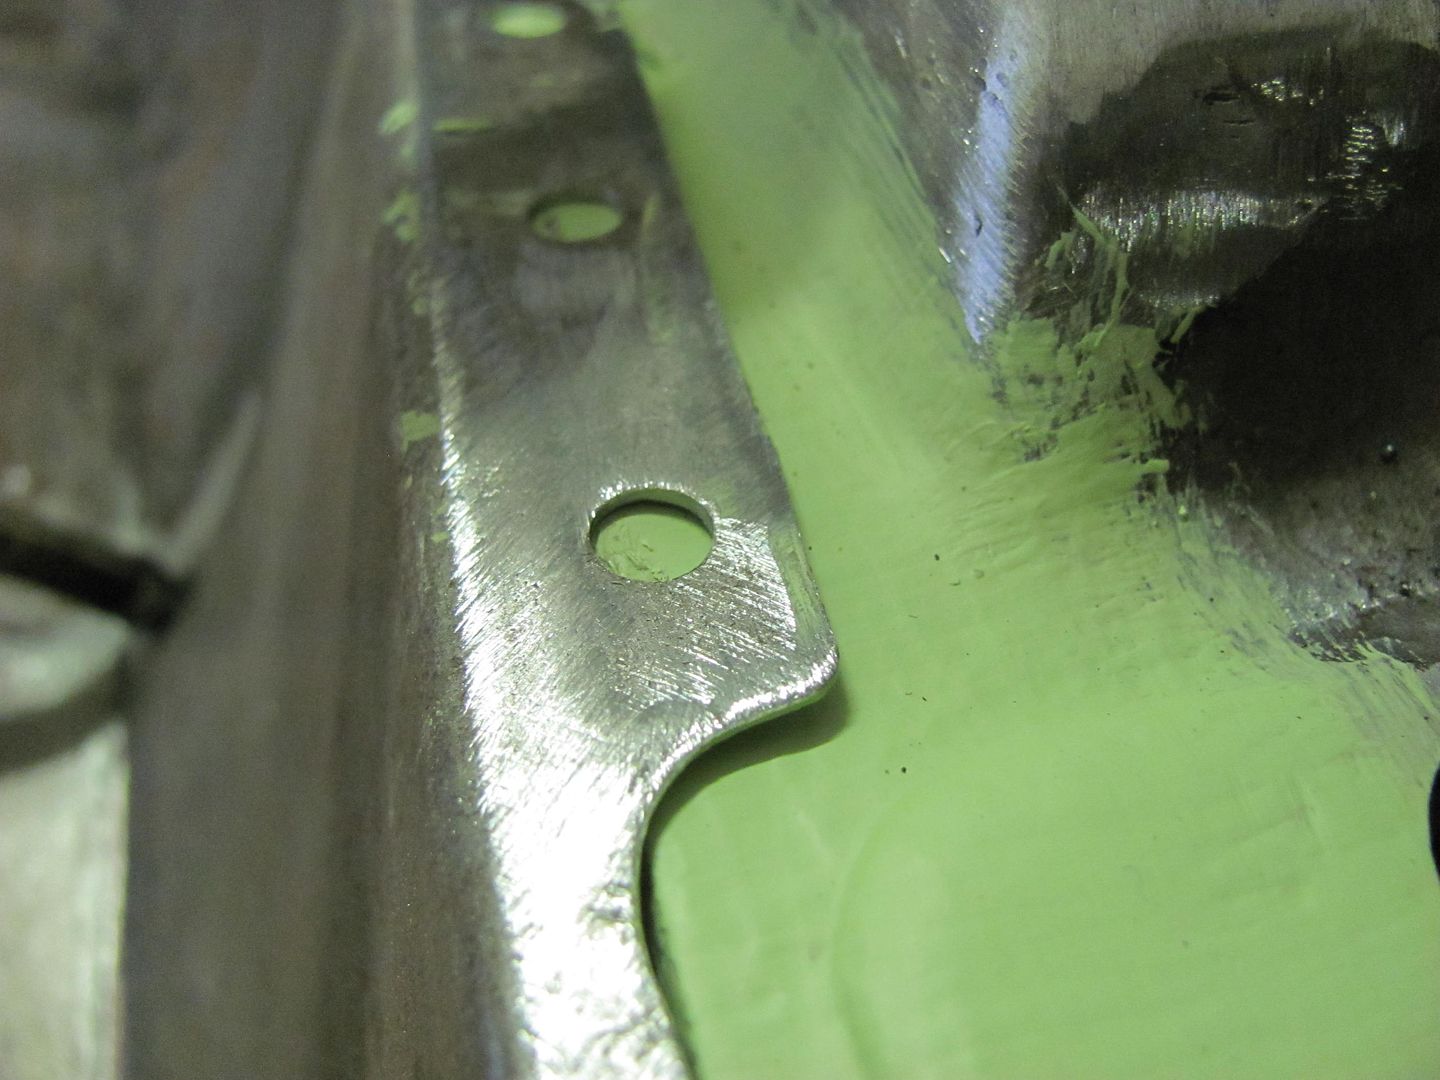
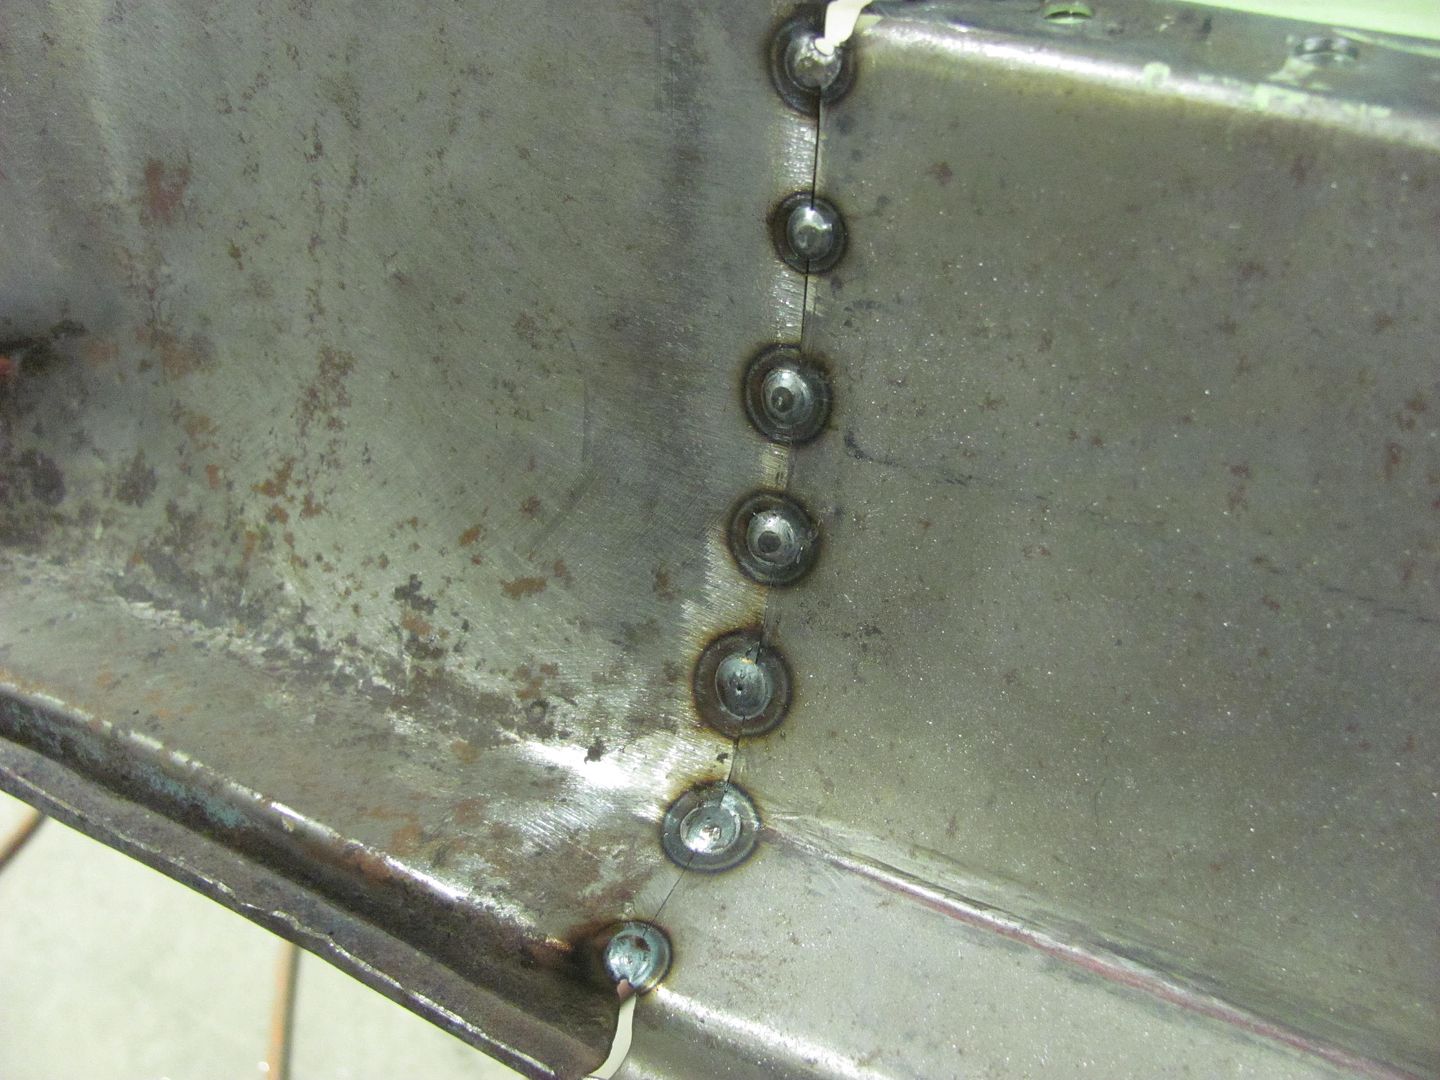
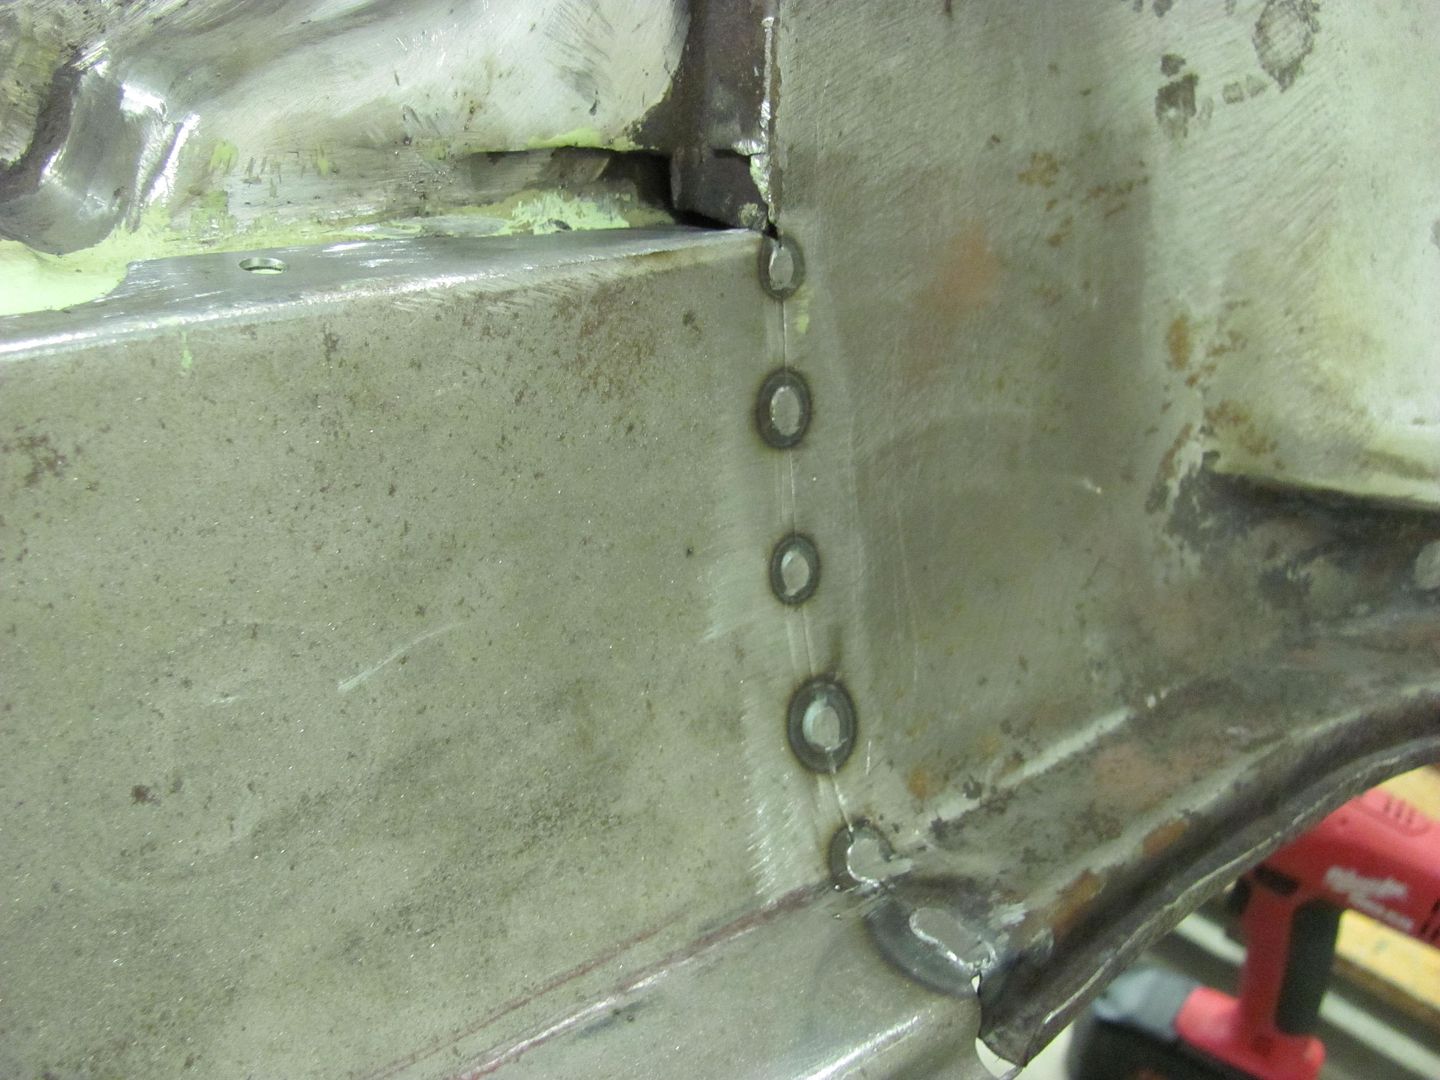
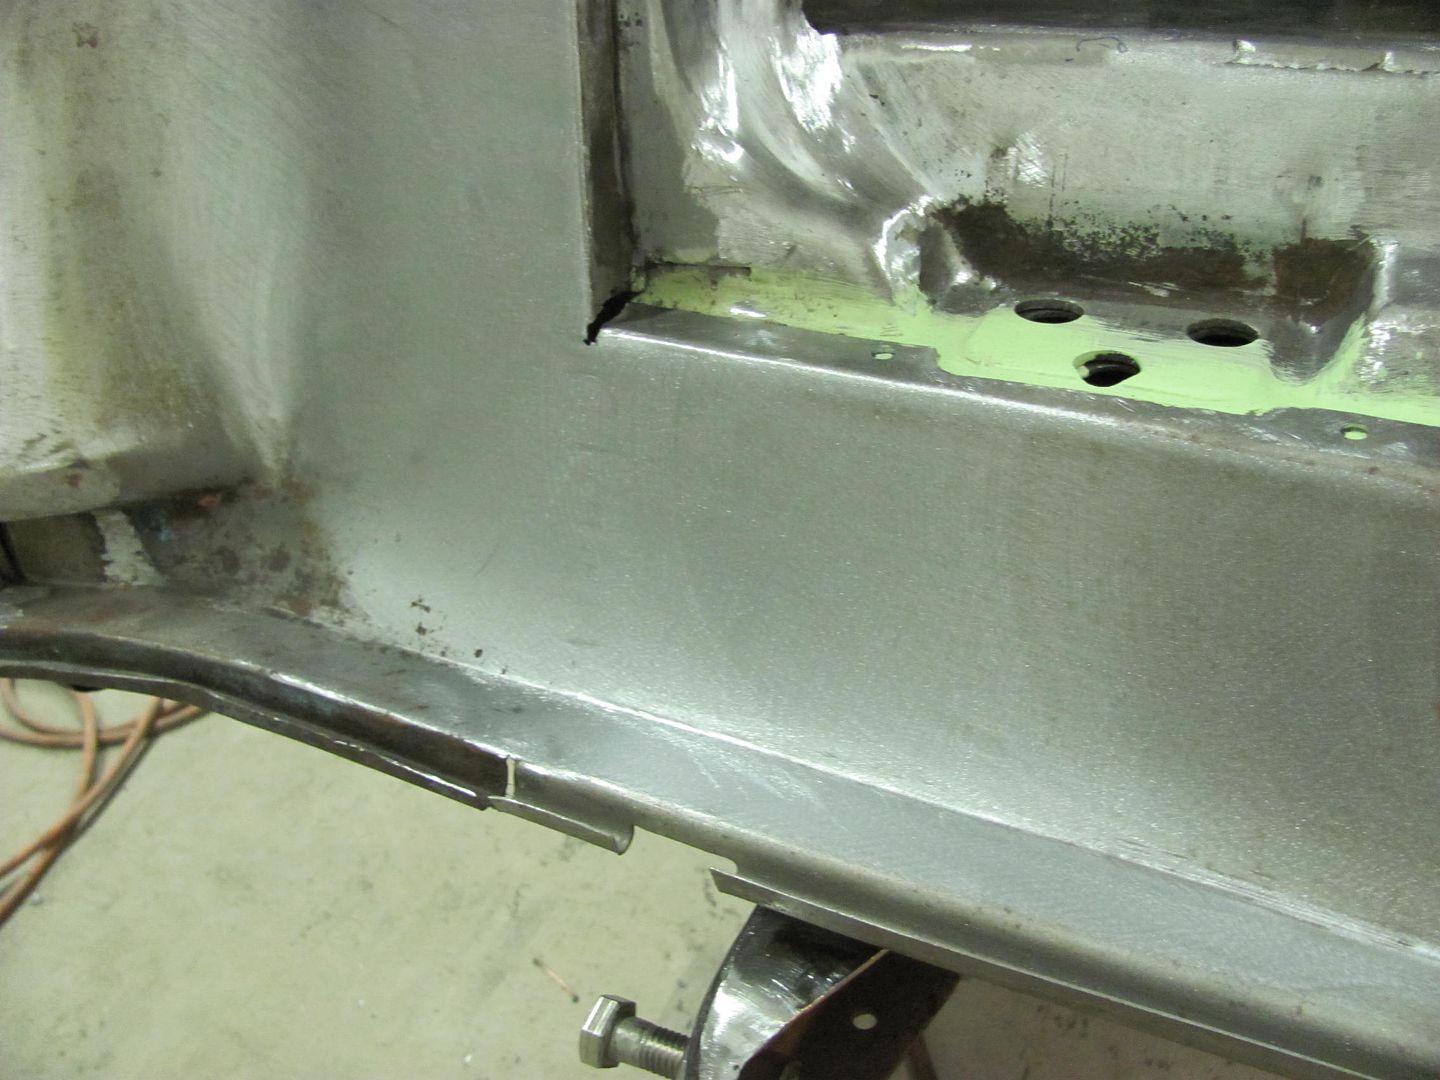
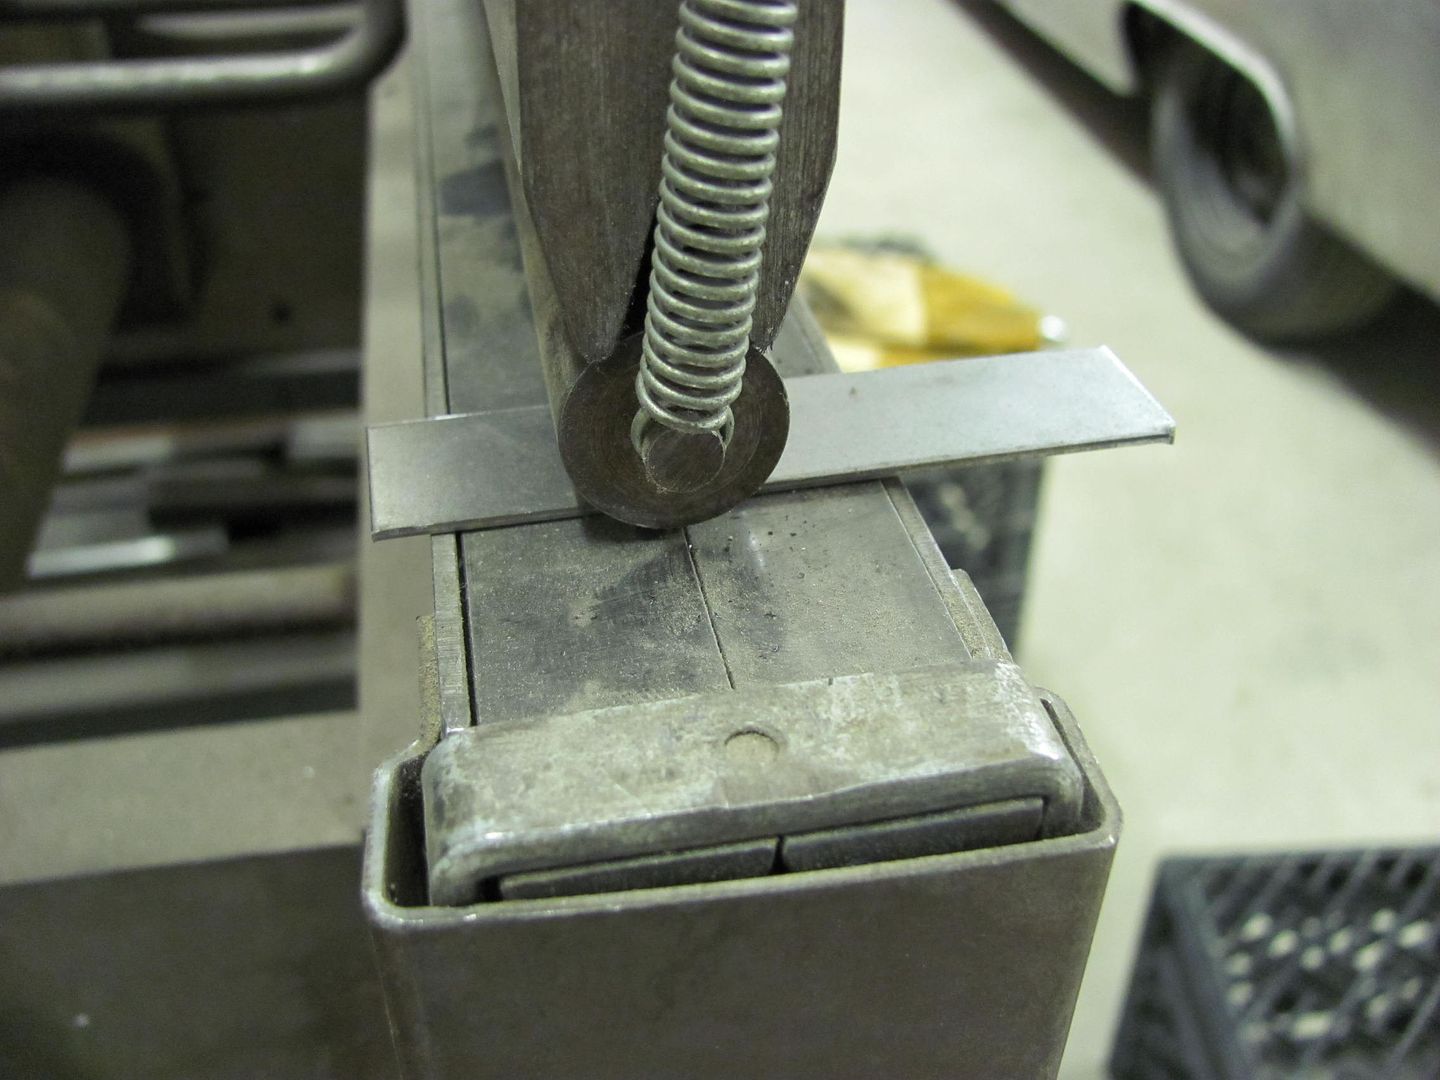
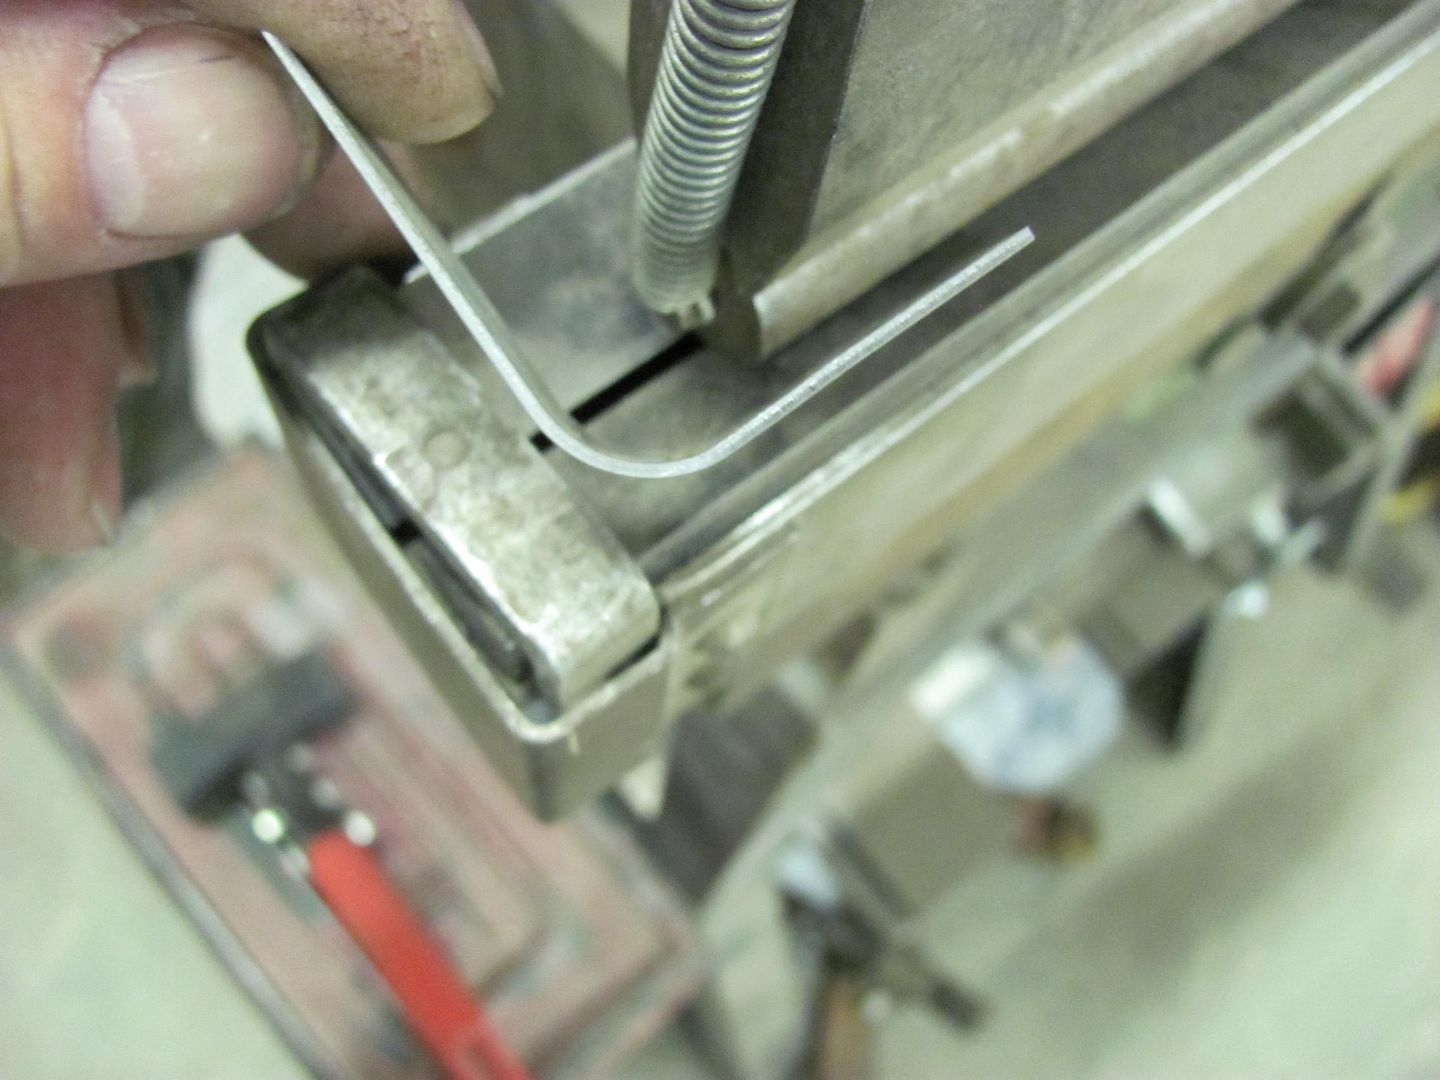
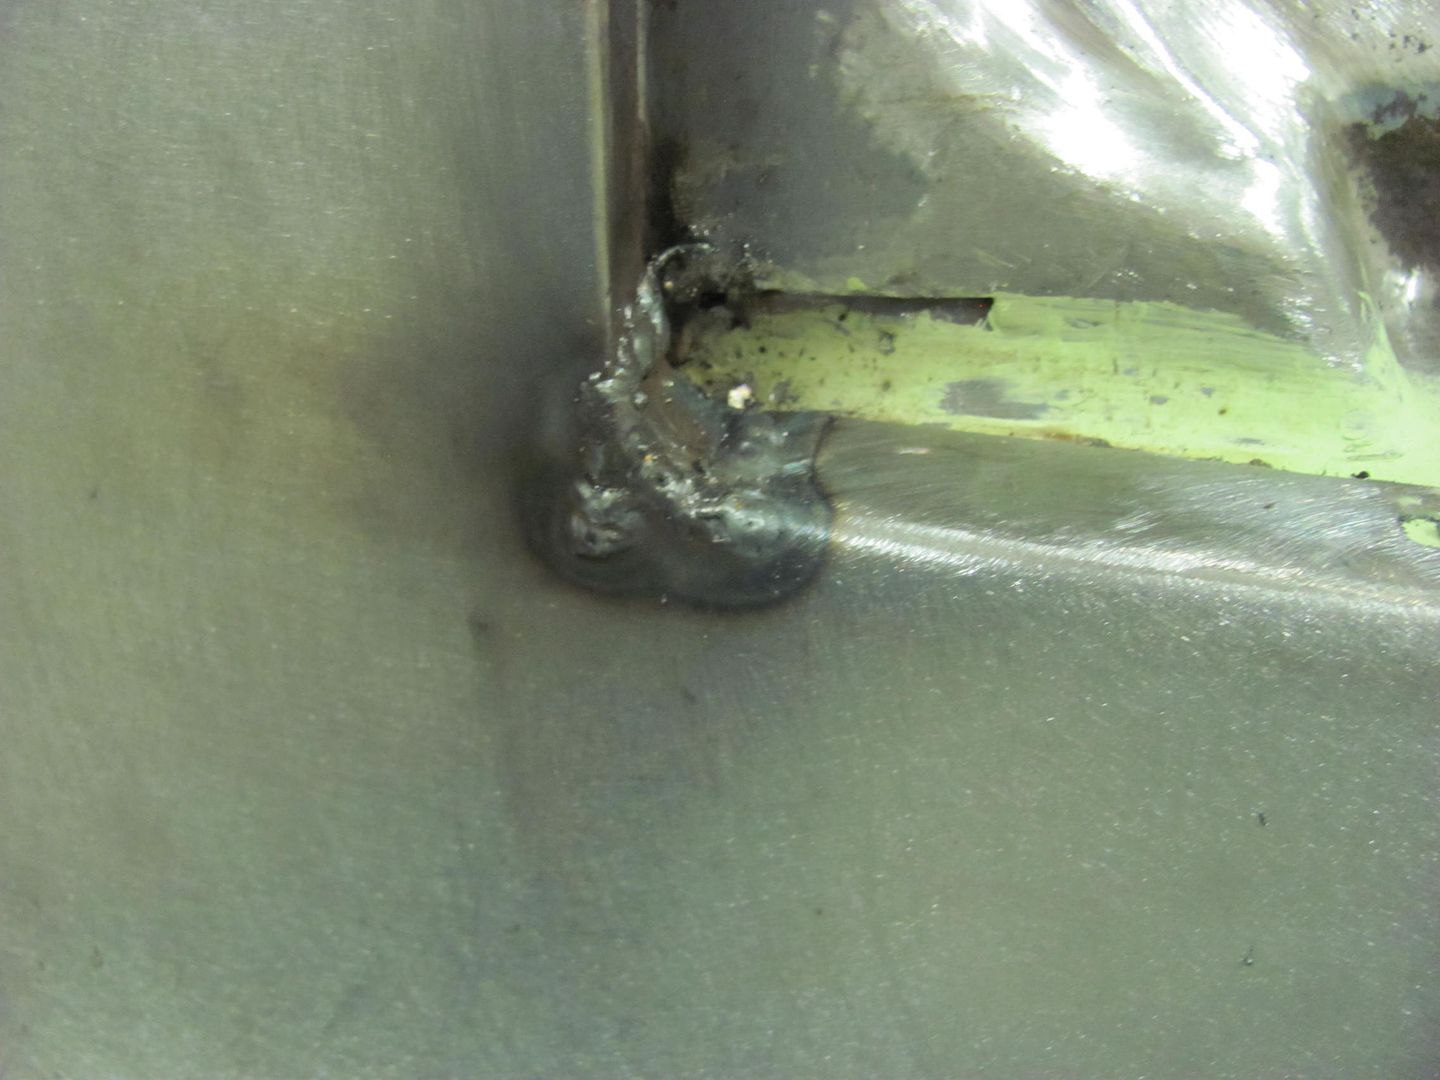
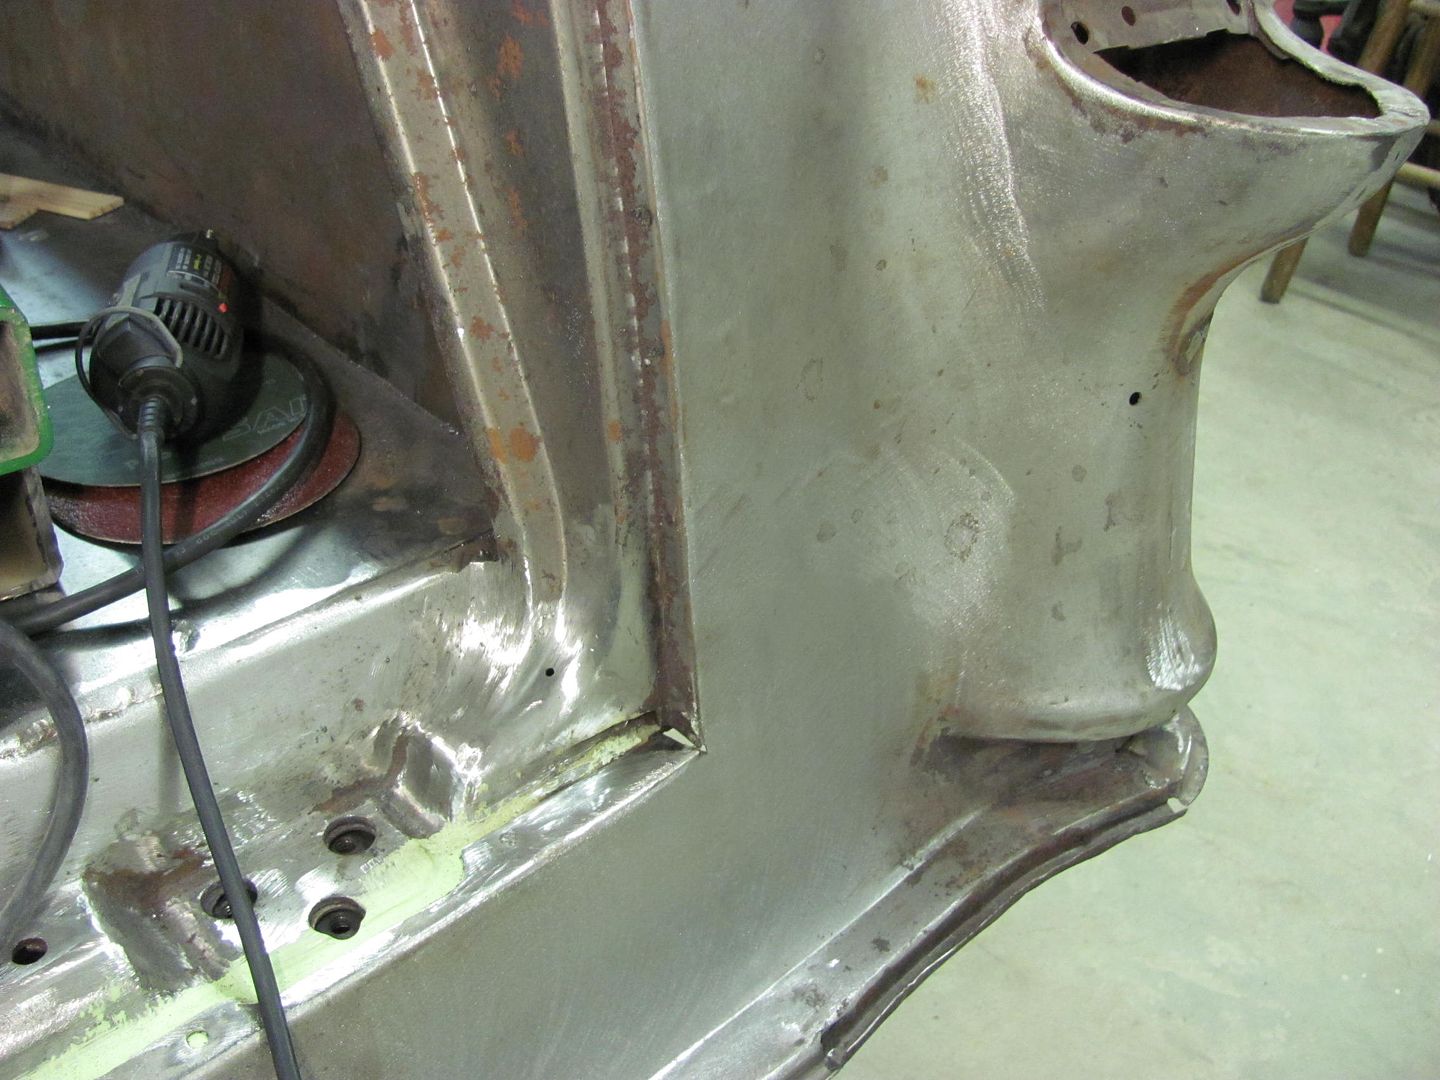
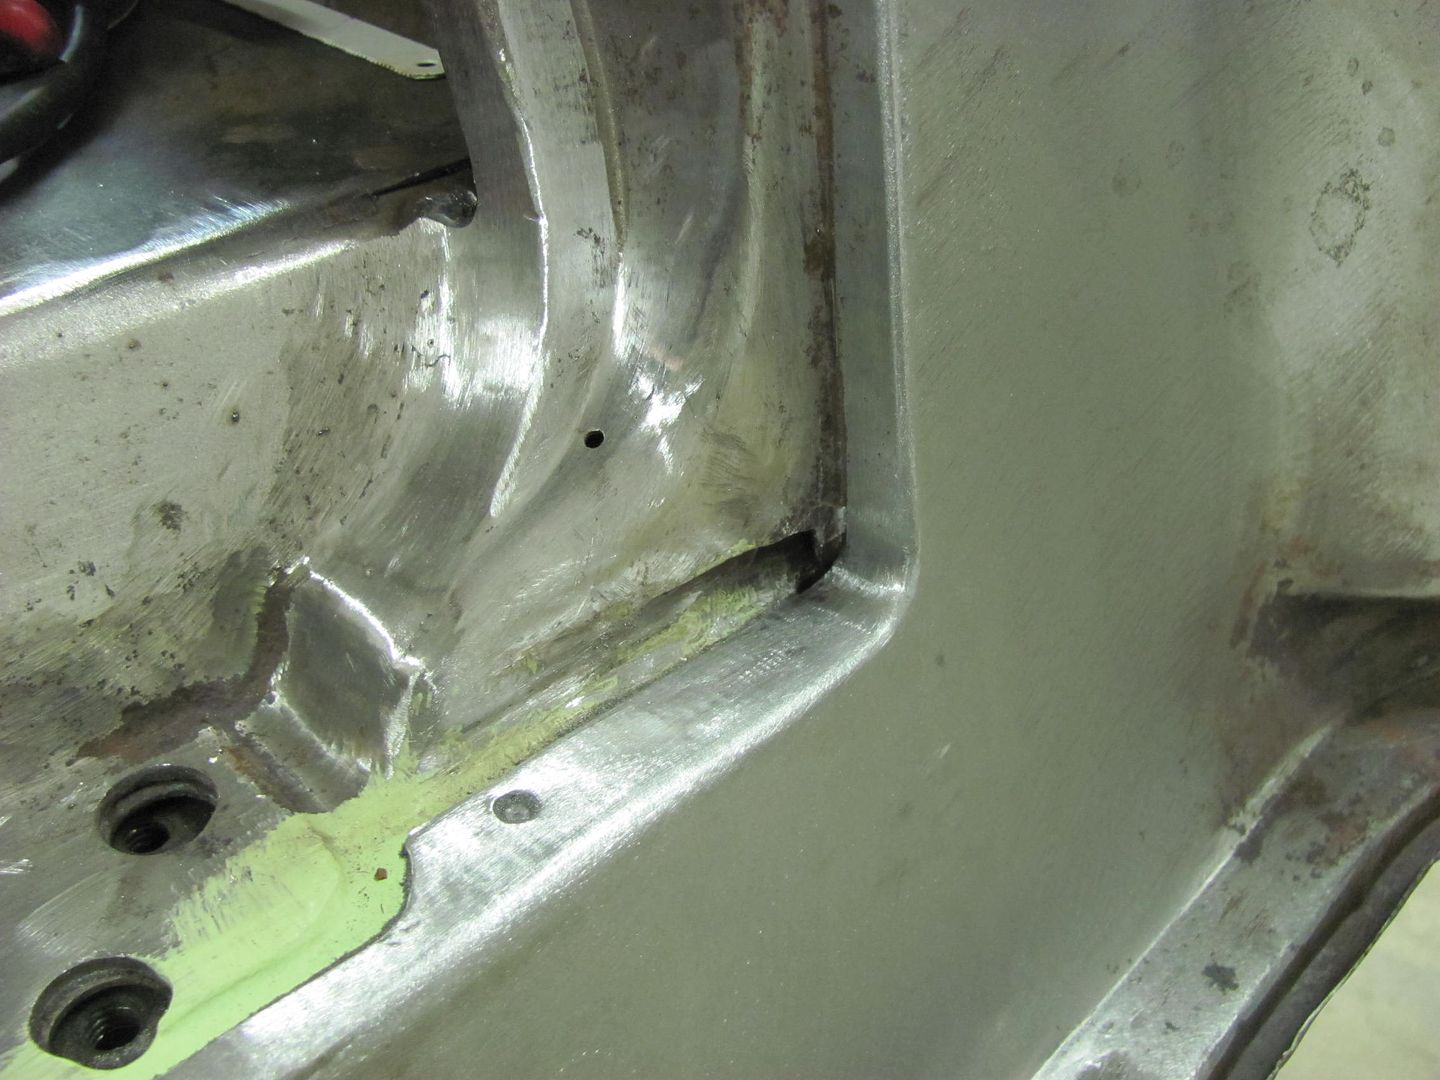
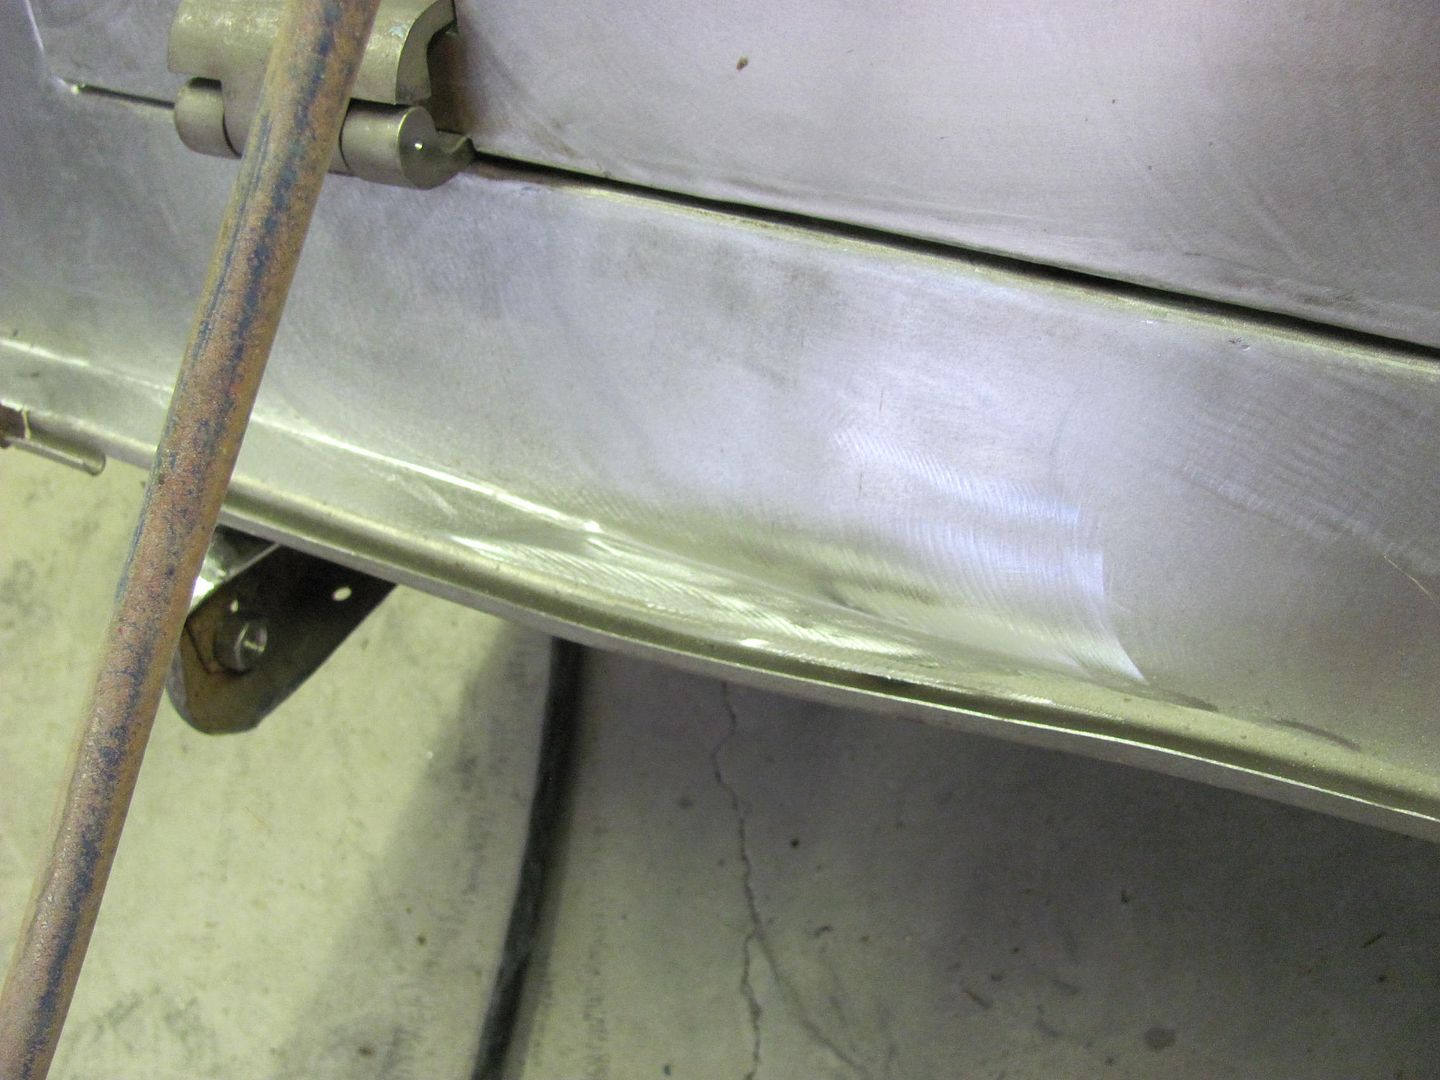
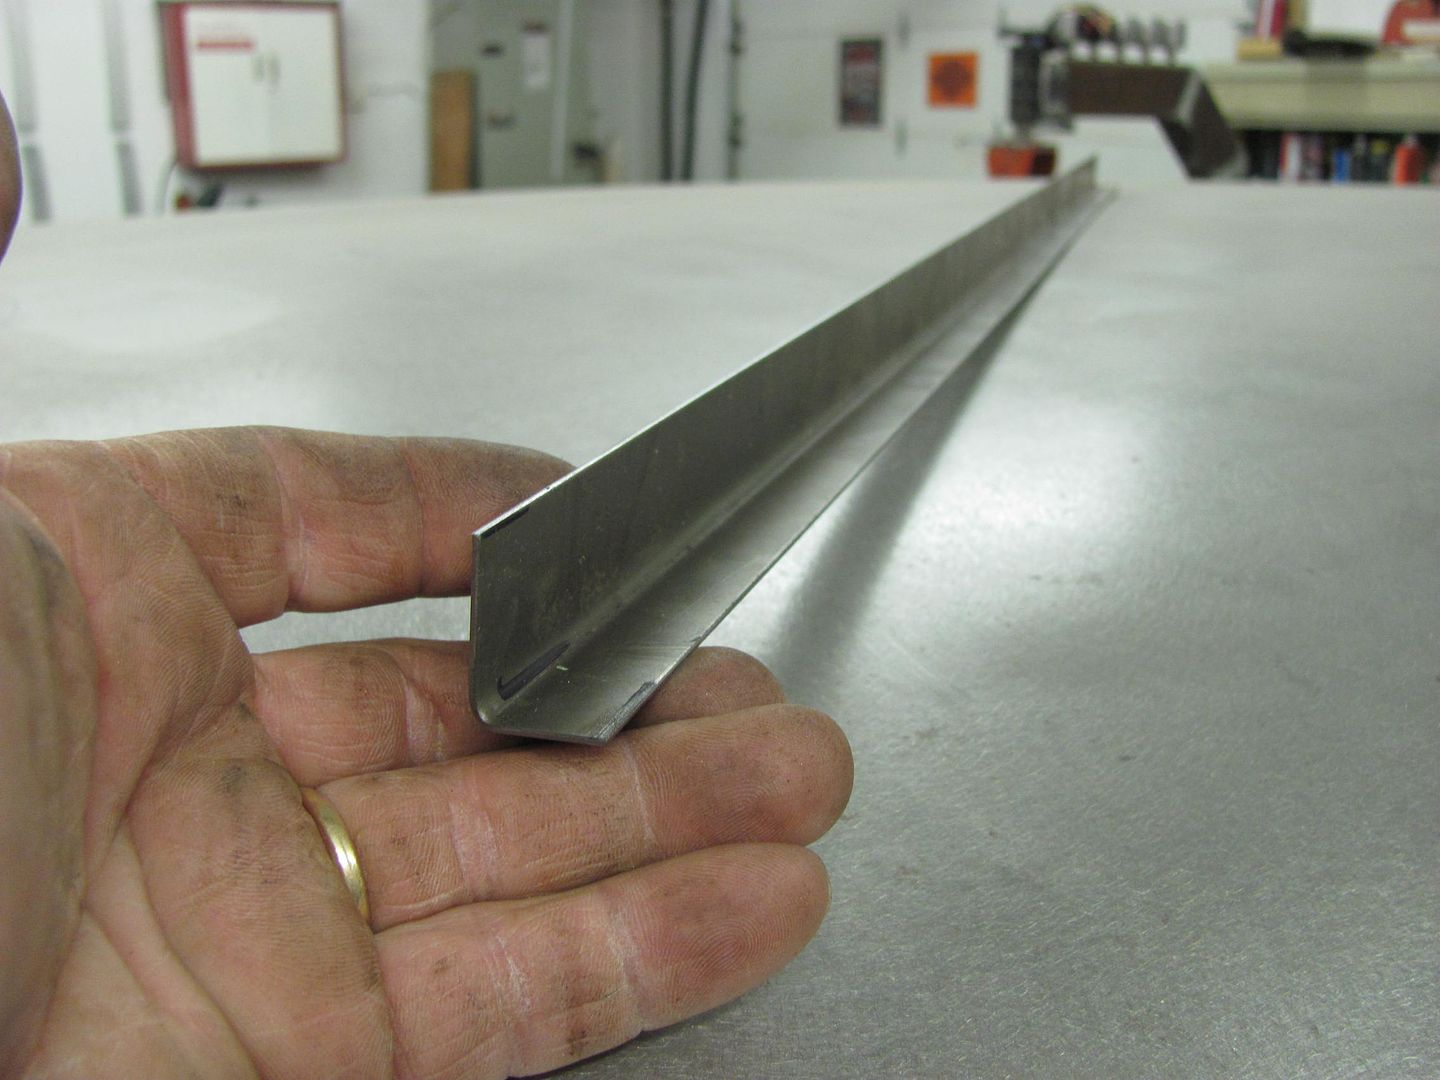
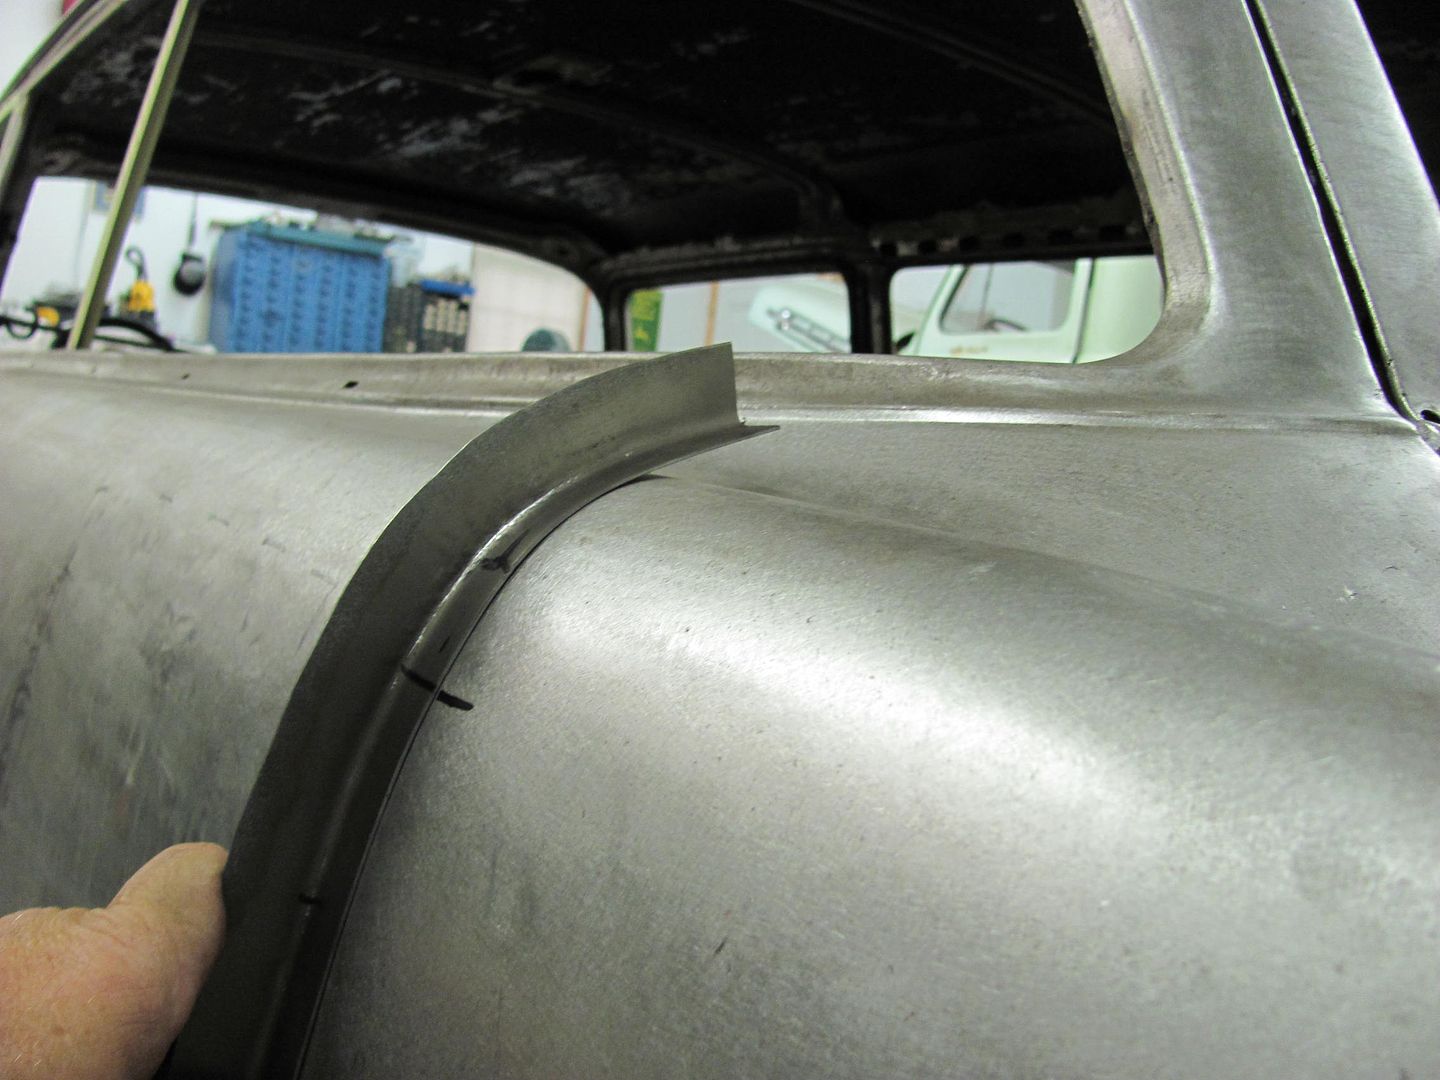
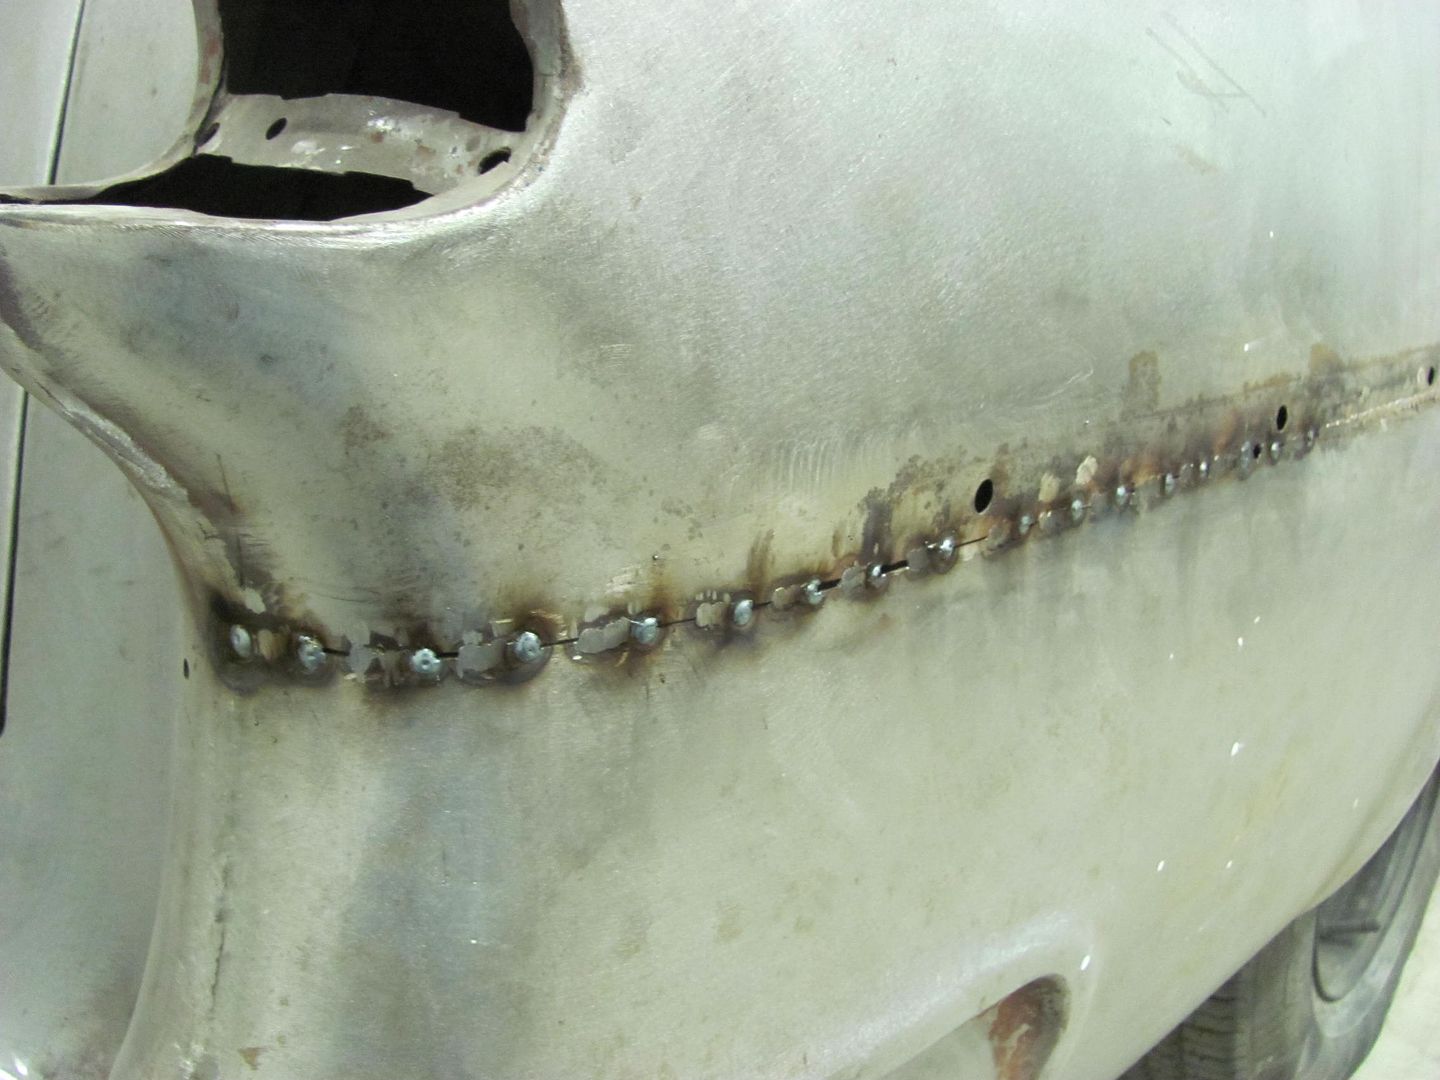
Time to finish this part up....
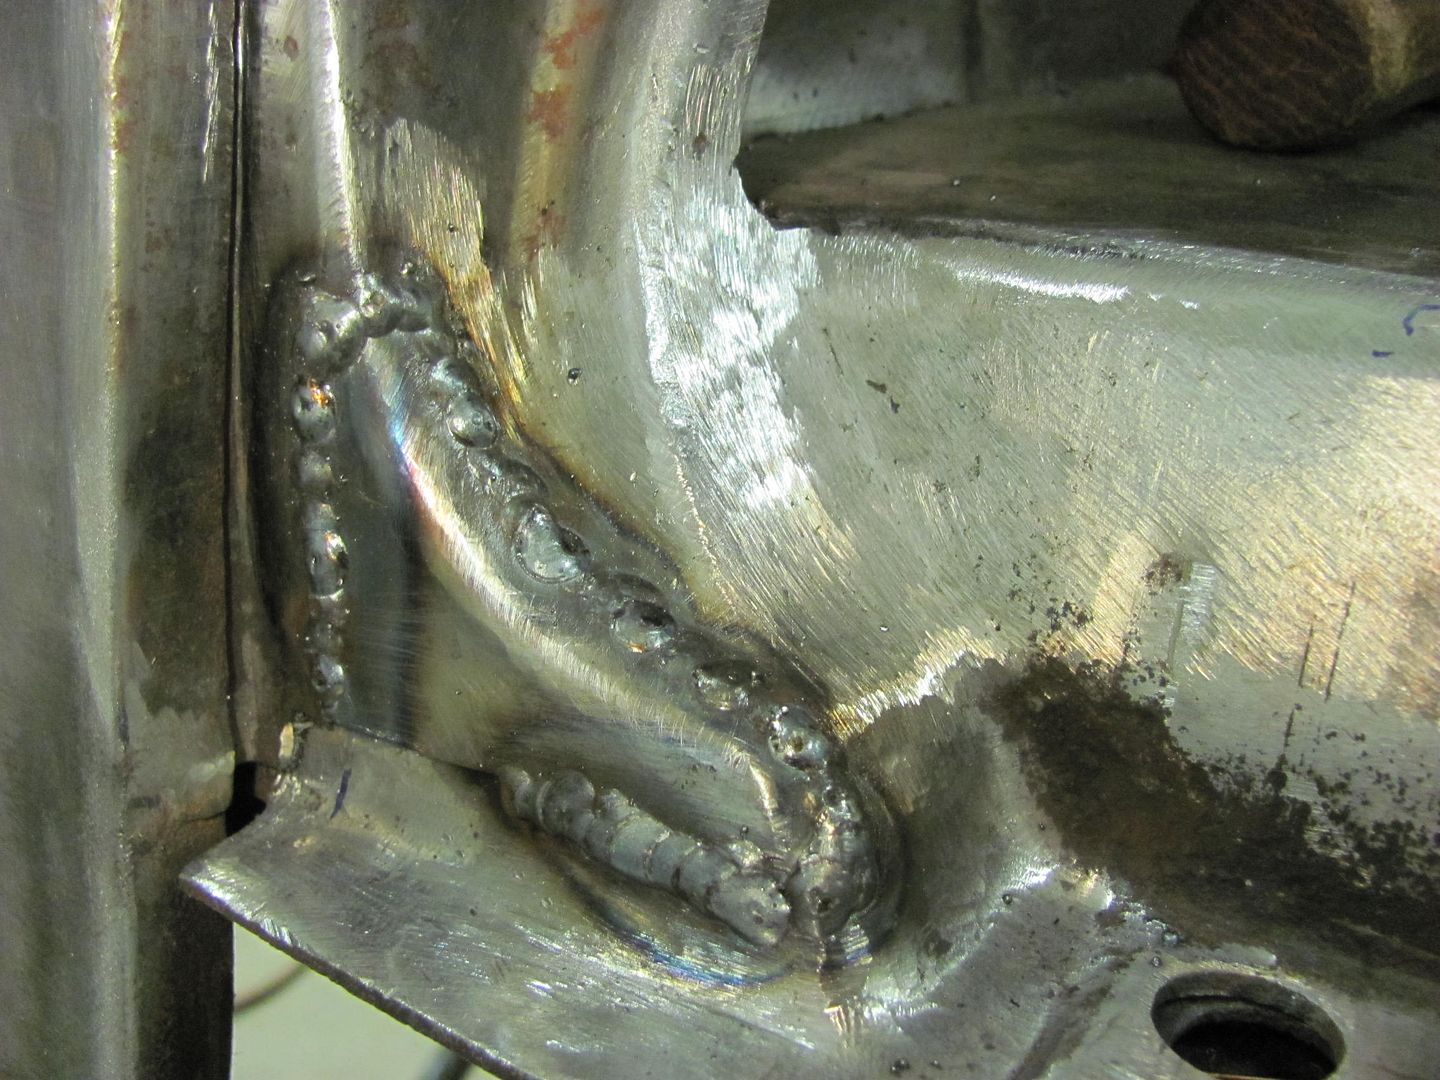
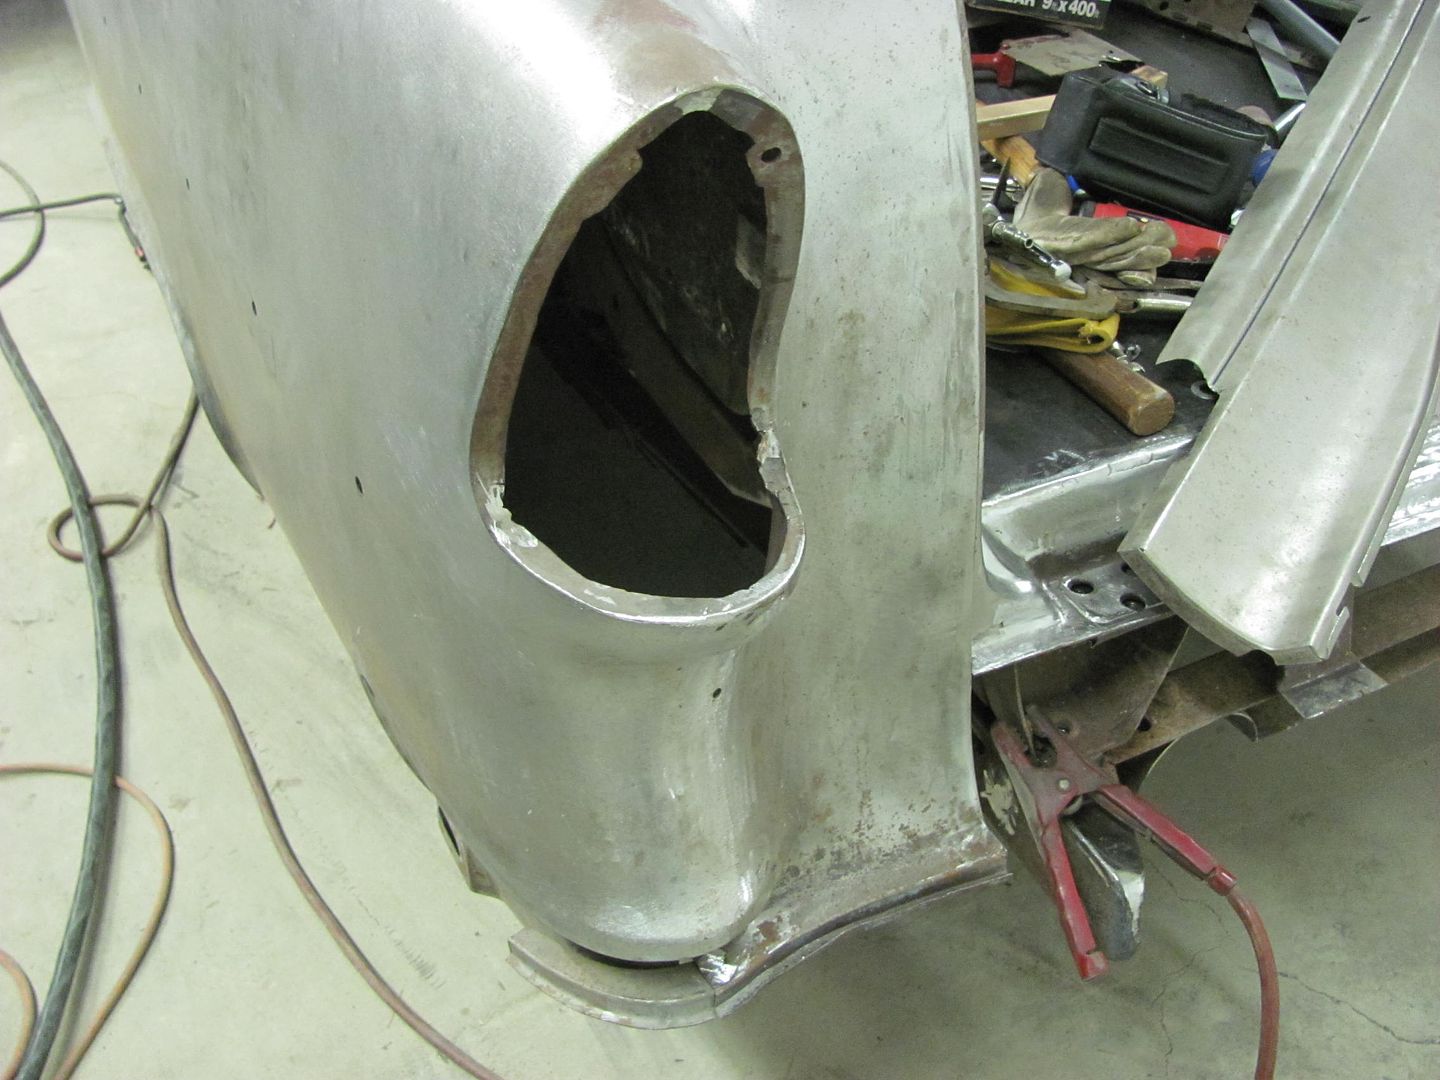
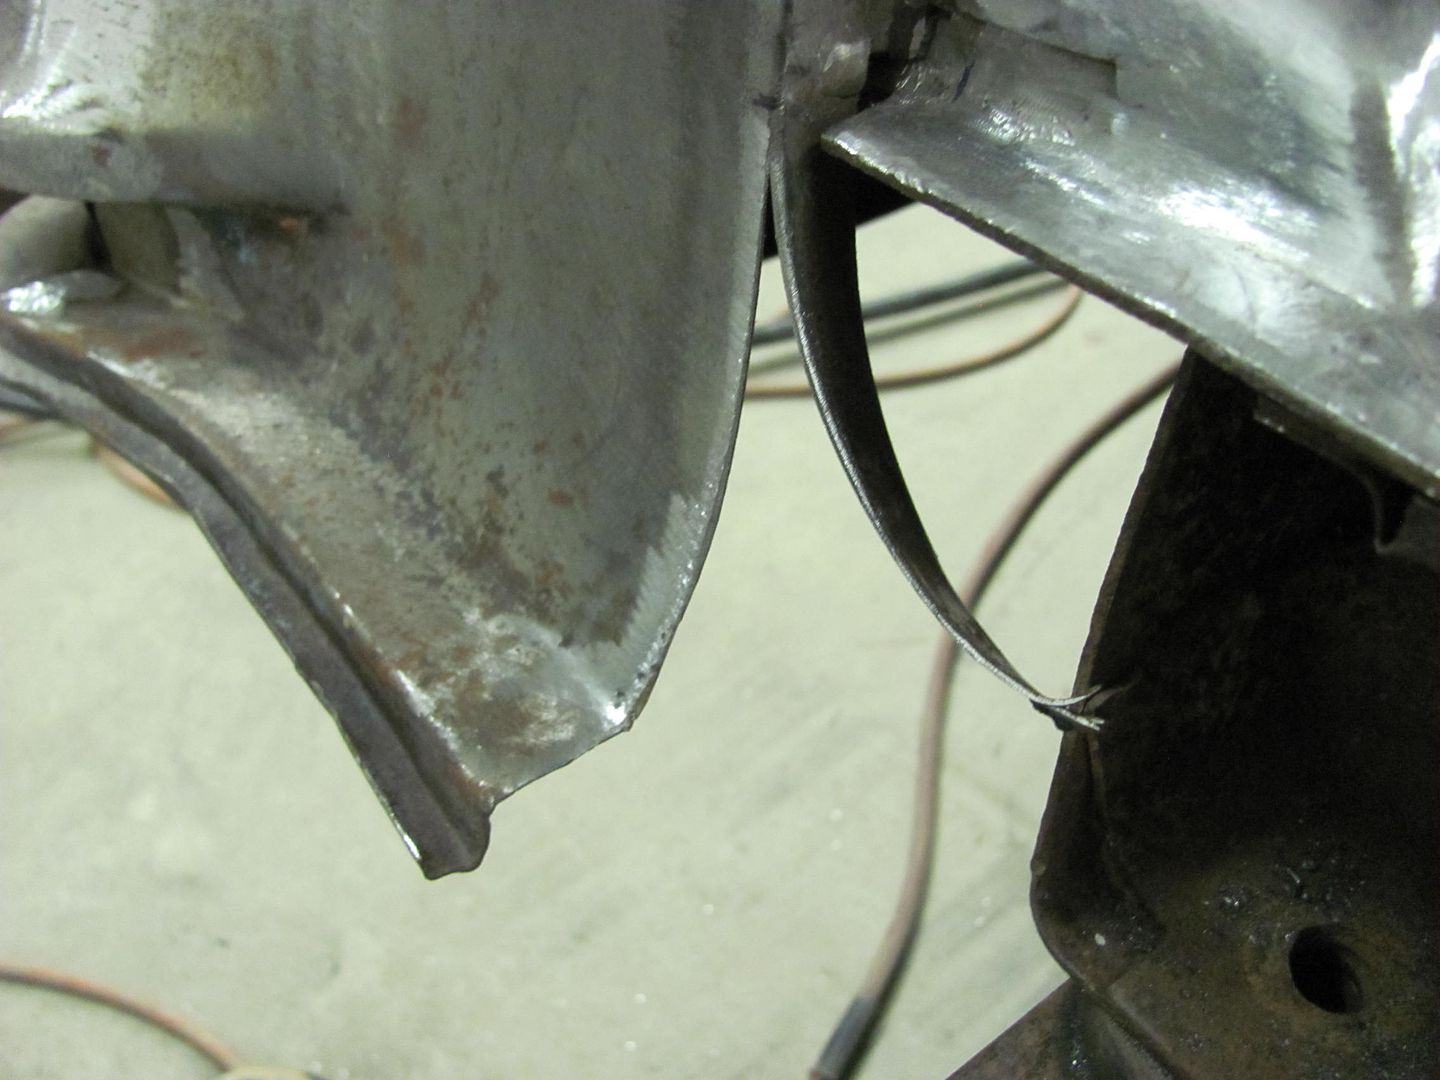
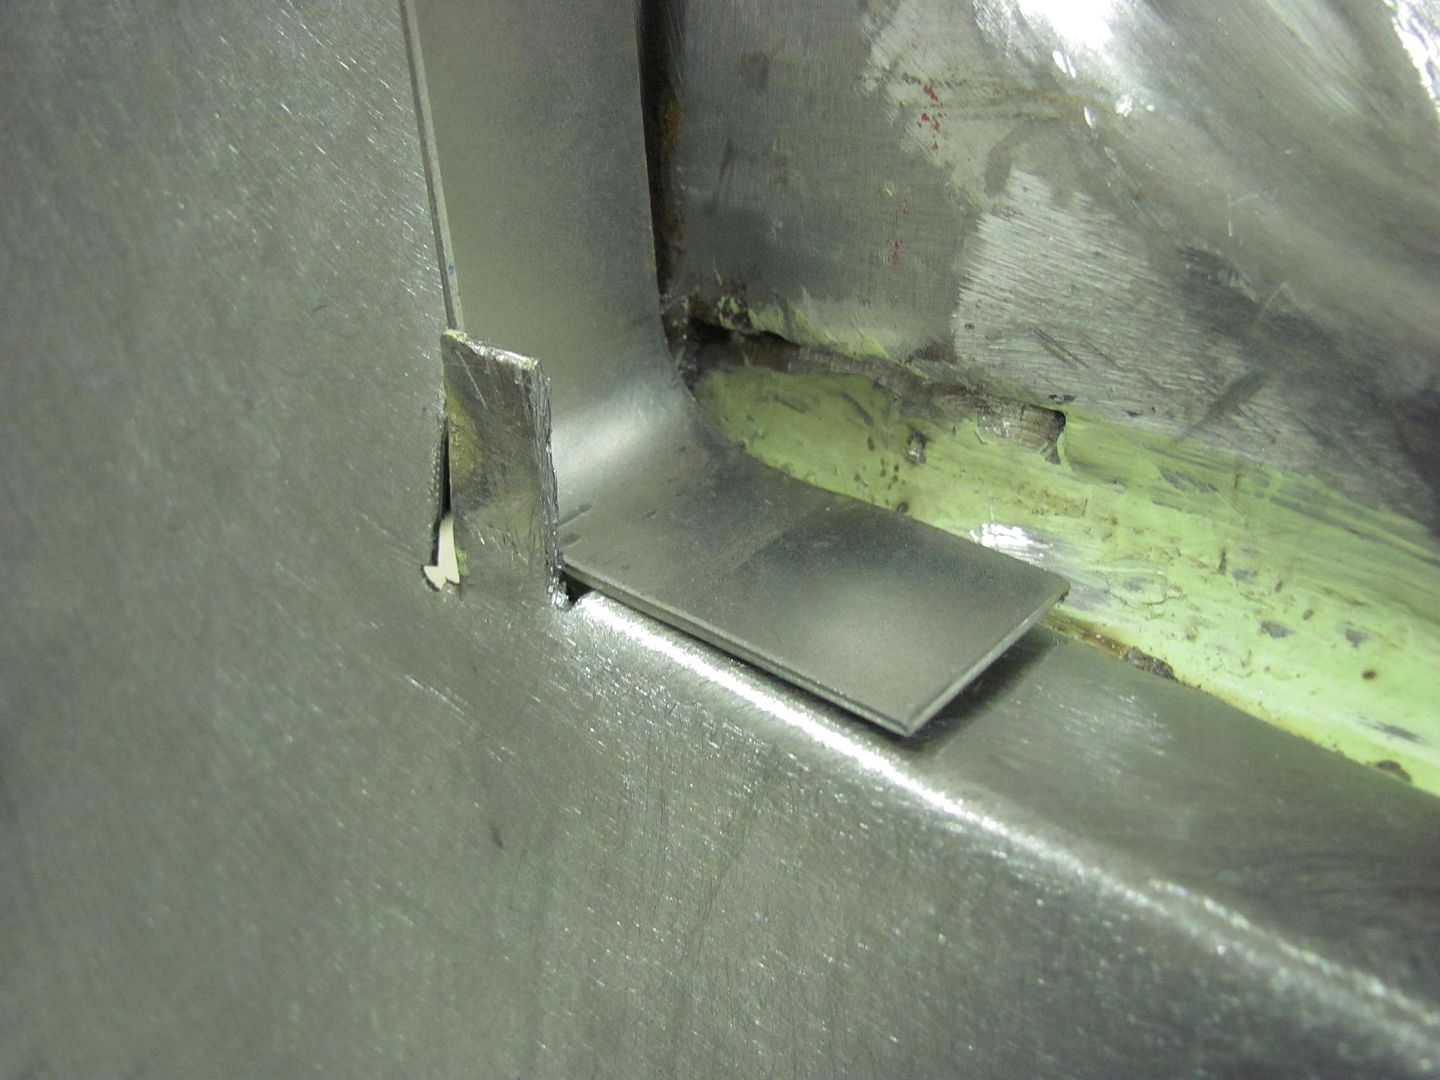
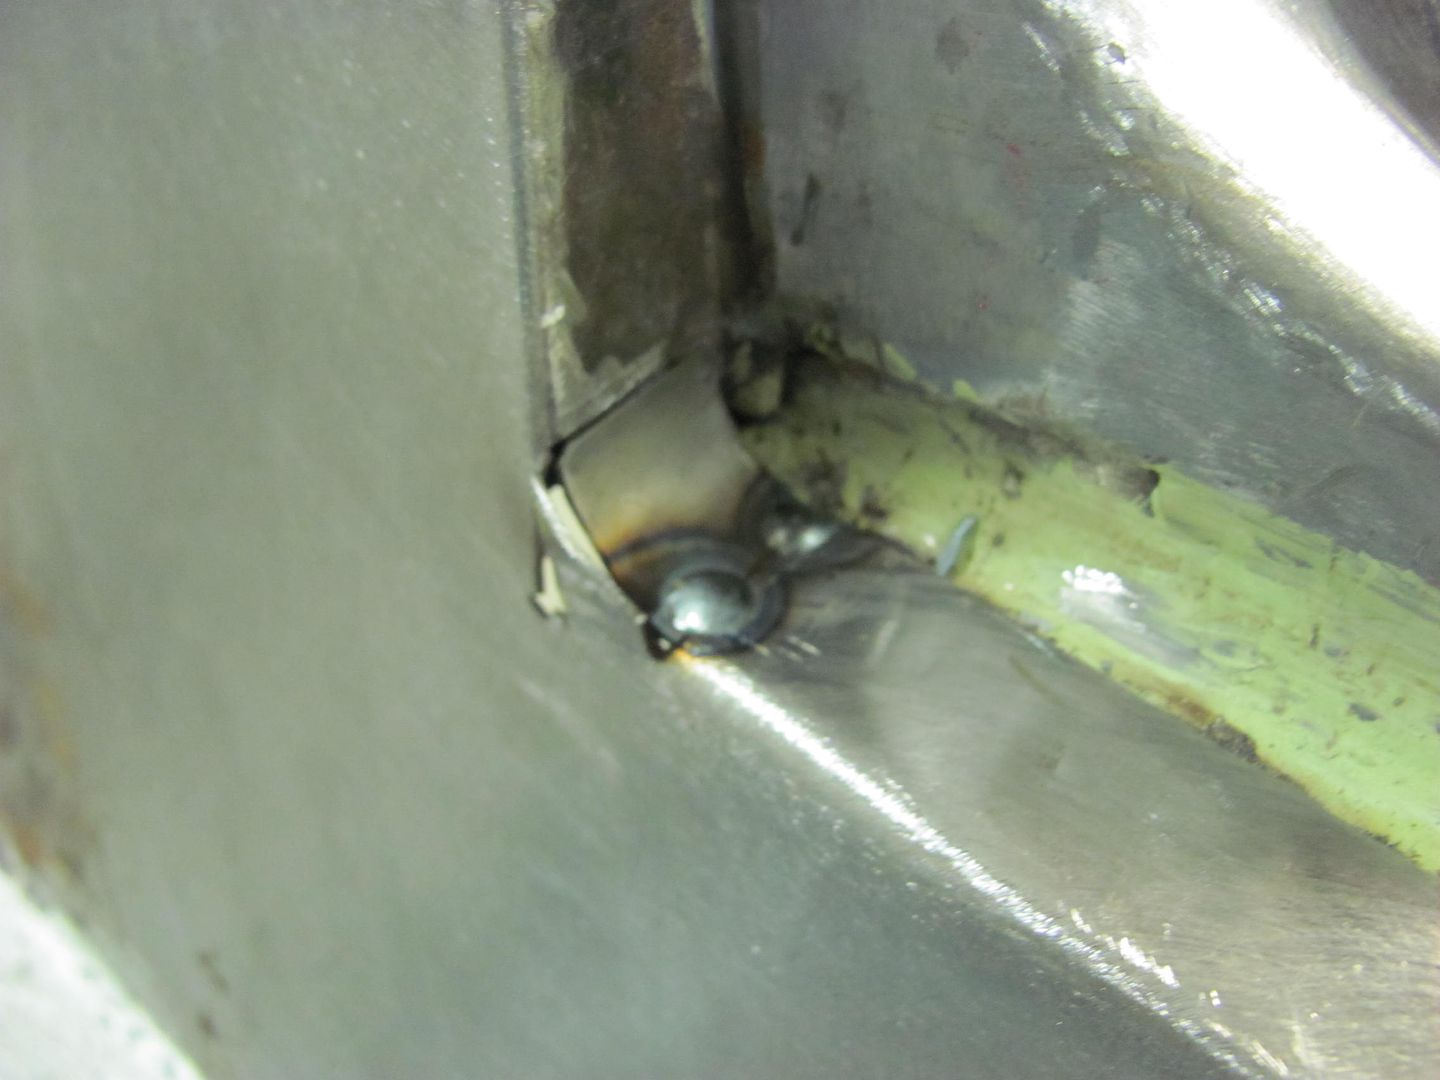
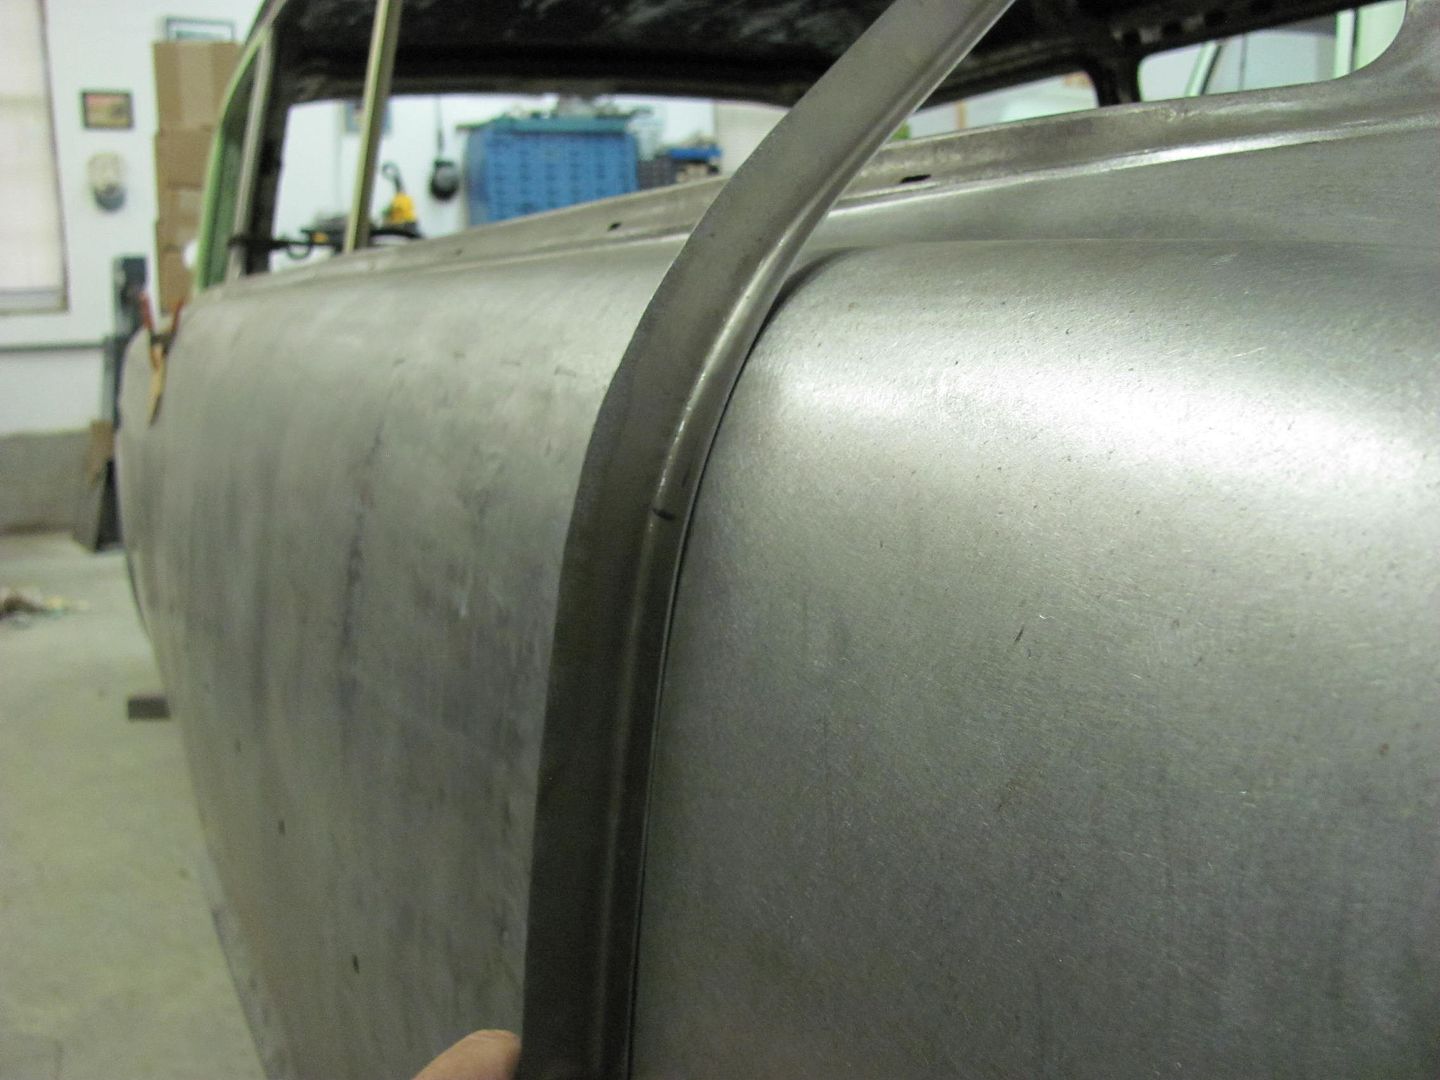
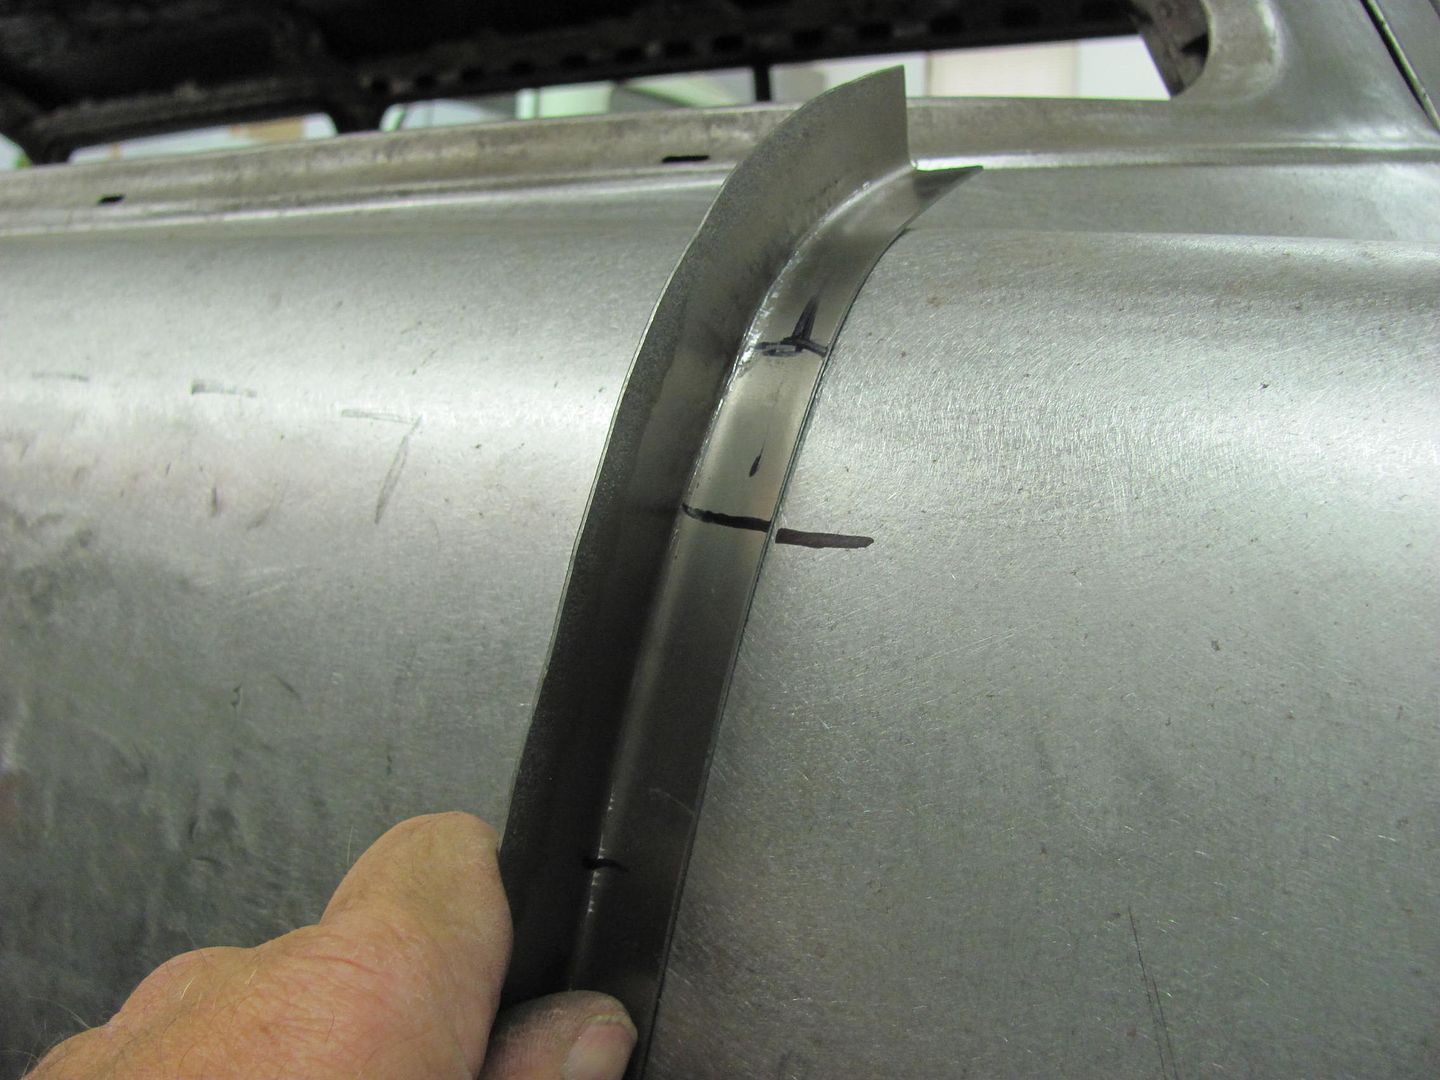
All cleaned up....

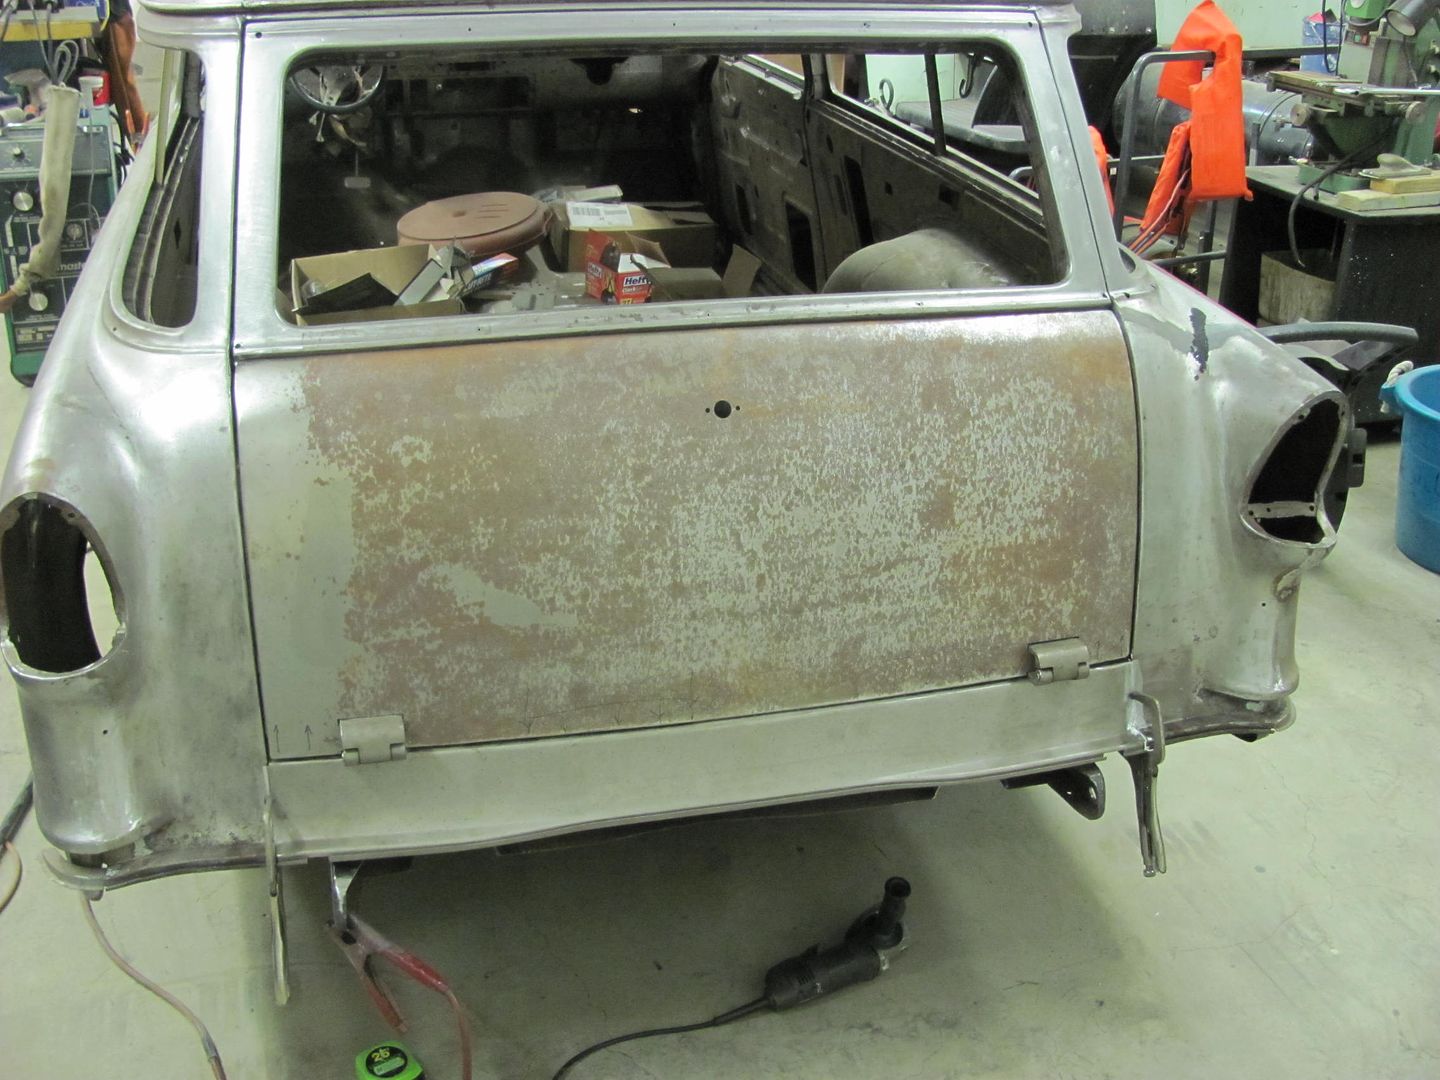
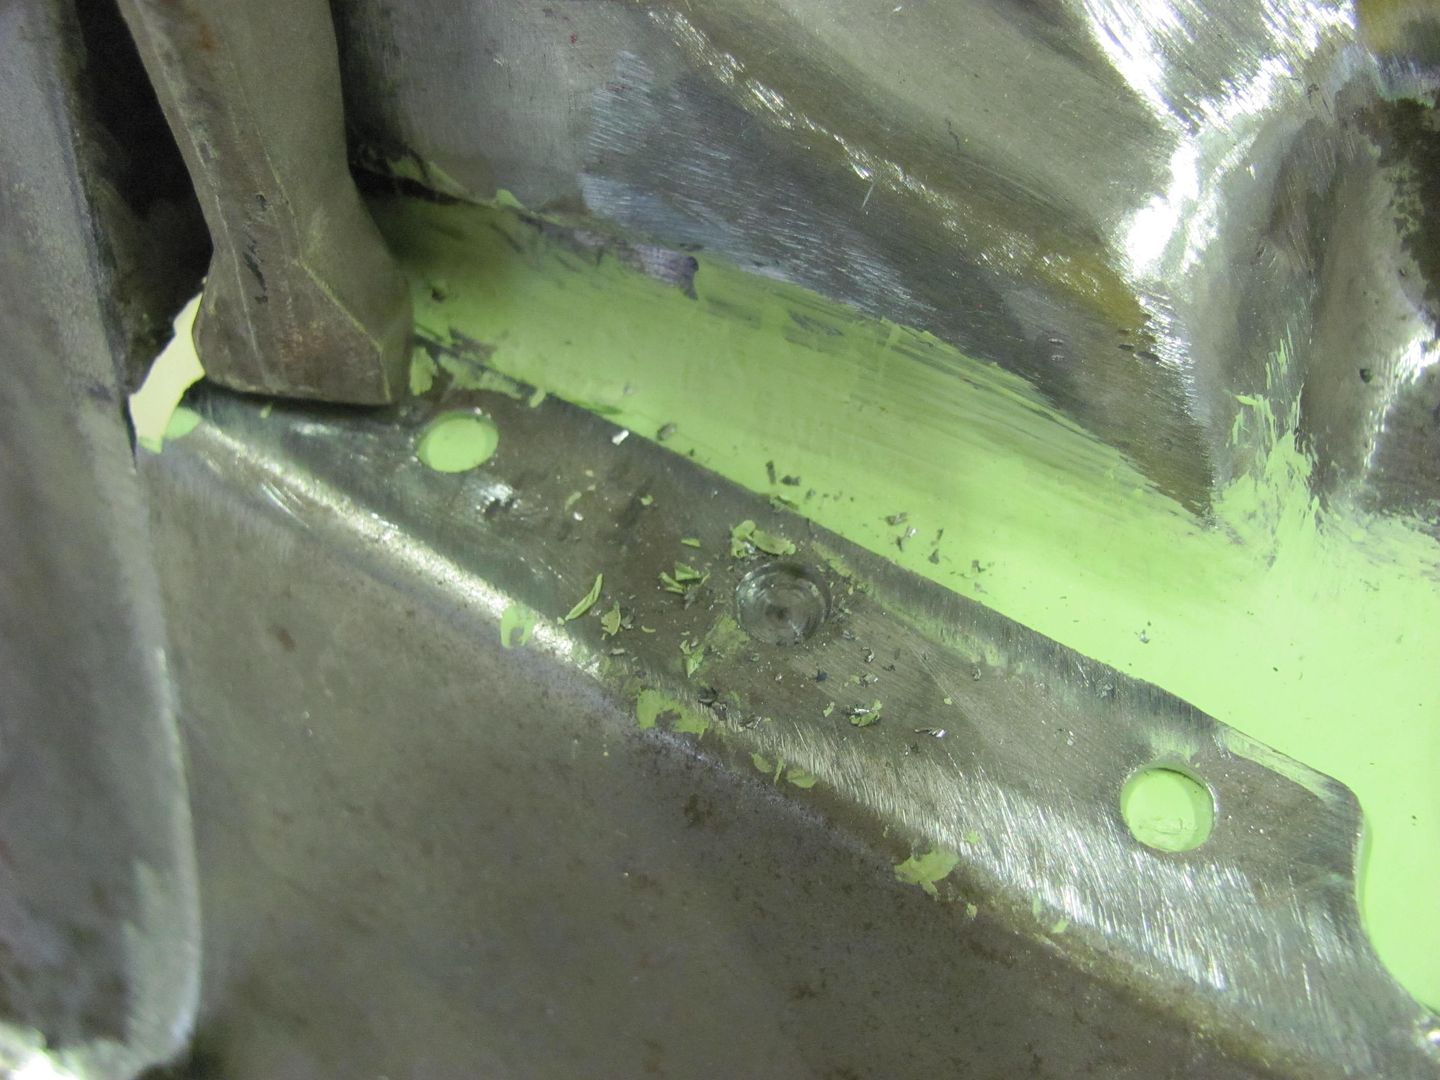
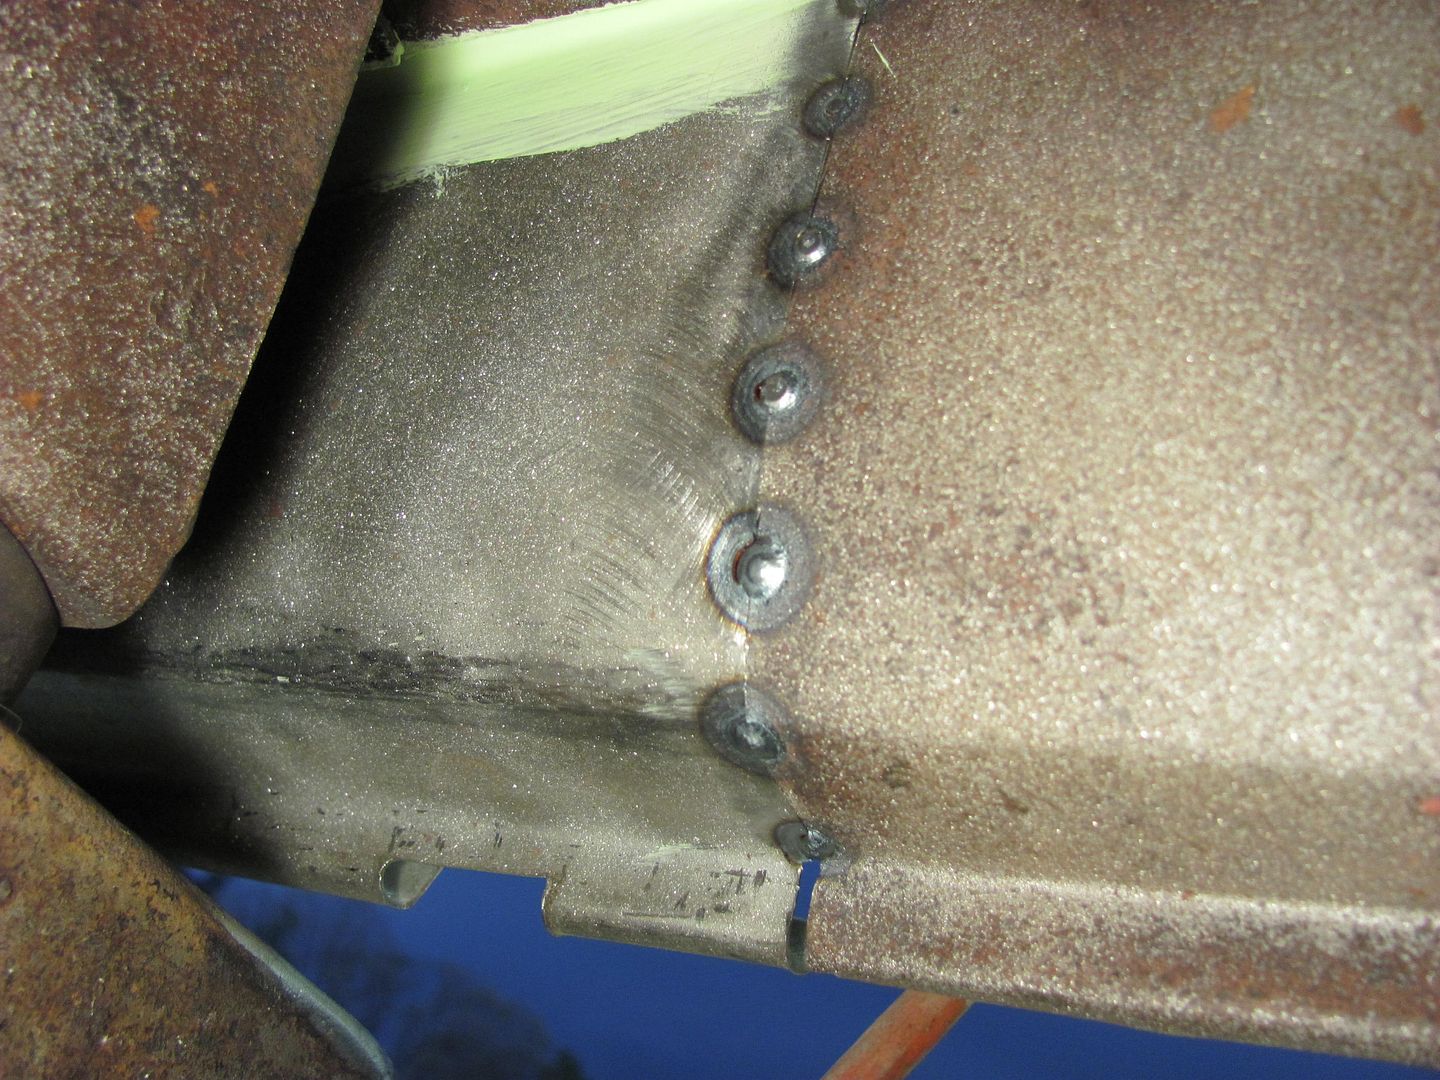
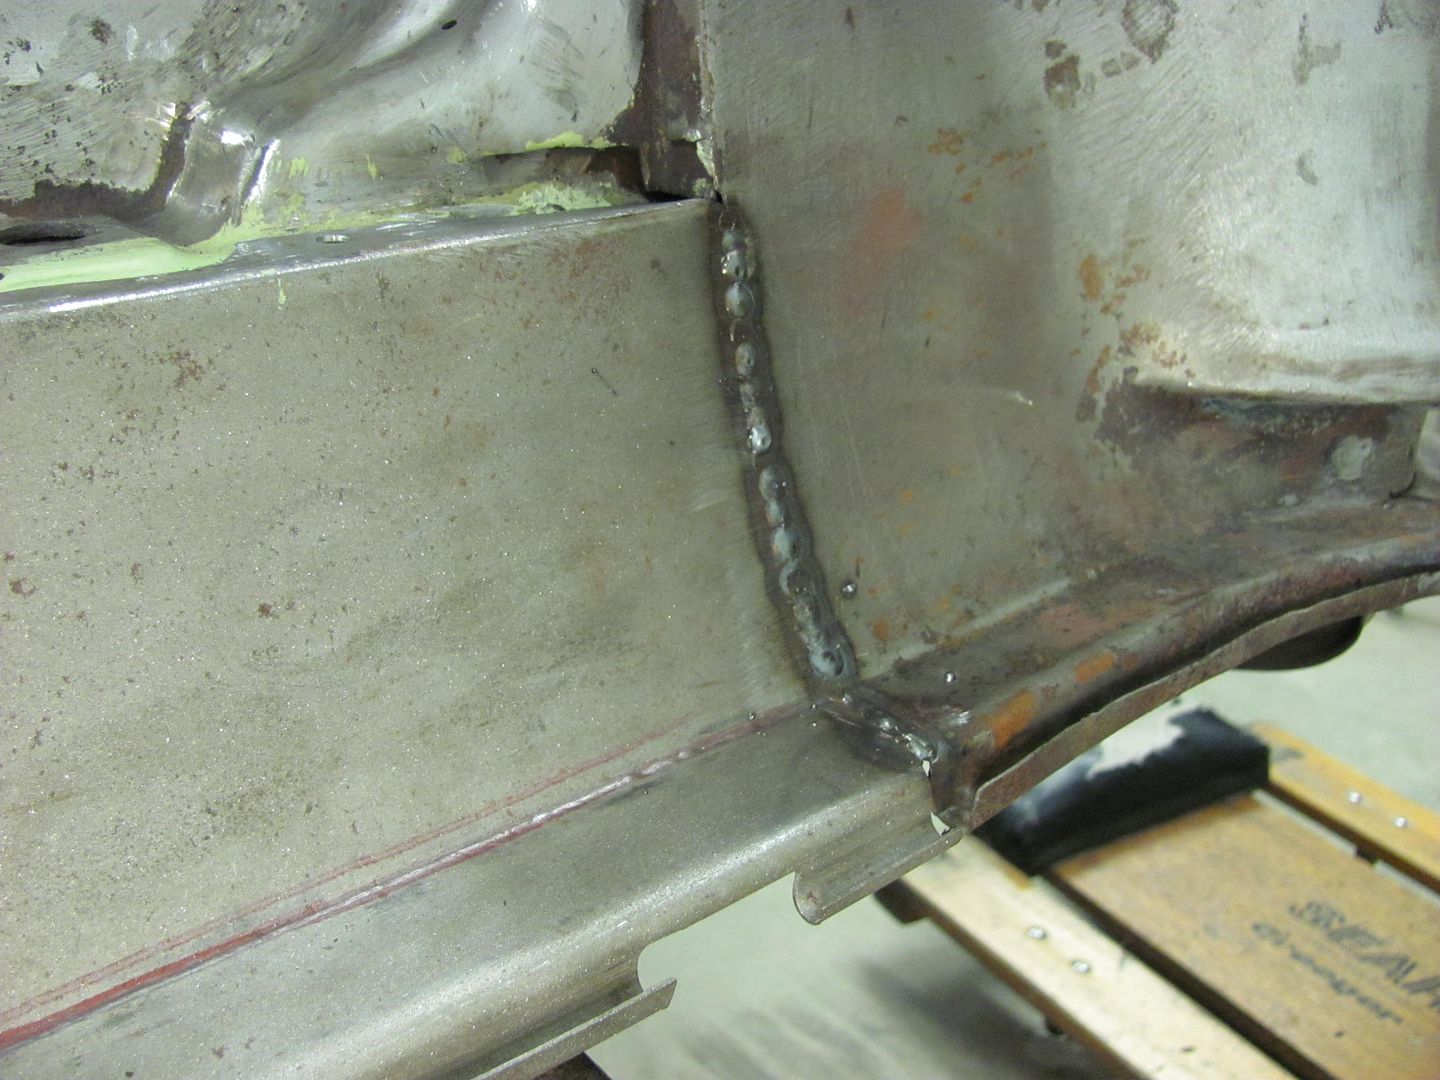
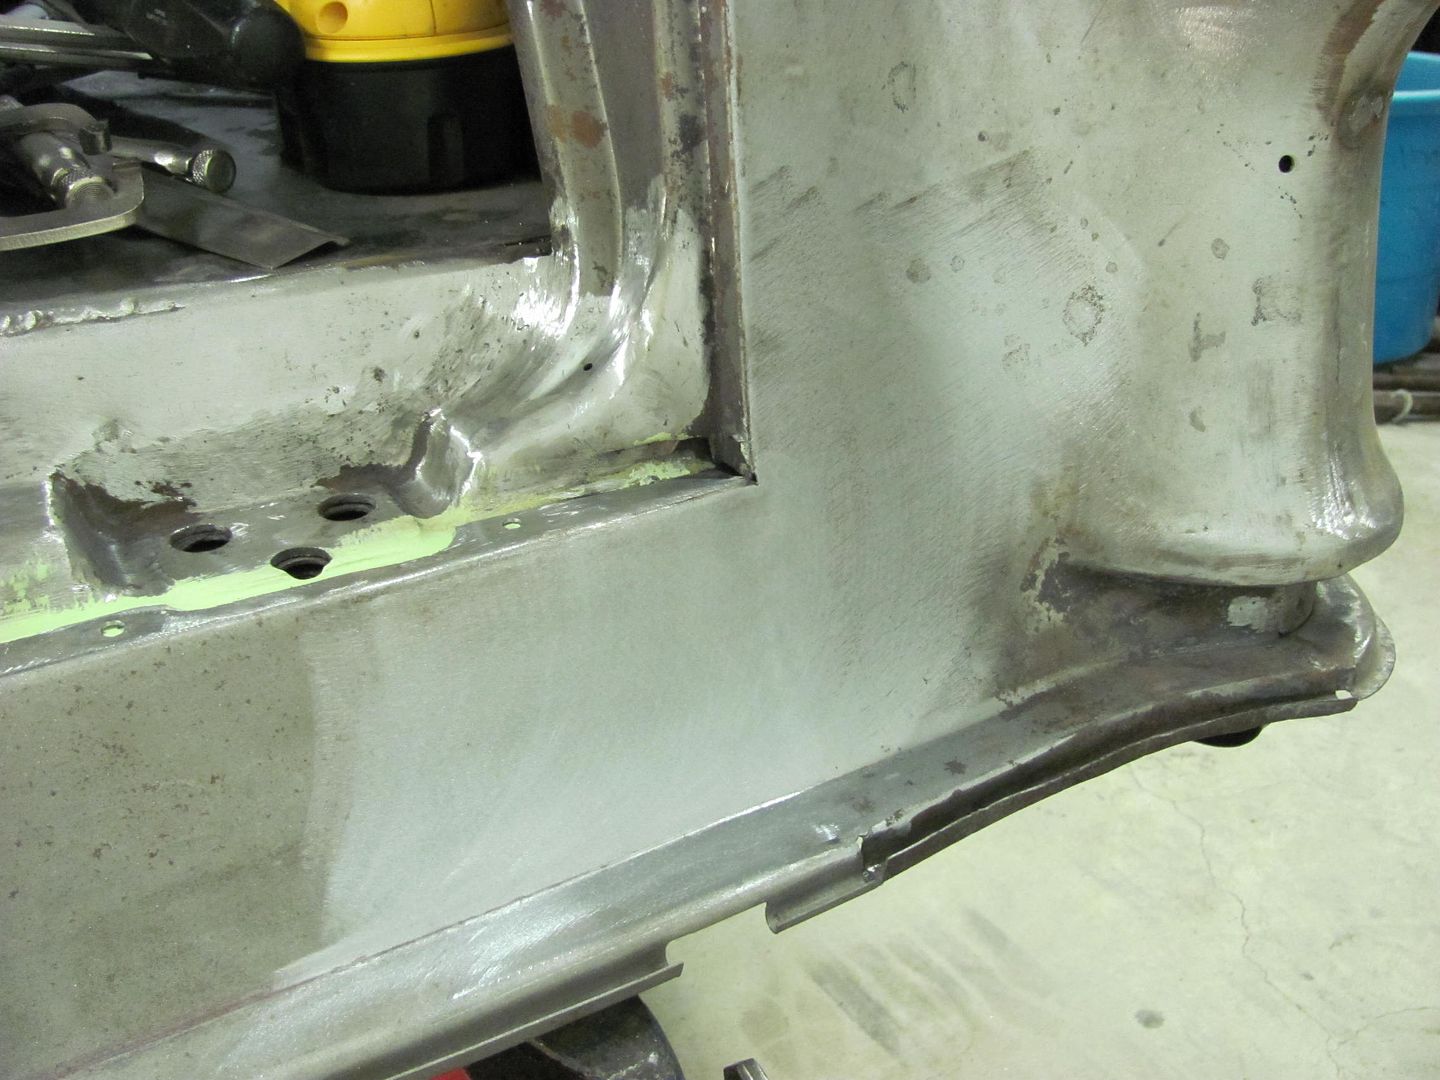
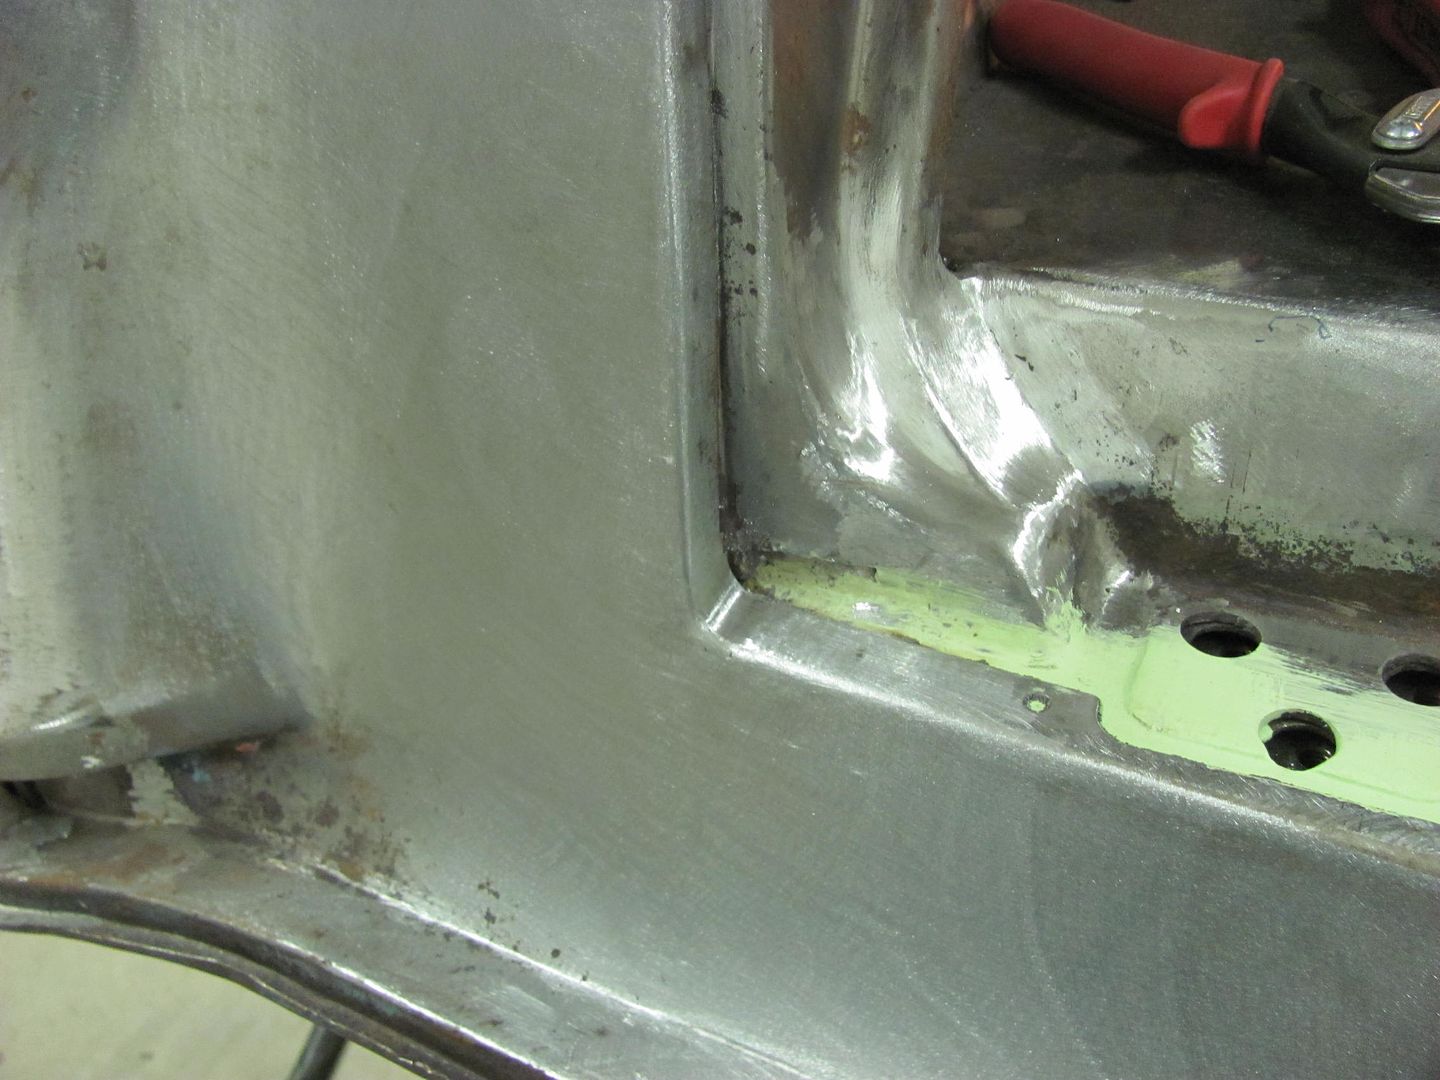
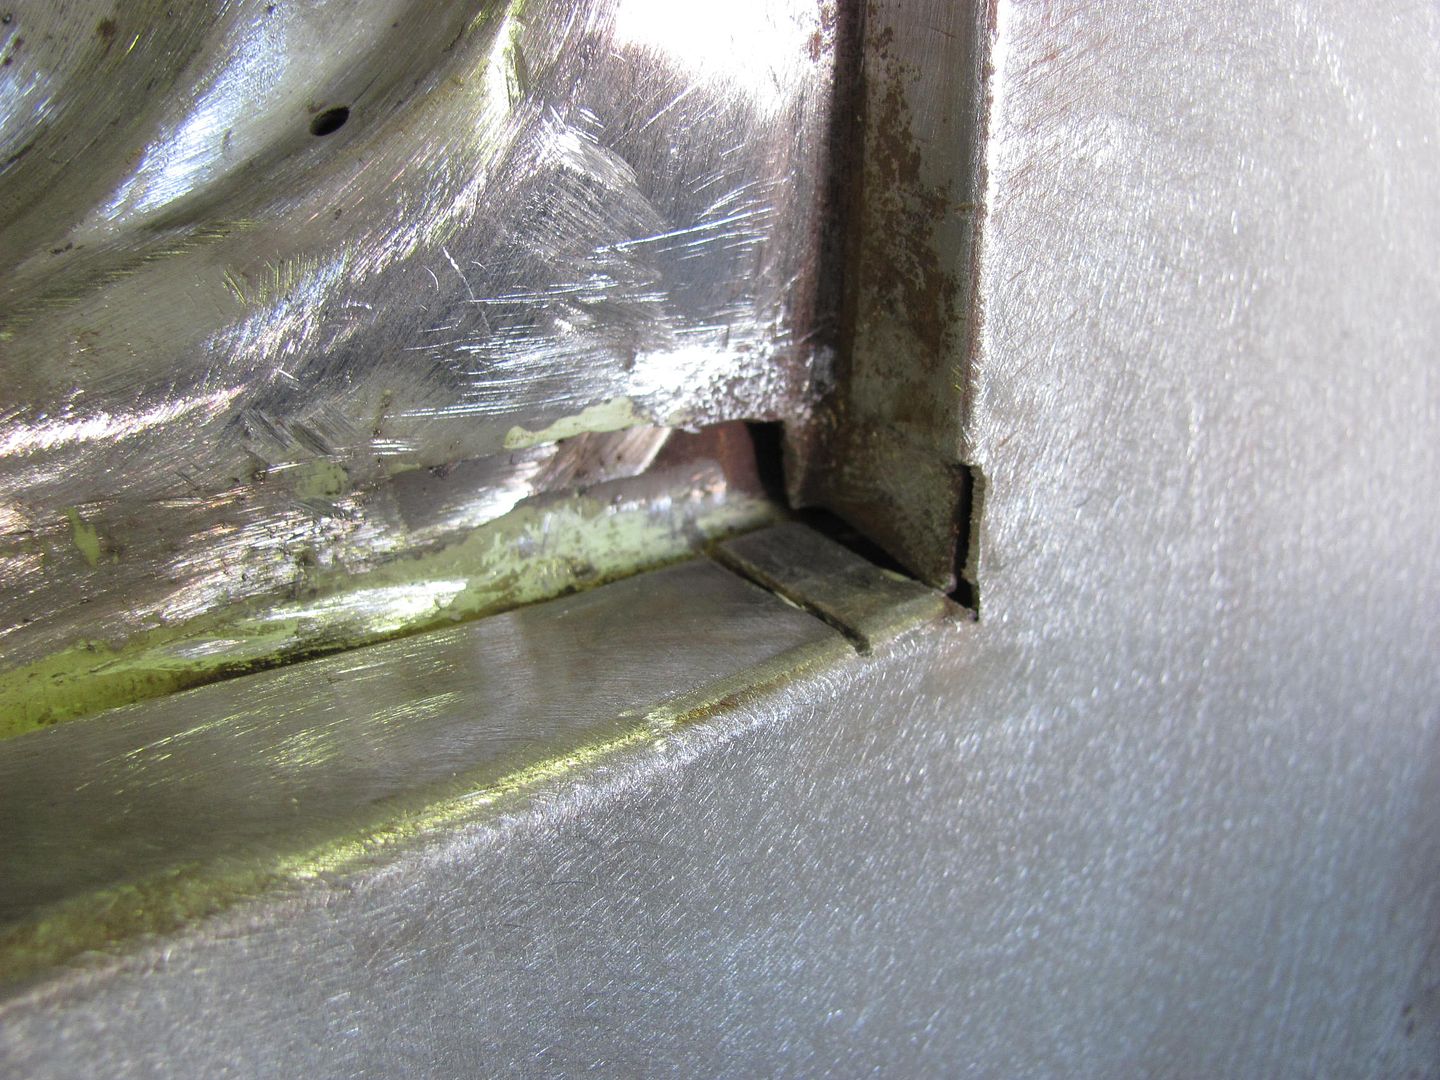
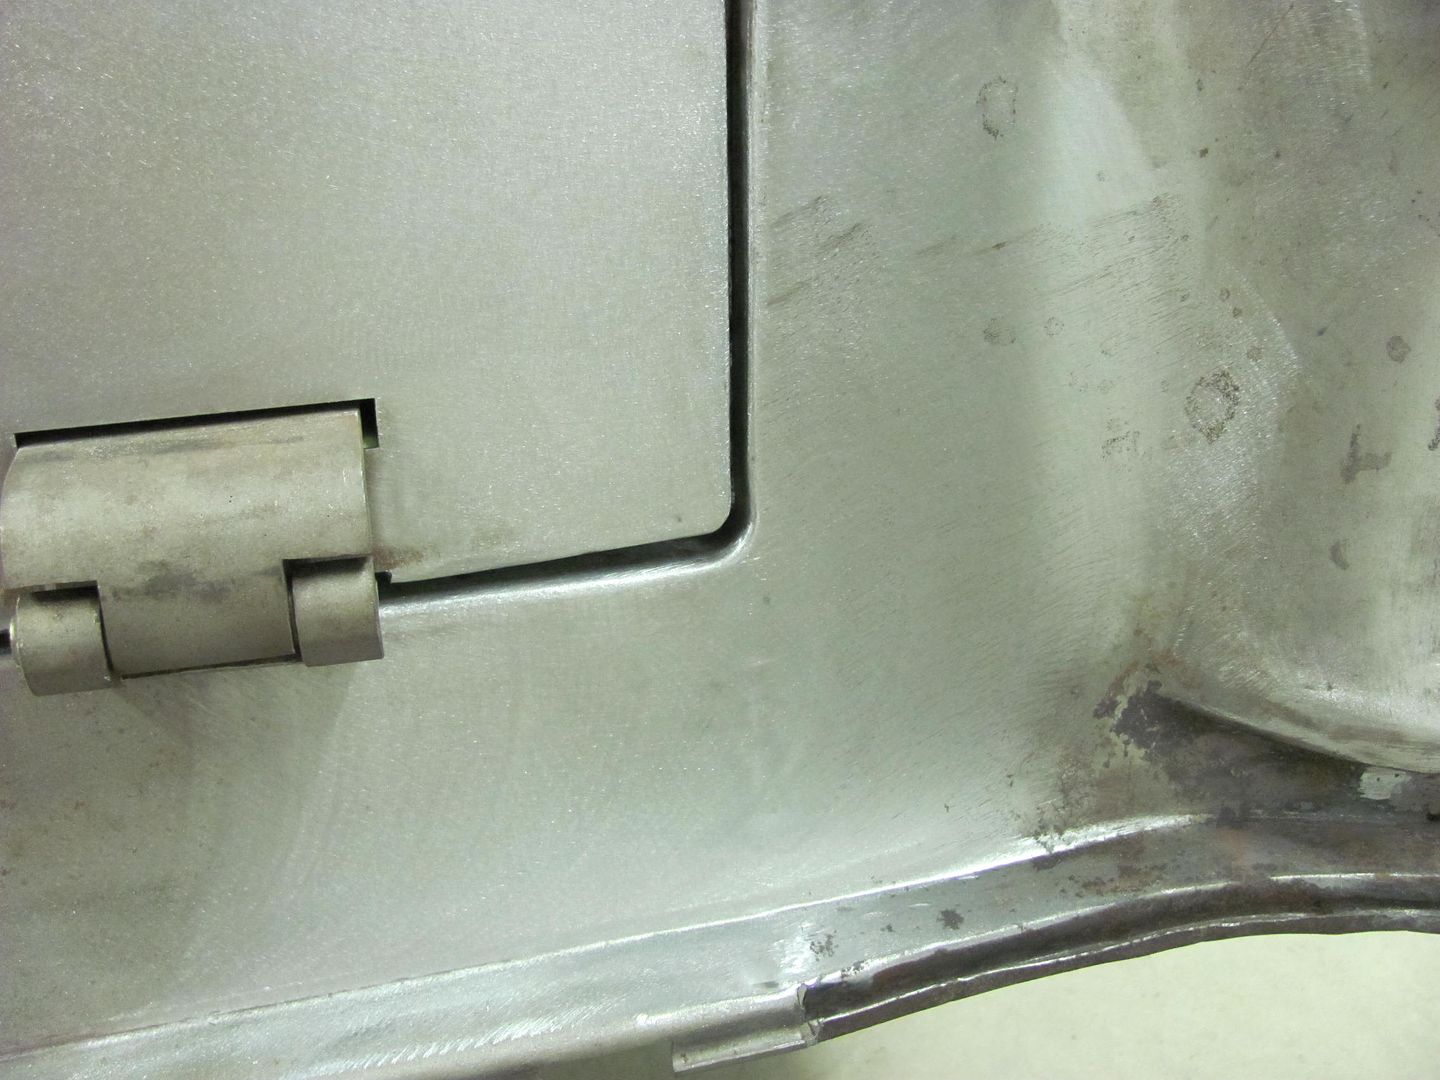
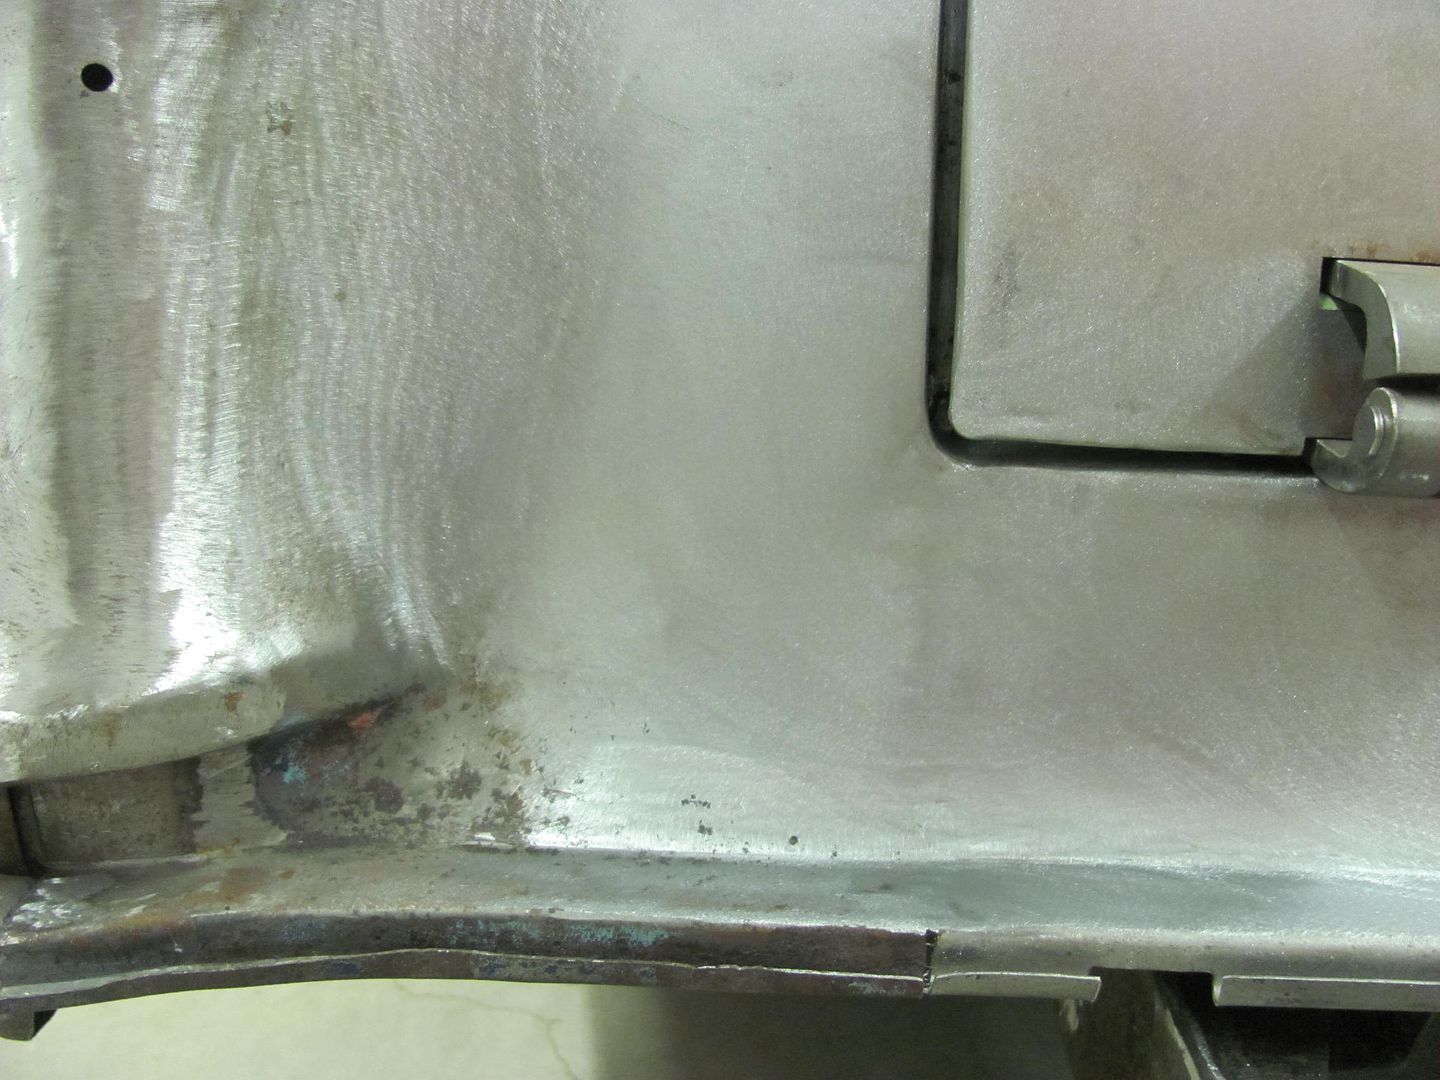
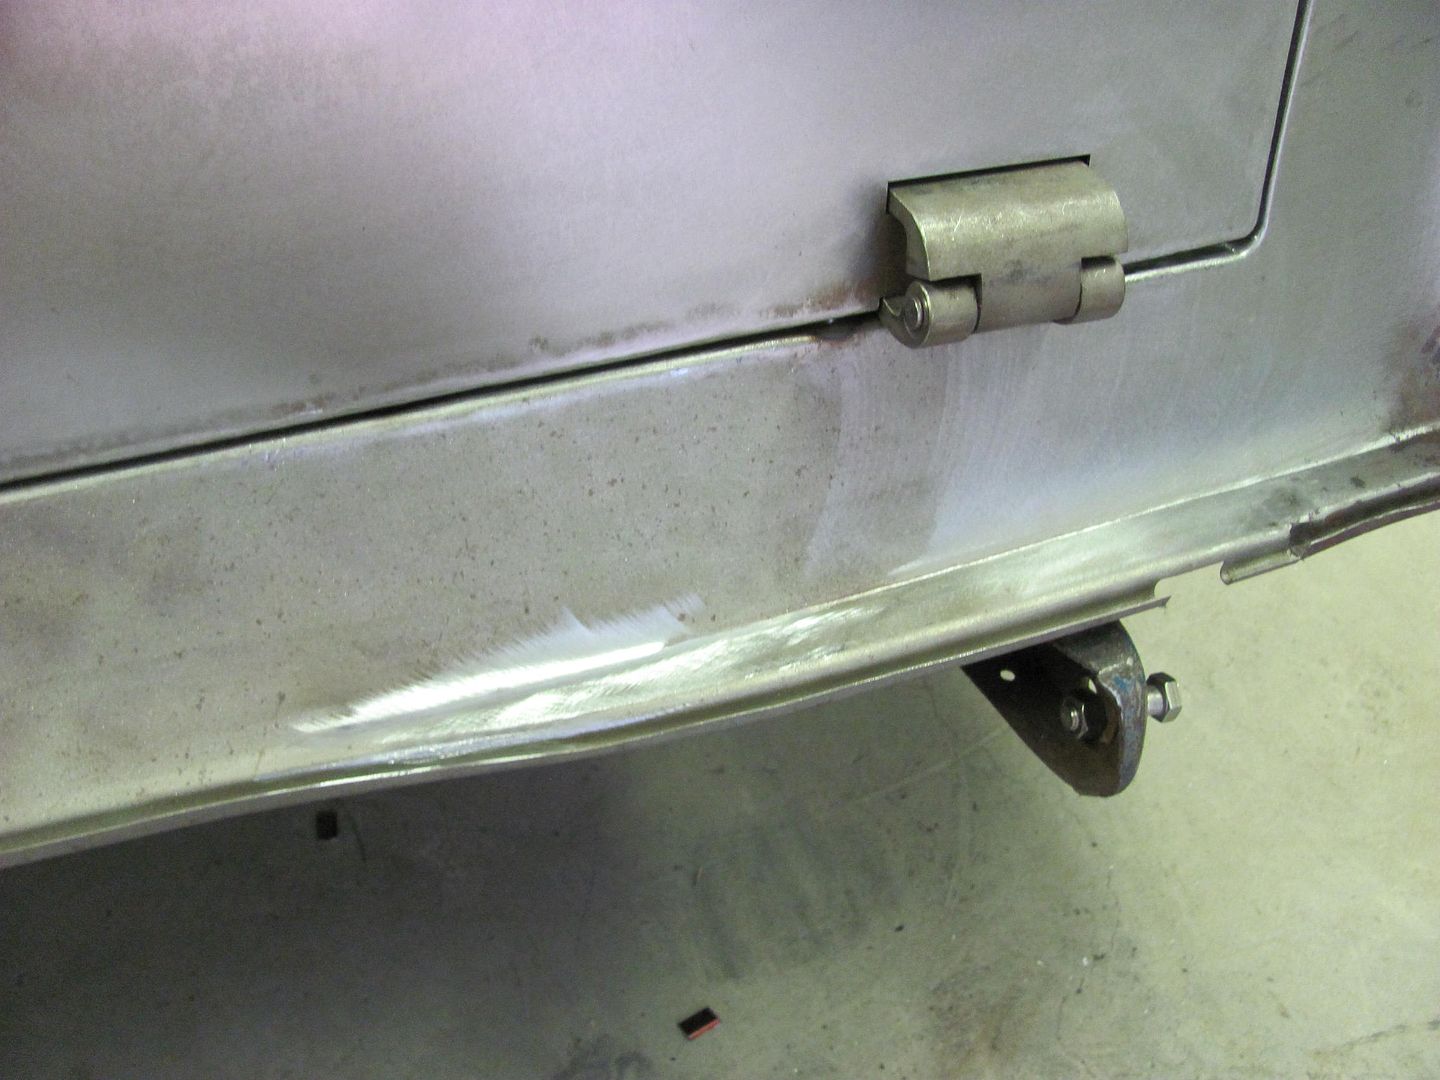
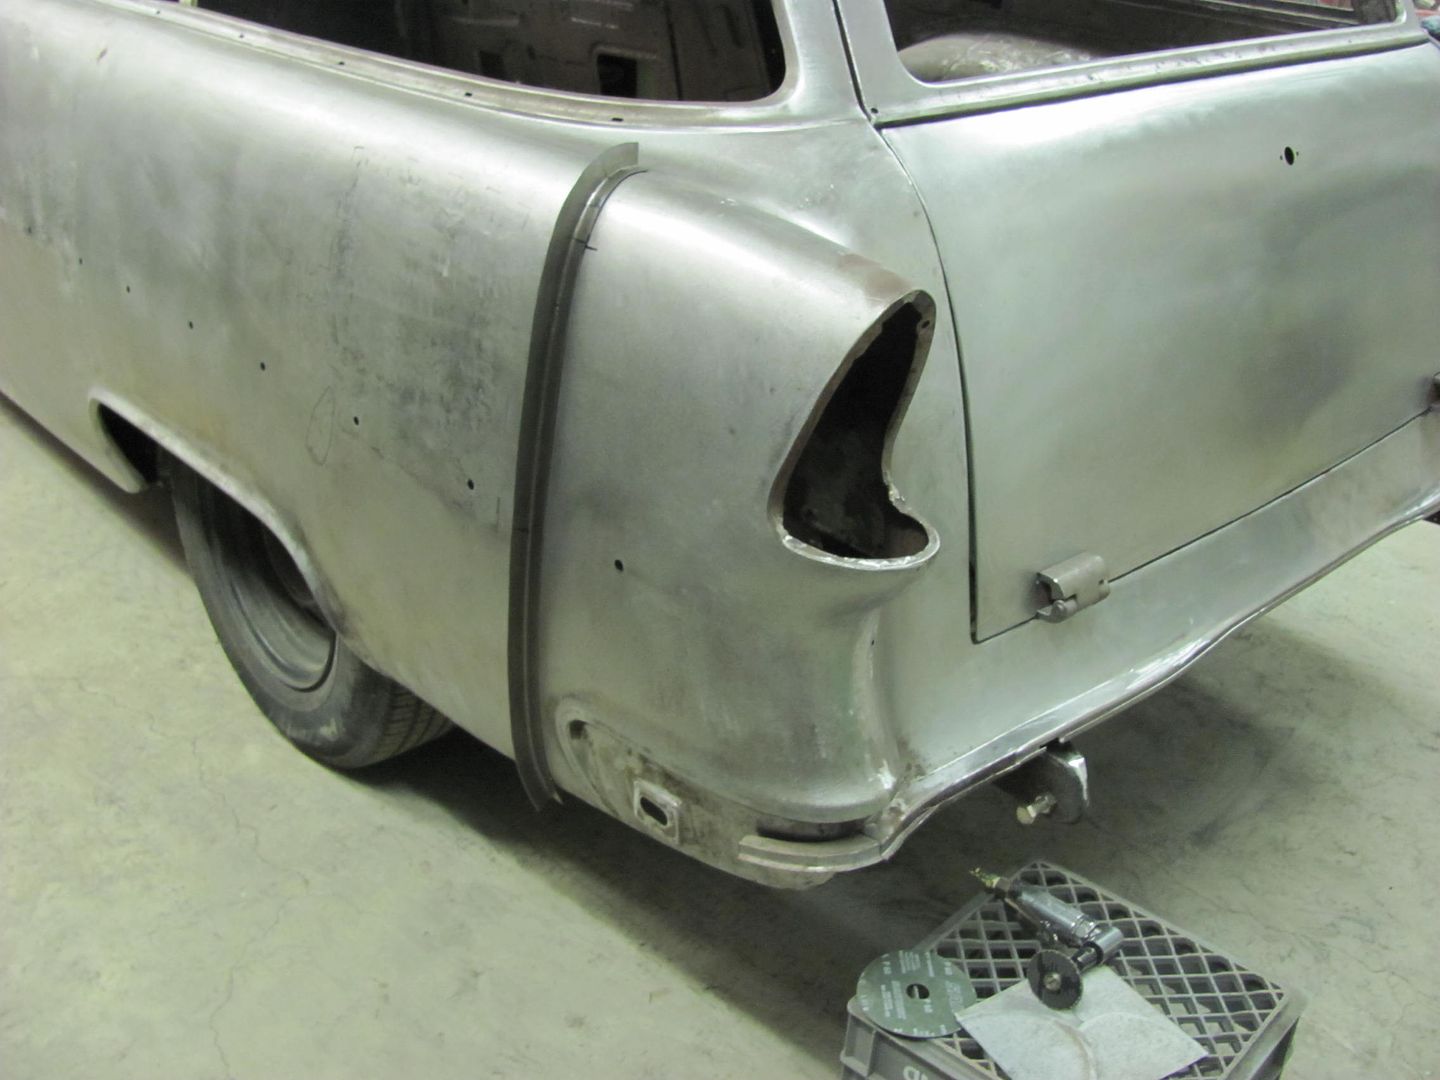
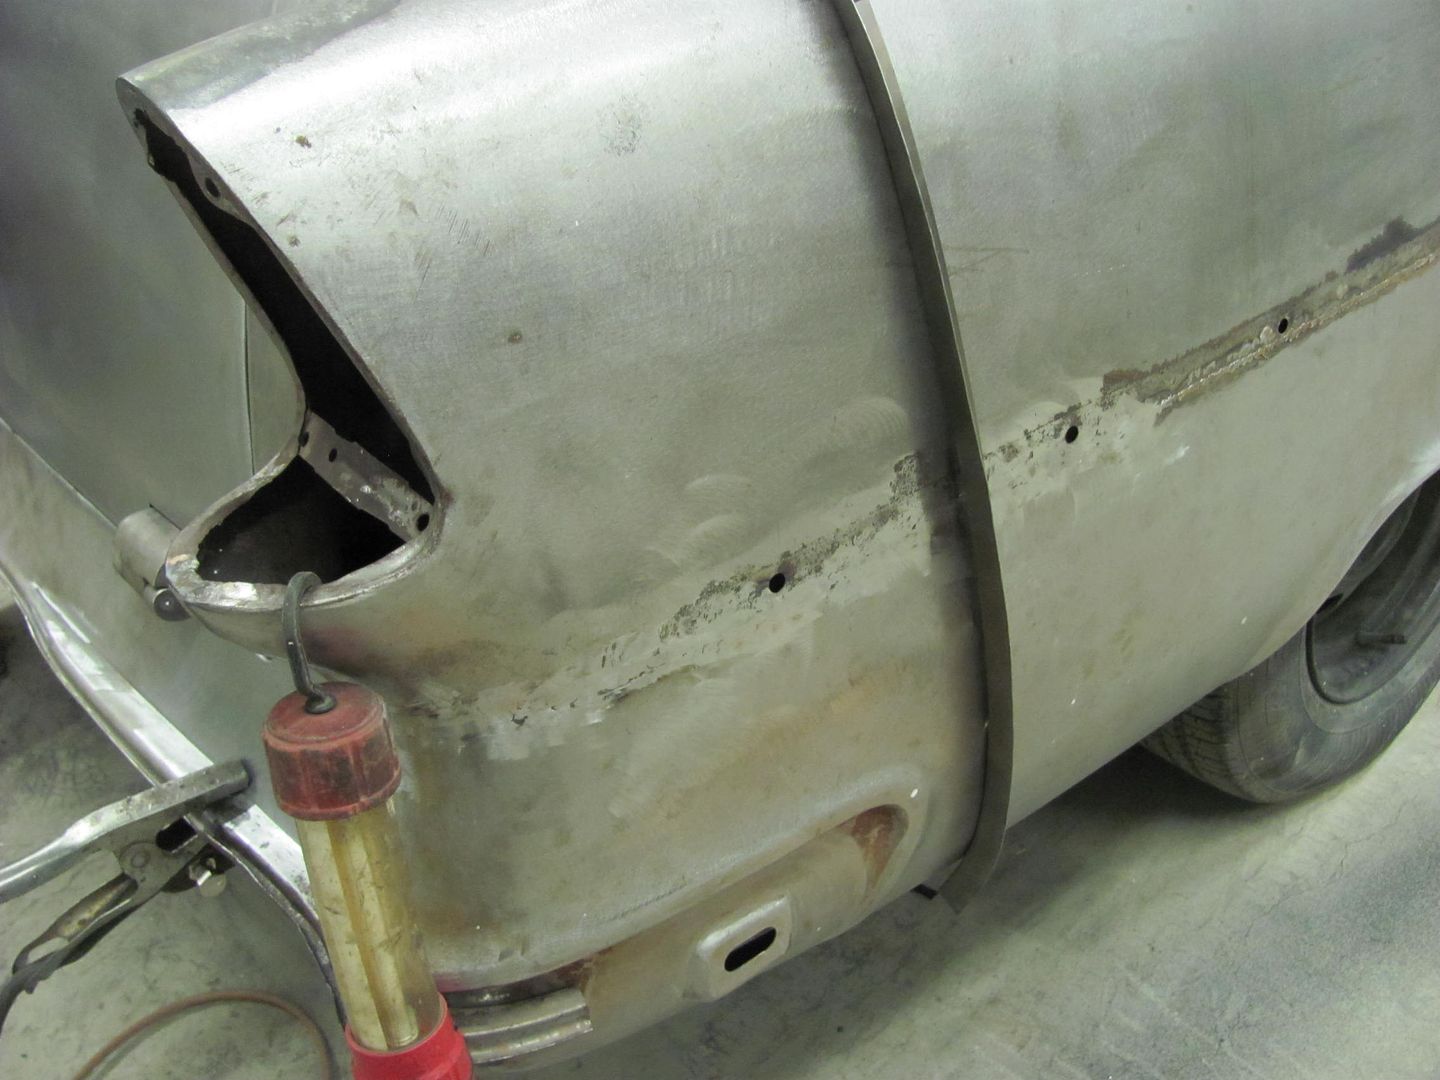
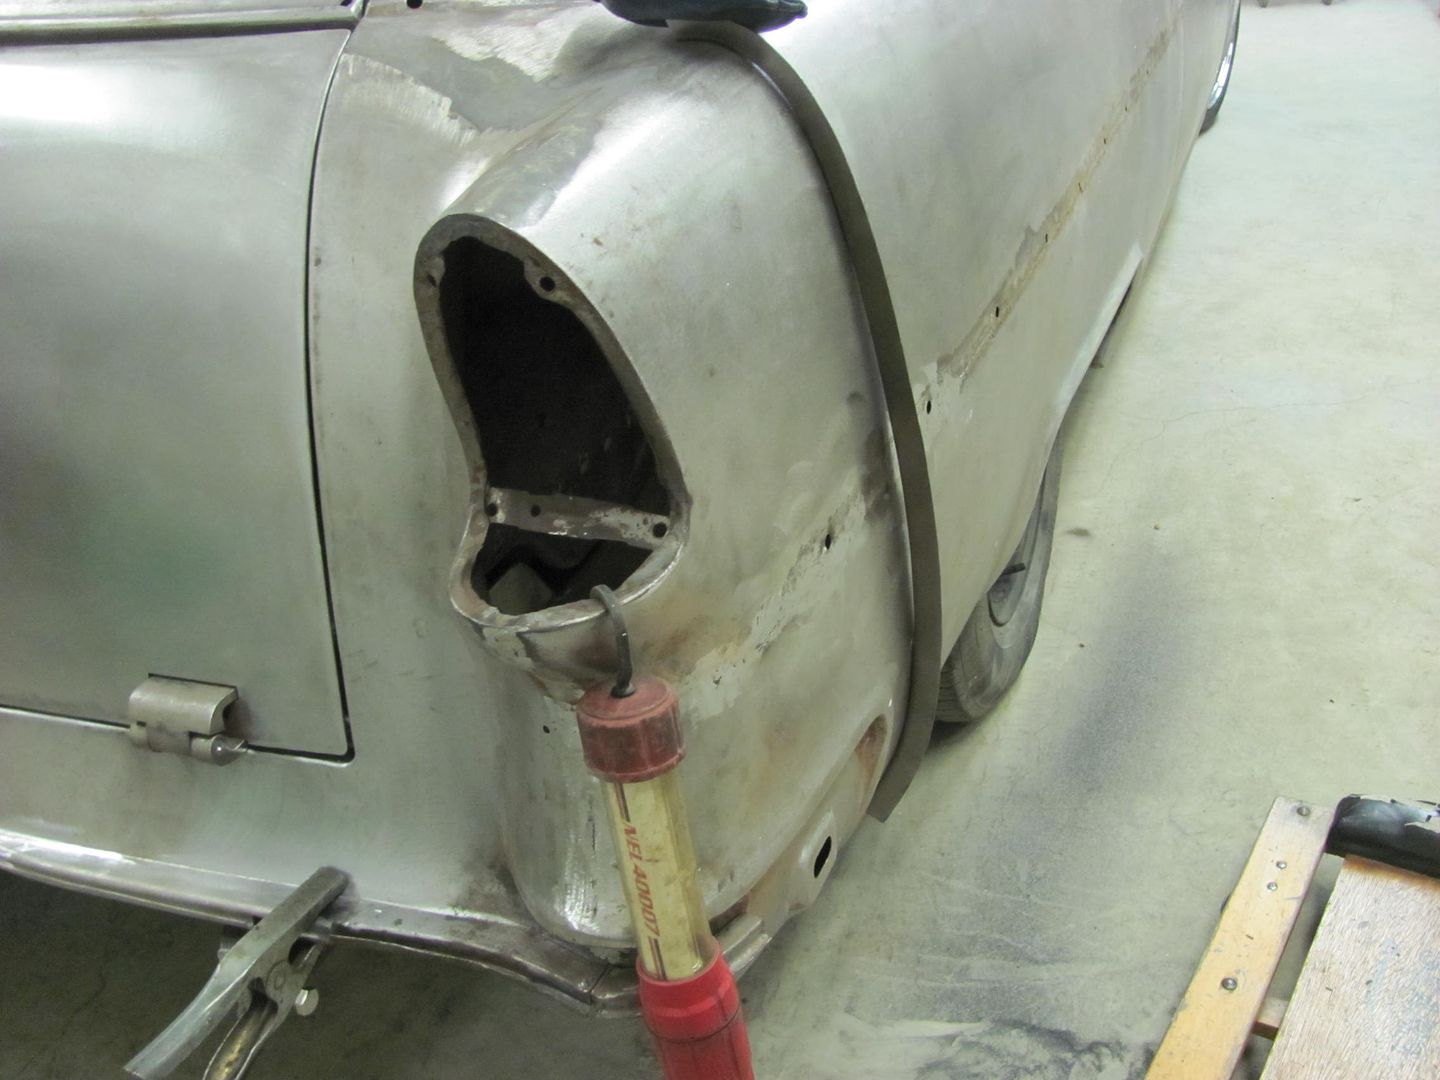
Time to finish this part up....
All cleaned up....


Comment