Announcement

Collapse
No announcement yet.

55 Wagon Progress

Collapse
X
 
  • Filter
  • Time
  • Show
Clear All
new posts

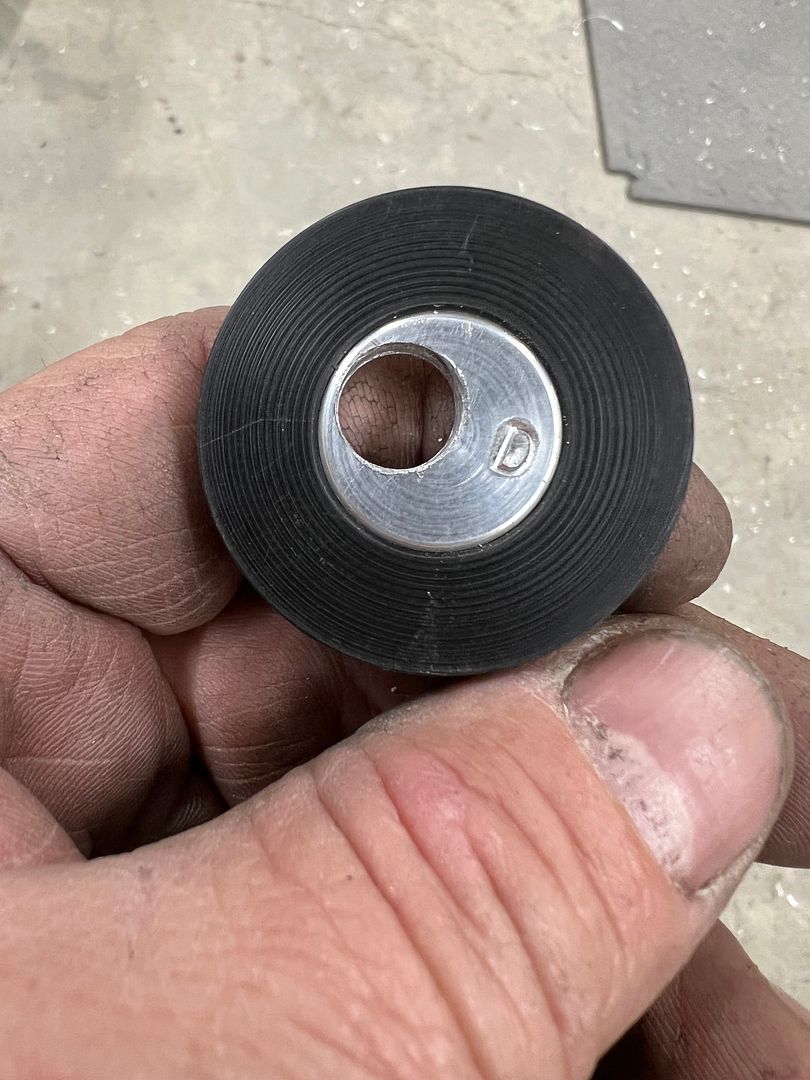
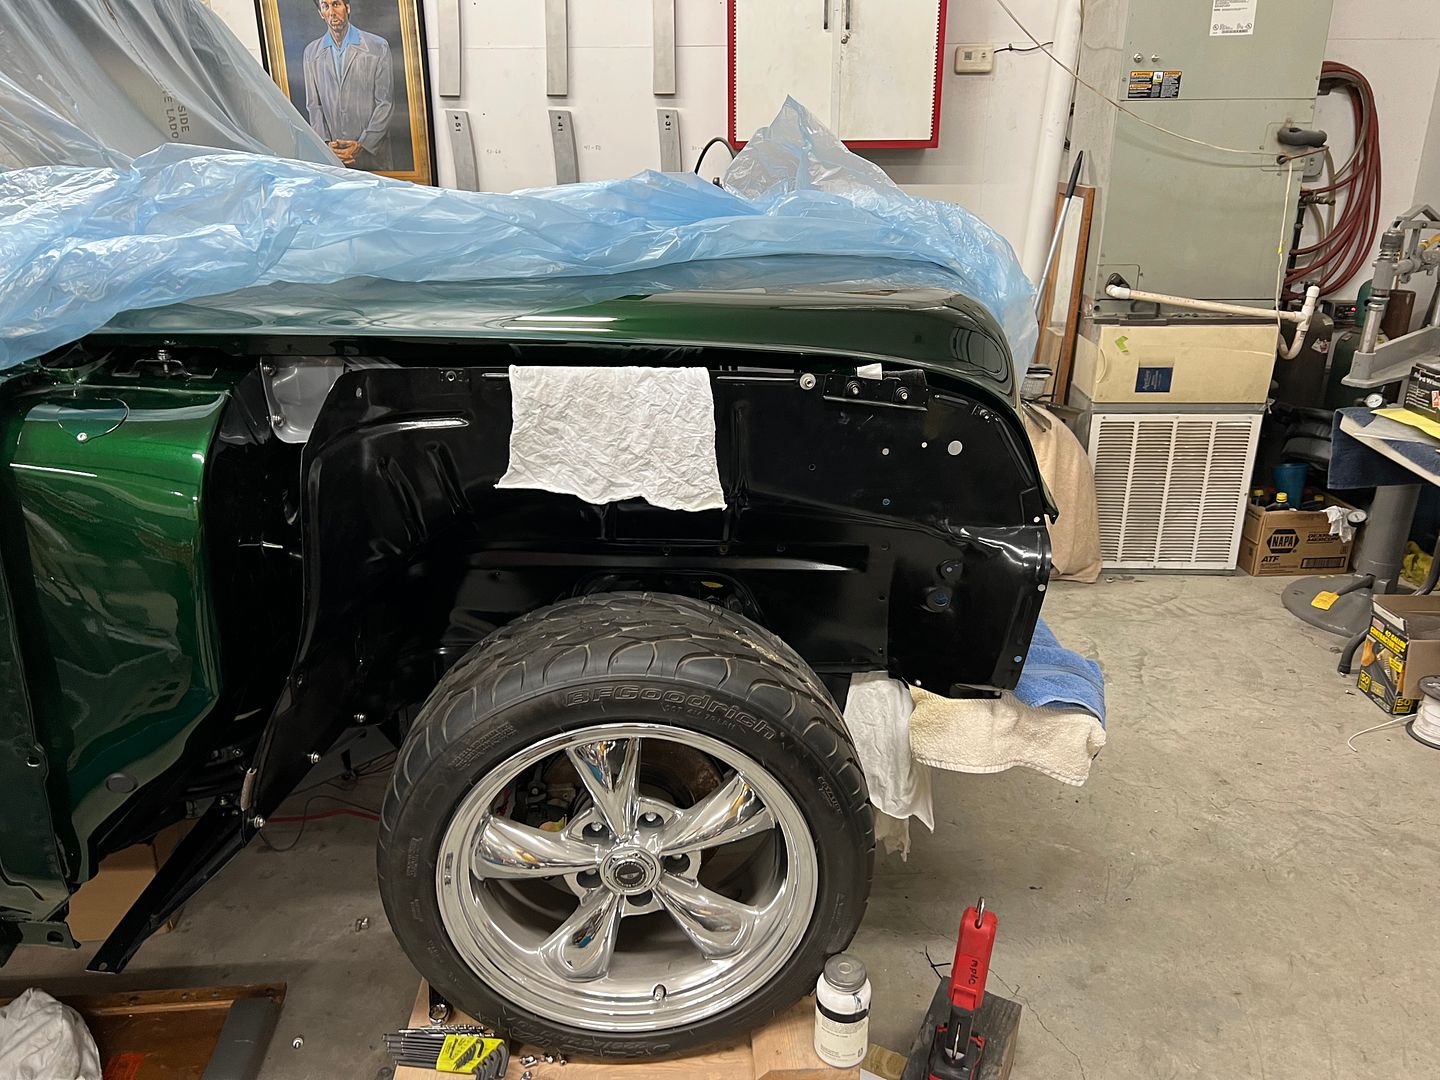
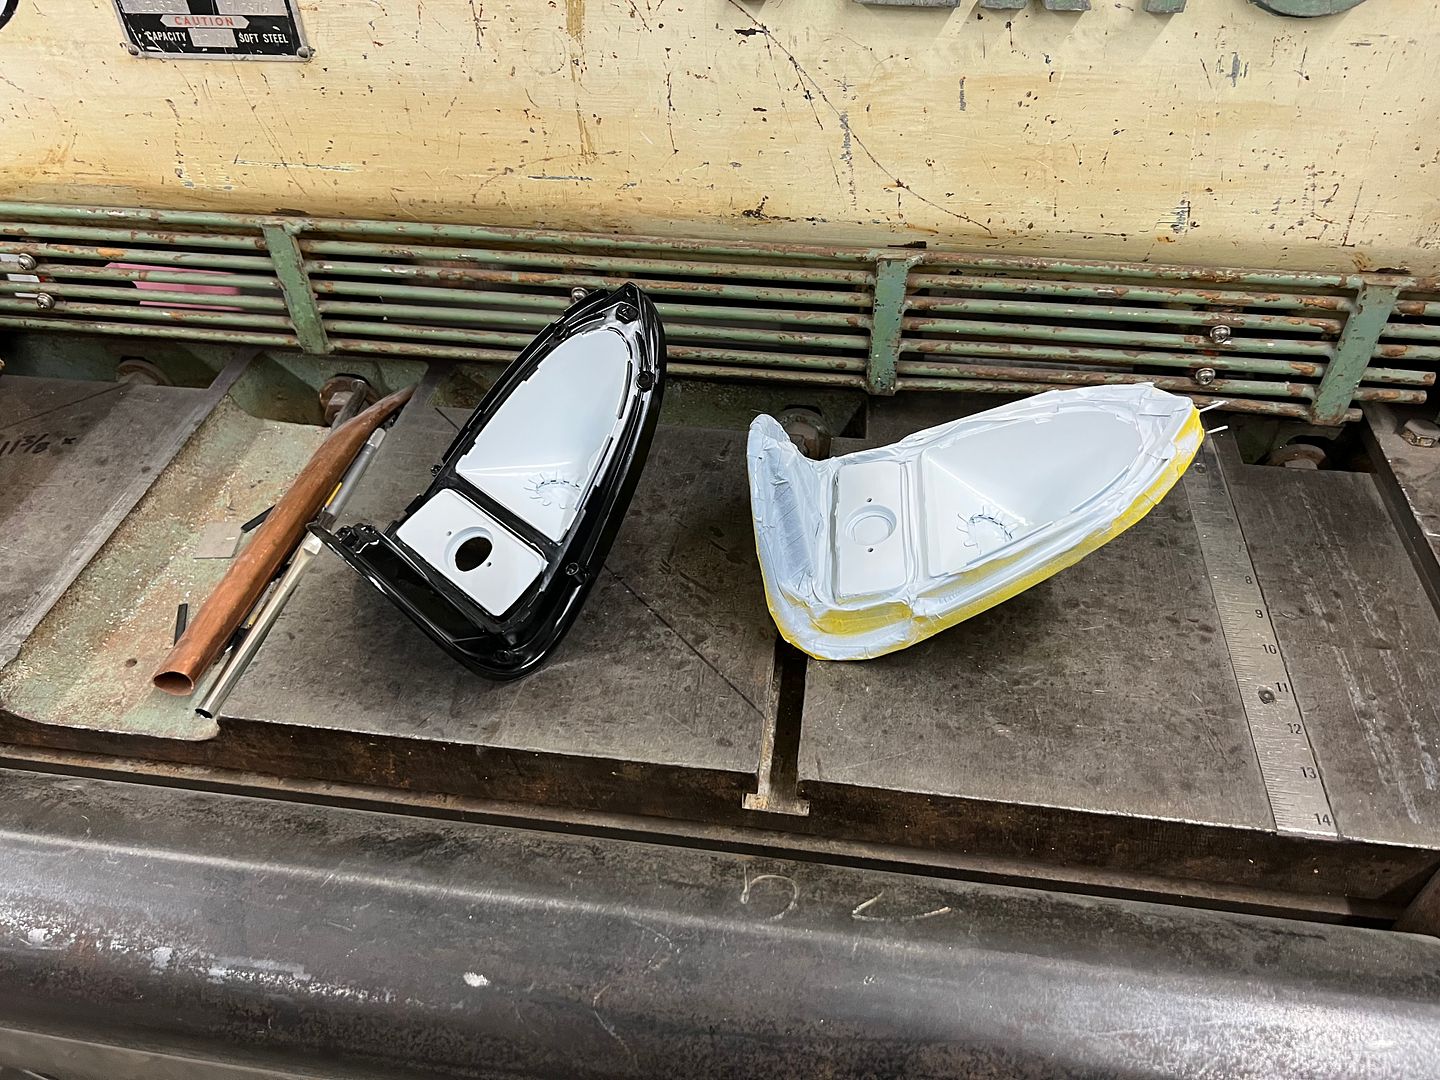
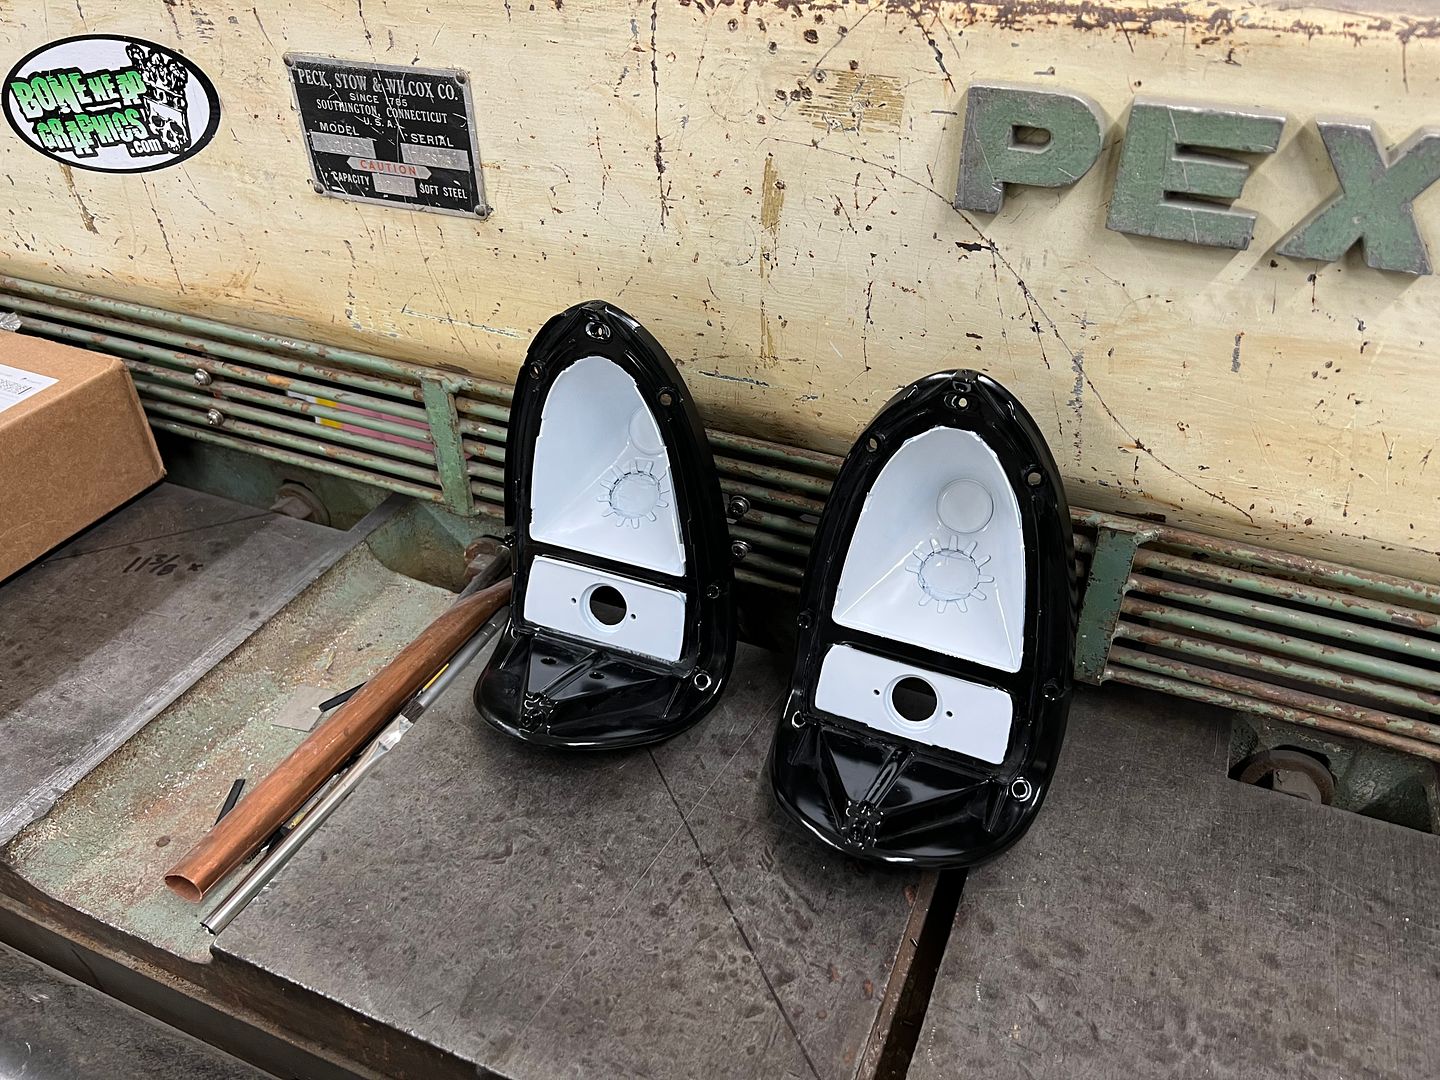
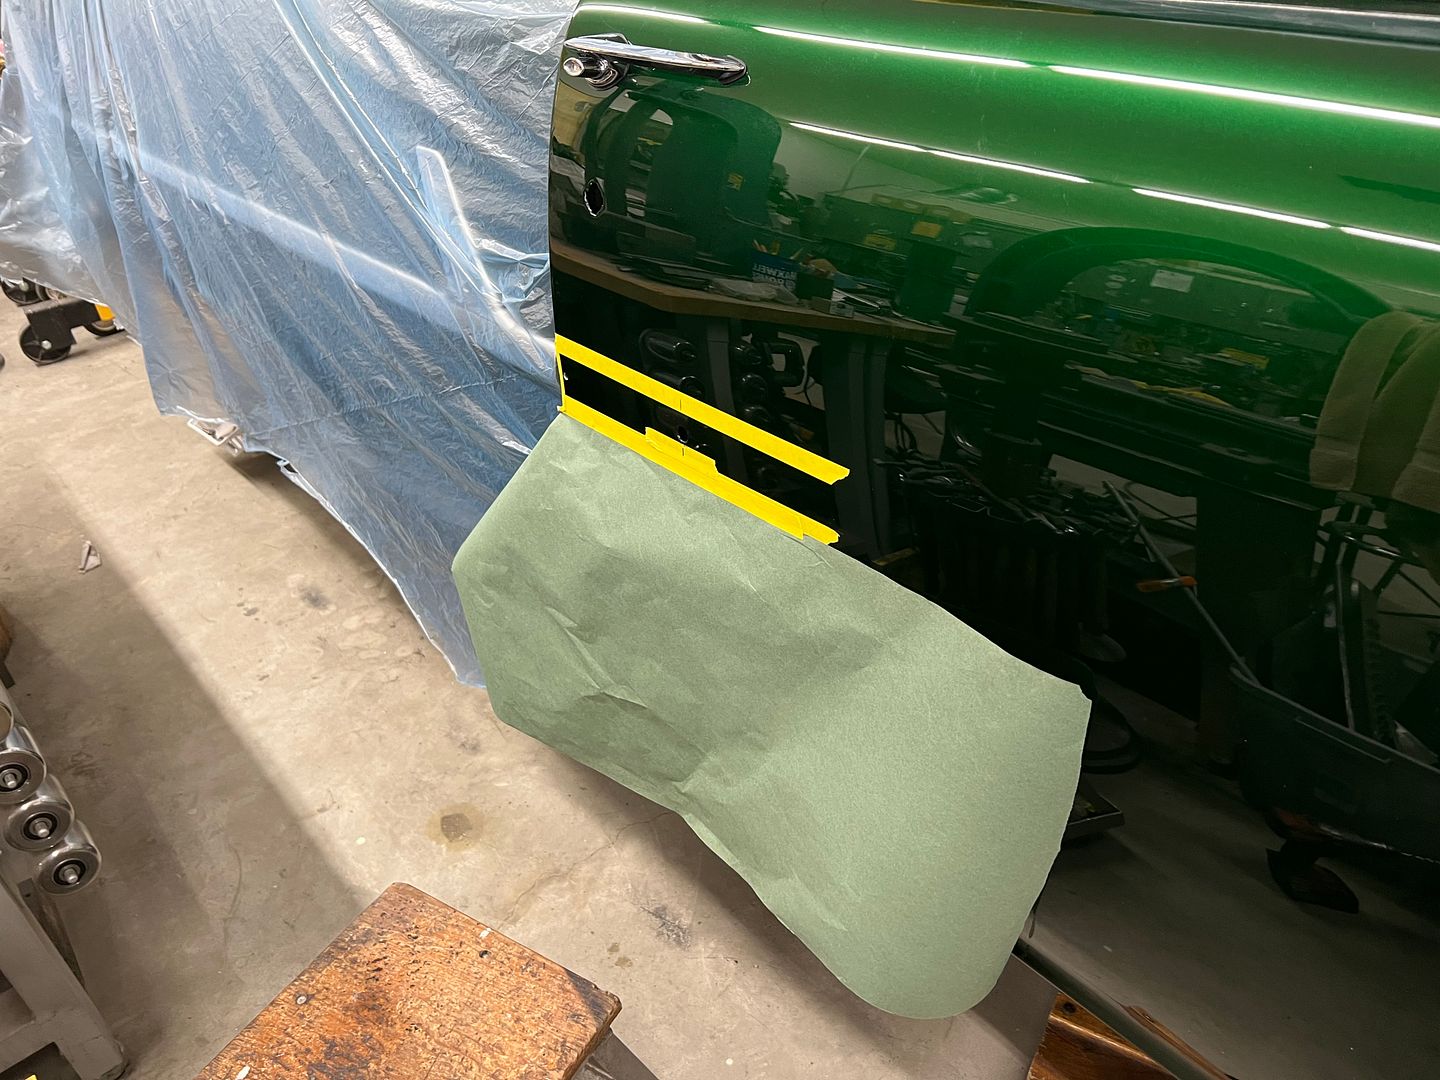
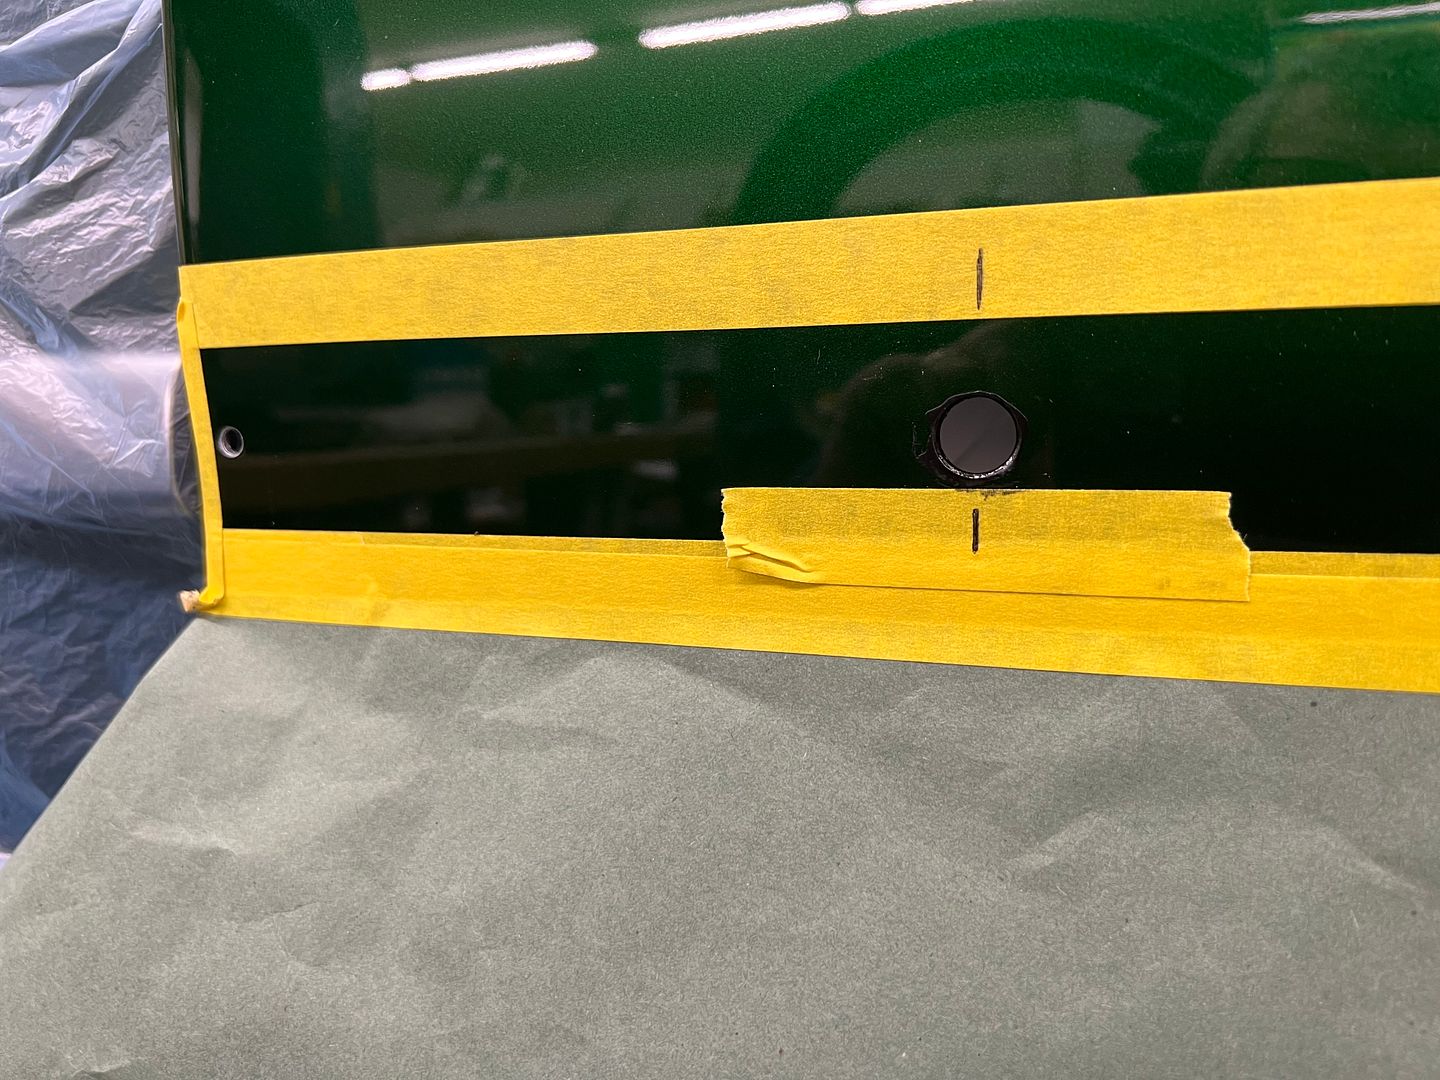
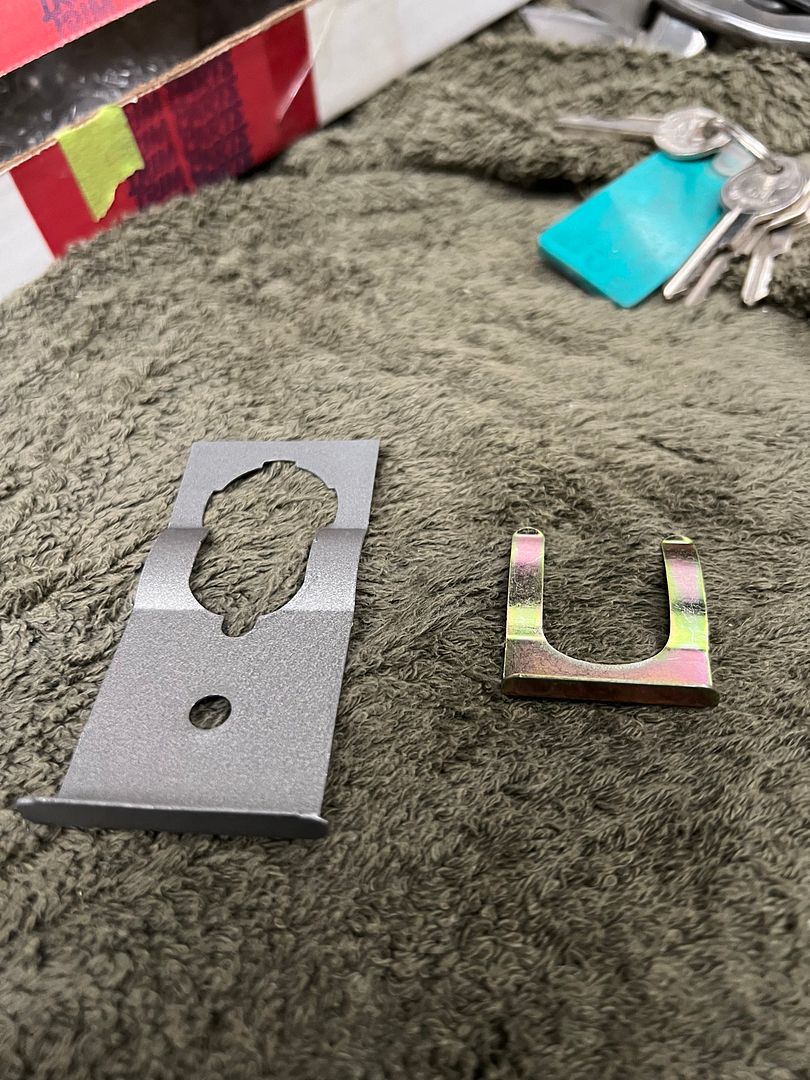
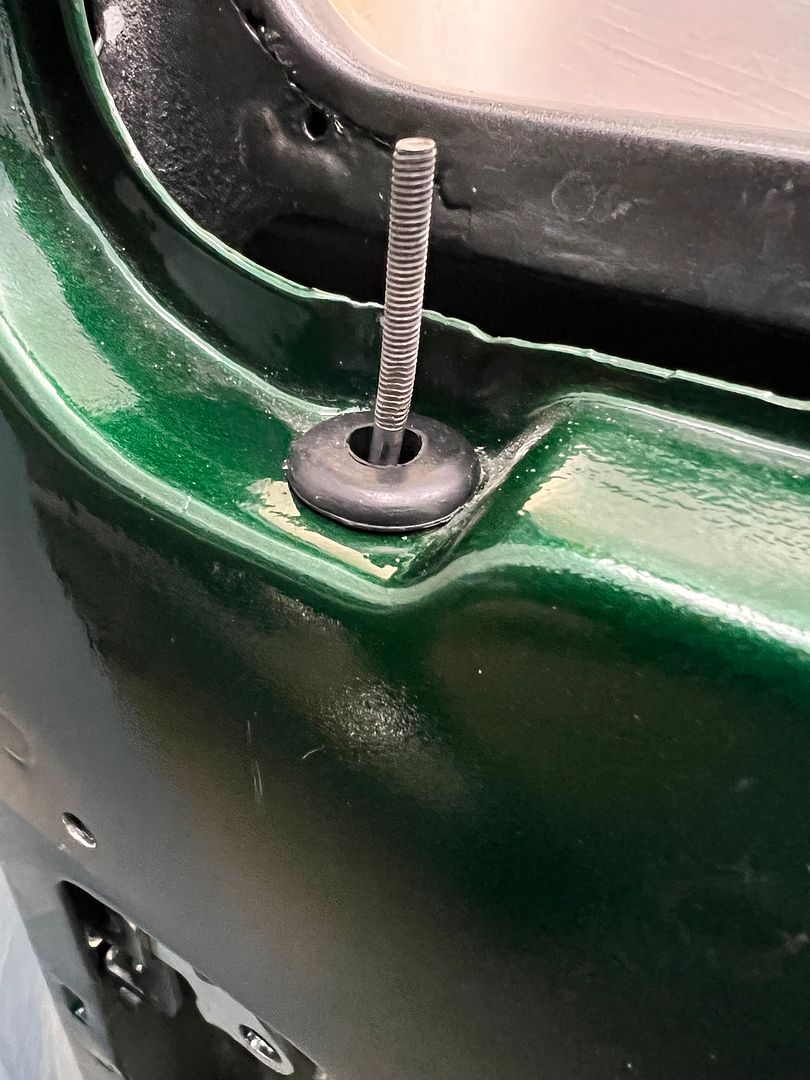
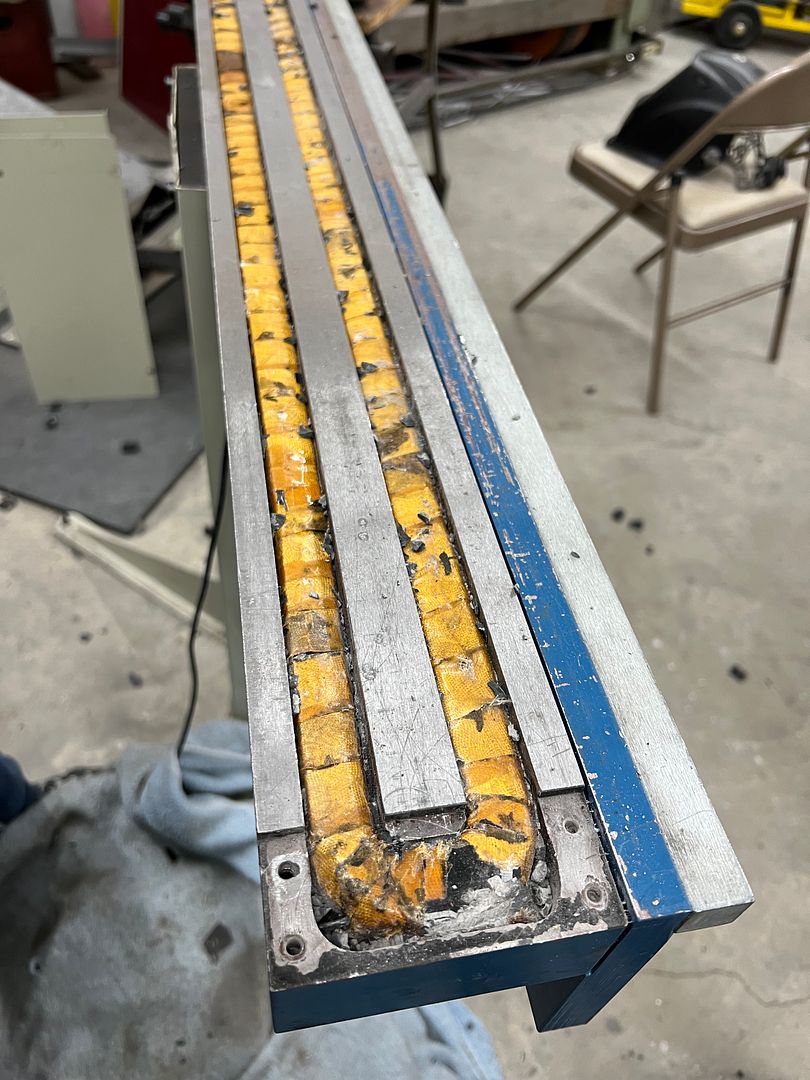
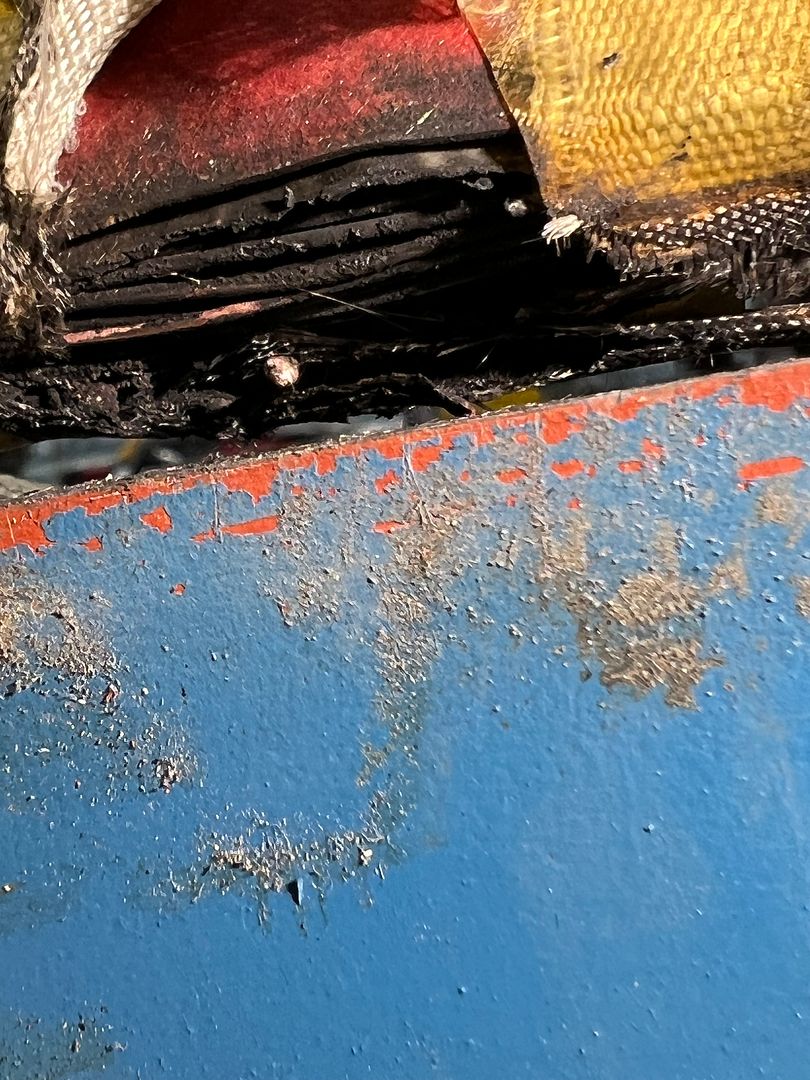
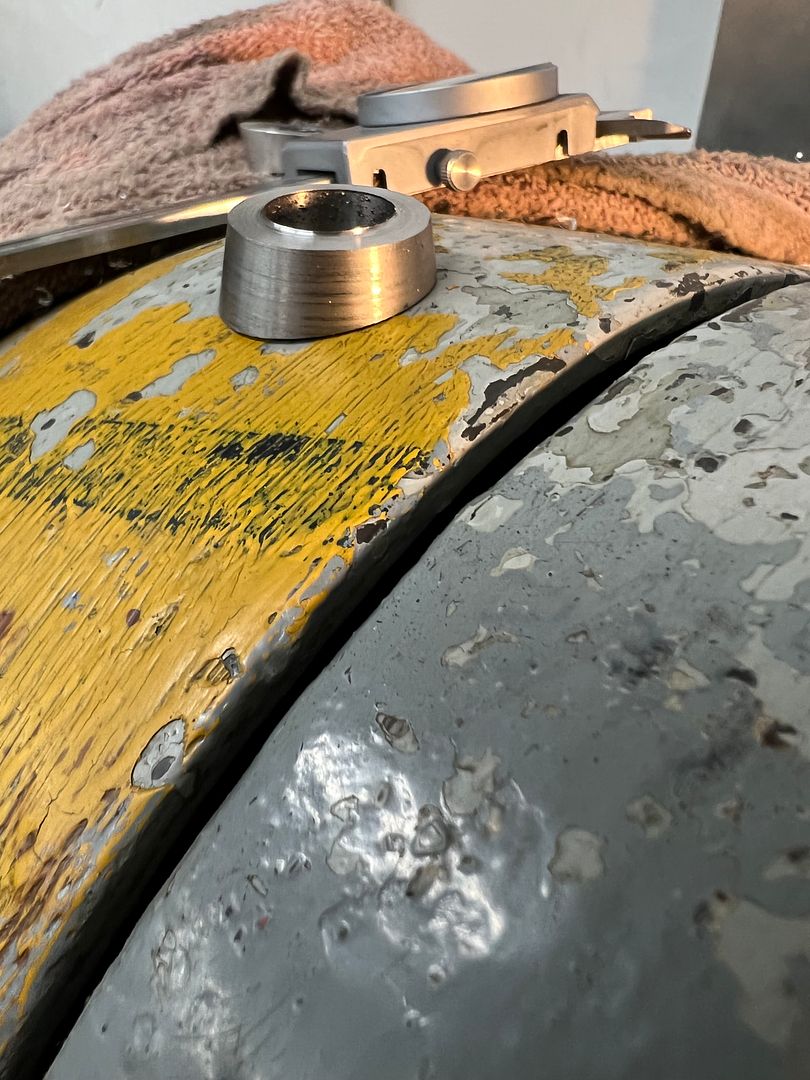
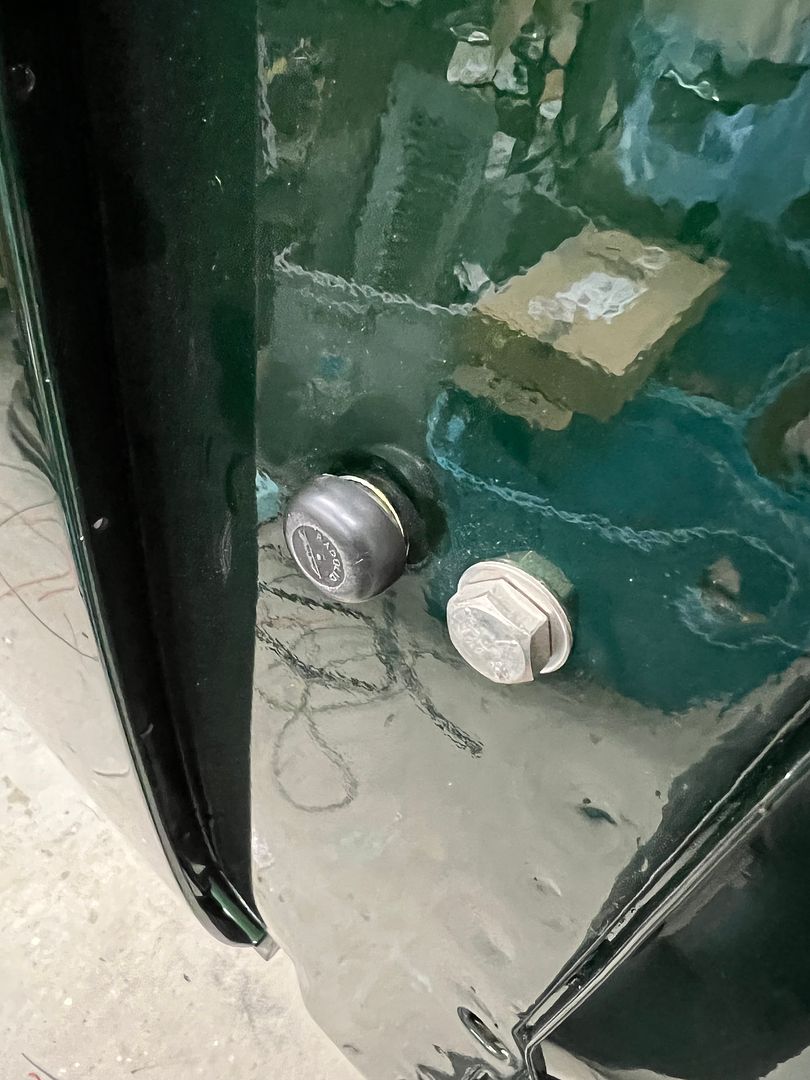
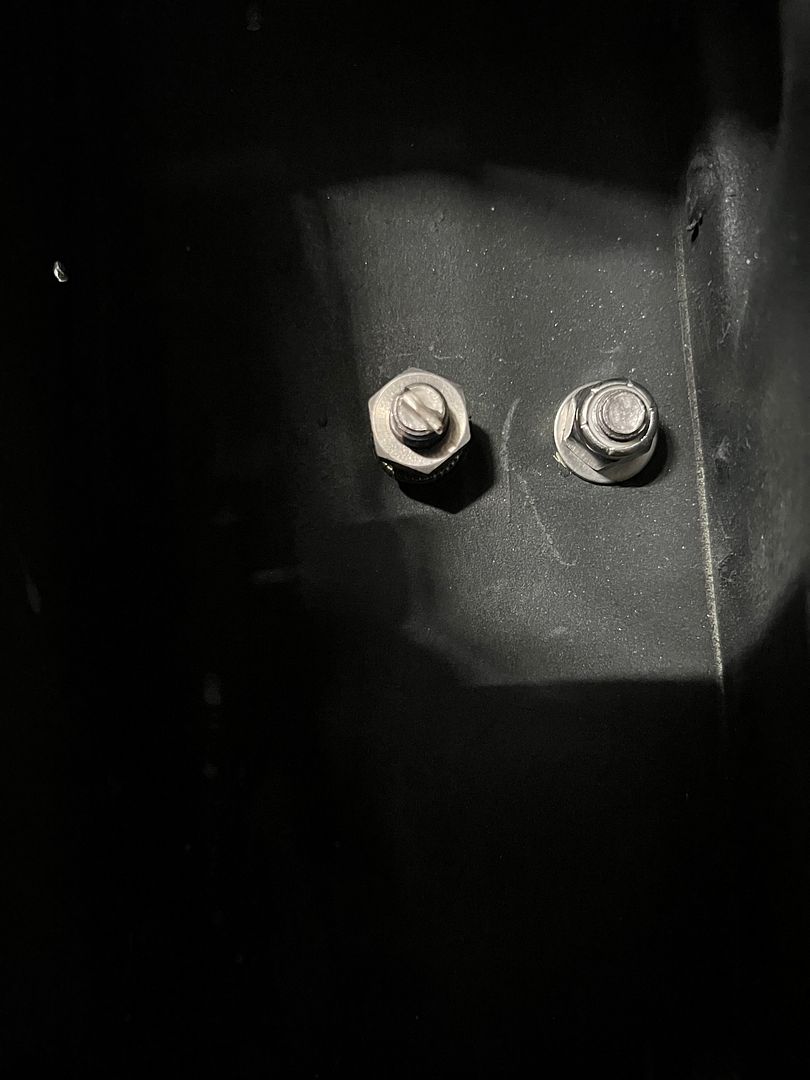
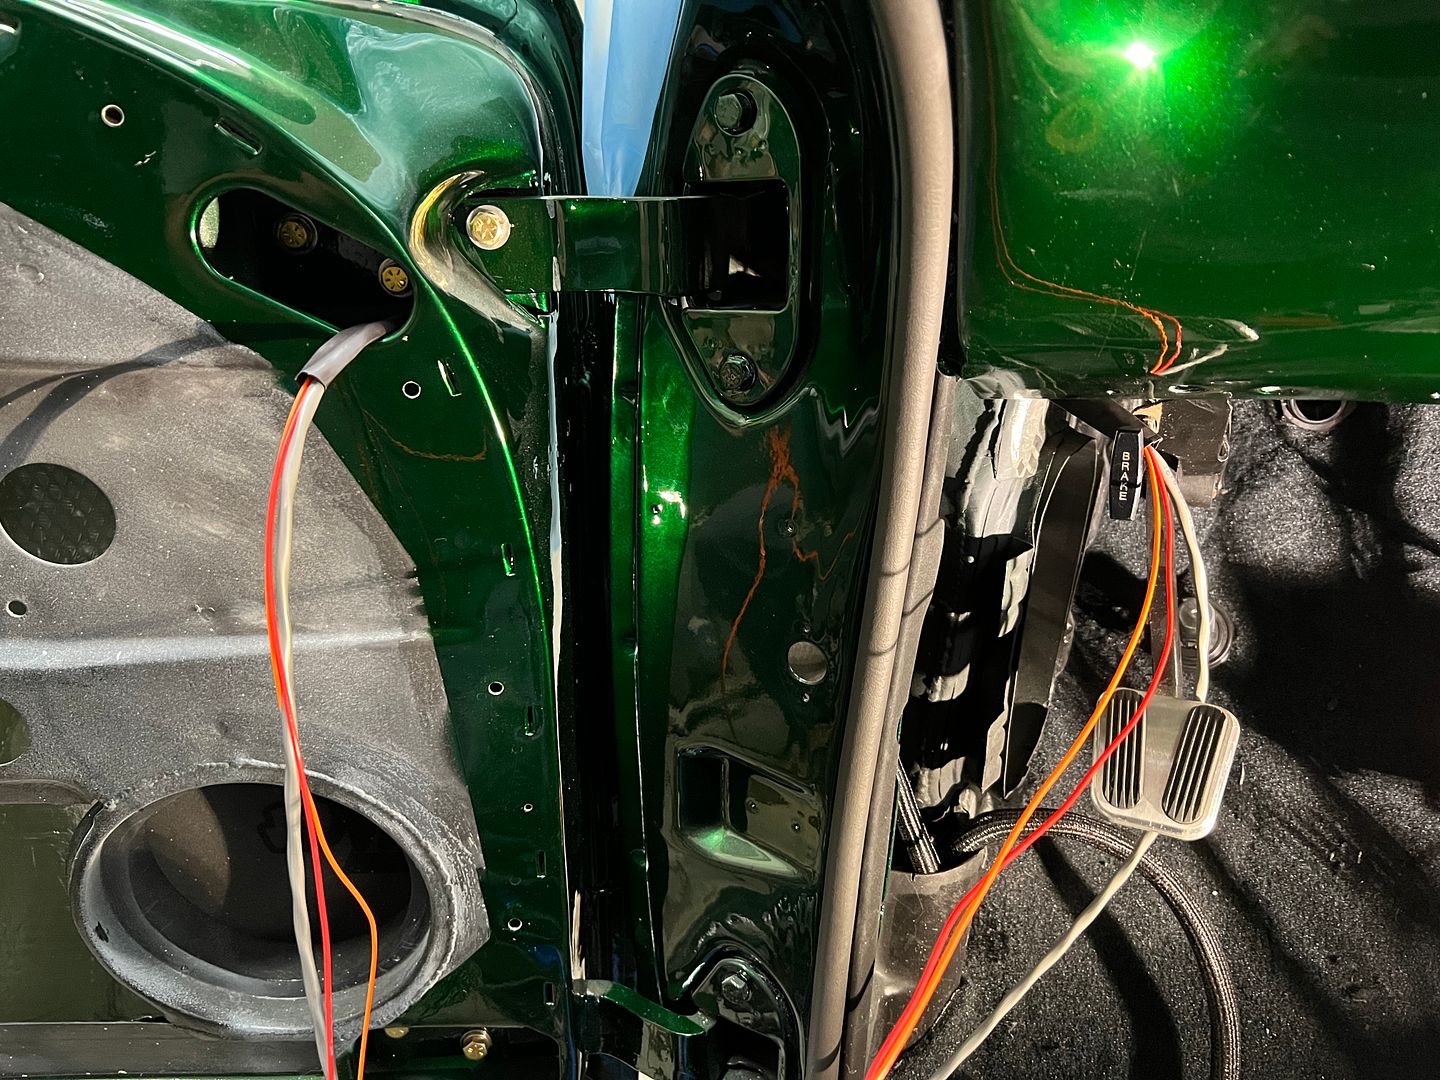
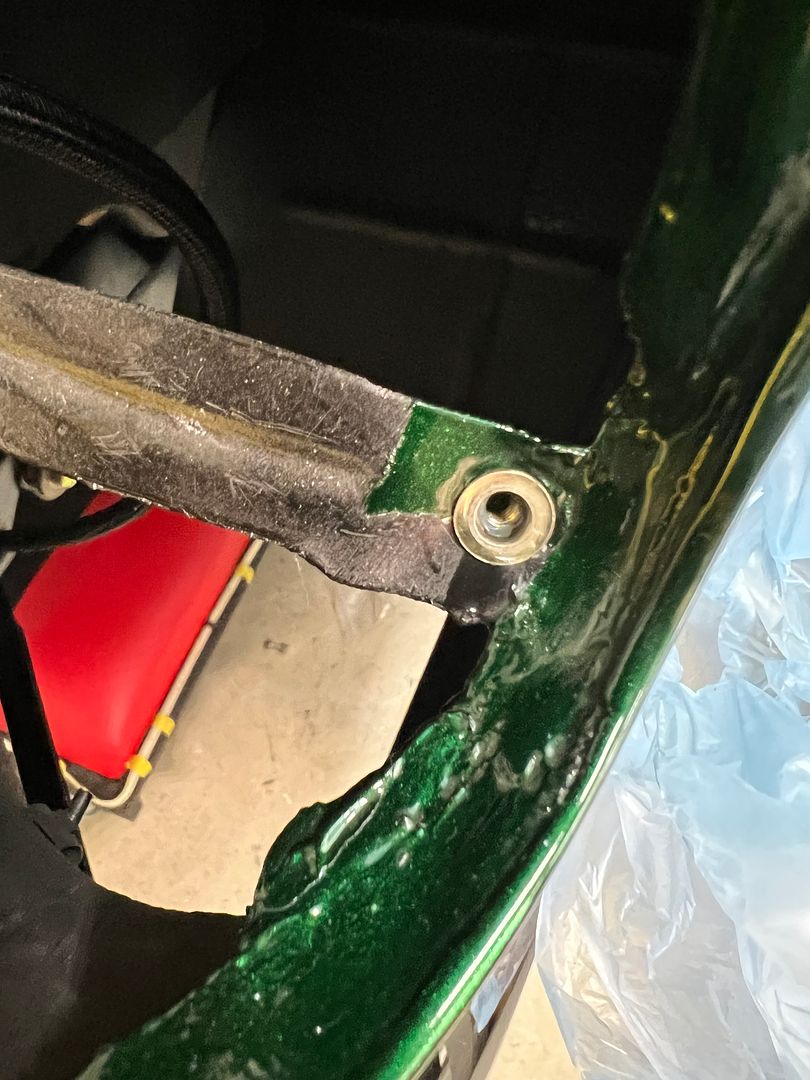
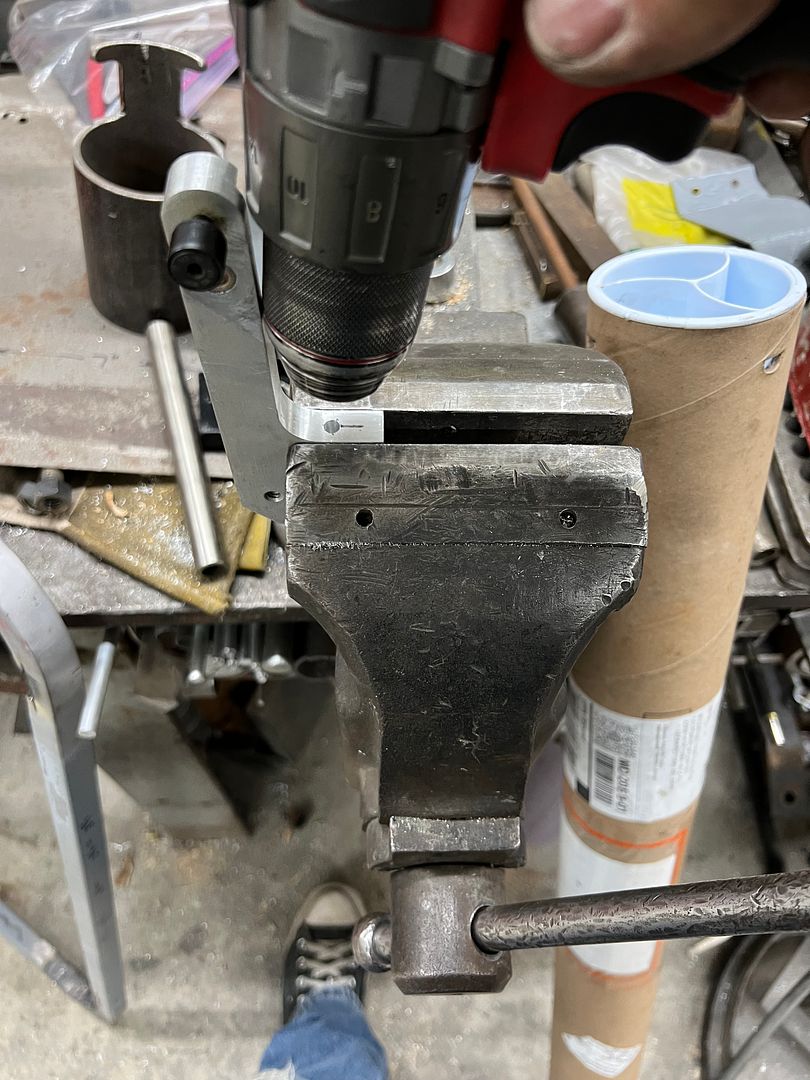
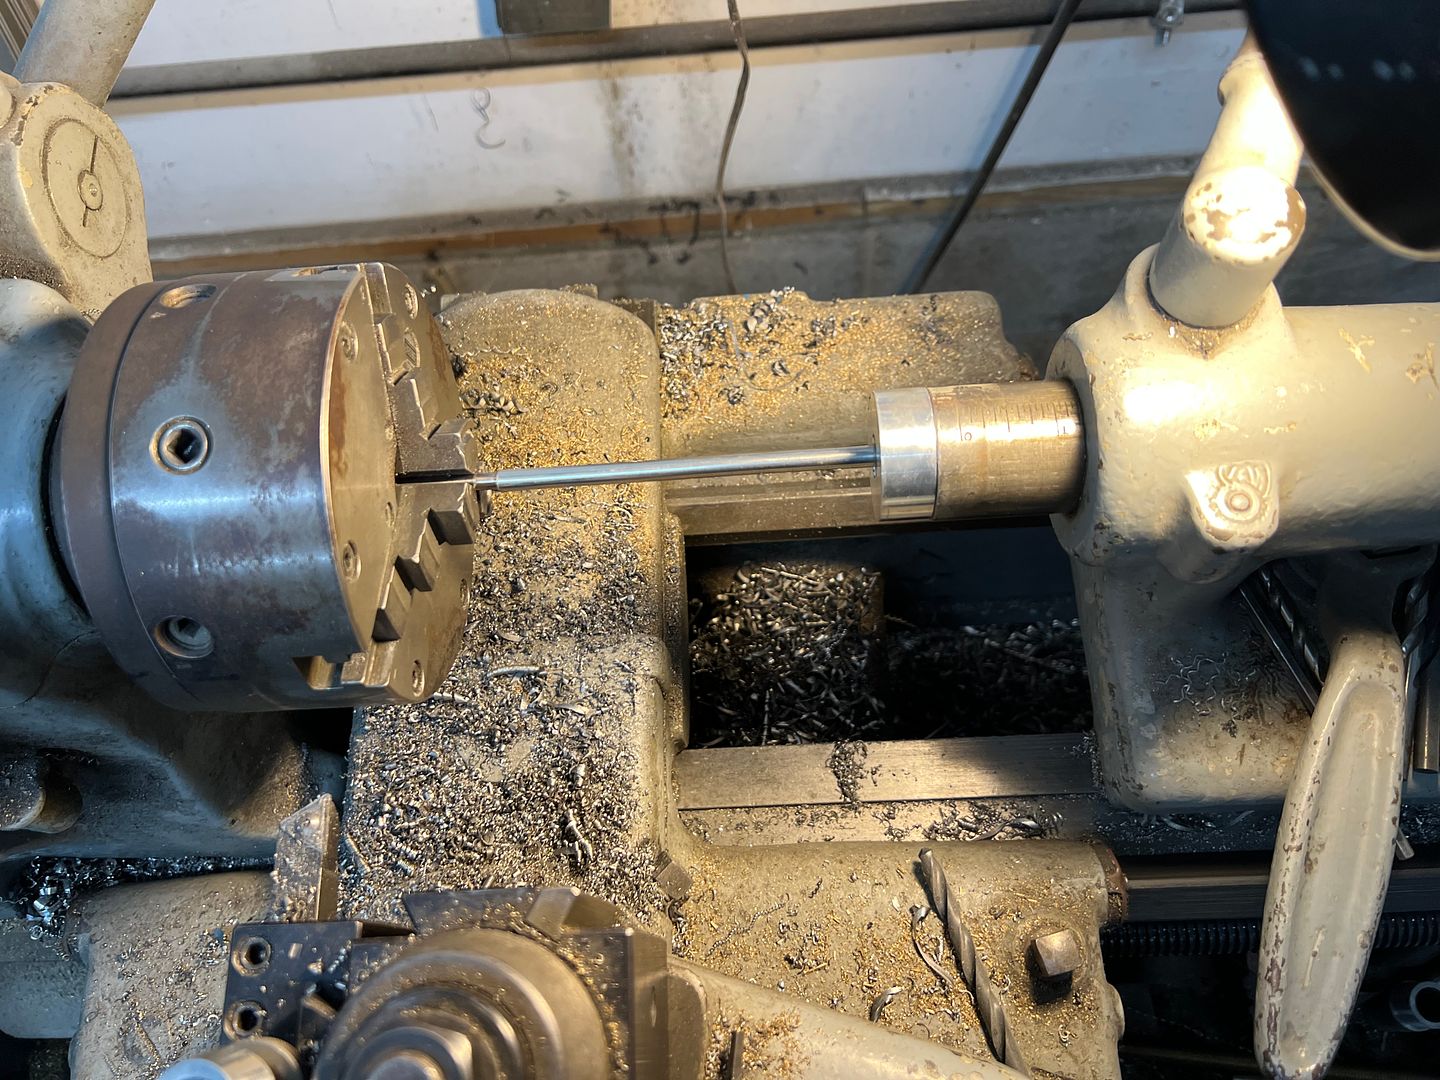
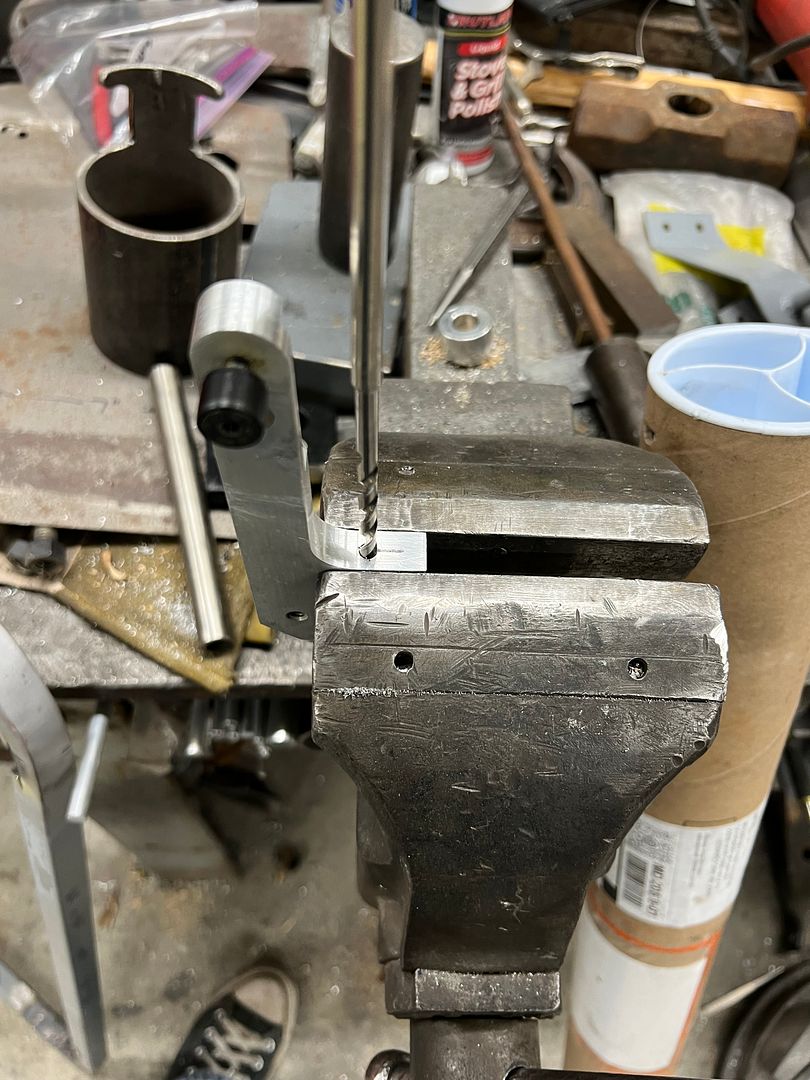
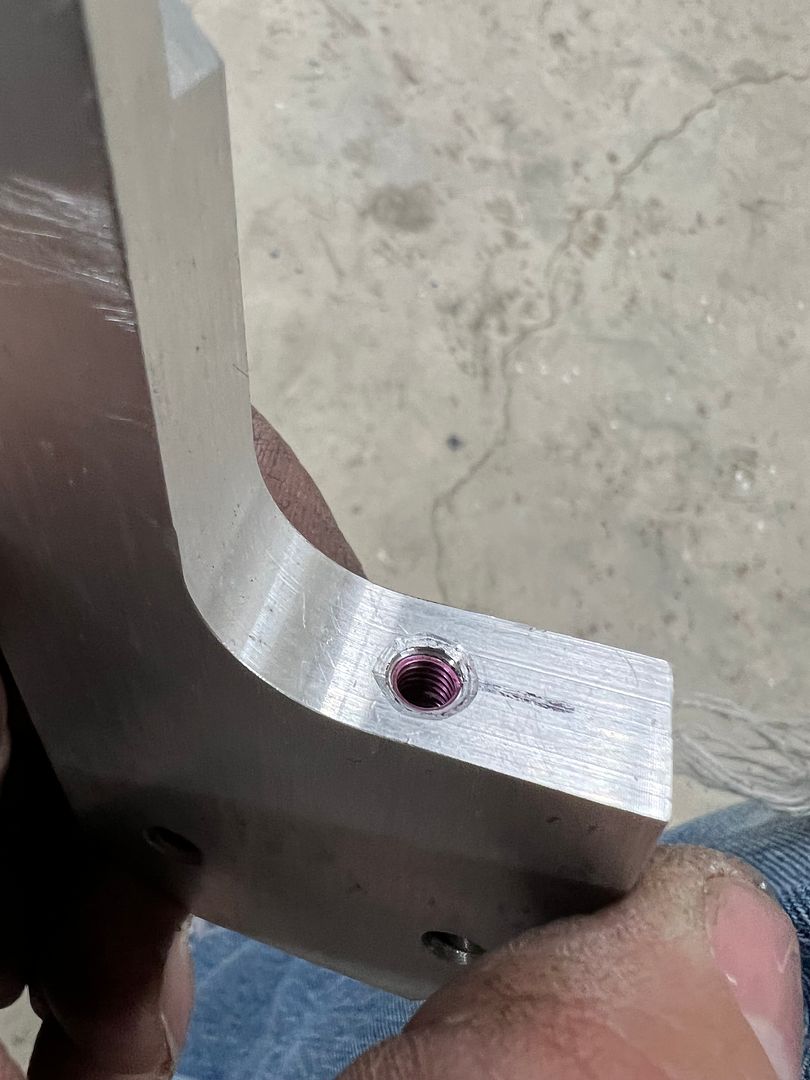
  • Before we could install the rear bumper we needed to install the rear bumper seal, this keeps exhaust fumes from sneaking through and getting sucked in the back tailgate. The seal sits in a channel which is then "crimped" with some rounded pliers. Only my rounded pliers did not work, we needed parallel jaw pliers. So these channel locks were modified by adding the round stock. Only that did not hold well enough, so a dimpler was added to the bottom jaw, as shown...


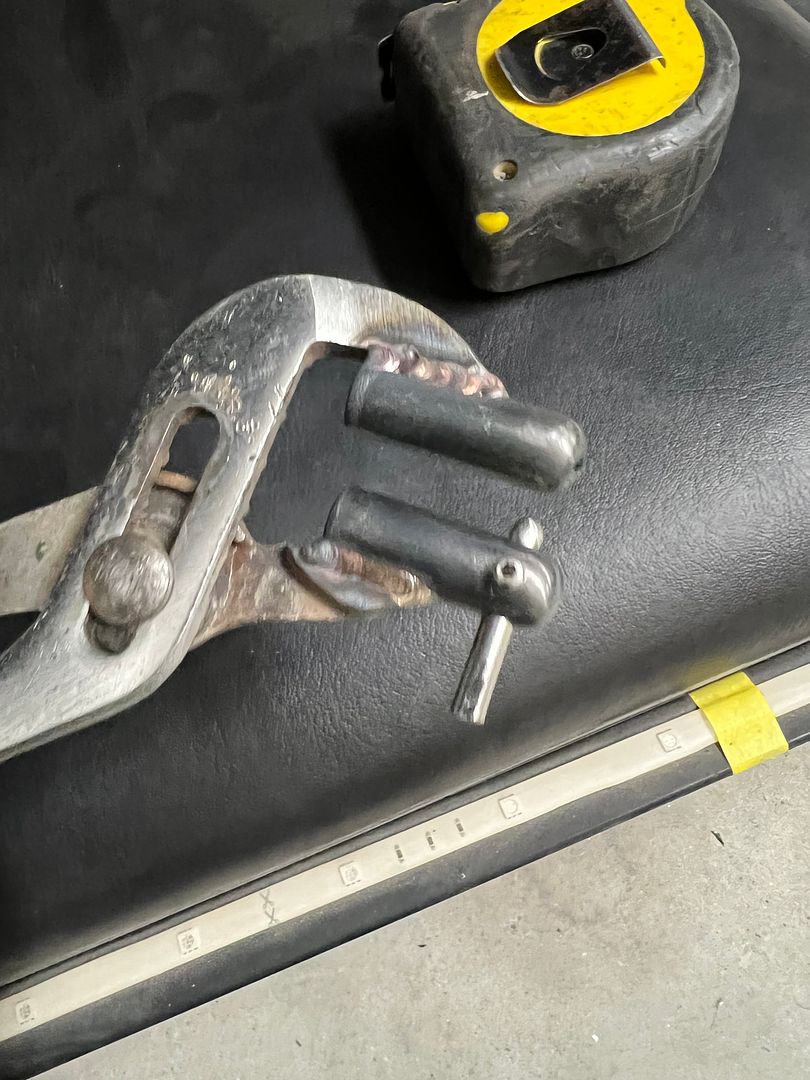
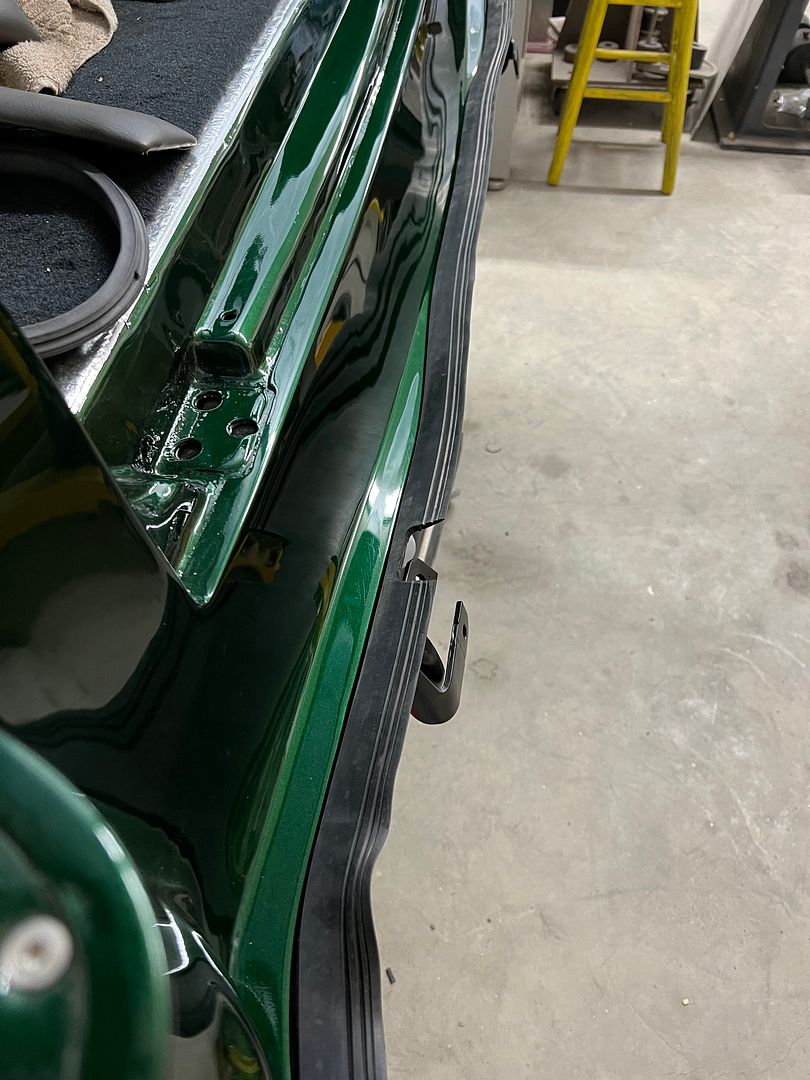
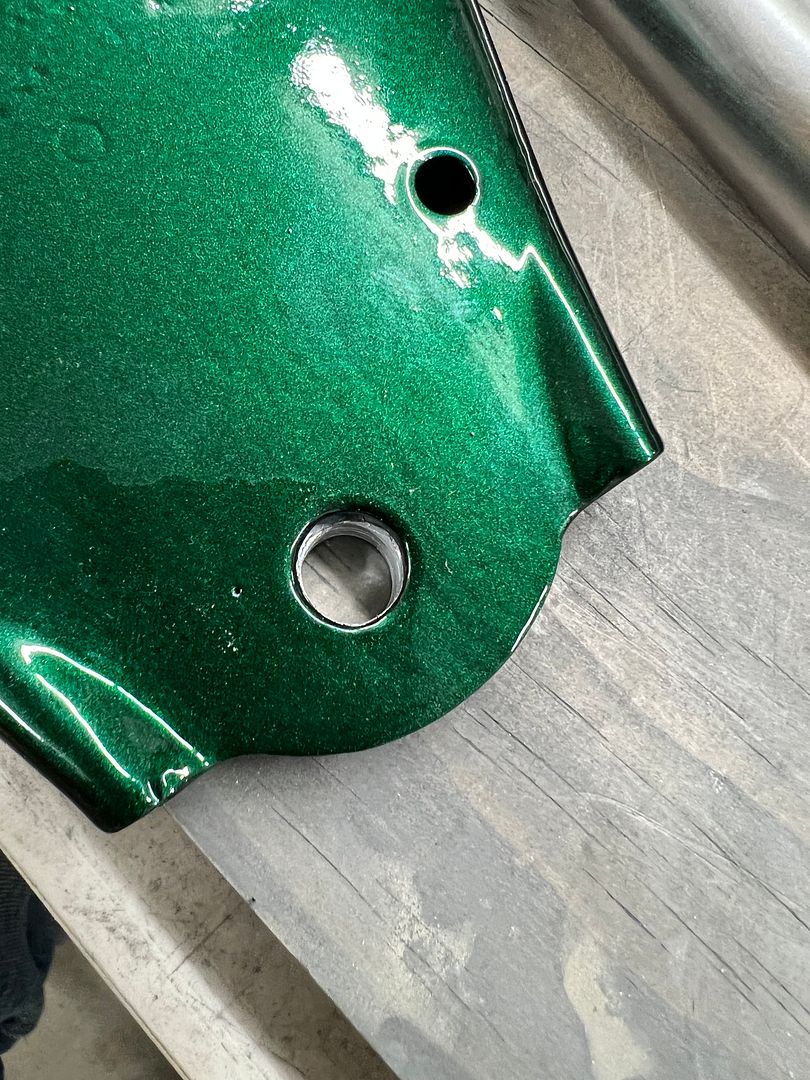
    These dimples gave us enough grip, and any chips were removed and then recoated with a couple coats of epoxy primer.


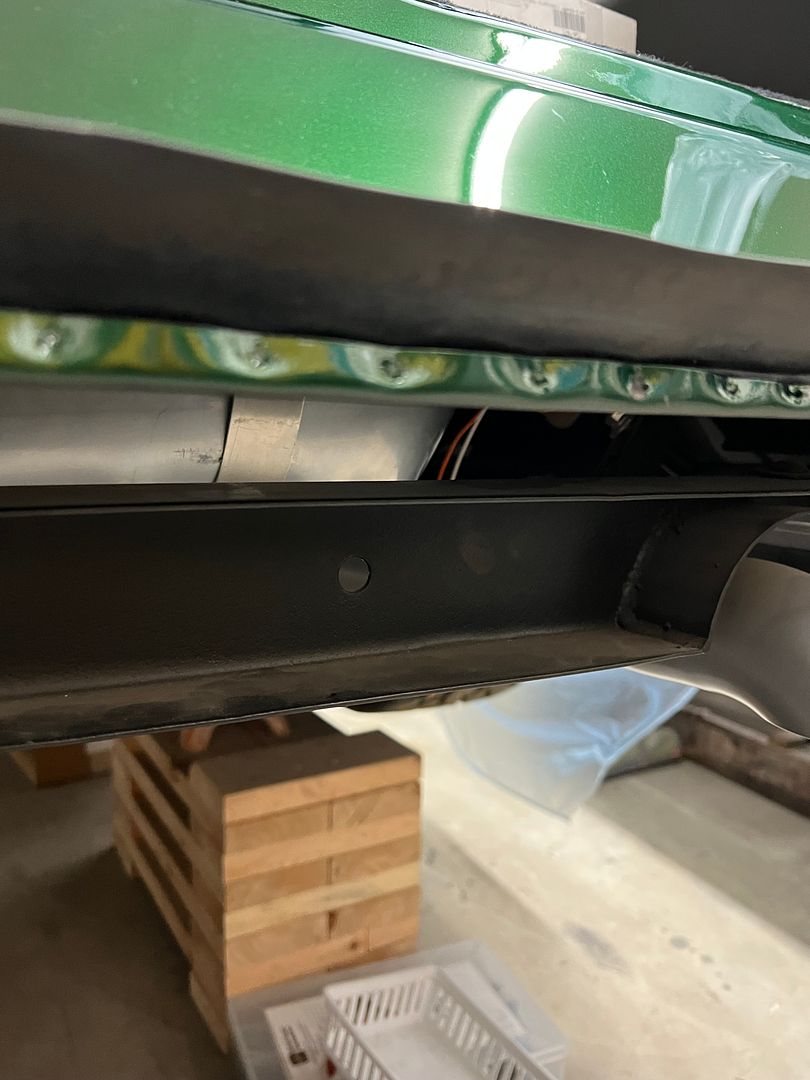
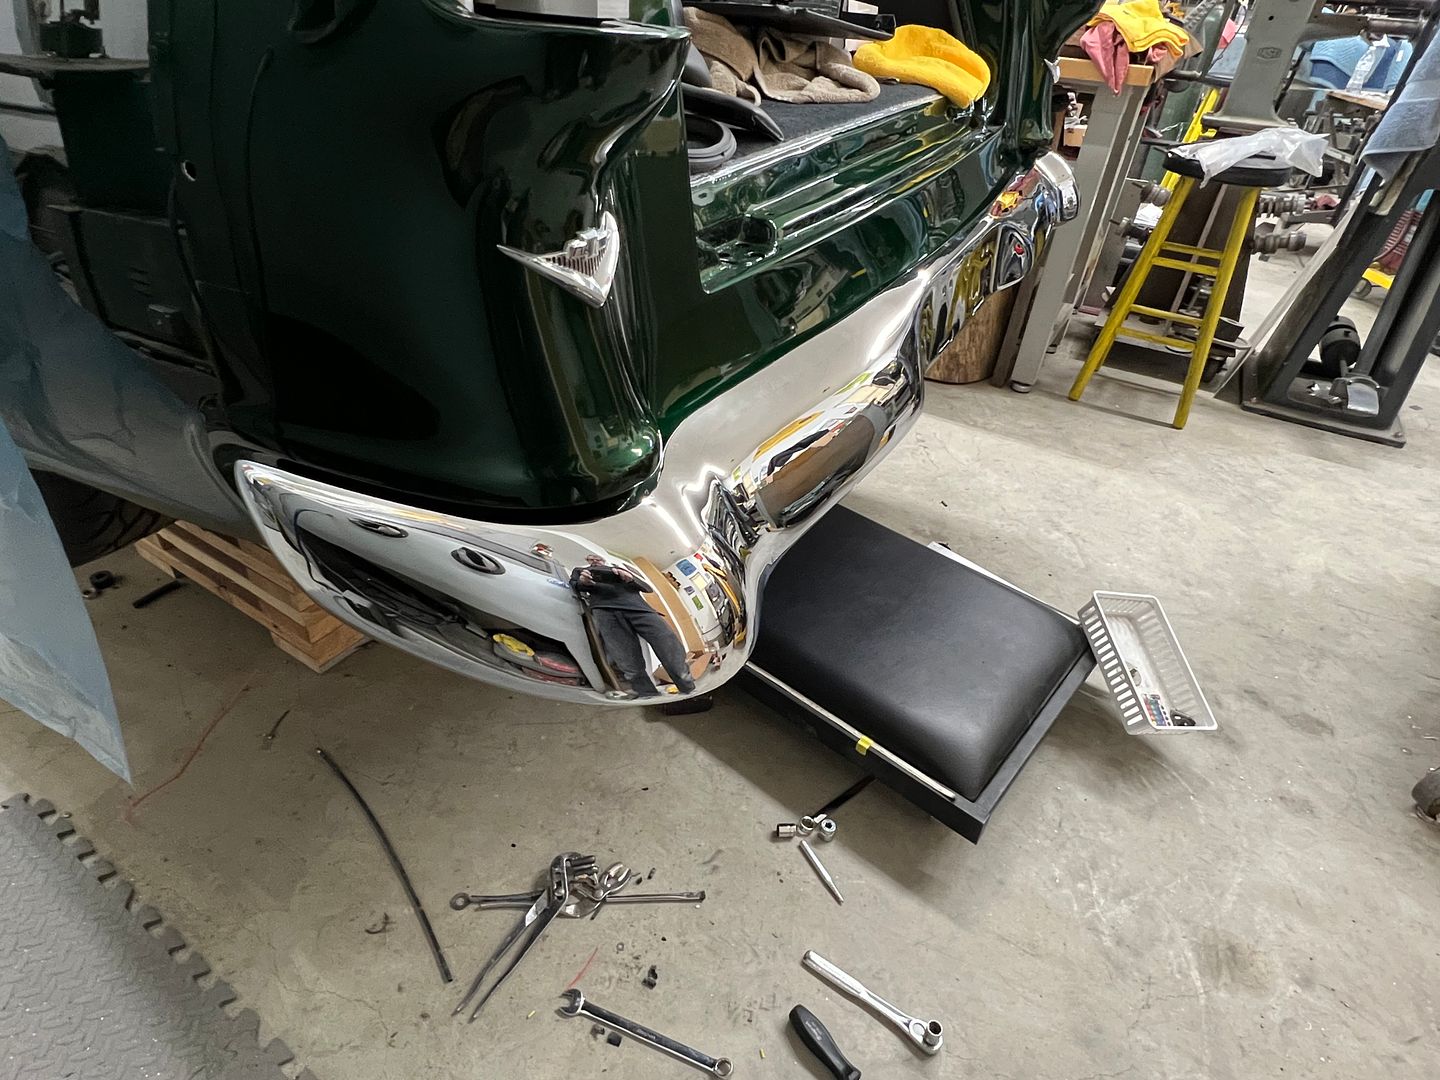
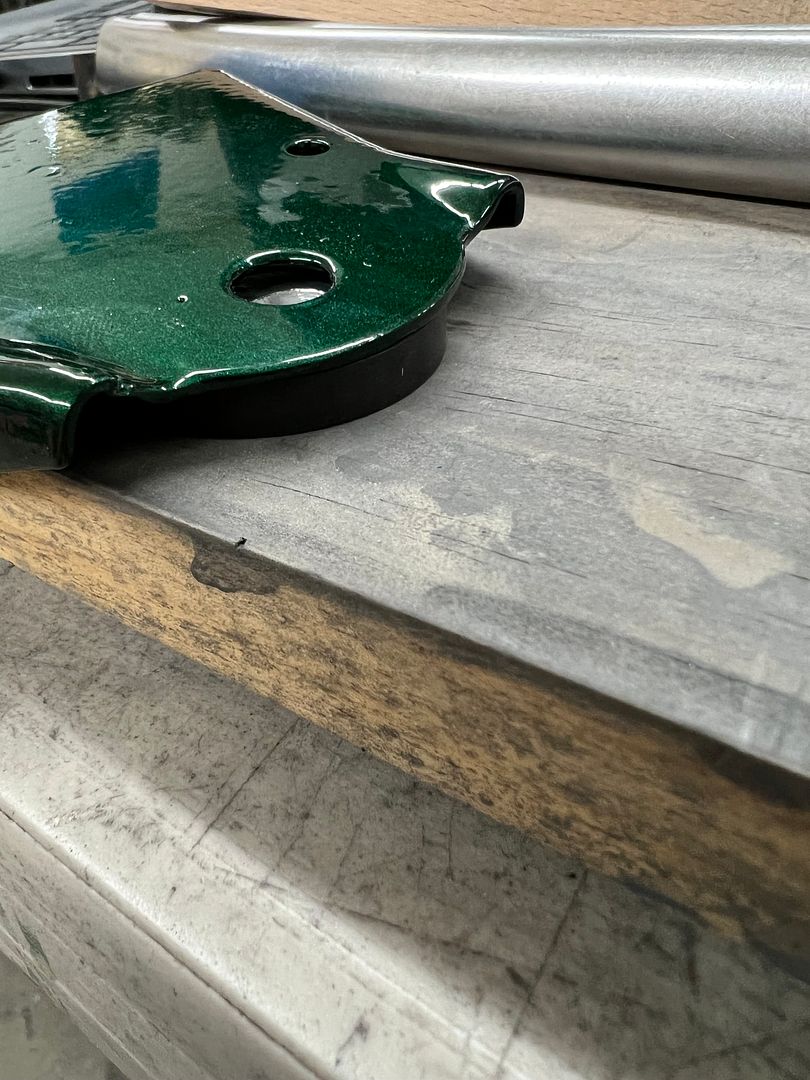
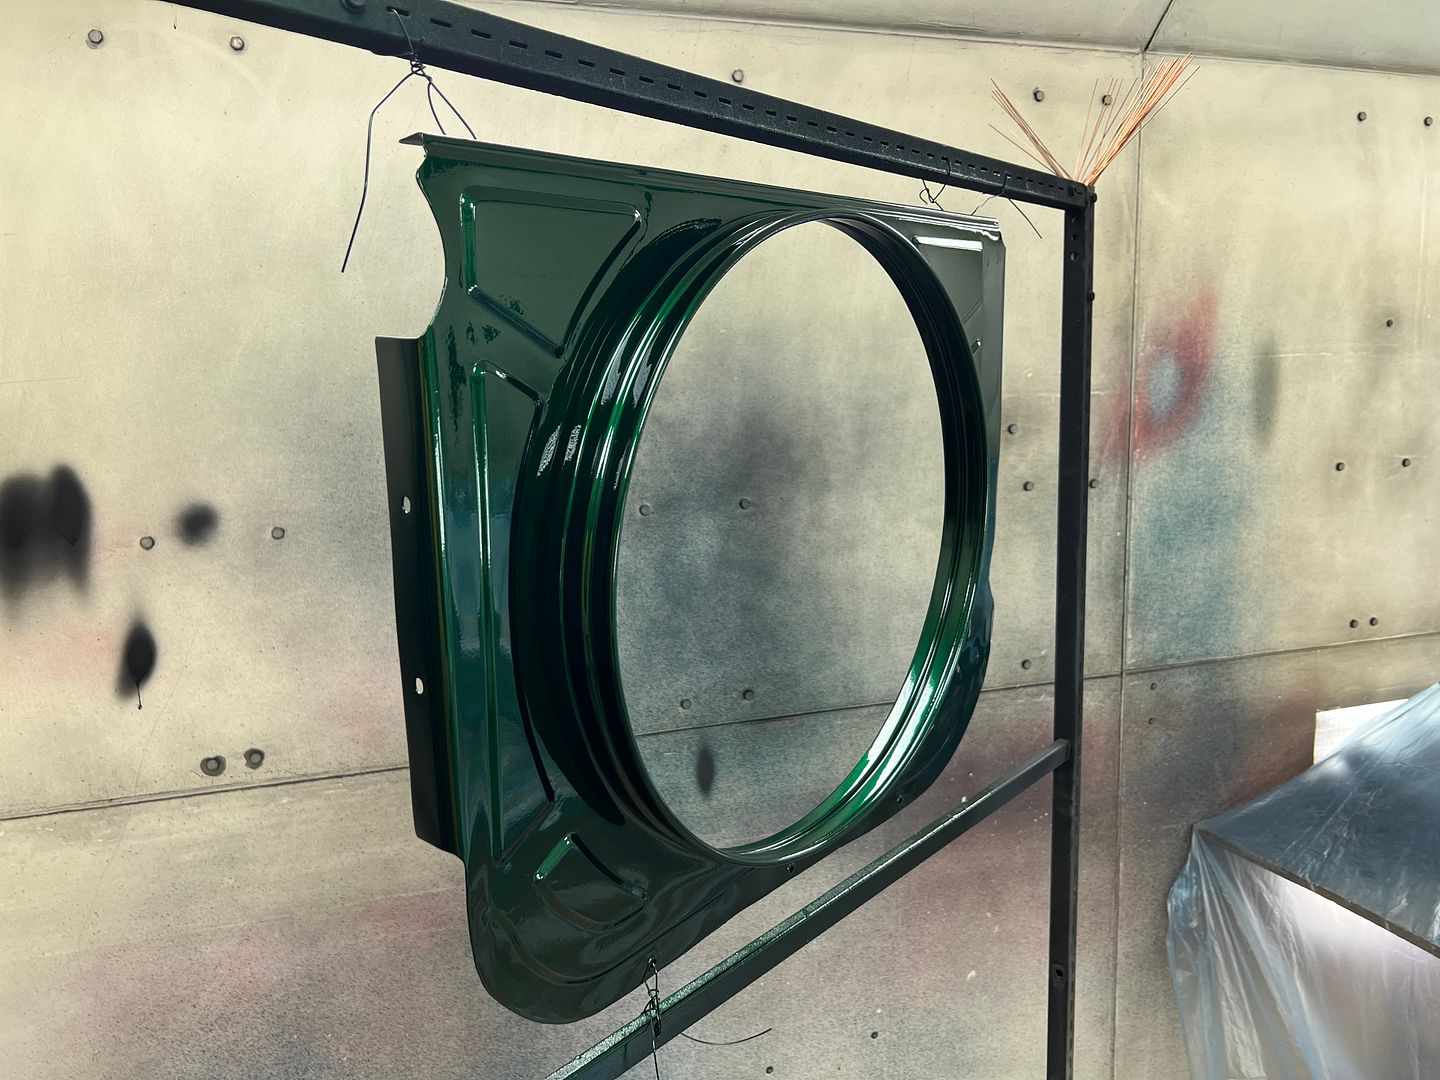
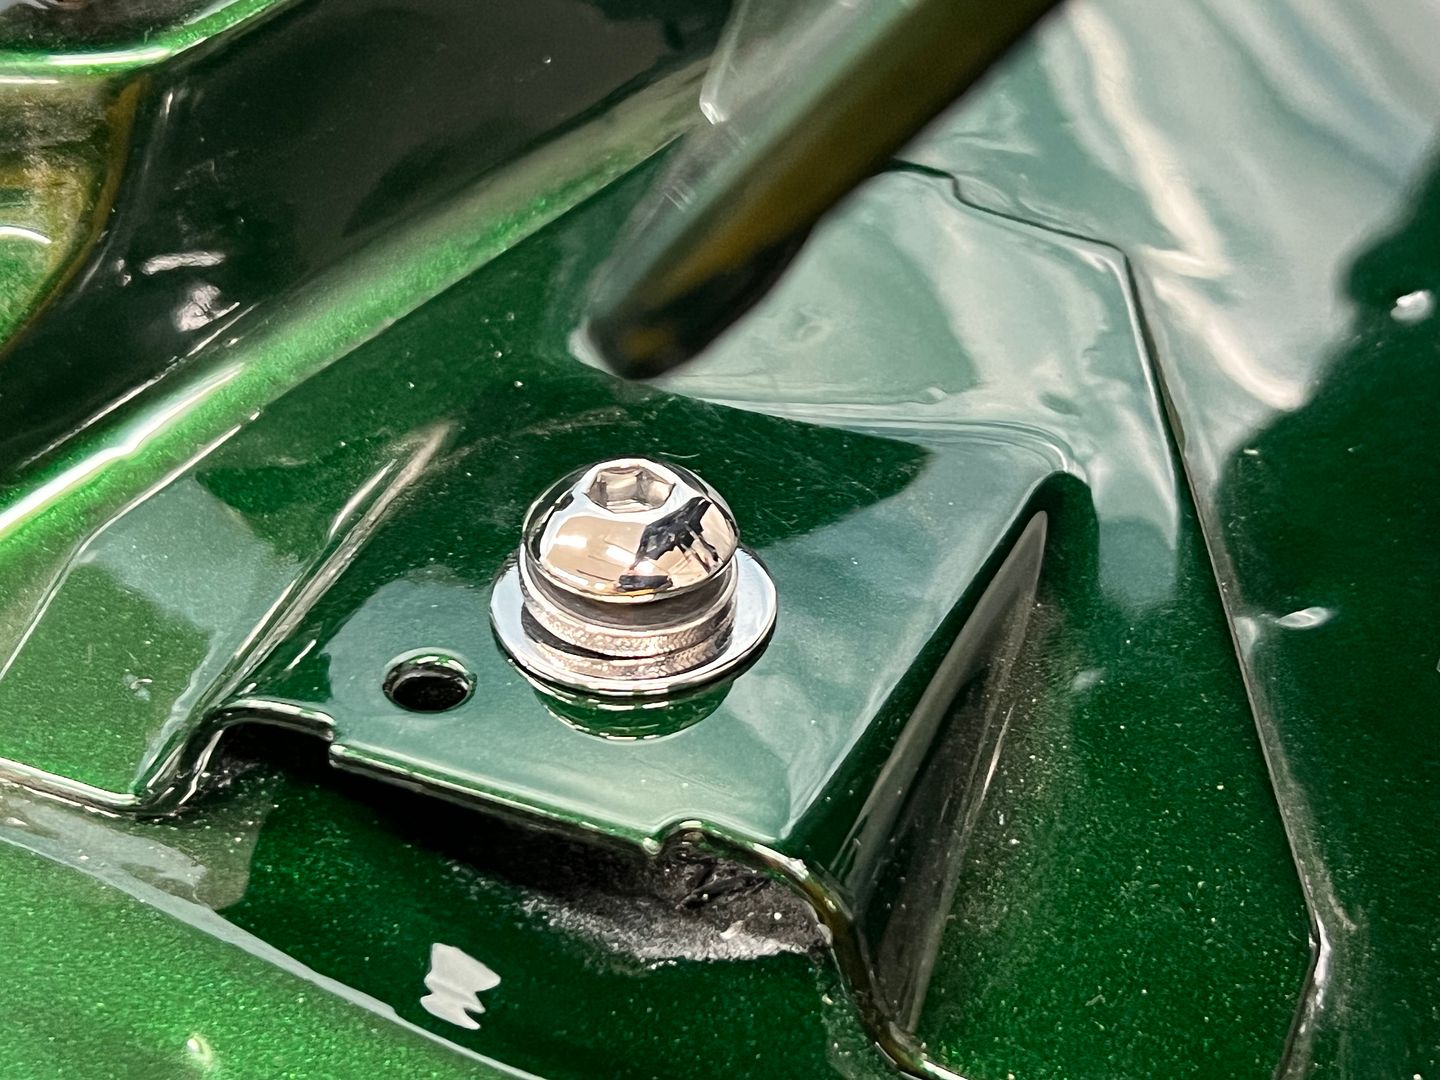
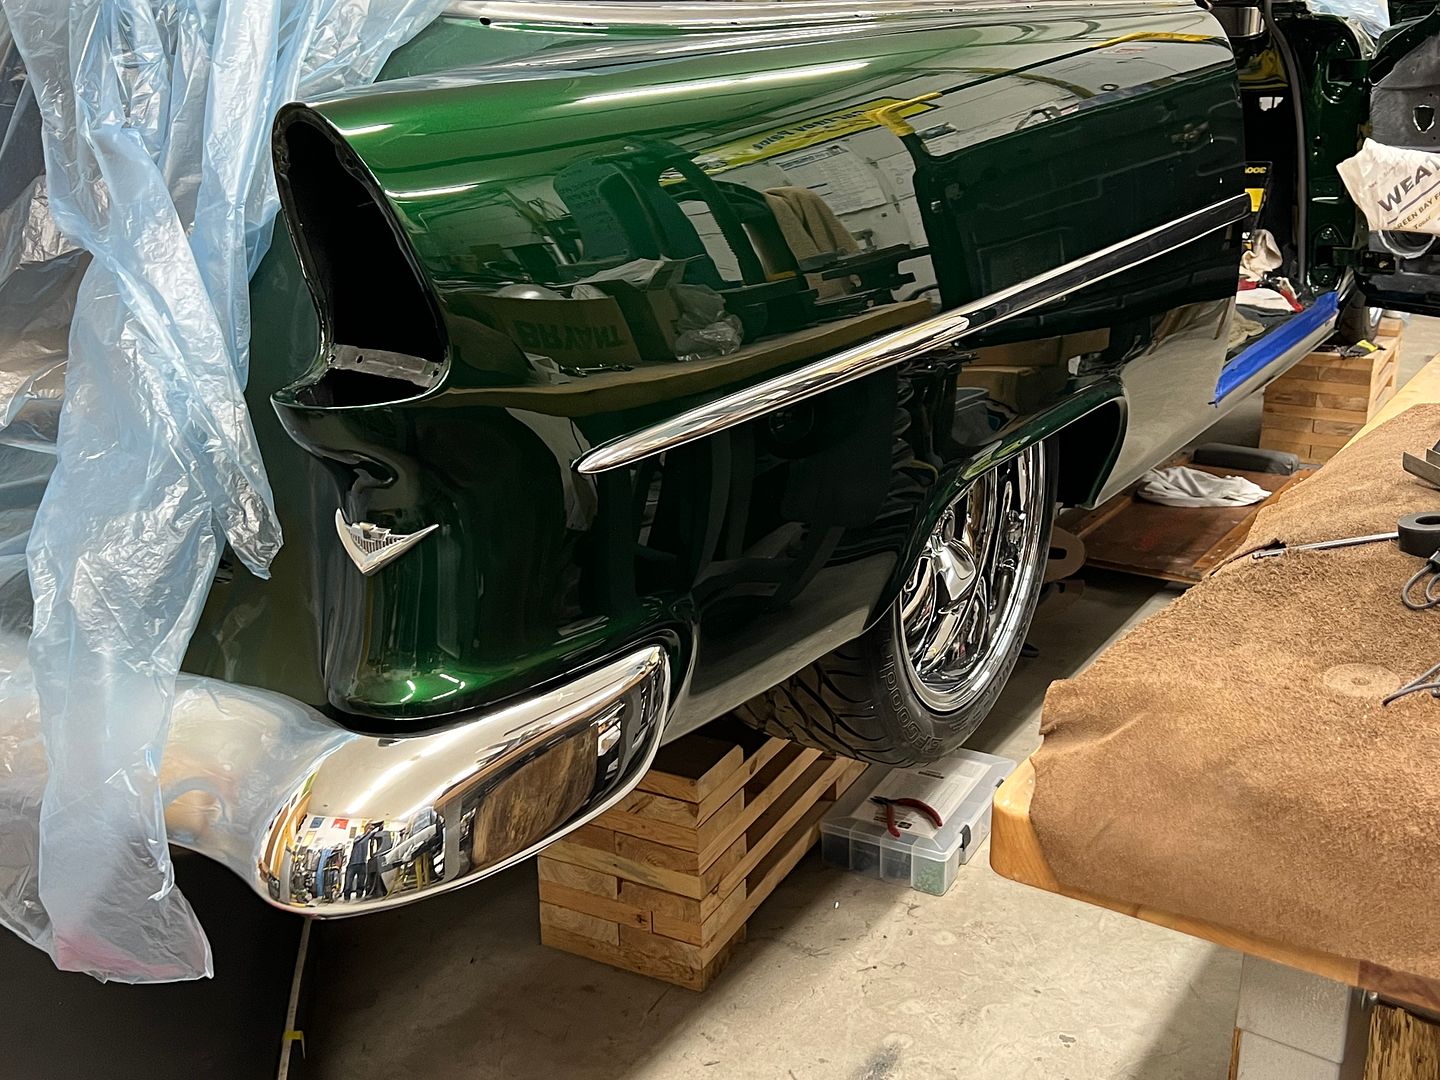
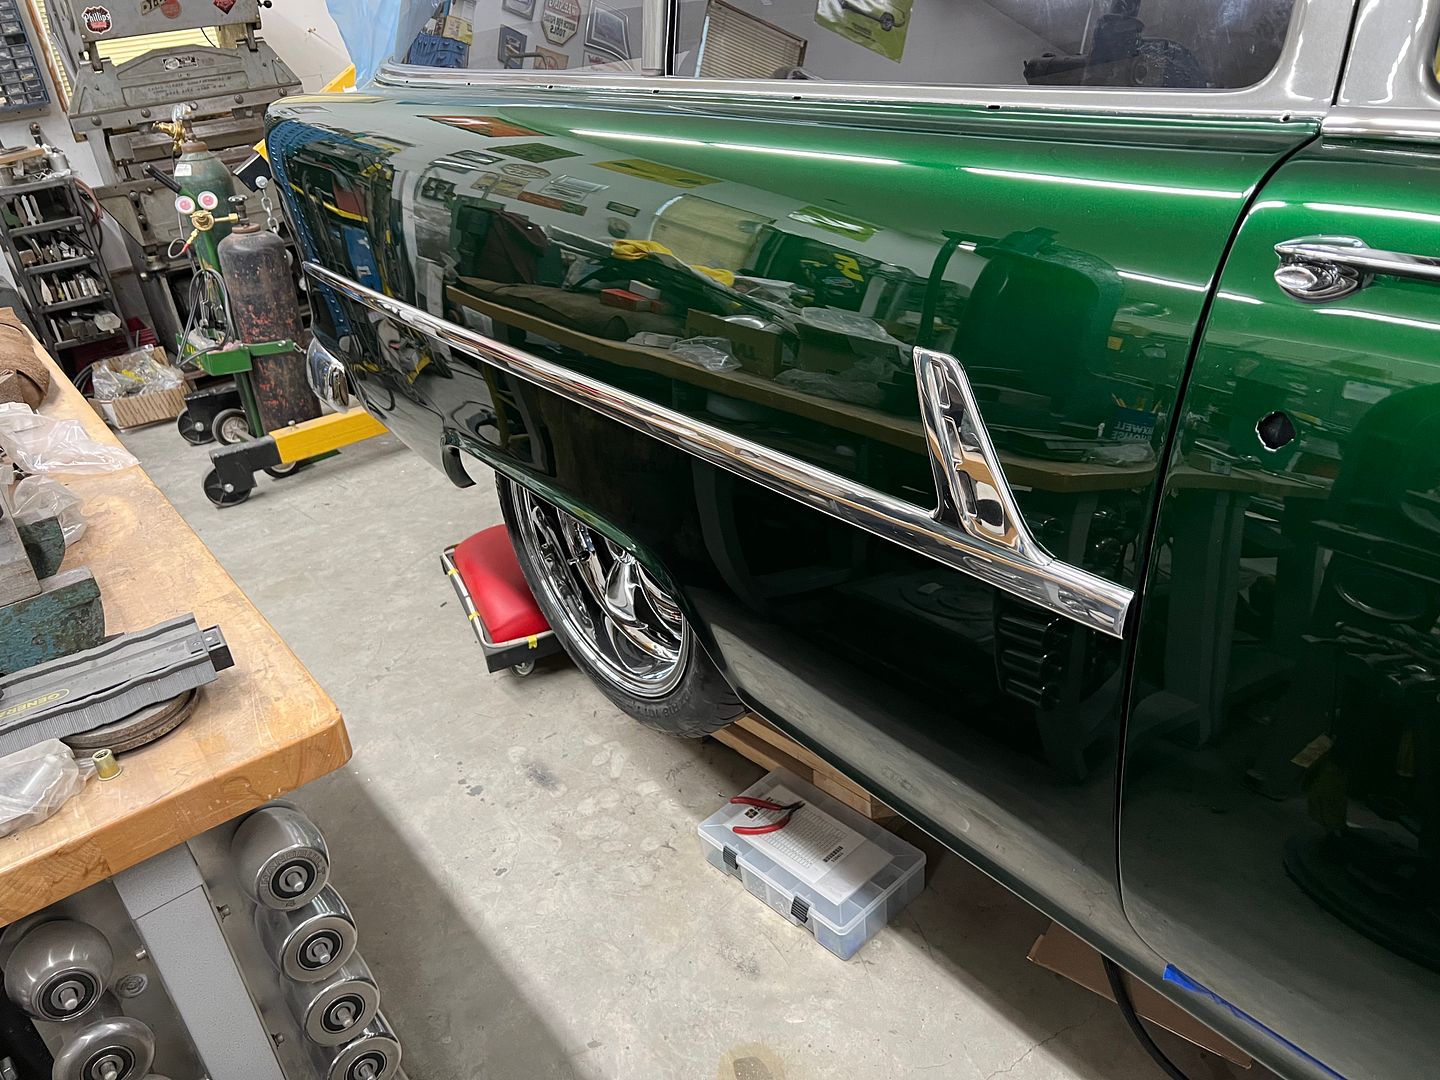
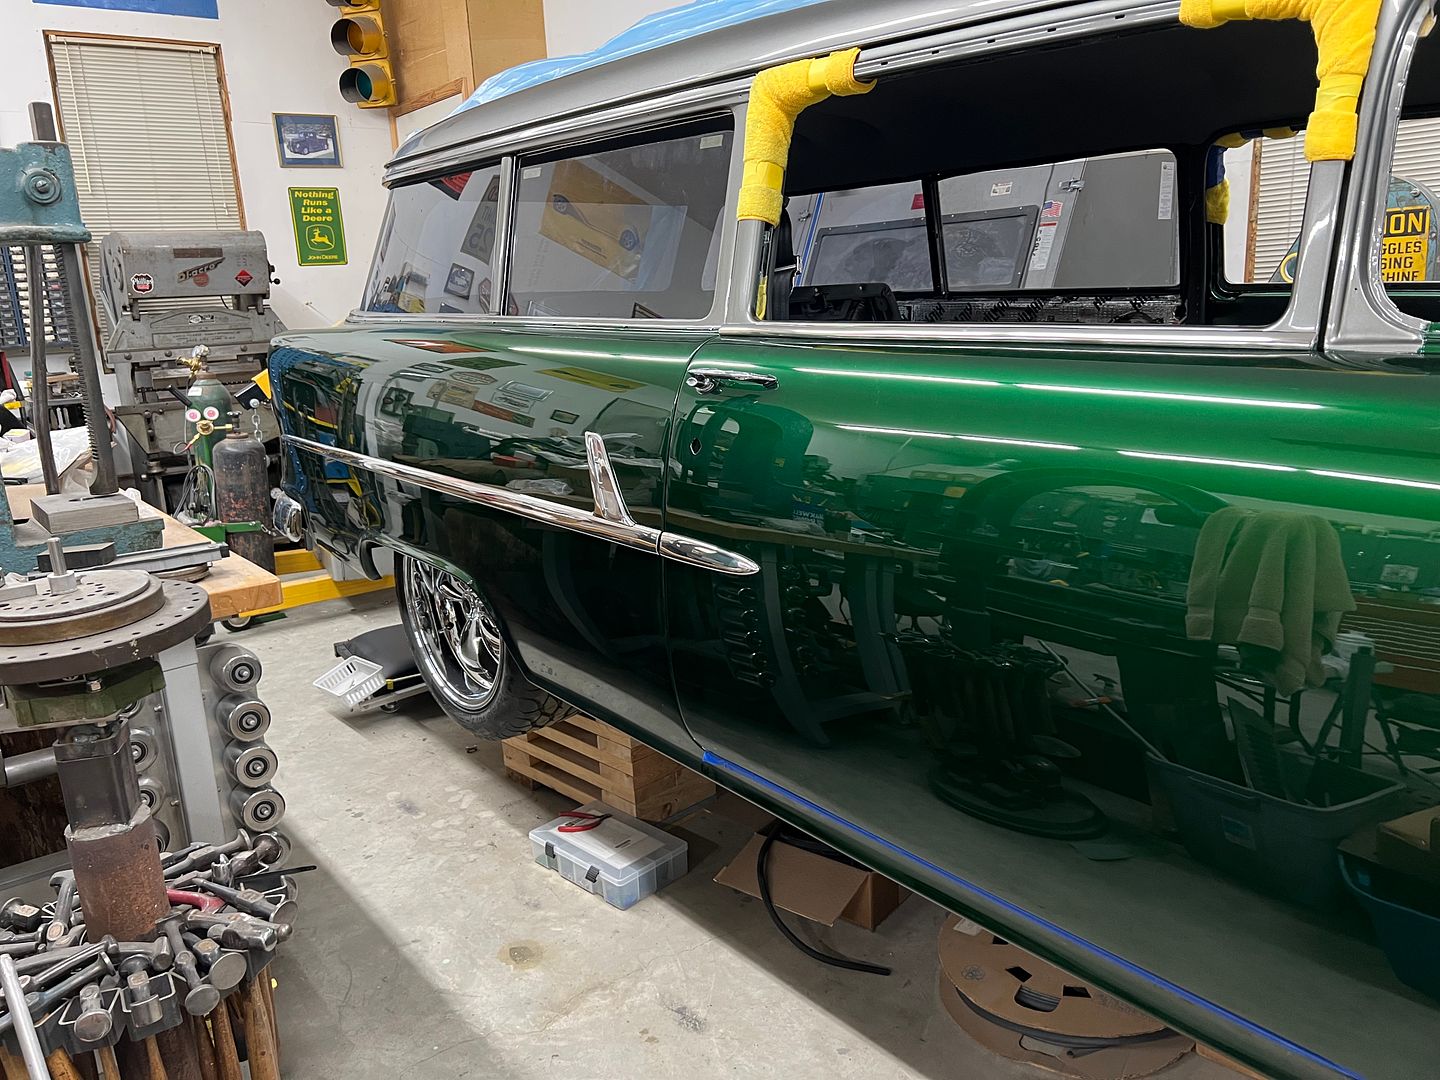
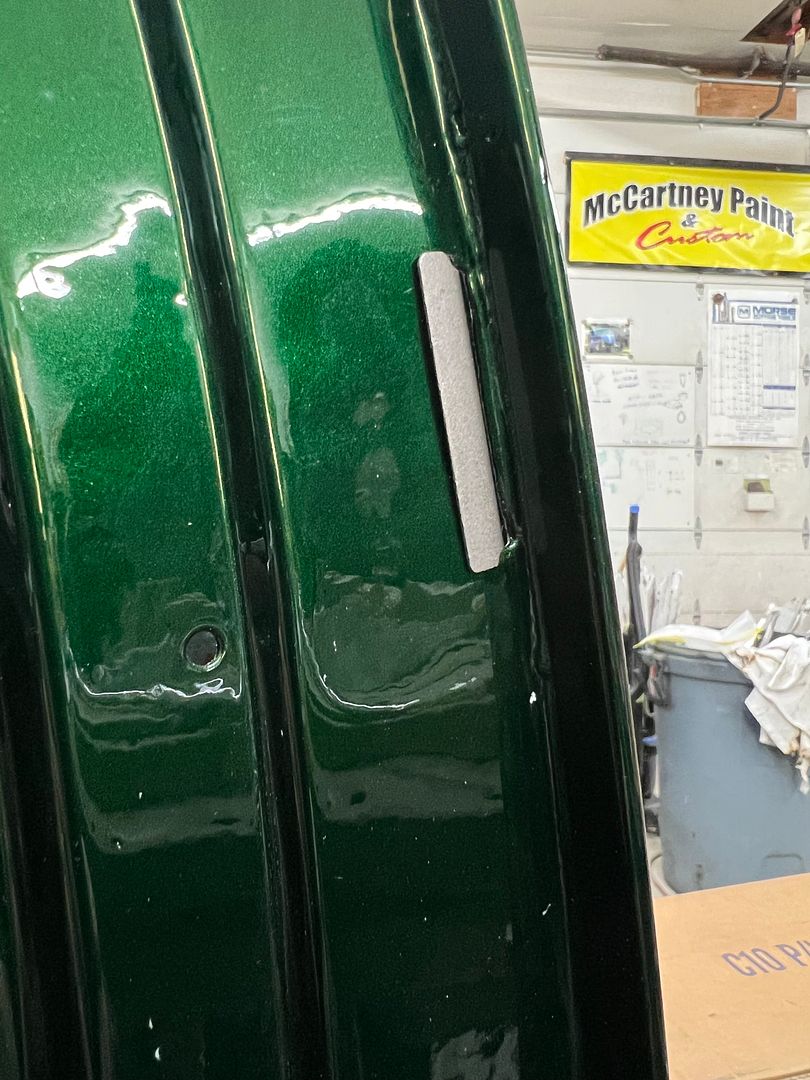
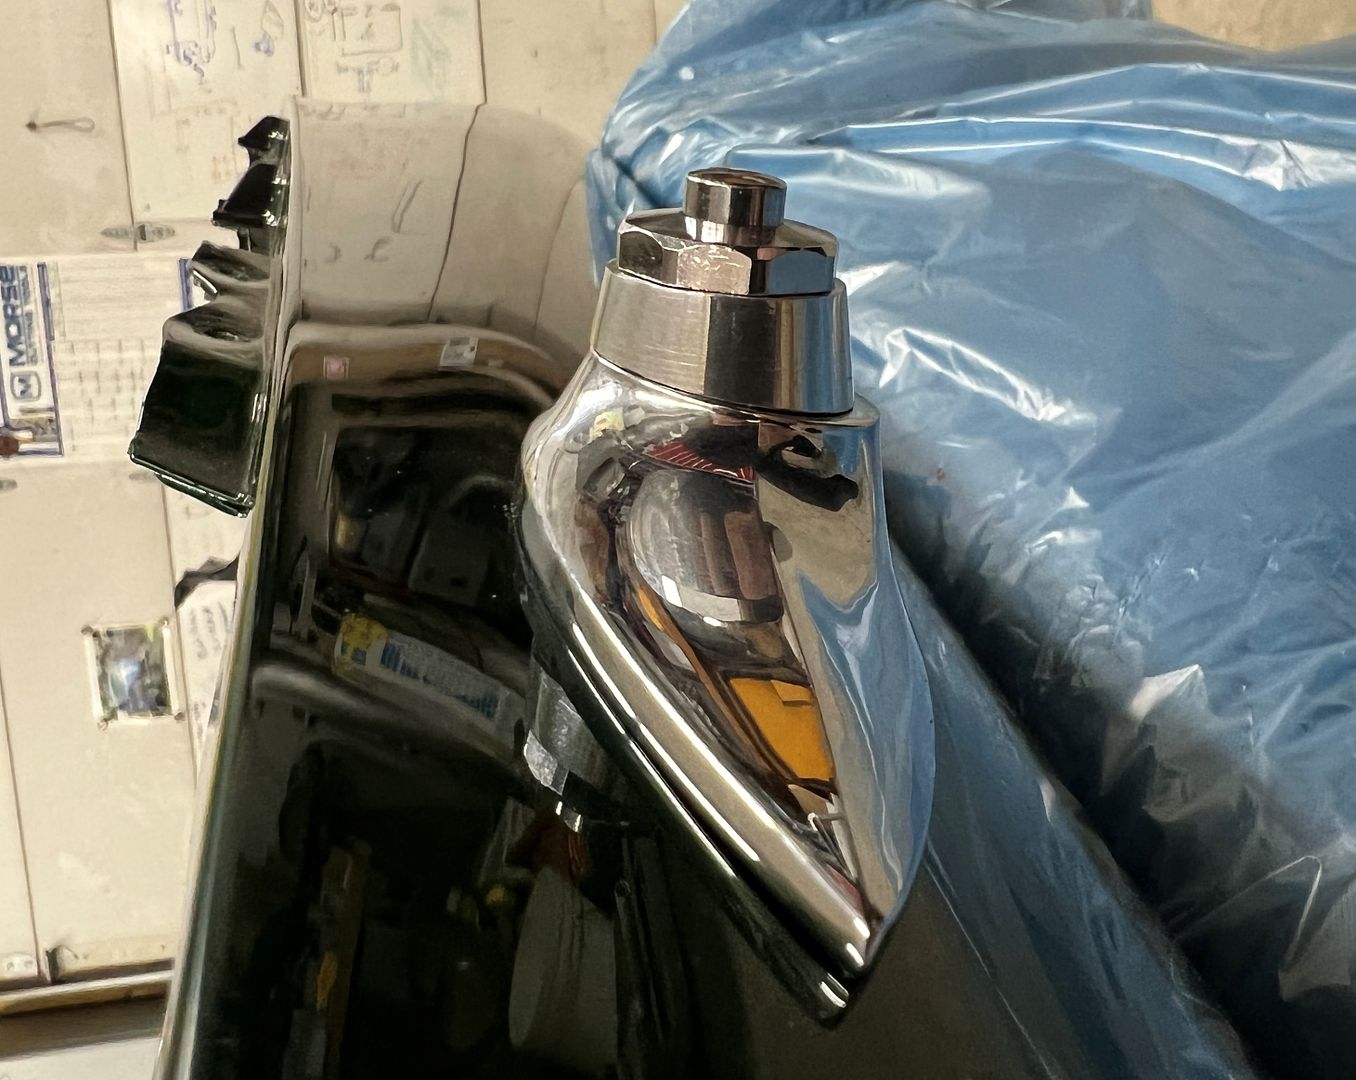
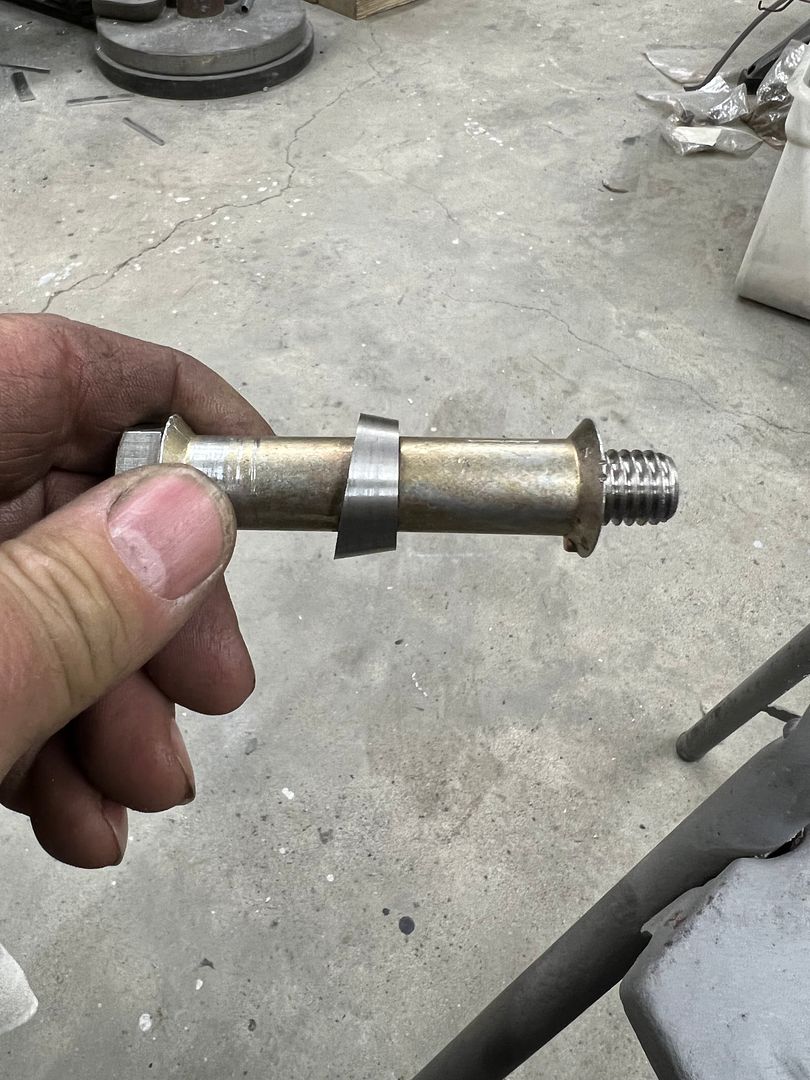
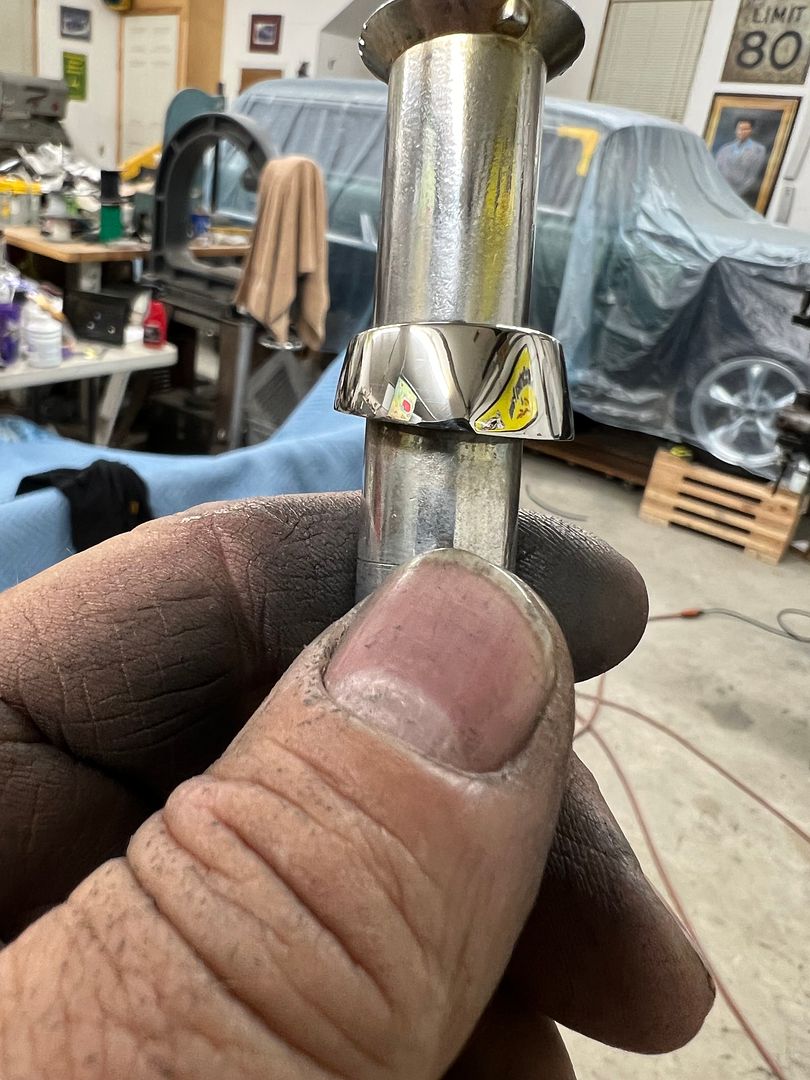
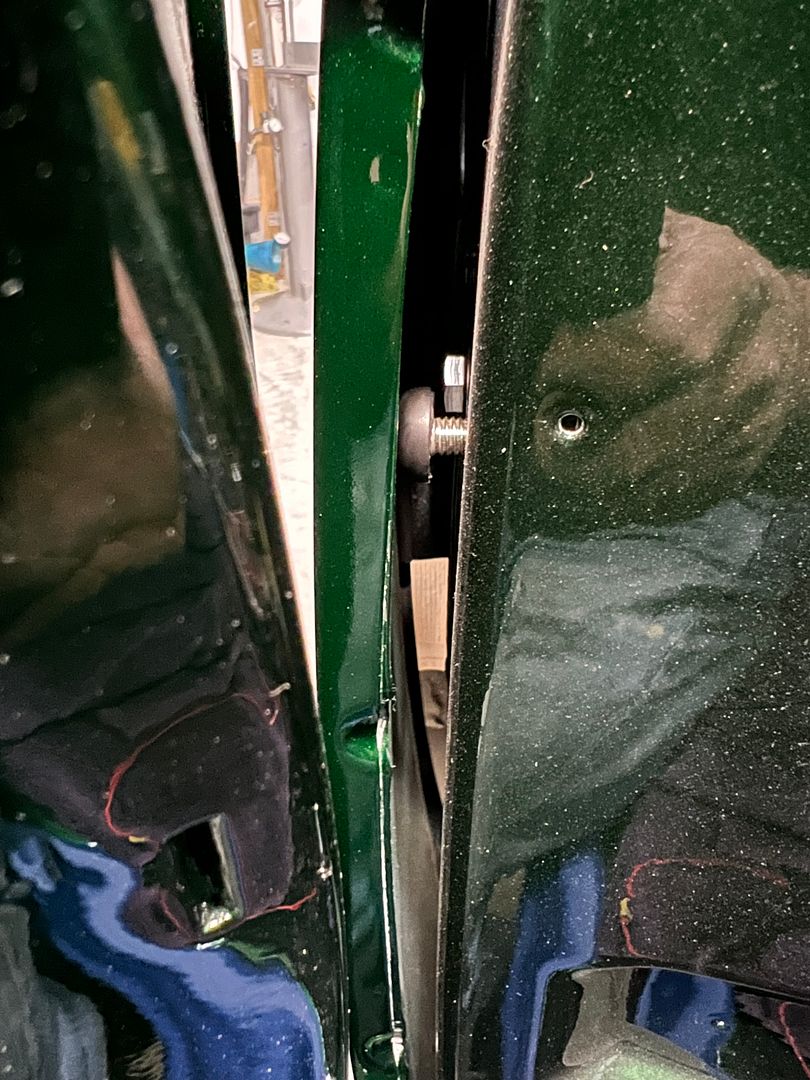
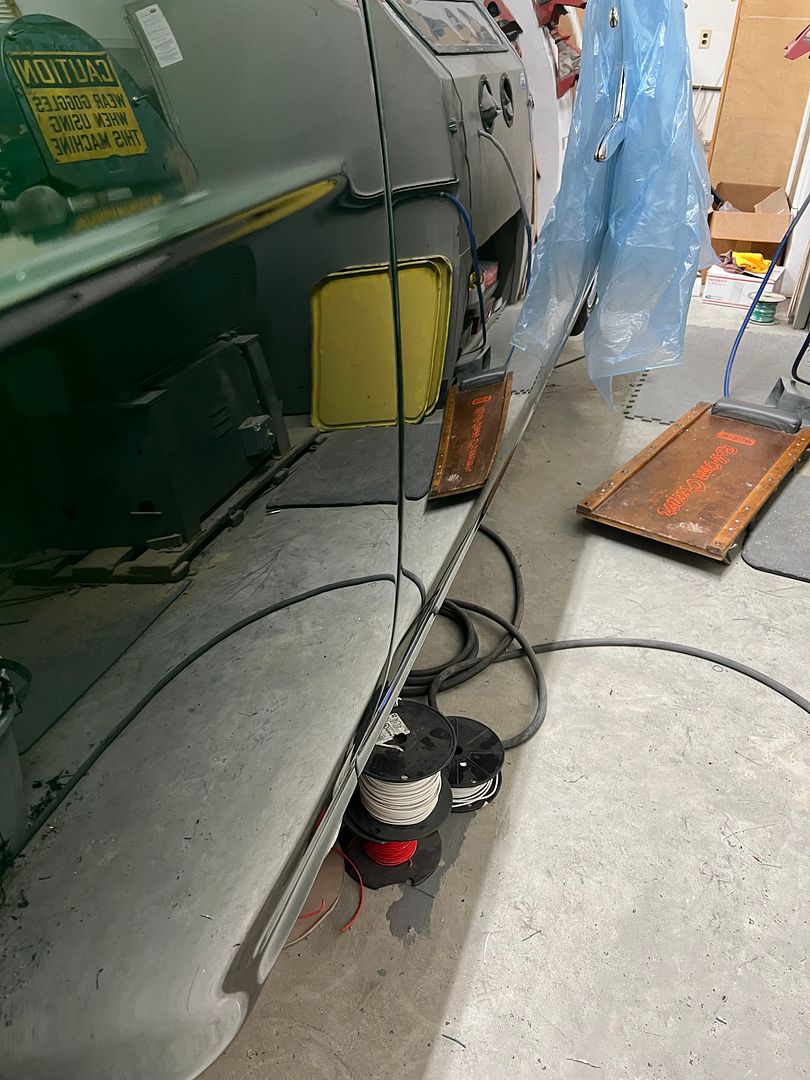
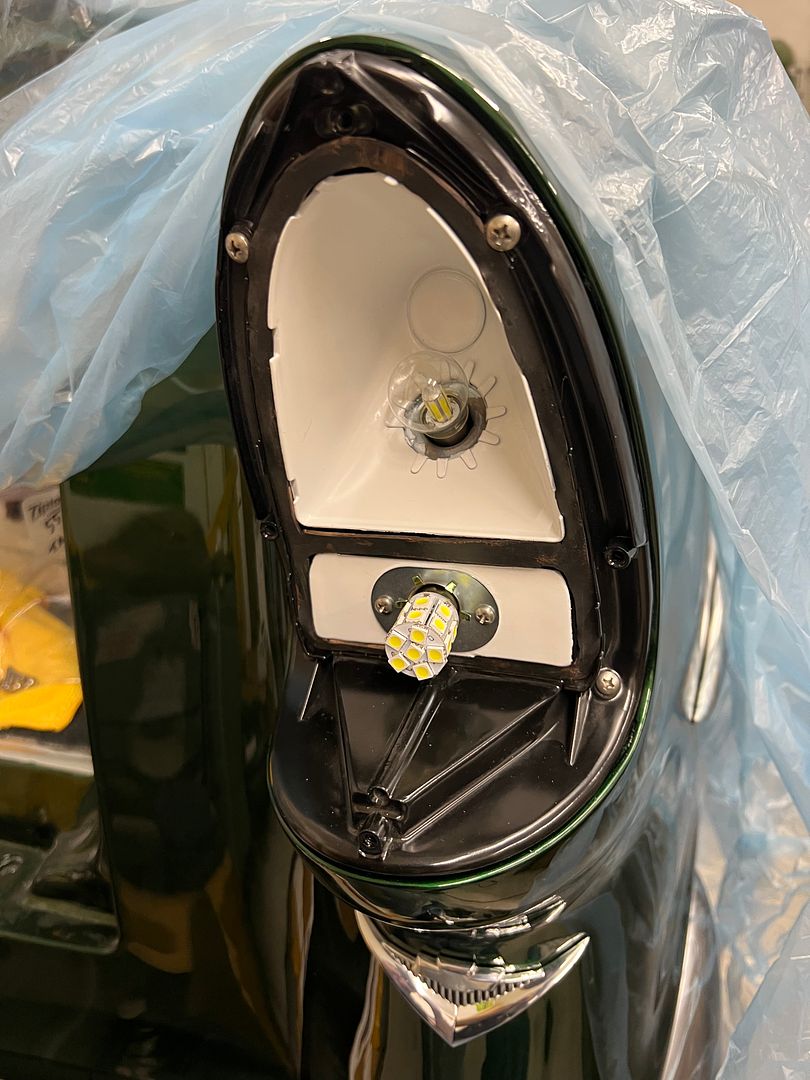
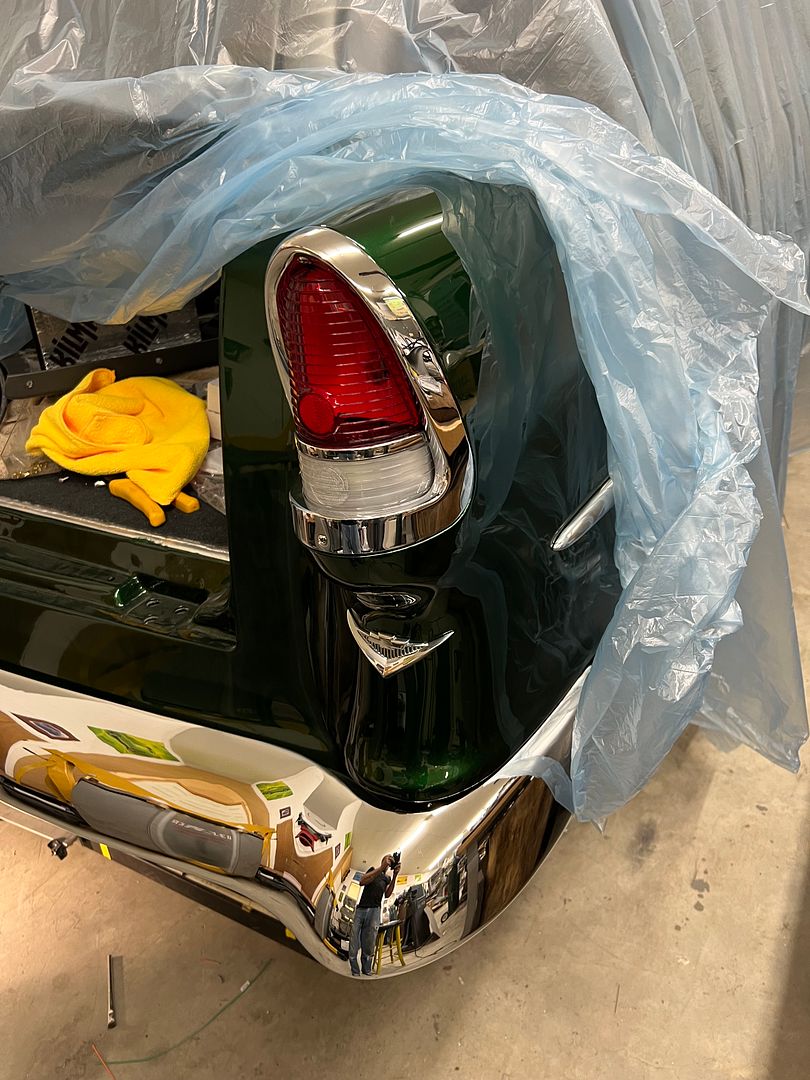
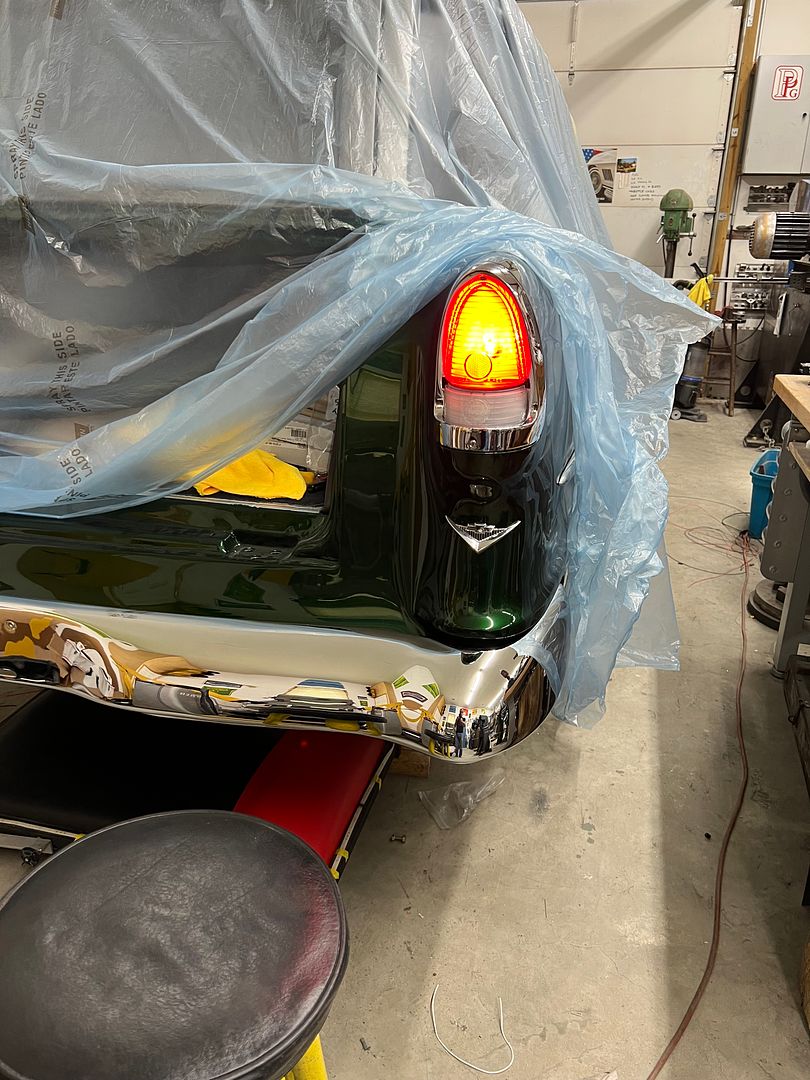
    Here's the bumper added, and a video that better shows the hidden hardware...


    Our three-piece bumper was trimmed and welded together, along with slotted brackets welded on the back side for hidden fasteners.


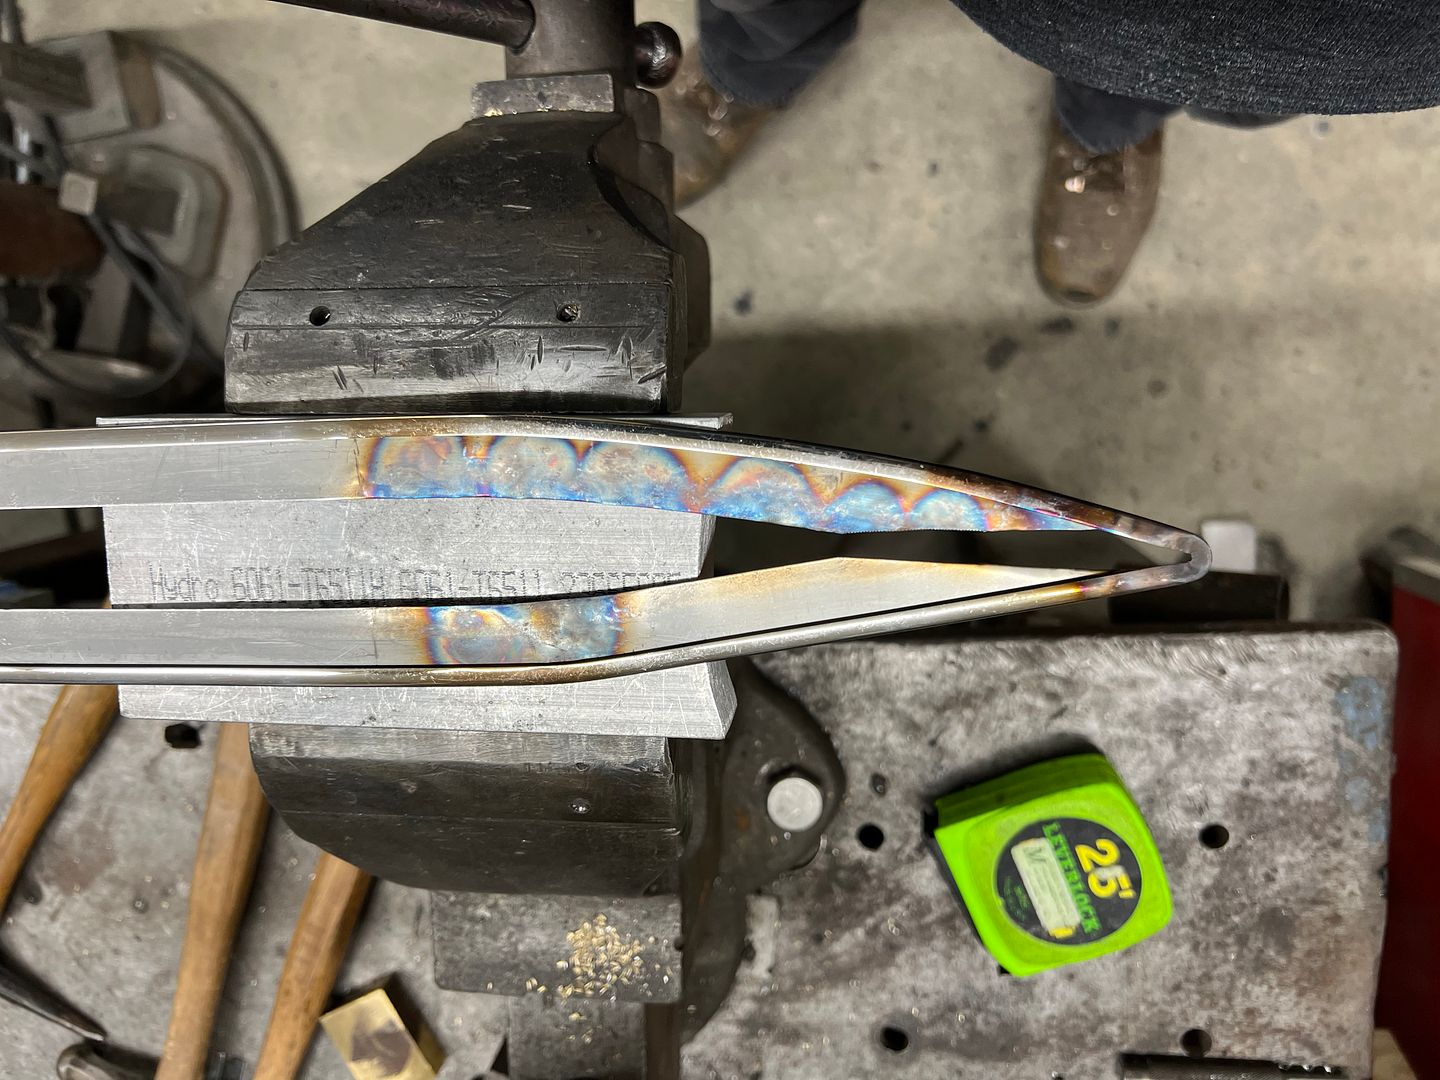
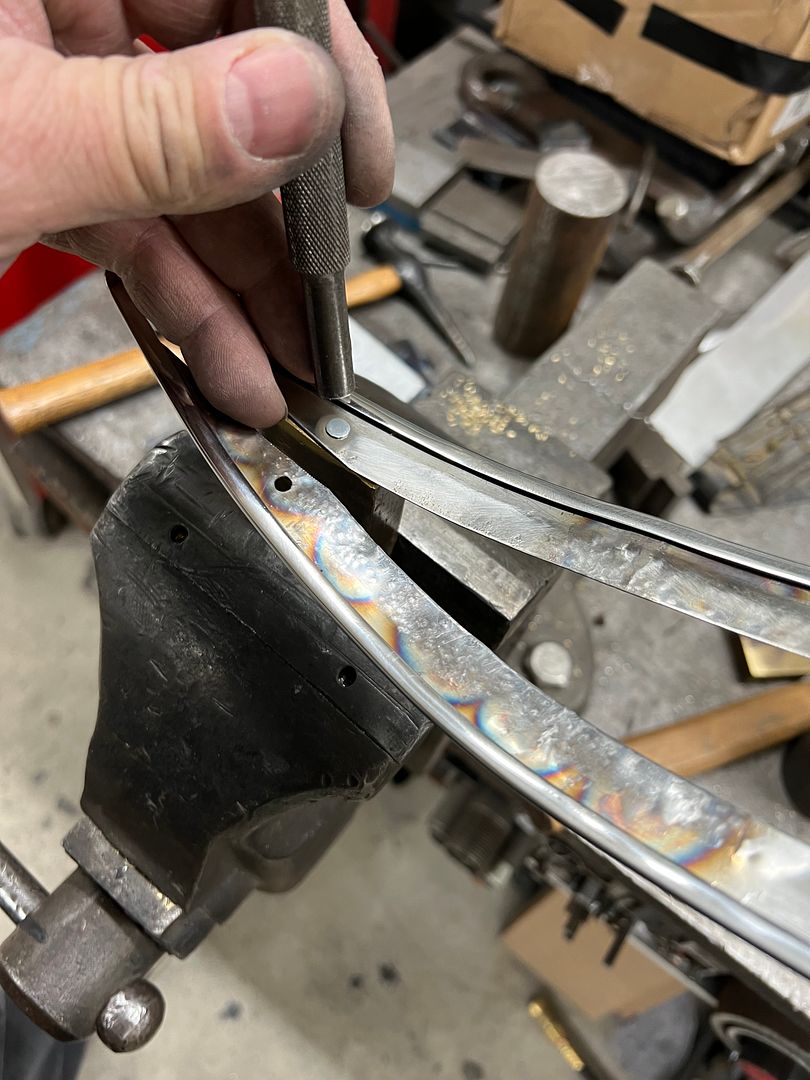
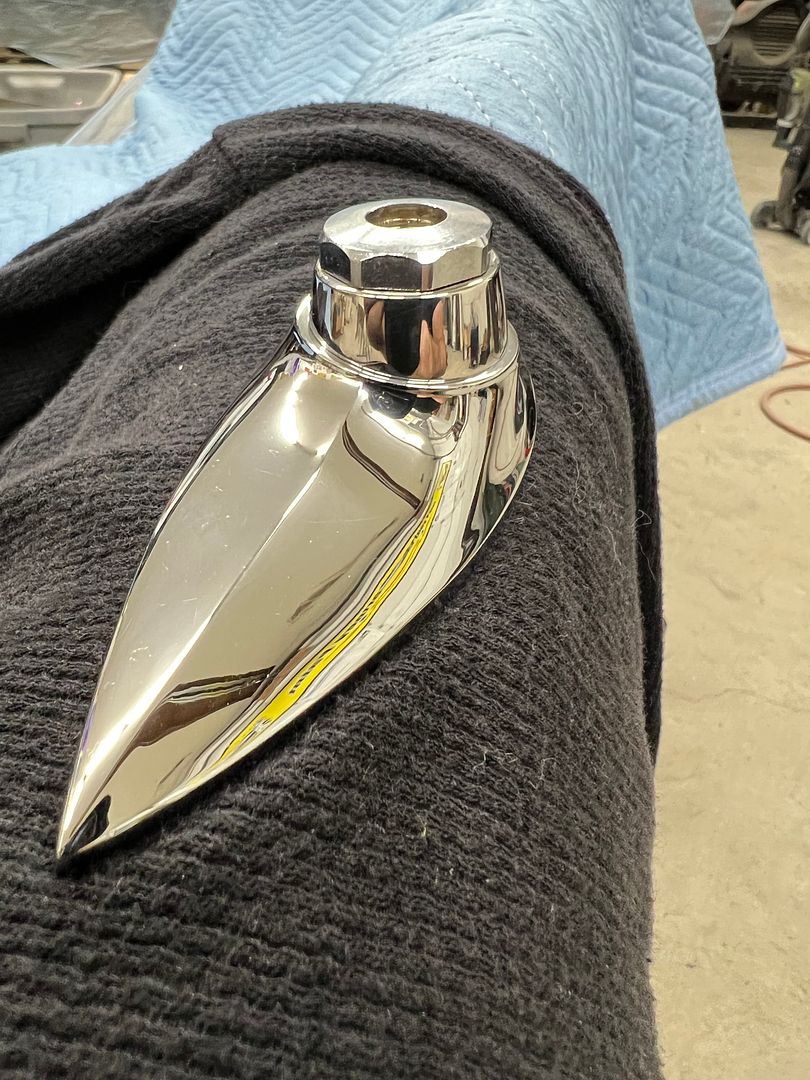
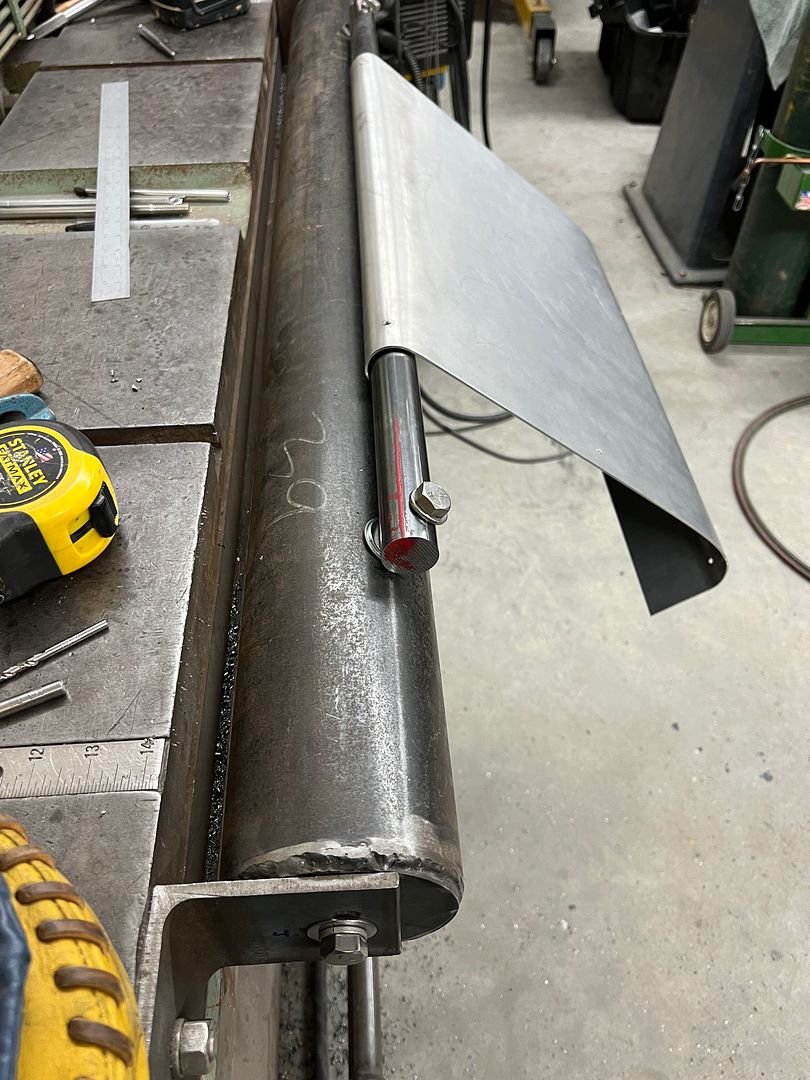
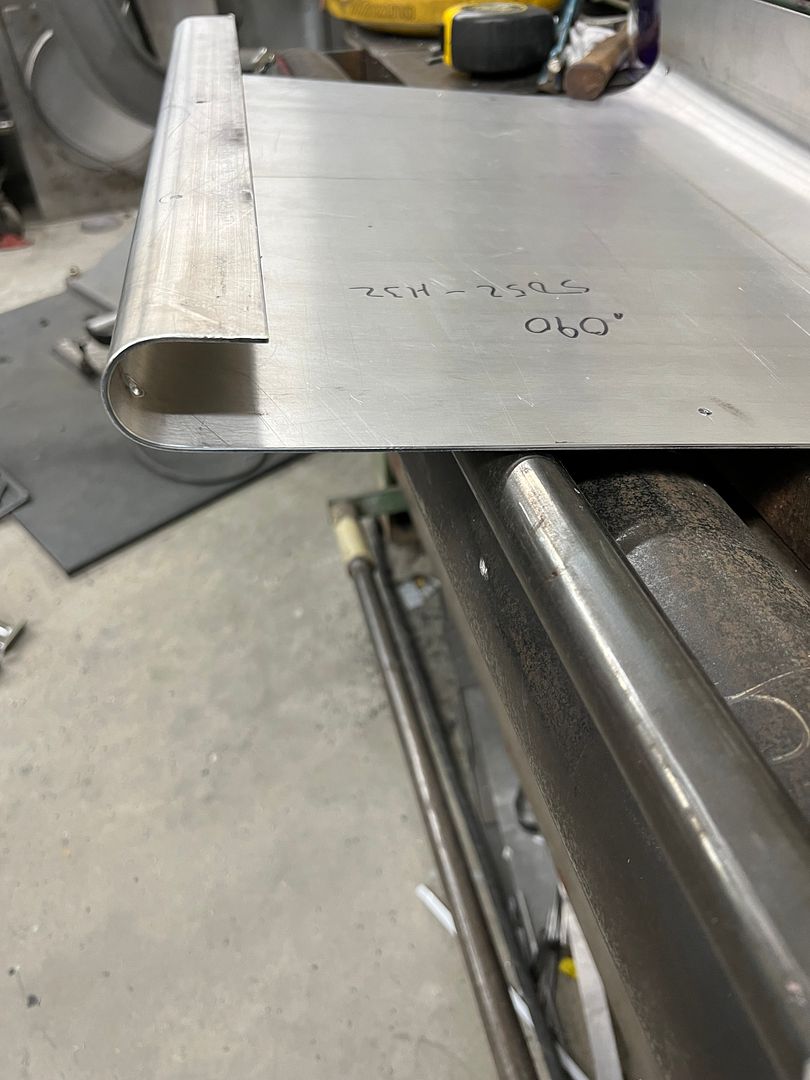
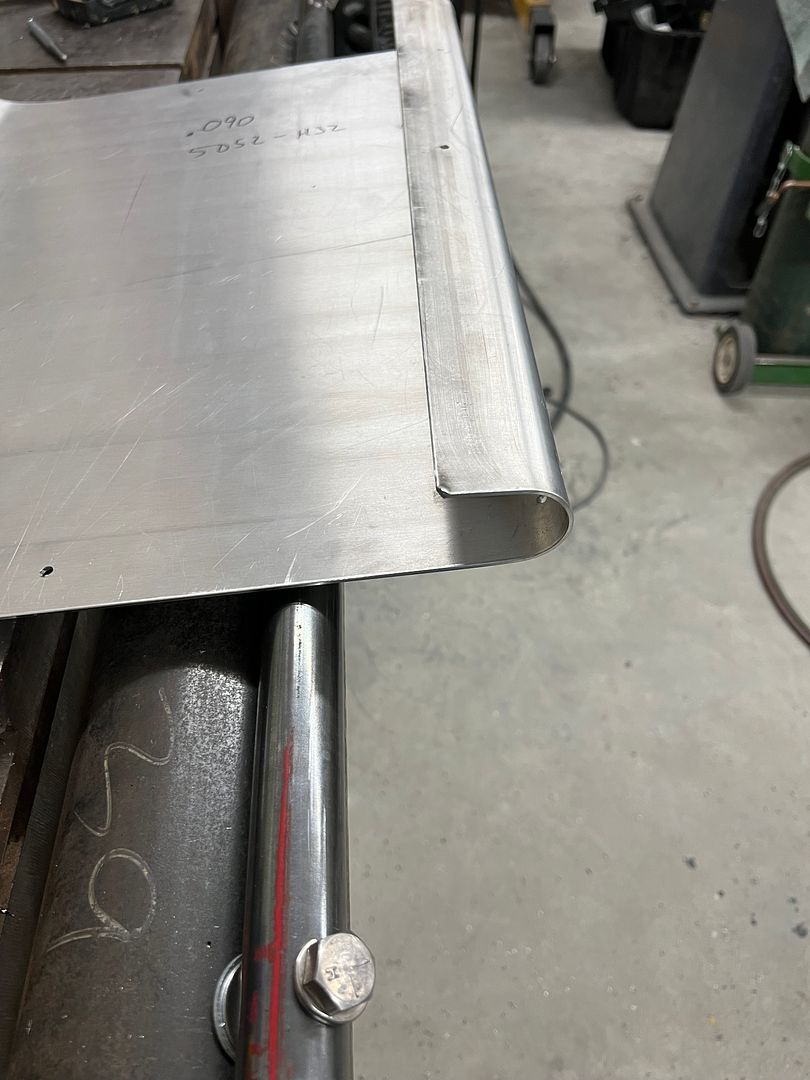
    Here's a closer look at the forming of the edge trim for our dash inset trim. We had made a template out of 19 gauge steel to match the dash inset, and used it (and some heat) to form the point. This video shows the shrinking of the flange so the edge trim would match. The upper and lower edge trim was squeezed while applying heat to form a tuck for shrinking the flange and providing the radius.


    The upper and lower pieces of stainless edge trim for our dash inset are squeezed together around a pattern we cut out of 19 gauge steel (that matched the da...


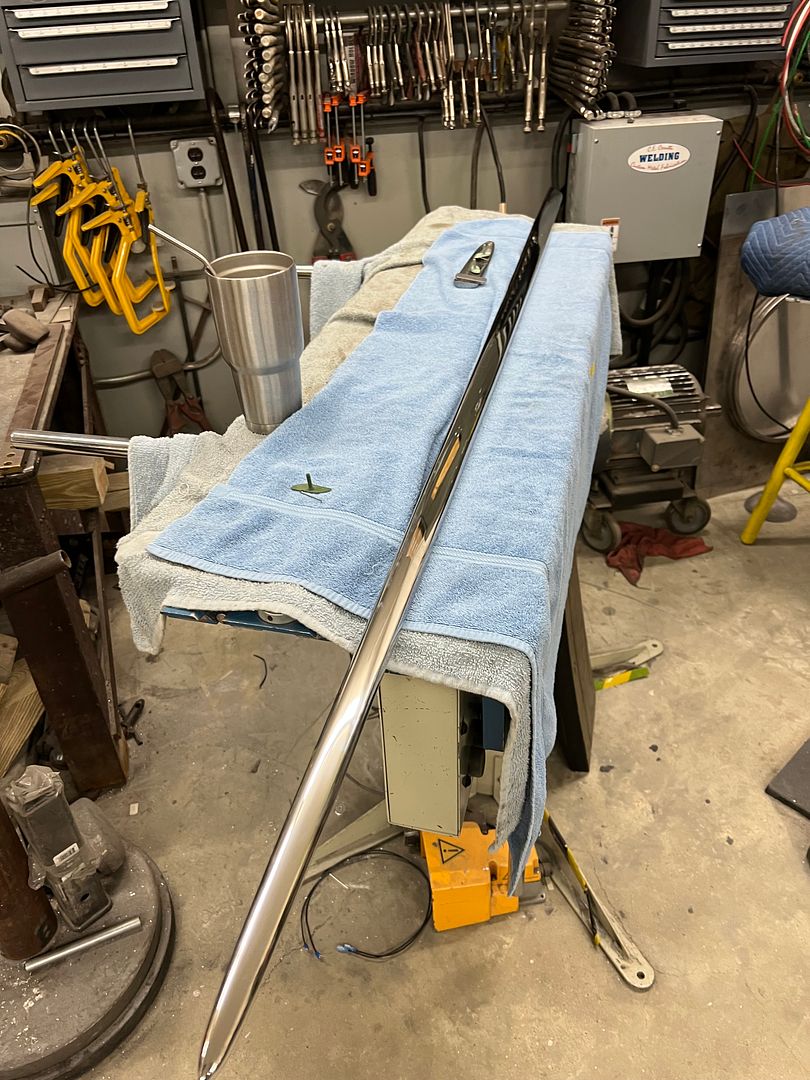
    All shaped, before polishing..


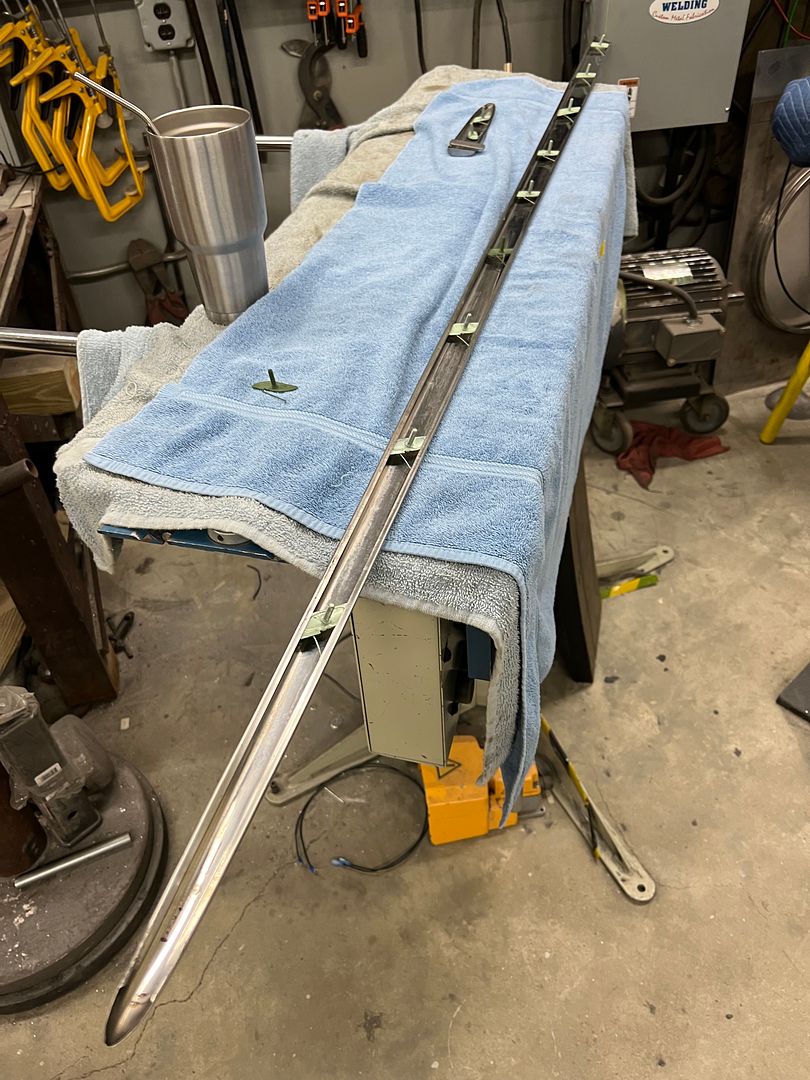
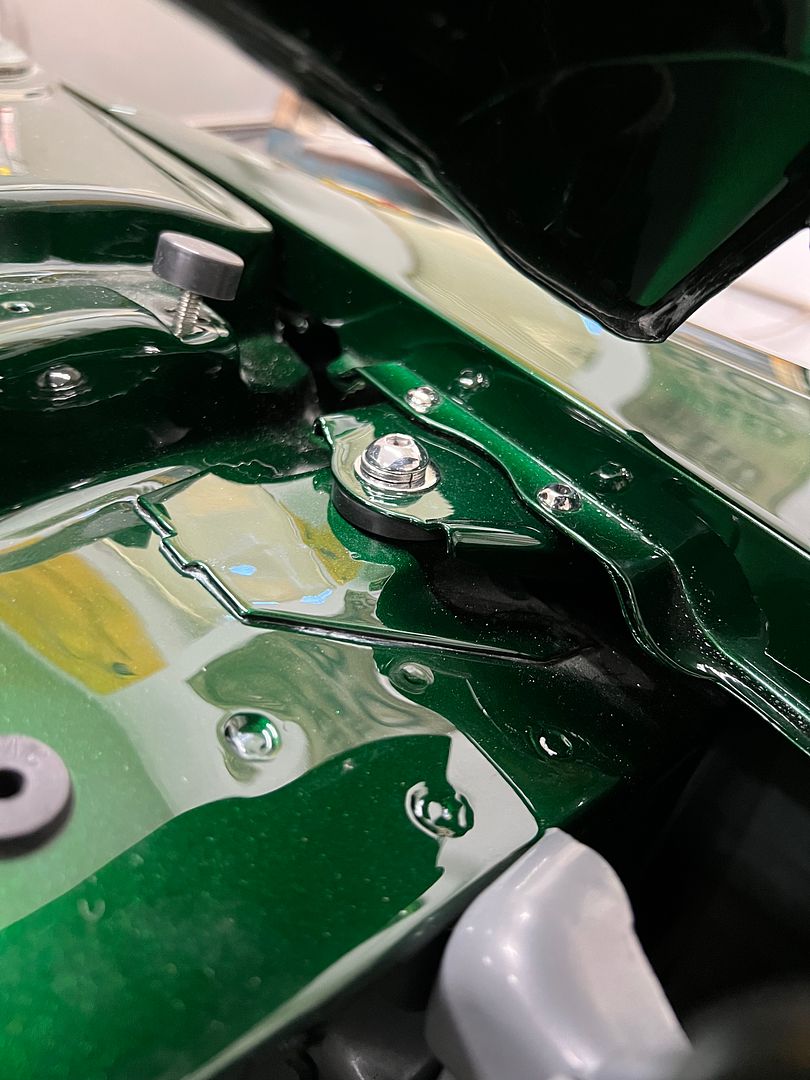
    Press studs installed...


    Ribbed stainless insert added and our green radius brake used to match the dash profile...


    One last touch-up to the polishing and installed in the dash.....


    Robert


    Instagram @ mccartney_paint_and_custom


    MP&C Youtube Channel

    Comment


    • I've been remiss in posting an update. We've been doing a bit of block sanding interior parts, and its just hard to make those pictures look like any semblance of progress.

      We pulled the front fenders back off, we had mocked them up in order to modify the upper fender mounts at the cowl. They came with some excessively sized holes to allow plenty of adjustment, and we had filled in the factory hole and re-drilled to a normal clearance hole. Here shown after a spray of Organic Green KBC, and the stainless washers we used as shims. Hard to leave those stacked washers after we did the other cleanup in resizing the bracket's mounting hole.


      We had some black delrin scraps left over from making the radius arm bushings for Jared's 39, so we put them to use here. Since they had already been drilled, we added an aluminum plug and match drilled the holes to match the bracket. Installed, the black delrin is barely noticeable and makes for a cleaner detail over the stacked washers.


      Some of the parts we sprayed while the front fenders were off.


      With the core support reinstalled, we started on the installation of the inner fenders.


      Since our cowl bracket was all cleaned up now, we needed to address the attaching hardware. This started with 400 grit and worked up to 5000 trizact before hitting the buffer...


      Much better! And so we can finalize the wiring at the back of the car, the tail-light housings had been sprayed in epoxy and we added some catalyzed white to the inner portion for some brighter lights.


      Robert


      Instagram @ mccartney_paint_and_custom


      MP&C Youtube Channel

      Comment


      • Looking good.

        Comment


        • Further proof that any job worth doing is worth overdoing! (I'm just jealous). I'm overdoing to a lesser extent on the MGB.

          Comment


          • this is fabulous work...
            makes me lay awake at night and wonder
            do i spell "anal retentive" with or without
            a hyphen......

            i wish i could do work 1/2 as nice as this.

            Comment


            • Yeah I hope it goes without saying, I'm a fan of all this.
              ...

              Comment


              • Originally posted by fatguyzinc View Post
                .....
                do i spell "anal retentive" with or without
                a hyphen......
                I need an answer on that, got to add it to the business cards..


                Last bit of progress, we got the hinges painted so hopefully we can get the tailgate installed this weekend...


                installing more shiny stuff....


                We had not pre-drill the holes for the partial spear on the doors when we installed new door skins, so here we mask off the bottom of the door and drill SLOWLY to prevent heat buildup.


                Then the fresh holes are touched up with two coats of epoxy primer. Once dry the spears are added..


                And our dash clock showed up so we can get that hole filled as well


                Robert


                Instagram @ mccartney_paint_and_custom


                MP&C Youtube Channel

                Comment


                • Question - How do you keep the paint from chipping when the hinges are operated? Seems like they'd love to chip that pretty paint.

                  Comment


                  • They have a slight gap from the factory.
                    Robert


                    Instagram @ mccartney_paint_and_custom


                    MP&C Youtube Channel

                    Comment


                    • While assembling the door bits, we noticed that the retaining clip for the reproduction lock cylinders did not match the originals, which would leave us with a gaping hole in the back side of the inner door.


                      So we had media blasted the originals and sent to the Shop at Shorty's for a cerakote finish of gun metal grey. As my luck would have it, the door skins we had installed had some accuracy issues in the lock hole locations.


                      Aligning the clip to the lock hole would result in a slight misalignment out back... and you know Robert's not having that.


                      With Cerakote still fresh, some trimming was done so we could use the original clips to fill the hole void, and the new ones would be used to hold the lock cylinder in place as well as the original clip, whose new job has been reduced to filling a slotted opening. Some window sealant will slow any movement of the pretend clip.


                      And the same effort repeated for the driver's side. Where it wasn't as far off as the other side, our mods were still required.


                      Mandatory Kramer photo bomb


                      Adding the pull rod for the door lock....


                      and the addition of a rubber grommet will help keep rattles down.


                      Jared applied some Kilmat inside the tailgate and we added more bling..


                      And we've had a casualty with the Baileigh magnetic brake. The magnet stopped working and some troubleshooting found an open with the coil. Some inspection of the supply wires found an over heat issue. Removing all the epoxy showed it's been warm for awhile....


                      So it looks like we'll be in search of replacement parts.
                      Robert


                      Instagram @ mccartney_paint_and_custom


                      MP&C Youtube Channel

                      Comment


                      • Comment


                        • Indeed!!


                          More progress, we were test fitting the power antenna an noticed that the mounting bezel did not sit horizontally on the fender. I had quickly whipped up a wedge shaped and tapered spacer out of some aluminum as a quick test.


                          Where that was functional, it did not match the chrome finish of the bezel. I picked up a chunk of 1" stainless rod (local drop cut) to make a duplicate out of stainless. The wedge shape was added first, using the 12" disc sander... then clamped in the Southbend for the taper cut and a hole boring.


                          ....and trimmed off to length


                          In order to hold this oddball shape for polishing, some rivnuts were used on a 1/2-13 bolt, with the wedge angle added to one for a more positive hold..


                          Completed, this matches the chrome finish of the bezel much better...


                          Since we were ready to re-install the front fenders, I thought I'd grab pictures of our fine-tuning adjustment screws for the fender to door alignment. The hex bolt shown on the right is filling an existing hole that used to have a rubber plug in it. I guess having pulled out the dried and cracked old rubber plug, I wanted a more permanent solution. We were going to use that hole but it did not align with the rib on the fender's rear brace. So another hole was drilled next to it, a 3/8-16 AVK style rivet nut installed, and a fully threaded bolt added. The bolt head was covered with a rubber cap and the inside end of the bolt had a slot added for adjustment purposes. Now we could use a screwdriver to adjust the screw outward, pushing the center of the fender until it aligns to the door surface.. A jam nut on the inside tightens against the rivnut to prevent any movement.


                          And with our upper fender mounts painted, they get installed using polished button head hardware and our barely noticeable shims we had fabricated.


                          In the tooling department, we needed a tight radius reverse bend on some .090 aluminum, so a Gene Winfield inspired 1-1/4" round stock was added to our 4" pipe. This was bolted straight into tapped holes and used two stacked flat washers to provide the gap. The aluminum was 5052 alloy and was annealed prior to bending.


                          Robert


                          Instagram @ mccartney_paint_and_custom


                          MP&C Youtube Channel

                          Comment


                          • Robert: As always, enjoy seeing your work, and approach to each obstacle along the way, and as it seems MM is down more often that it's up, doubly glad that one can still see your progress somewhere !

                            Cheers!
                            James
                            Last edited by Tubbed Pacecar; May 24, 2023, 07:35 AM.

                            Comment


                            • Thanks James!


                              More progress on the wagon. While reassembling the front end, Jared noticed the fenders were a bit high at the cowl. This next picture shows it, although the perspective makes it a bit exaggerated.


                              So we pulled each of our new shims we had made and shaved another 1/16" off the height.


                              This shows the fender height after adjusting the shim height.


                              But shows our next back up and punt moment. The wedge shim we had made for the antenna was too steep, and this shows the actual angle needed. So we made another with less angle...


                              Note some "pre-polishing" was done on the lathe prior to cutting off the wedge to make things a bit easier. Final version installed and vertical orientation verified...


                              Next, we got the driver's door wiring routed through the upper door hinge... much easier after the trial-and-error practice we did on the passenger side.


                              ...and with the front fenders back on to stay, Jared reassembled some of the core support parts.


                              Moving to the rear of the car, we started the rear tail-light install now that they have been painted inside and out. Wiring was routed through OEM style boots to help minimize any water intrusion into the lamp sockets. Replacement button contacts were used in the sockets (w-crimp) to eliminate any unneeded splicing of the wiring. Wiring complete, with bulb seal attached to the housing:


                              Rivet-nuts were installed for mounting the housing....


                              Nice snug fit to the body, and a functional test to make sure we're done here..


                              Moving to the passenger side, we'd need to secure the harness to the tail-light swing arm mechanism (part of the hidden gas door mod) so we planned to add some heli-coils in the arm for adel clamps. I had a long 1/8" bit to get in close to the corner, but our final size of 13/64 for the 10-32 heli-coil tap would be another issue.


                              Then I noticed some tubing in the scrap pile that had a 3/16 ID, just undersized. So our drill bit was clamped in the 3 jaw chuck of the lathe, and the tail stock used to press the two together.


                              Now we had an extended bit to complete the heli-coil installation.


                              ...and a functional test of the wiring on the arm...


                              https://www.youtube.com/shorts/JzA6W2BdyyQ
                              Robert


                              Instagram @ mccartney_paint_and_custom


                              MP&C Youtube Channel

                              Comment


                              • Nice work !

                                Comment

                                Working...
                                X