 Tweet
Tweet
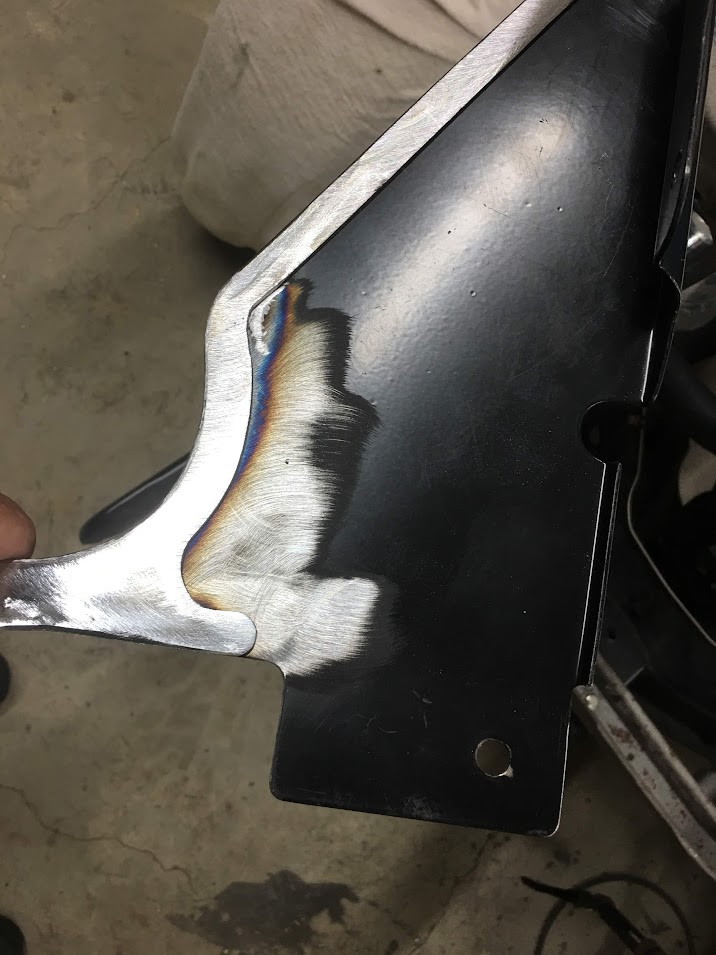
Been going through too many sanding discs lately so I decided to pony up for the ceramic ones by 3M (especially since Jegs has them on sale...and free shipping over $100). The sanding discs I was getting locally were about $0.95 each and I would have used about three doing what I did tonight. The sale price on these 3M's worked out to just over $1.50 each. I'm still on the first one and it's still going strong. I think these are going to be another of those "getting what you paid for" type things. Should have bought these long time ago.


Comment