Announcement

Collapse
No announcement yet.

55 Wagon Progress

Collapse
X
 
  • Filter
  • Time
  • Show
Clear All
new posts


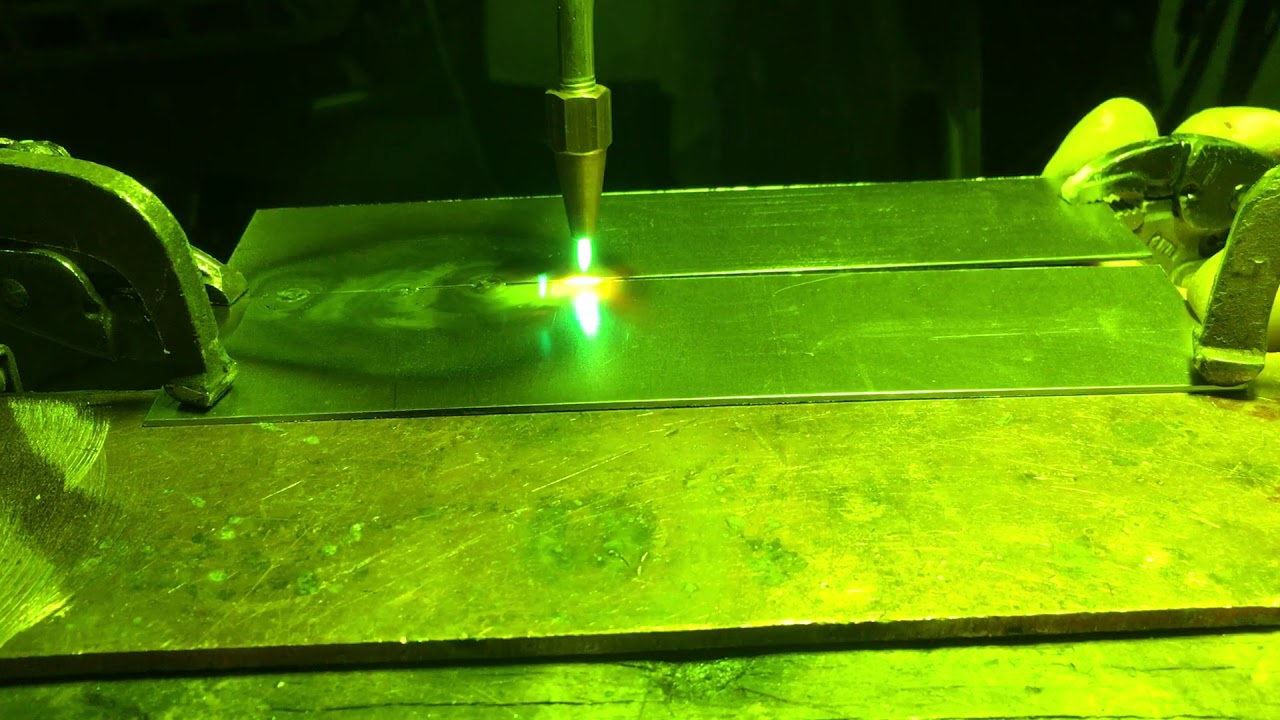
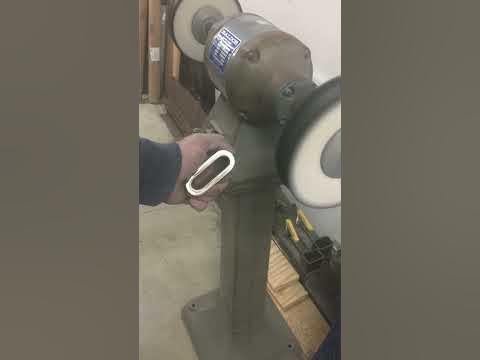
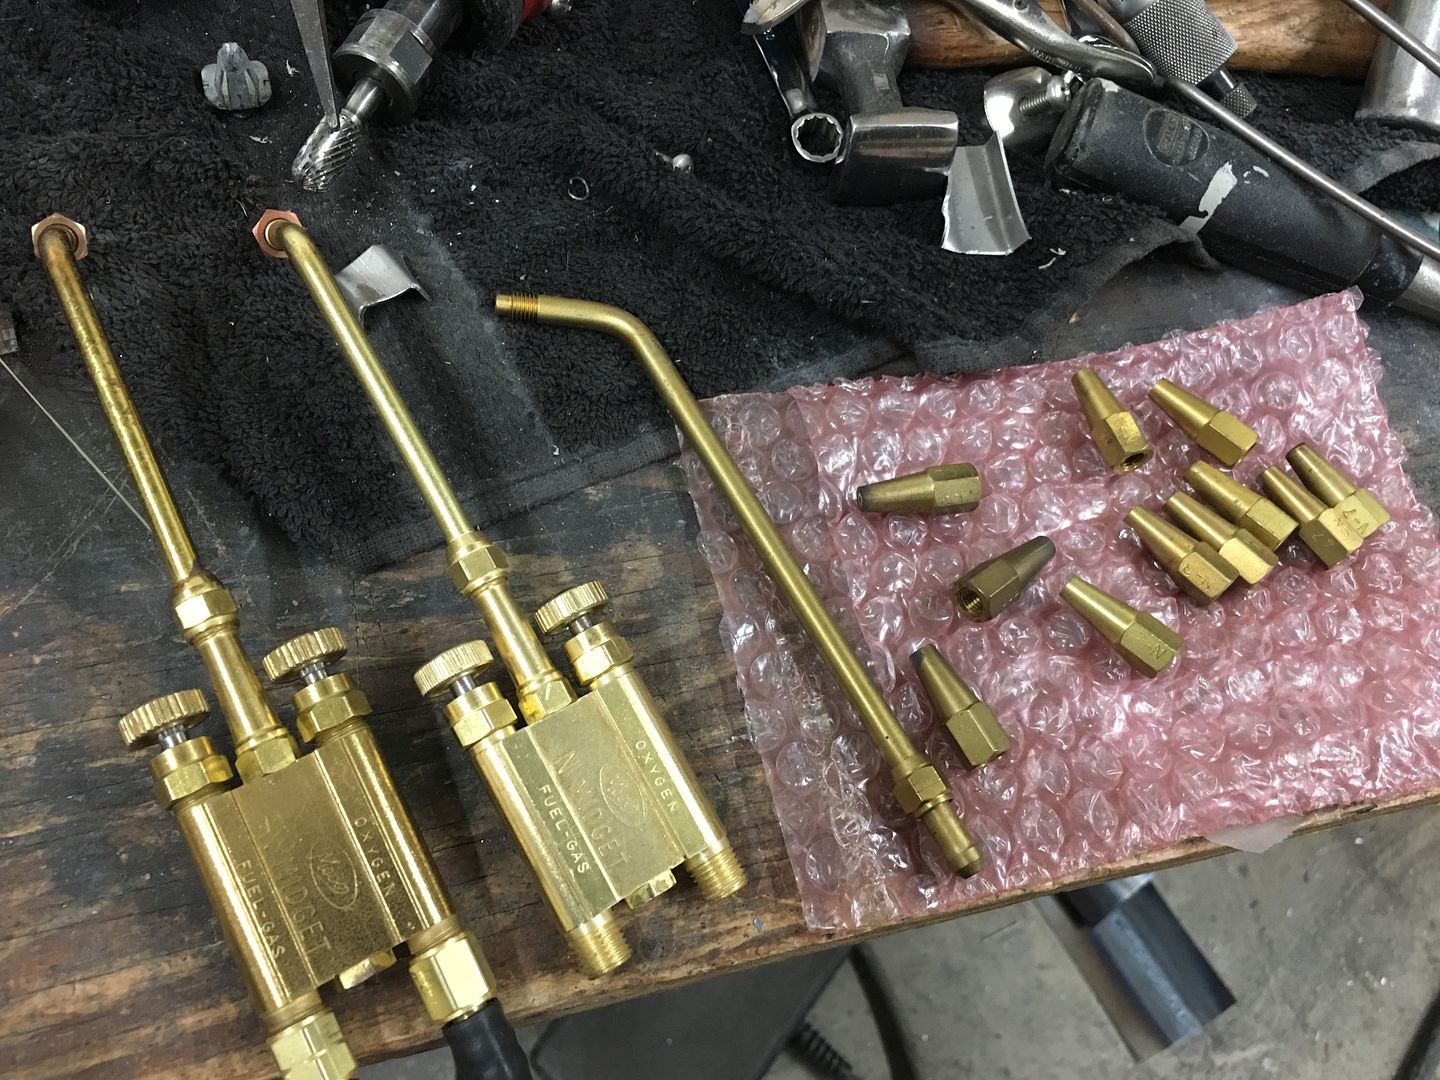
  • Last night I tried to tackle the wizardry of filming the gas welding with the goal of better visibility of the weld puddle. This is about as close as I can get with using a iPhone camera and a welding helmet lens. Also made use of a Milwaukee LED light to brighten things for less of a change in light.


    These are filmed through the Miller Digital Elite, Weld setting 9, delay 2. sensitivity 6. I think I still need to come up with something better, especially for showing any TIG welding. Are there any Photography guru's that can steer me in the right direction for filming weld processes?


    Tacking:


    Trying to get the video set up for torch welding. This is using a Milwaukee LED light to brighten up the area, seems to allow the weld puddle better visibil...


    Weld pass:


    Practice with the camera settings so we can better see the weld puddle.

    Robert


    Instagram @ mccartney_paint_and_custom


    MP&C Youtube Channel

    Comment


    • Sorry - I got nothin' on the photography thing. What happens if you shoot thru a gas welding lens?

      Dan

      Comment


      • I'll have to give that a try as well..


        Did some mockup of the fuel lines so we could get the required fittings identified..


        Finishing up the polishing of our seat belt escutcheons.. after using roloc scotchbrite pads to clean up the vixen file marks, we then used 320 dry, 1500 wet, and 3000 trizact damp. Then to the polishing..


        Here's the comparison between the 3000 and after polishing..


        That should do for us..
        Robert


        Instagram @ mccartney_paint_and_custom


        MP&C Youtube Channel

        Comment


        • Some progress, doesn't look like much until you look at the floor...


          Sometimes these louvers can be a challenge to sand.


          In the spirit of "everything's a tool", a strip of 18 ga steel and a wrap of PSA paper does a good job of getting in the tight spaces.


          Another shot of the scrap pile before I clean it up, this is what went into fabricating the escutcheons..


          And now for the reason we didn't post earlier this week, had to make a speed run for Taco Tuesday.. even saw a full rainbow in the process.


          Sometimes we go the Cocoa Beach for the sites. On Tuesdays we go for the Tacos at Sandbar Sports Grill..


          Back in the shop this weekend, but we had a distraction in another Meco torch that showed up for sale not three miles away. So needless to say about the only thing accomplished was more welding practice!!


          After planishing...


          More weld practice, 18 gauge cold rolled fusion welded with the Meco, tip N1, after planishing.


          .
          Robert


          Instagram @ mccartney_paint_and_custom


          MP&C Youtube Channel

          Comment


          • I'd like a chance to mess with a Meco some day. Nobody I know has one. Looks like you have pretty well mastered it.

            Dan

            Comment


            • Thanks Dan, but I'd say more practice required on this end.


              More progress on the wagon, we had ordered some 3/8 Stainless fuel line, which comes in a coil... so we needed to be able to straighten it out as I can see me "unbending" and getting it right.. So I placed an order with McMaster Carr for some pulleys designed for 3/8 rope and using 3/8 bolt hole in the bearing. Part number 59475K51.


              A drive mechanism was made using 3/8-16 stainless all-thread, and the slider was cut and re-welded to better fit the 1" square tubing.


              A better view all around of the design, we used three pulleys so this could also serve as a bender as well as straightener..


              we recently ordered a coil of stainless fuel line, needed to make a tool for straightening the tubing. This was made using 1" square tubing and uses McMaste...


              Then Mike and I did a test run using copper tubing...


              using a piece of copper tubing for the test run of the tubing straightener


              Now onto the stainless....


              At this point we measured and cut the 20' piece in two so it would be more more manageable.


              Straightened....


              Now we used the adjustable spline to get the curve of the frame for the proper bend on the stainless...


              A strip of tape applied helps to lock the shape from moving, and the tubing is marked for the radius distance..


              The tube is placed back in the new machine to add the radius to match our profile...


              Adding some of the needed bends...


              For some of the interior details, we took delivery of the speaker trim rings from my cousin JB, he did a nice job cutting these out for us... They still need holes drilled, stainless mesh cut to fit, and polishing...


              ....and our Mopar door clips we were going to use for the rear arm rests turned out to be a bit brittle, most snapped off rather than pull back through the hole. So we ordered the similar GM version, keeping our fingers crossed...


              Alas, in my typical Murphy strikes again mode, these were slightly smaller and/or the holes already located in the kick panels were slightly gaping.. We searched the entire shop for a MacGyver solution and found that a 3/8-16 hex nut did a good job of "capturing" the clip, but without the "not letting go" part that a hole in sheet metal provides if the clip rotates slightly while in the hole. So some 3/8 stainless nuts were machined so that they could be welded into the kick panel and yet have the thread grip flush at the surface.


              Robert


              Instagram @ mccartney_paint_and_custom


              MP&C Youtube Channel

              Comment


              • Saturday we got the tank installed so we could get a good reading on where it locates in relation to the body mounts in front of the axle.


                We also pulled a pattern from the body mount so we could bend the lines around it accurately.


                Highly technical drawing showing our tank location...


                Tank located per our drawing in relation to body mount..


                The more I look at this, the less I wanted to use the braided lines between the hard line and the tank. I'm just not comfortable with another fitting in the vicinity of the tail pipes. So back up and punt, looks like we're getting new tubing and bending again. The last lines weren't long enough to make it back to the tank, so we'll chalk them up as practice pieces, learning curve, if you will...

                Here the Body mount pattern is bolted up, the lines will make a bend behind this body mount, travel across to the middle, and then toward the back where it will attach directly to the tank.


                The lines will come close to the passenger tail pipe, so we'll add a heat shield. I visited a local motorcycle shop and picked up a donor...


                trimmed to fit...


                That should do. Next, we need to finish the kick panels for upholstery, which means mounting the speakers. The trim rings from cousin JB will need holes drilled to match the speakers. We have some button head allen screws we plan on using, but didn't really care for the surface mounted look...


                This would look so much better with the details of counterbored holes. Alas, the pitfalls of working on Saturdays without a local source. What's a person to do but make their own. The extended die grinder almost fits the Aloris tool holder too well, like it was made to be.


                The long nose grinder fits too easily in the Aloris tool holder, must be a sign. We needed a counterbore, and without a local source on a Saturday, what is ...


                A 120 grit roloc sanding disc does well to backface the cutting edge and we are in business..


                Much better, all in the details..


                ….and adding the tweeters to the kick panel...


                Robert


                Instagram @ mccartney_paint_and_custom


                MP&C Youtube Channel

                Comment


                • What a project! I would love to see it in person some day. I hope it gets out and used properly!

                  This has been fun to watch, I can't wait to see it finished.
                  A.K.A. Brian
                  Jack of many trades-master of none

                  Comment


                  • Great project, thanks for sharing.
                    Jim & Cathy North Mankato, MN Long Haulers '04,07,08,09,10,11,12,13,14,18,21Short Haul '05,'15,'17,’19 WST '14,'15,'16,'17,’18

                    Comment


                    • Thanks for checking out the progress guys!


                      Took delivery yesterday of the 304 Stainless mesh for the speaker grills.


                      Just like we used different widths on the trim rings so they would be proportional to the diameter, with the mesh we used three different sizes as well..


                      For the bass speaker grill we are also adding a BelAir emblem. The mesh will be recessed for that so the emblem is flush, then the remaining mesh will be pressed outward so it is flush with the surface of the trim ring. (or so) Now for the unofficial poll, would you orient the mesh straight across/up and down, or at a 45 degree rotation?


                      Robert


                      Instagram @ mccartney_paint_and_custom


                      MP&C Youtube Channel

                      Comment


                      • 45*.
                        Looks great, but so does the entire project.
                        Ed, Mary, & 'Earl'
                        HRPT LongHaulers, 08, 09, 10, 11, 12, 13, 15, 16, 17, 18, 19.


                        Inside every old person is a young person wondering, "what the hell happened?"

                        The man at the top of the mountain didn't fall there. -Vince Lombardi

                        Comment


                        • Amazing as usual. I vote 45 degrees.
                          Chris - HRPT Long Haul 03, 04, 05, 13, 14, 15,16 & 18
                          74 Nova Project
                          66 Mustang GT Project

                          92 Camaro RS Convertible Project
                          79 Chevy Truck Project
                          1956 Cadillac Project

                          Comment


                          • I'll go with 45*. And I agree with the other guys - as always, amazing work.

                            Dan

                            Comment


                            • 45....
                              Patrick & Tammy
                              - Long Haulin' 2008, 2009, 2010, 2011, 2012, 2014...Addicting isn't it...??

                              Comment


                              • Thanks to all for their input on the speaker grilles, the owner has decided on the 45* rotation. Our other choice to ponder was whether to use chrome, polished, or brushed finish. We clamped some of the rings in the lathe and gave it a brushed finish, others were polished so we can compare..


                                Here it was decided to go with the polished over brushed, and for ease of maintenance, we opted for chrome plating. So all the holes were drilled, counterbored, and transferred to their respective mounting location. The tweeter trim rings will be held in place with 6-32 hardware, the mids use 8-32, and the sub uses 10-32. Rivet nuts were installed where needed..


                                With the trim rings ready to send for plating, we turned our attention to the fuel lines, where we wanted a direct run all the way to the tank. Our bending efforts found Mike in a bit of a stretch..


                                The fuel line passes behind the body mount, we have a heat deflector in place where it passes over the tail pipe, and then it will connect directly to the tank. They will be secured with adel clamps fastened to the floor braces from underneath. Return line in place, supply line to go:


                                .
                                Robert


                                Instagram @ mccartney_paint_and_custom


                                MP&C Youtube Channel

                                Comment

                                Working...
                                X