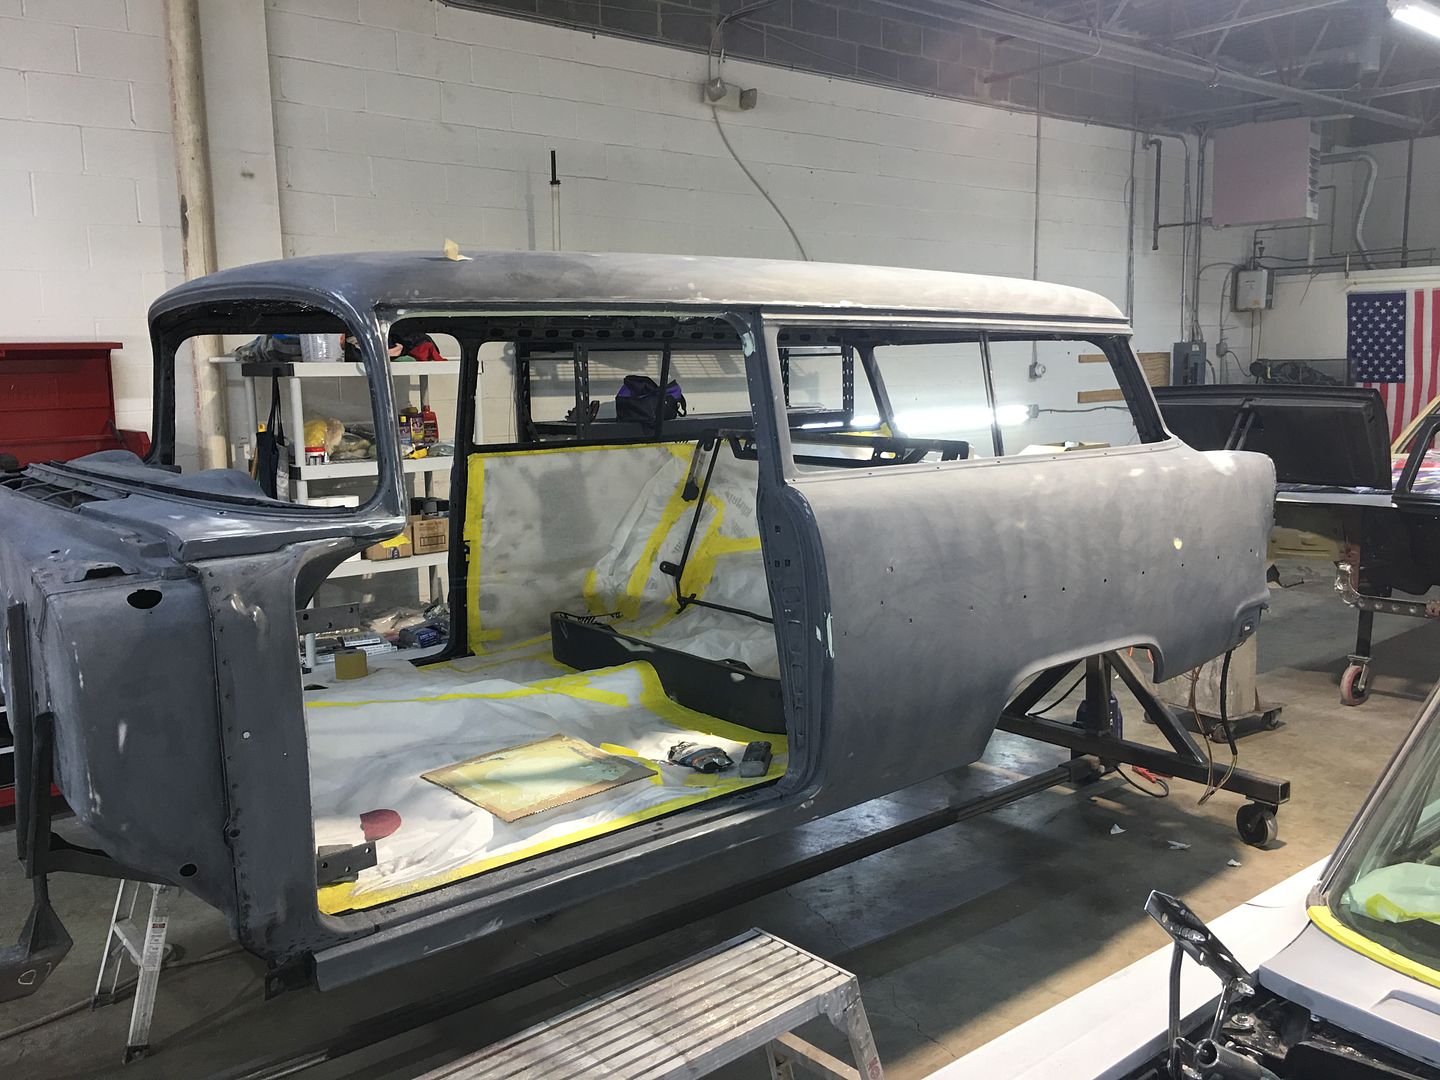
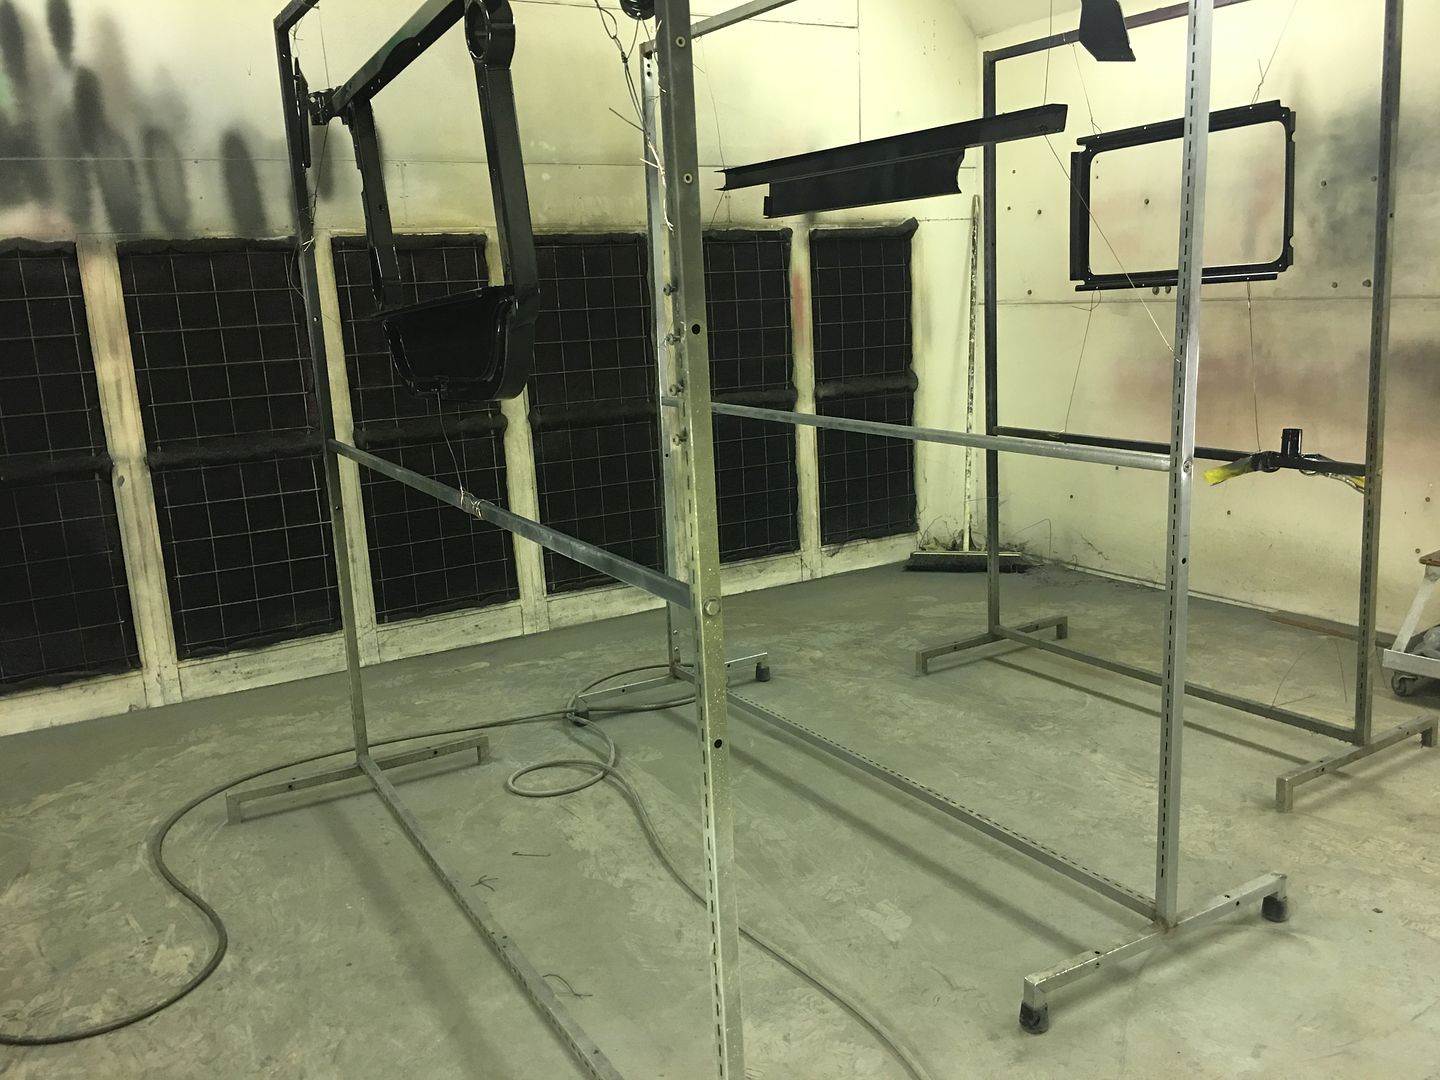
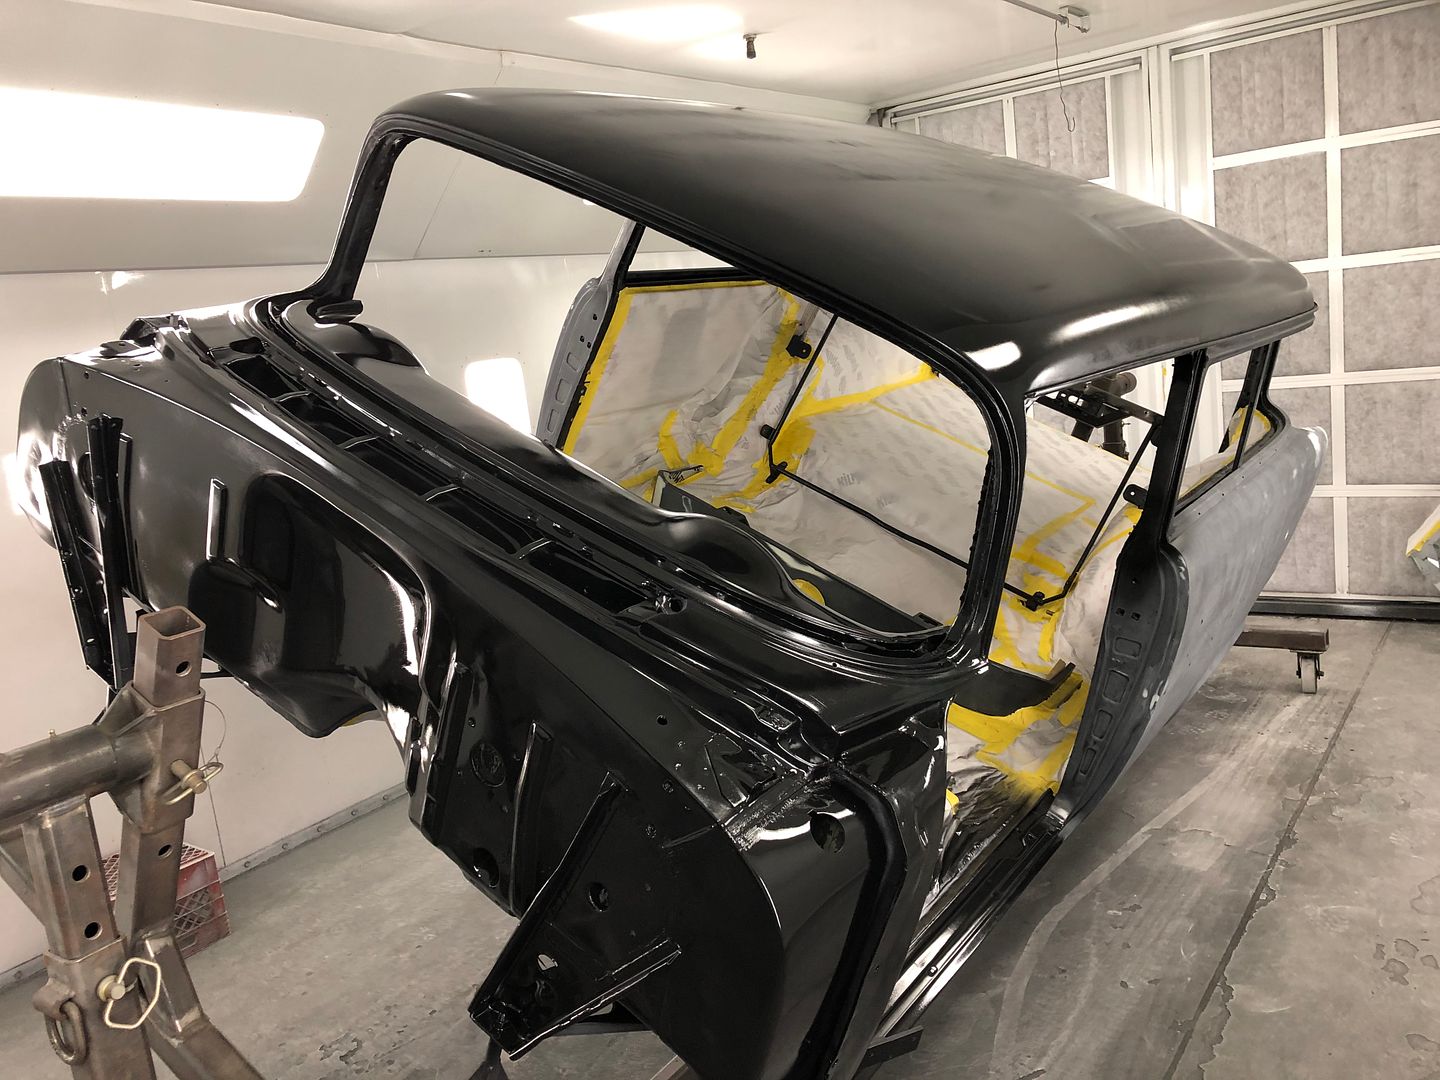
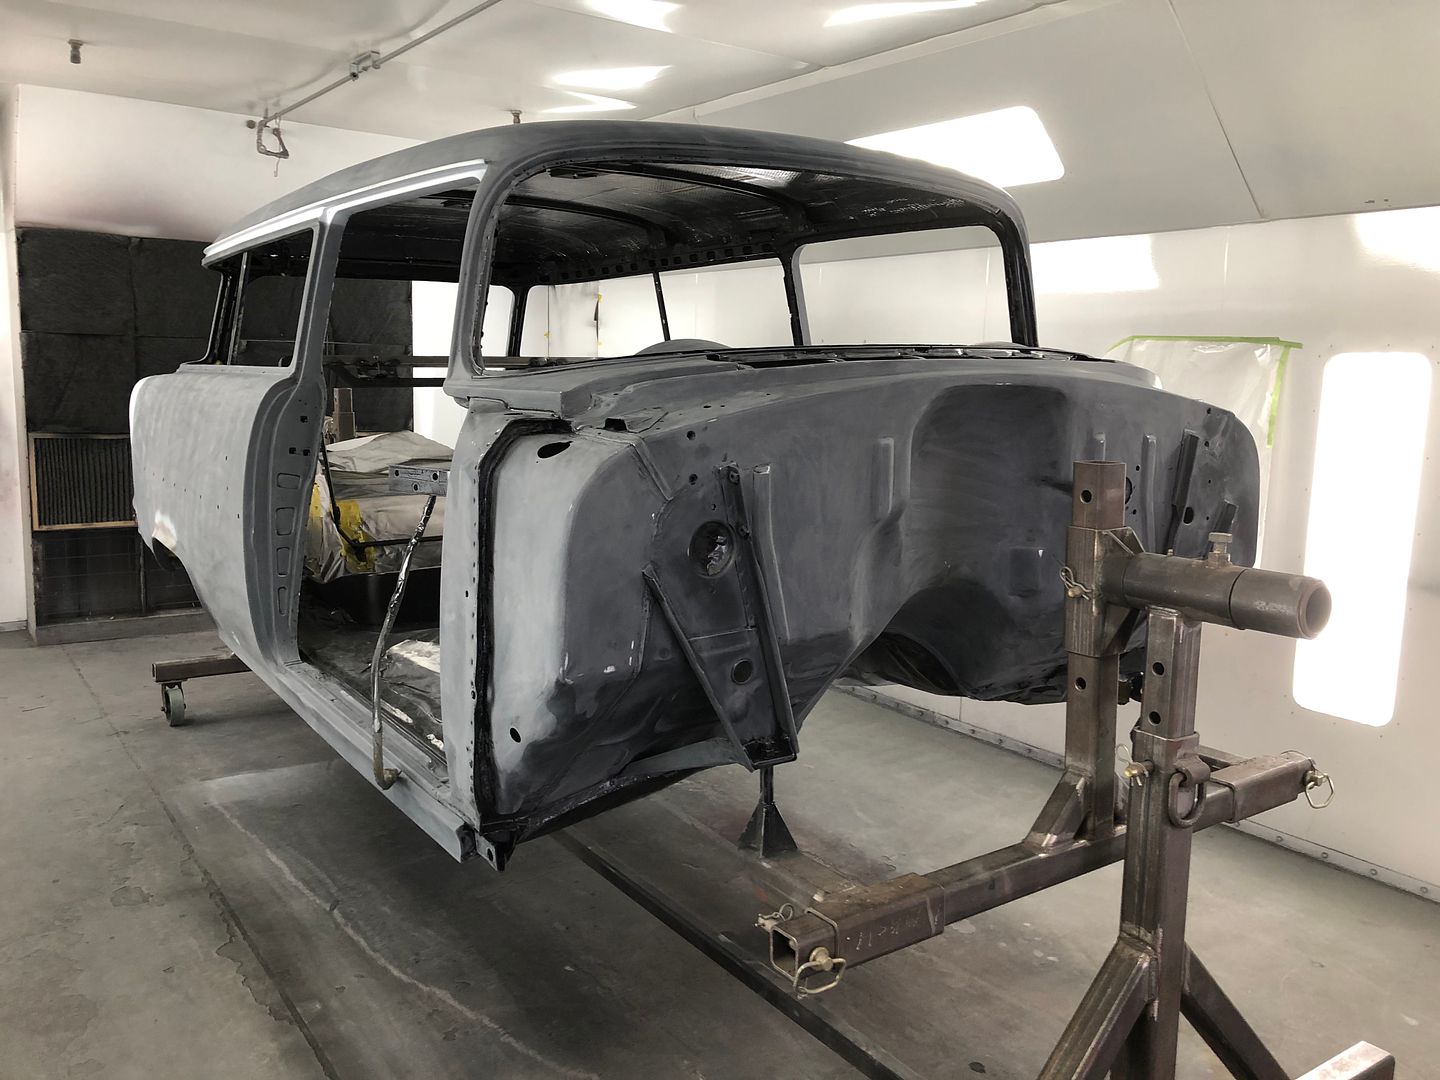
Not many pictures to show on our wagon progress, the body has been blocked out and Brandon is getting some touch ups done to get ready for one final epoxy sprayout..
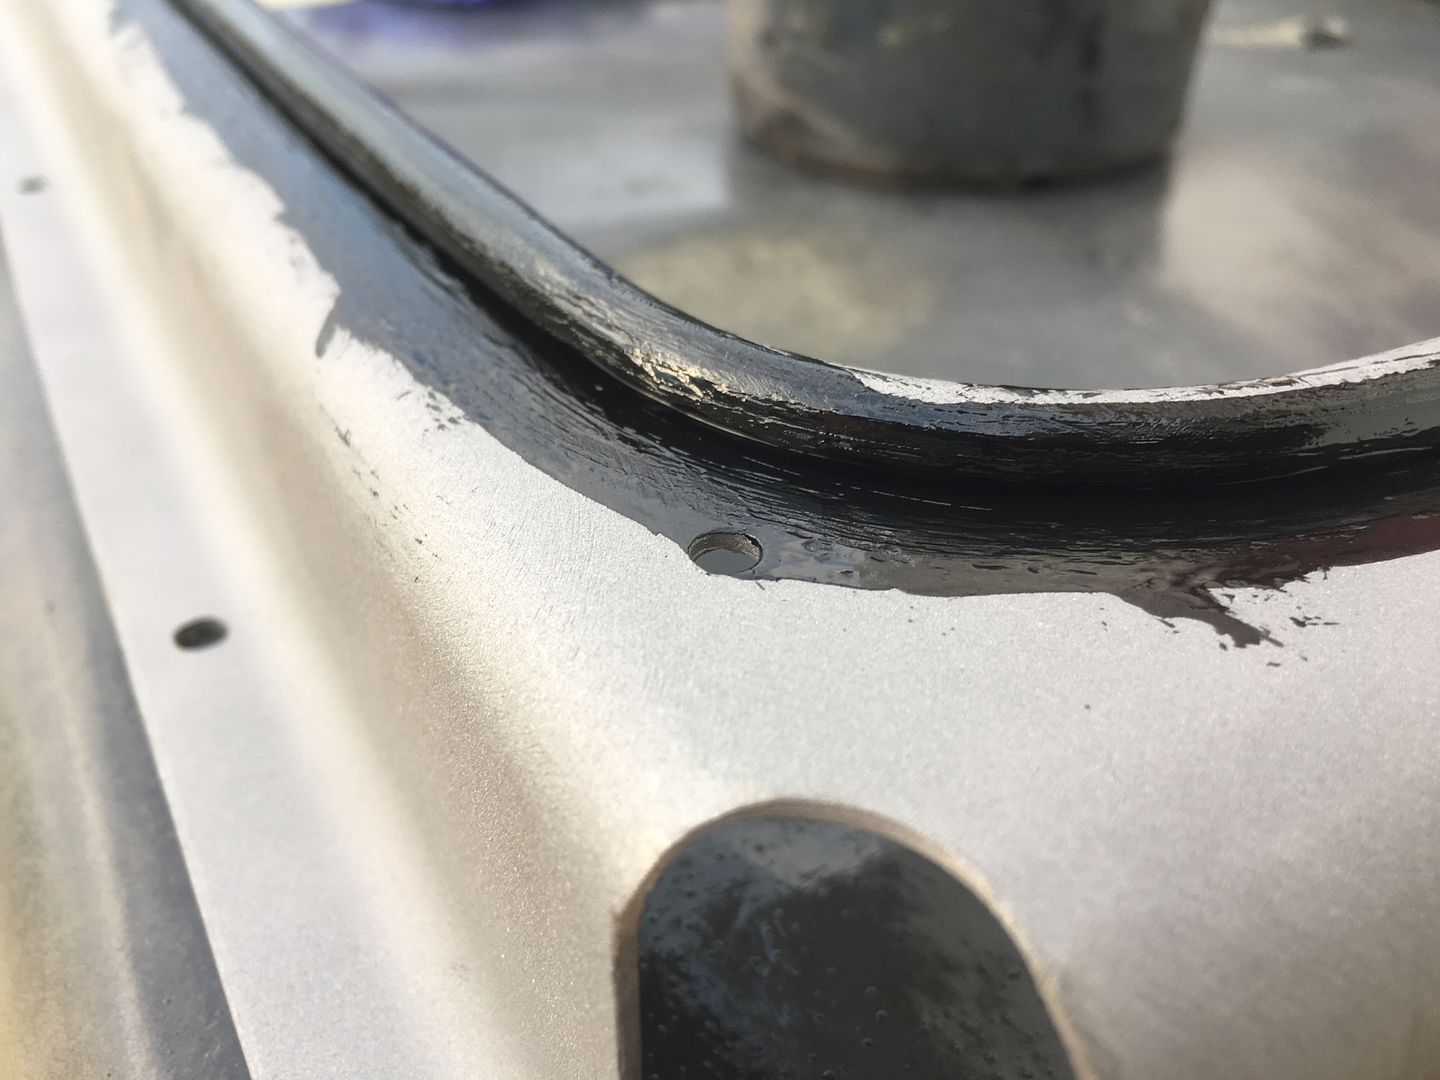
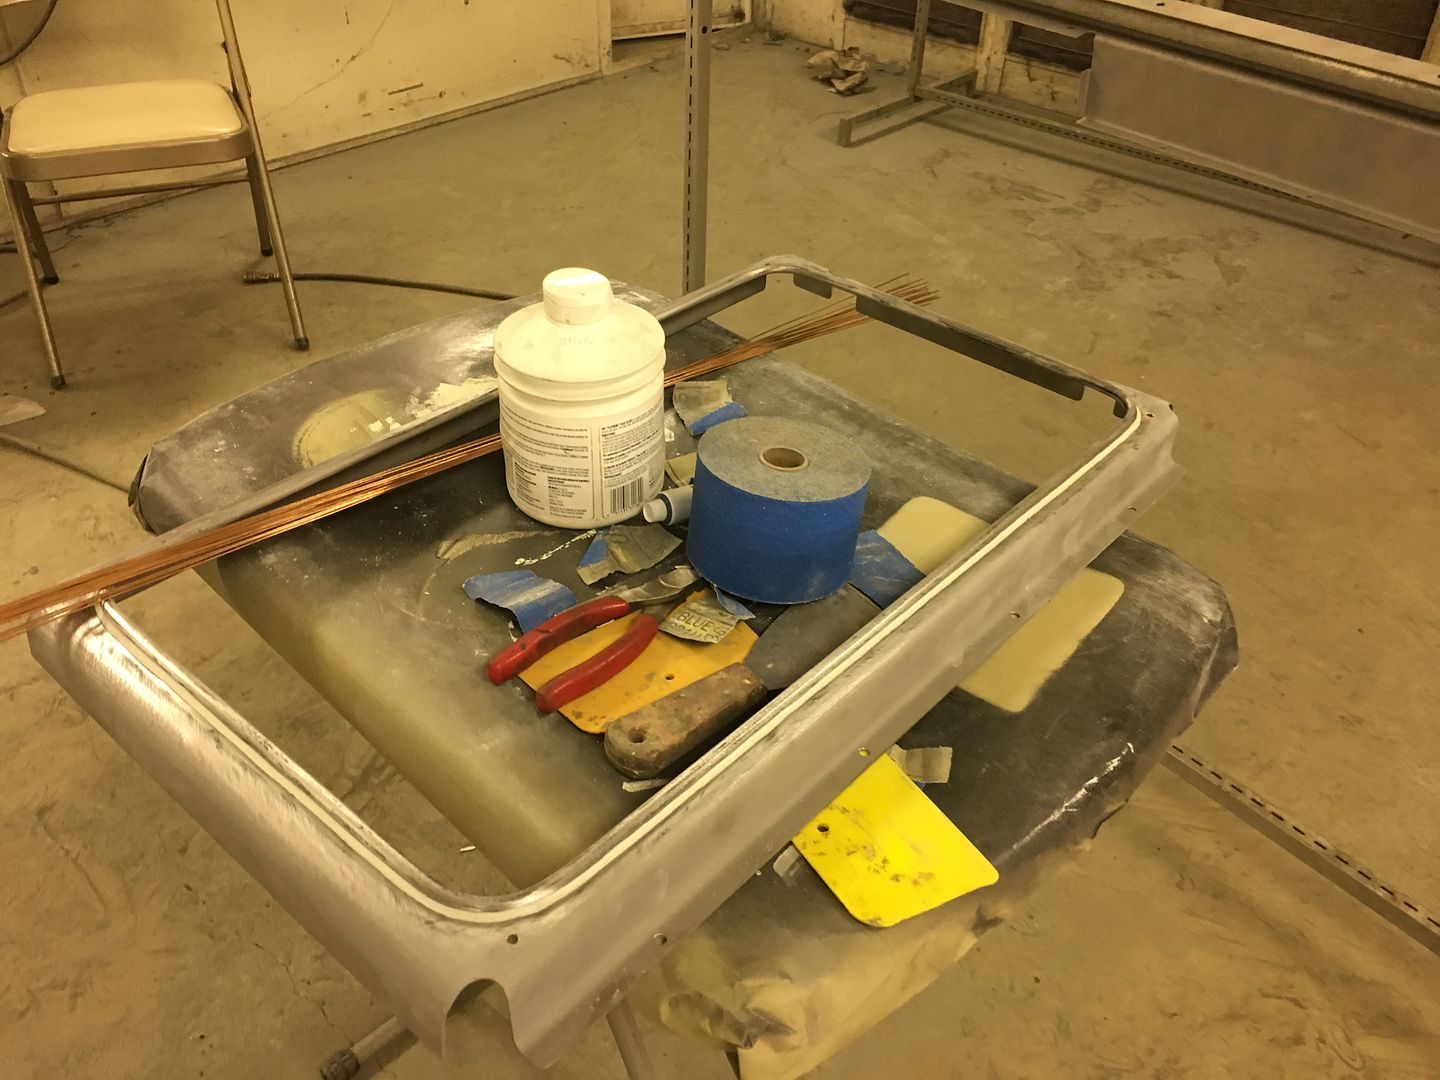
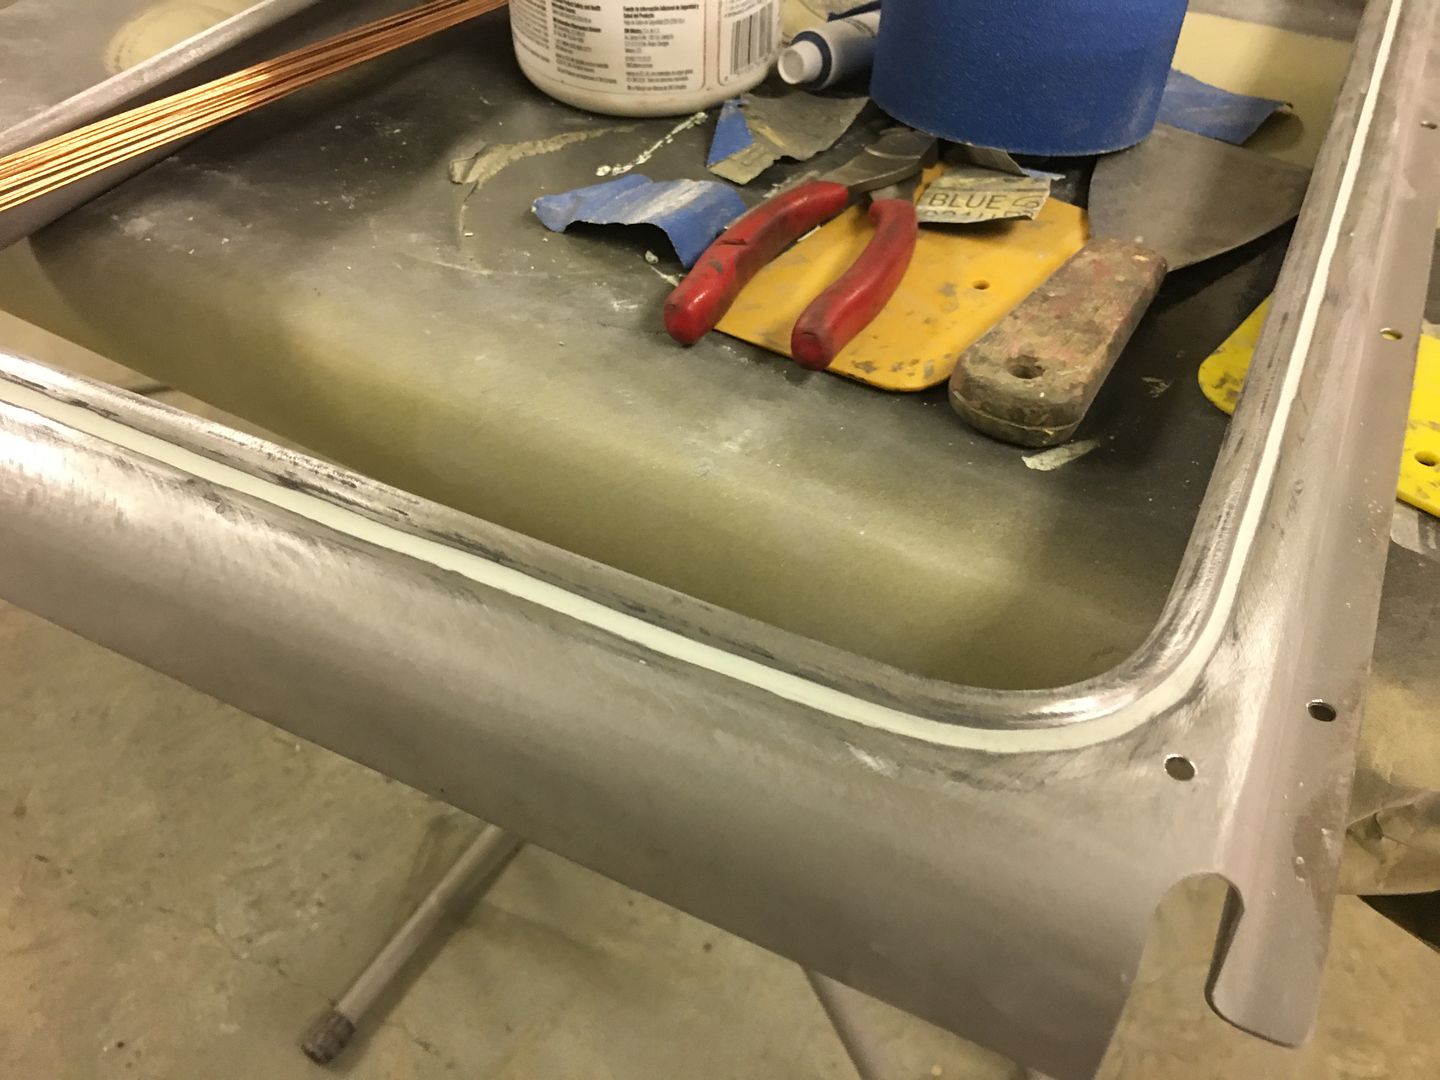
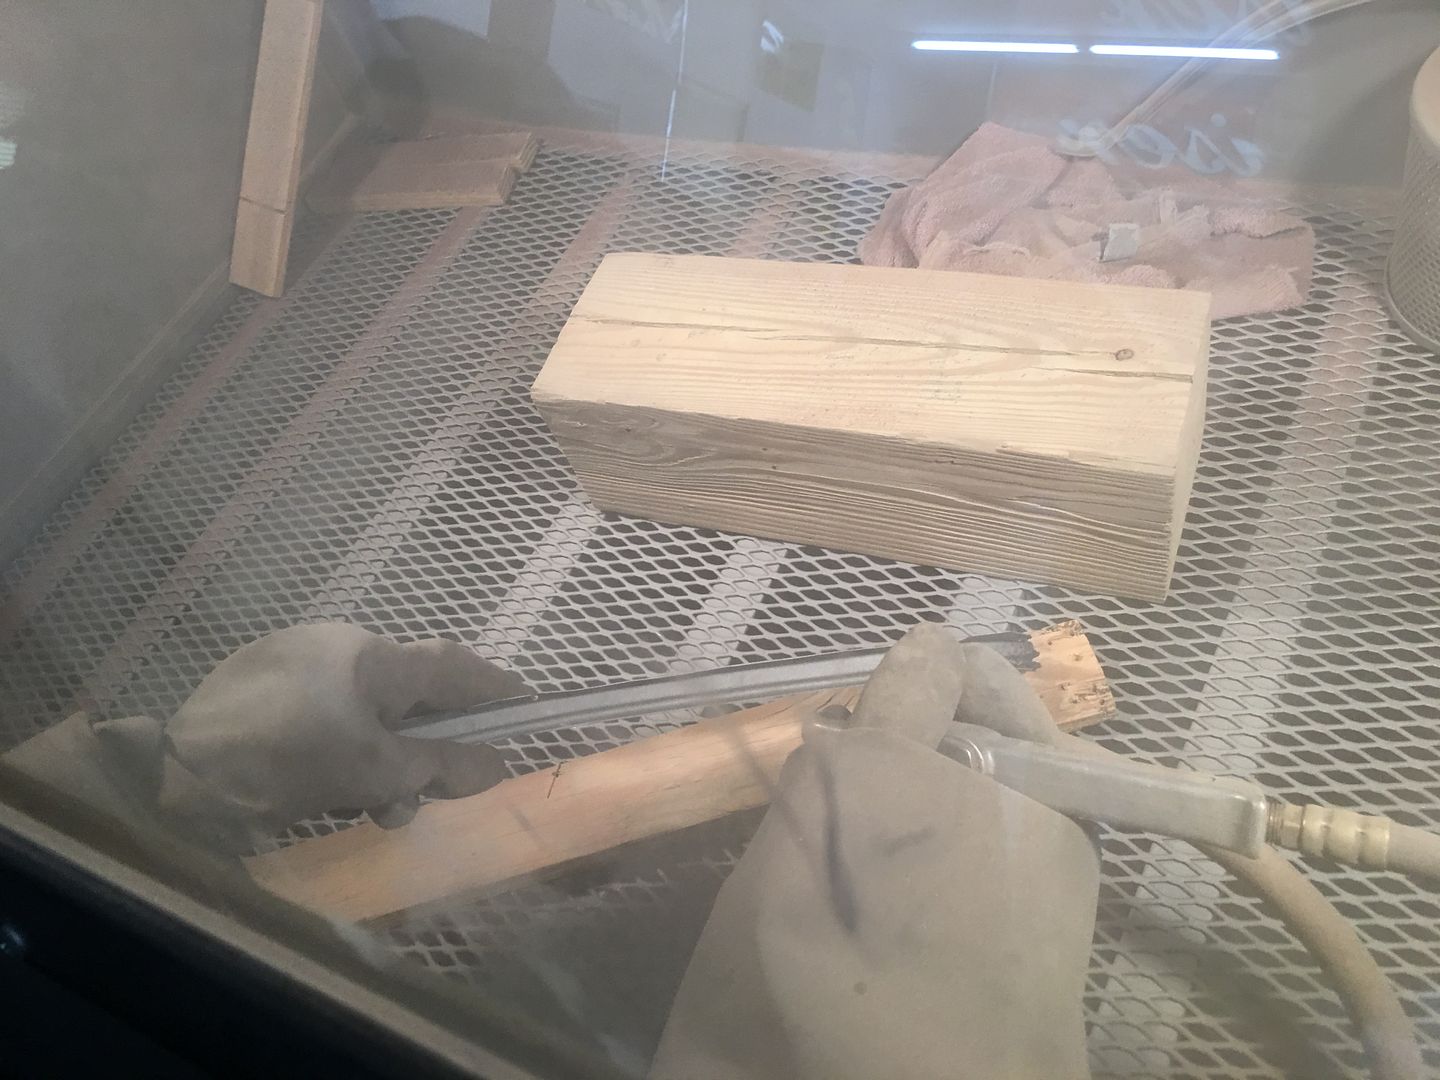
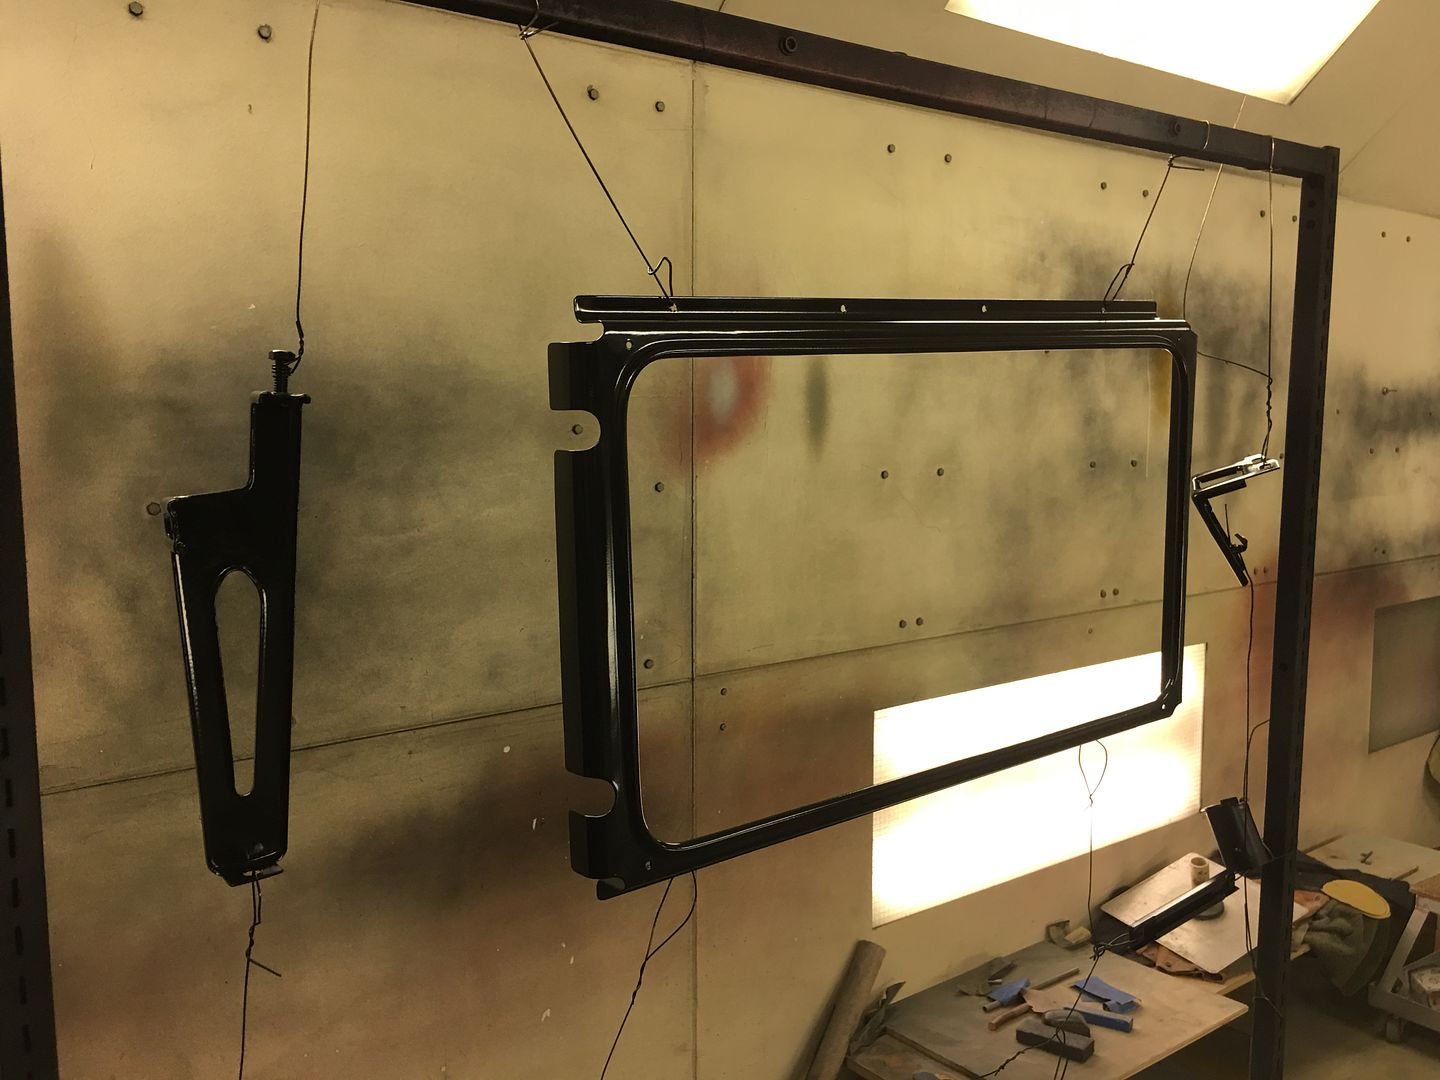
Vince has been given the thankless task of media blasting some of the remaining bare steel components so we can get some painting done of piece parts on this end. The condenser mount was media blasted, epoxy used to seal the wired edge, and some Evercoat 416 added and sanded smooth to form a slight radius fillet to finish it off.. We should be priming this coming week..
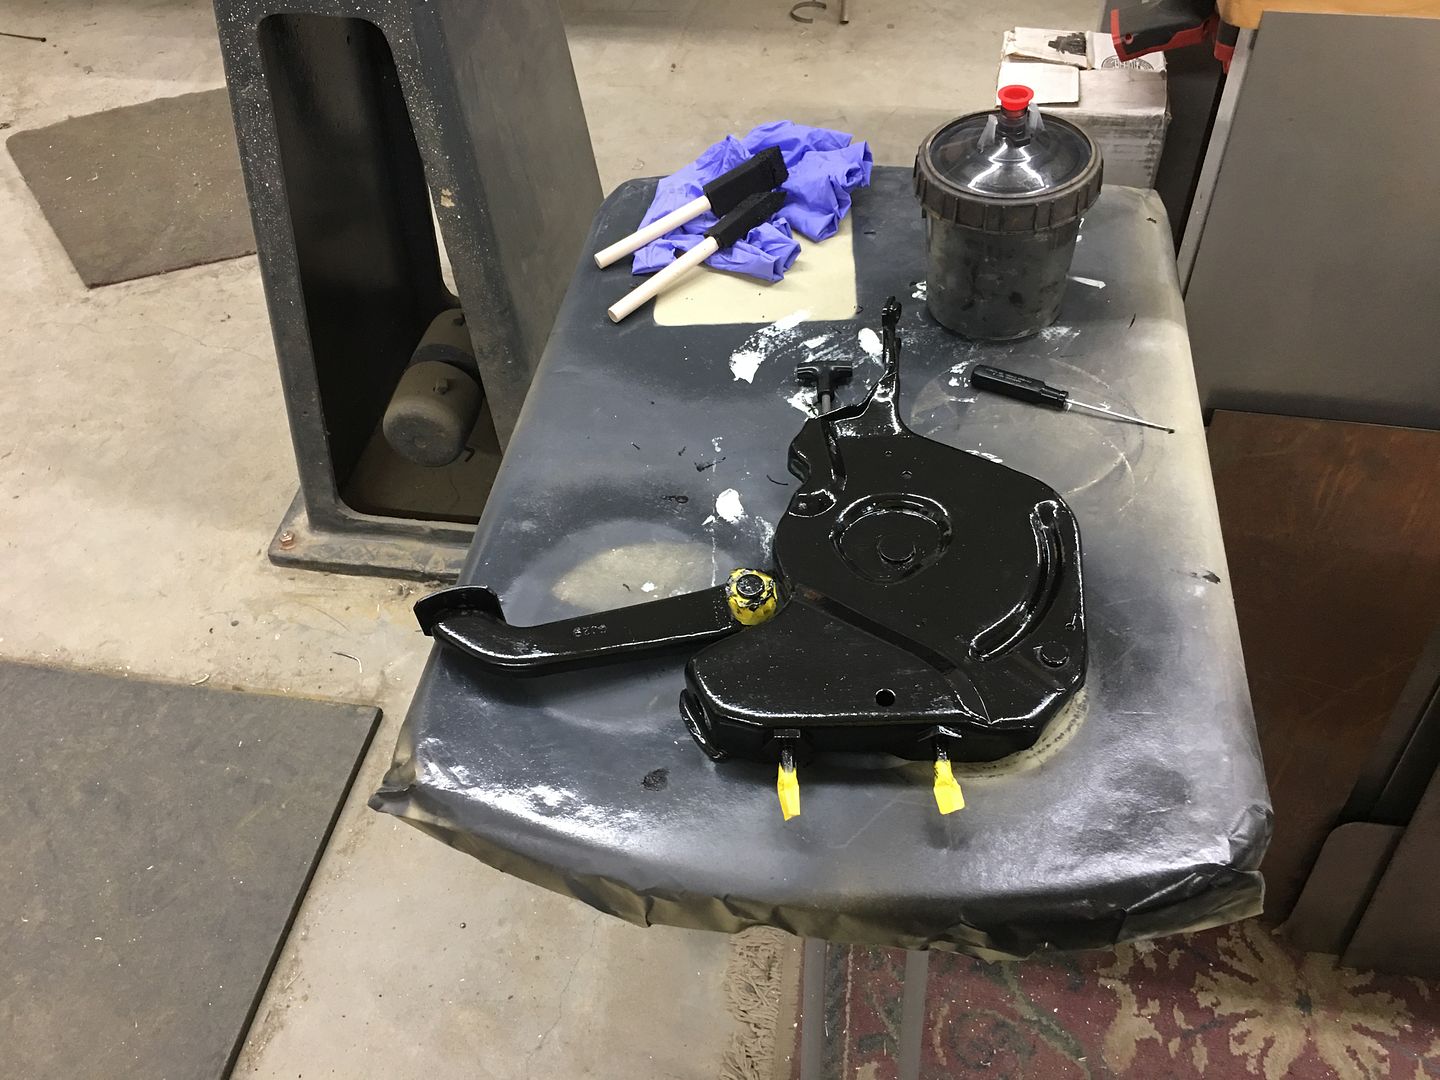
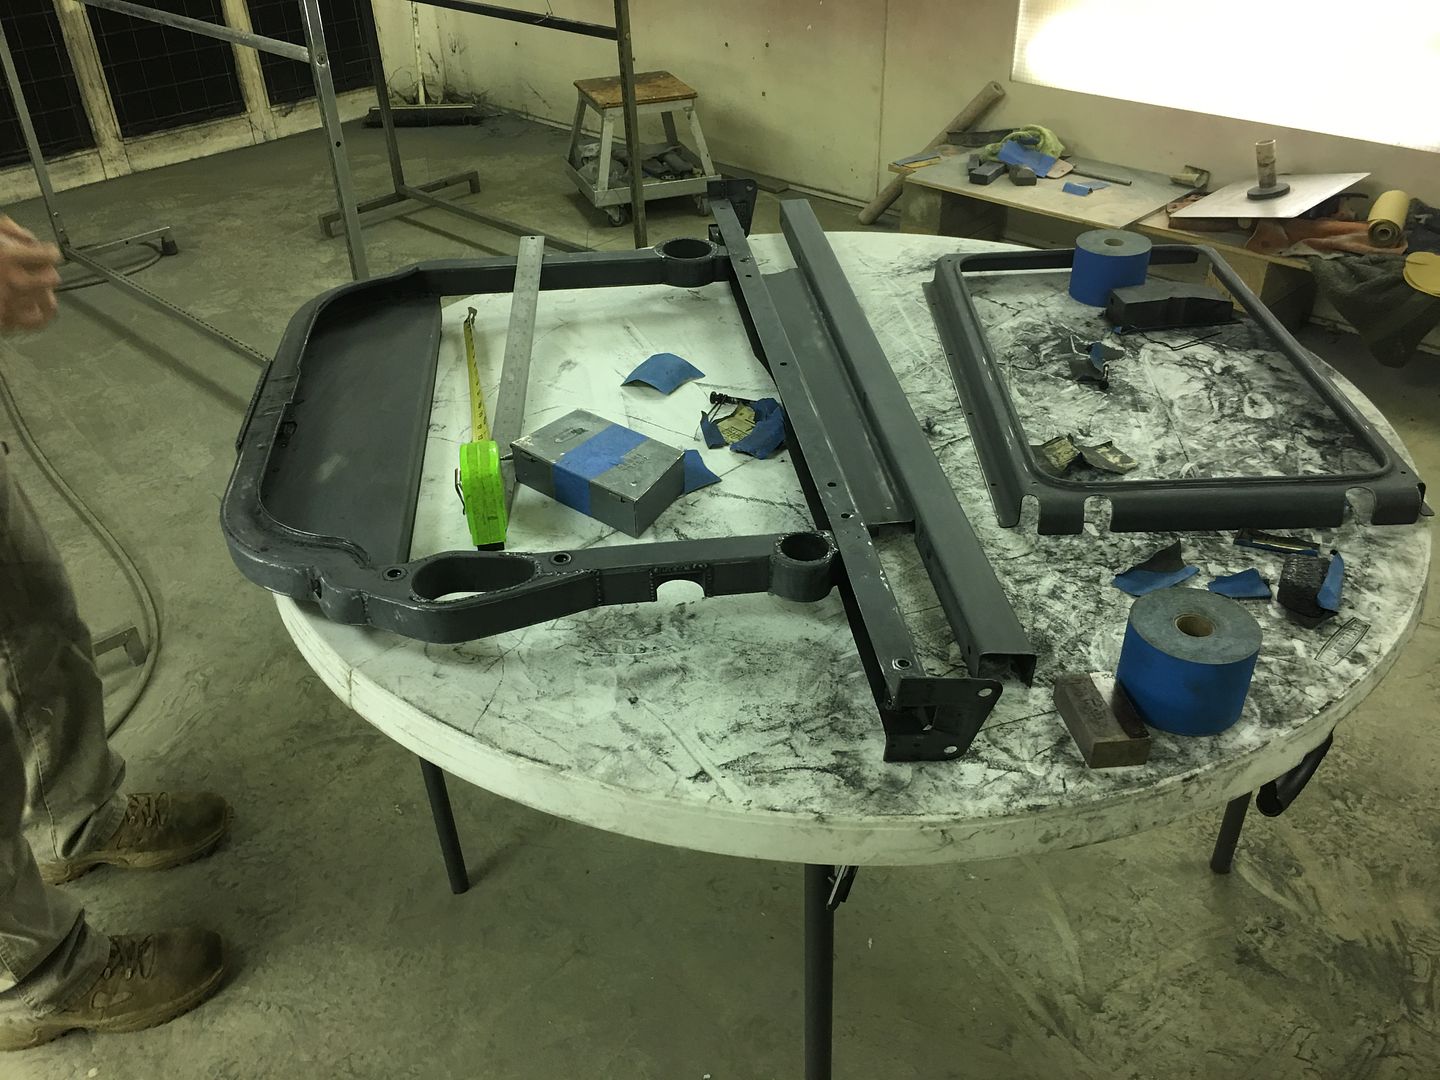
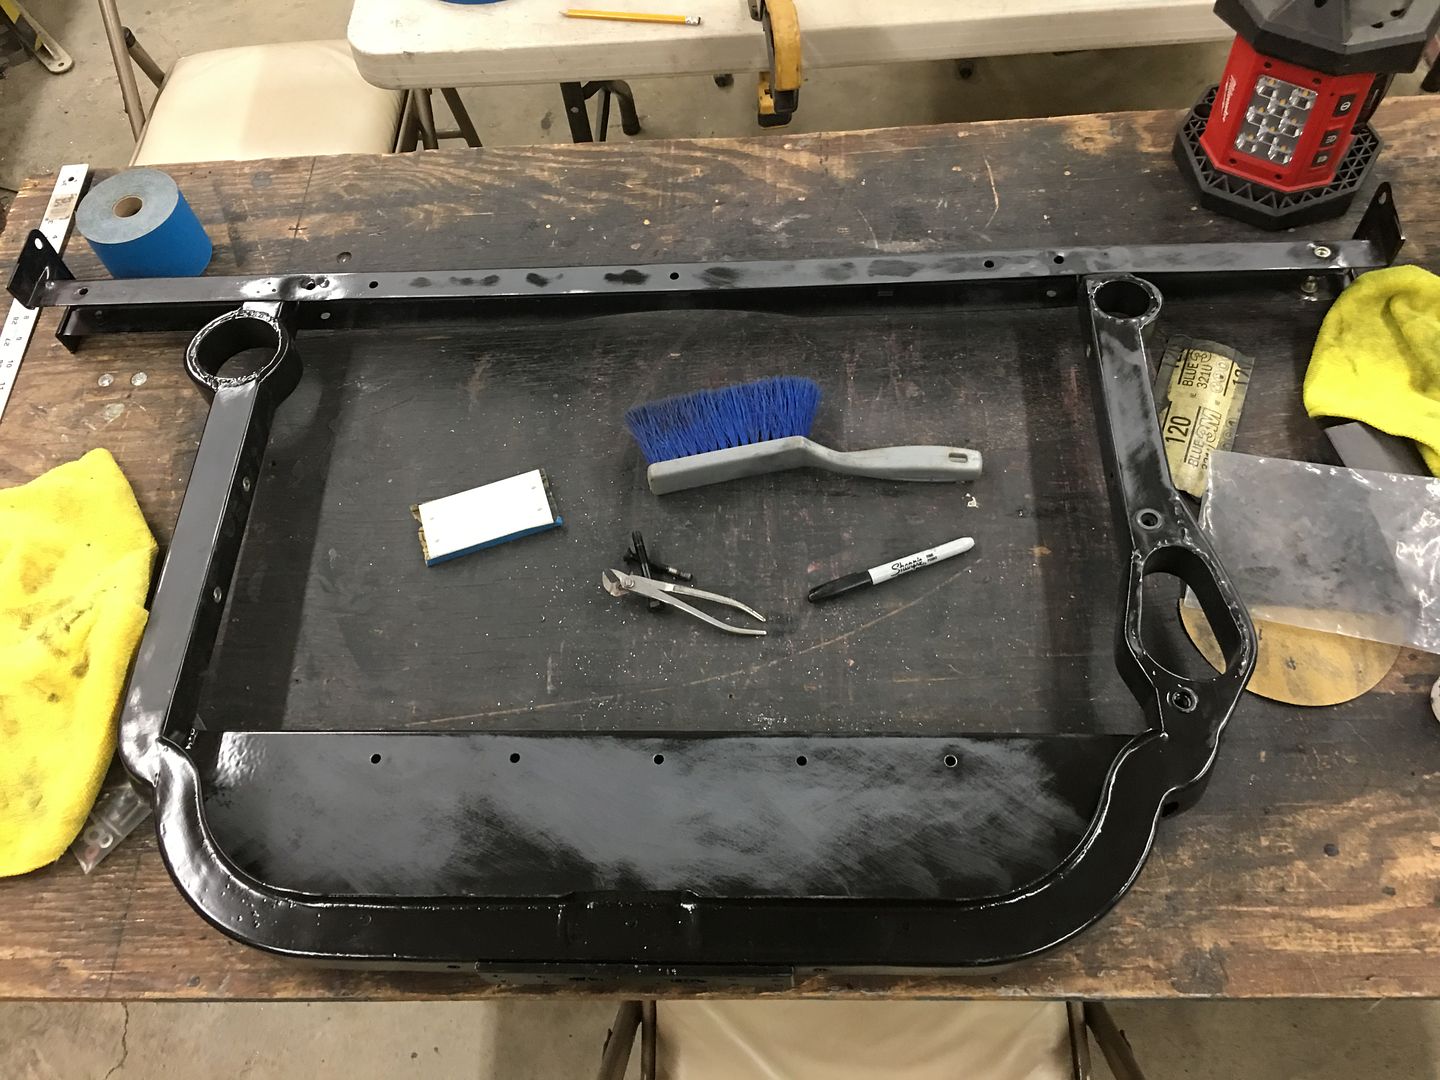
Today Vince was doing more media blasting of additional interior pieces as well as some hand painting on the parking brake for the wagon. It had some bare steel still so he got most of that covered. The ratchet/gear was left alone as we thought the epoxy would anchor it permanently..
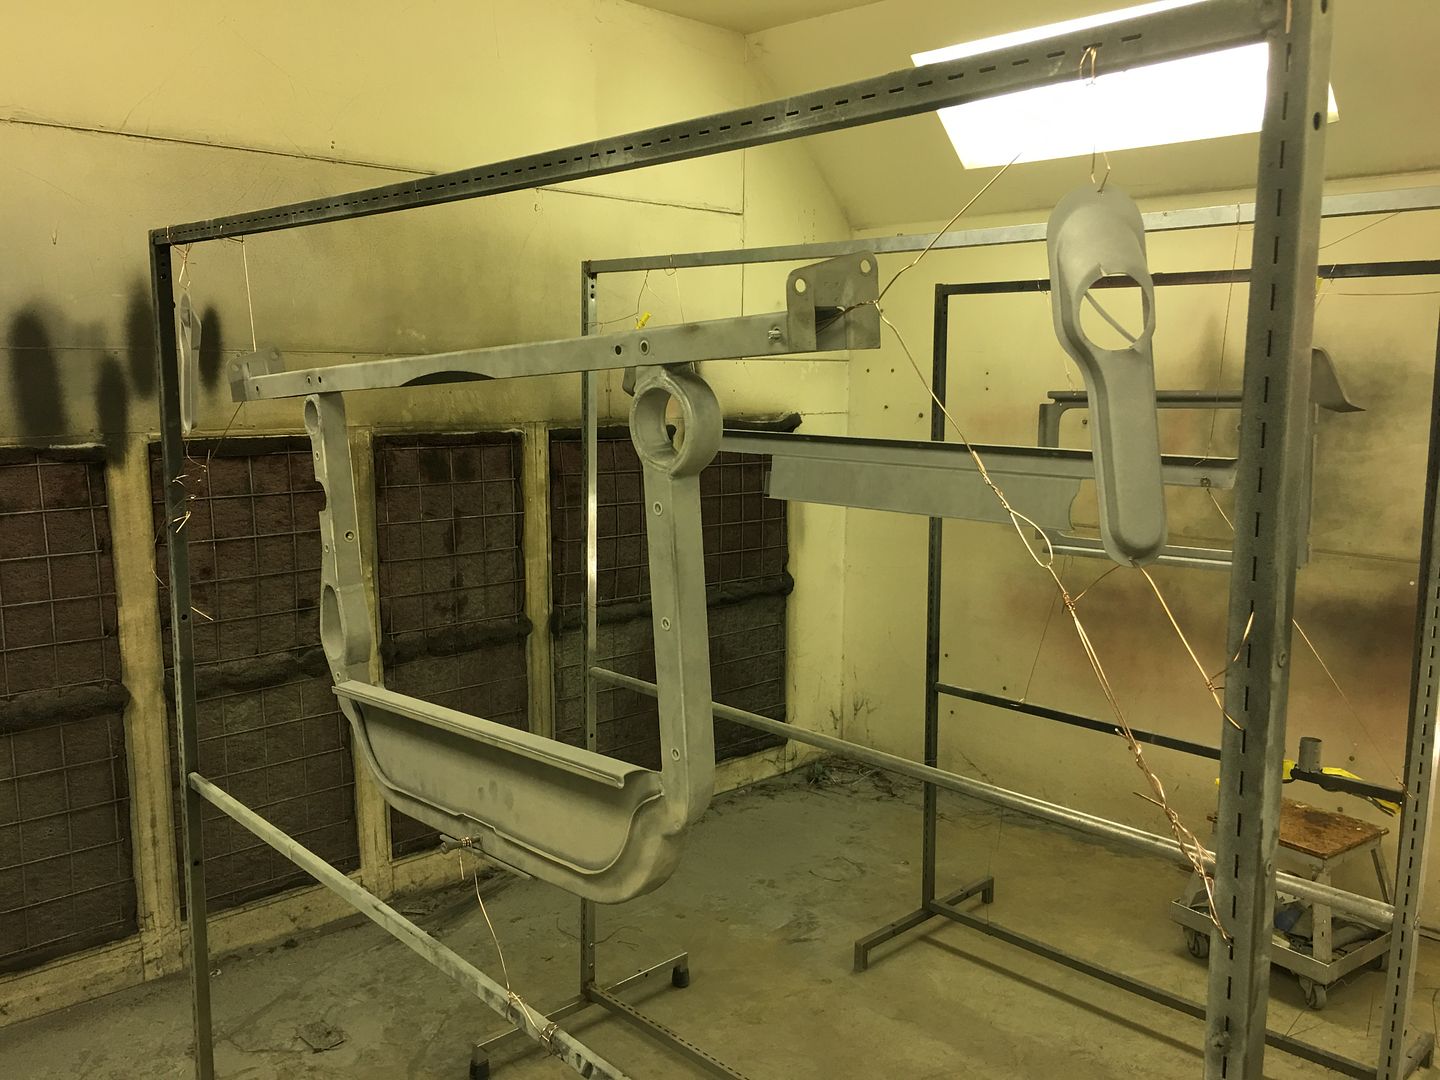
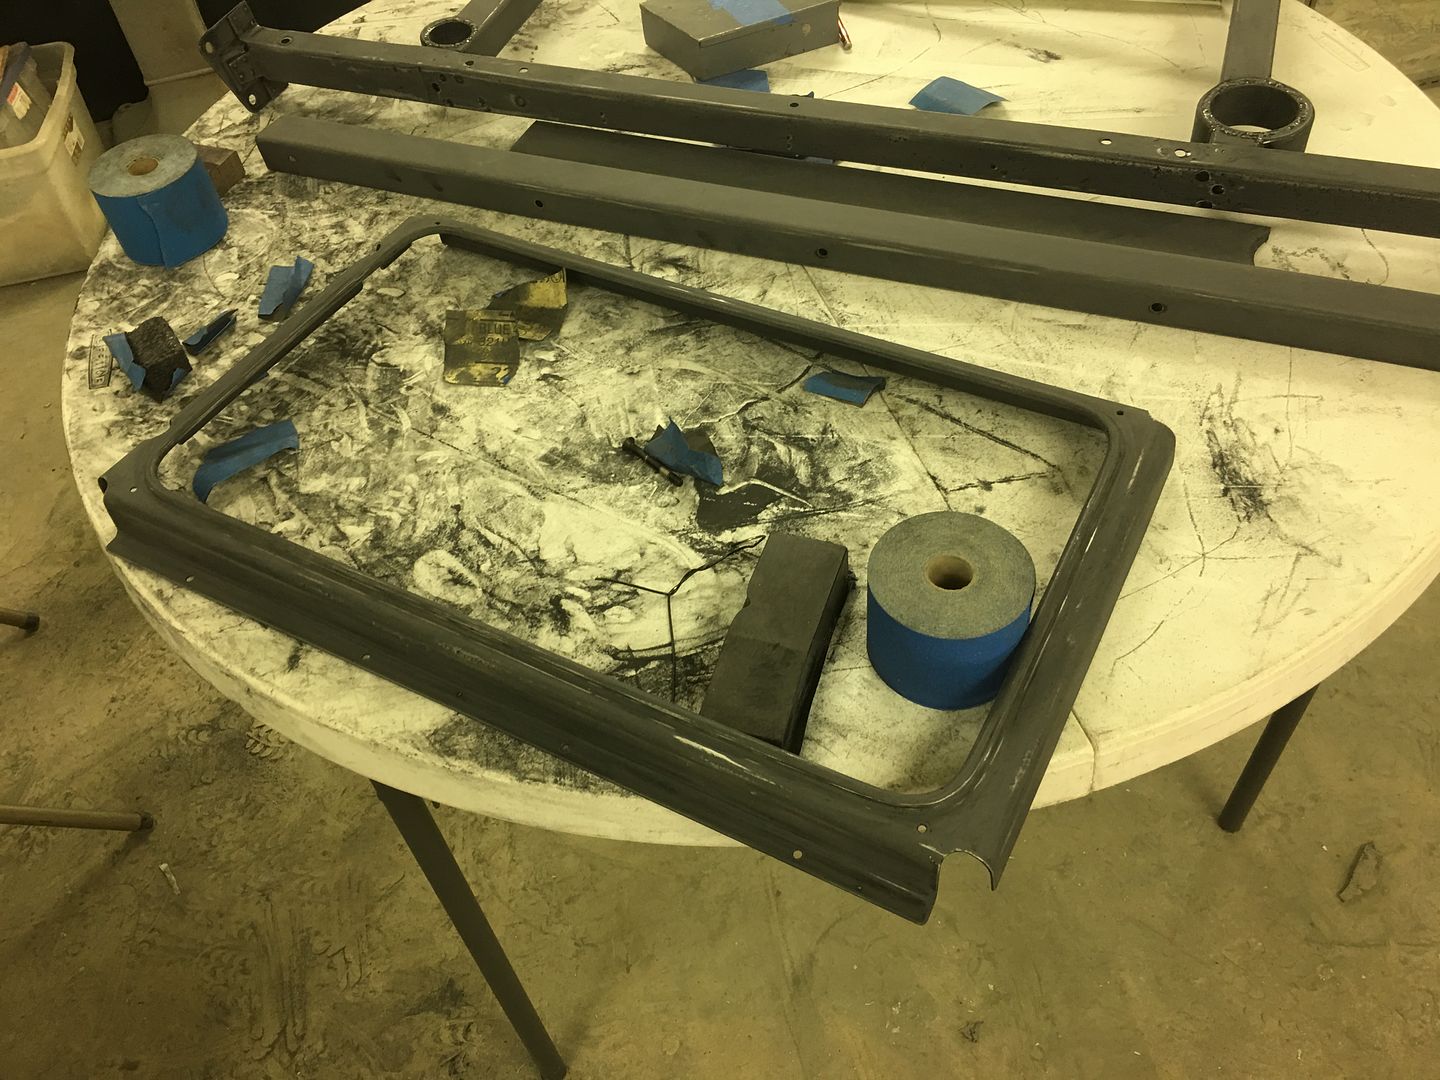
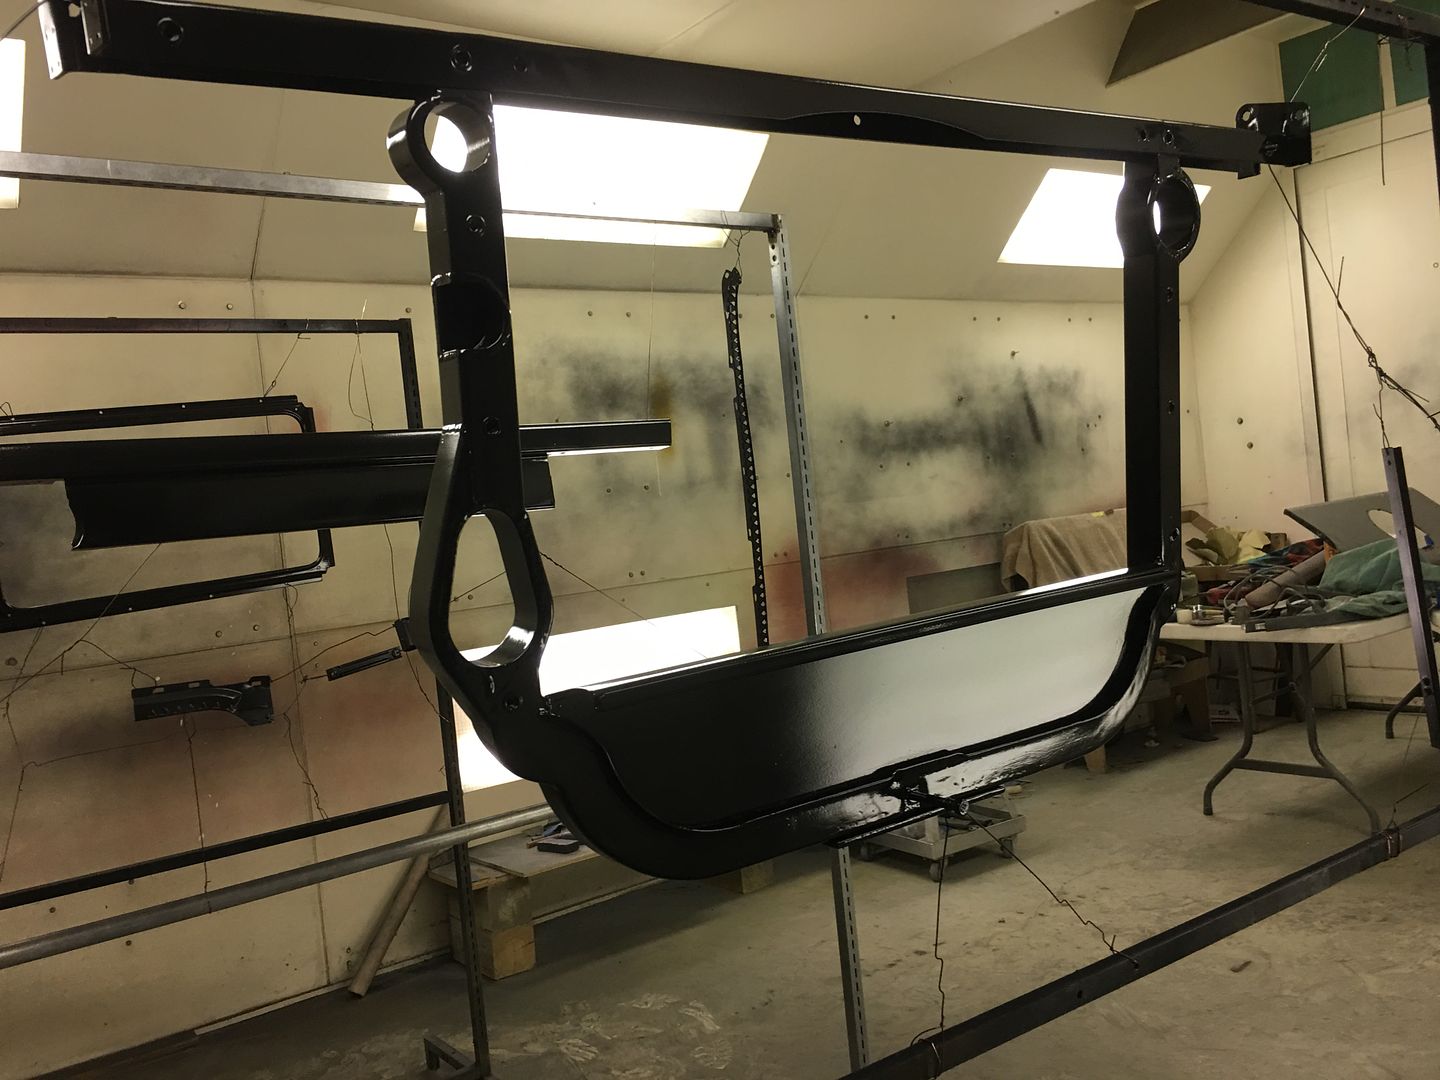
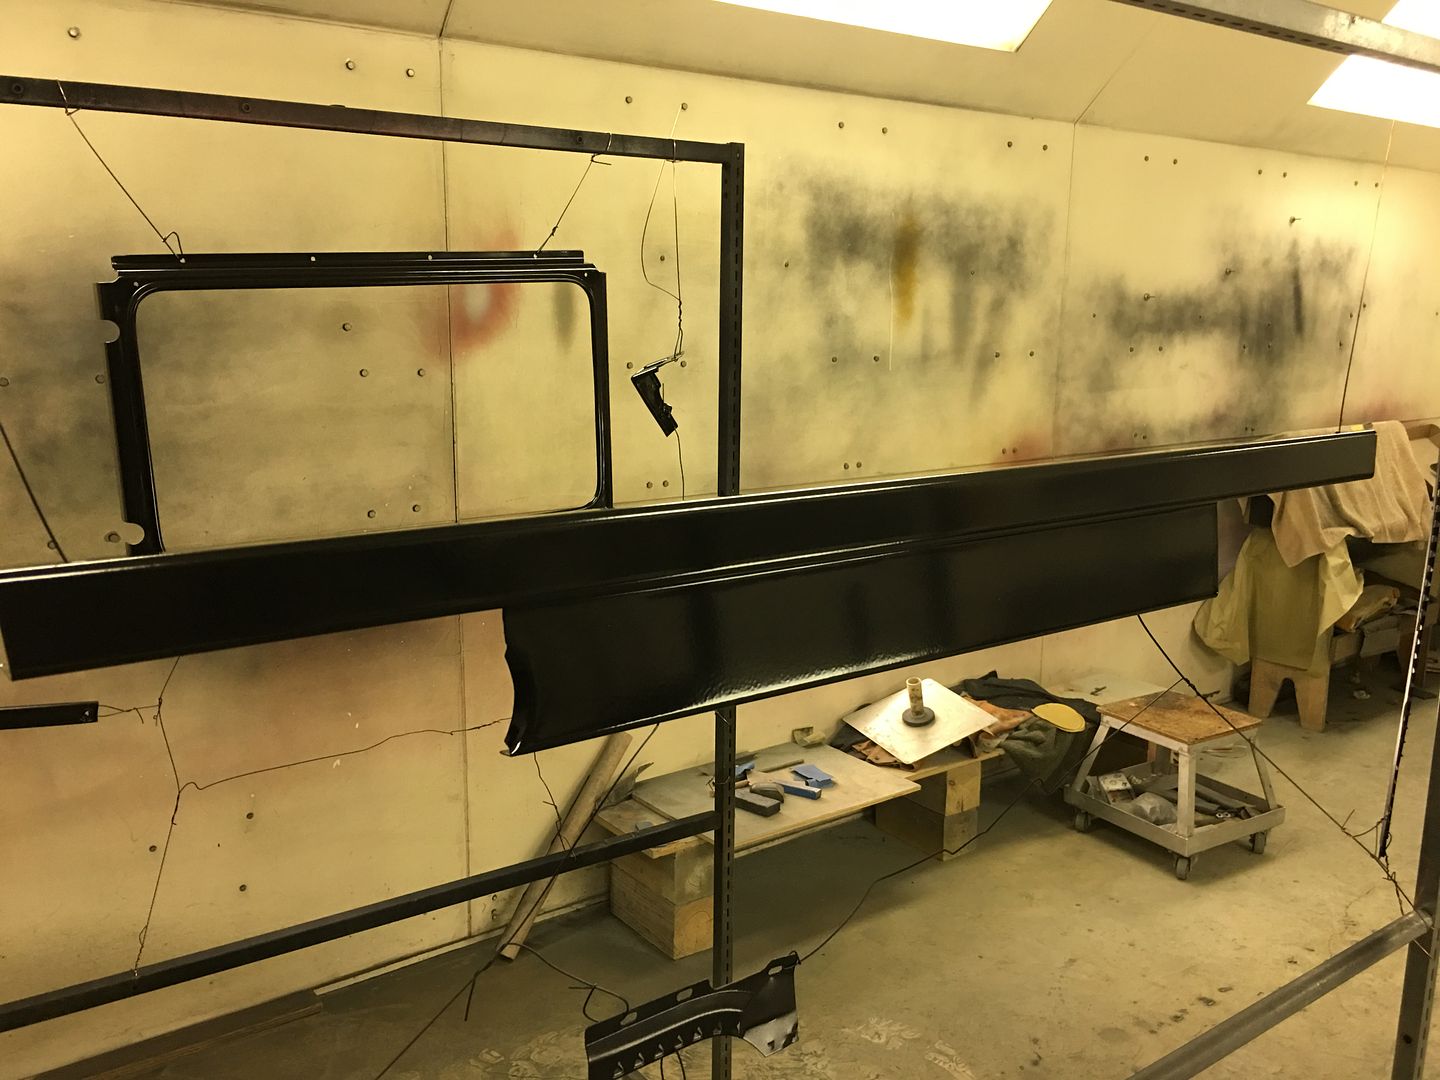
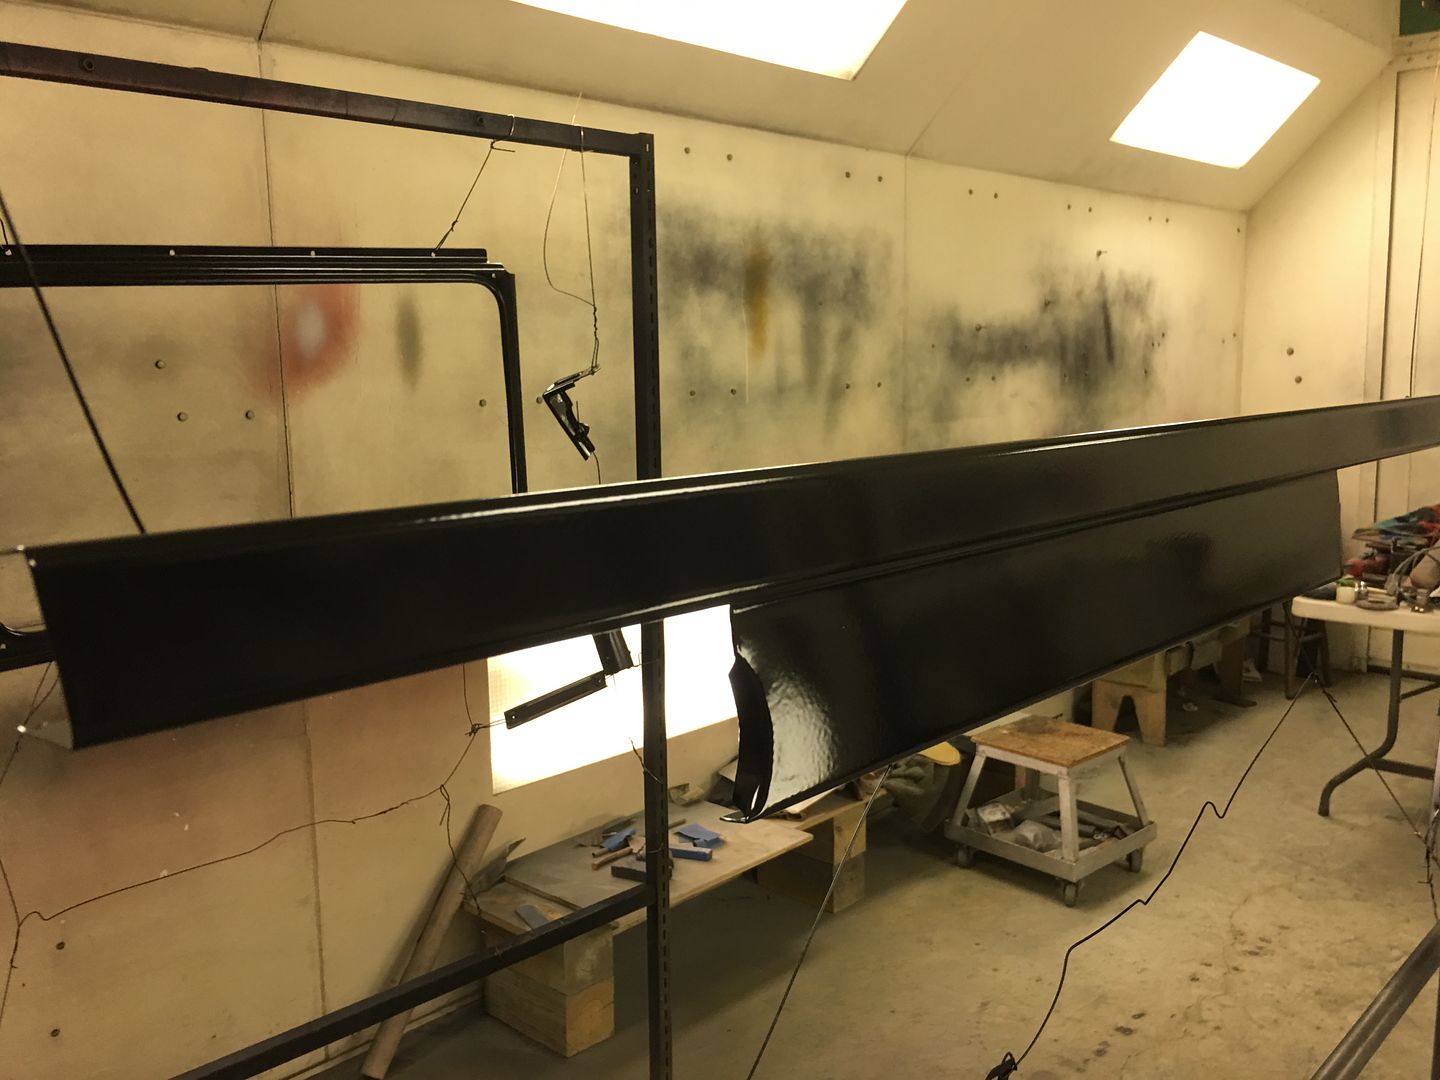
Mike blocked out the pieces we primed last week, drilled some holes we'll need for the fan shroud, and got pieces hung up for the next round of epoxy primer.
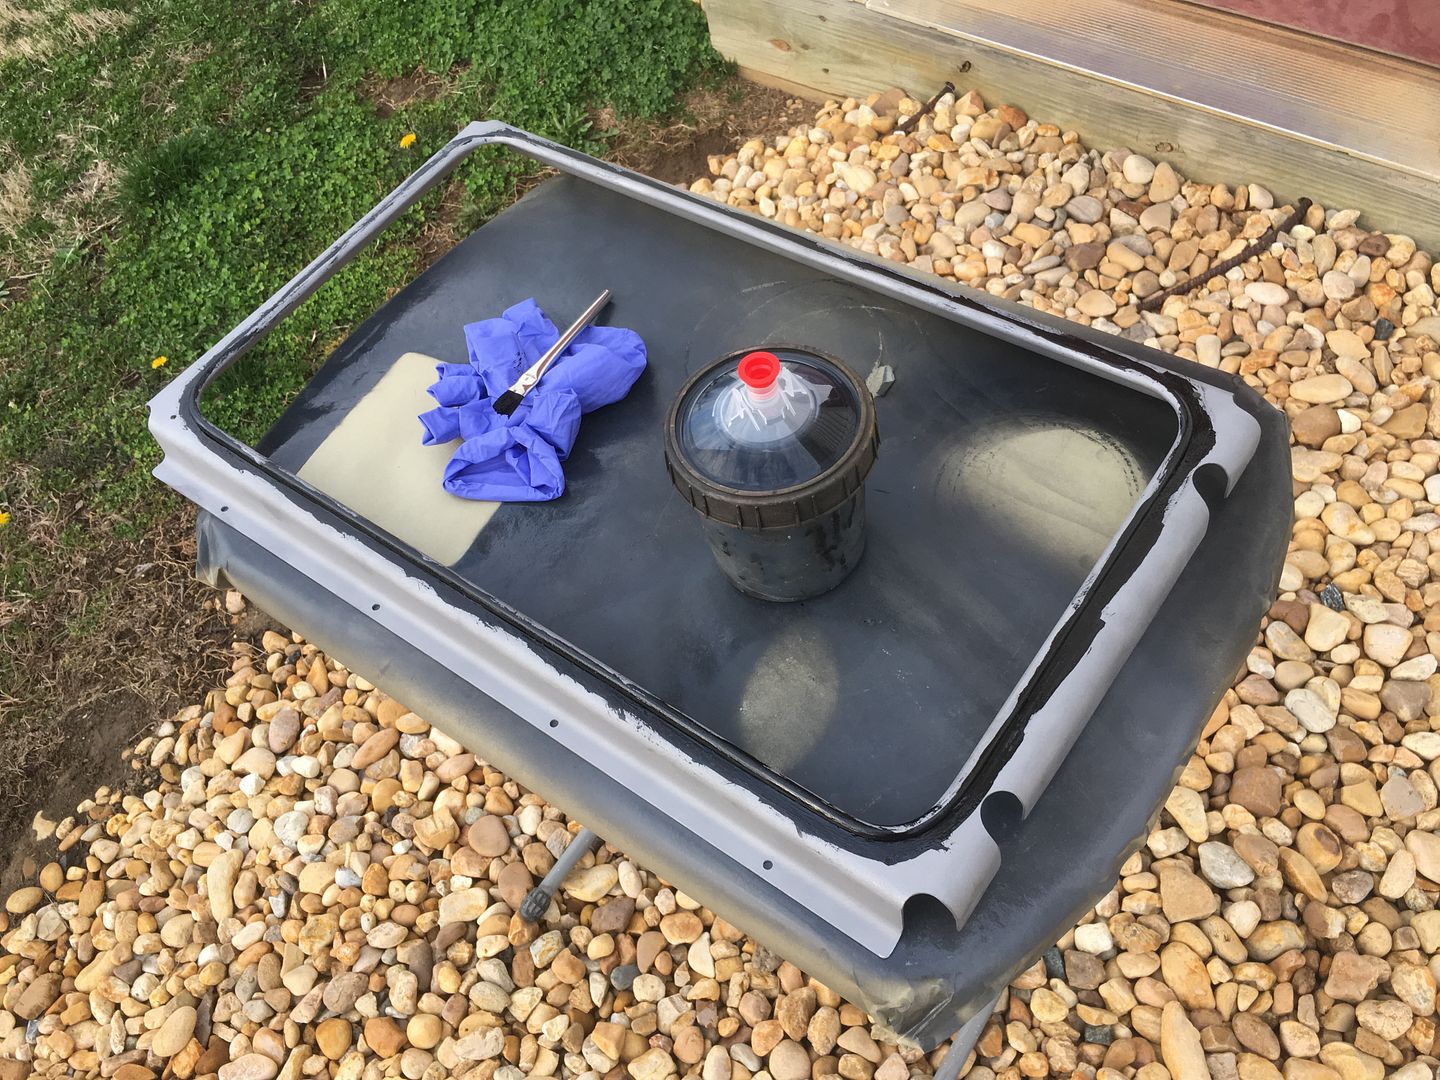
….and please don't tell anyone you've seen her patio table in the paint booth!
On another note, our resident shop ghost who likes to hide things has done something with the stainless trim door points. So I had put in a call to Mikey at The Stainless Shoppe. He had some original take offs in stock, and even polished them up for us. Now we have our work cut out for us in matching these!!
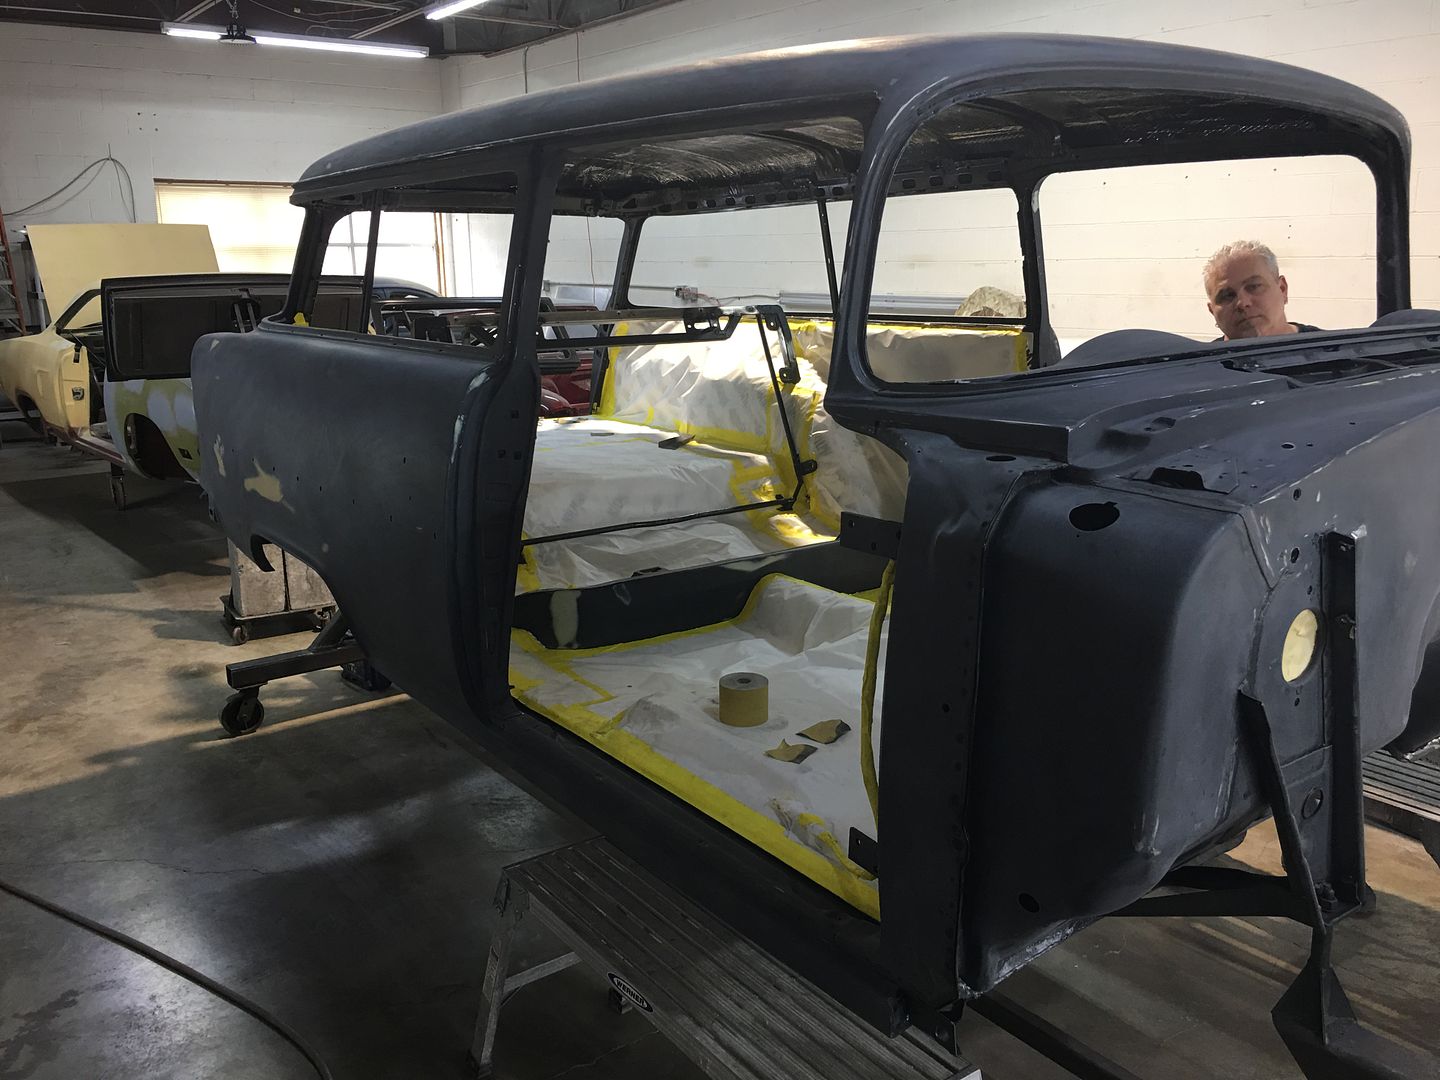
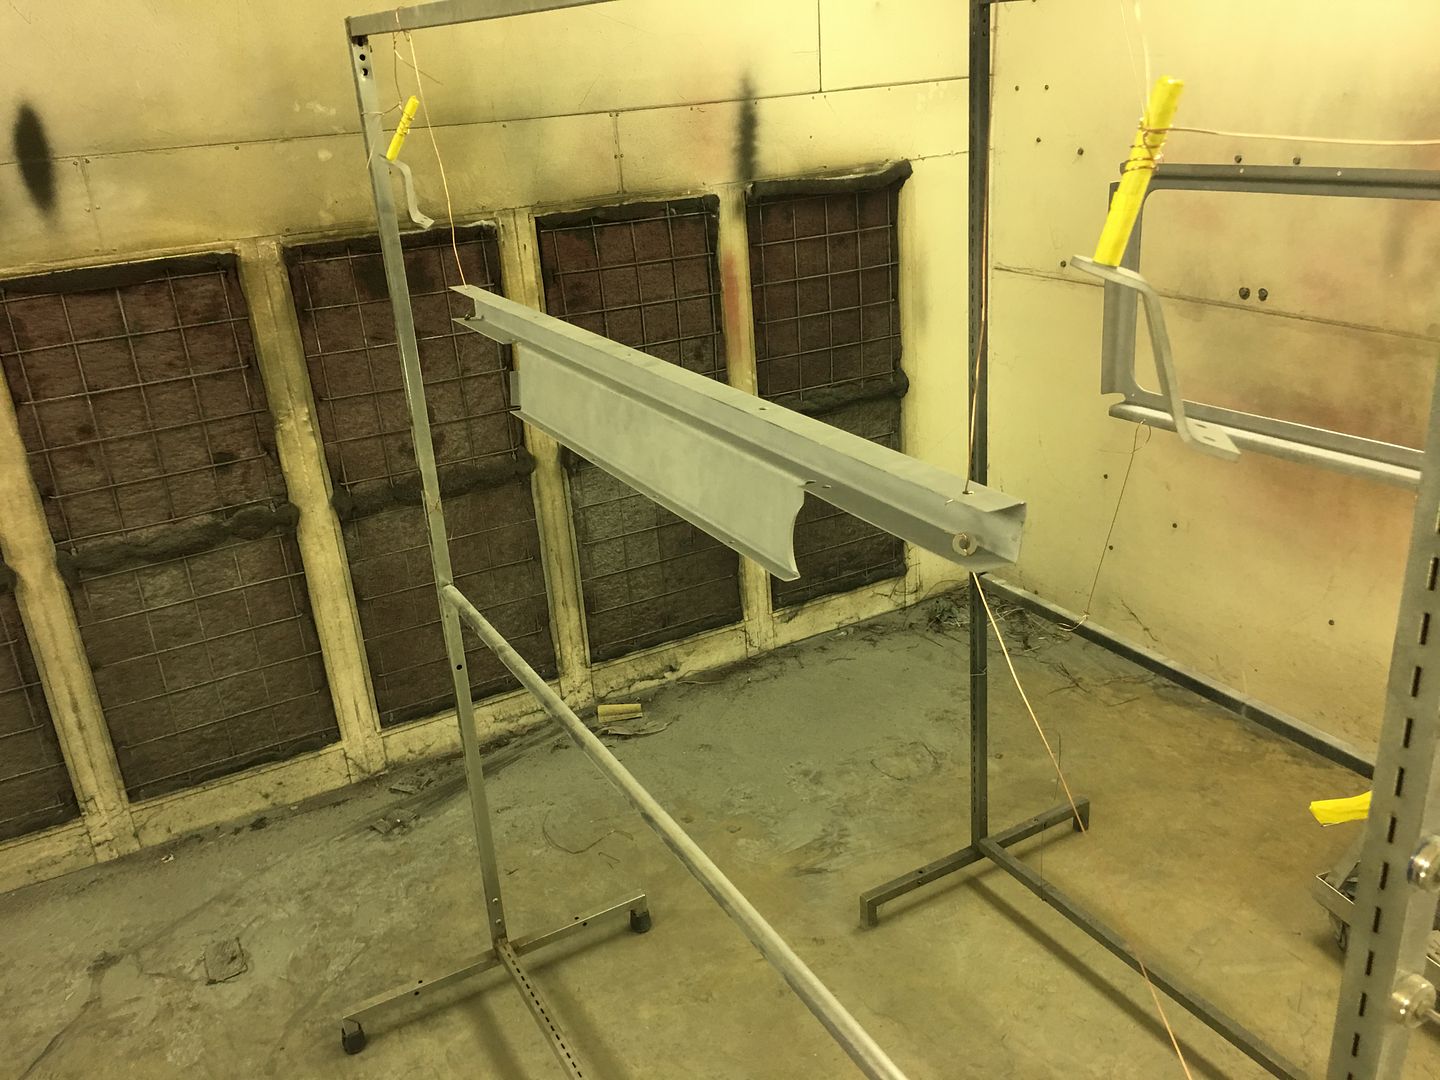
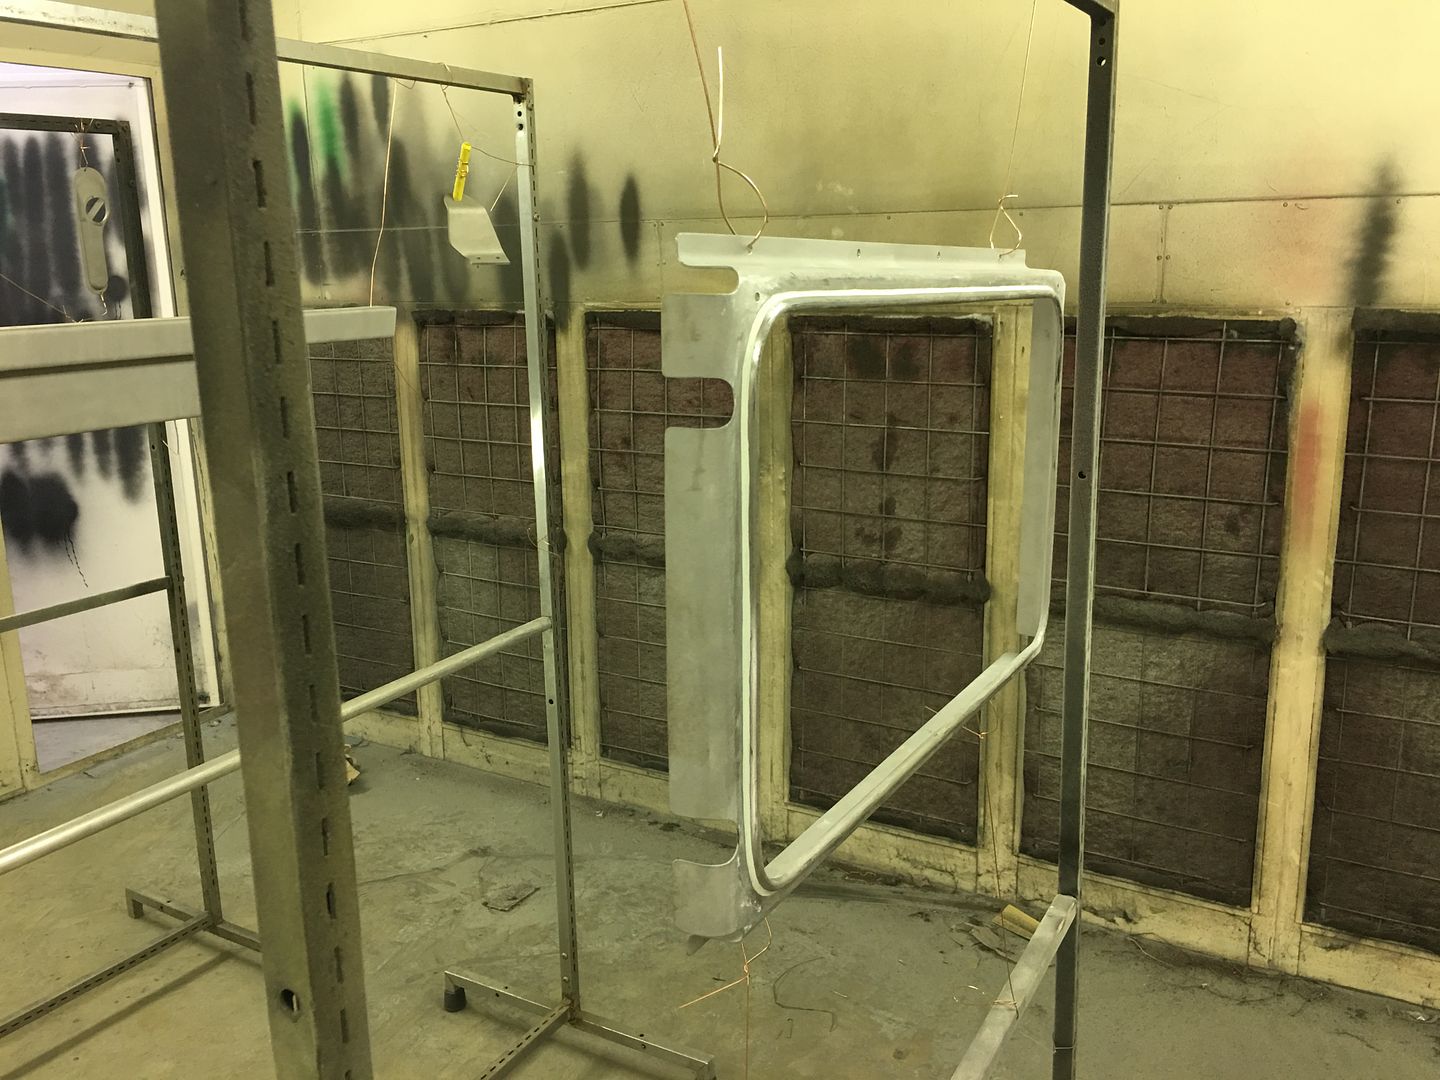
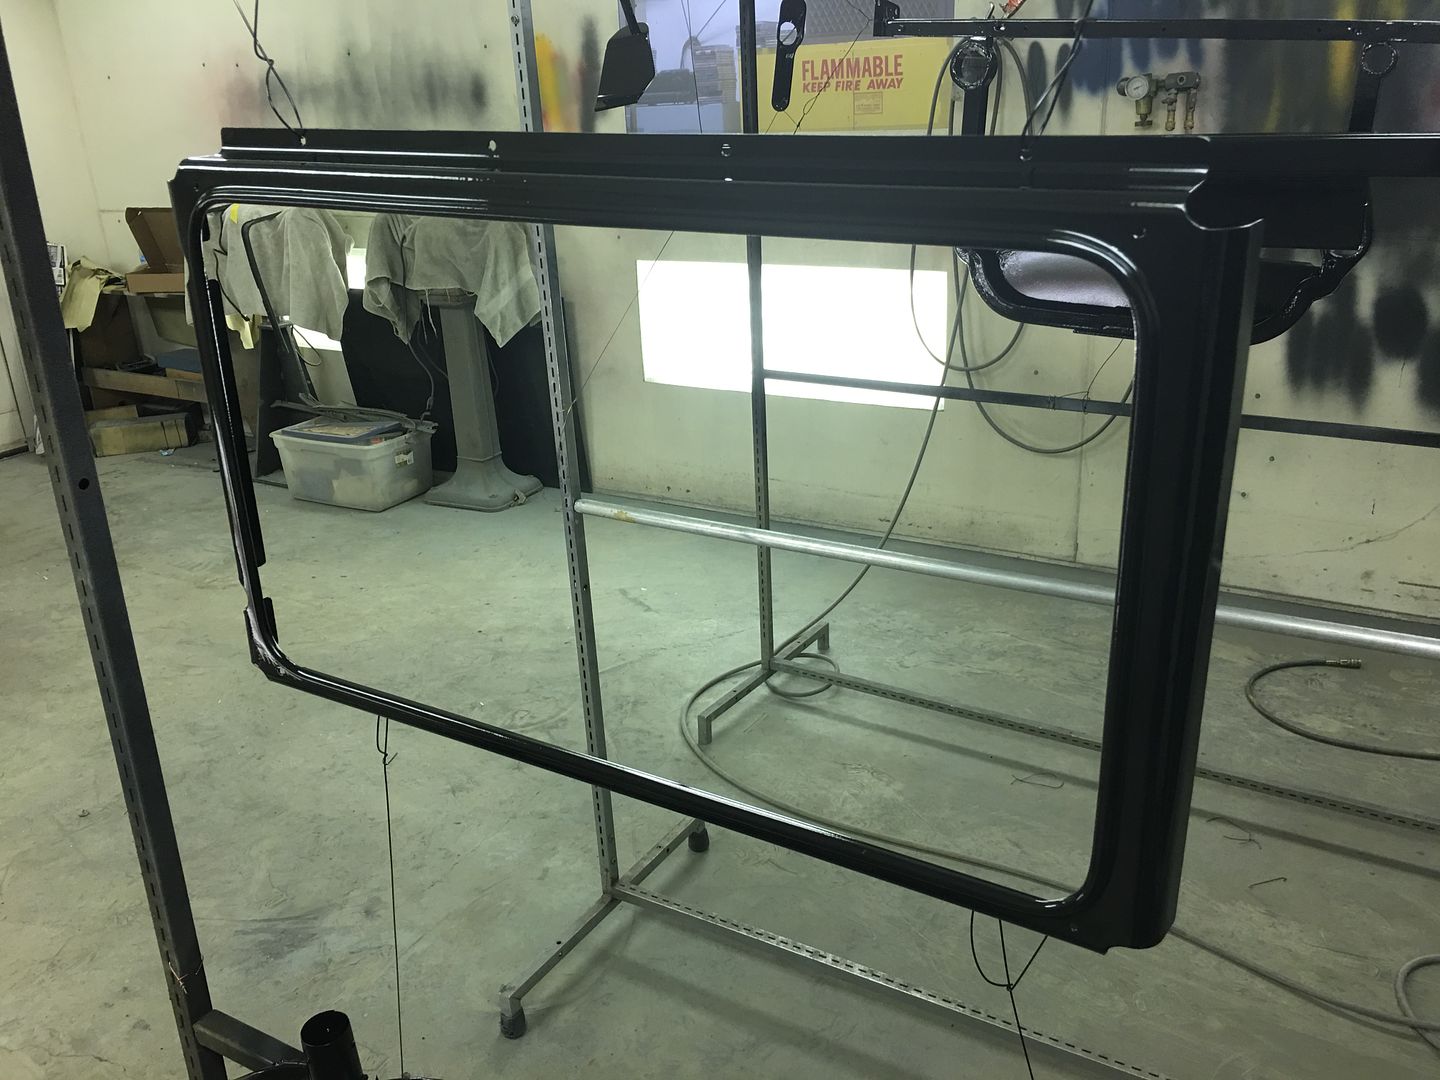
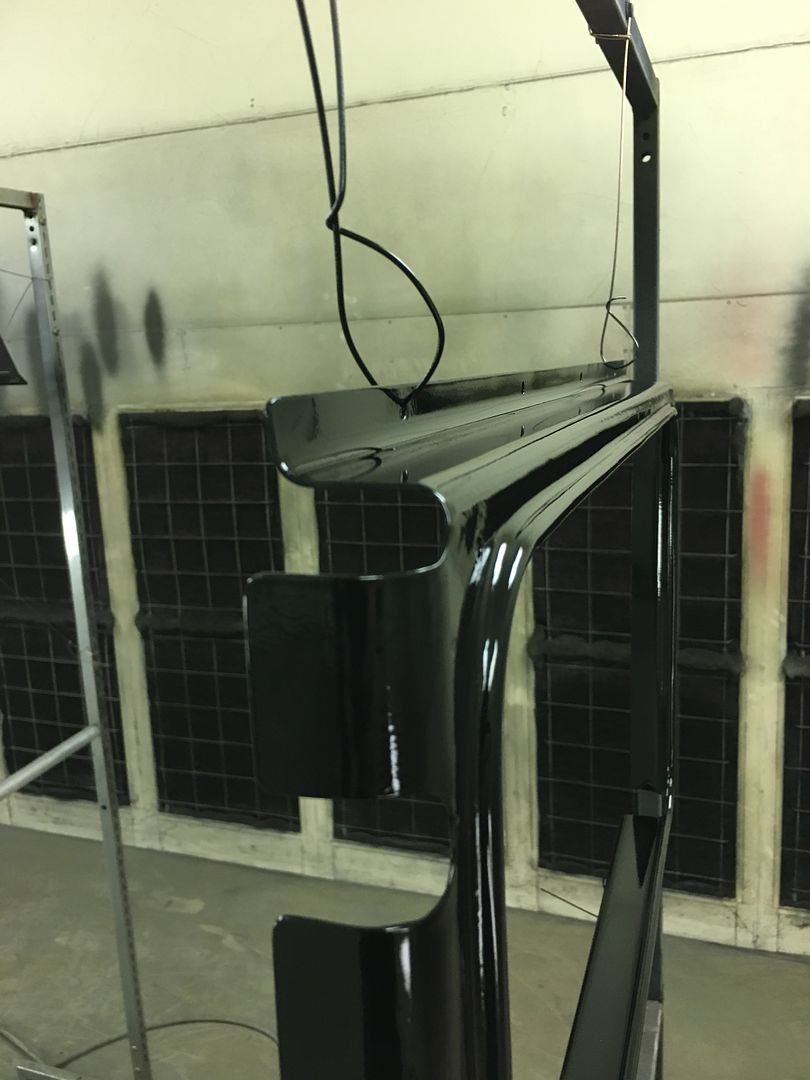
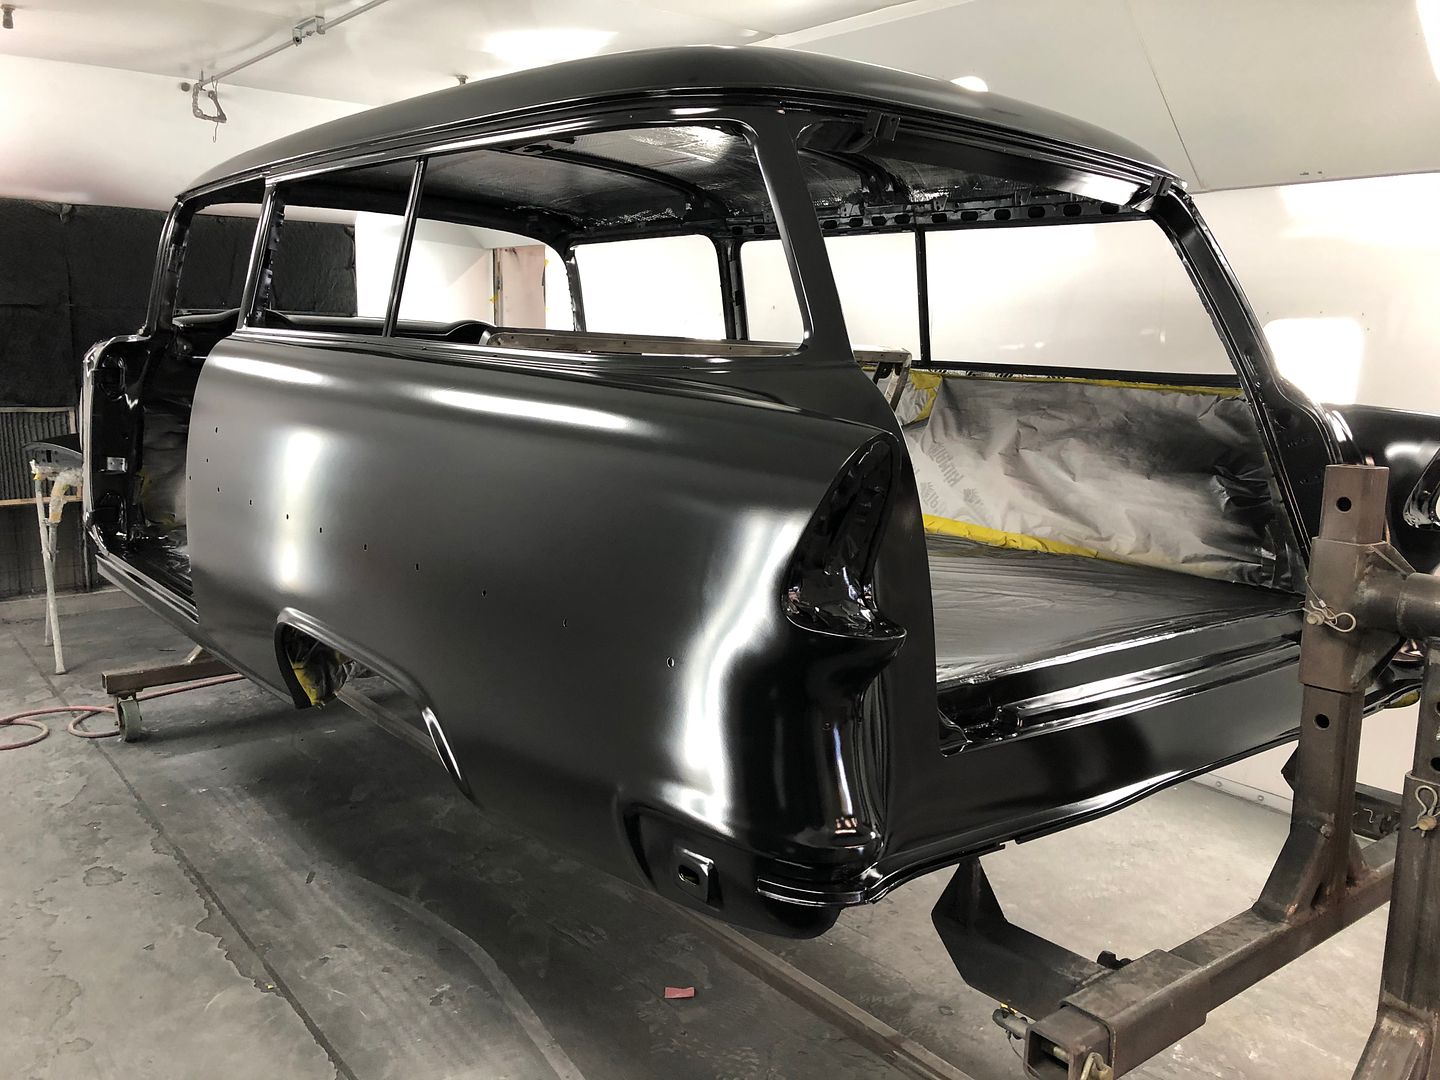
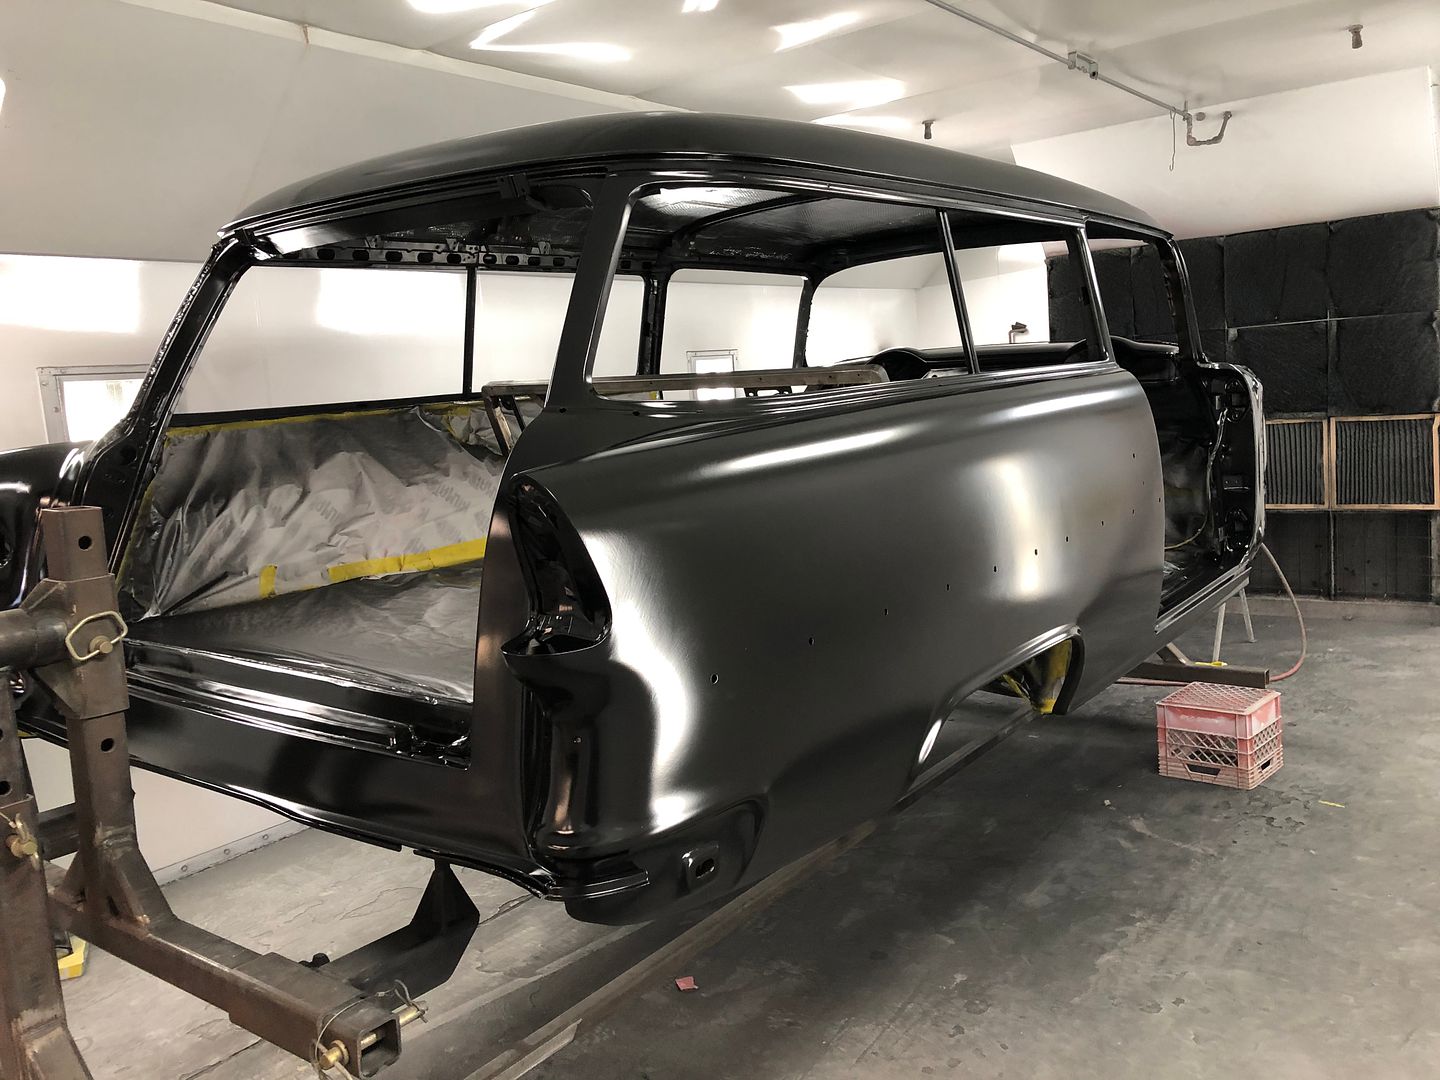
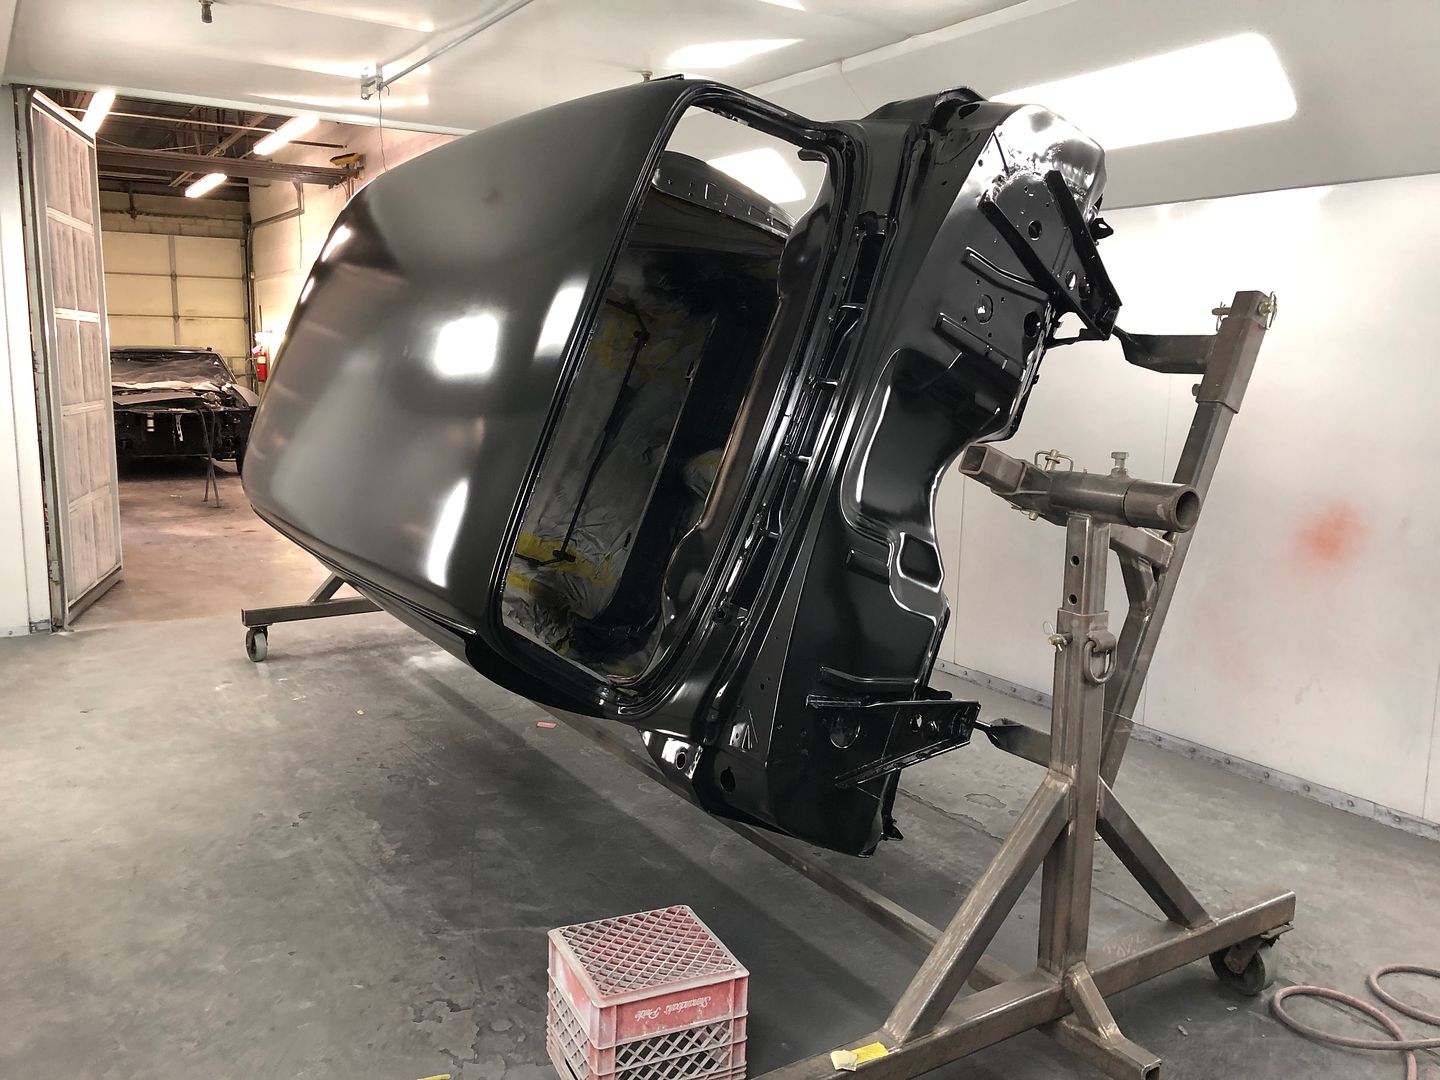
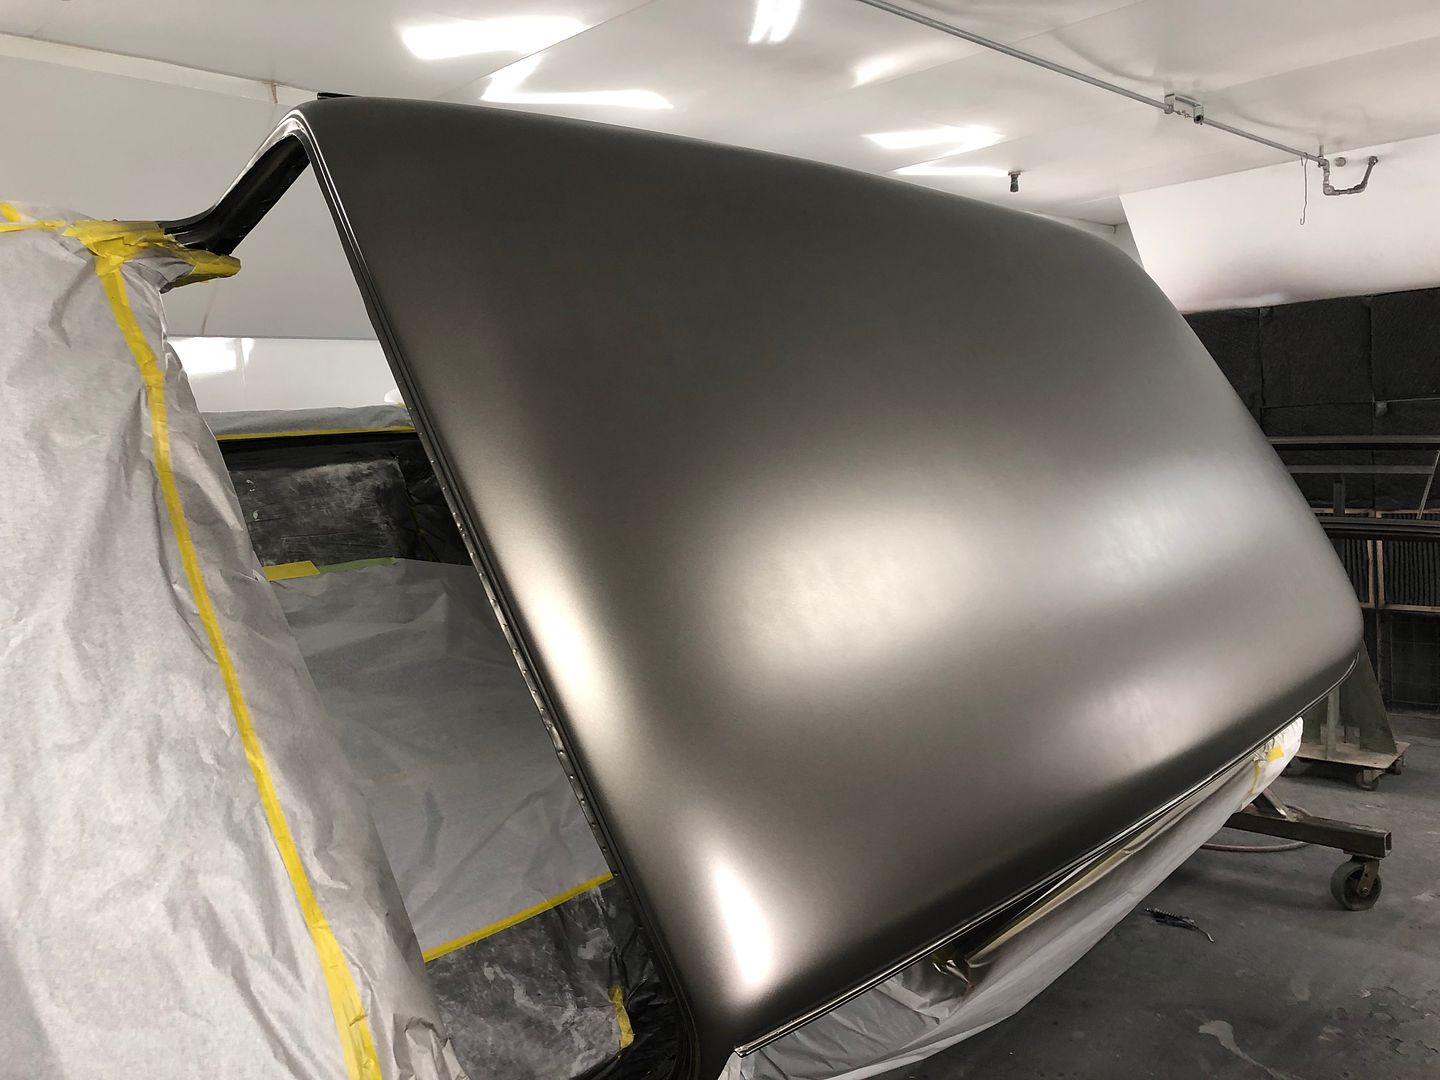
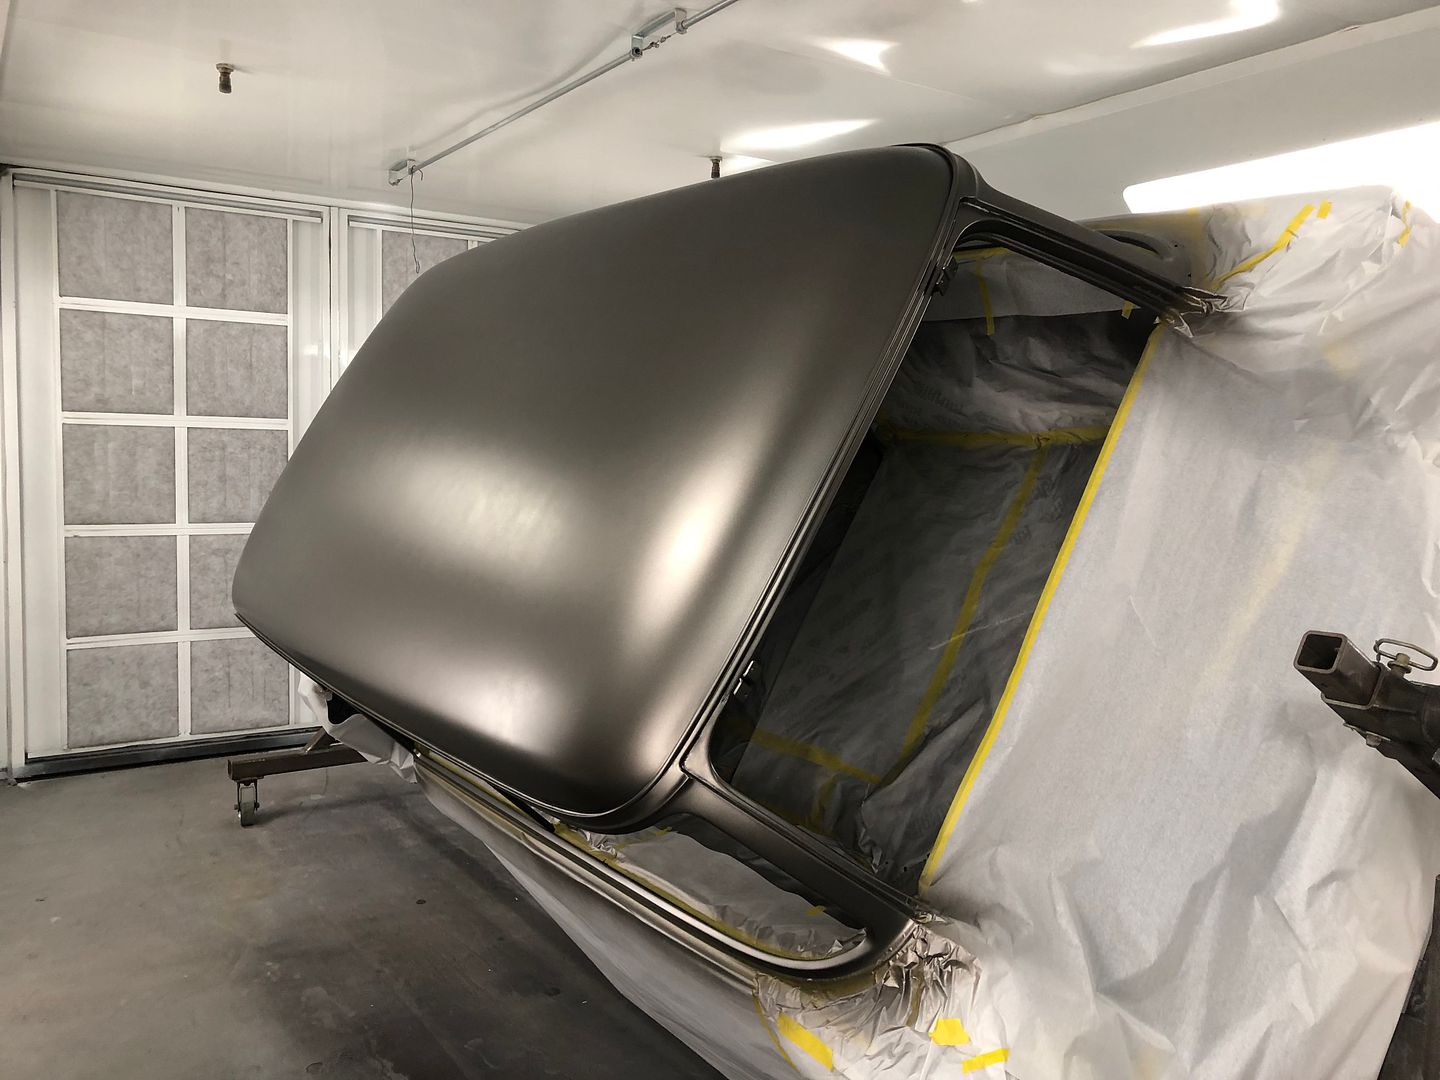
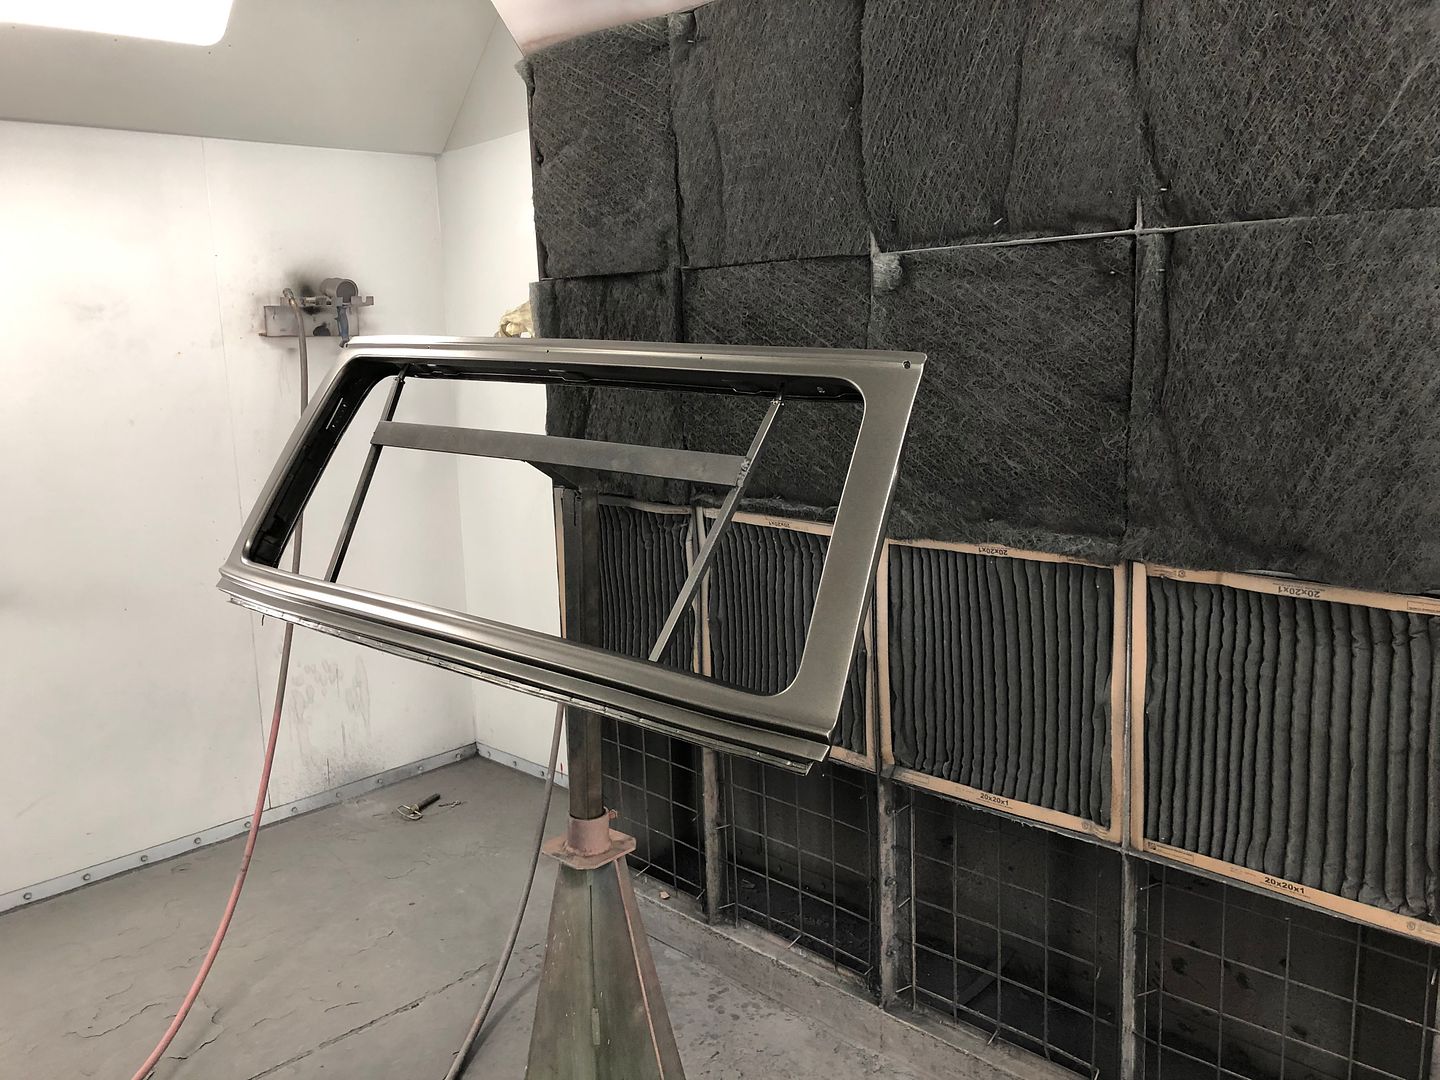
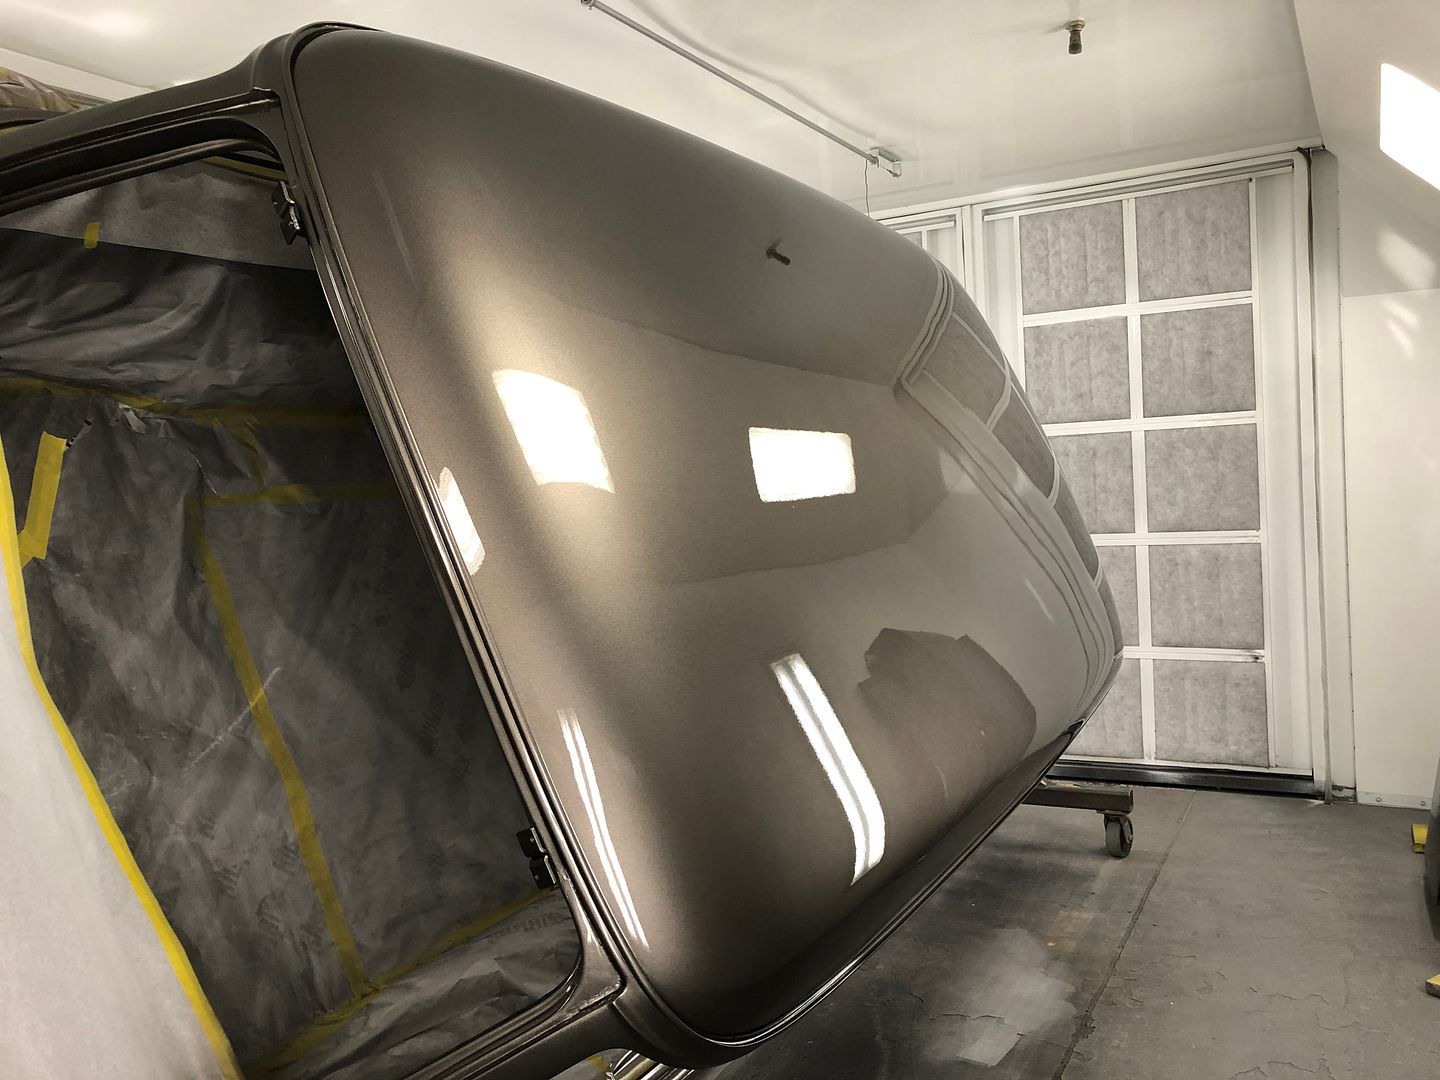
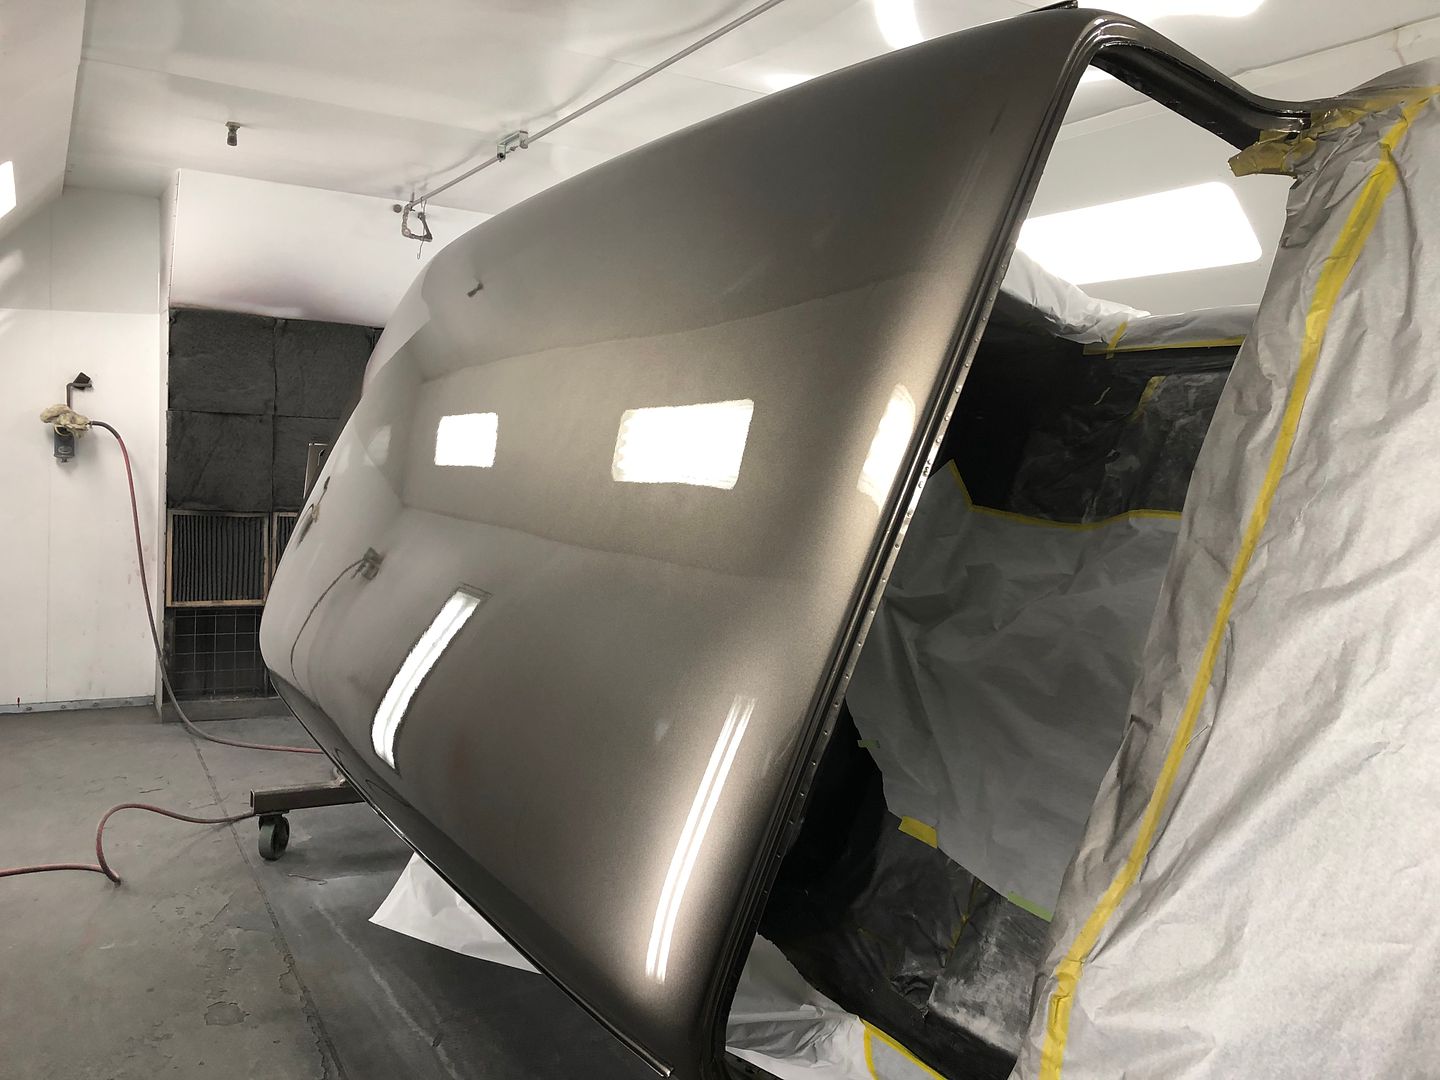
Today I was block sanding some core support parts for one more spray. Making black powder out of black epoxy primer. Not all that exciting, so I didn't take any pictures.. But wait... it gets better! Brandon and Richard have been sanding as well, only they put some color on the roof today:
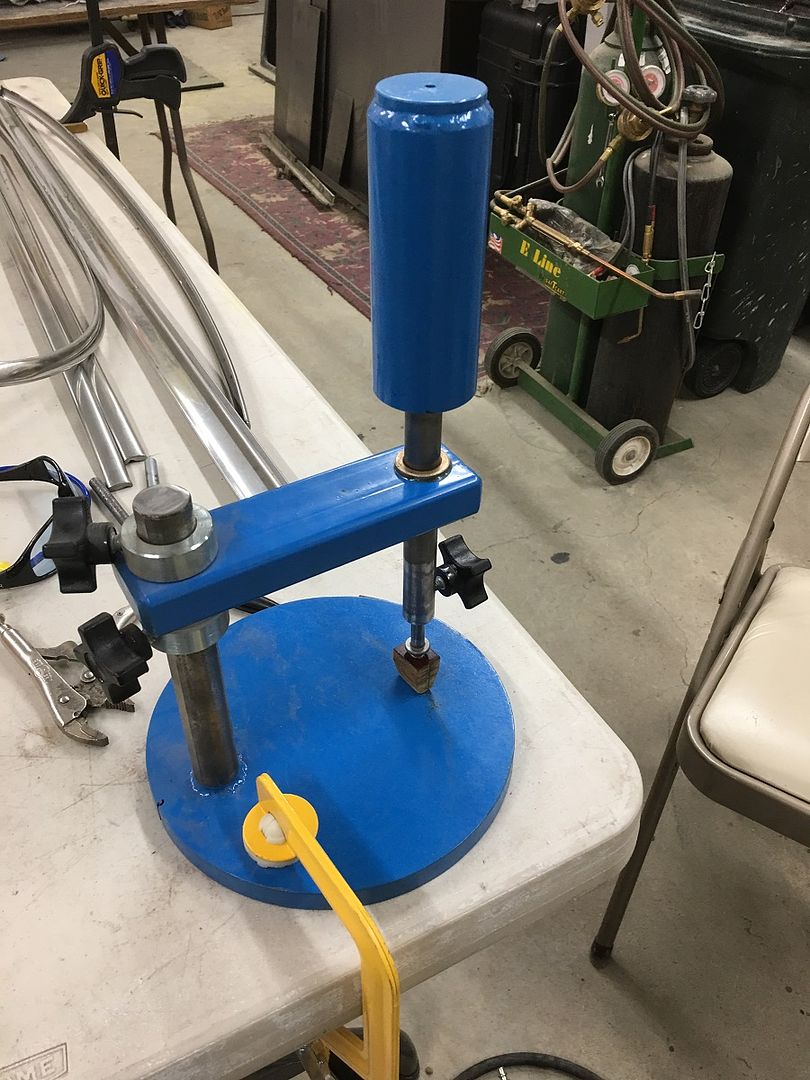
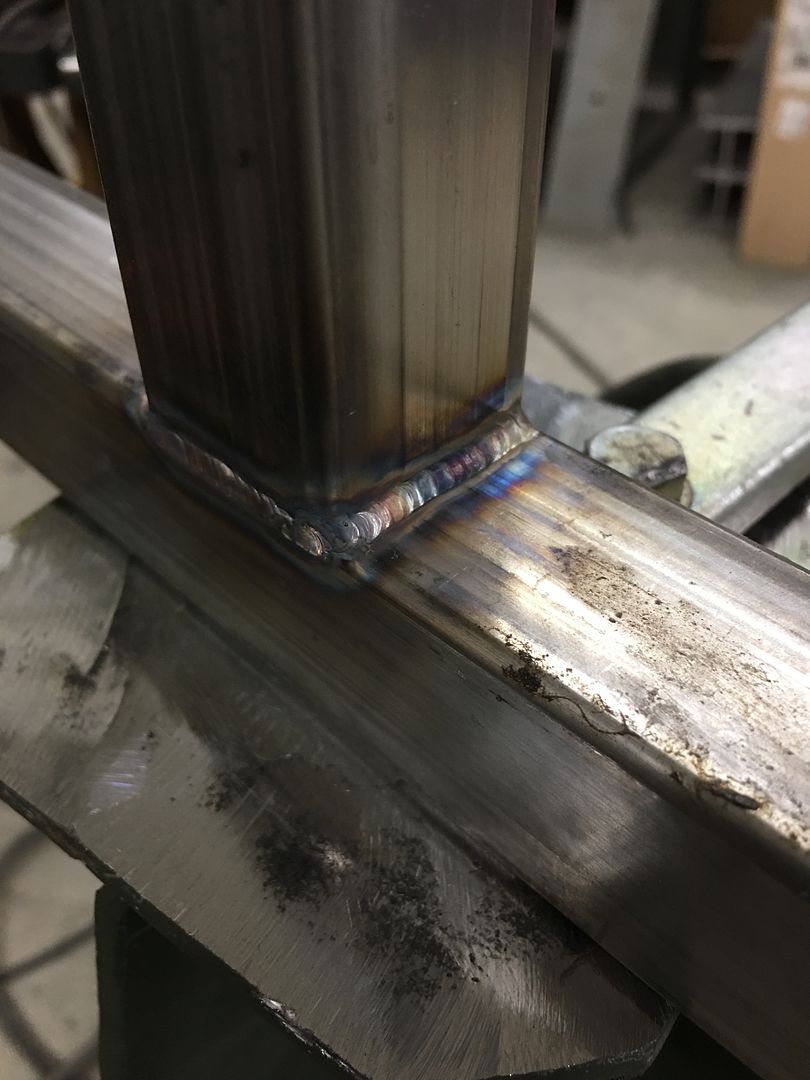
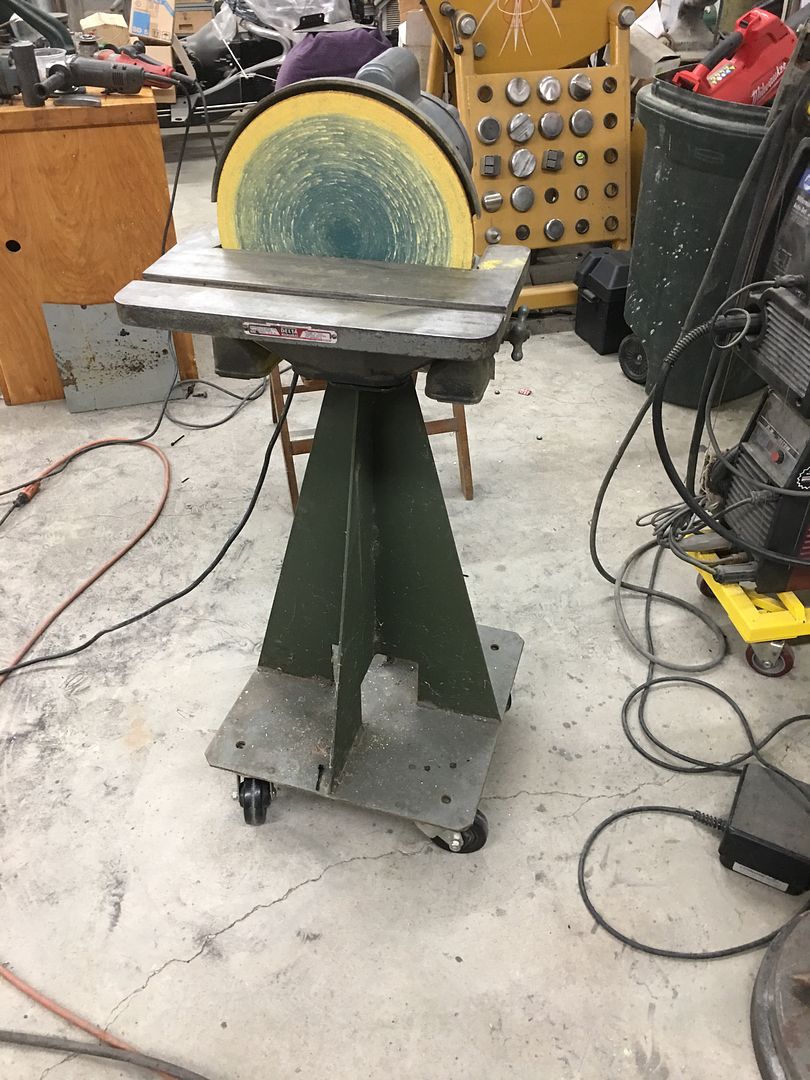
Some spring cleaning.... Picked up a 12" disc sander quite a few months back, and Mike has been using this on the floor.. So I decided to help the guy out and put it at a more useable height... Added a "bolting framework" to the top of one of the paint tripods, already set up with casters so you can push it in the corner....
Rivnuts installed since I didn't have bolts in stock long enough to go all the way through..
Ready for some sanding...
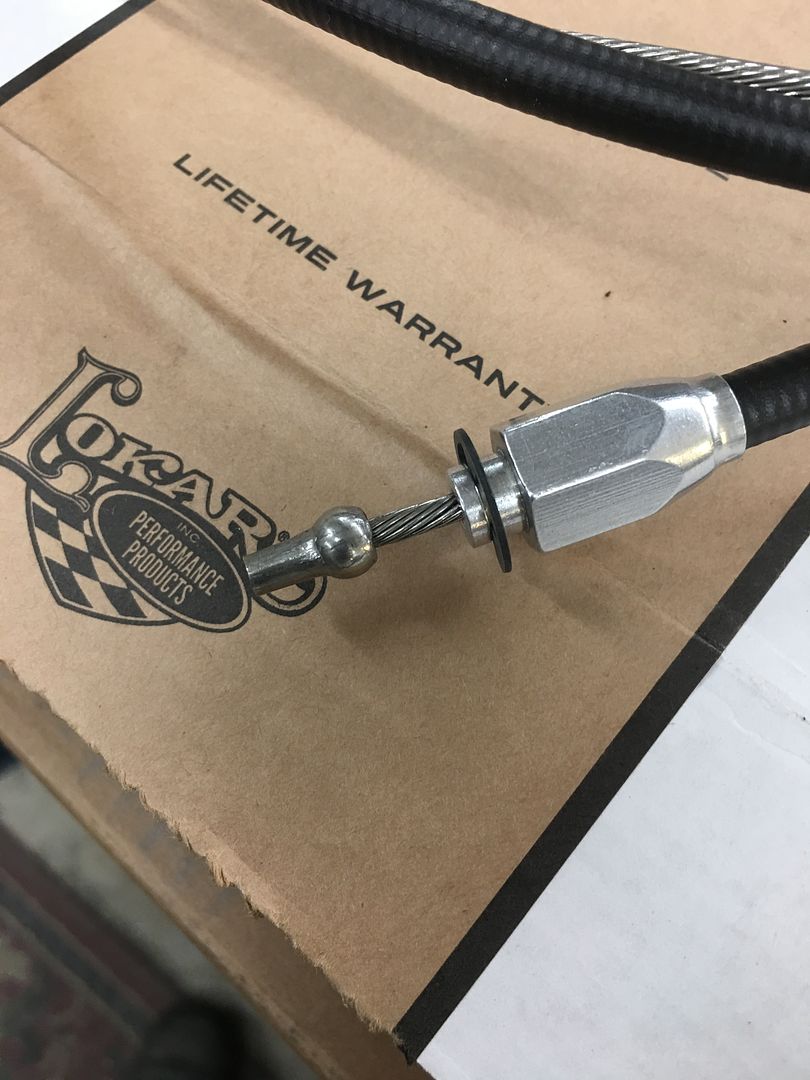
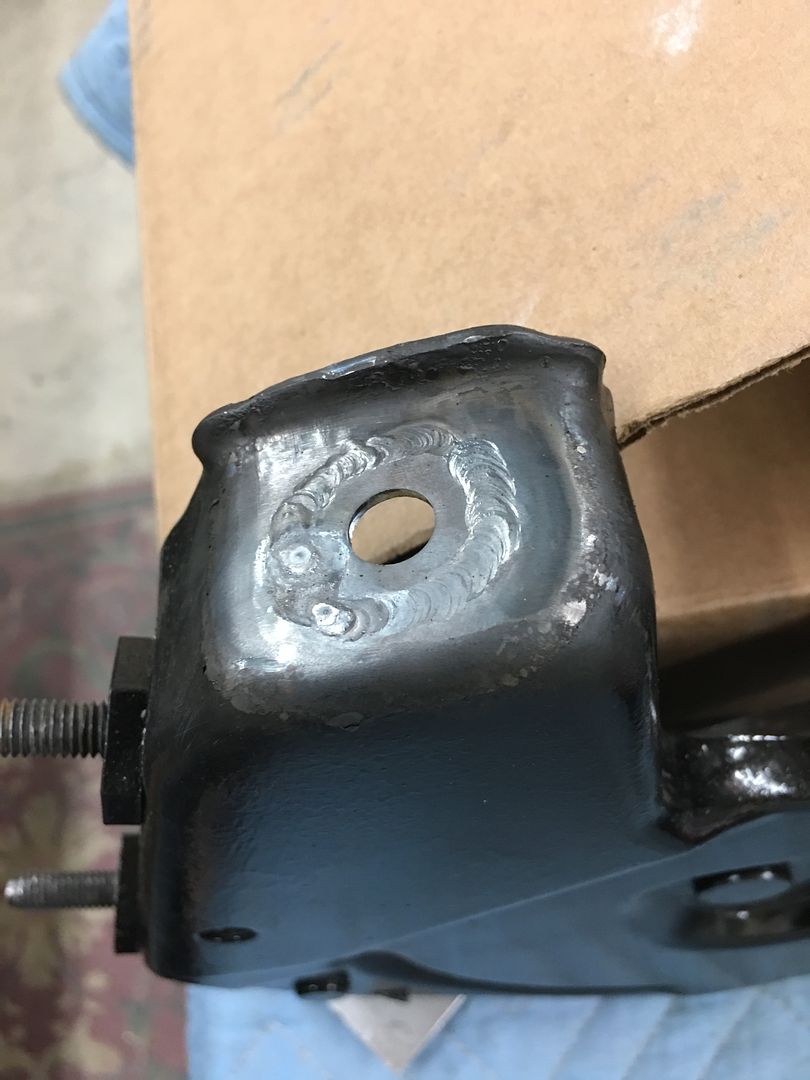
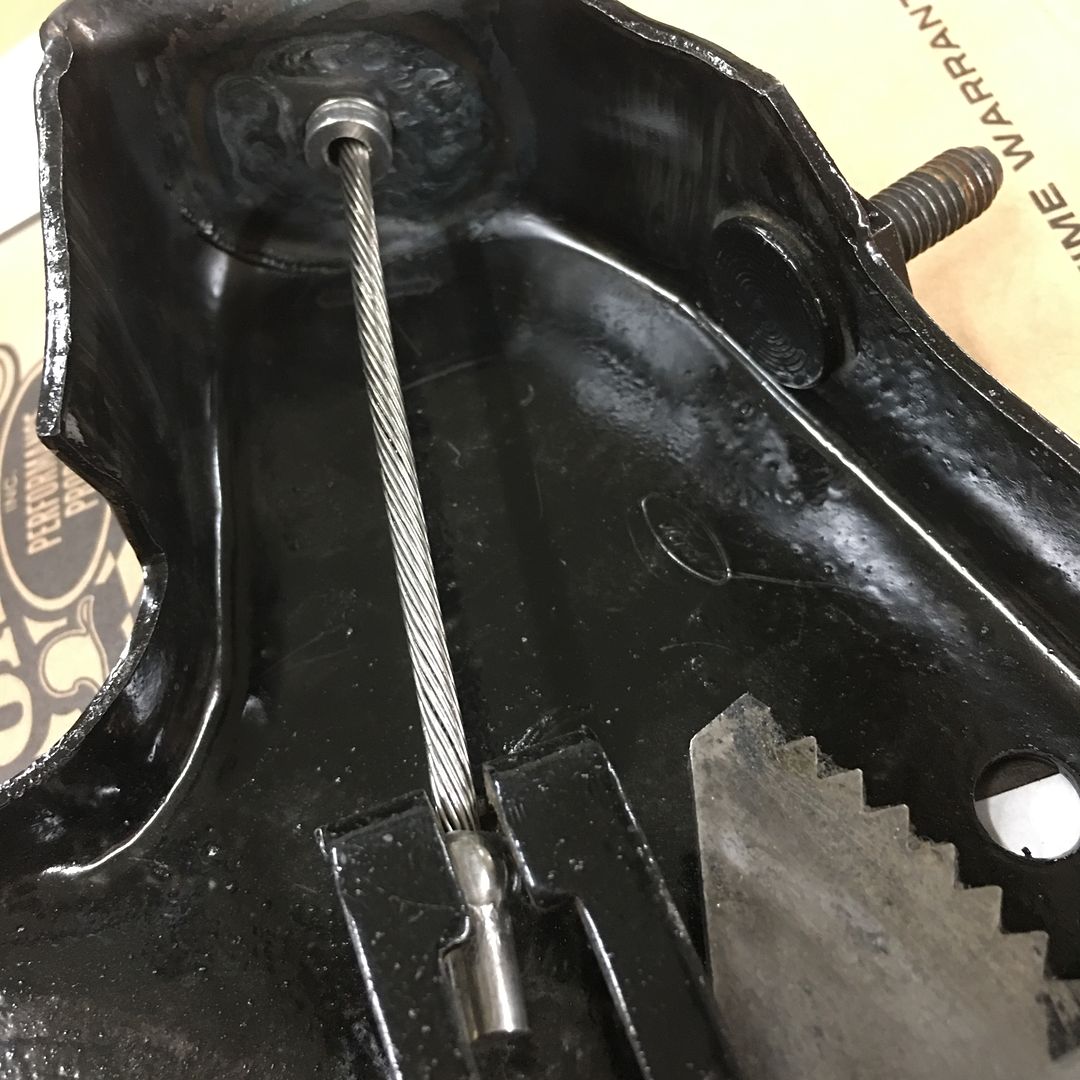
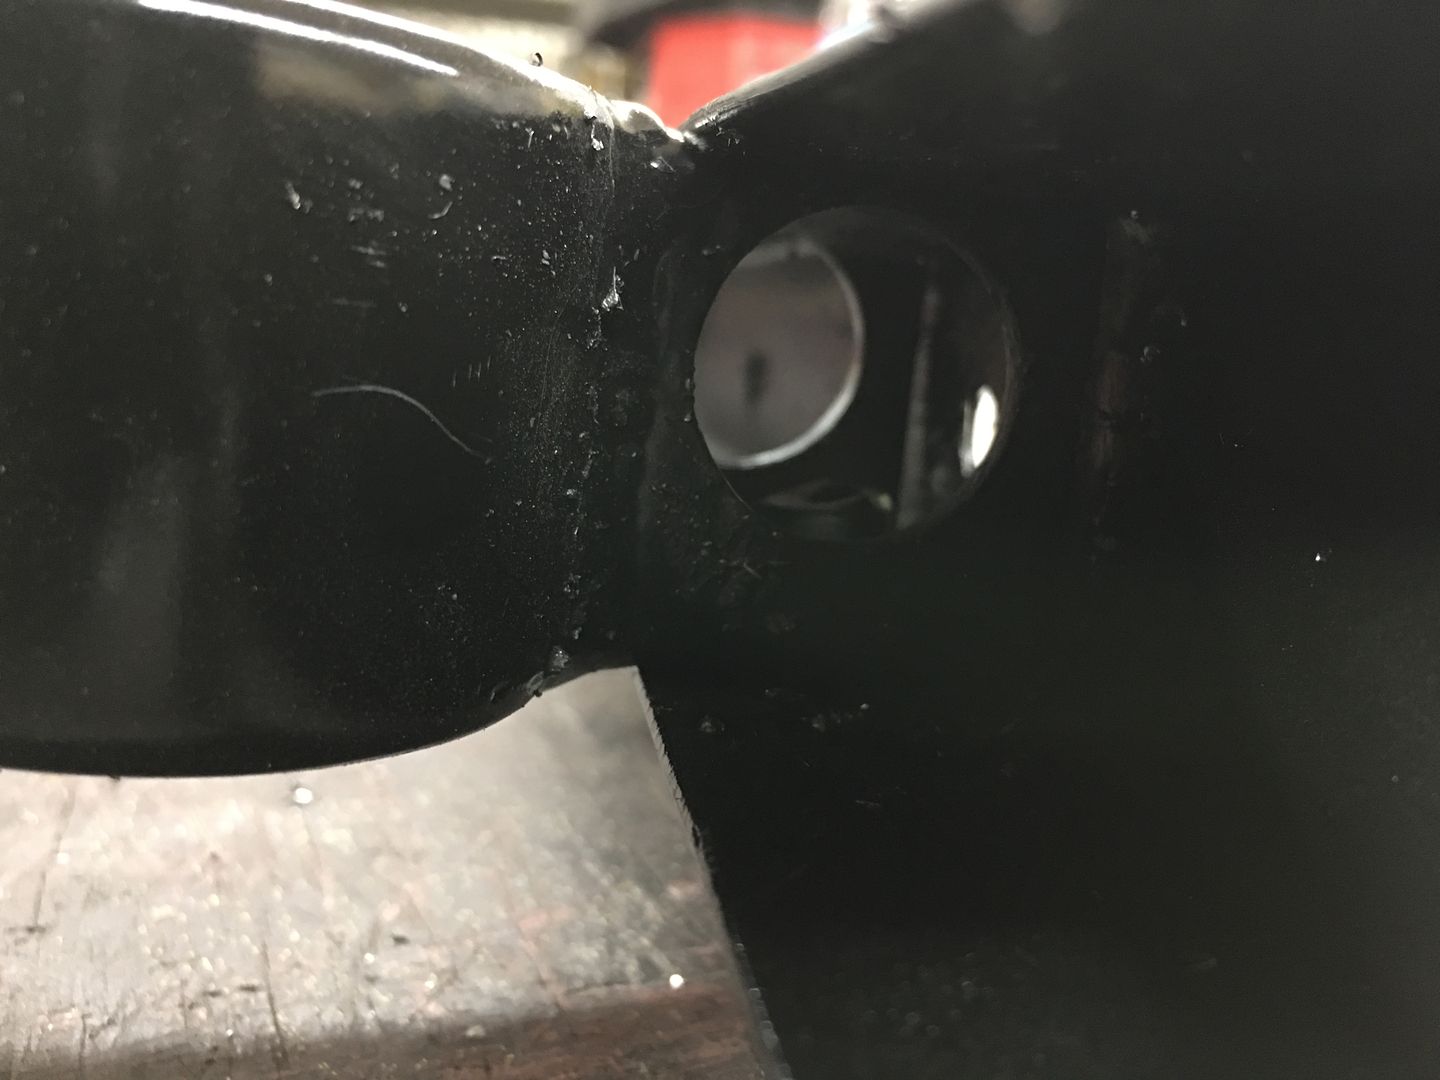
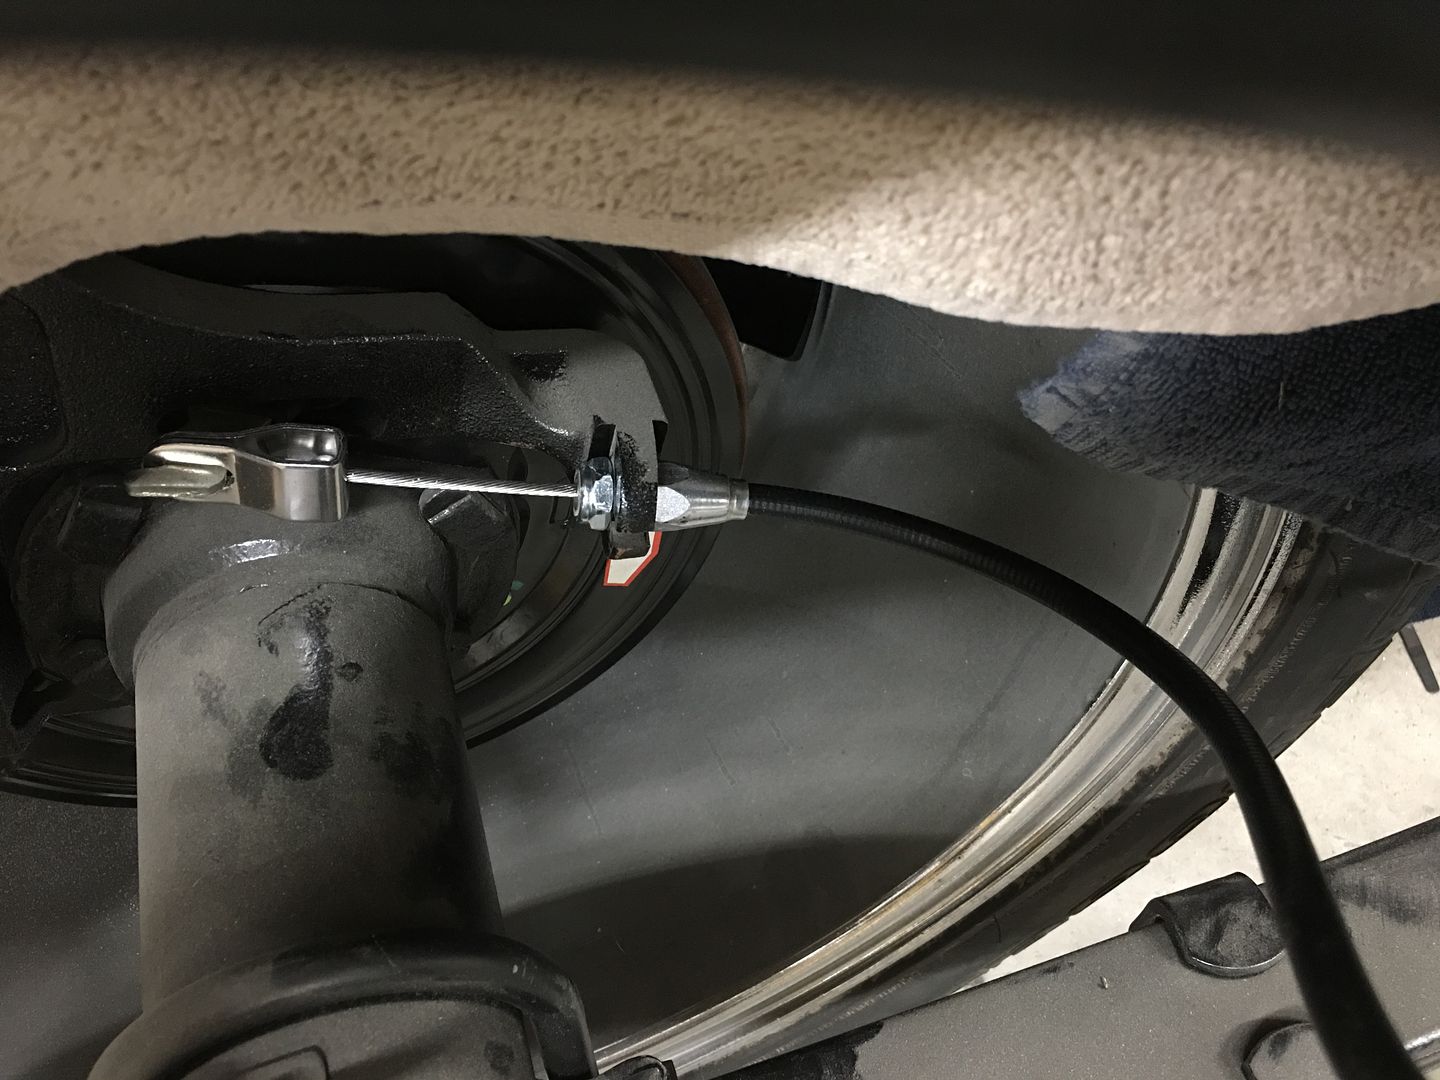
Dana dropped off the new brake cables for the wagon the other day. The single cable that attaches to the pedal has a shouldered ferrule that sits in the bottom of the parking brake bracket. Only this shoulder was much too small for the factory hole, the Hex portion almost pulled through the hole.
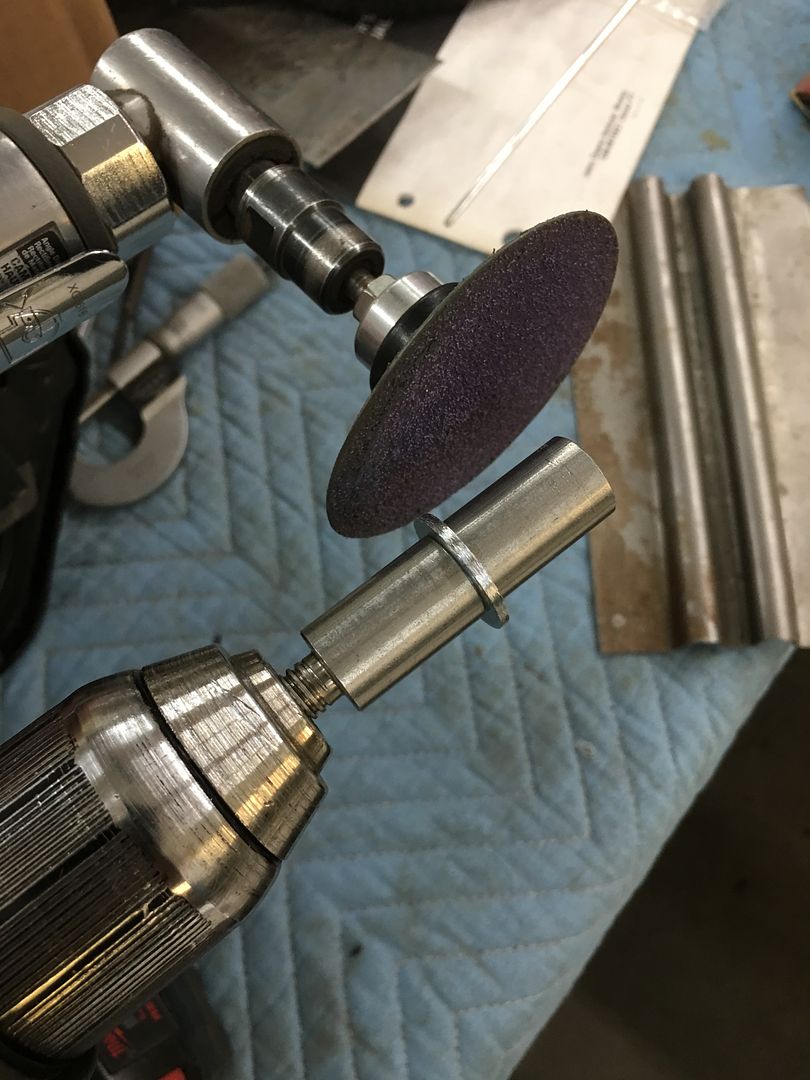
I considered making an adapter sleeve on the lathe, but the figured resizing the hole would be quicker. Found a nice thick 3/8 flat washer in stock that fit the ferrule shoulder perfectly and matched the thickness of the parking brake bracket. In order to get the weld heat farther from the 3/8 hole, the bracket opening was oversized up to 7/8" (largest step drill that I could find) and the washer slightly downsized to fit.. Some 3/8 standoffs made a quick arbor for the drill, and the die grinder does the rest. we had our correct size in about a minute..
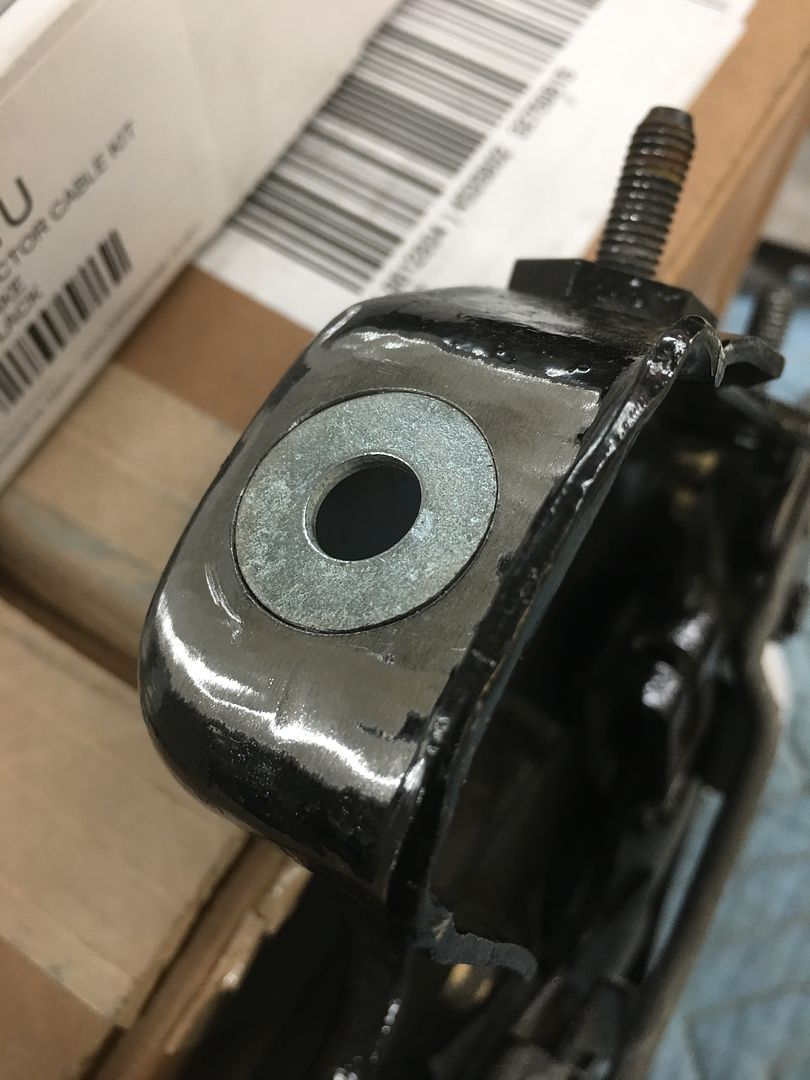
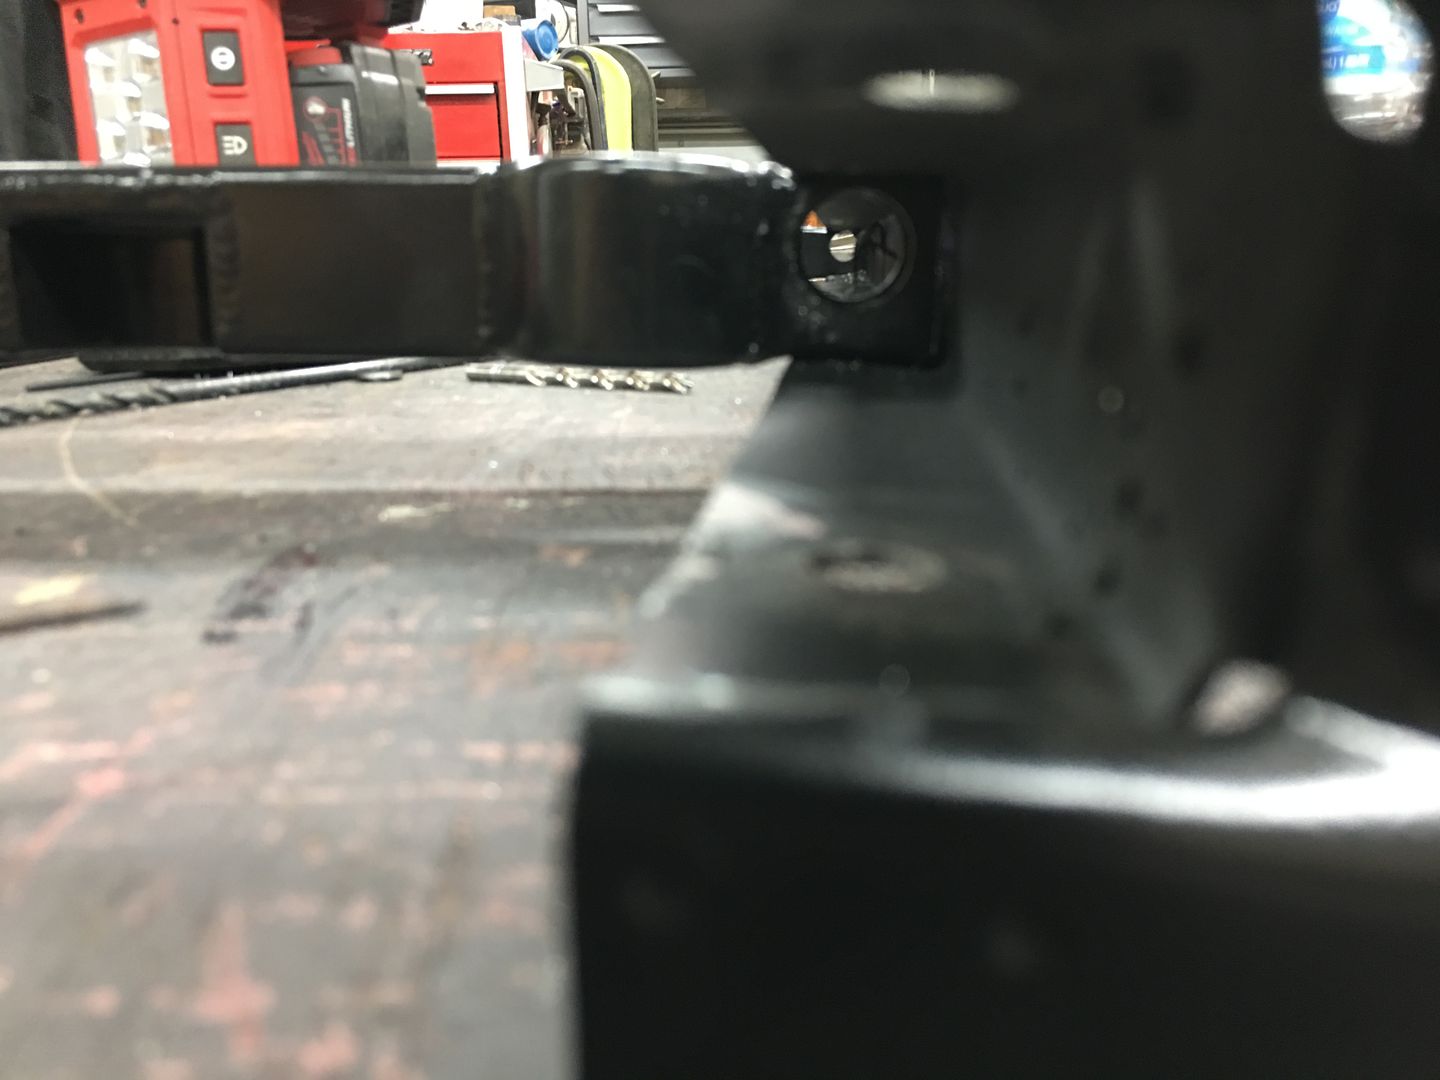
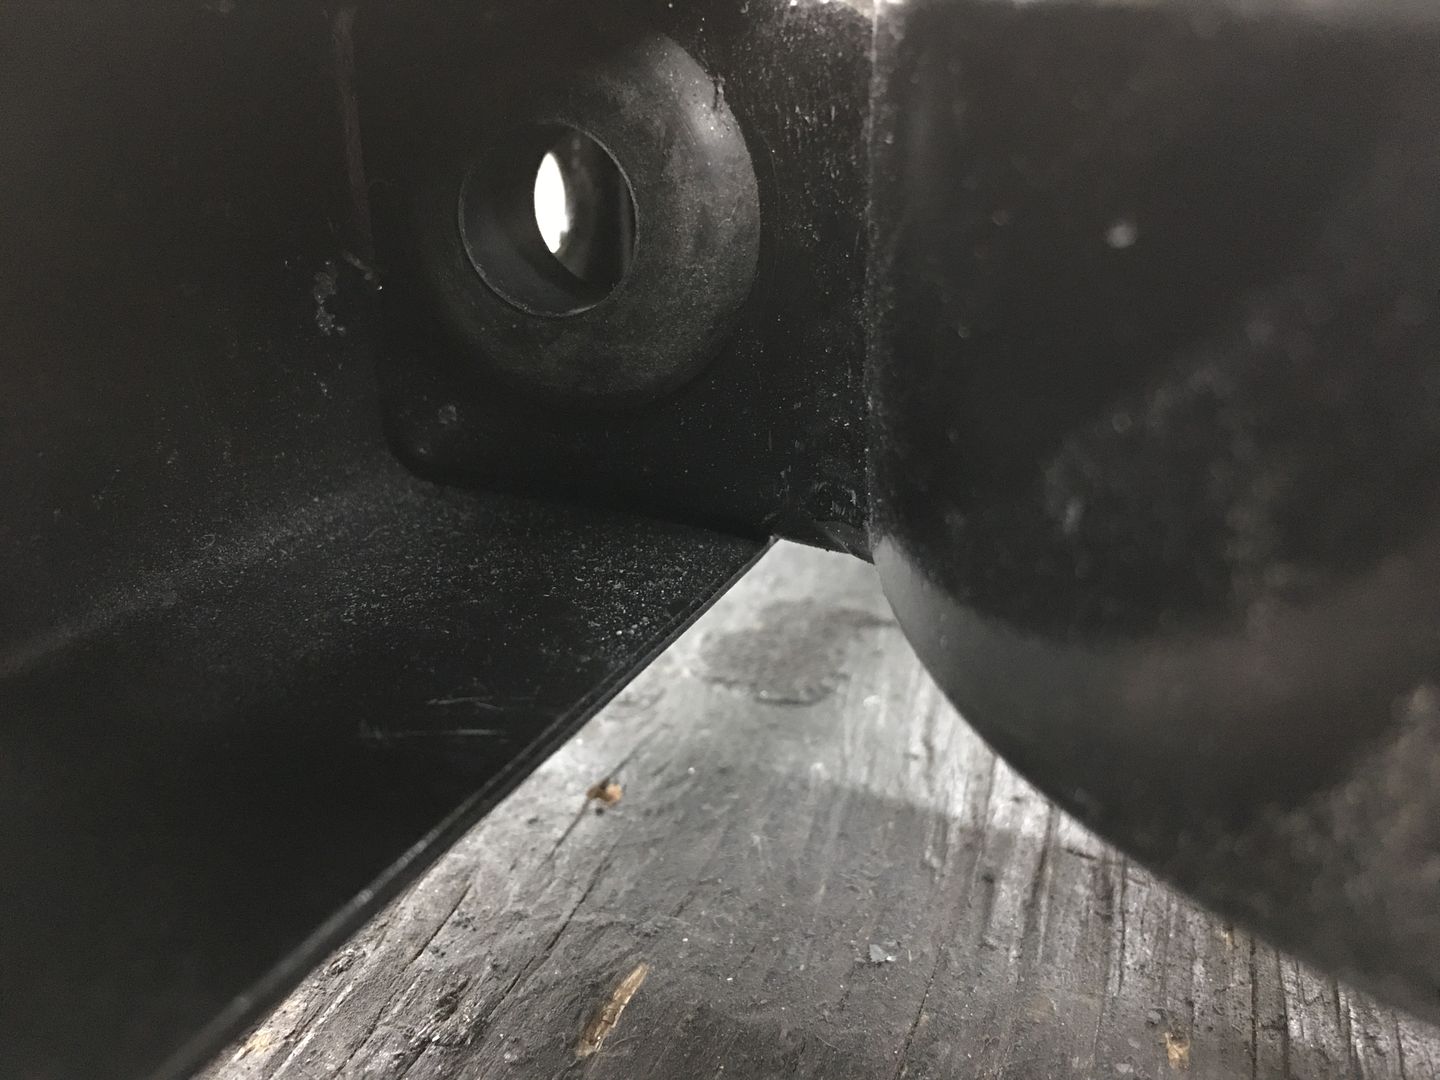
Installed, much better fit... Now Vince needs to do some touch up on the paint!
We're in the middle of blocking paint today on the core support and happened to notice someone forgot to add the holes in the new vertical uprights for the light wires to go across above the radiator.
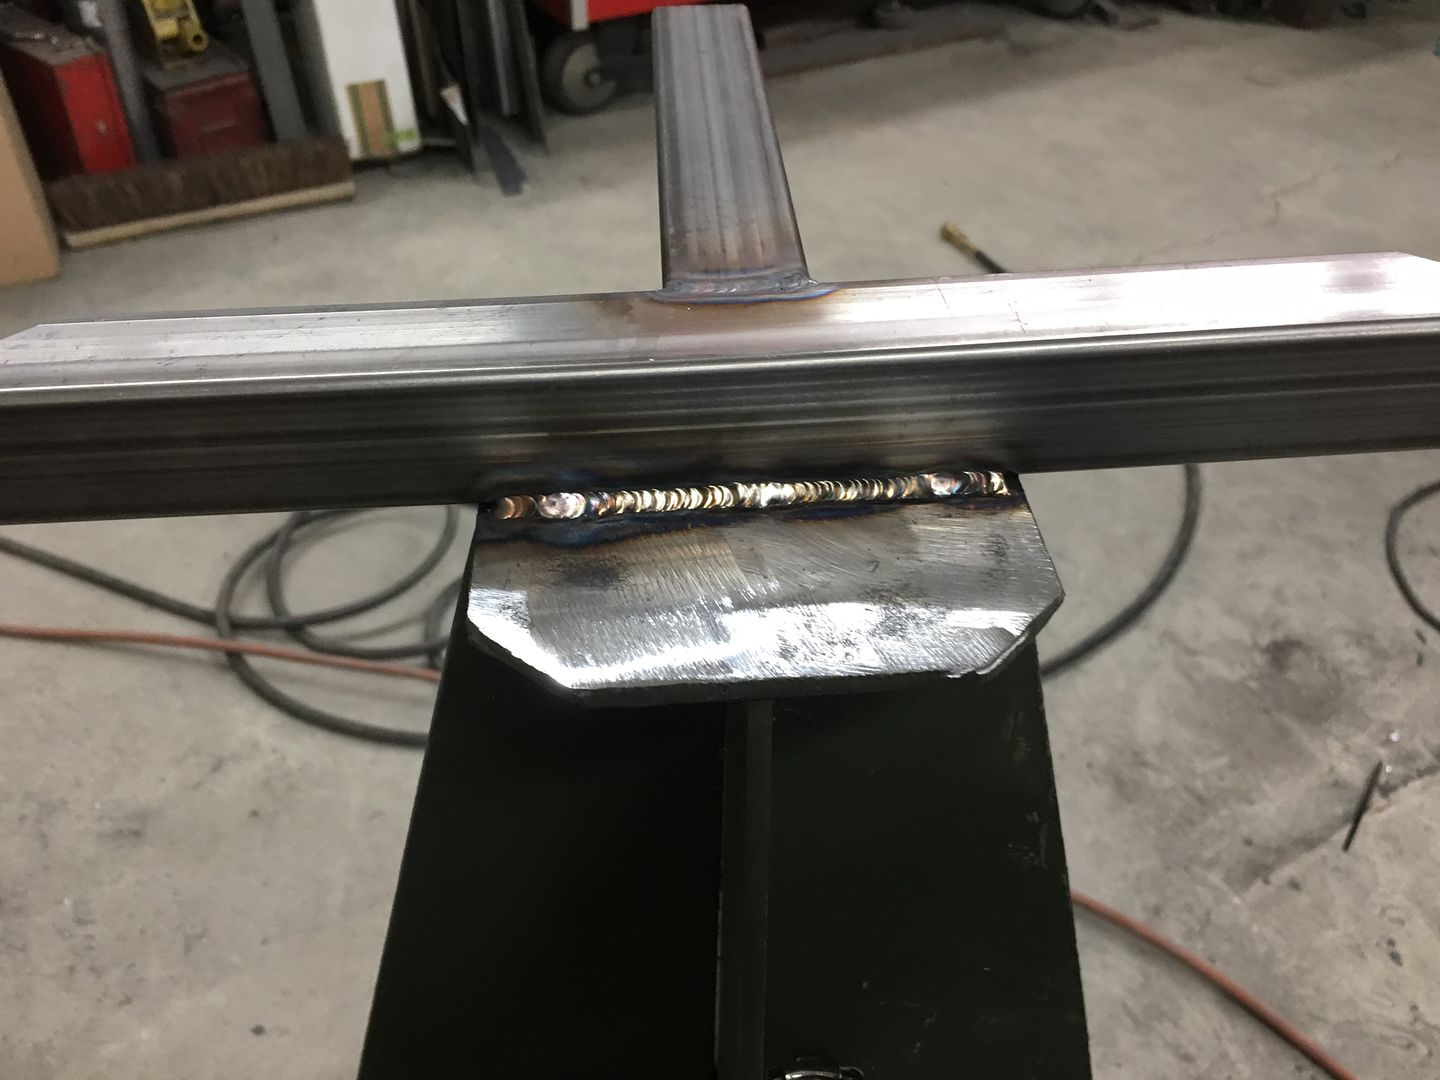
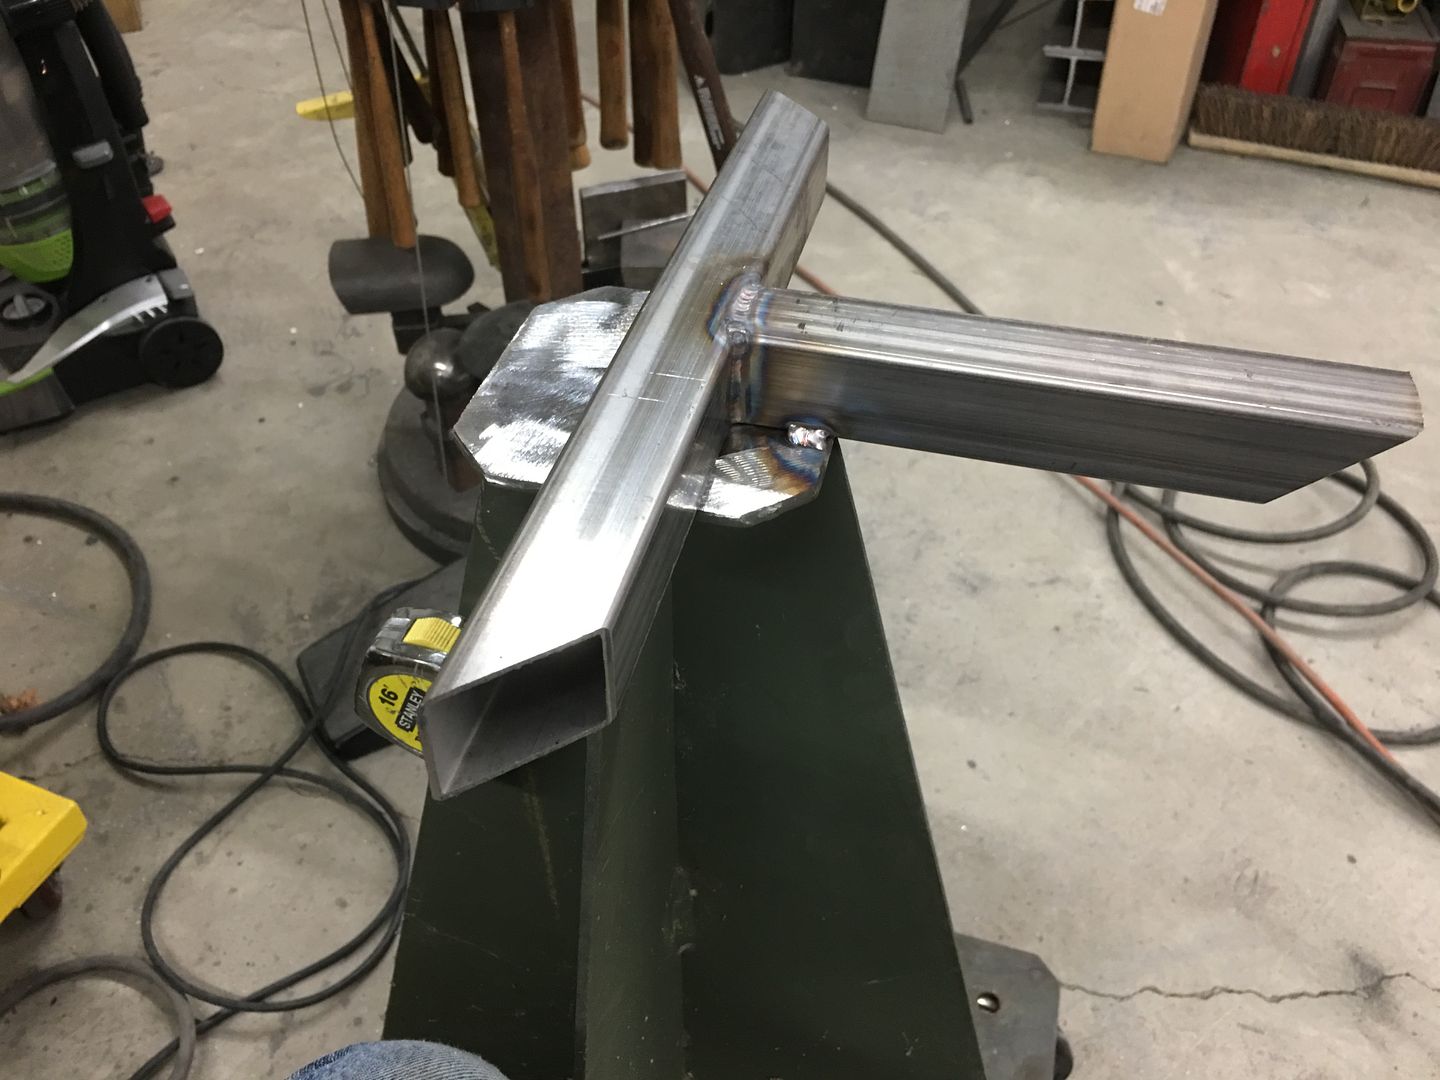
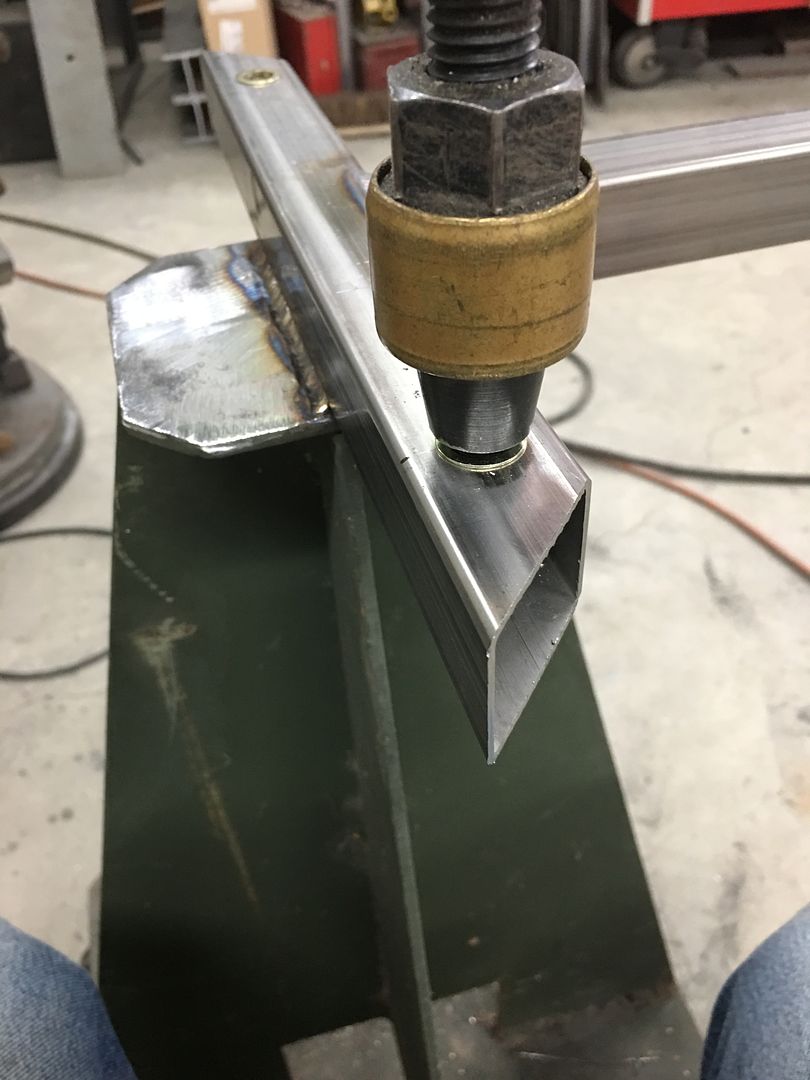
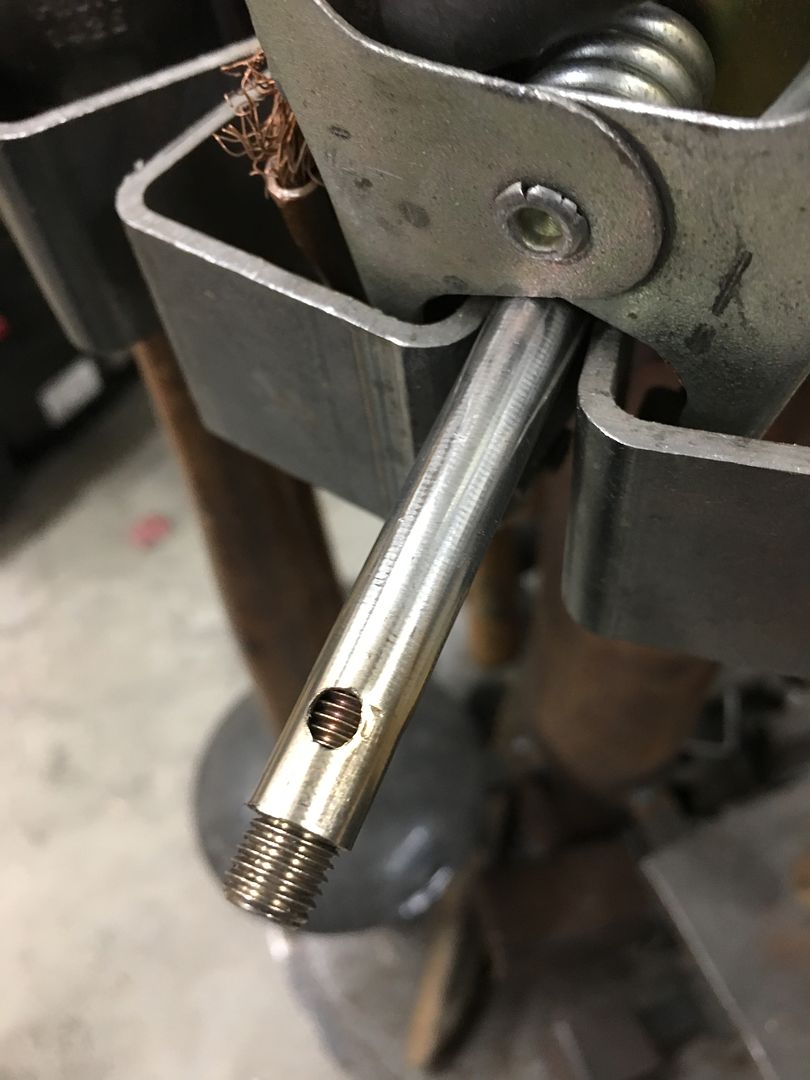
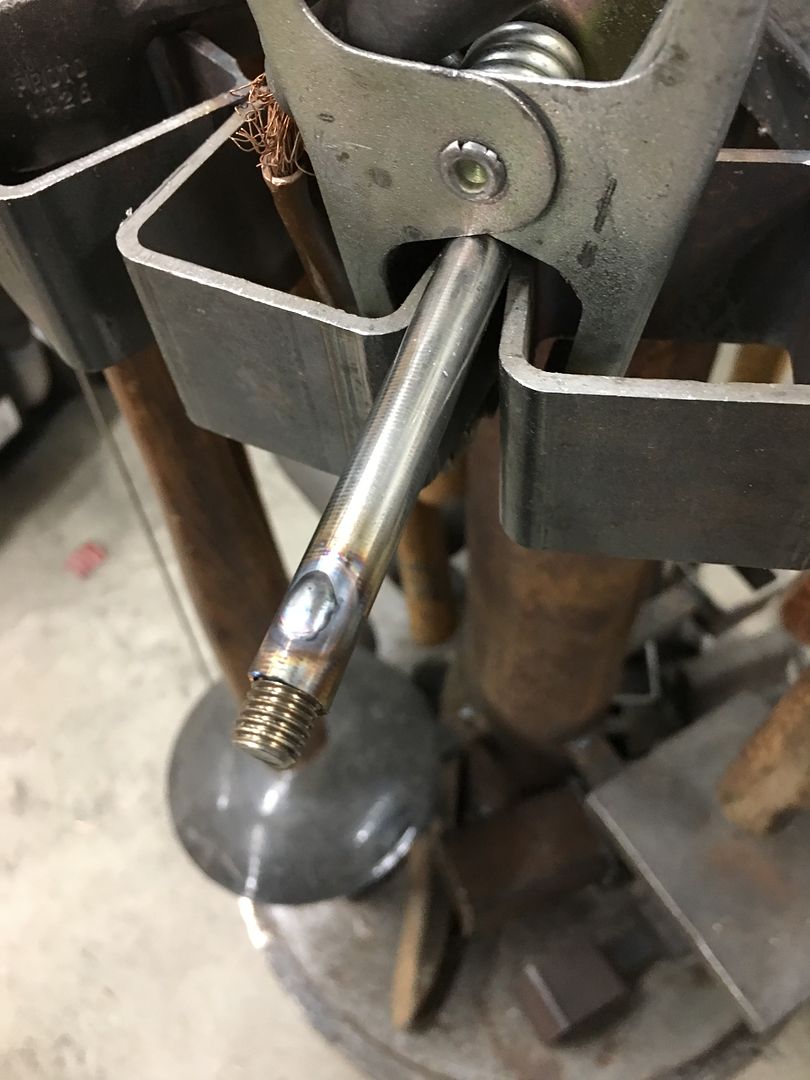
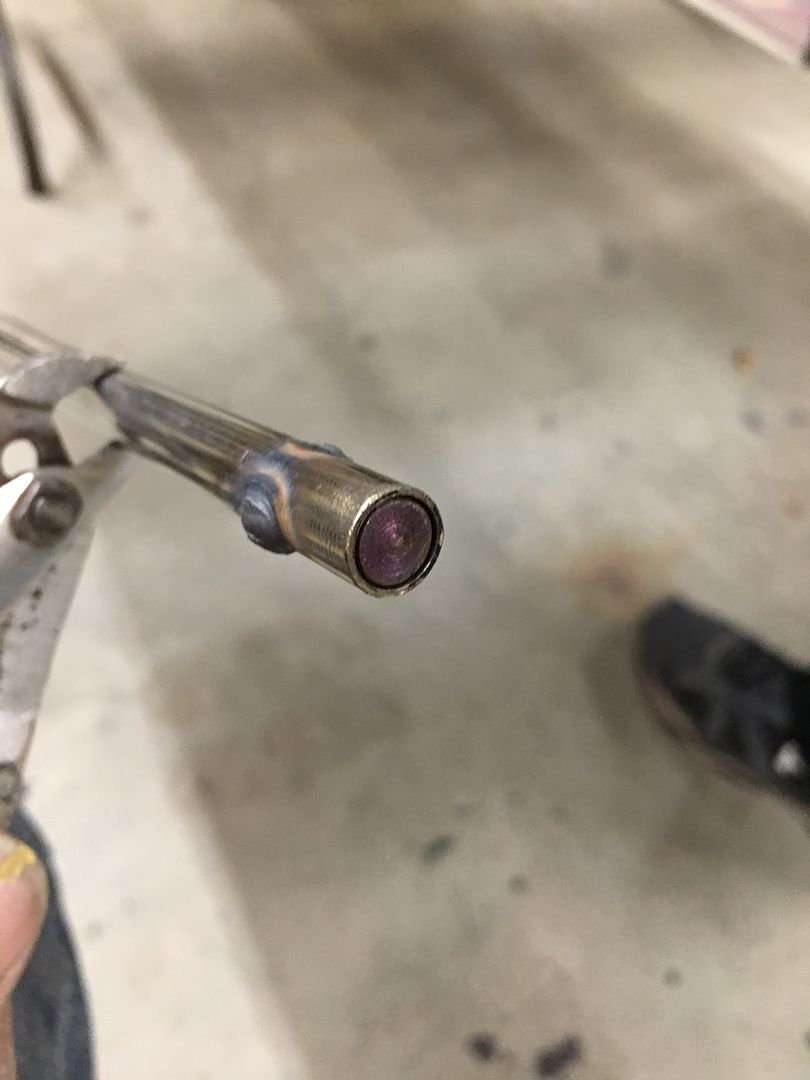
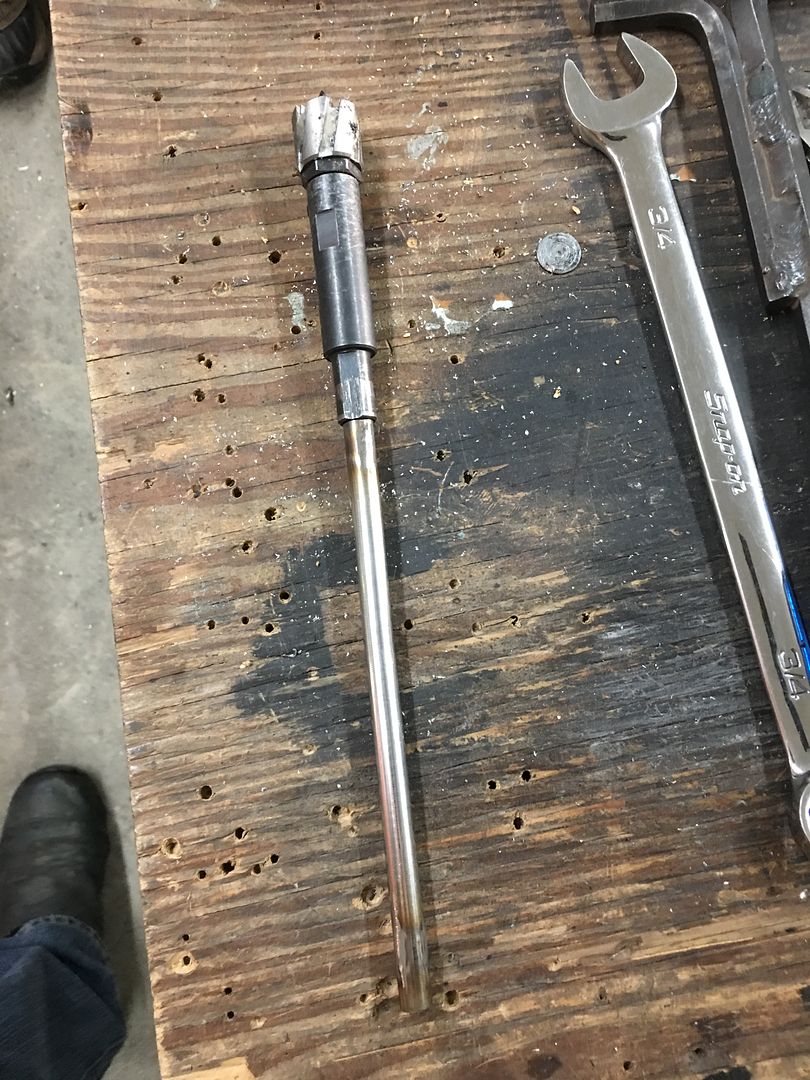
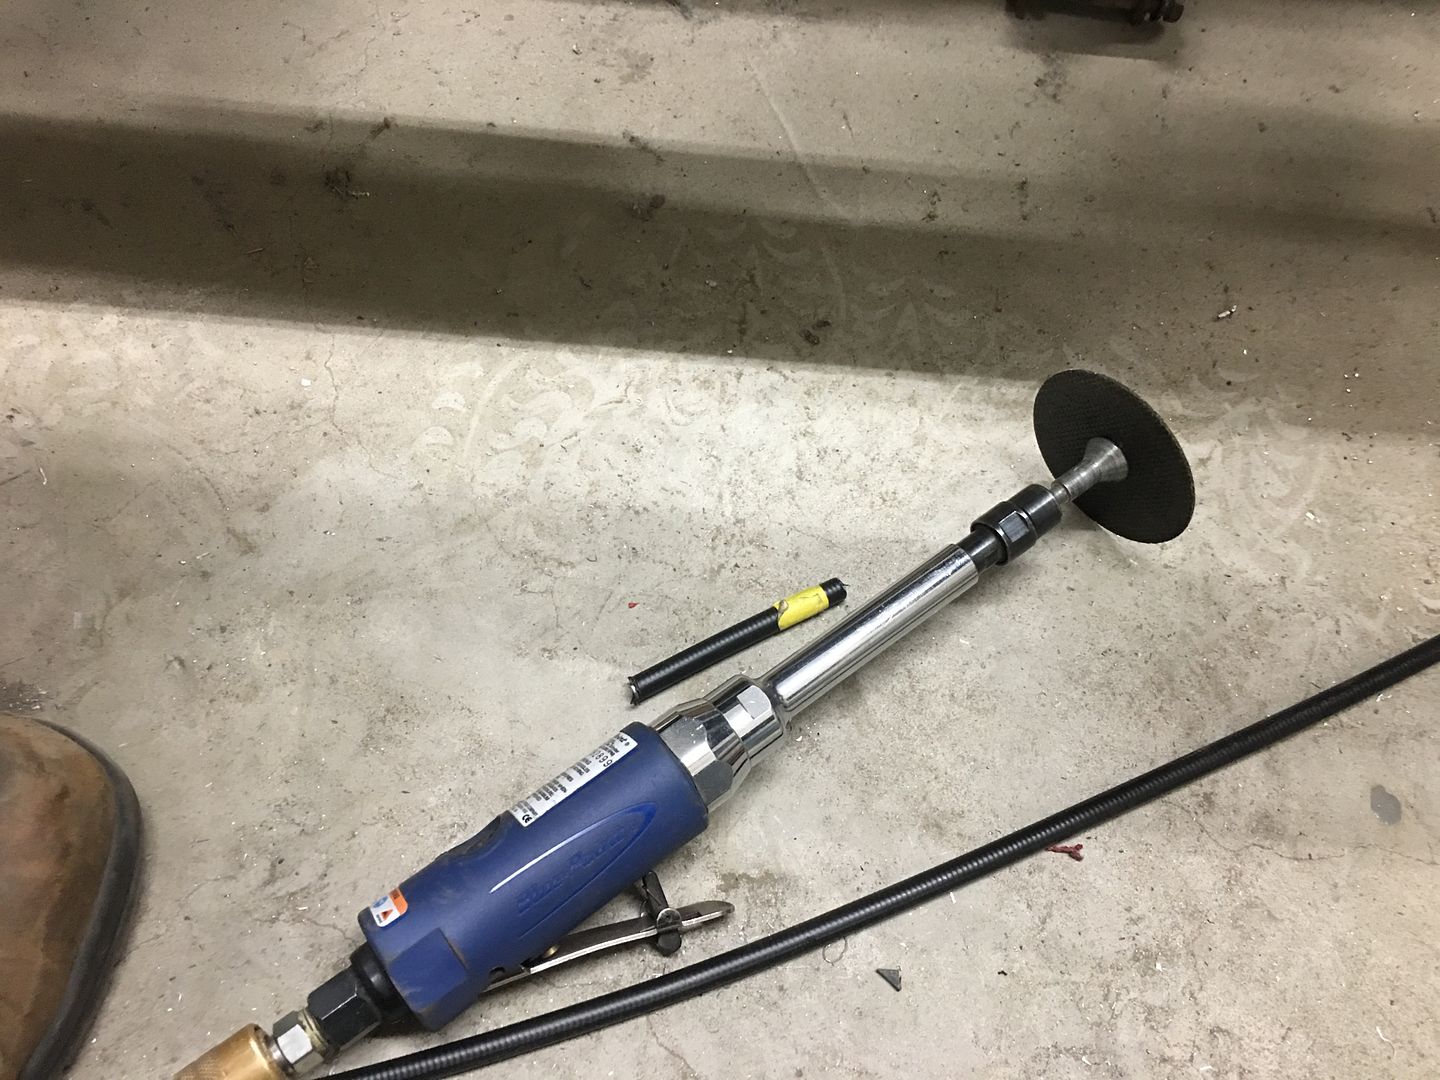
We have some rotary cutters that would do the trick but they are a bit short to reach from the outside (to keep things perpendicular) so lets make an extension. The set screw for the spring loaded center point is a 5/16-24 and we happened to have some in stock. So we used a piece of stainless fuel line and plug welded a stud in one end and a plug in the other for tightening in the drill chuck..
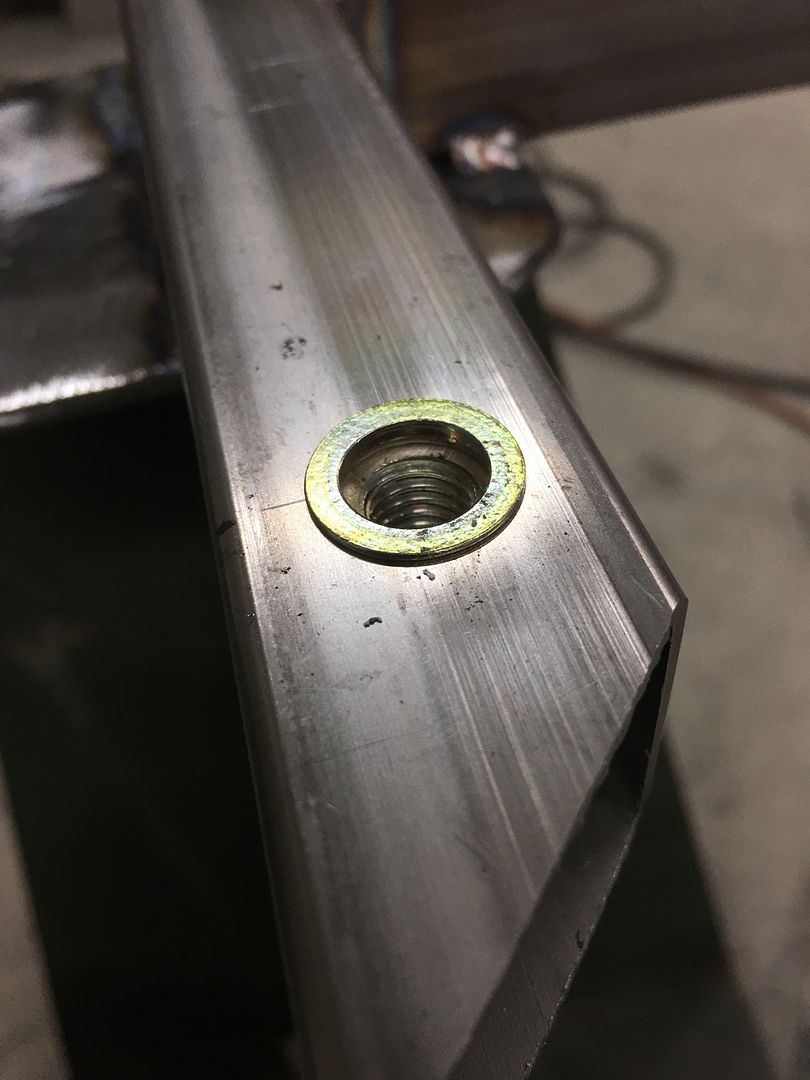
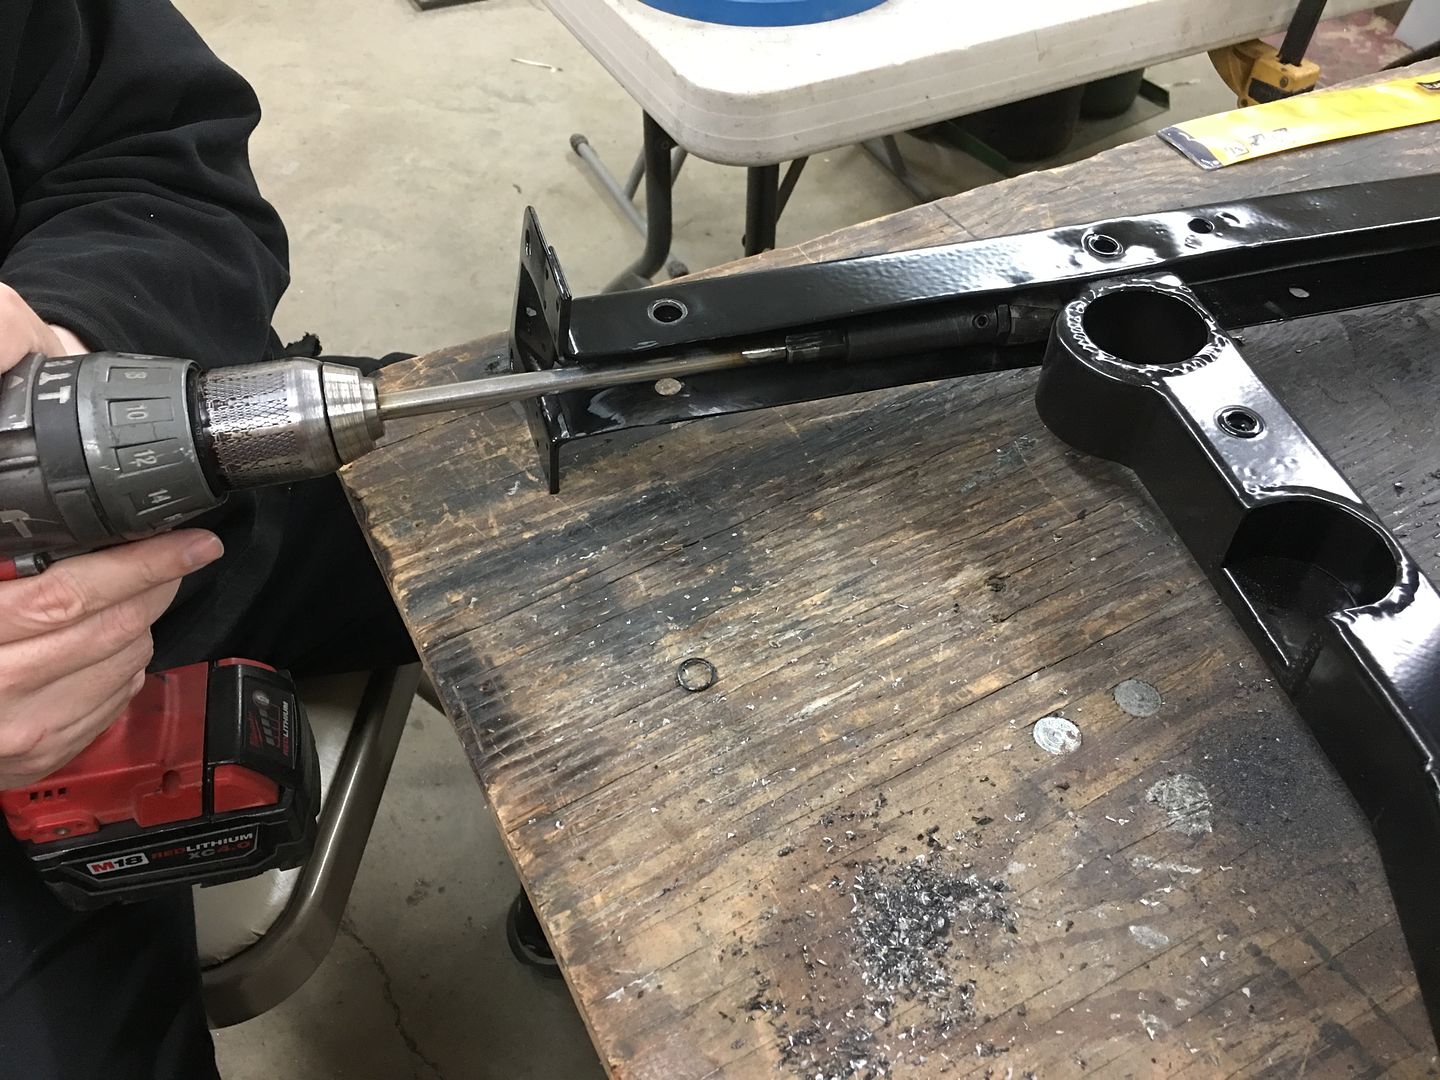
Holes drilled, deburred, and grommet test fitted..
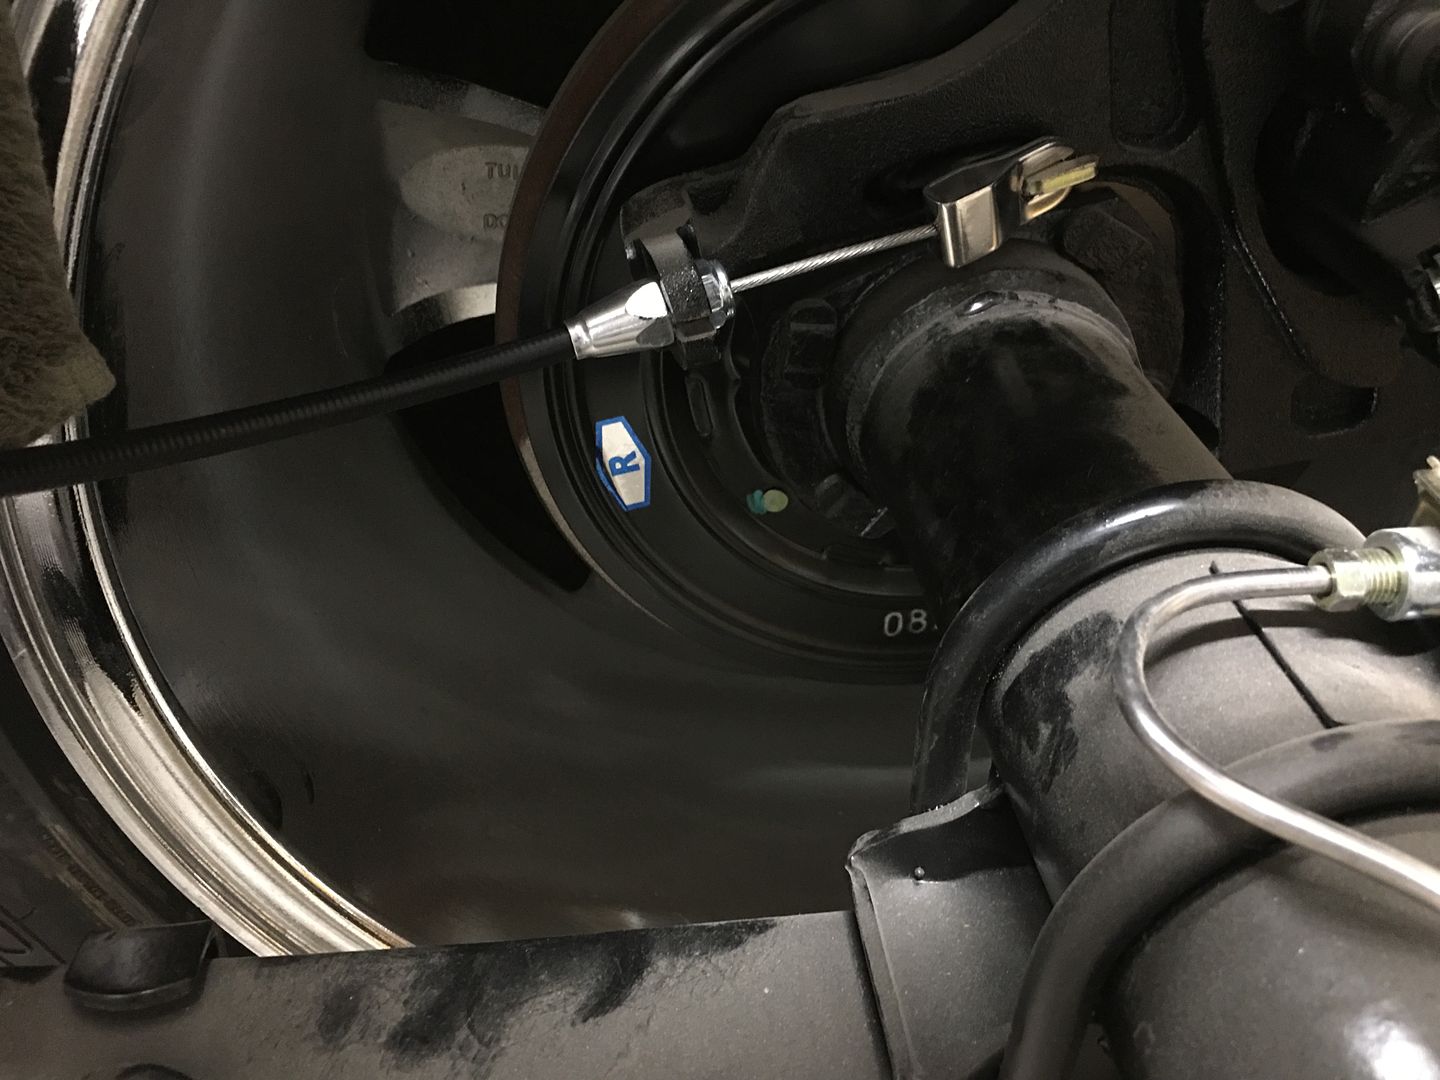
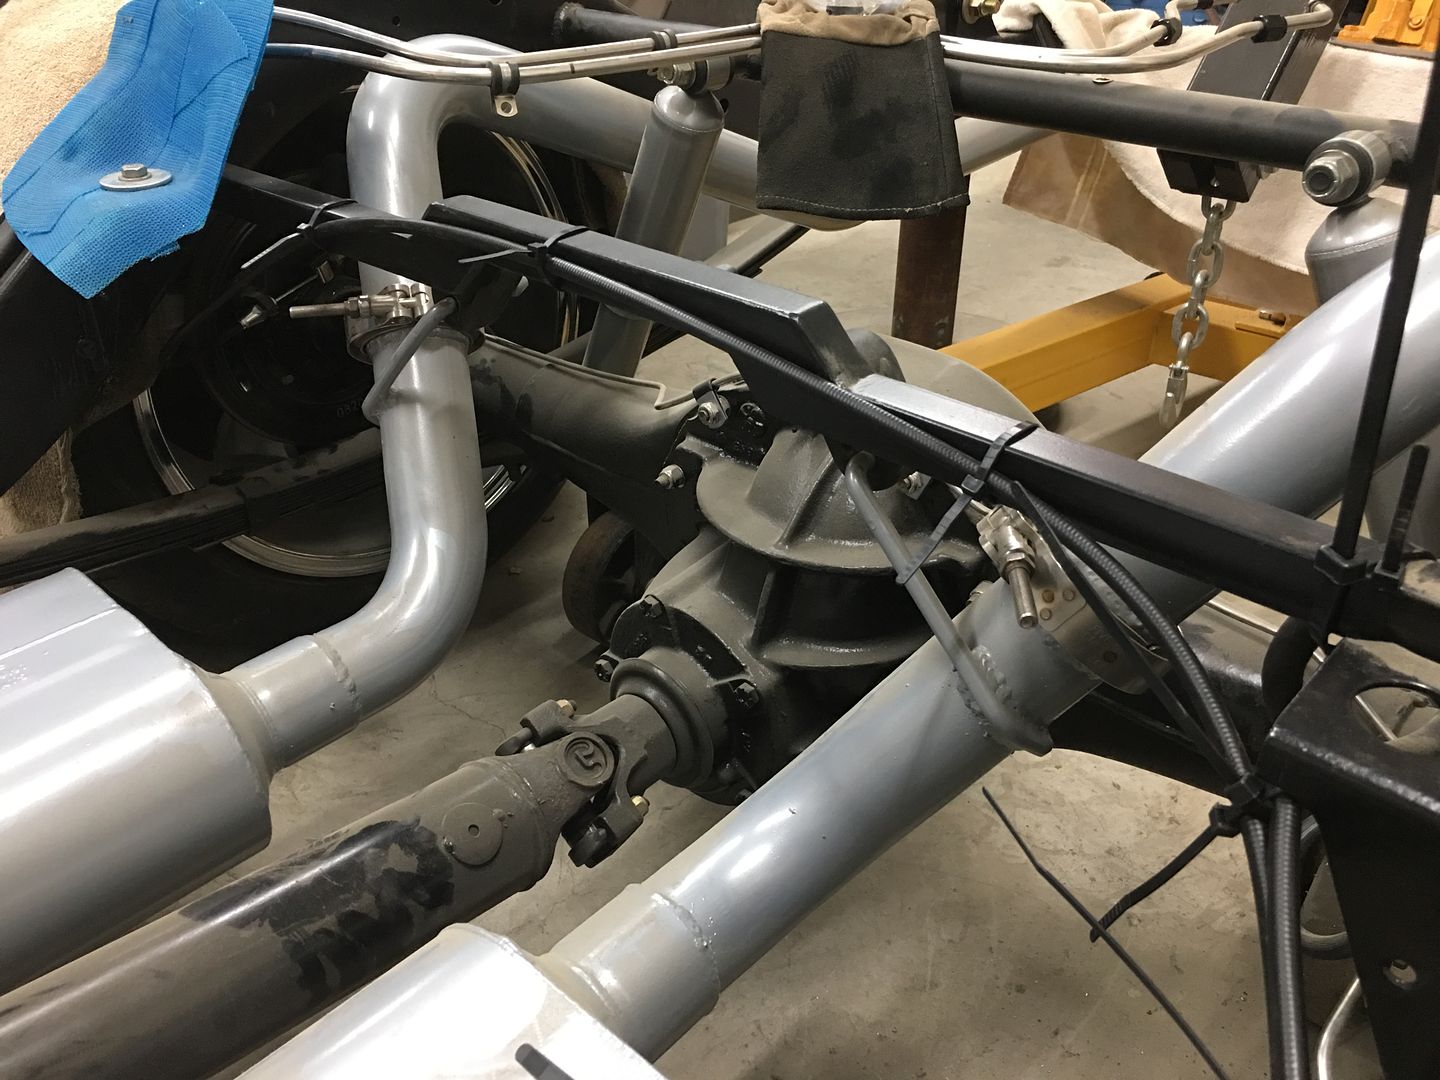
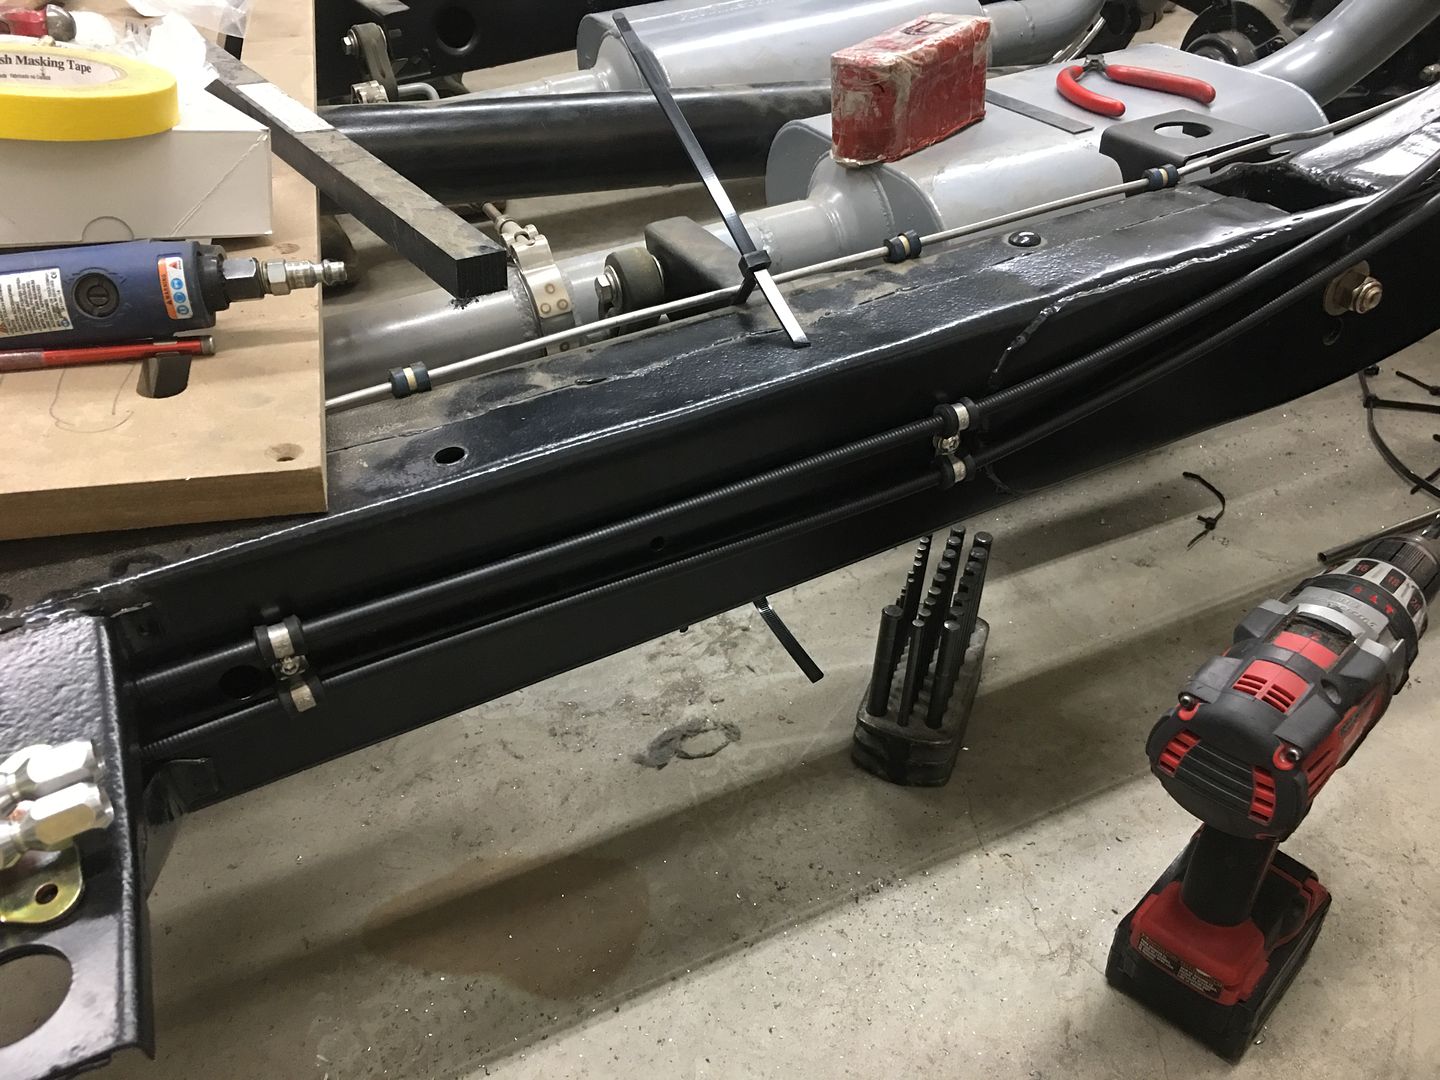
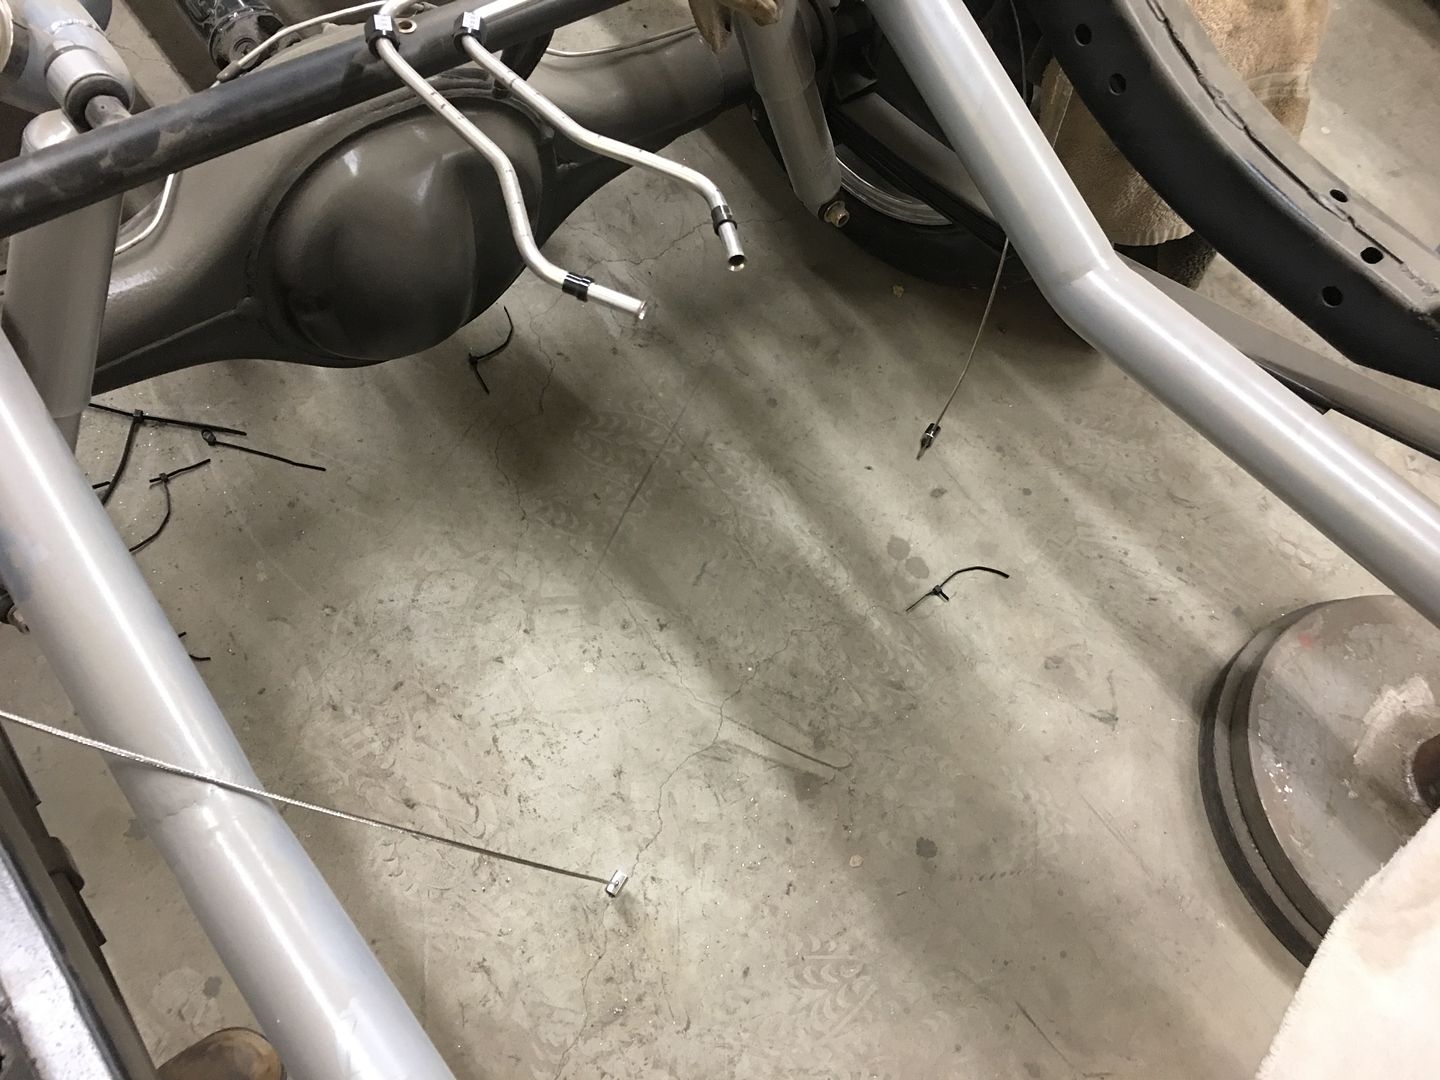
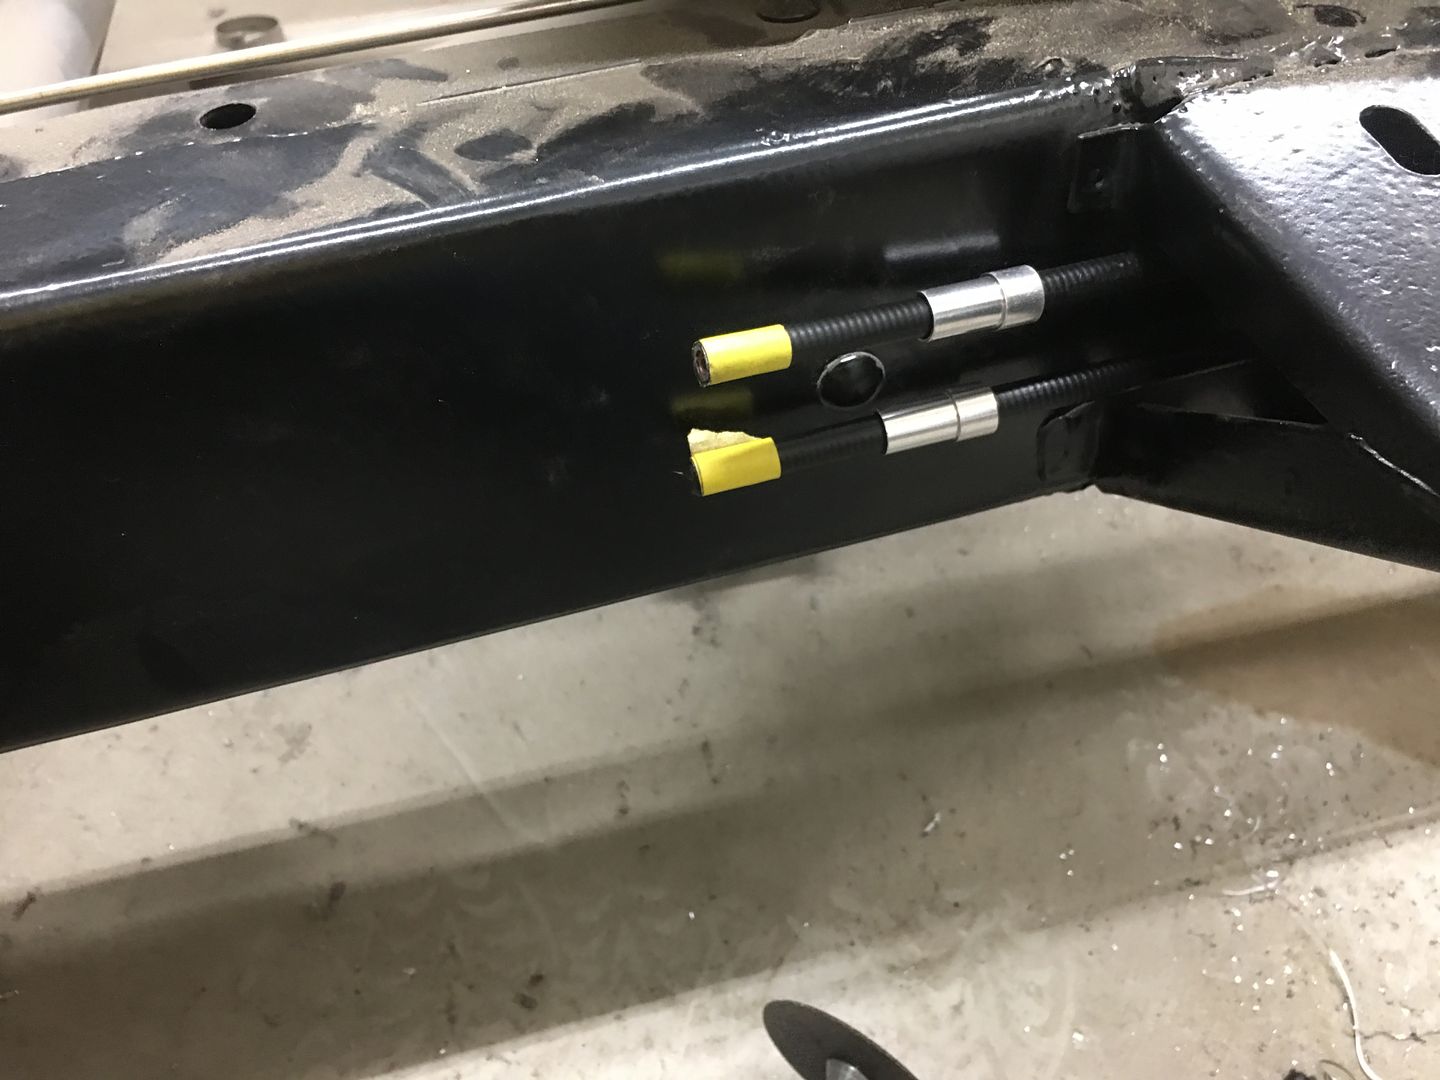
Now for a test fit of our Parking brake lines to mock up the routing prior to adding rivet nuts and adel clamps...
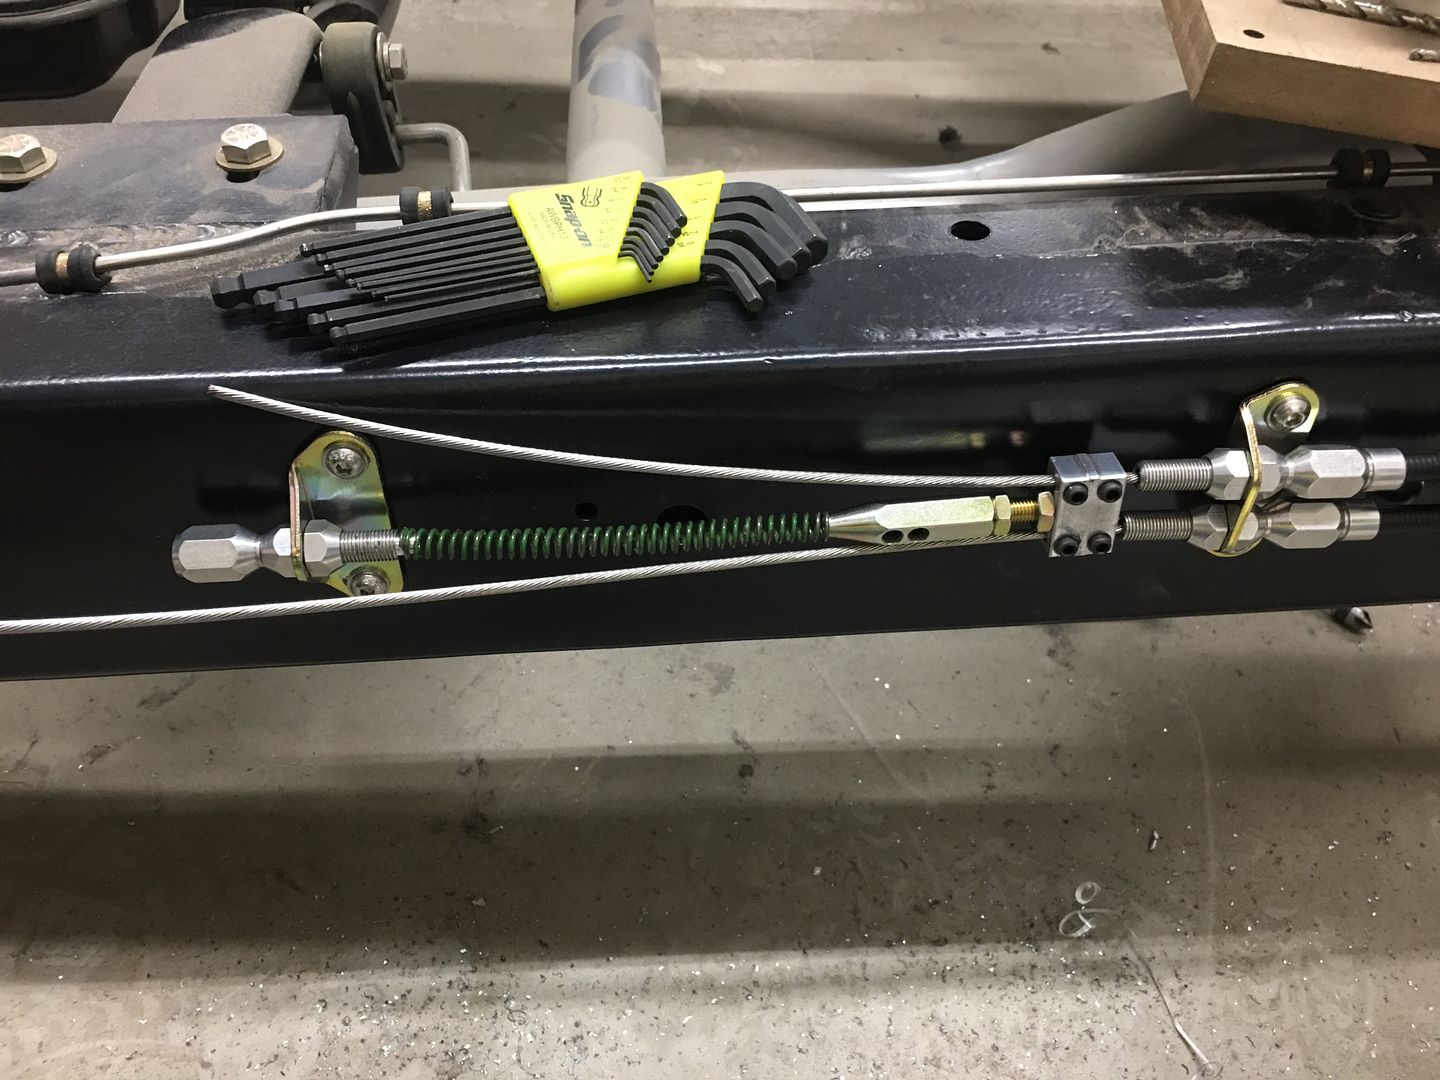
With our adel clamps arrived, Mike and I worked on the brake cables while Vince was prepping things for paint...
I think he's having too much fun...
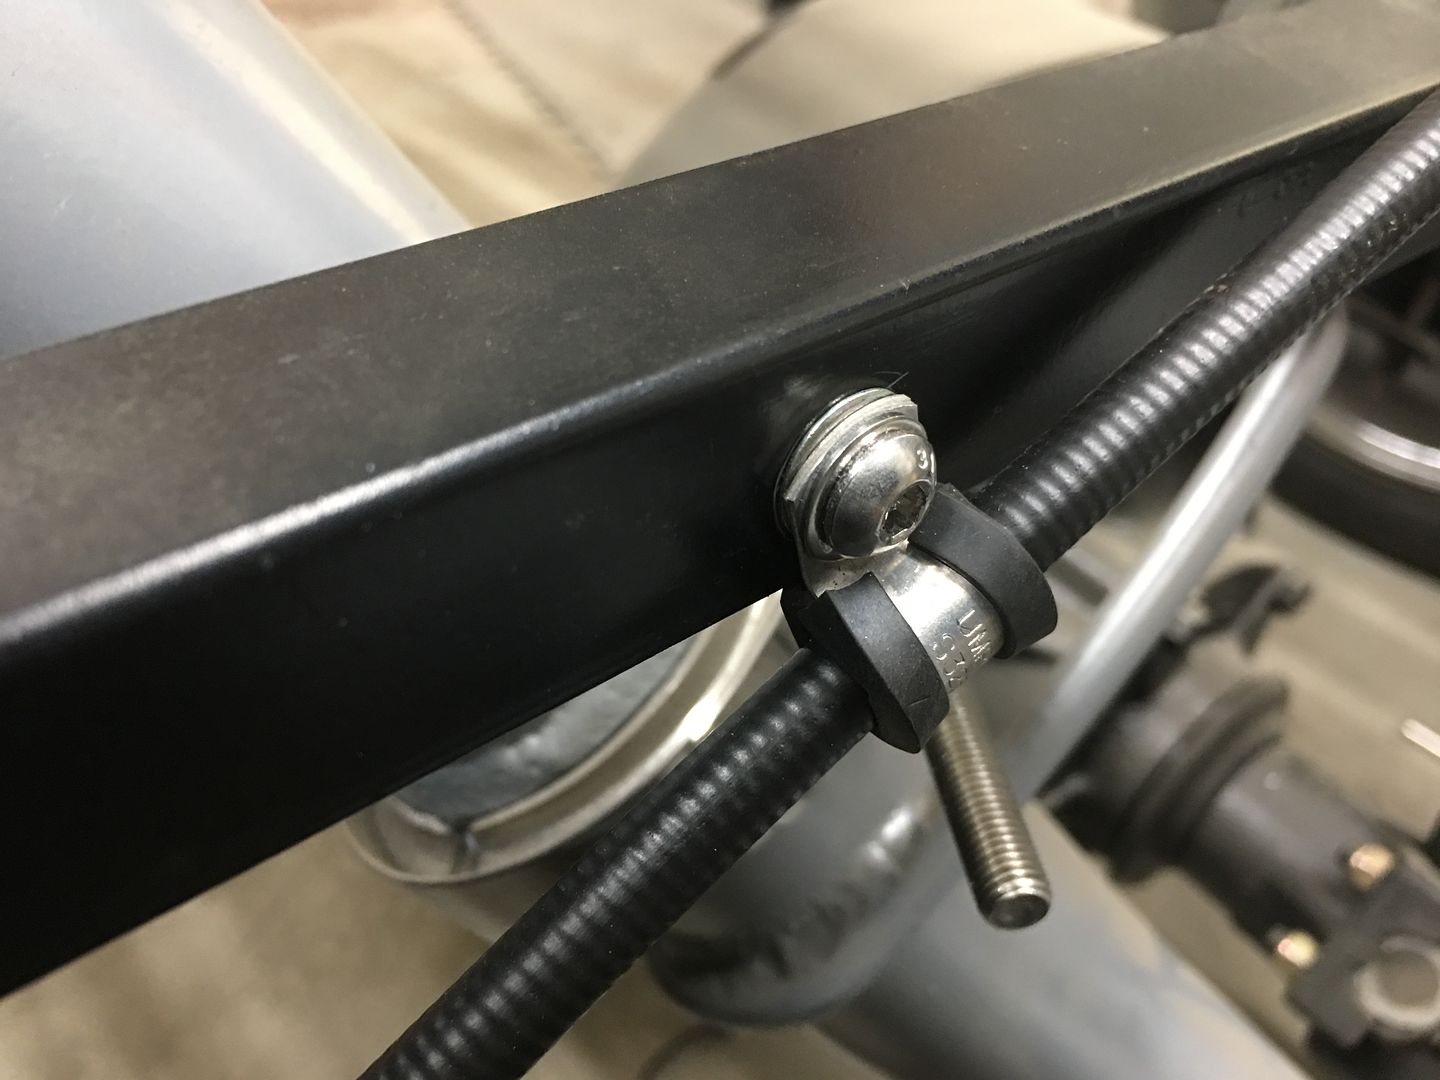
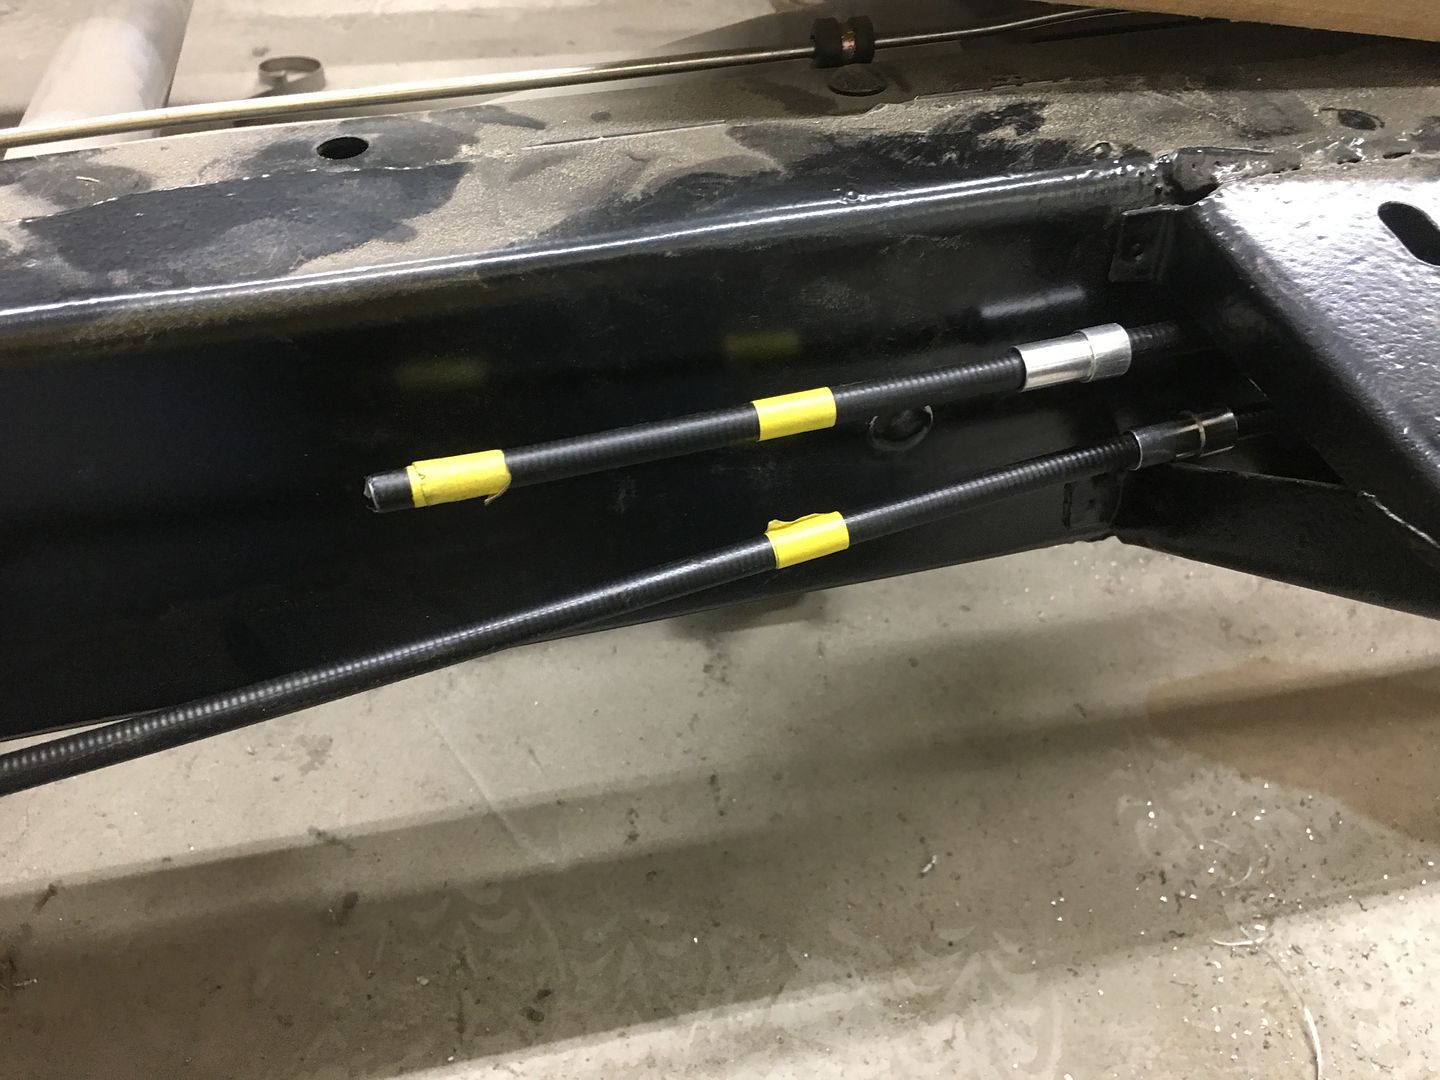
We had to wait for -5 clamps as these were snug enough to hold the cable from moving. This allows us to set the length to the backing plate such that it clears the frame during suspension travel..
The clamps were held in place using rivet nuts installed into the frame. Here is a video showing rivet nuts and the proper installation:
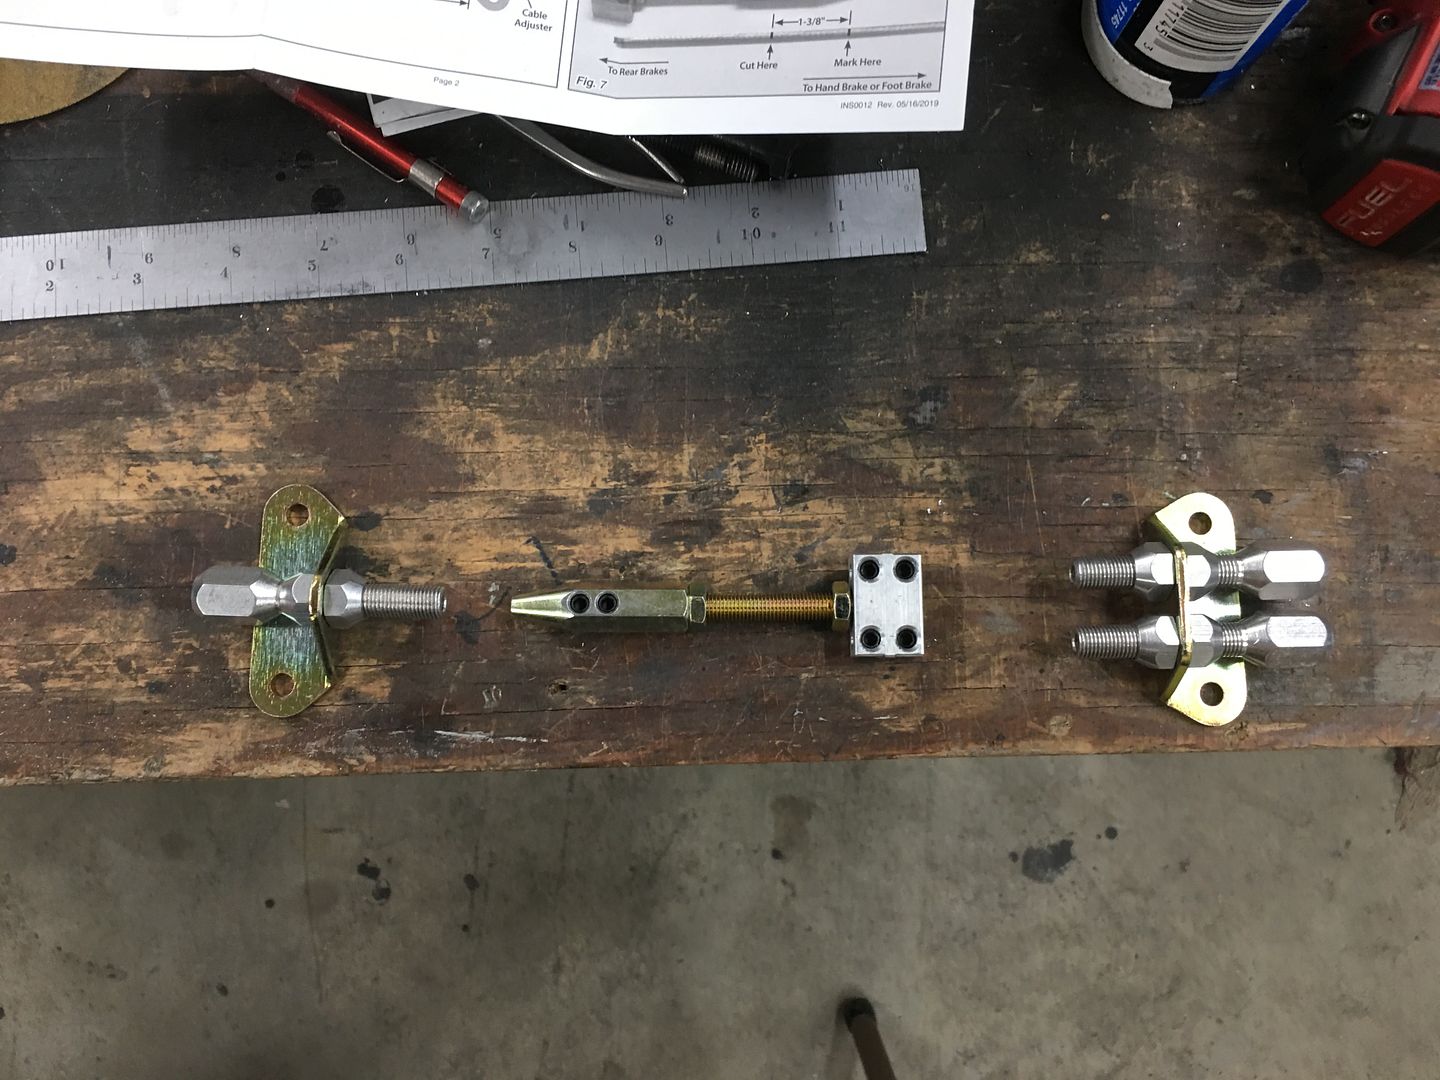
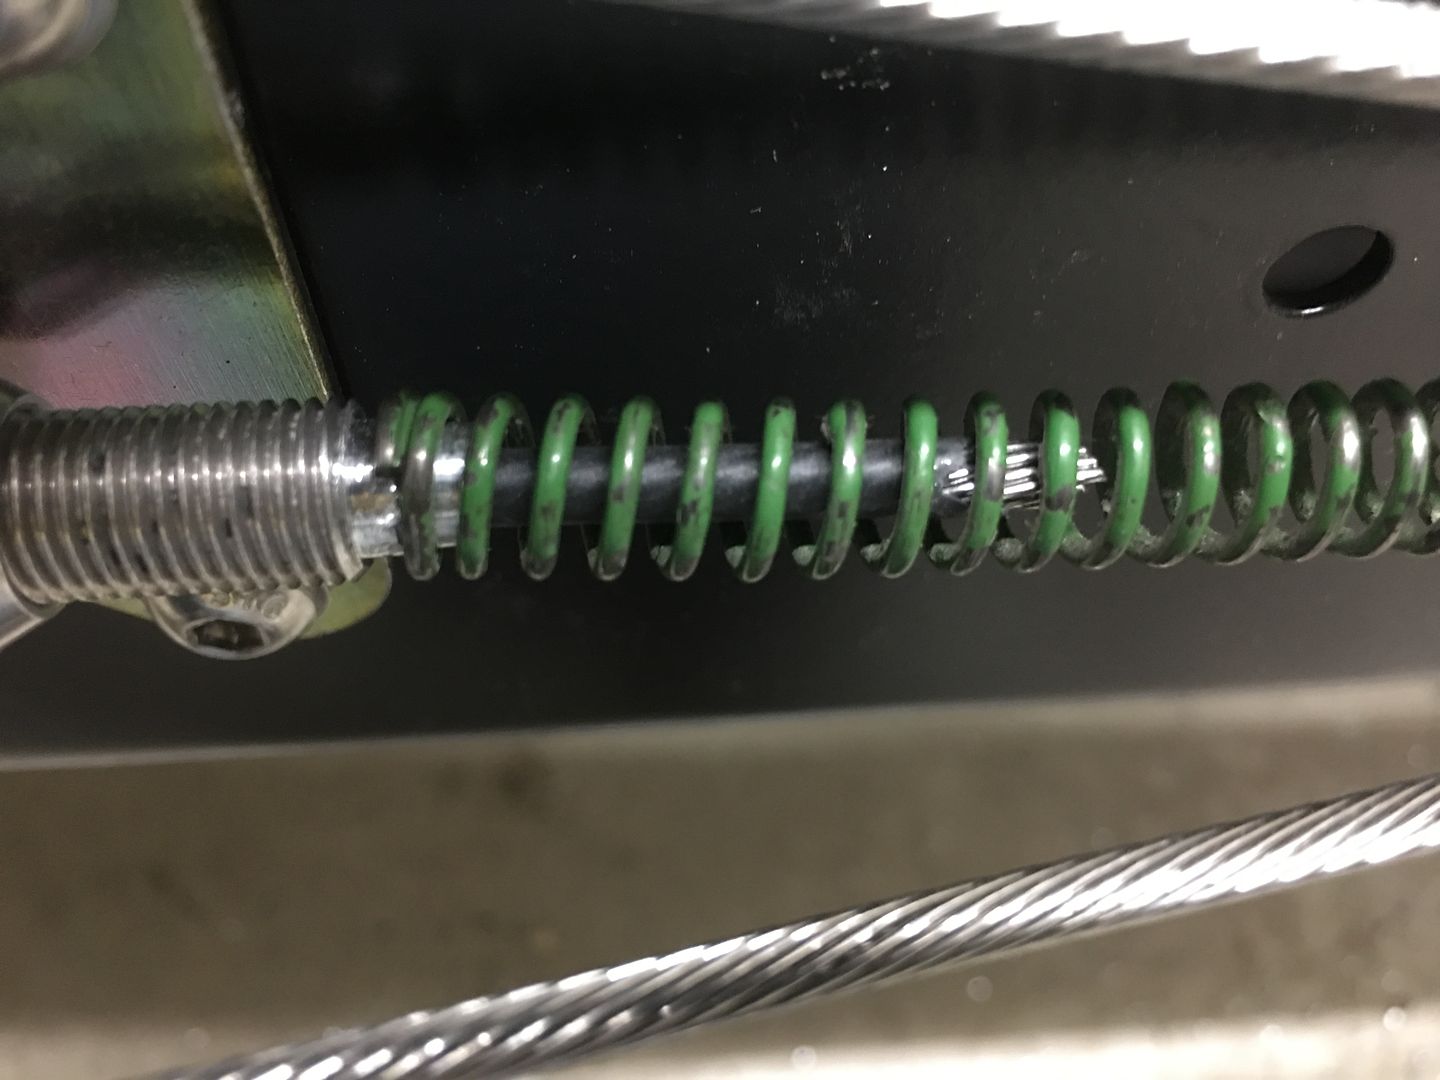
Our parking brake assembly used an integral "return spring" to pull the pedal back upwards when the brake is released, so that part is saved for this installation as well. To keep the end of the spring from rubbing against the cable in one spot, we machine a landing in the adjuster. We will also use some Teflon heat shrink over the cable to help prevent wear.
Final trim on the rear cables will come when we drop the body back on the frame for proper fitment to the brake pedal assembly.
 Tweet
Tweet


.JPG)
.JPG)


Comment