Announcement

Collapse
No announcement yet.

55 Wagon Progress

Collapse
X
 
  • Filter
  • Time
  • Show
Clear All
new posts

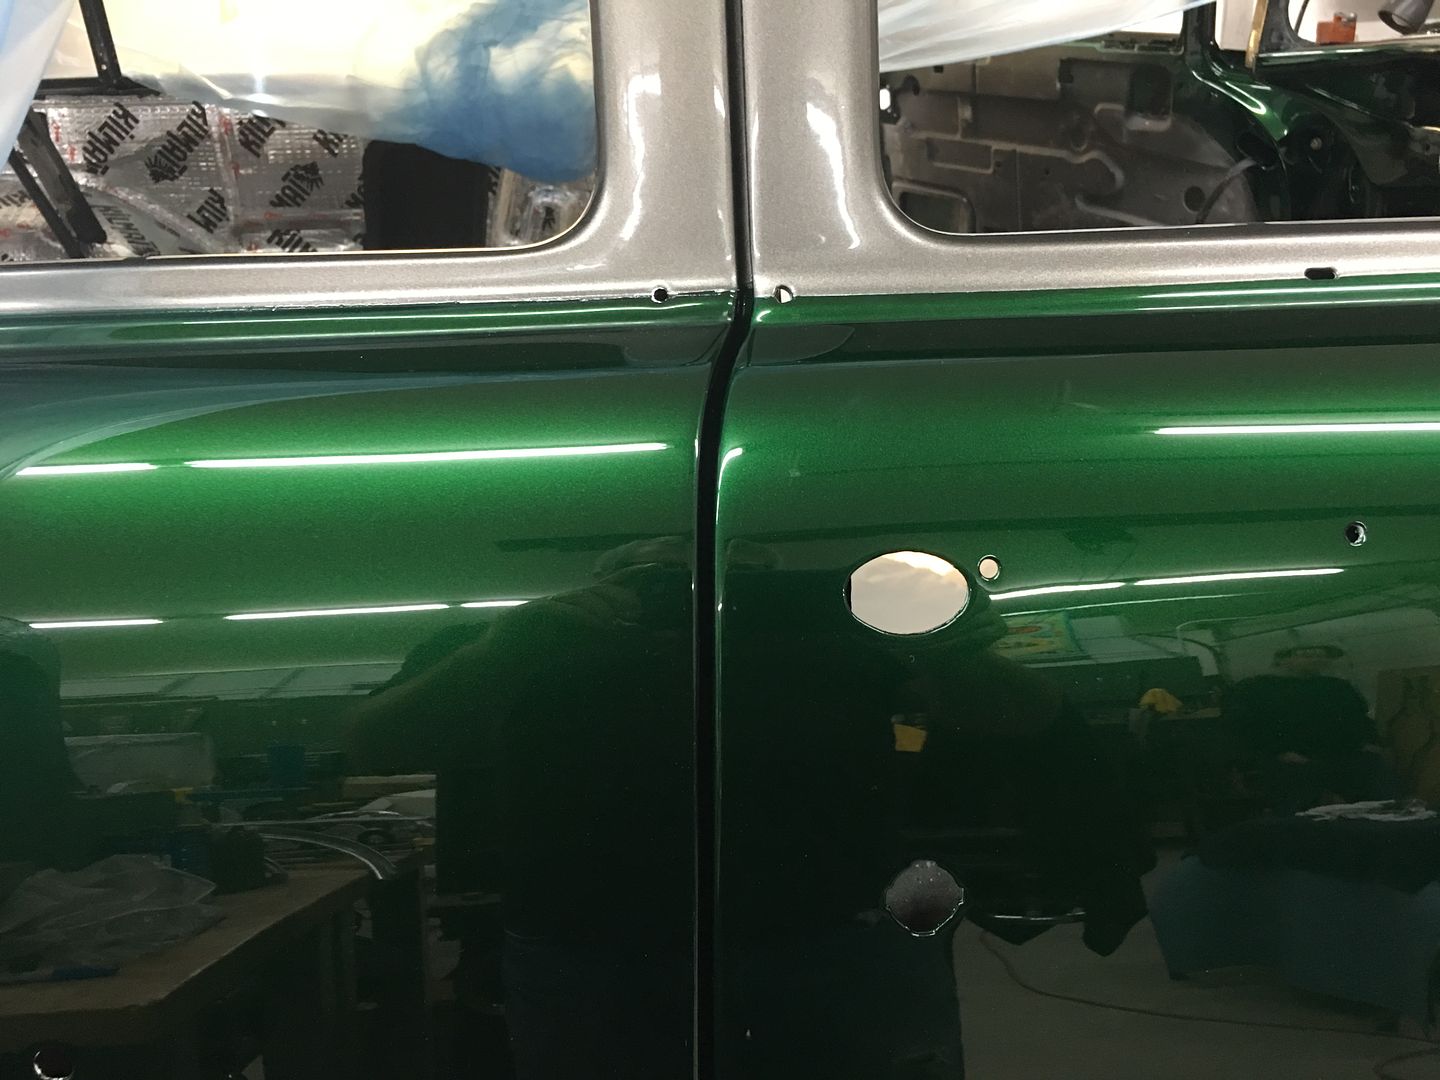
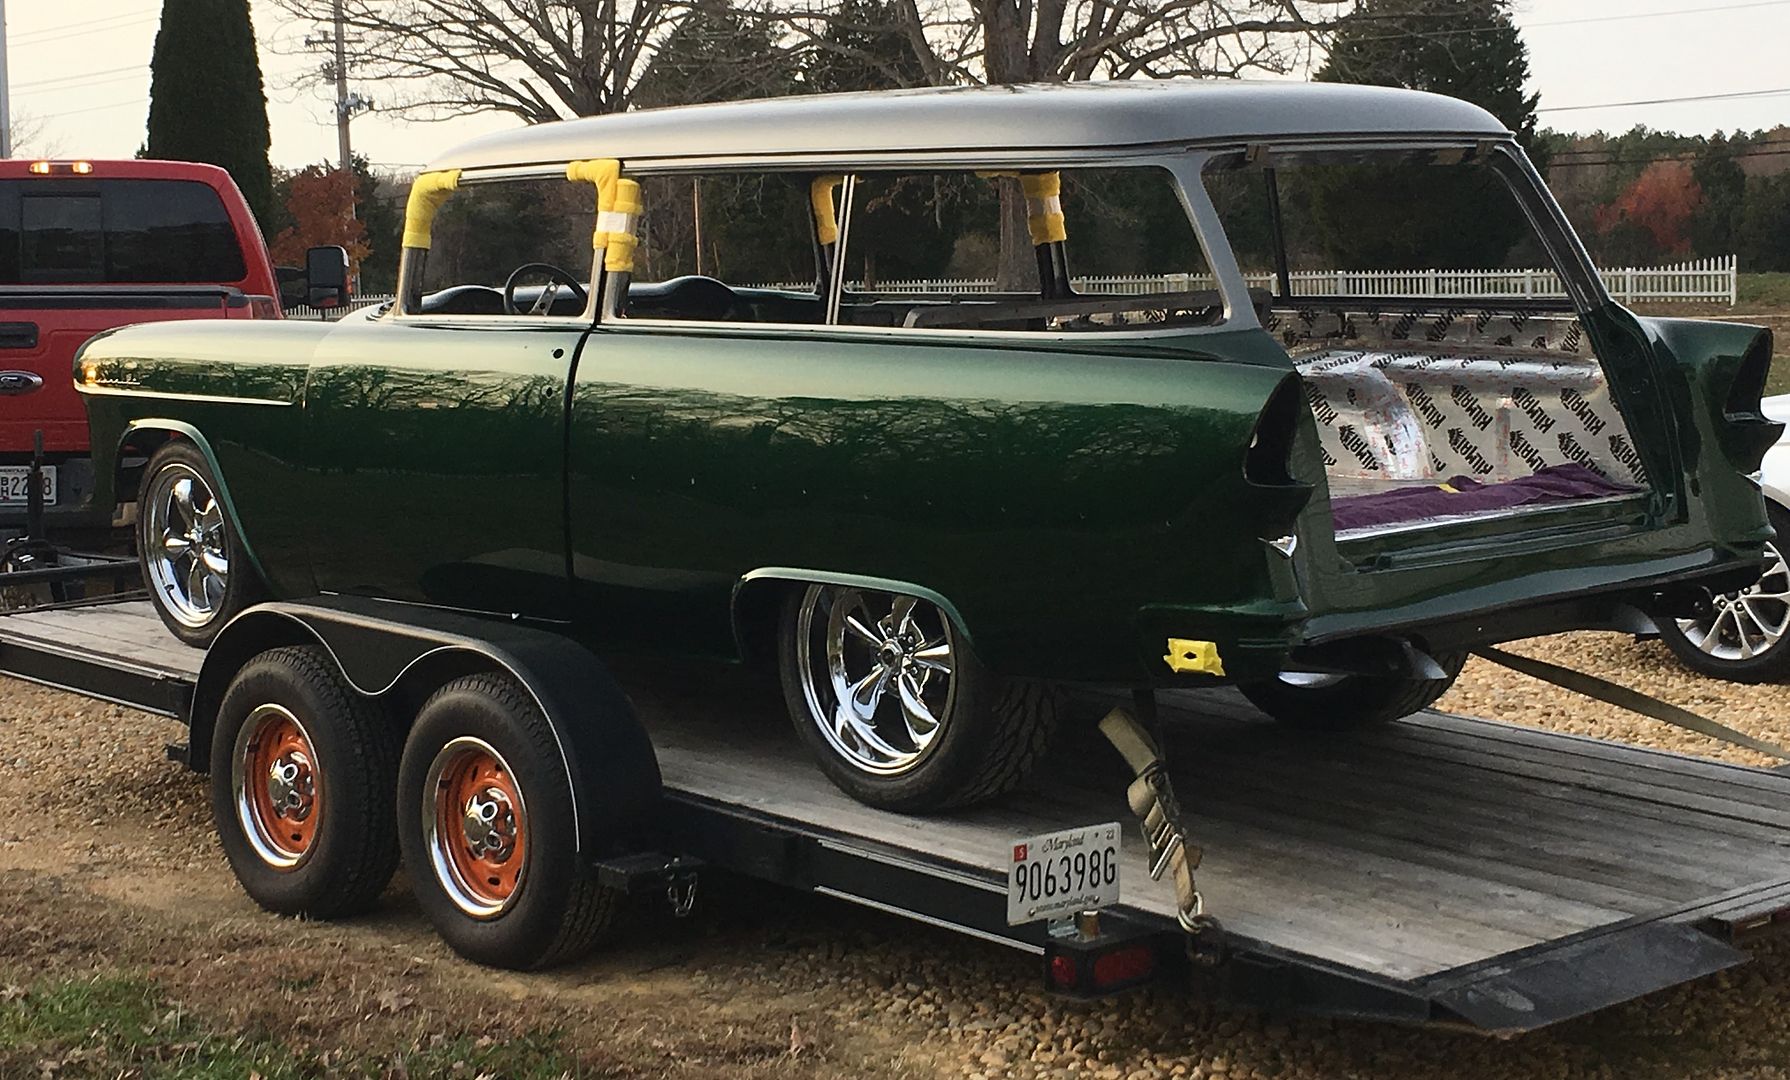
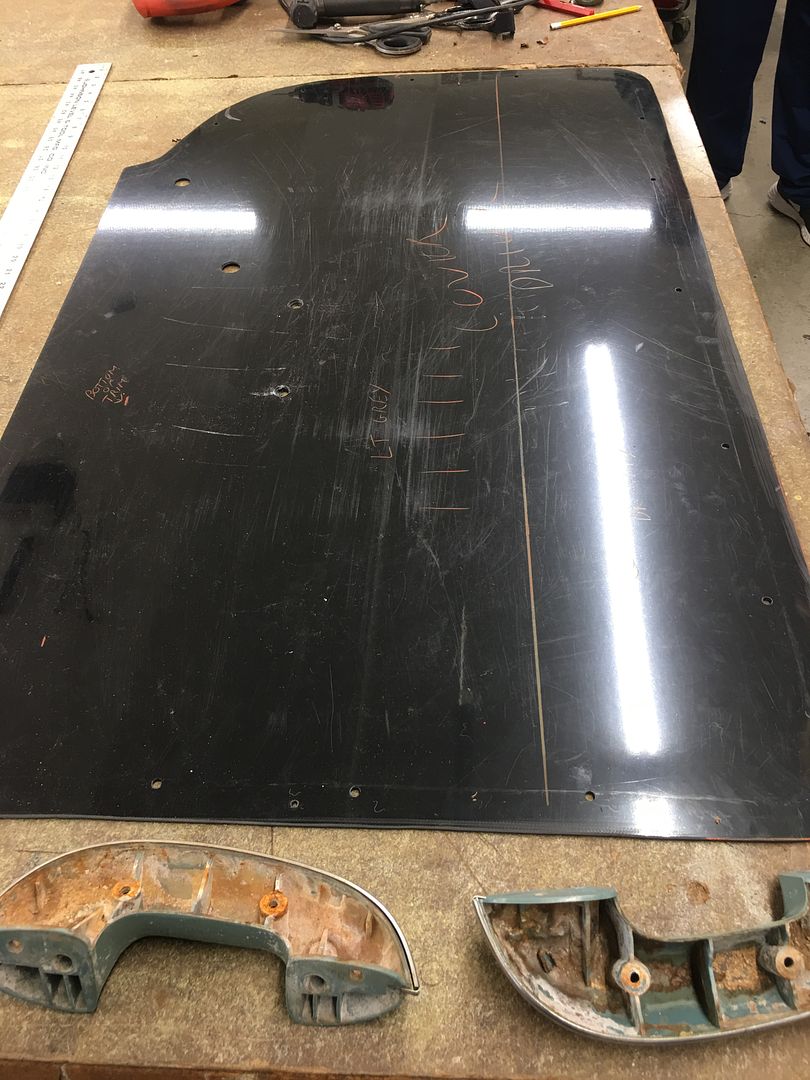
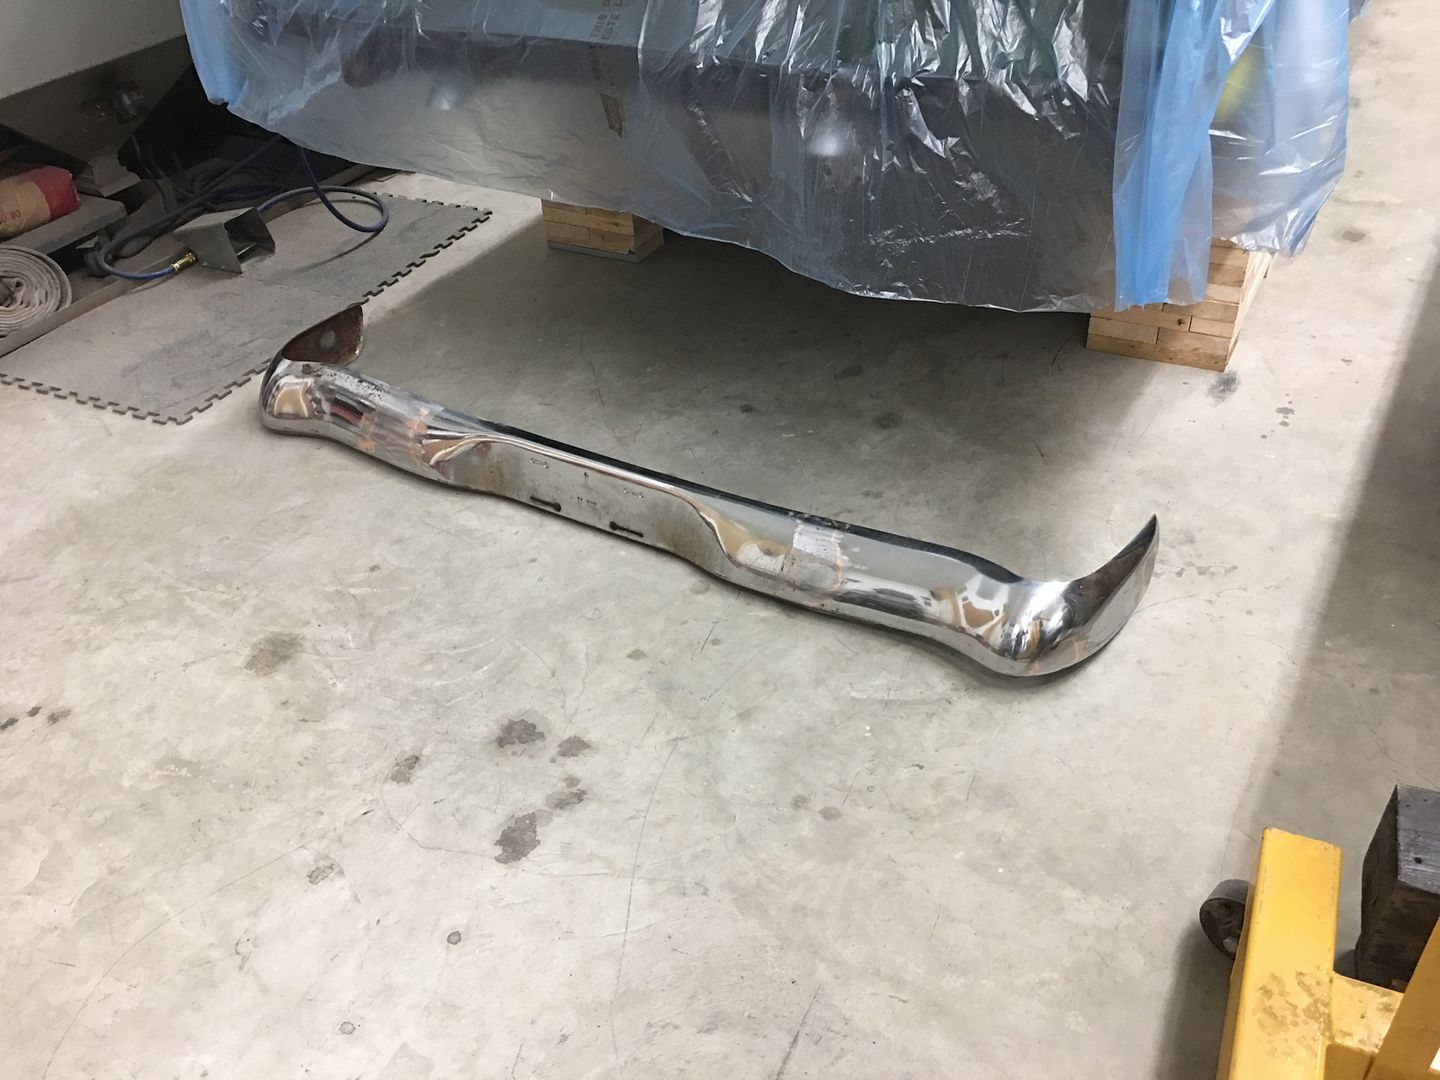
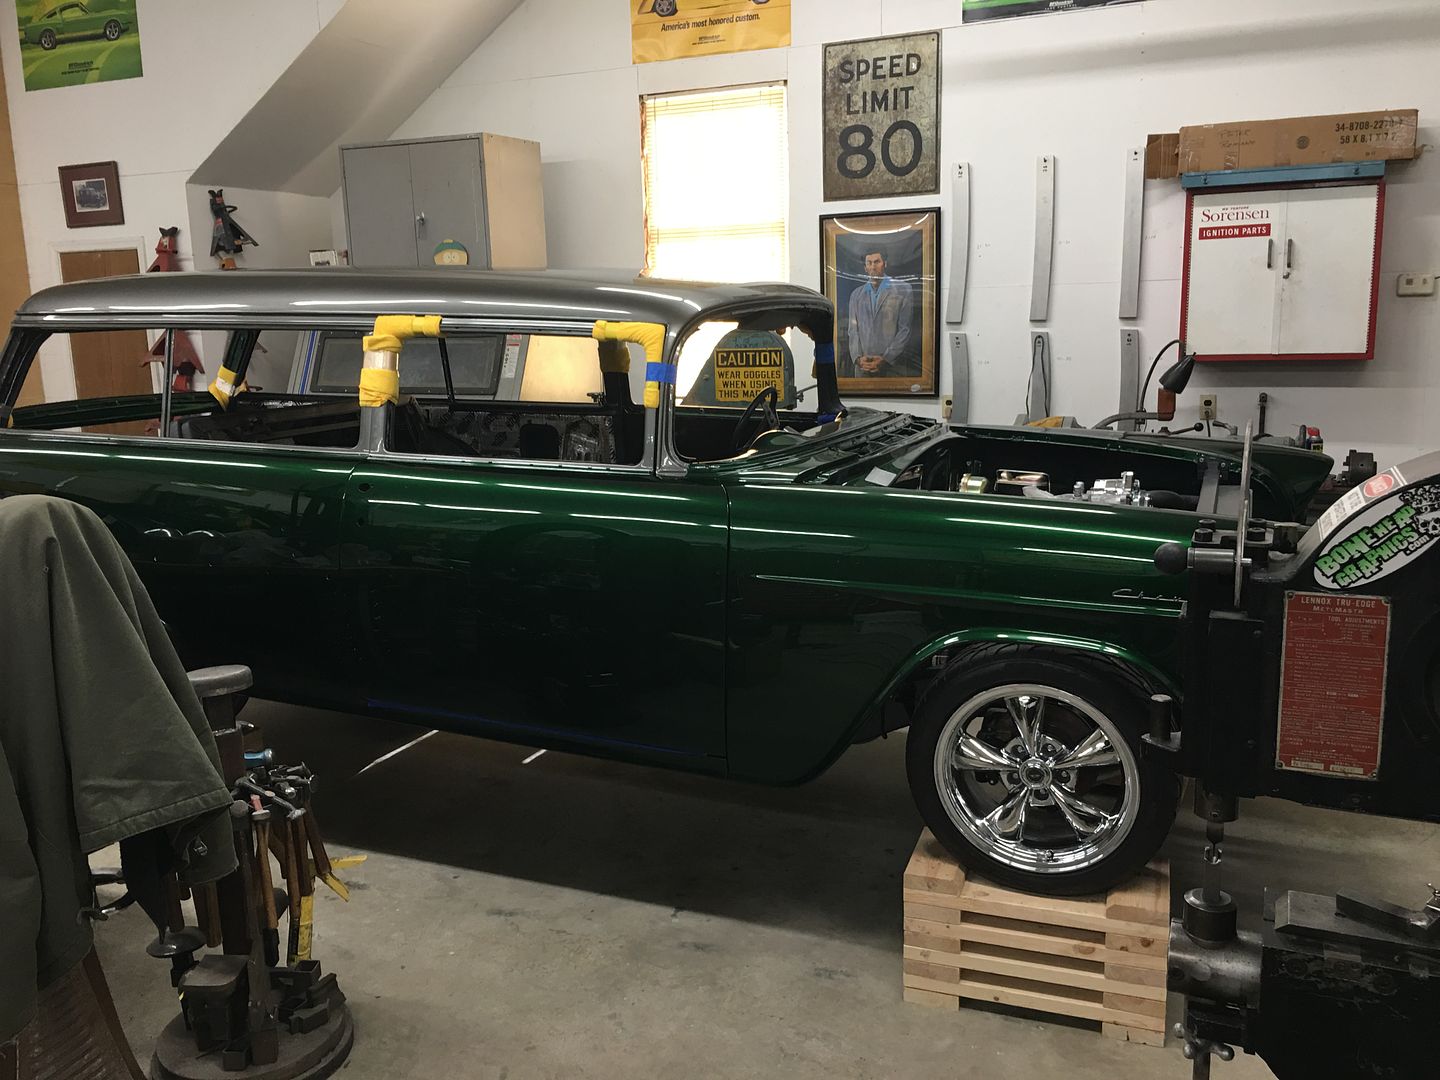
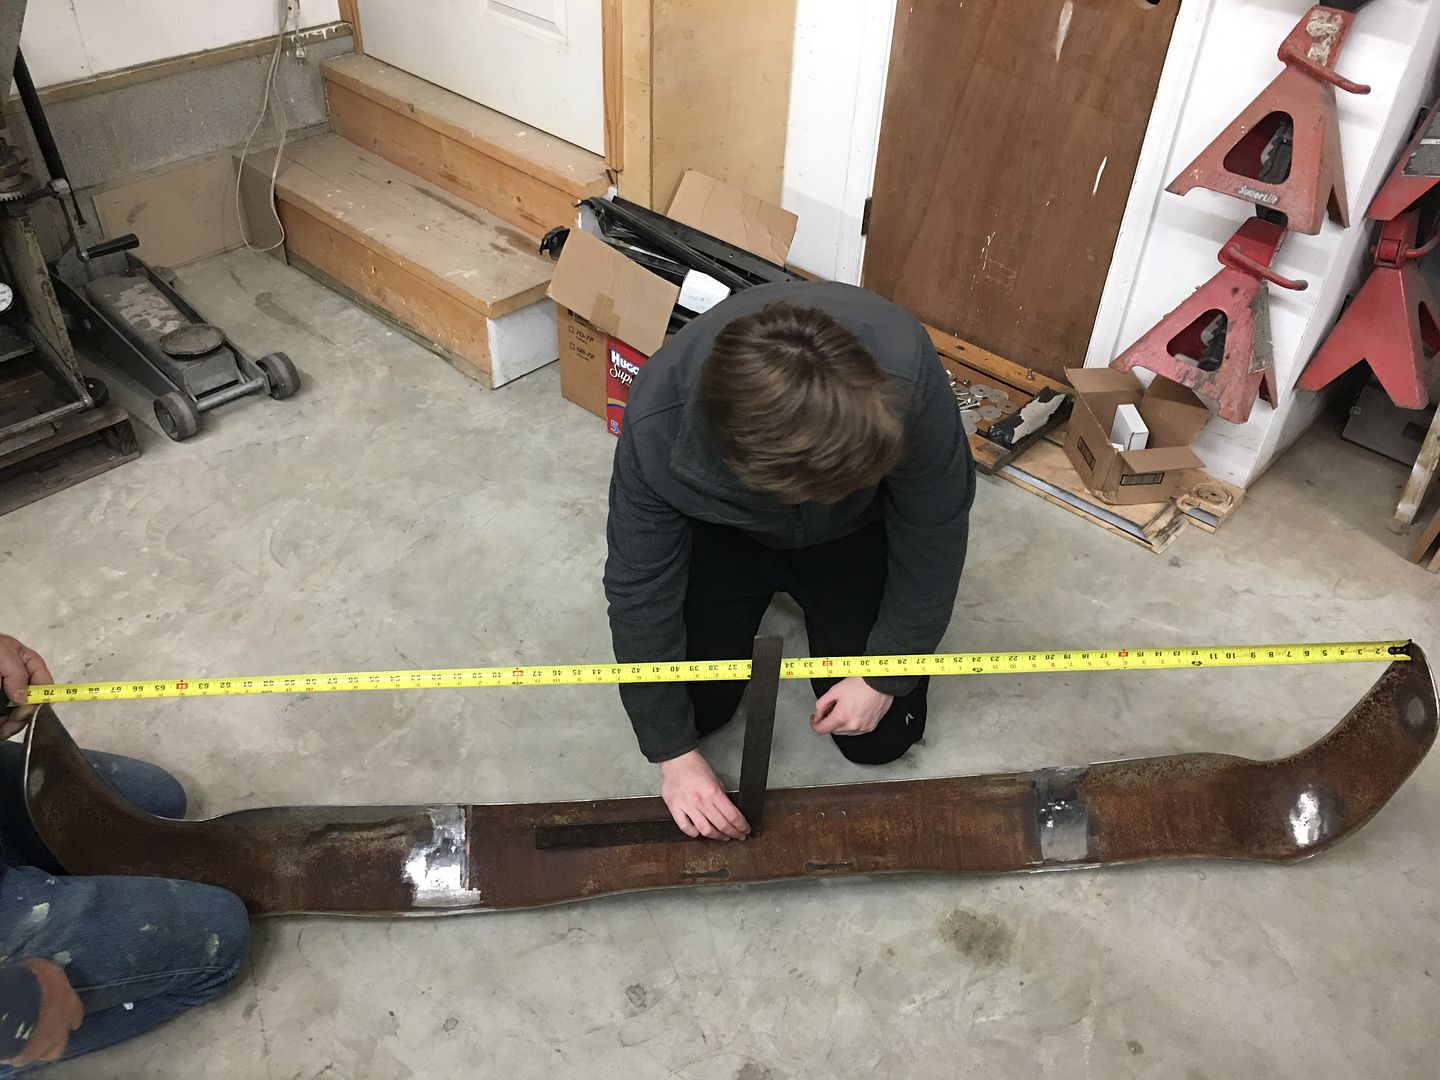
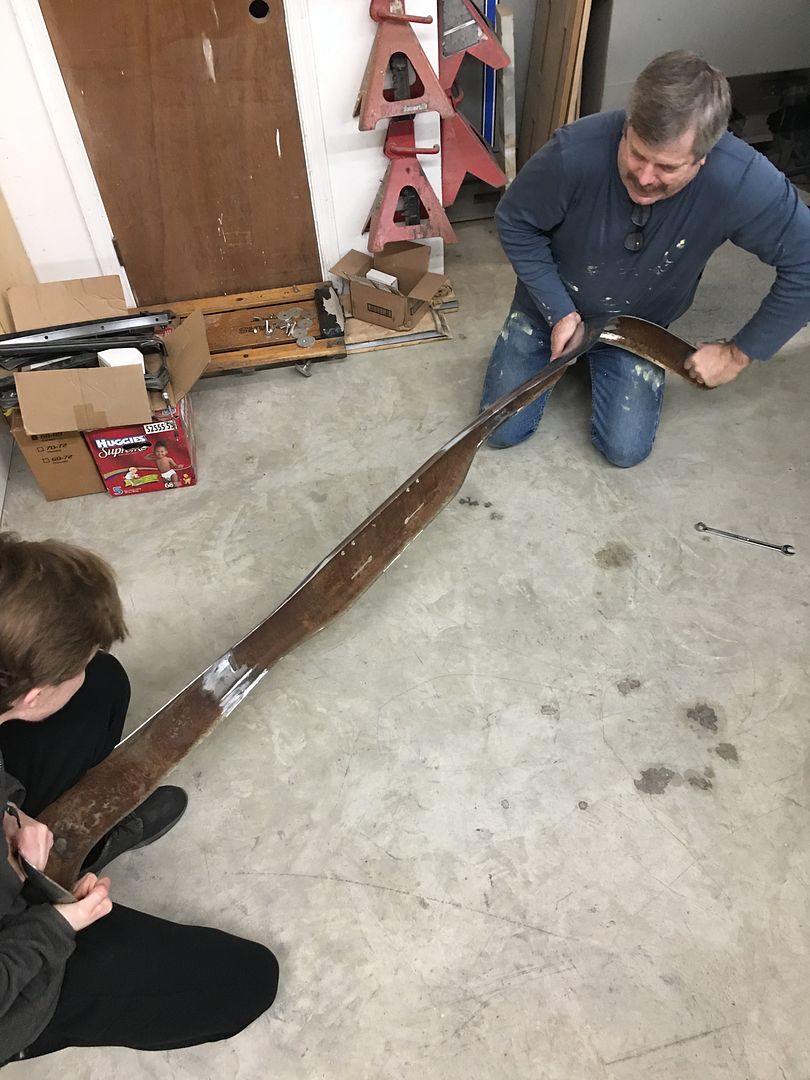
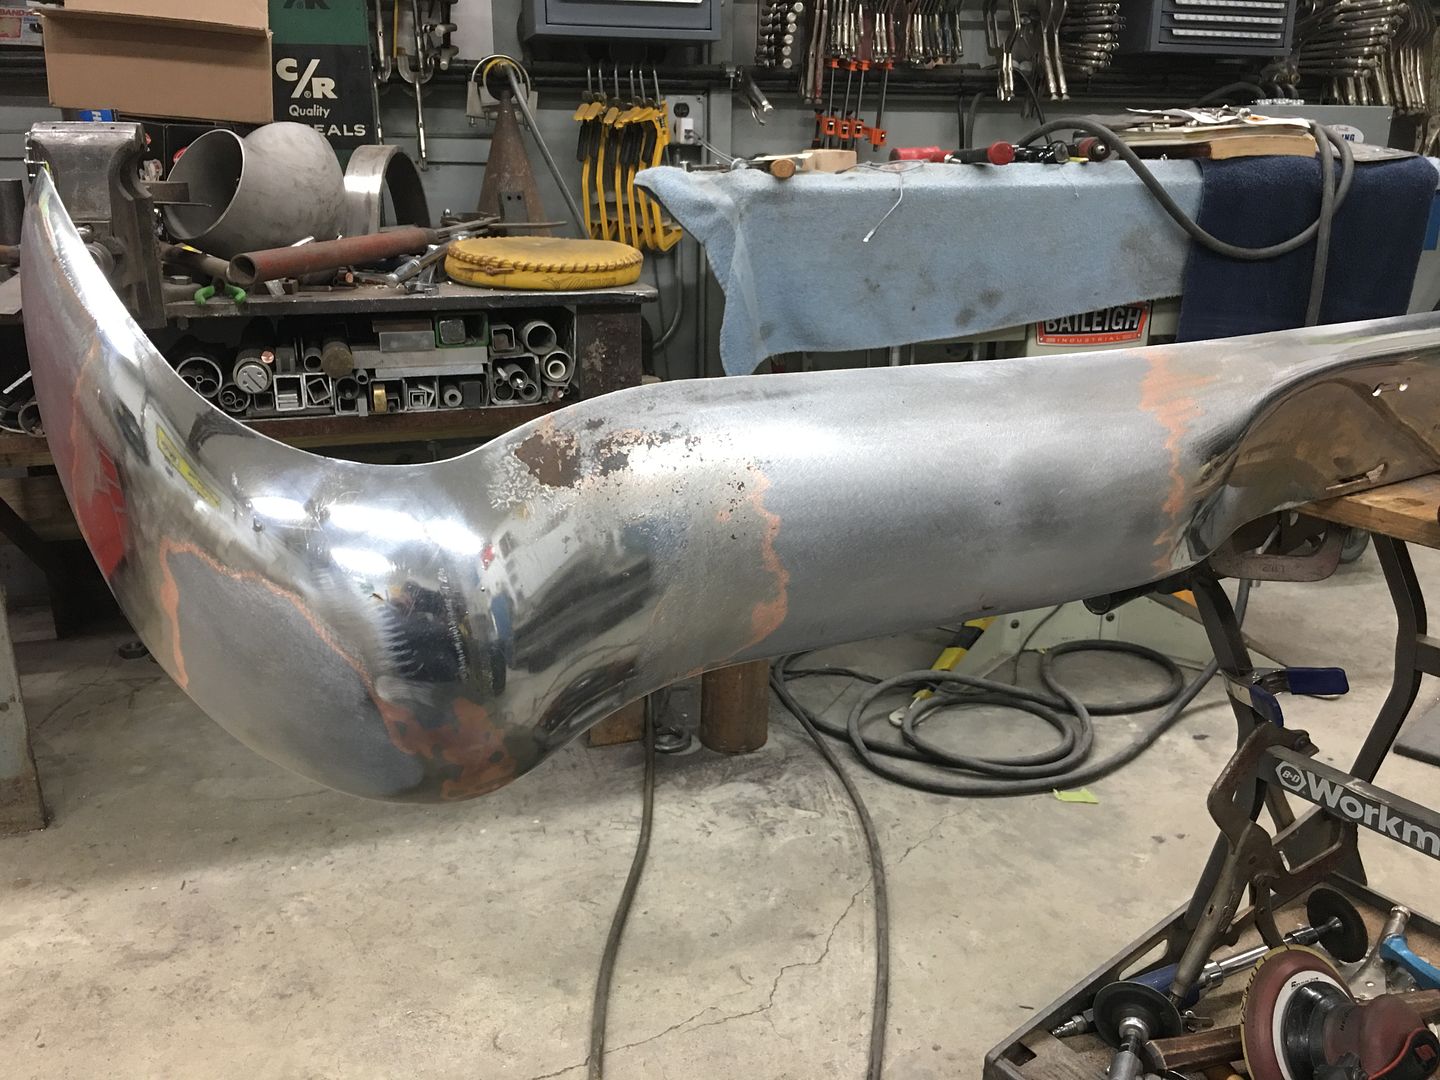
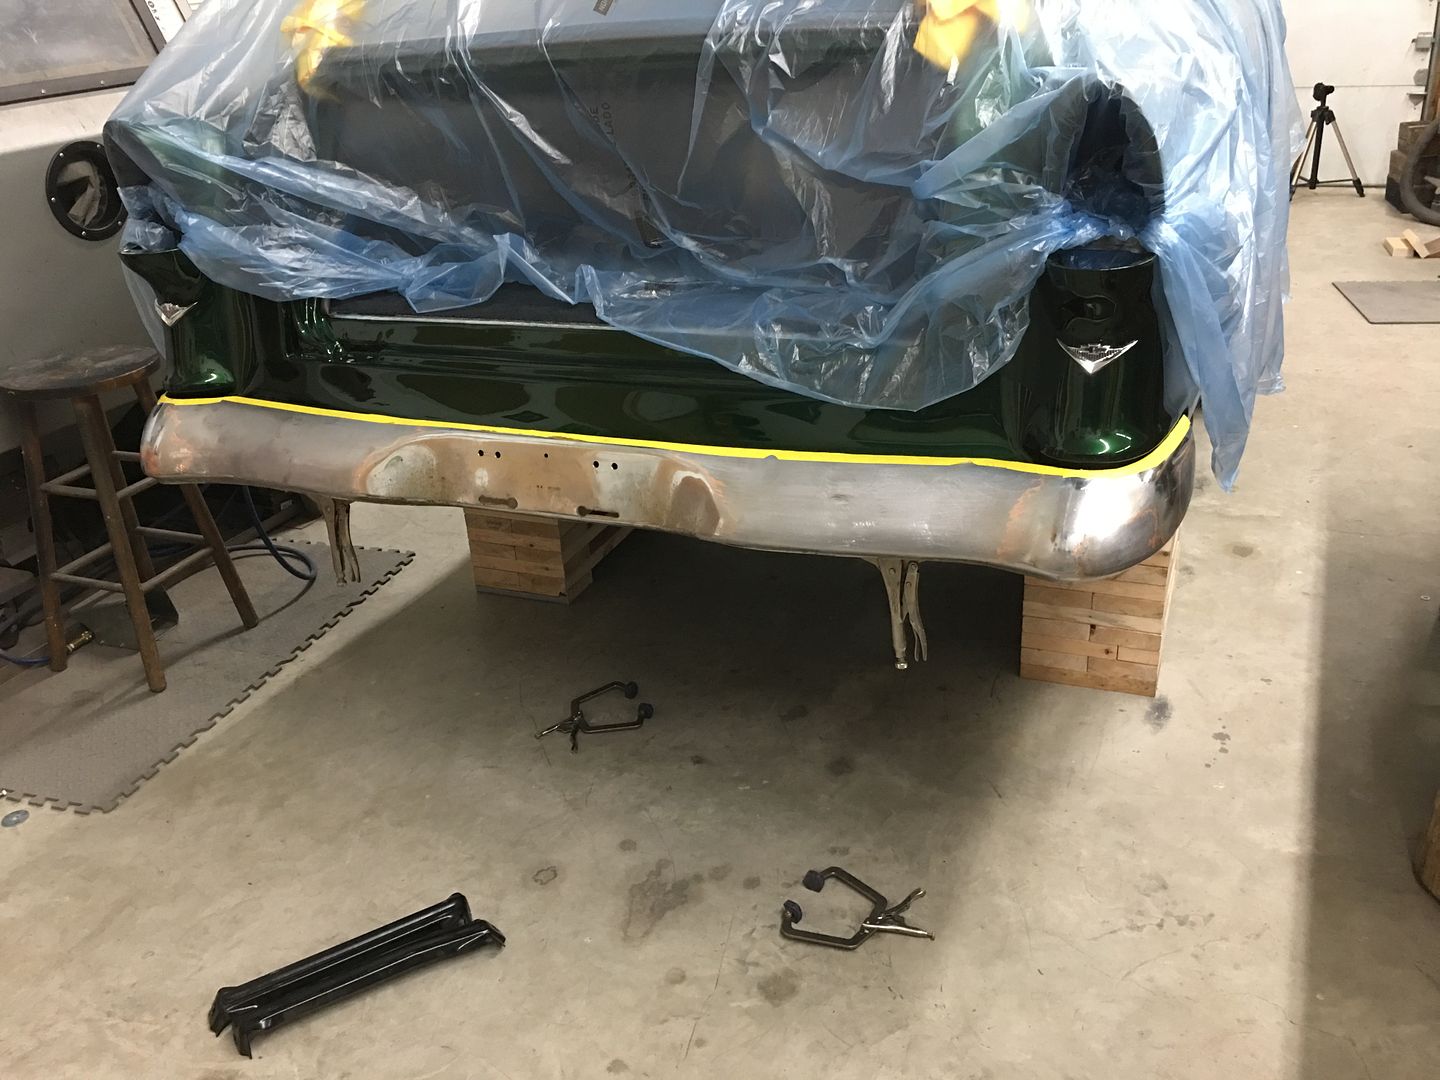
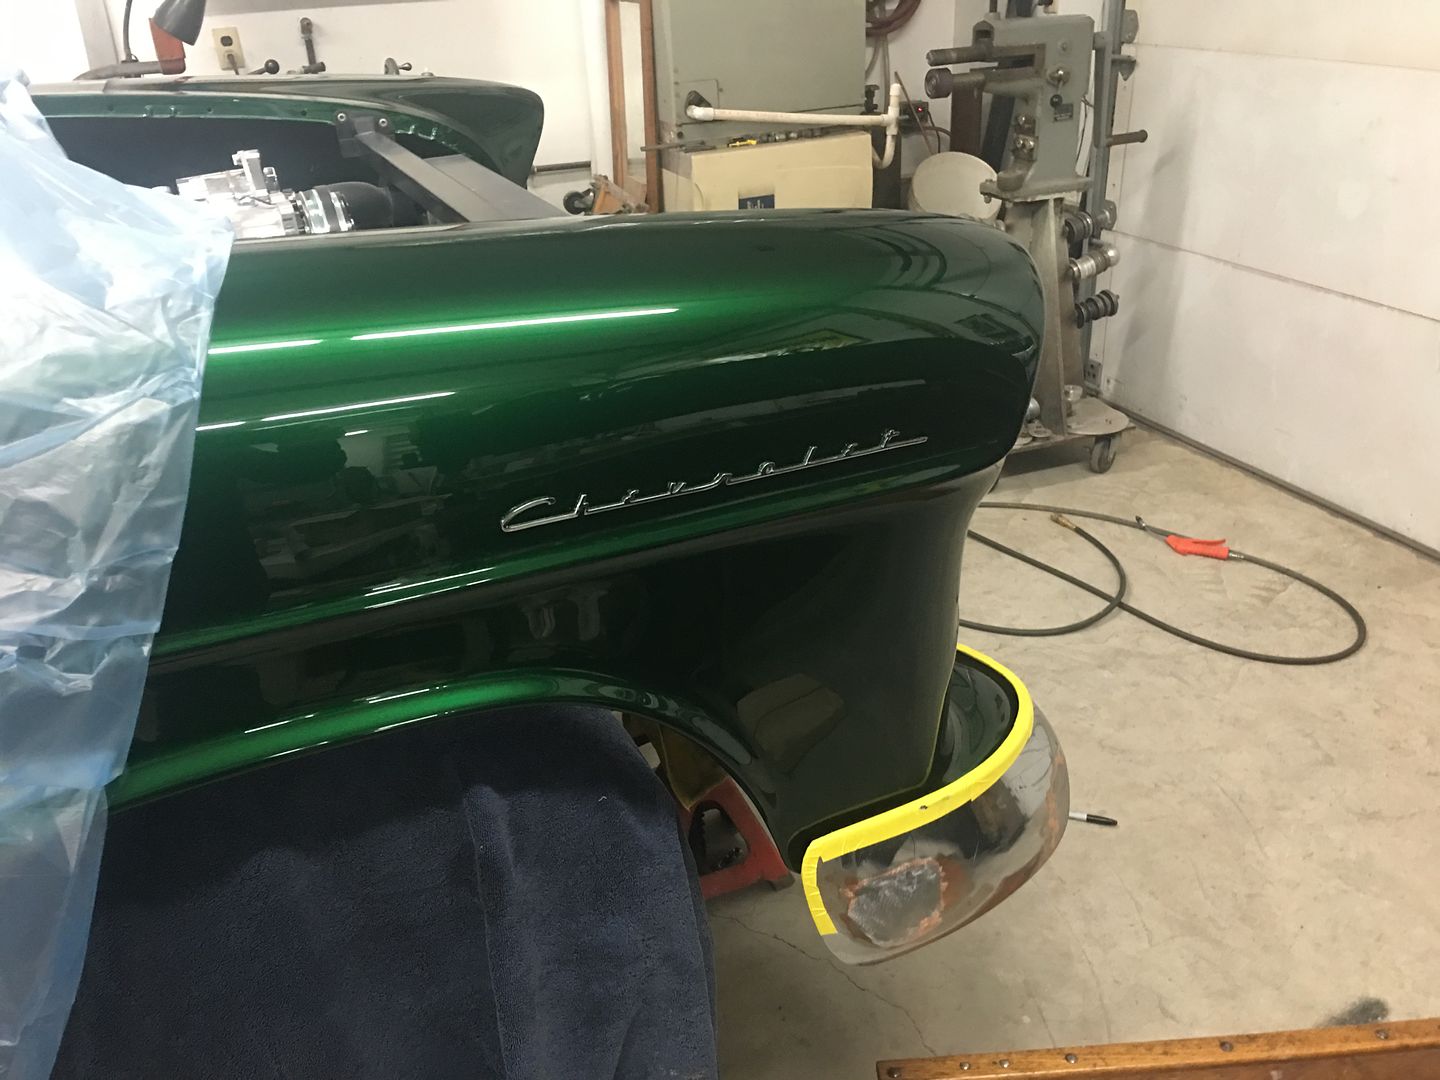
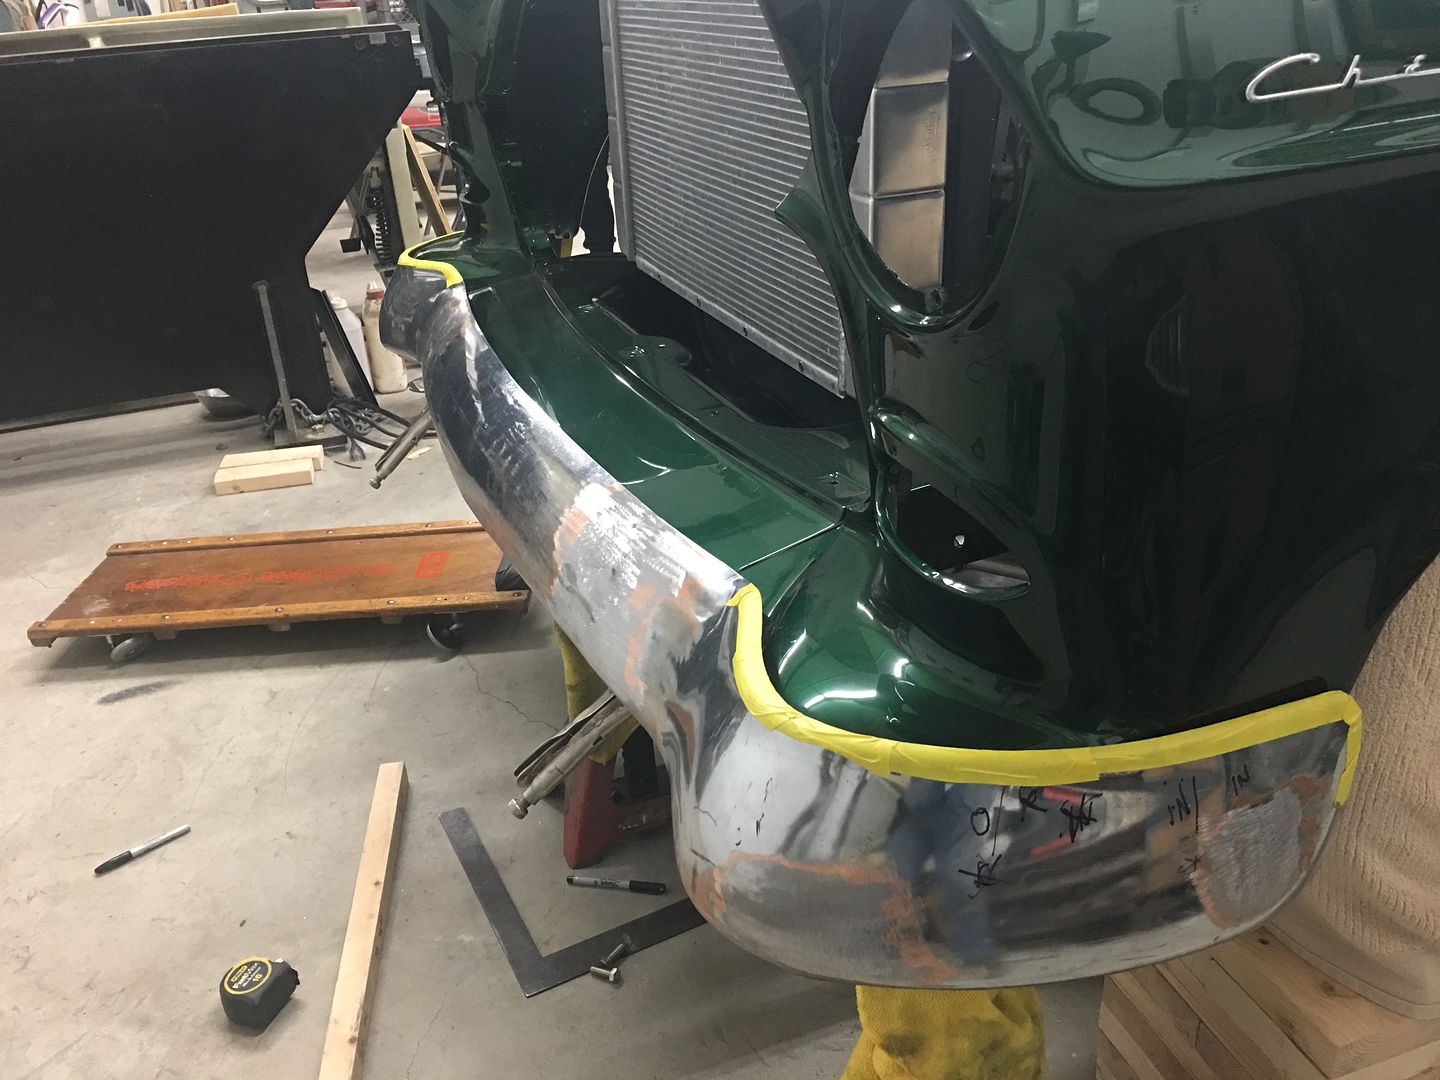
  • Some weekend progress... Fine tuning the rear bumper fitment.


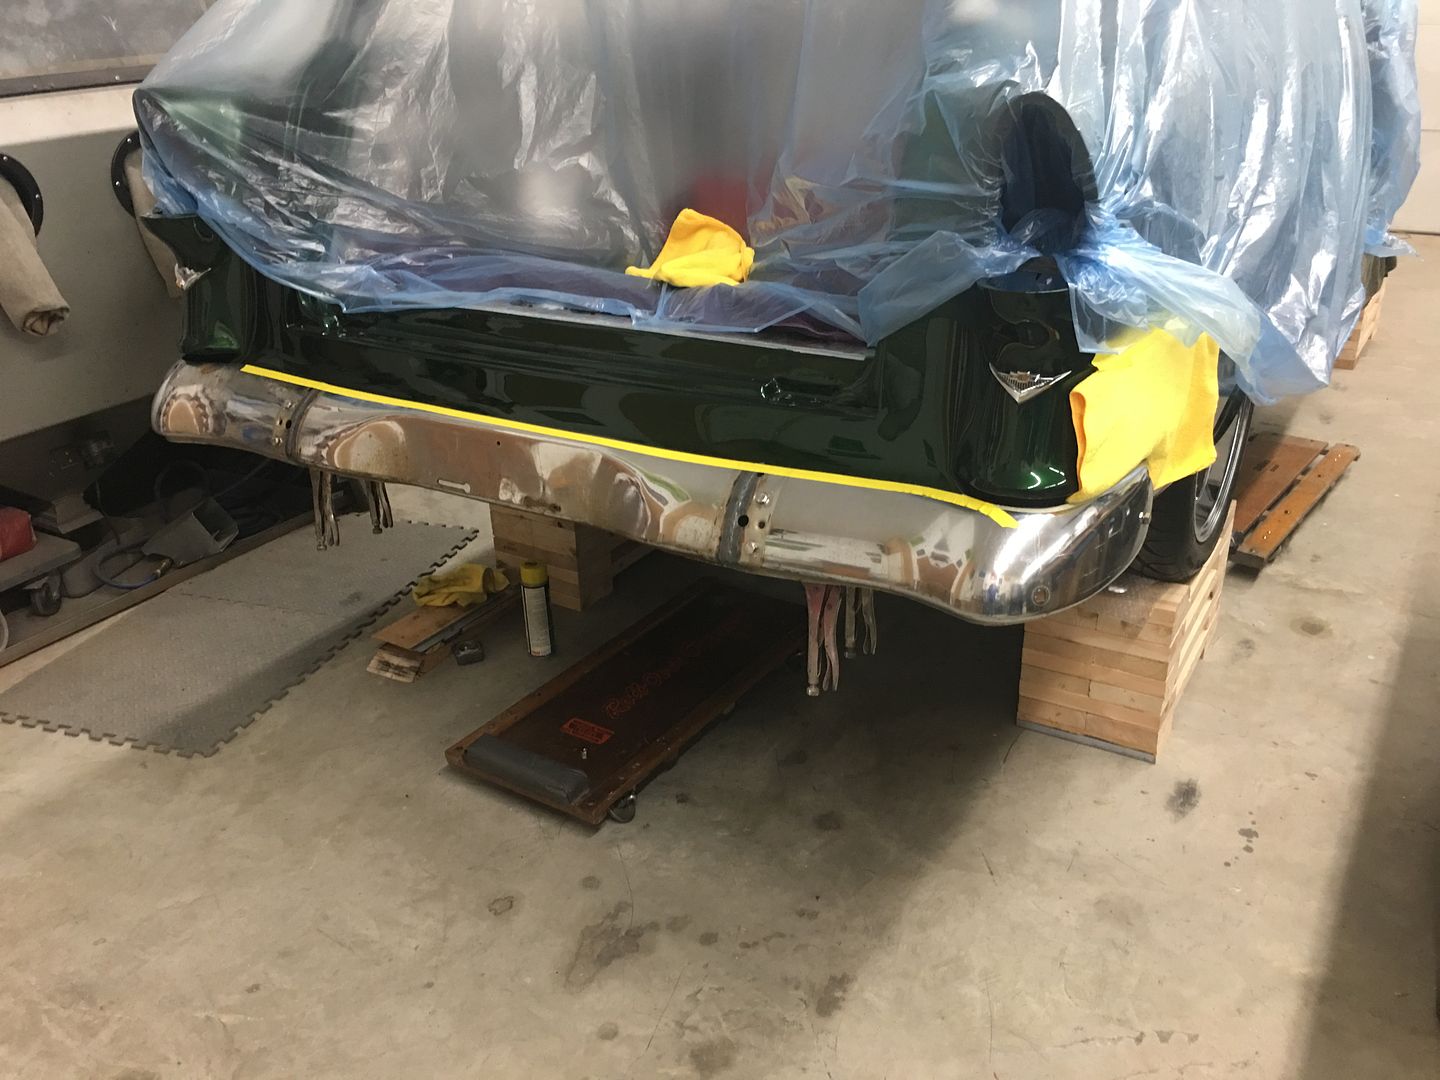
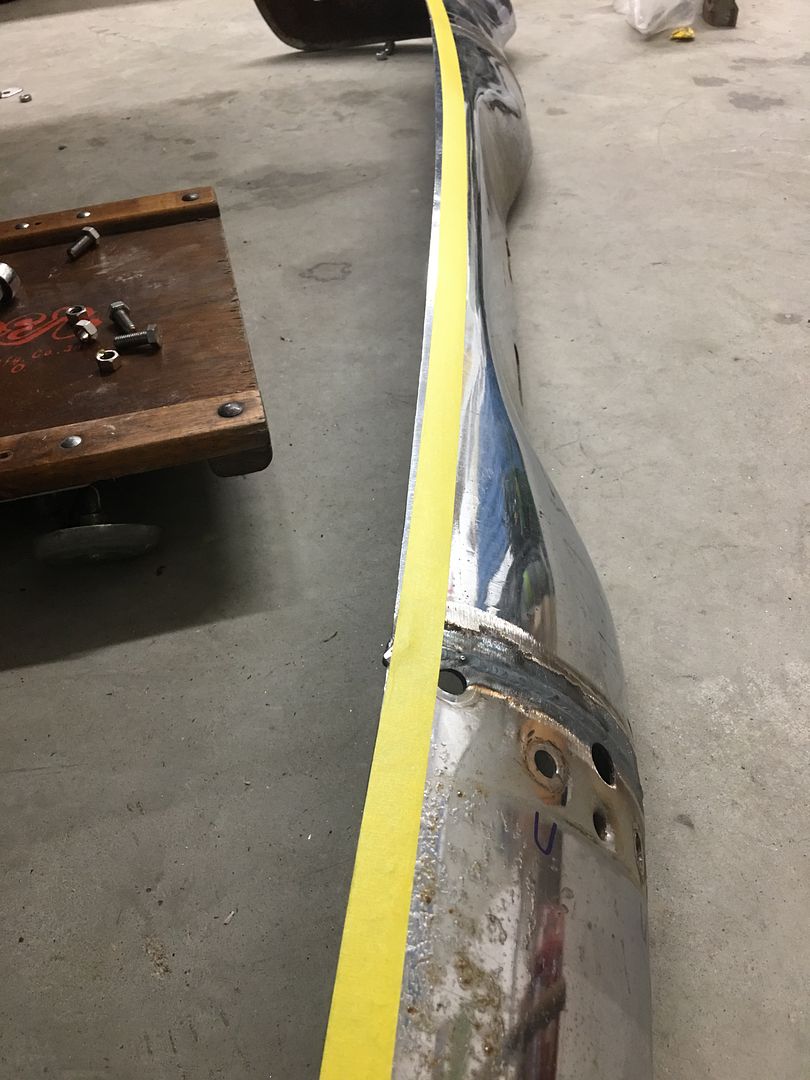
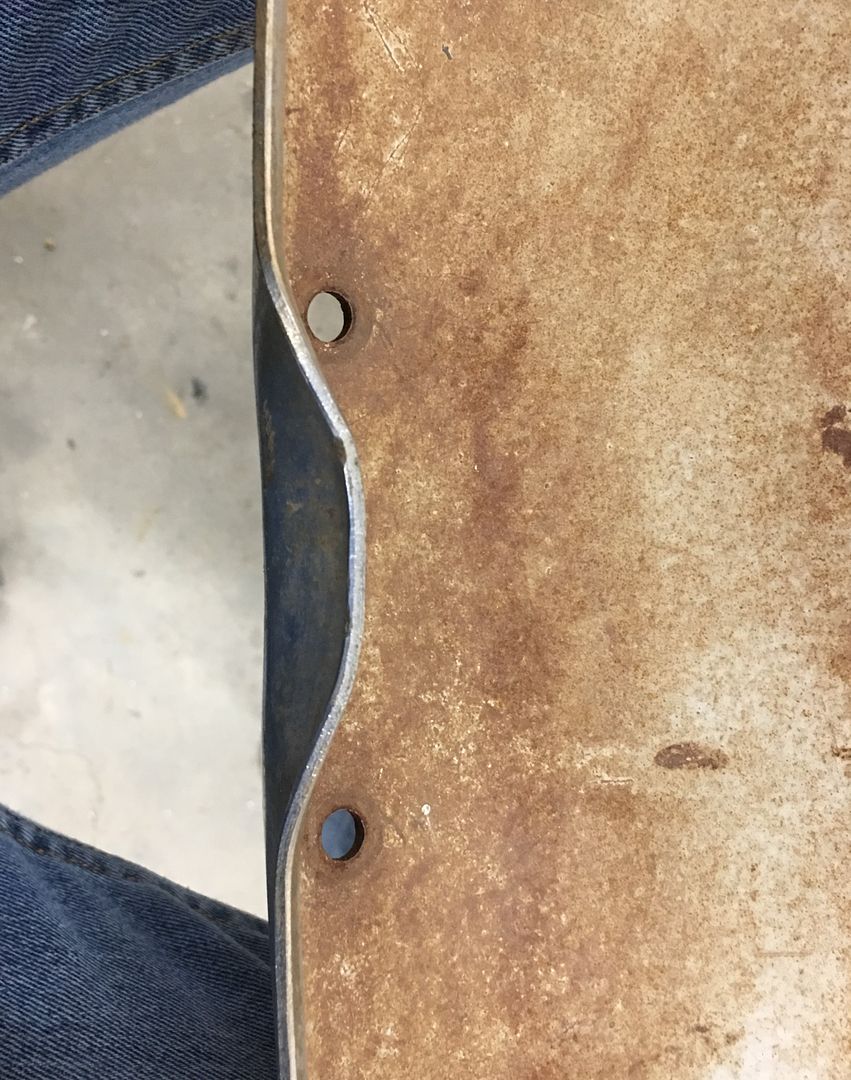
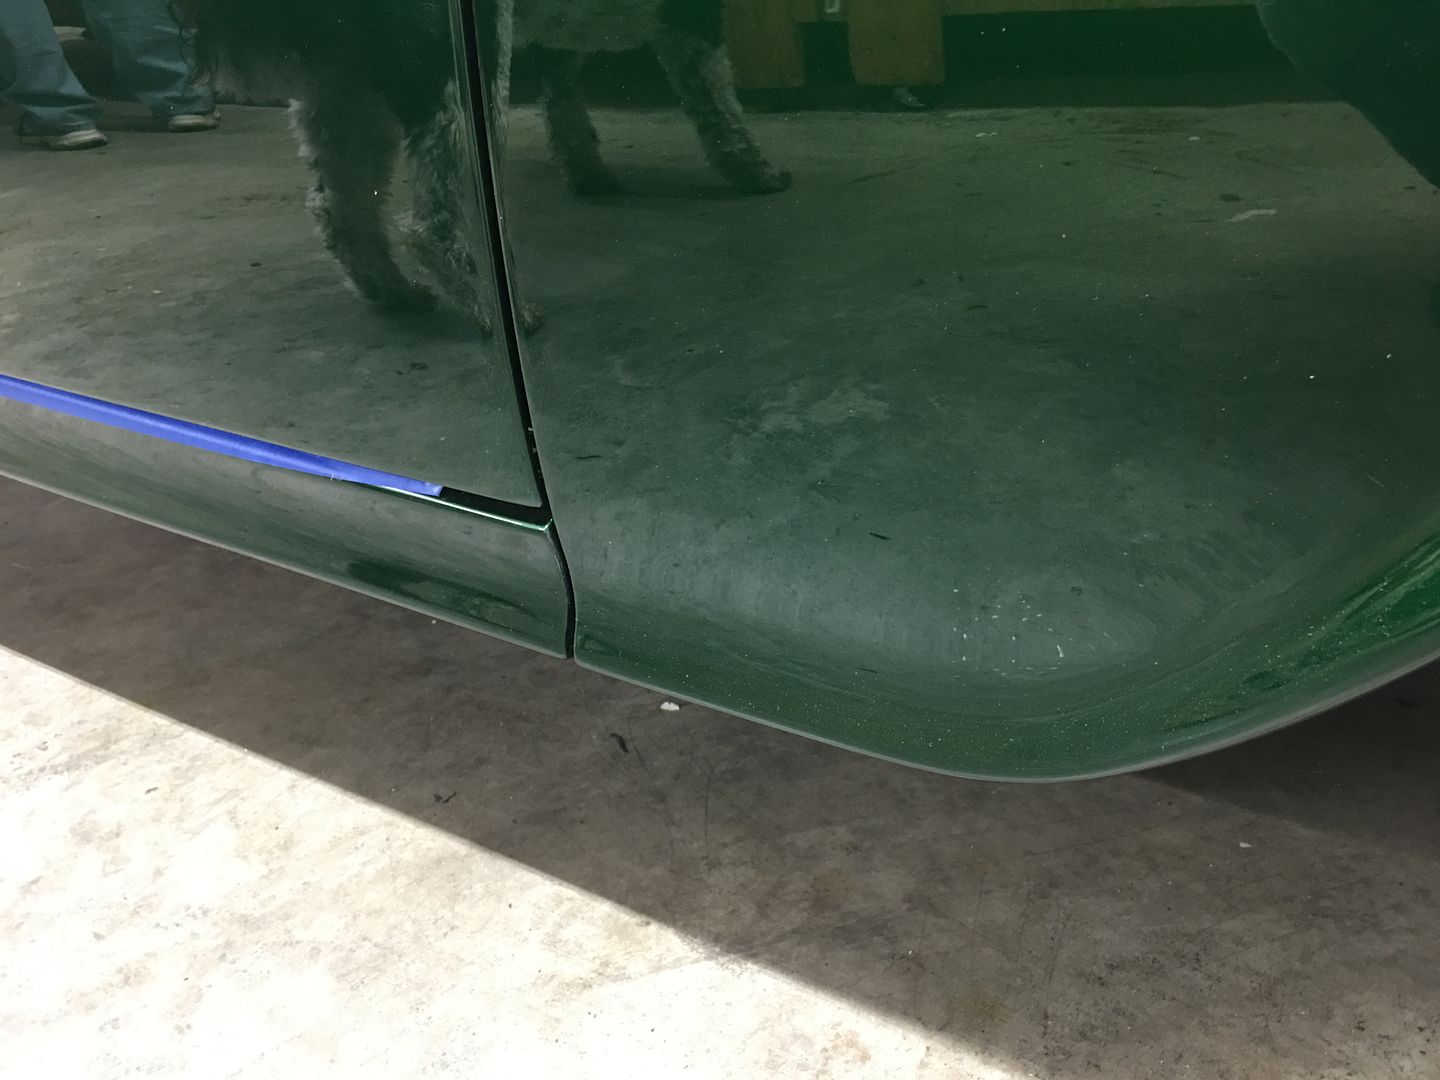
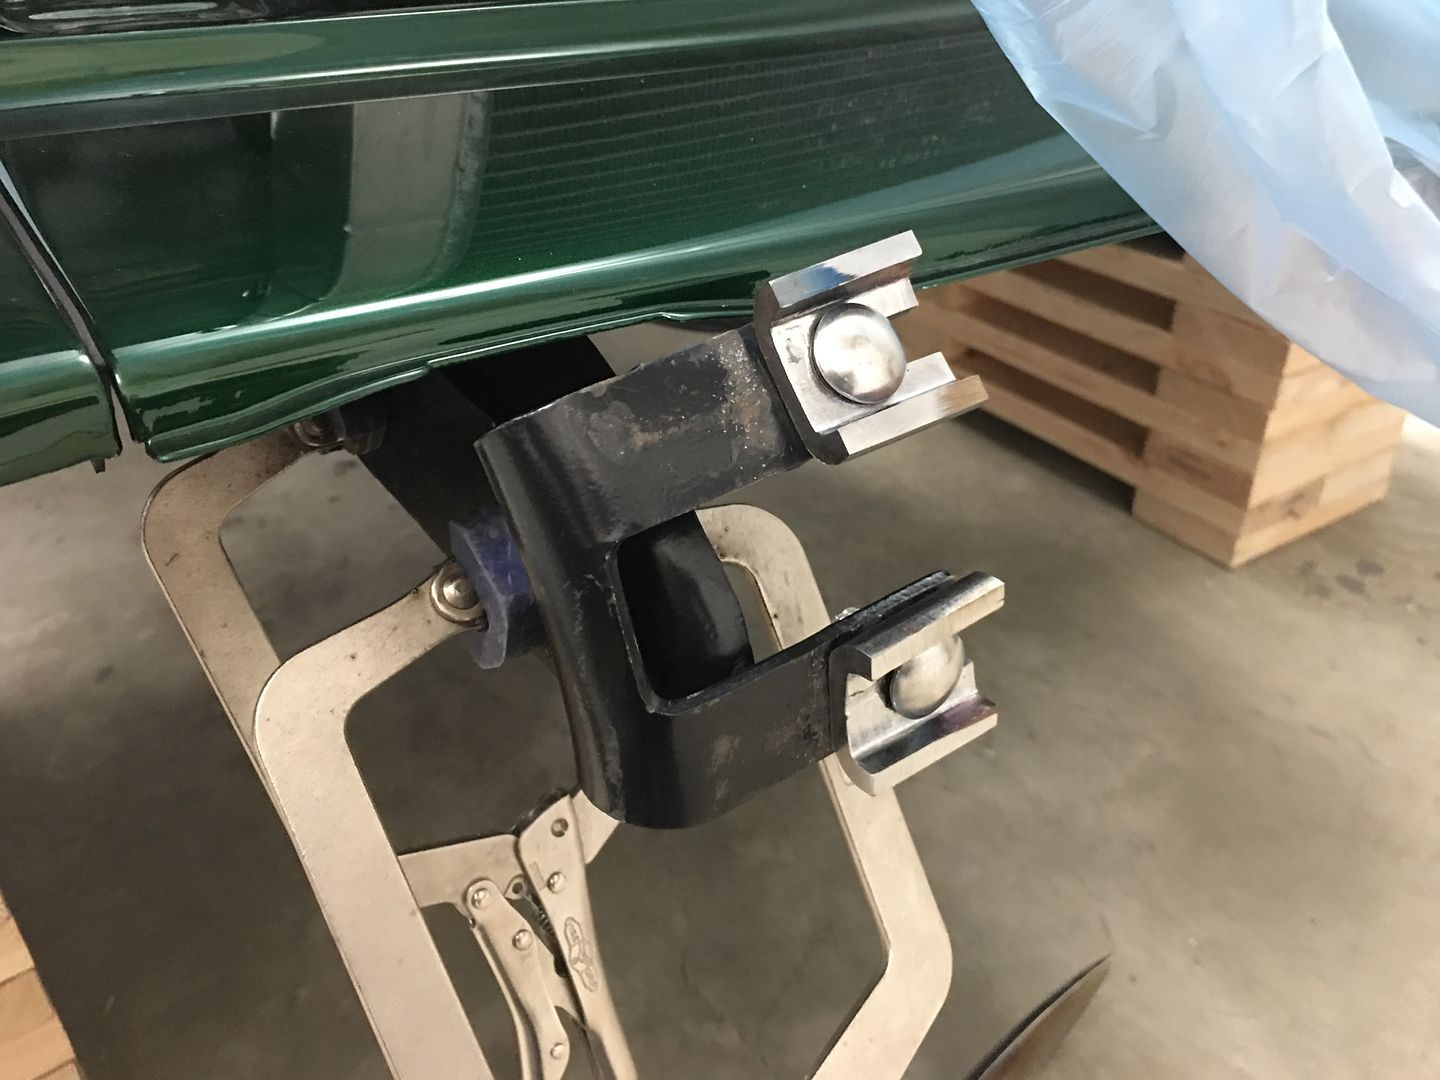
    Driver's side fits well to the profile of the rear of the quarter...


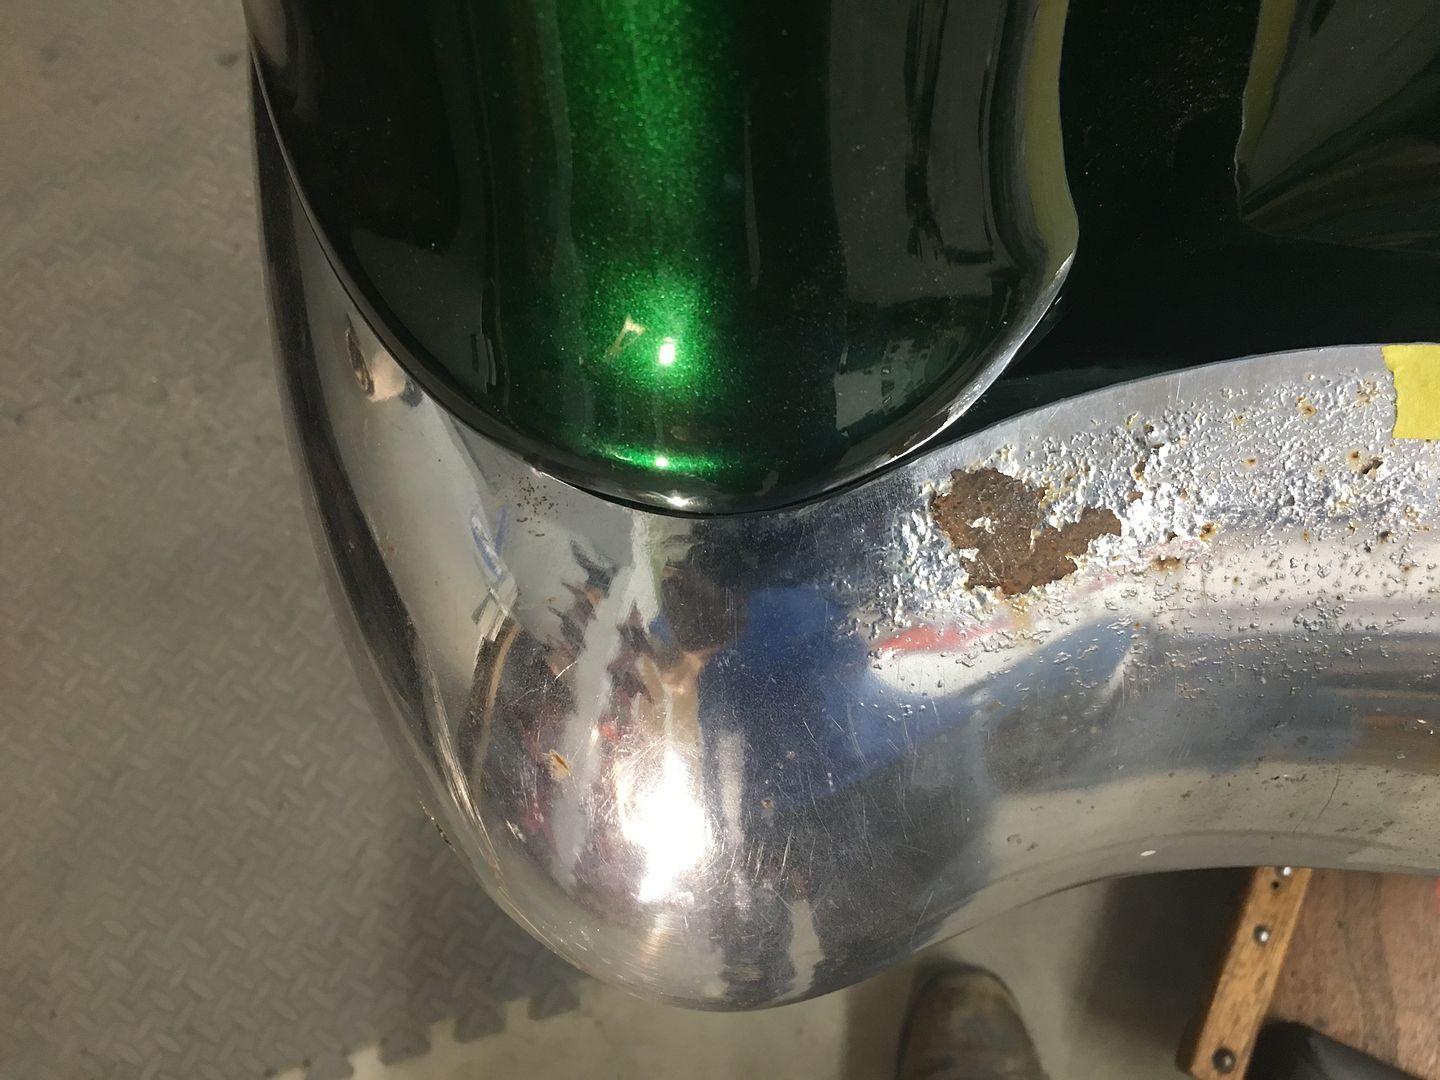
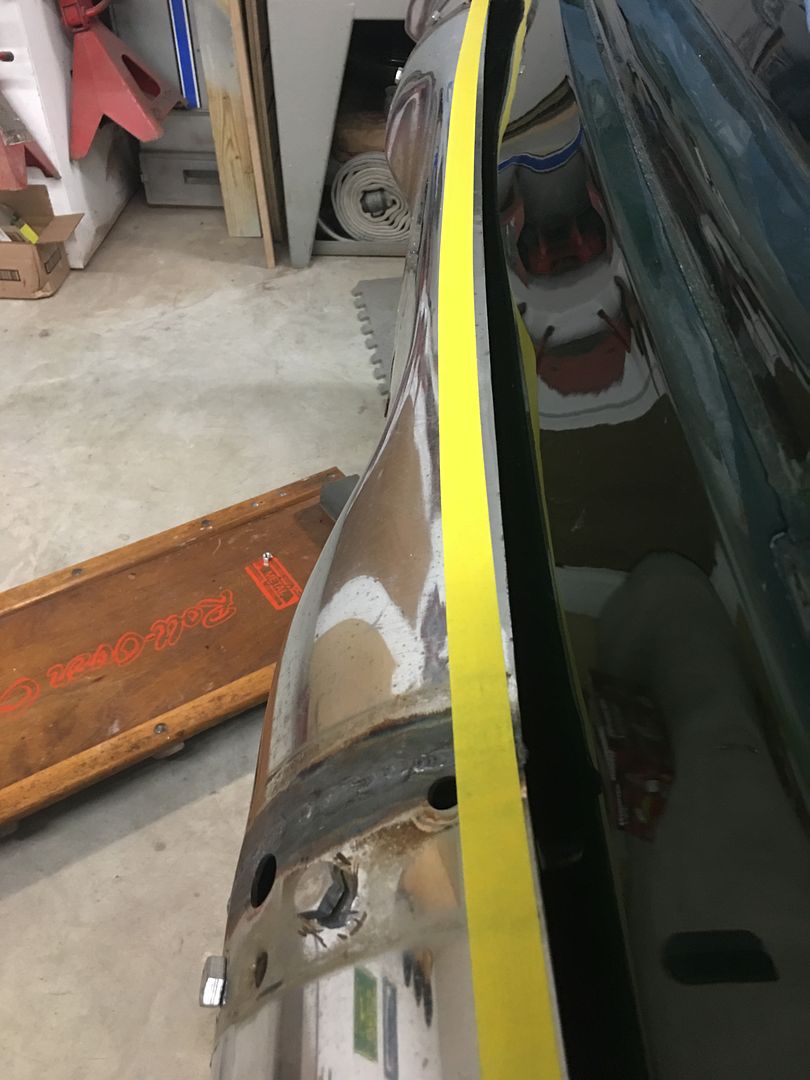
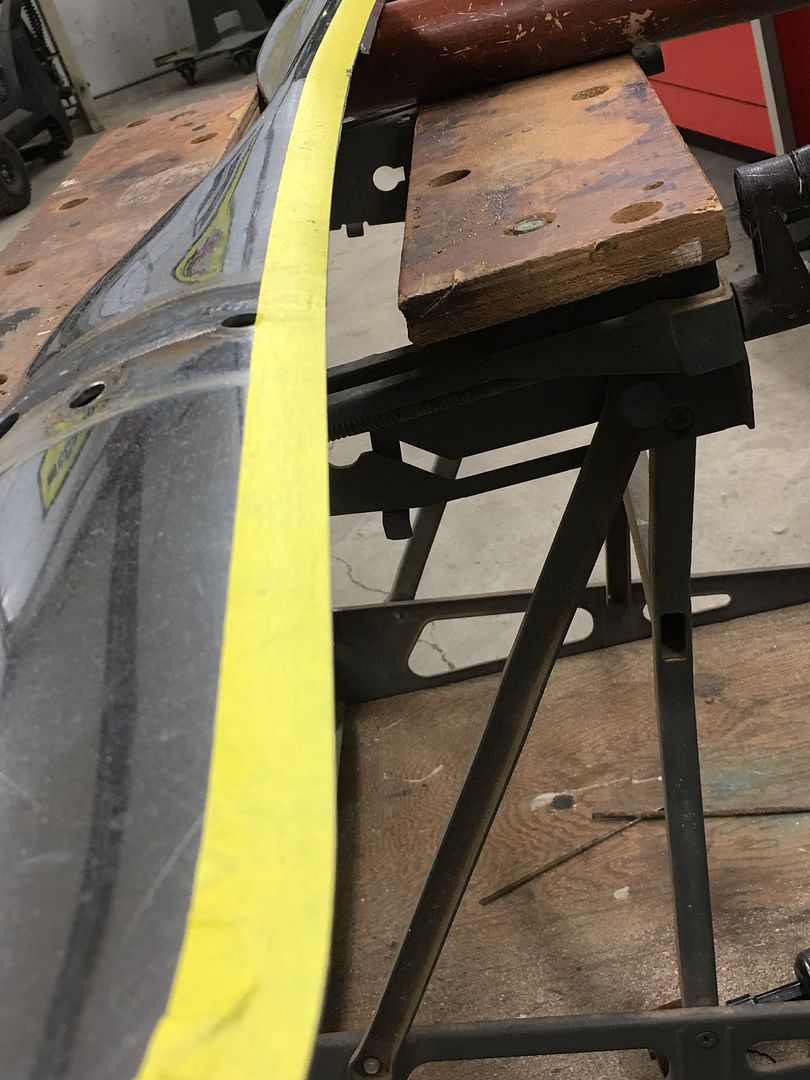
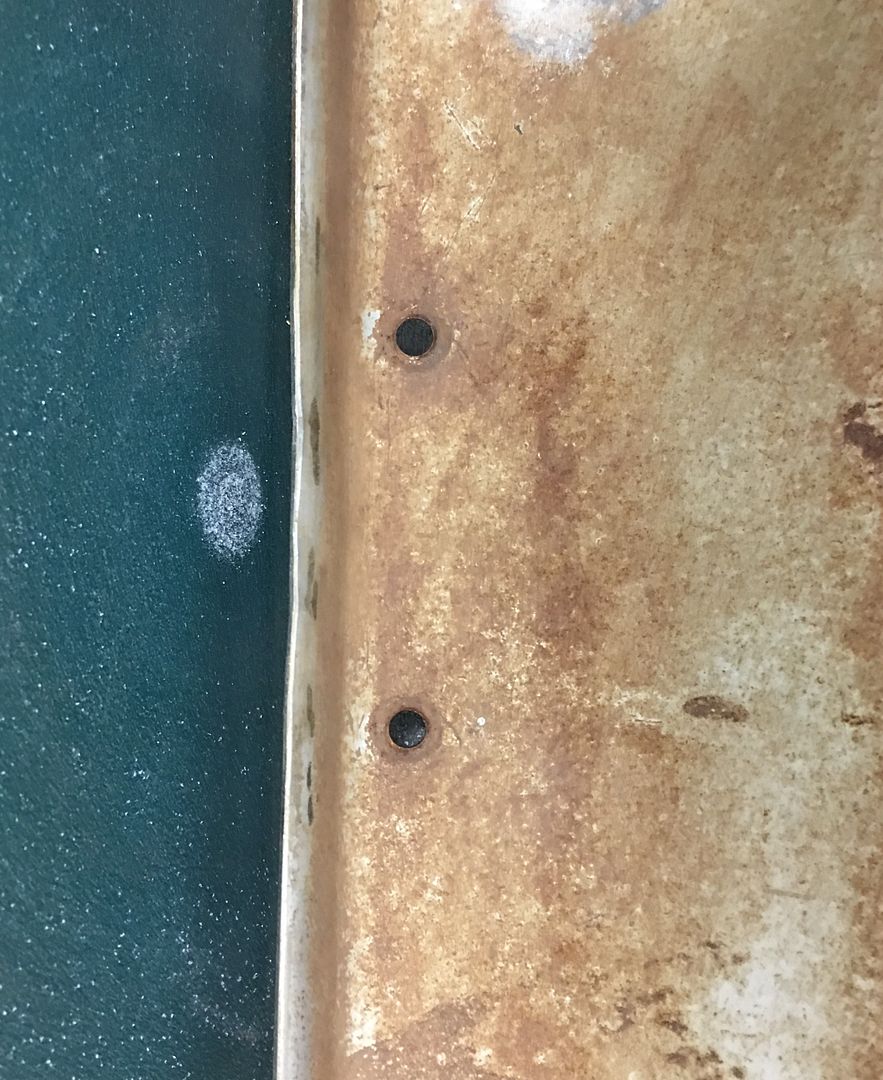
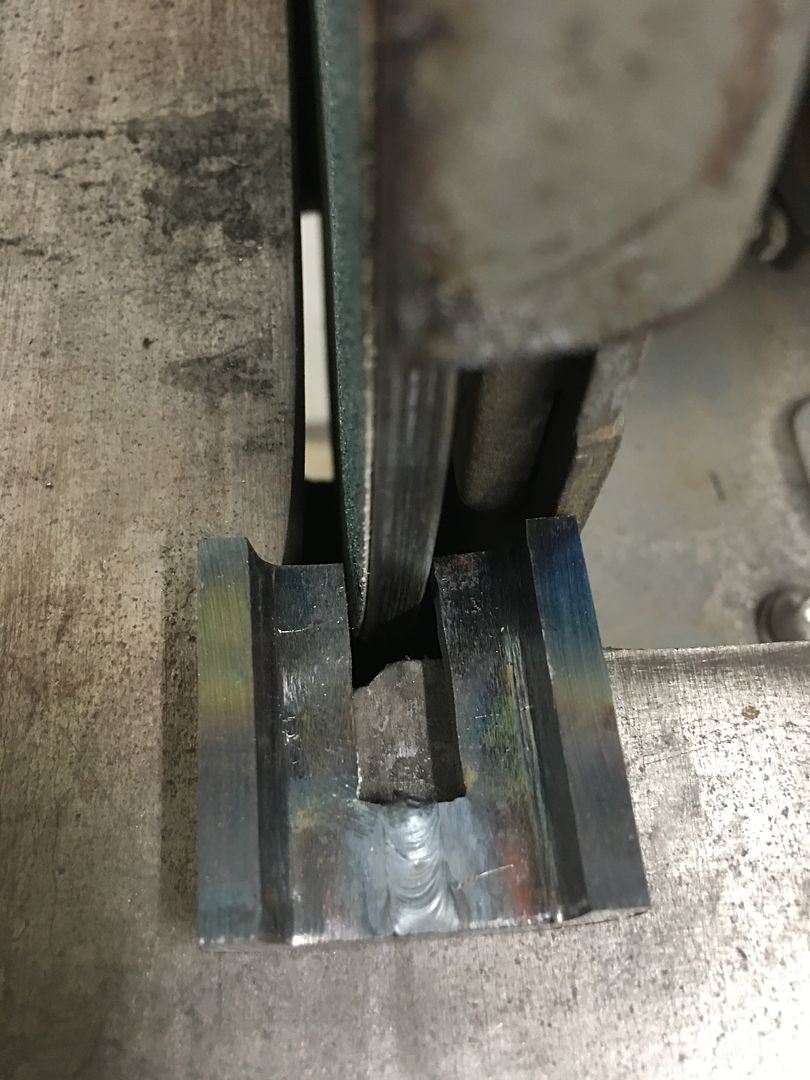
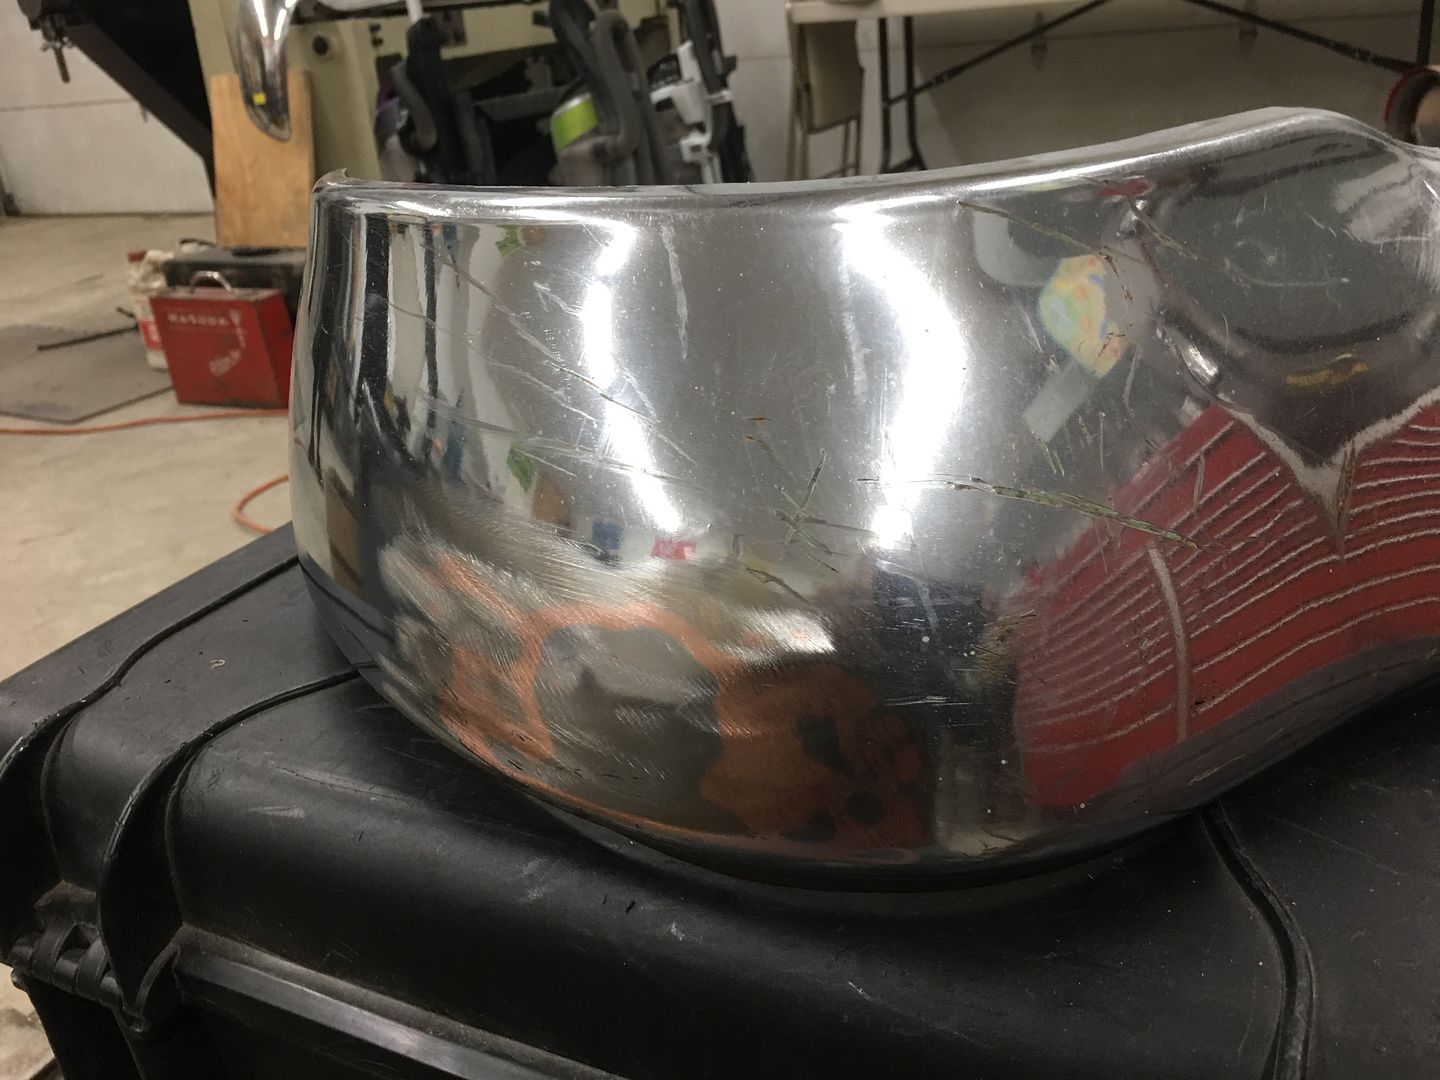
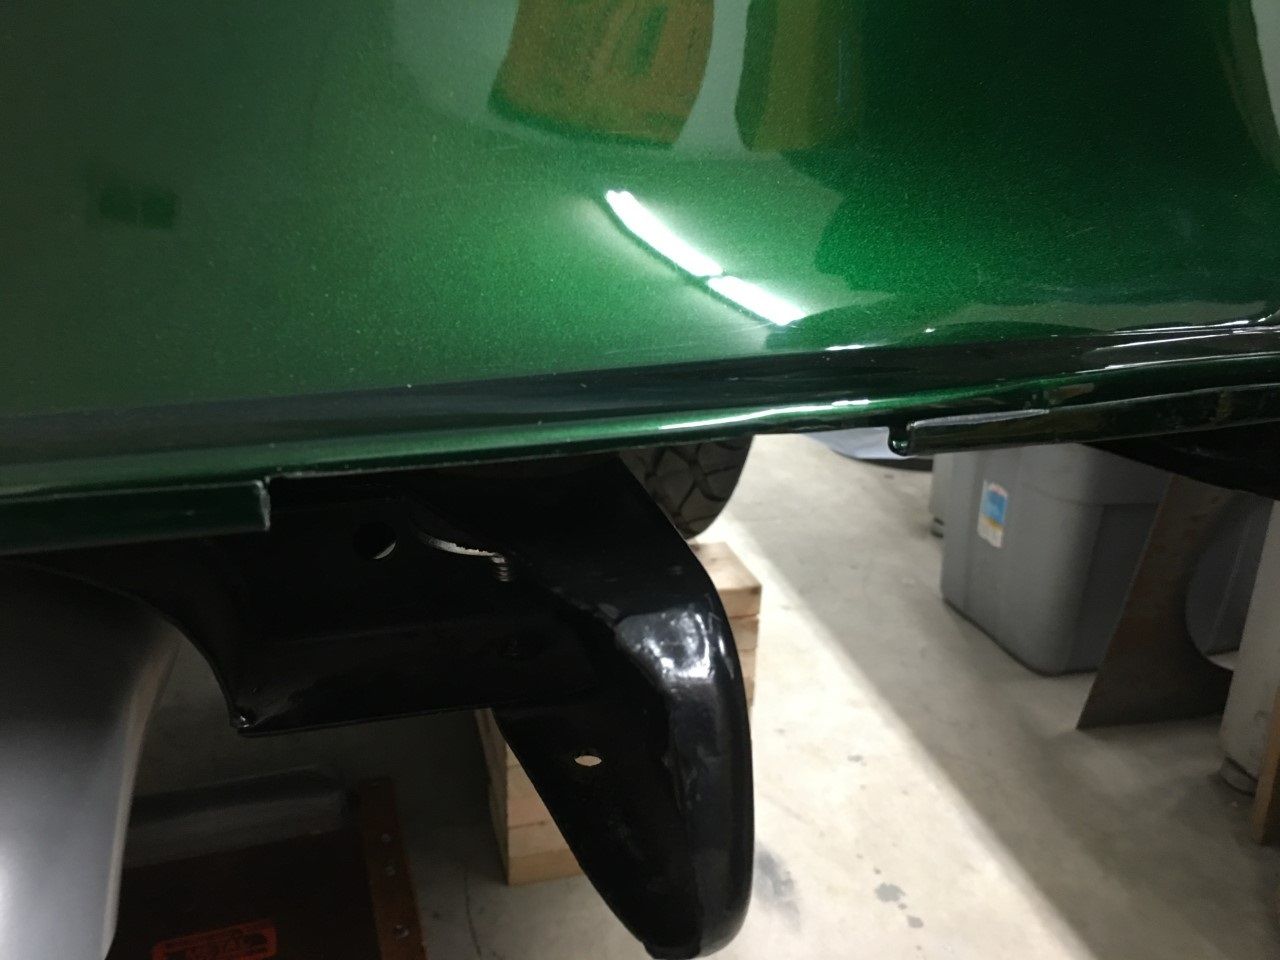
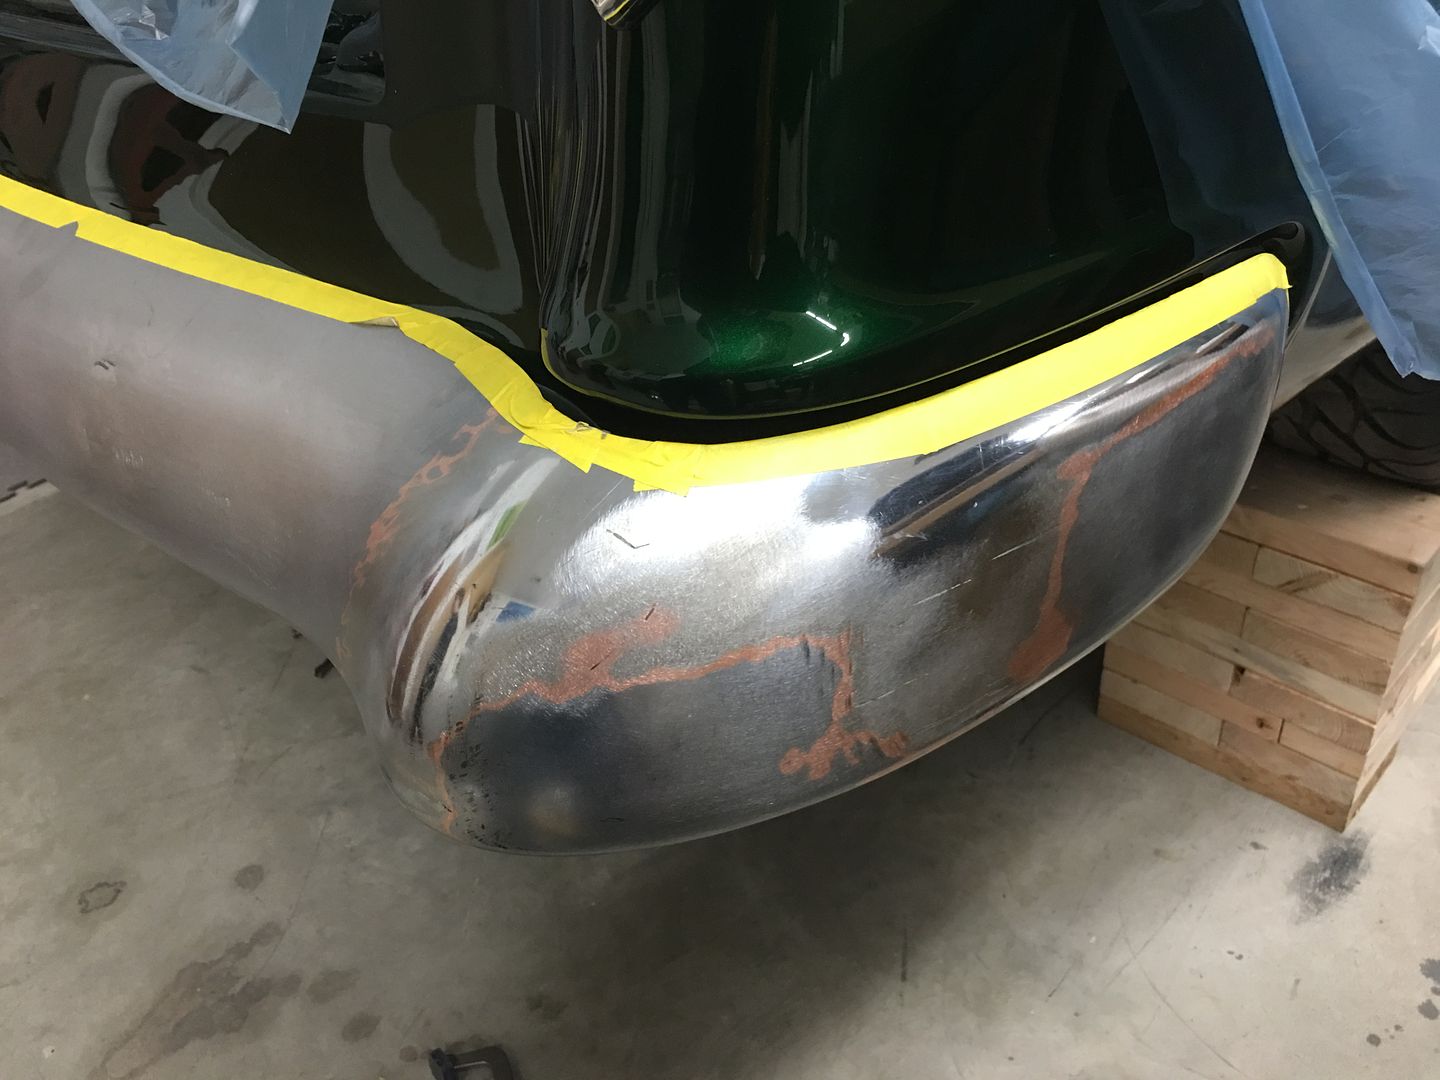
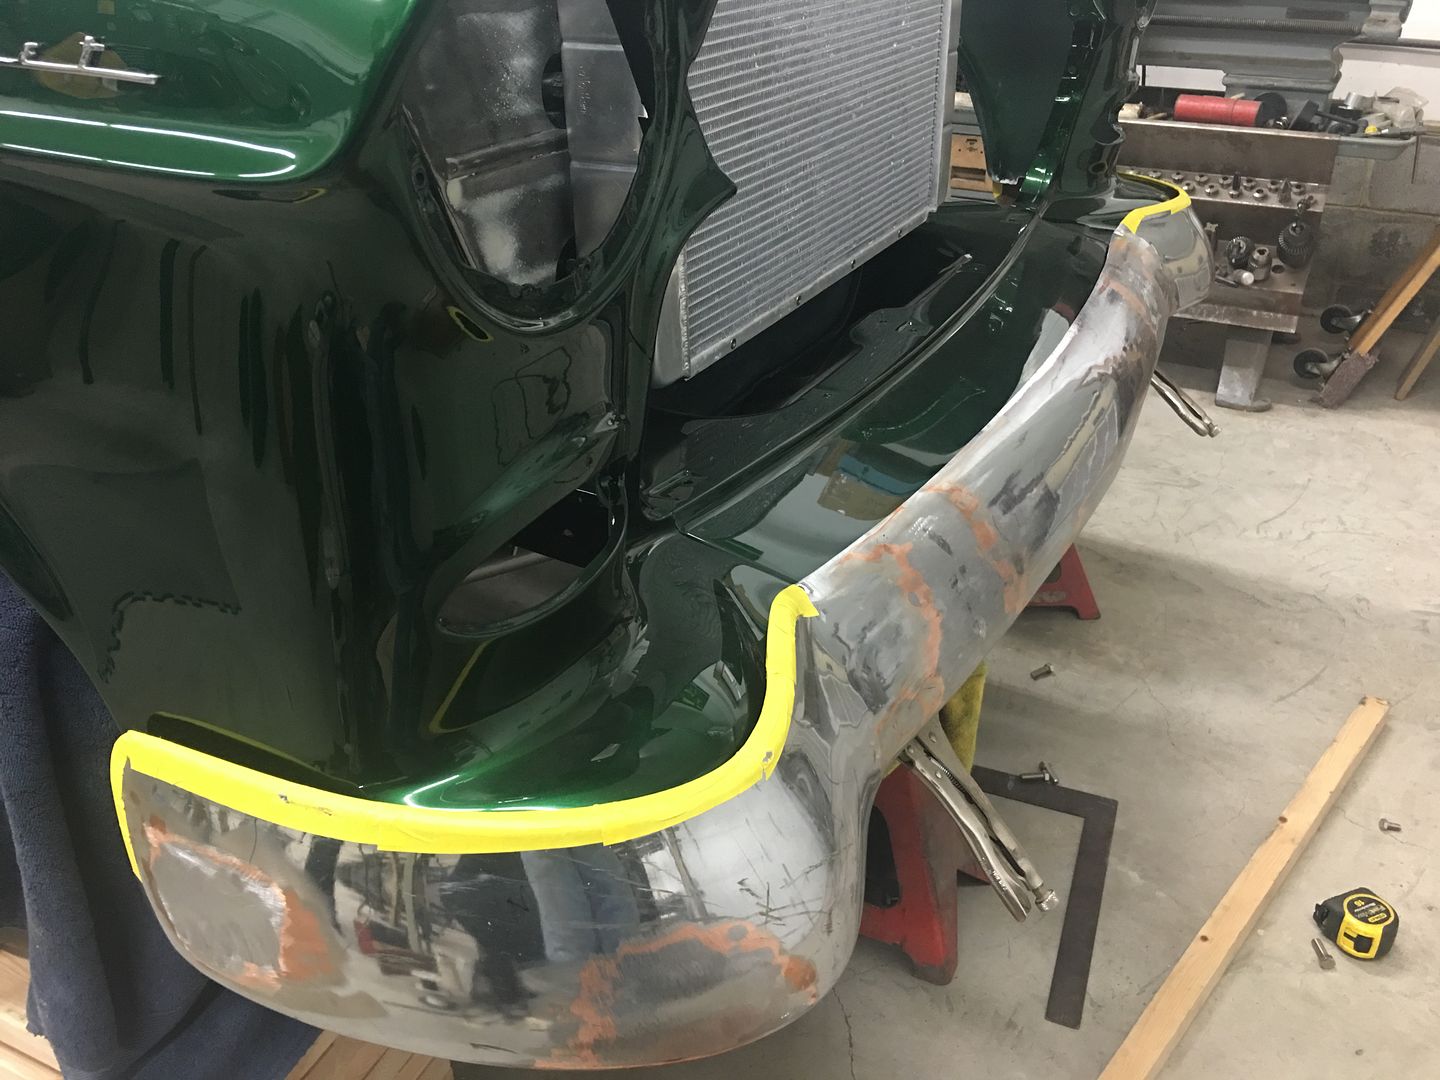
    Passenger side not so much, so the bumper is marked with some fineline tape for where we will sand down the edge to better match..


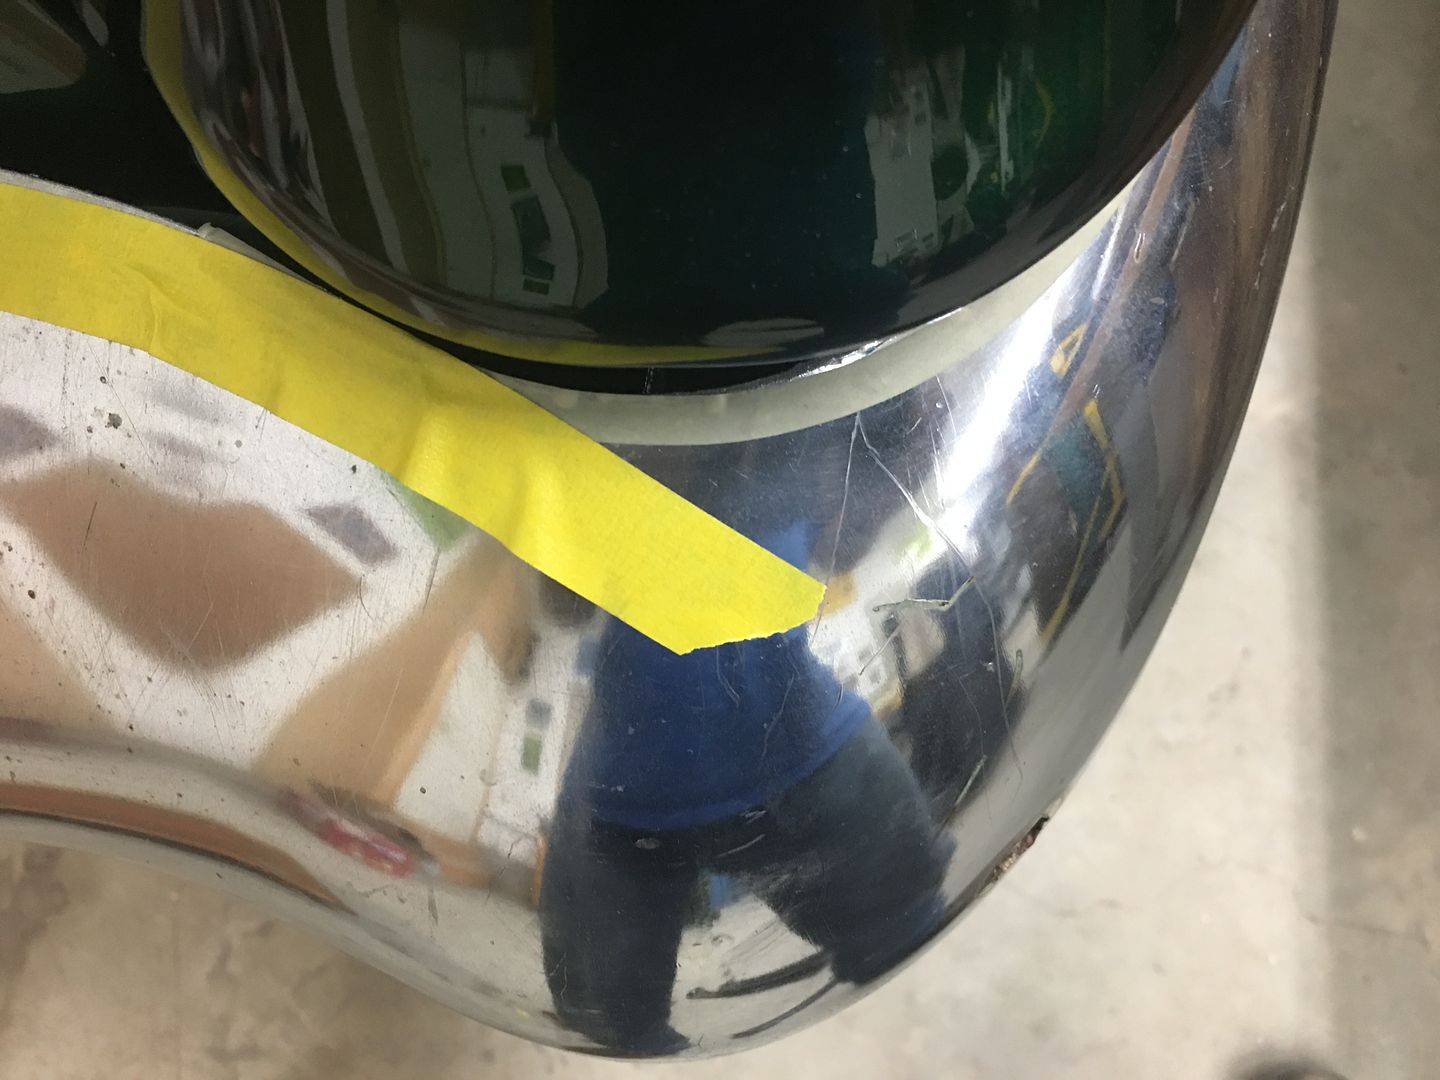
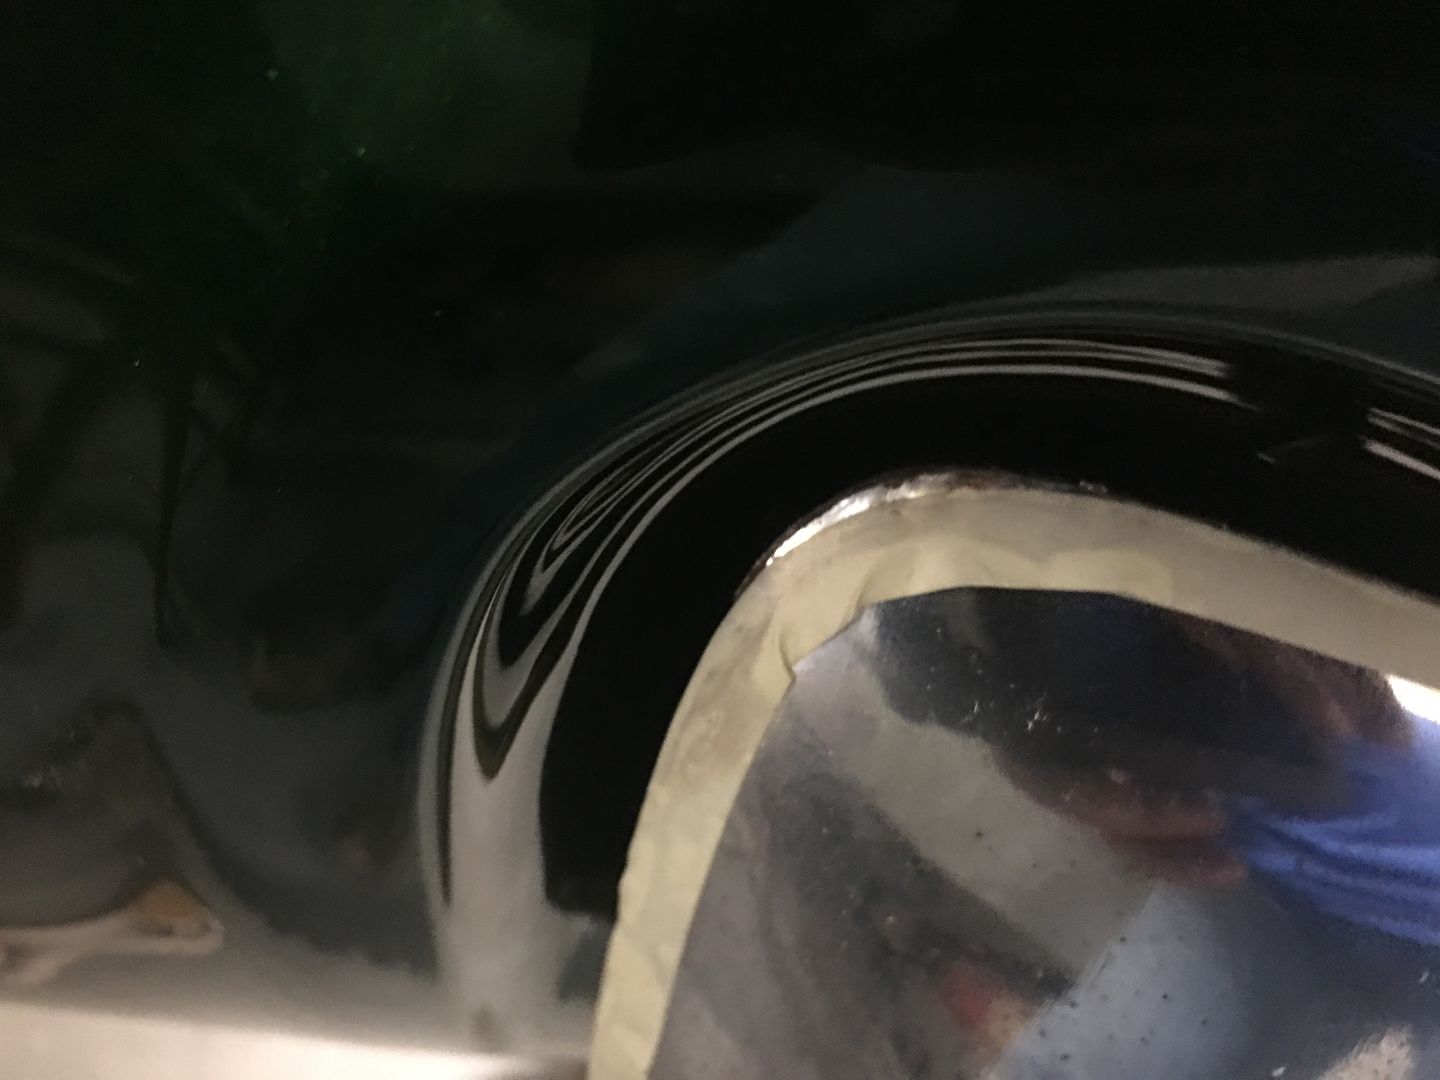
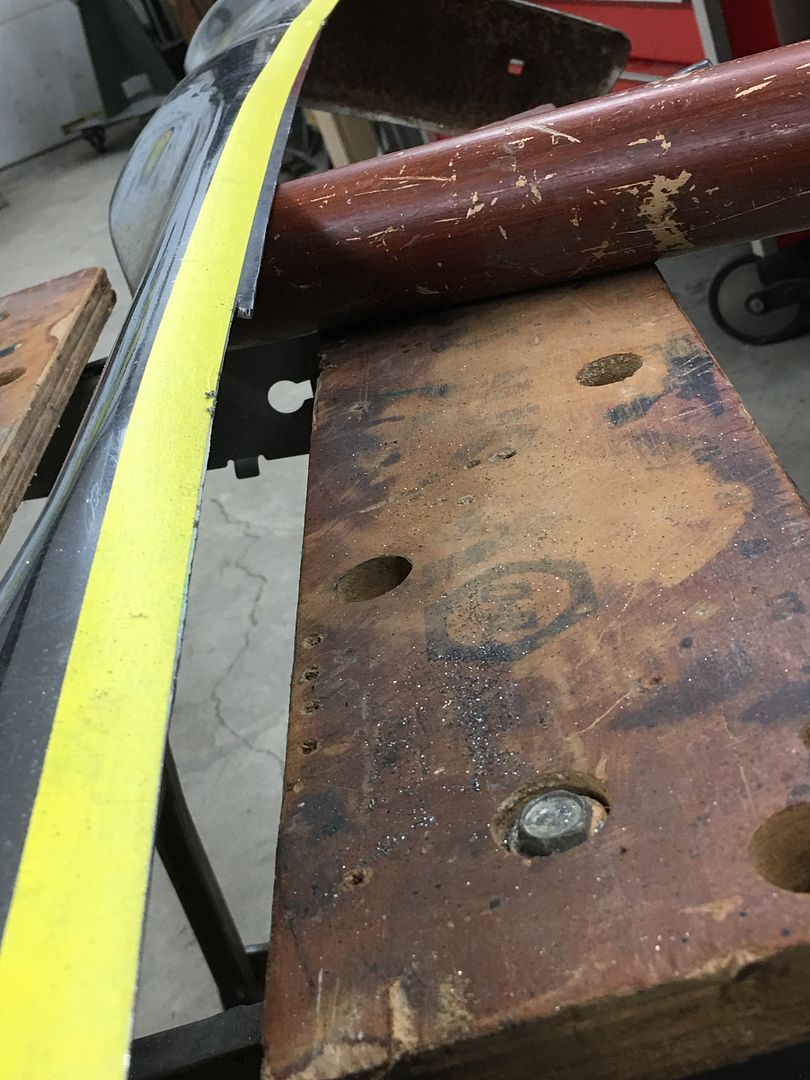
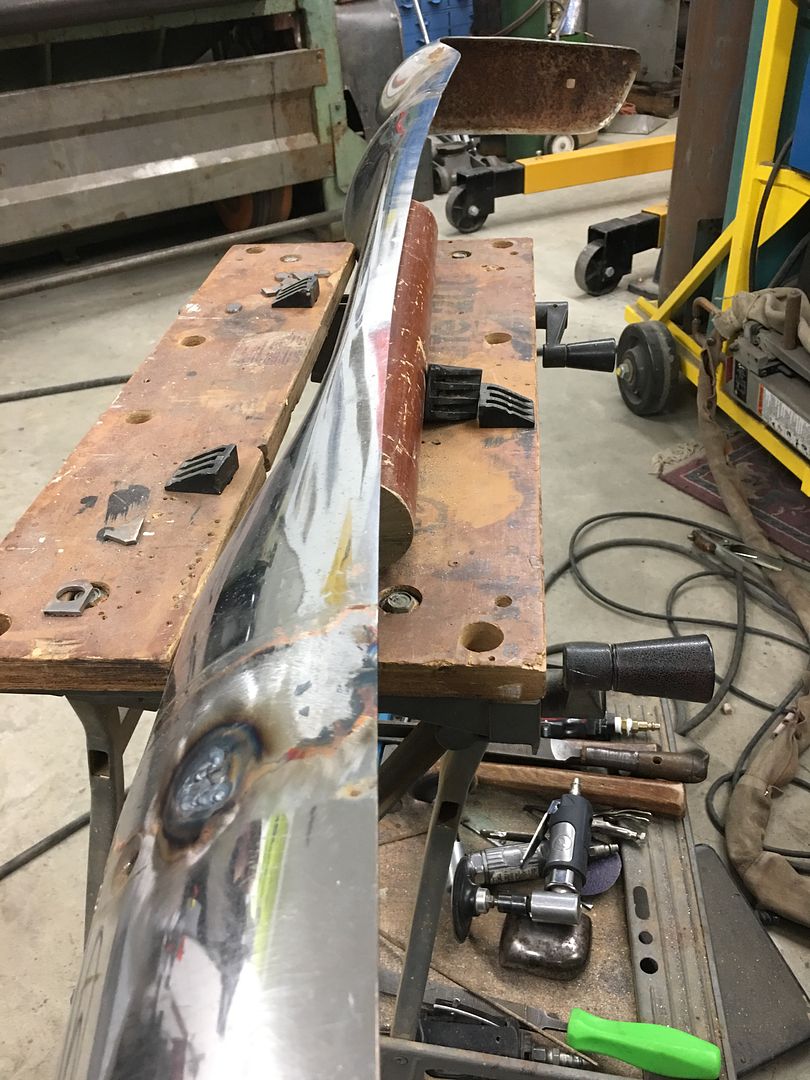
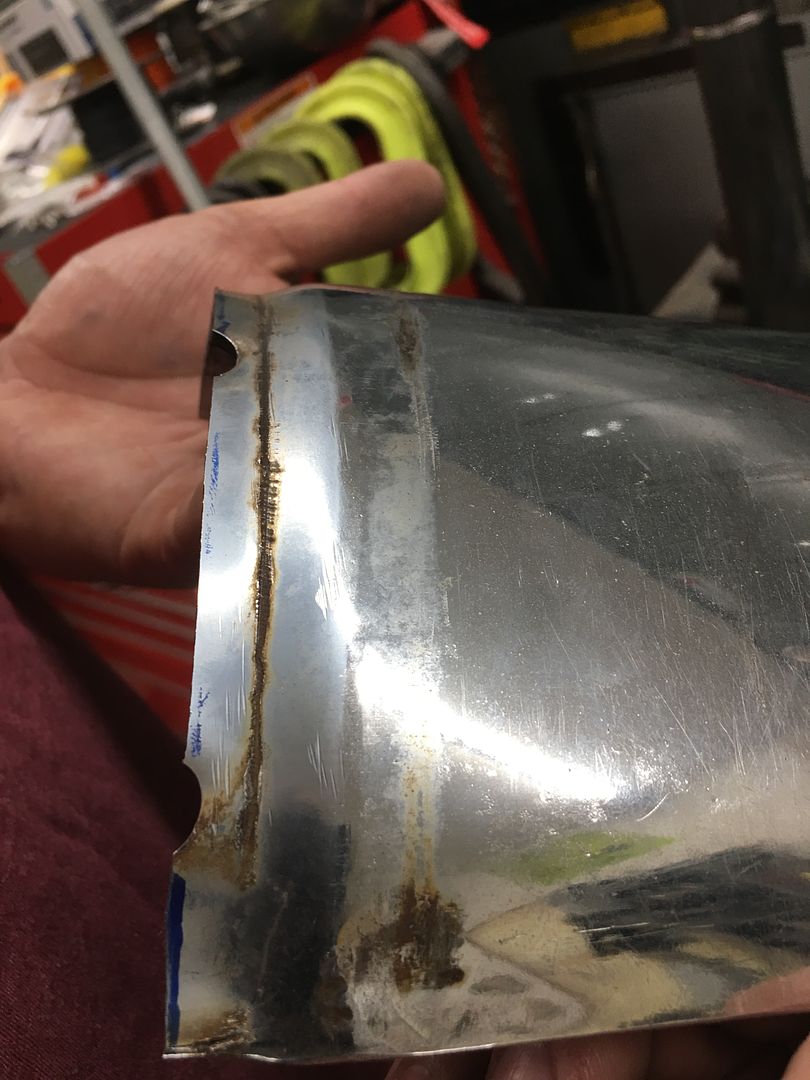
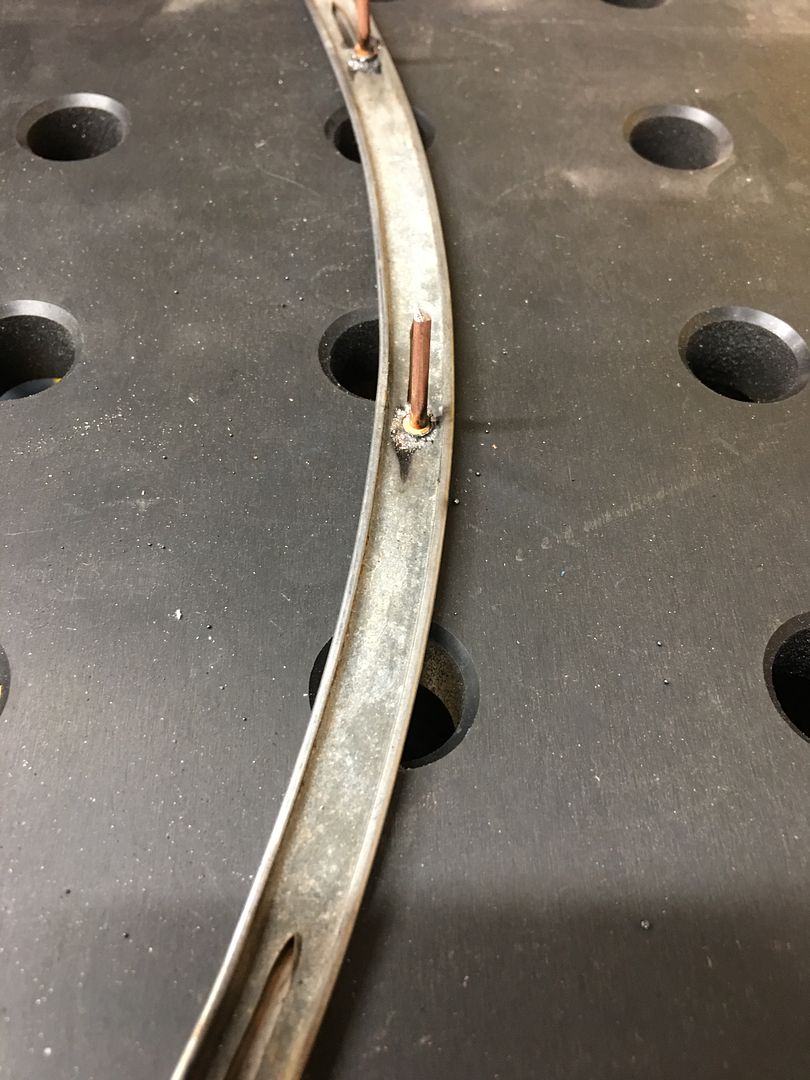
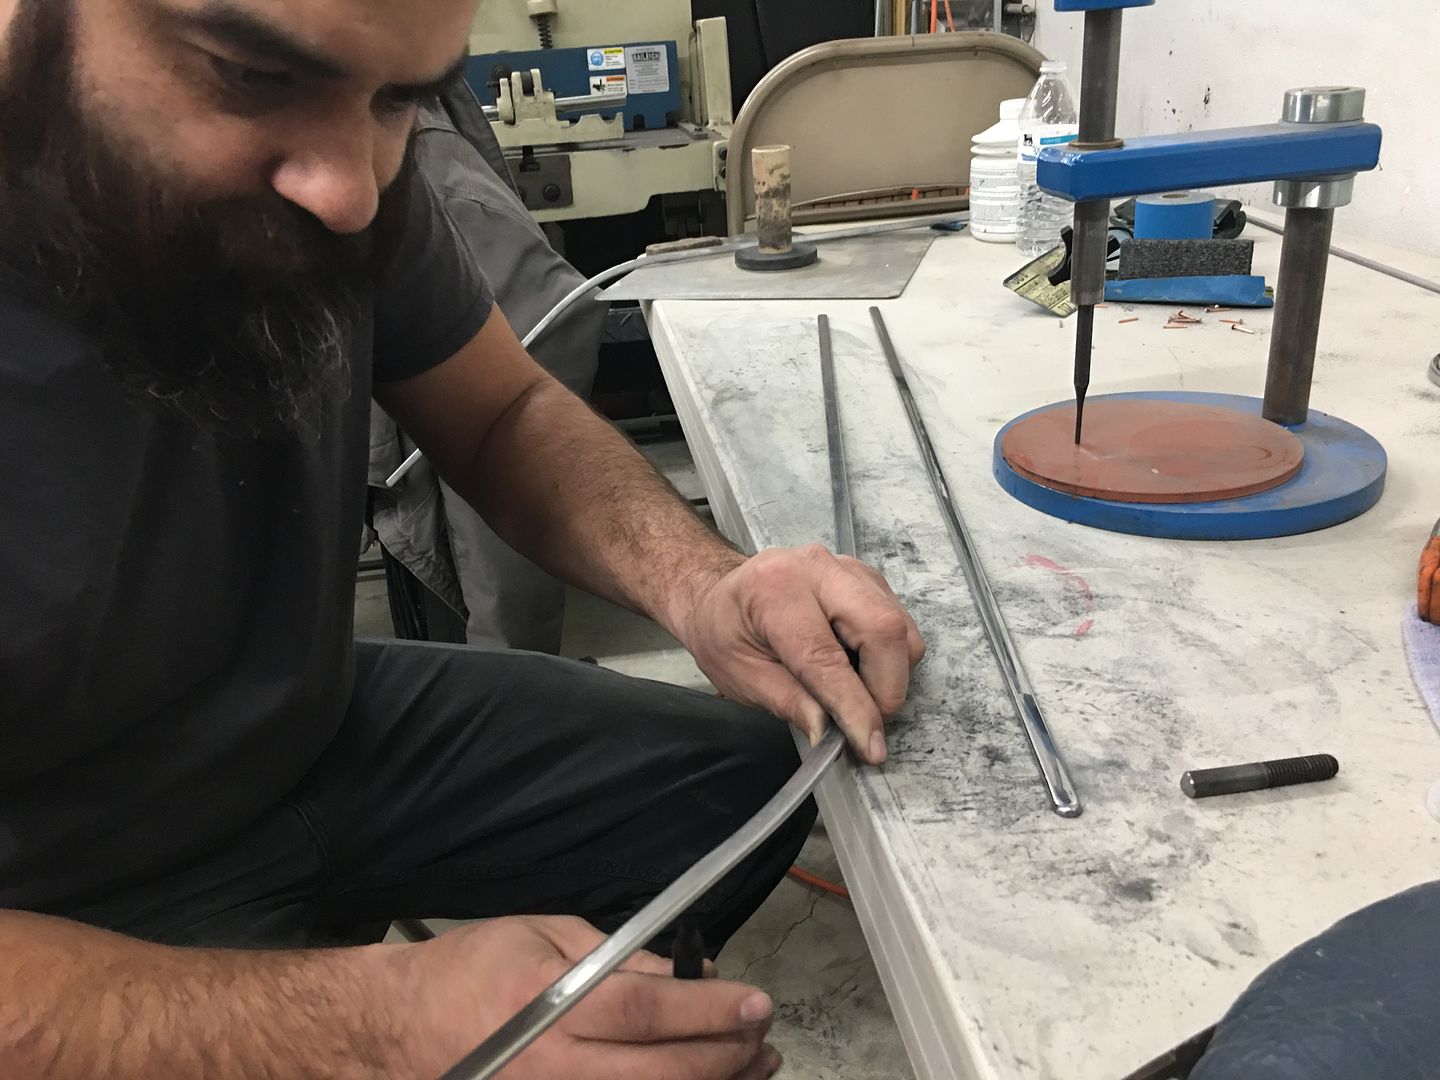
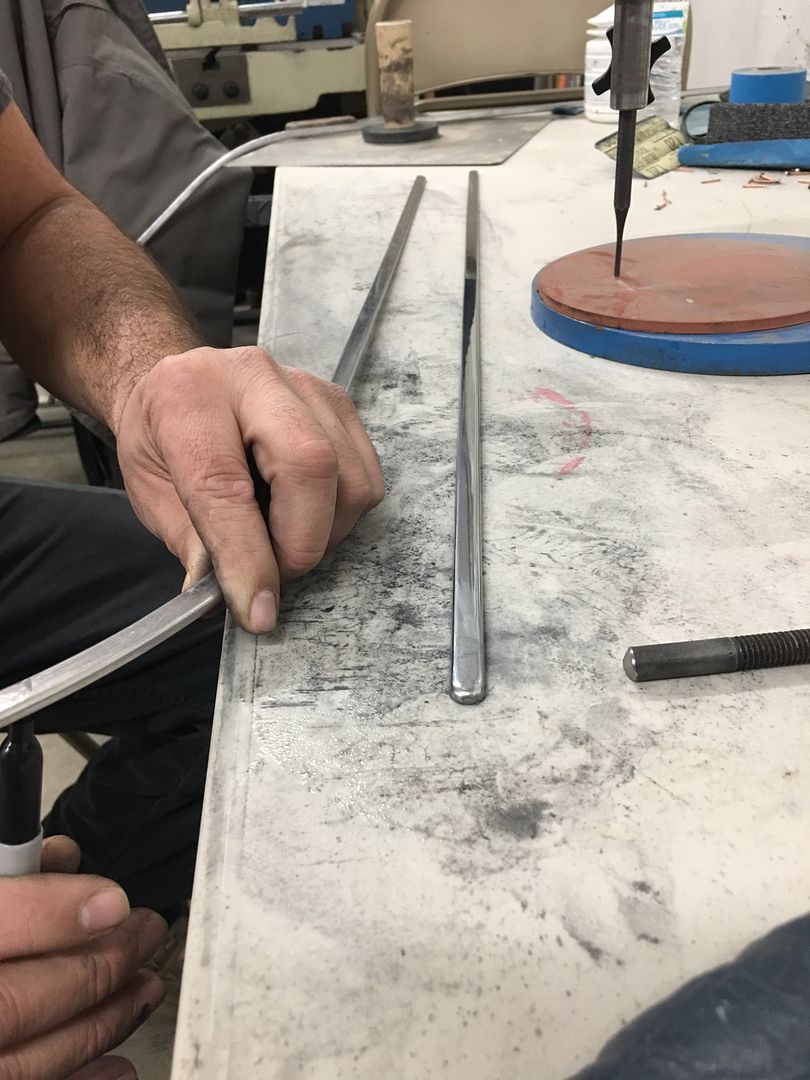
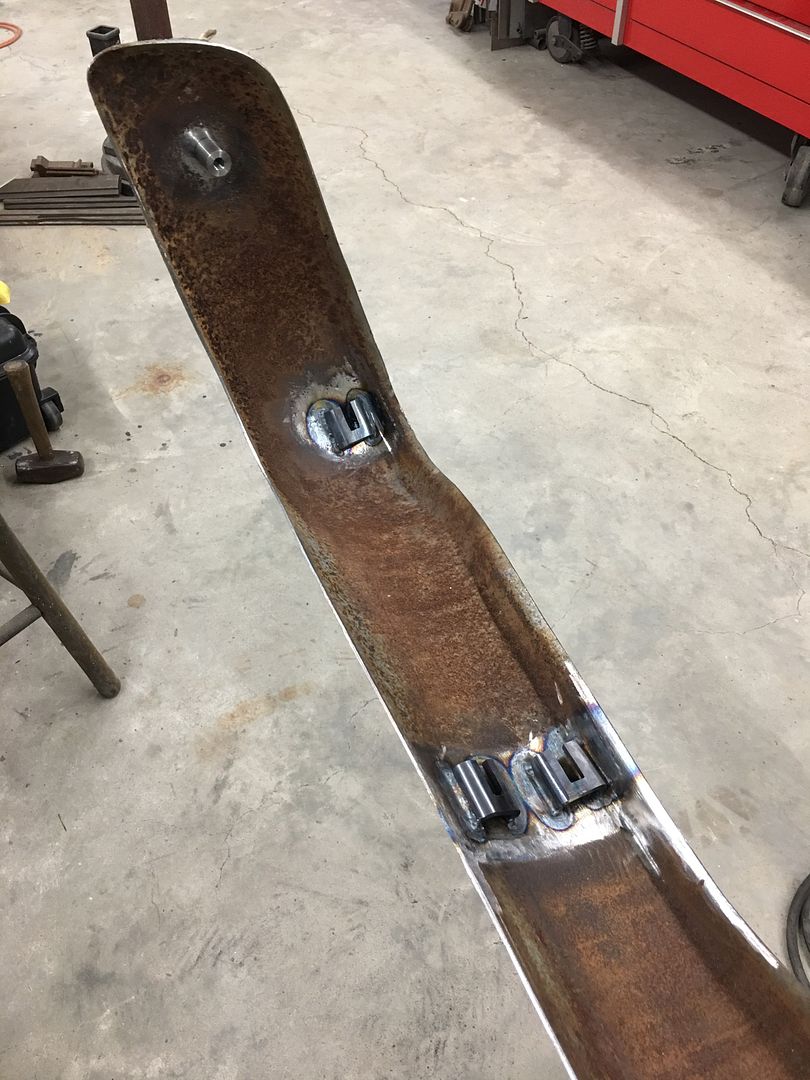
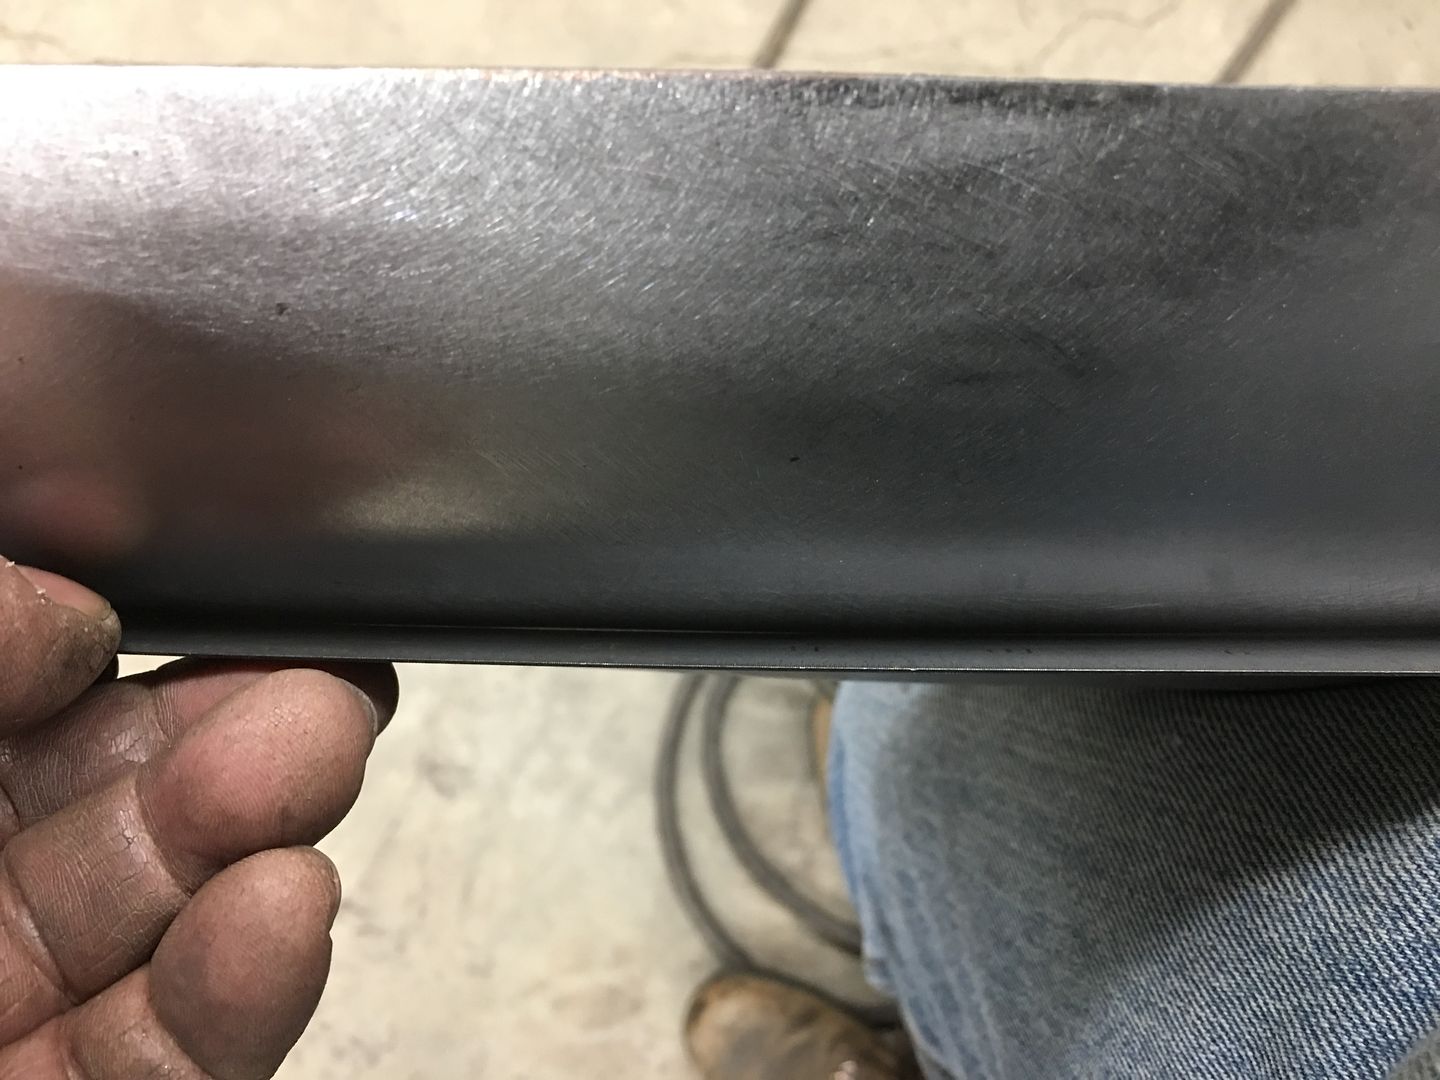
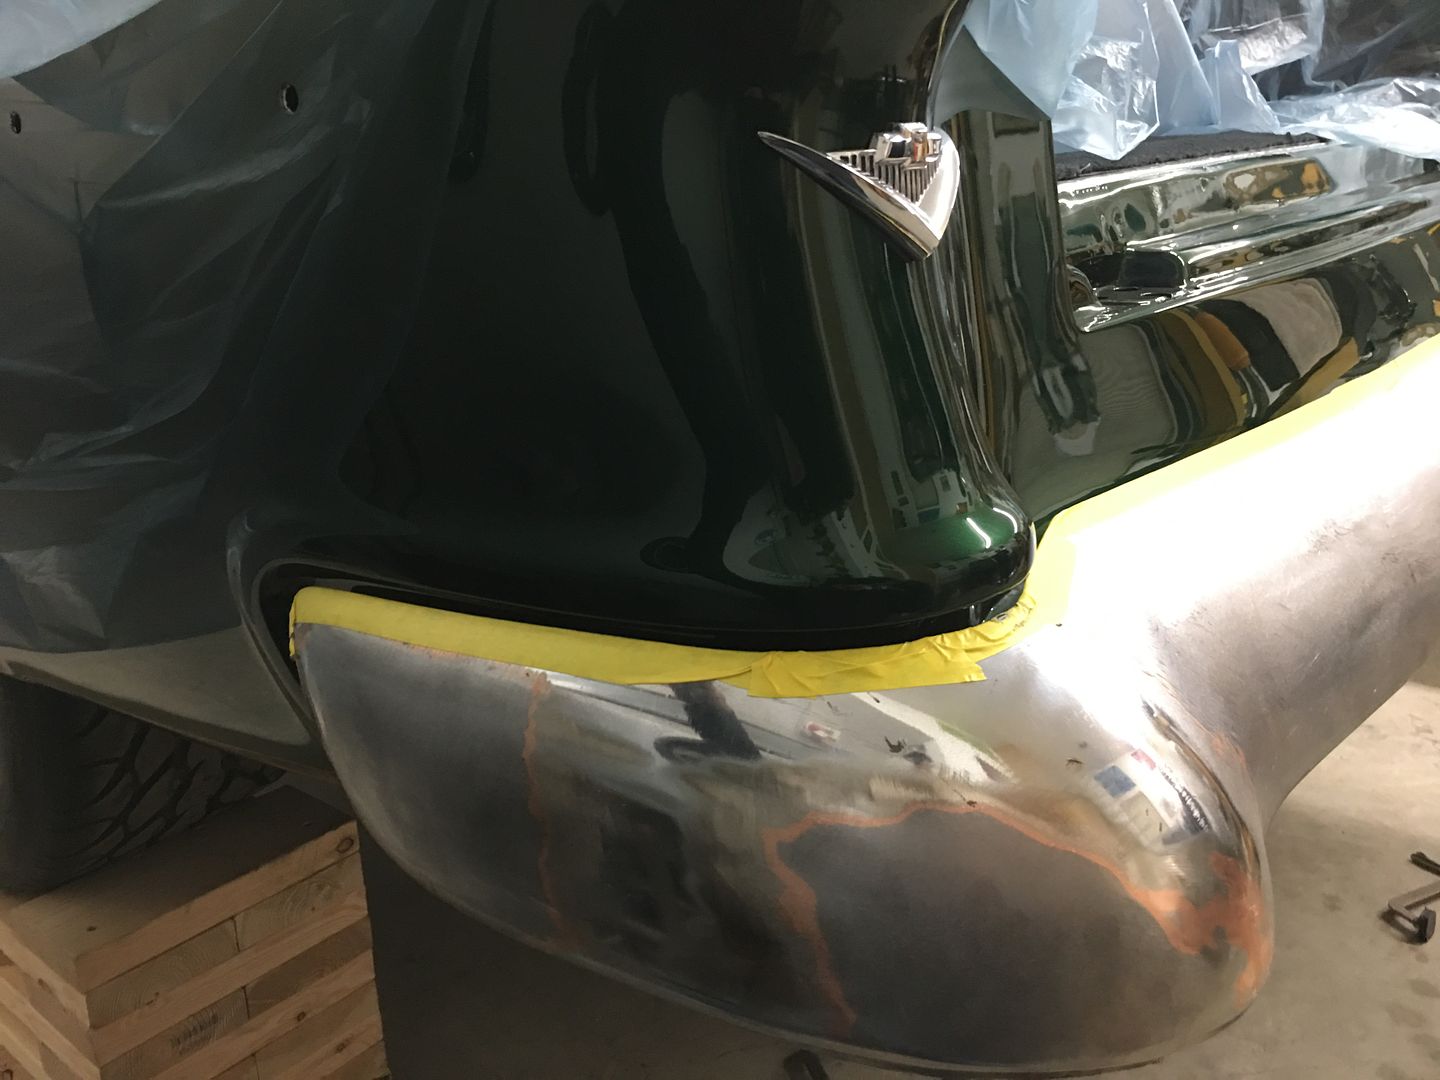
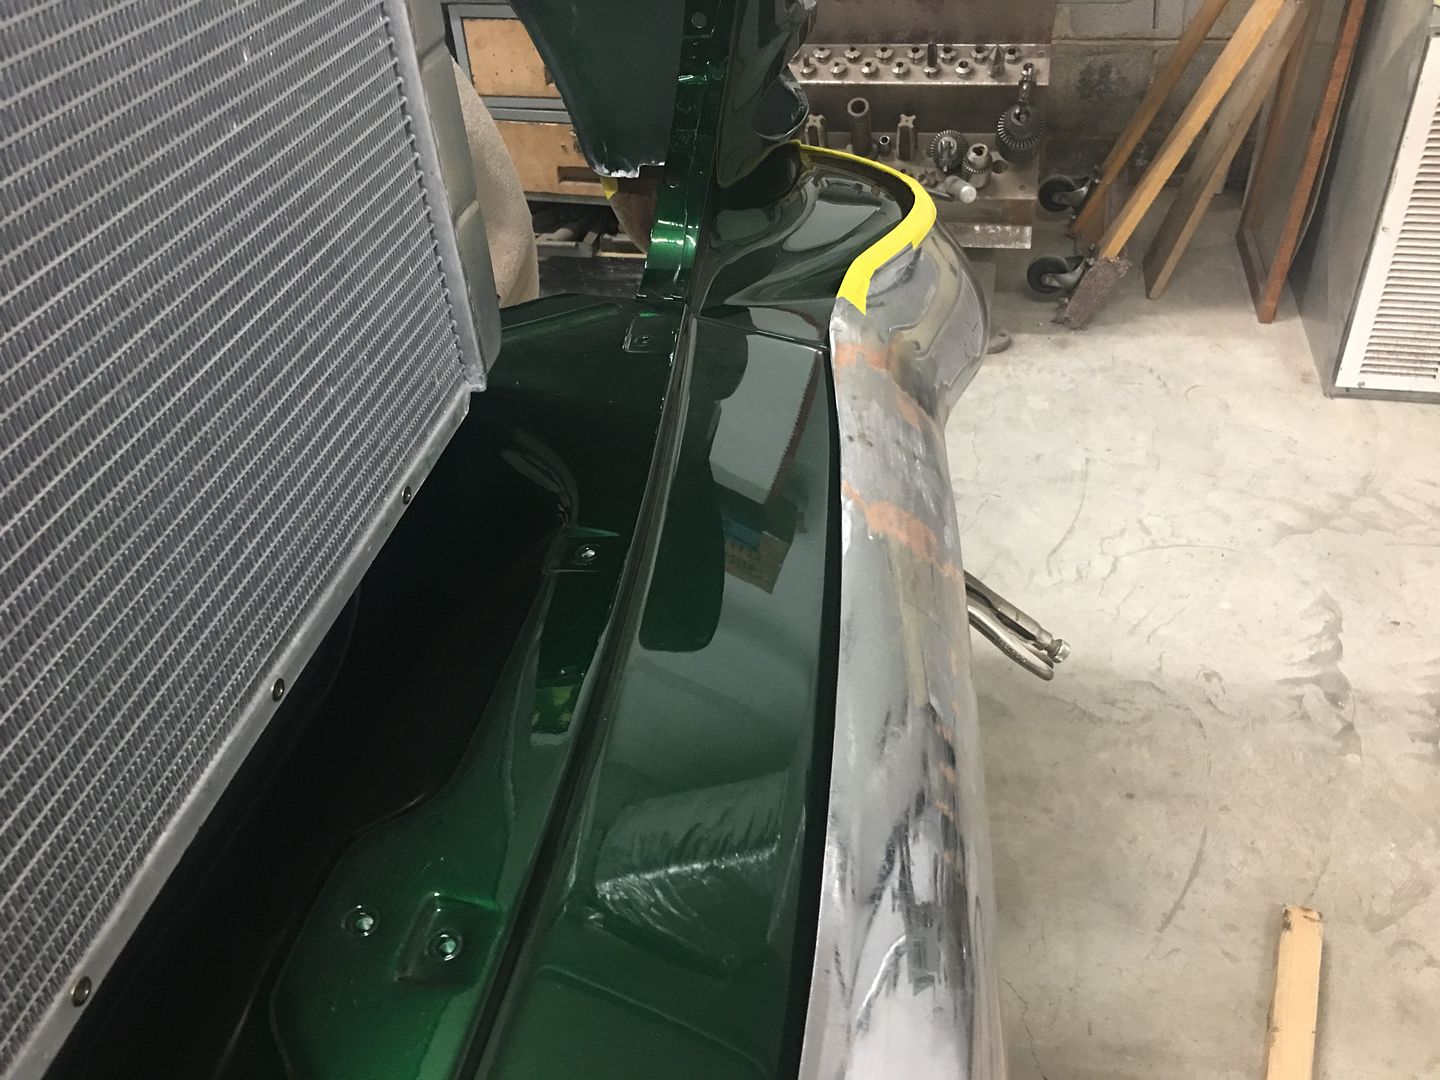
    Leading edge of drivers side needs some trimming...


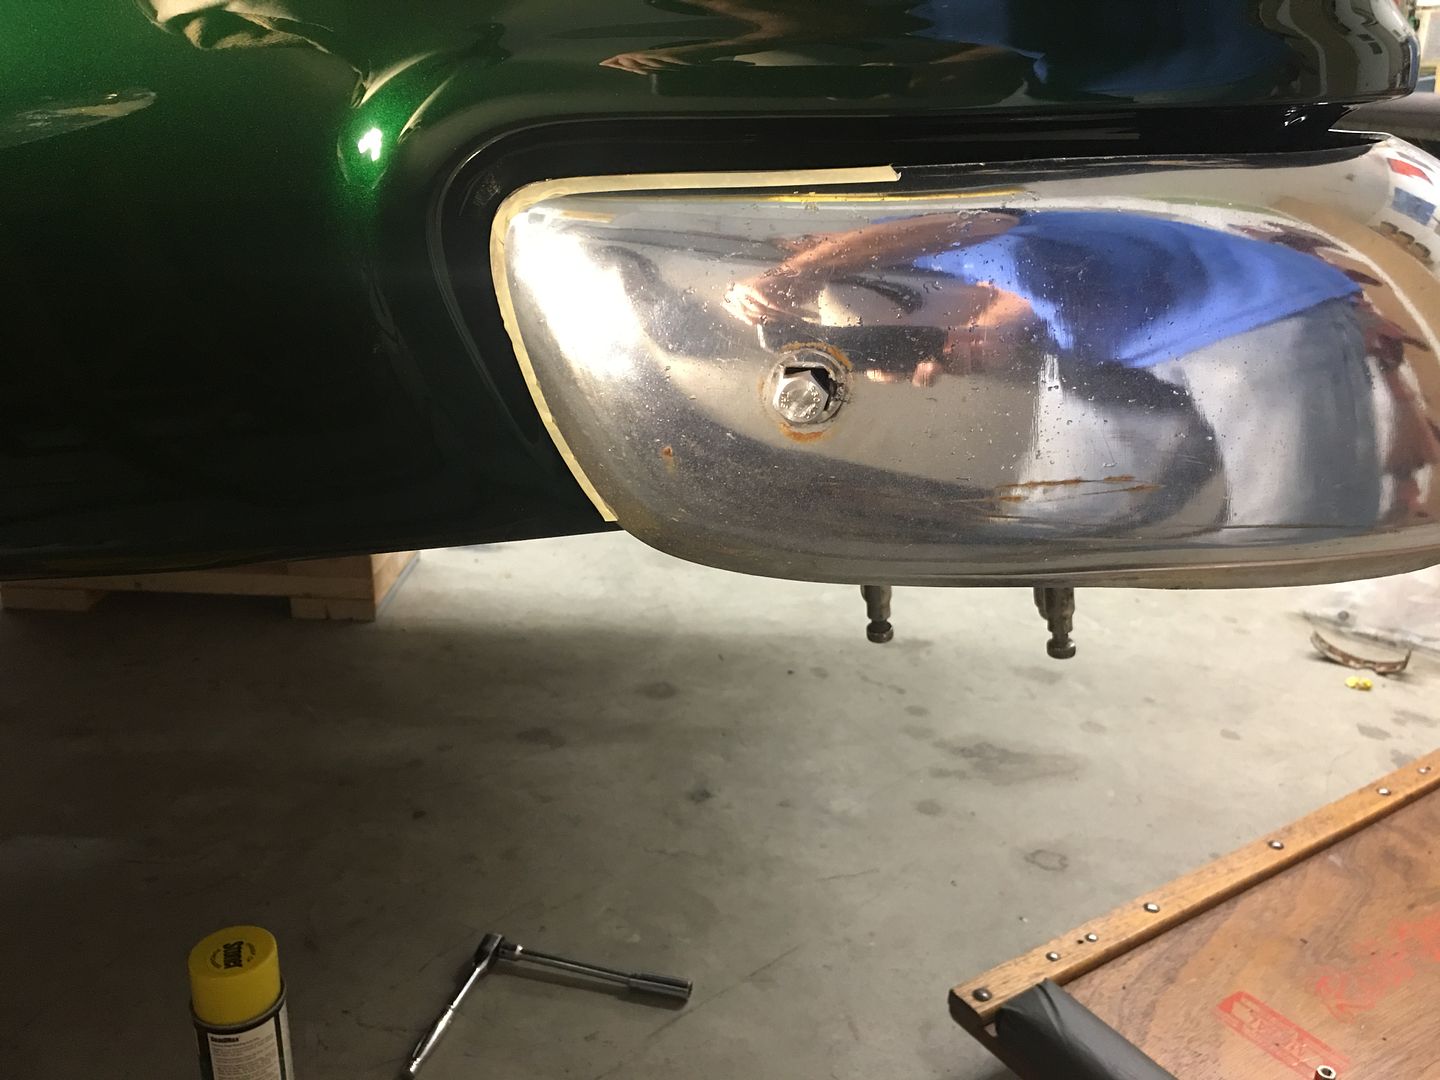
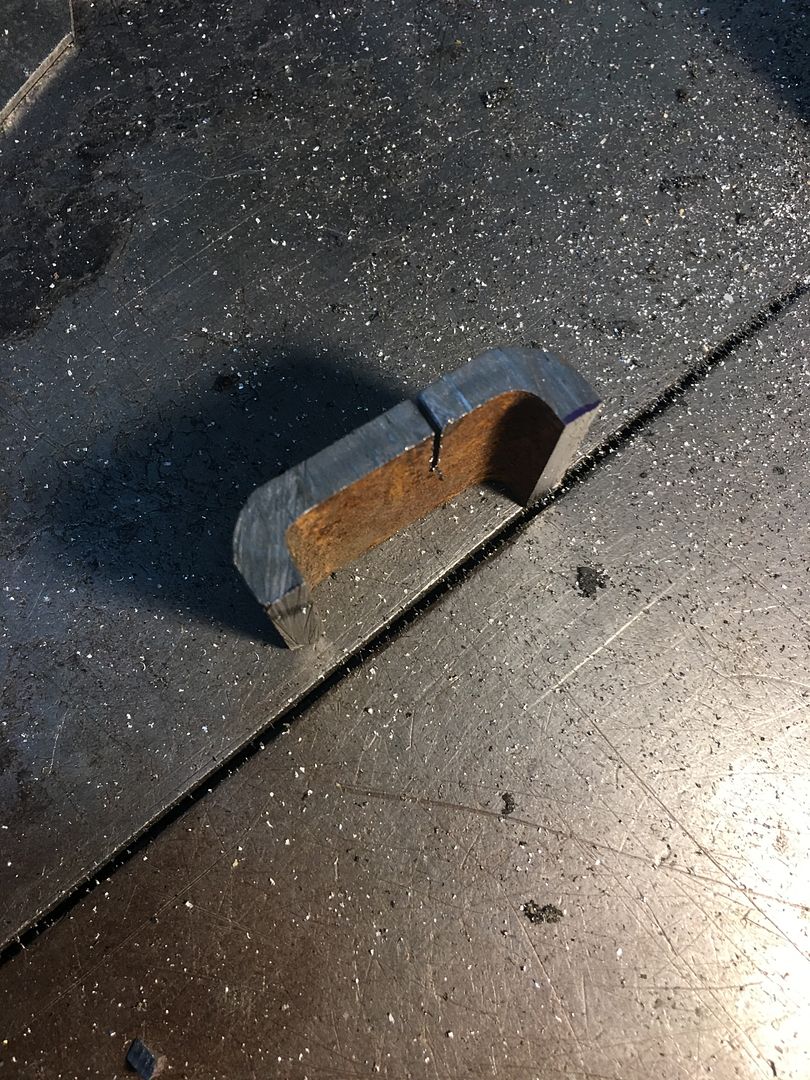
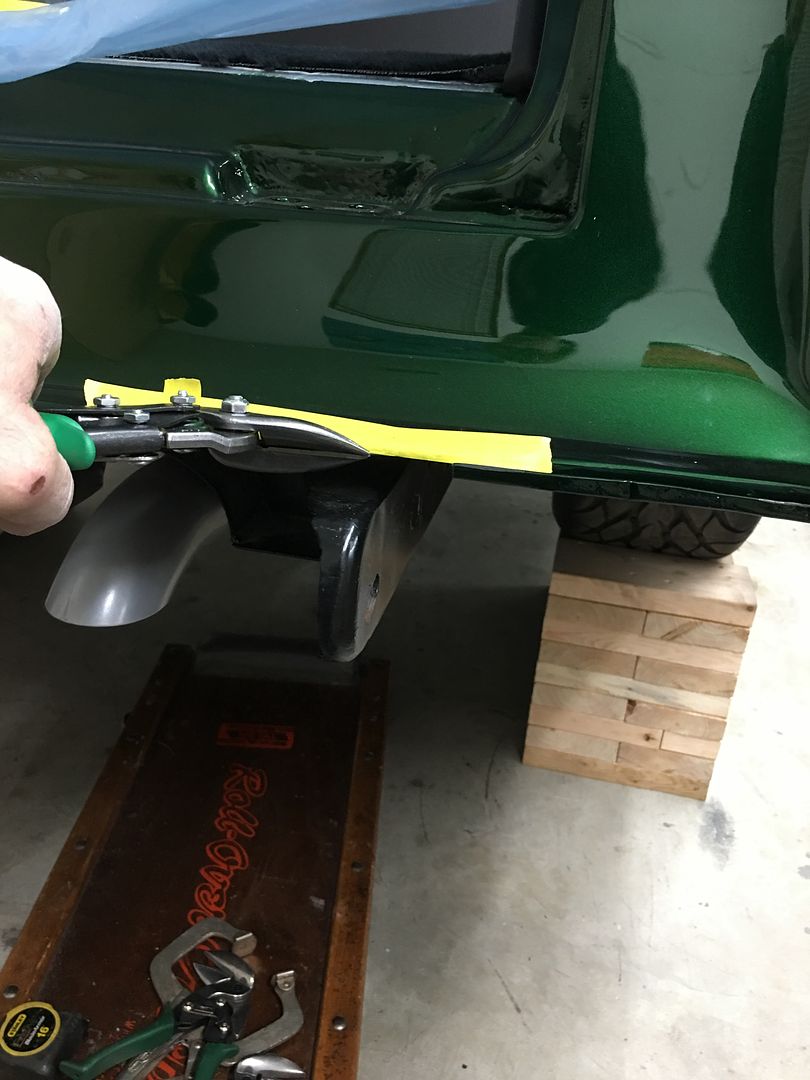
    ….as does the center section behind the tail pan..


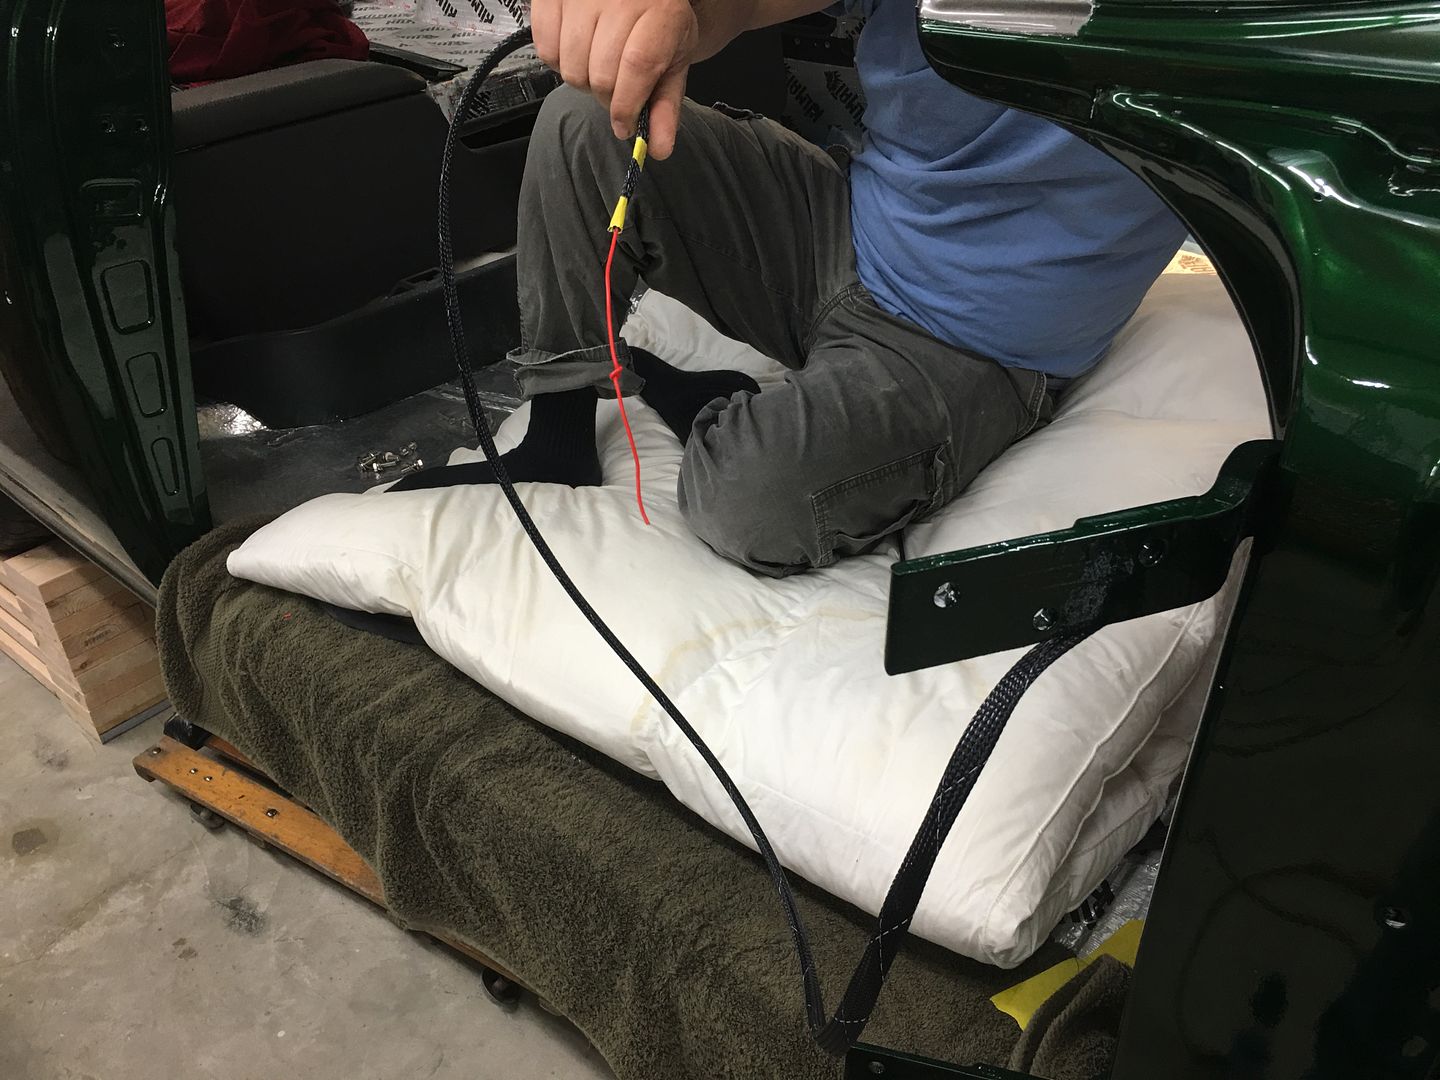
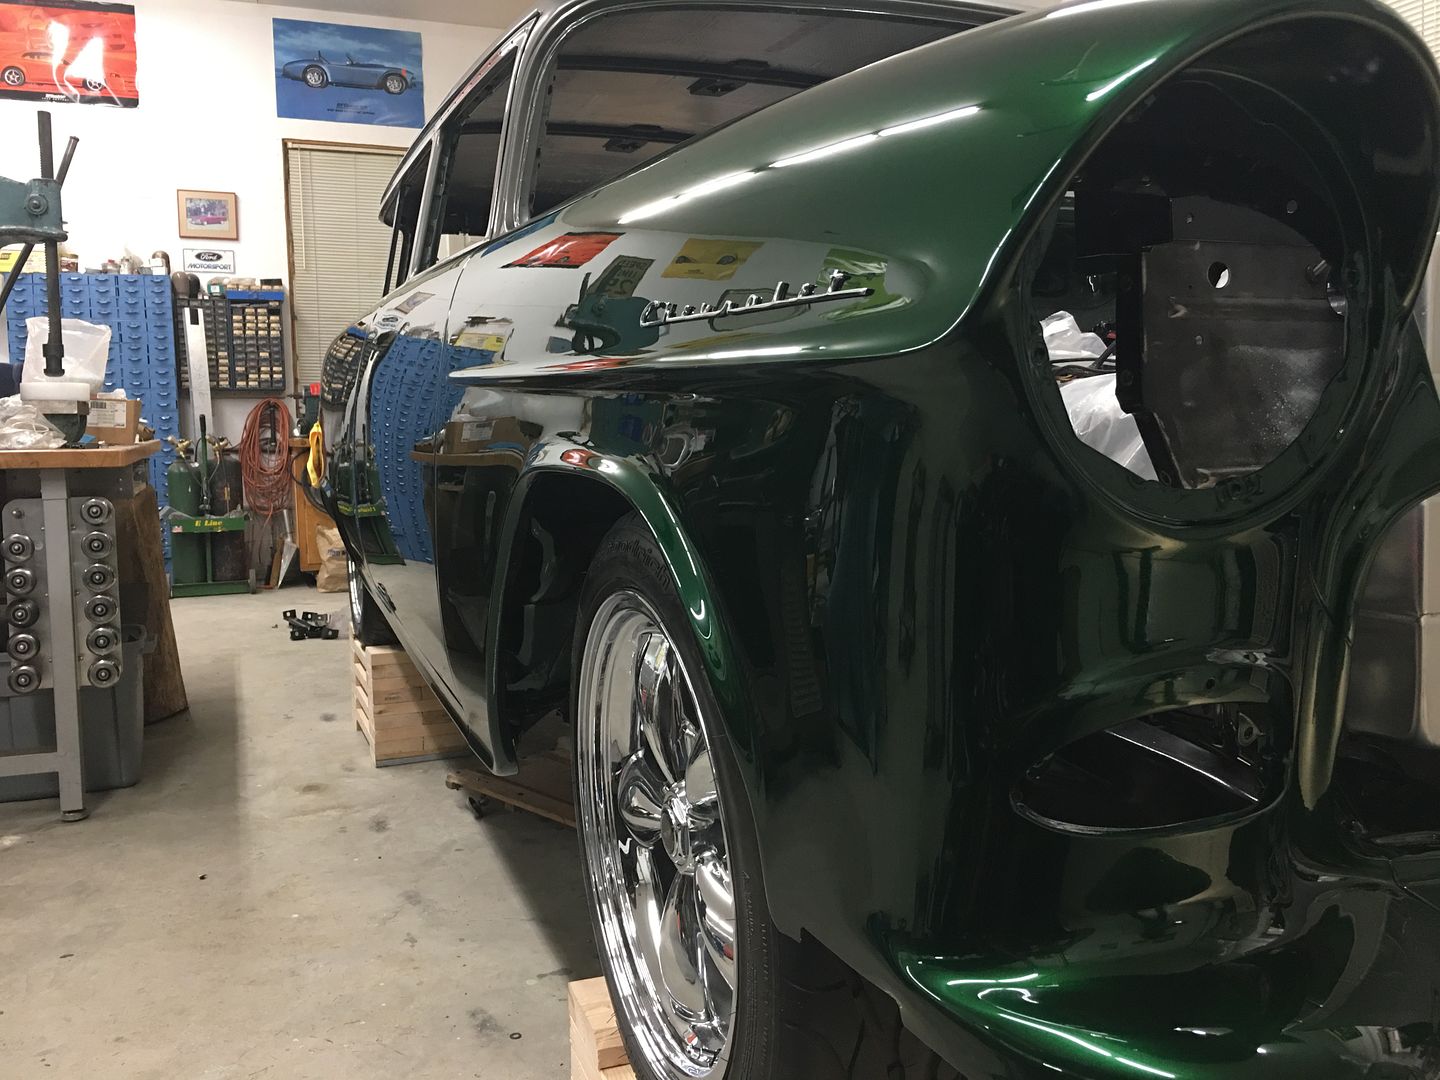
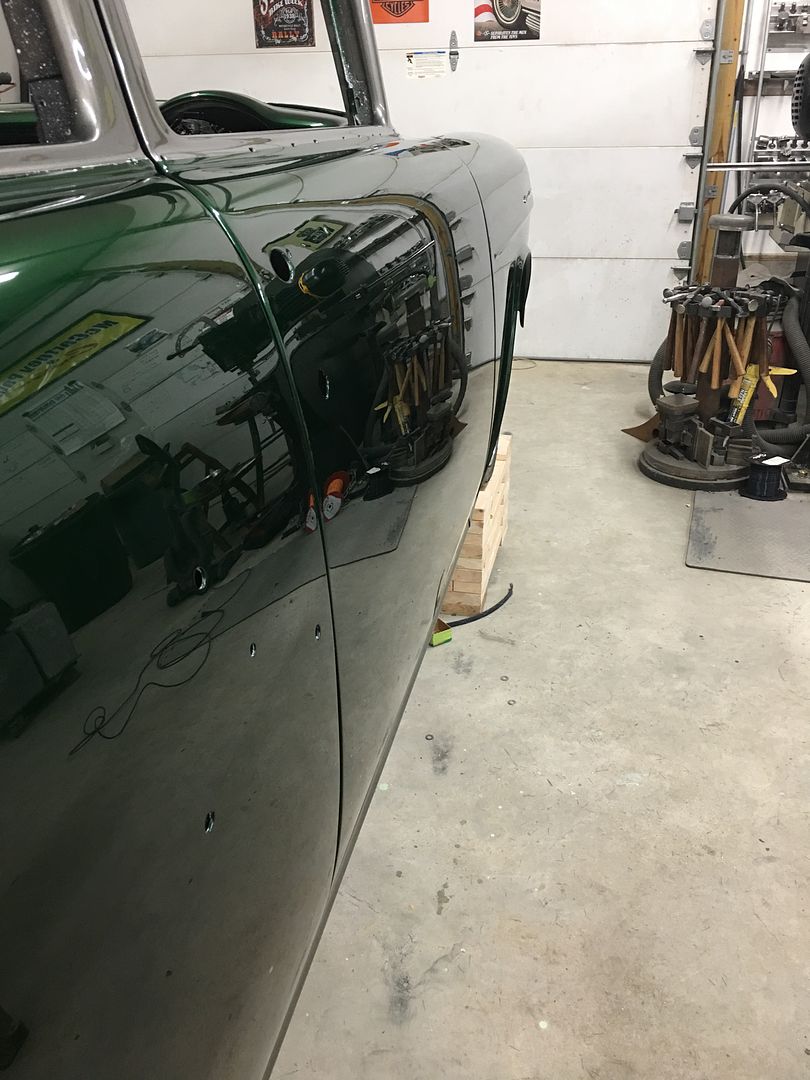
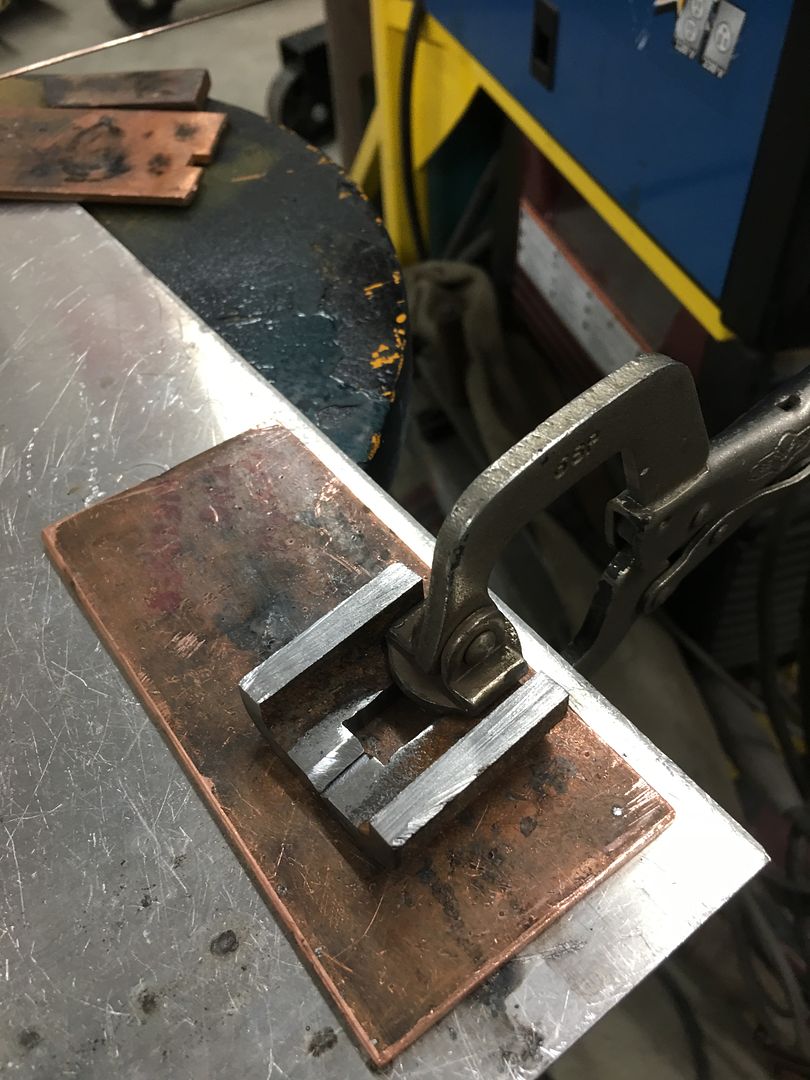
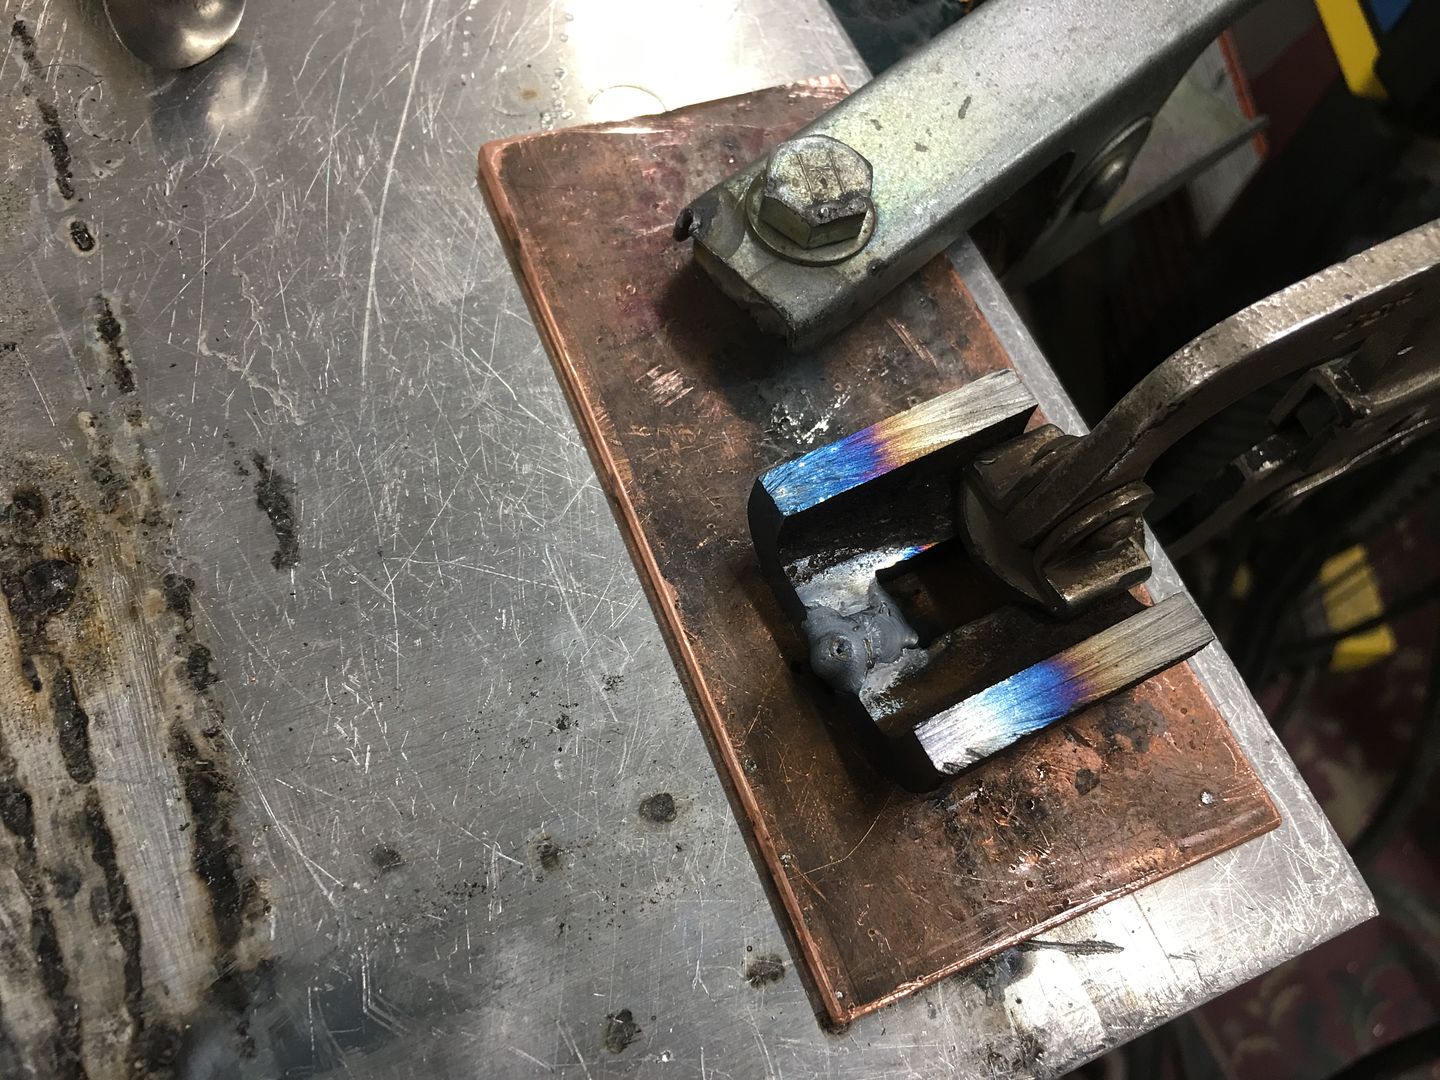
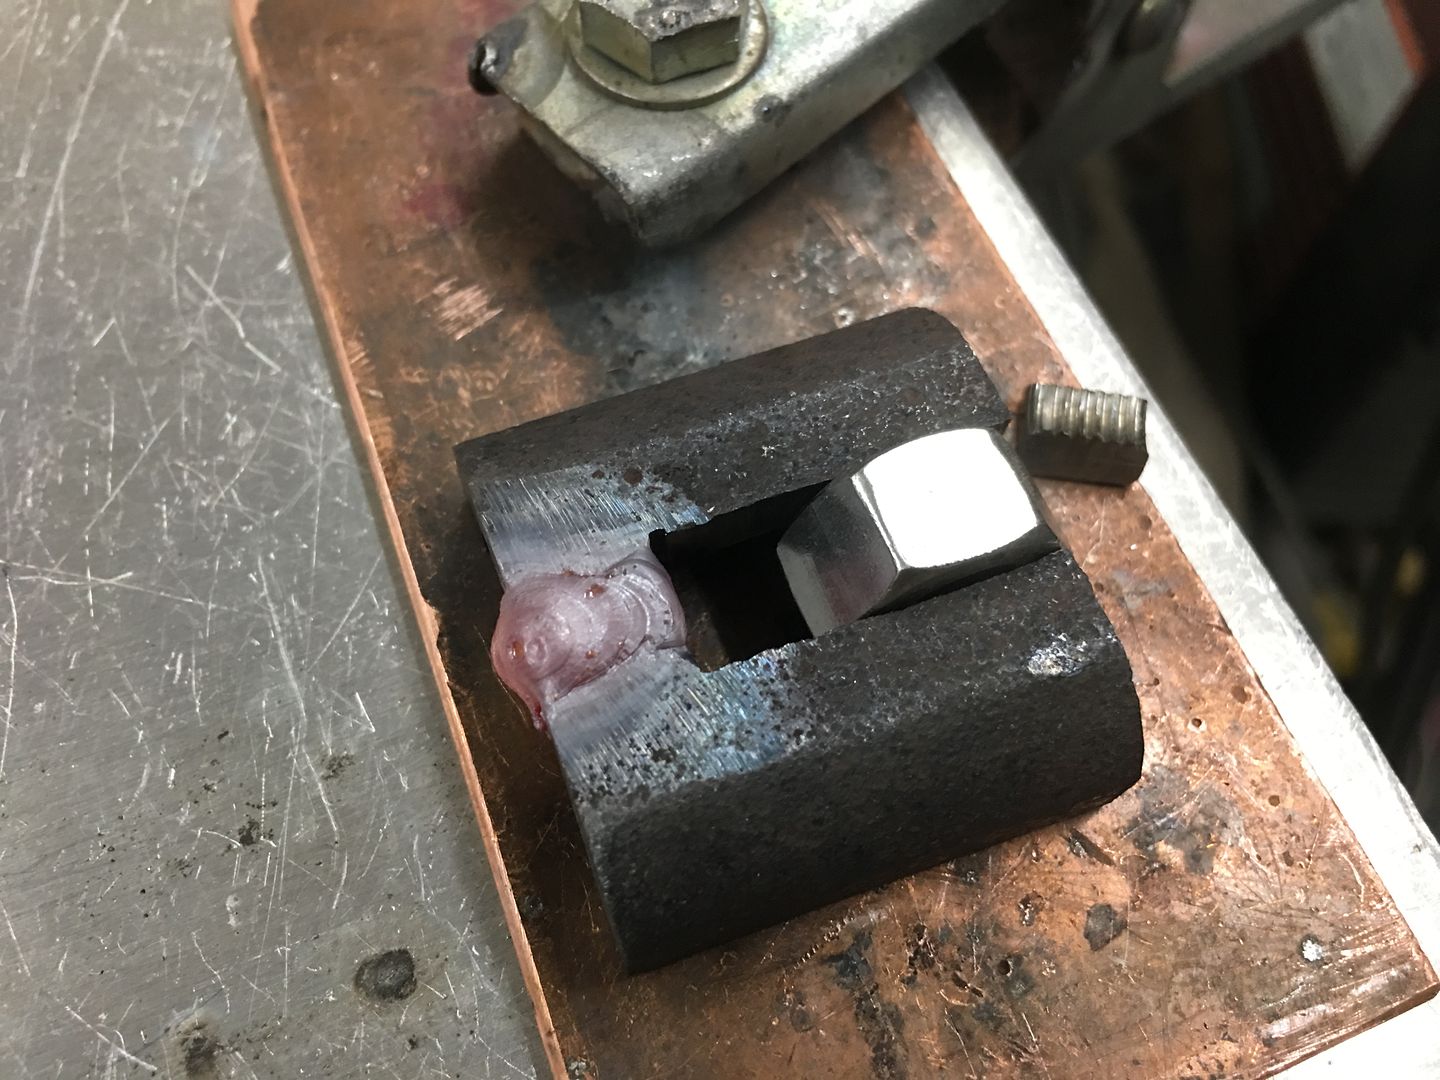
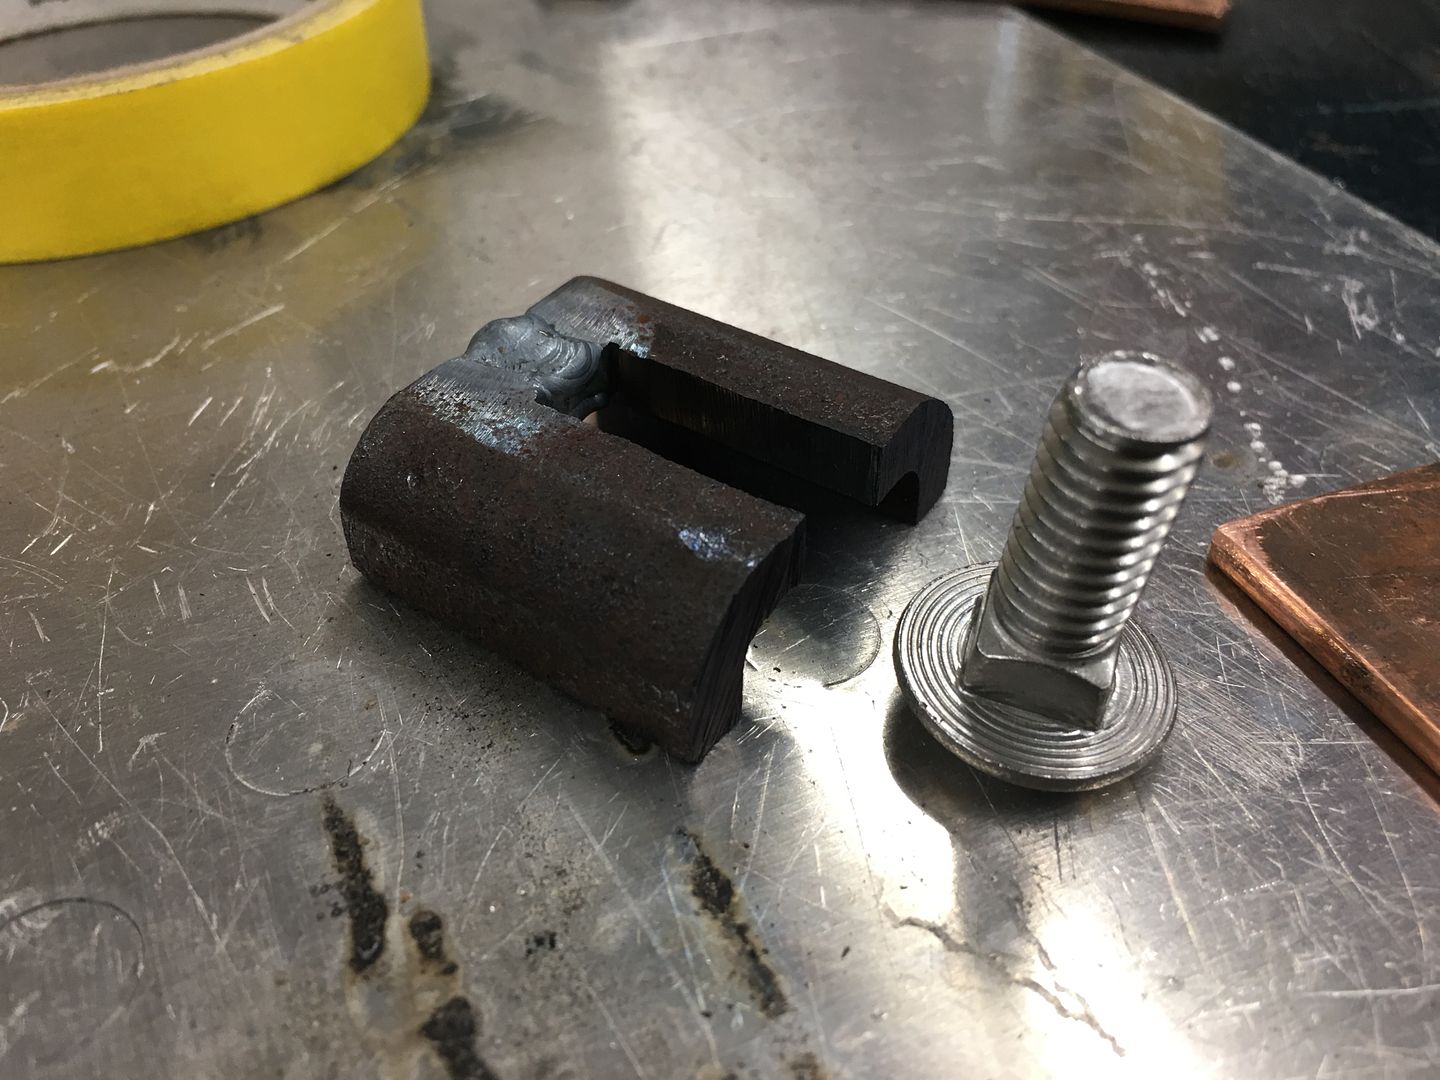
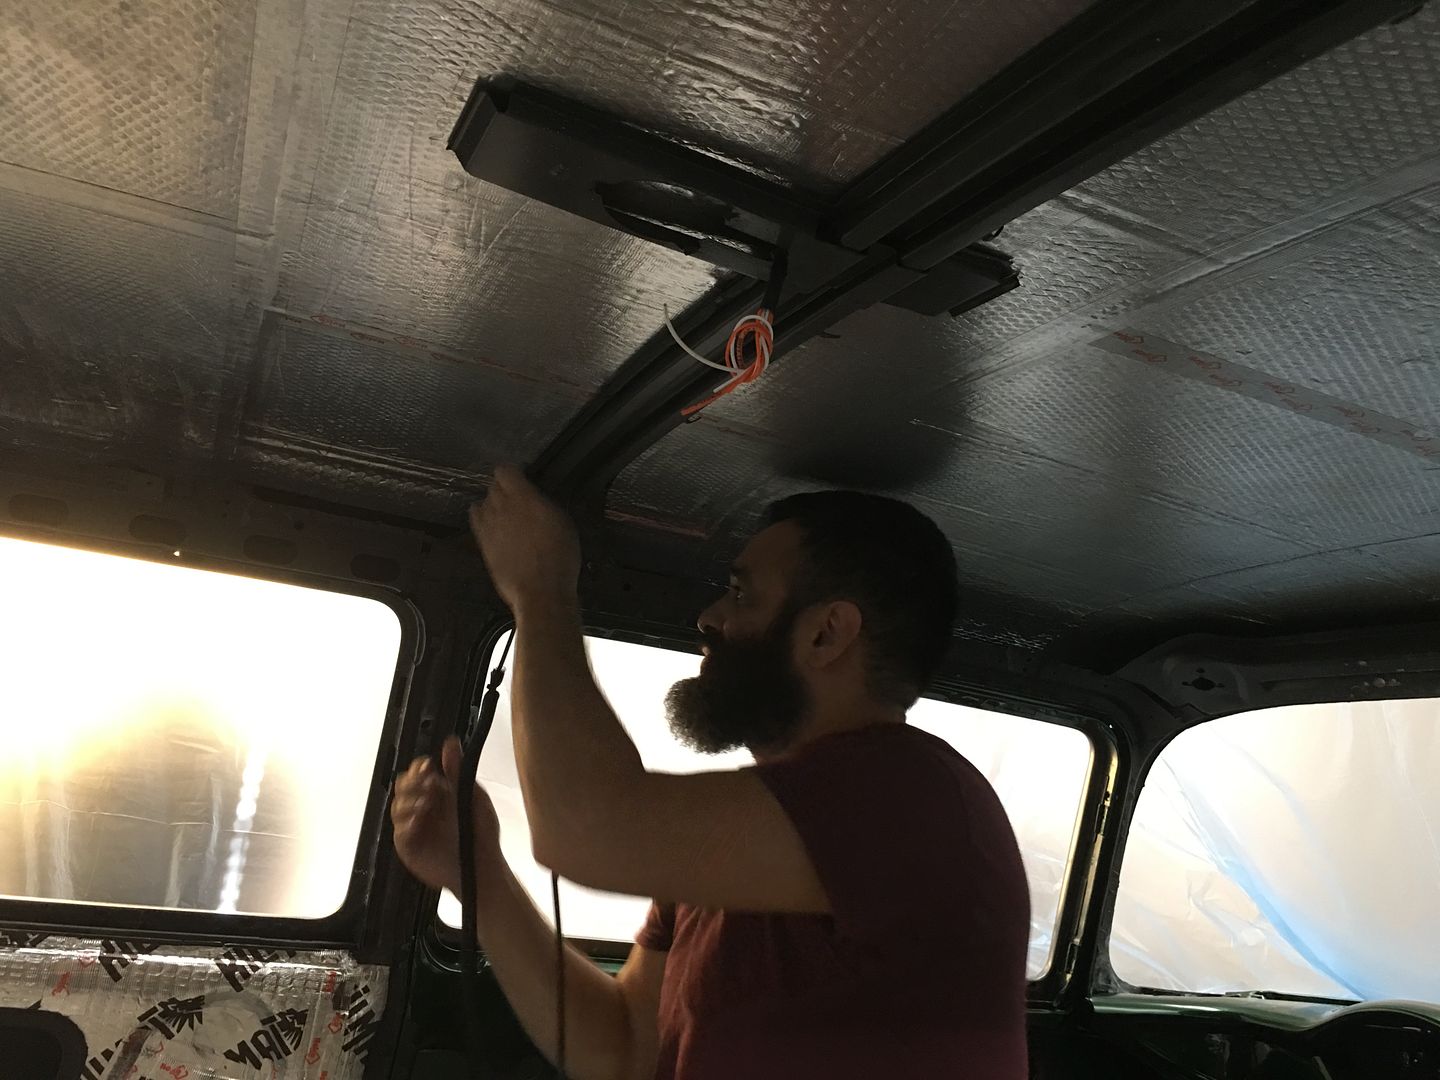
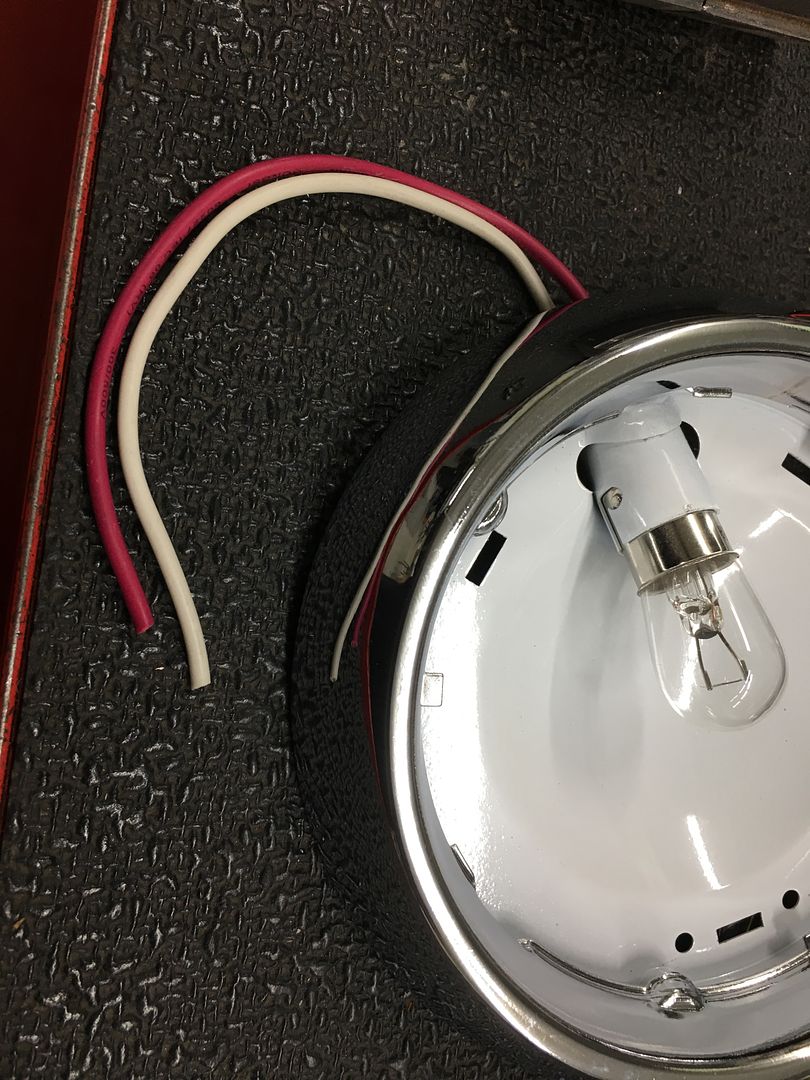
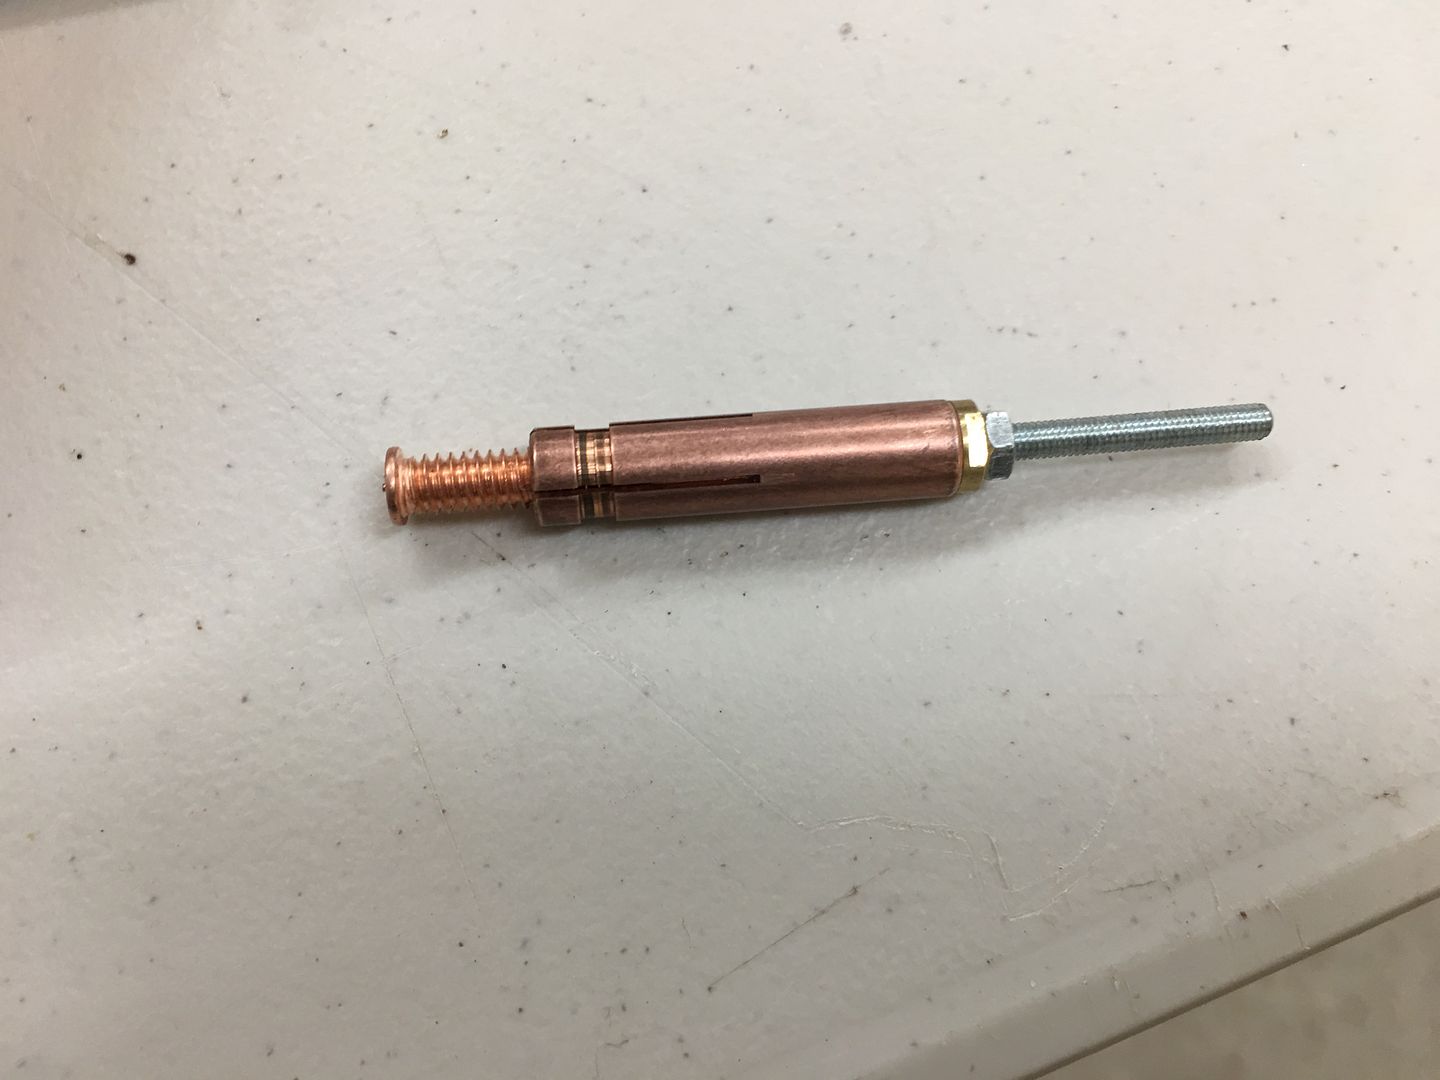
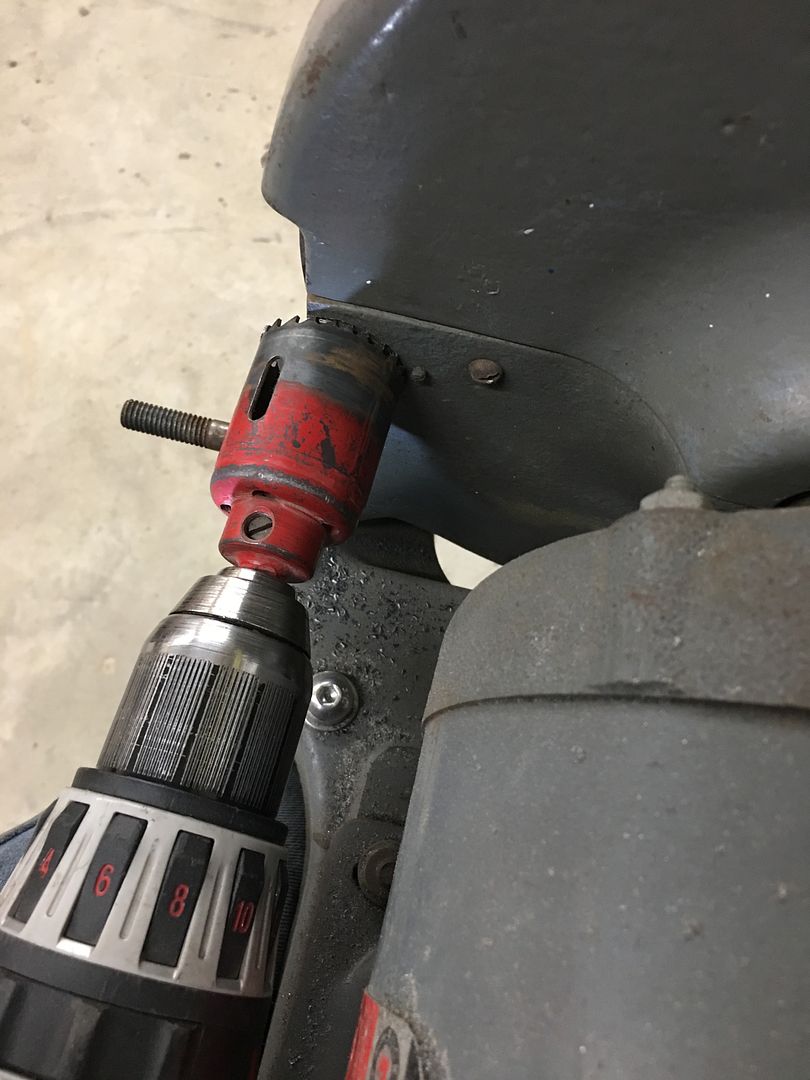
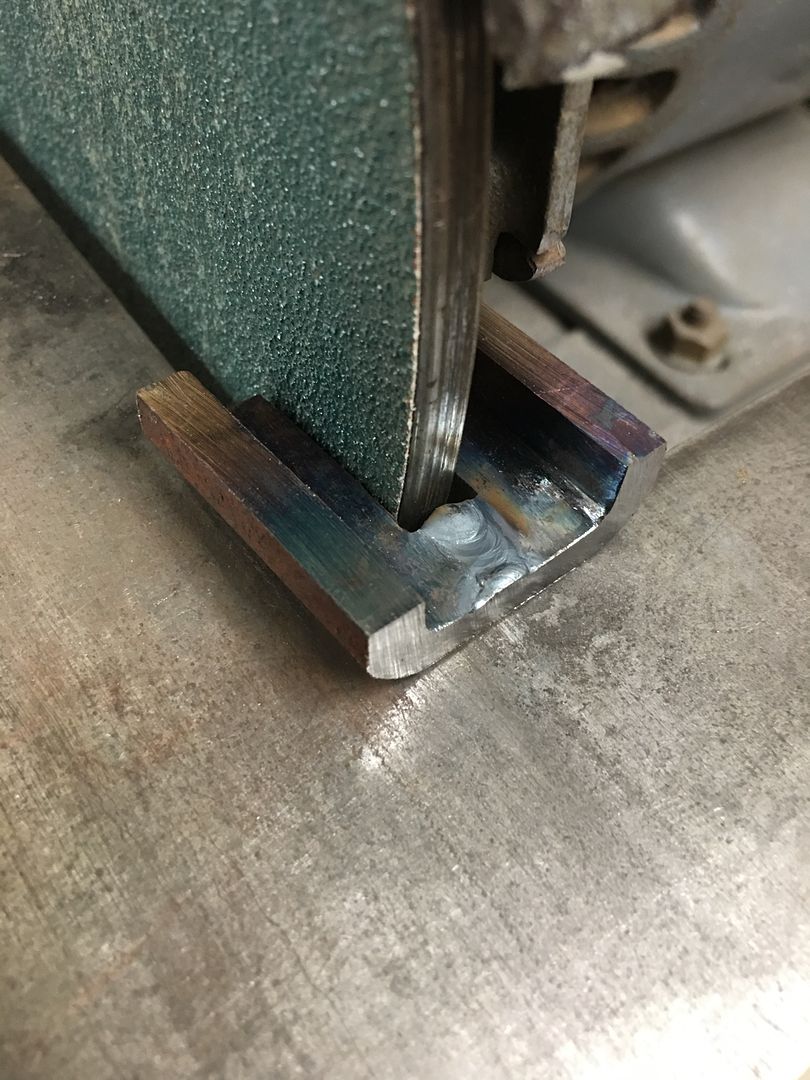
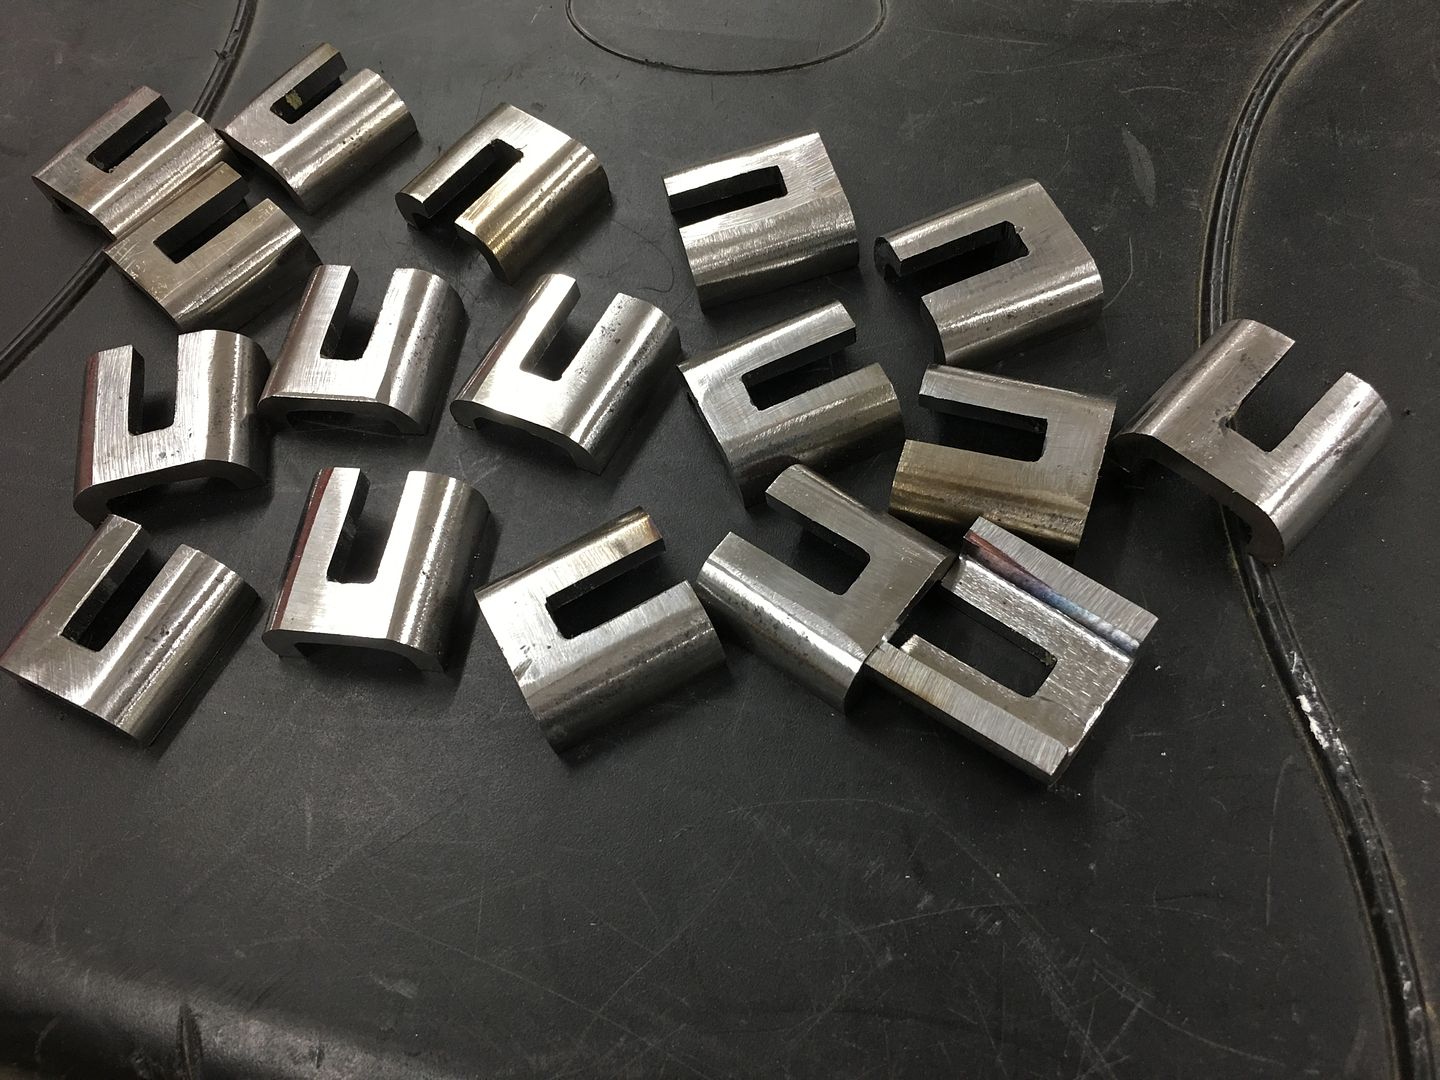
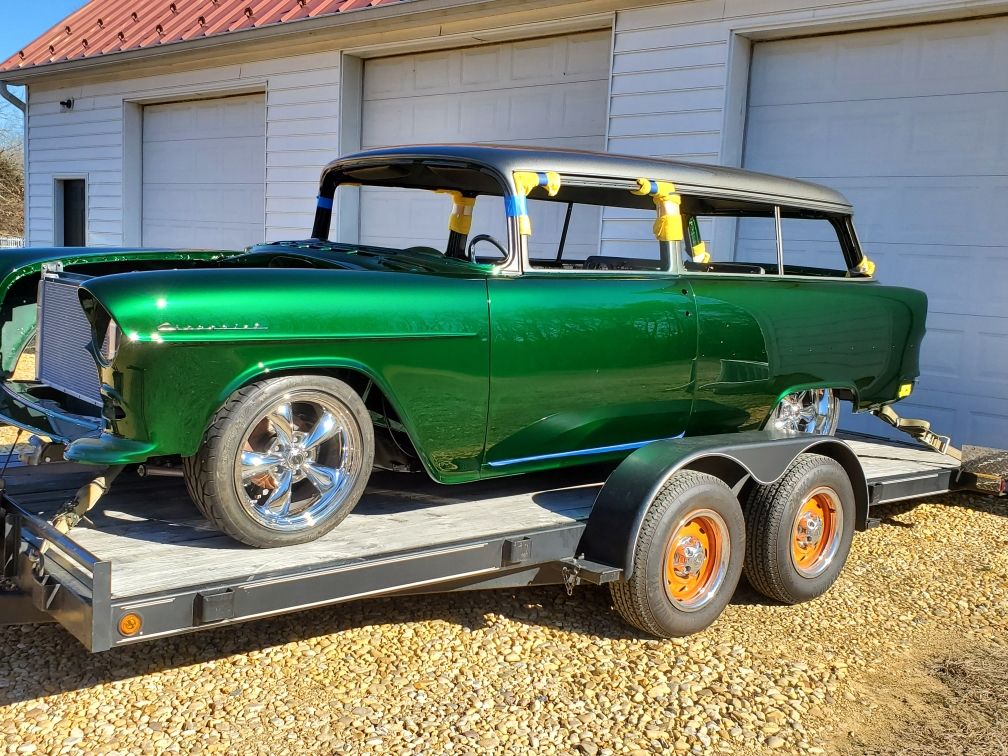
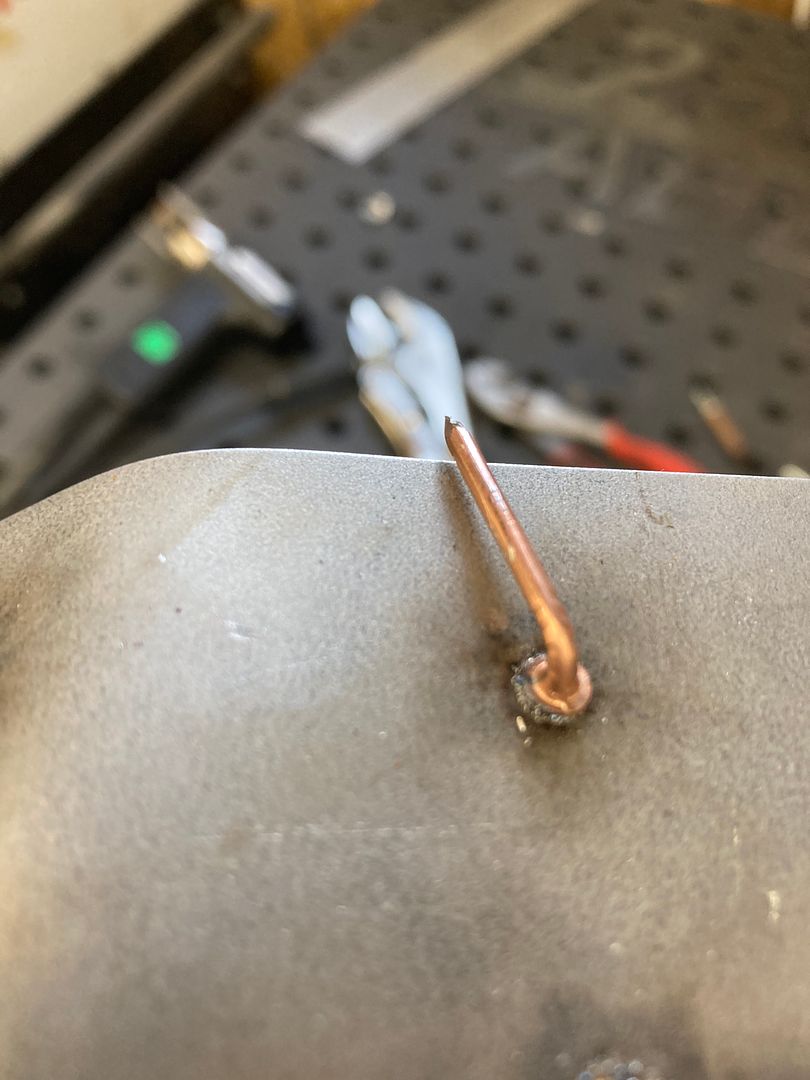
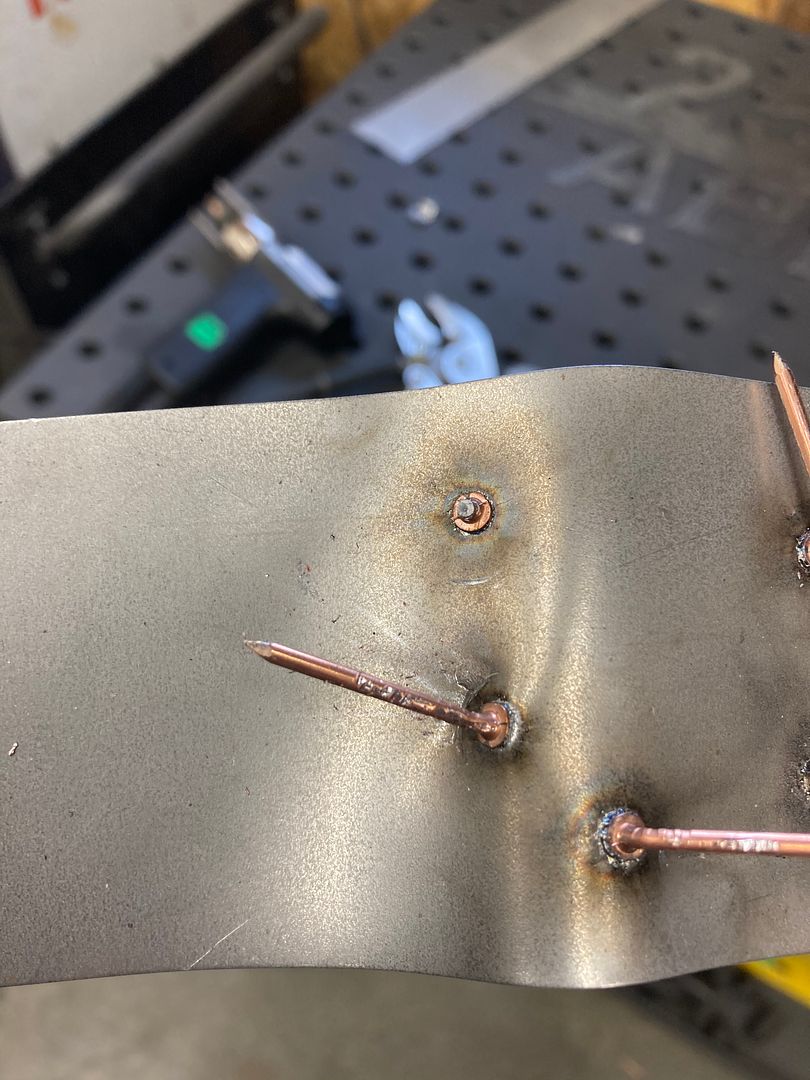
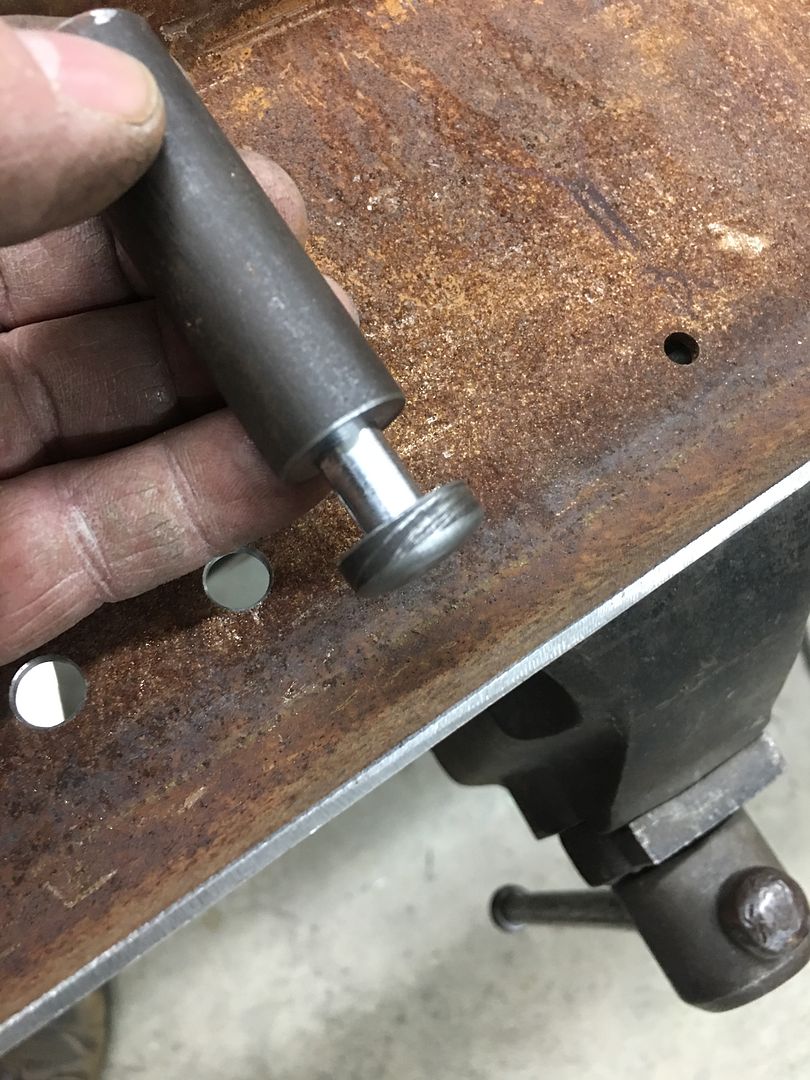
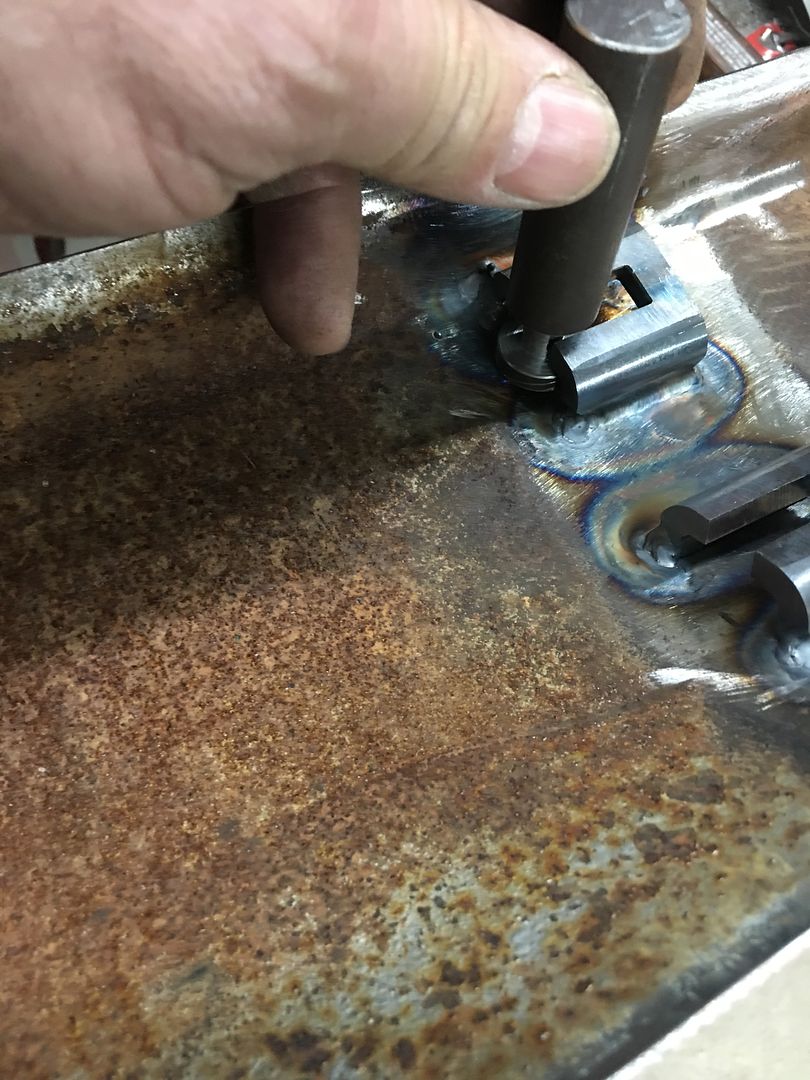
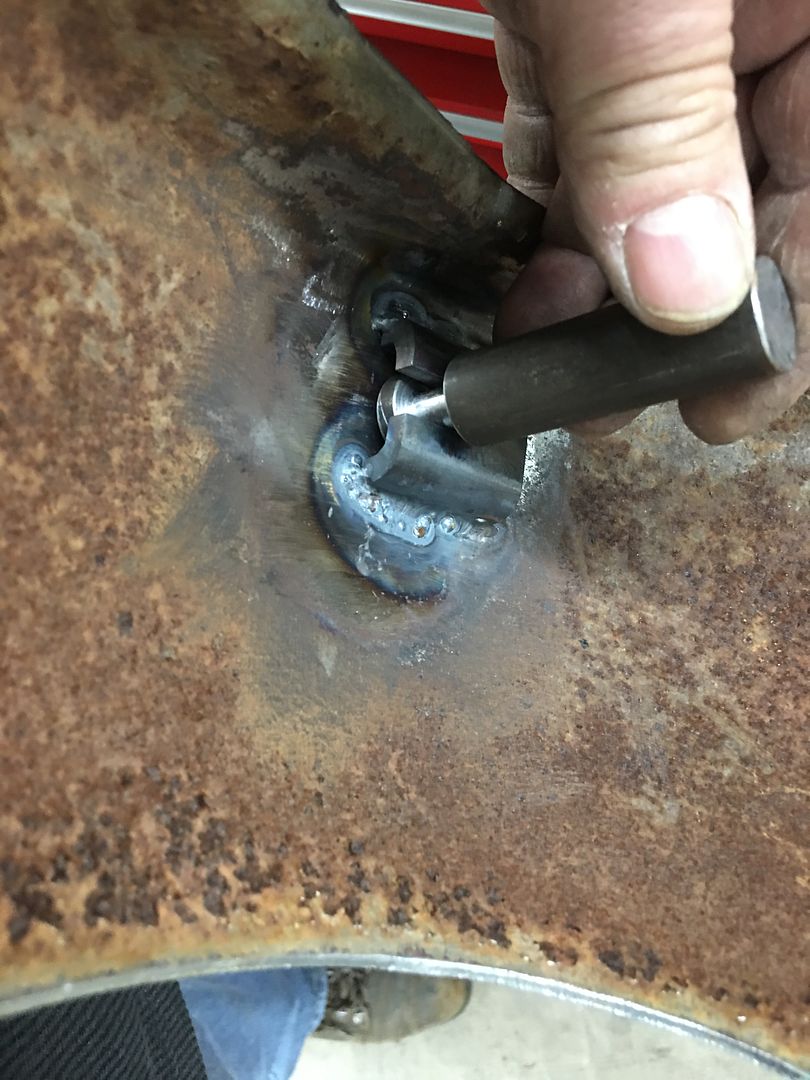
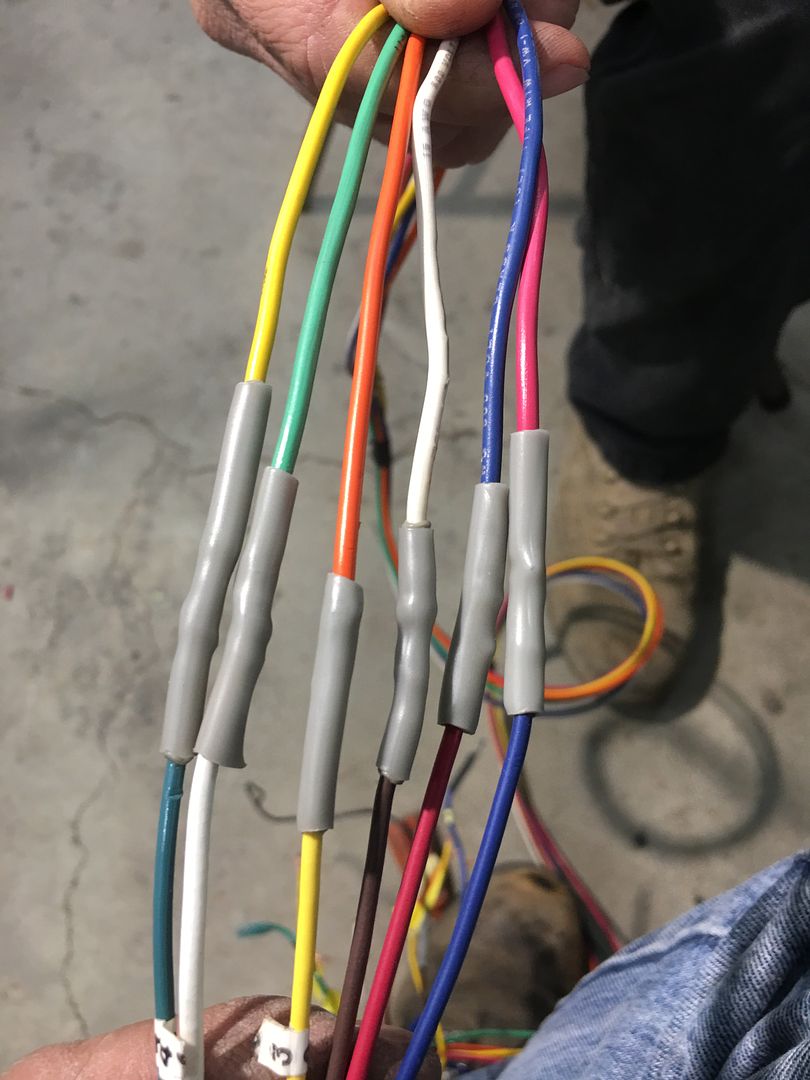
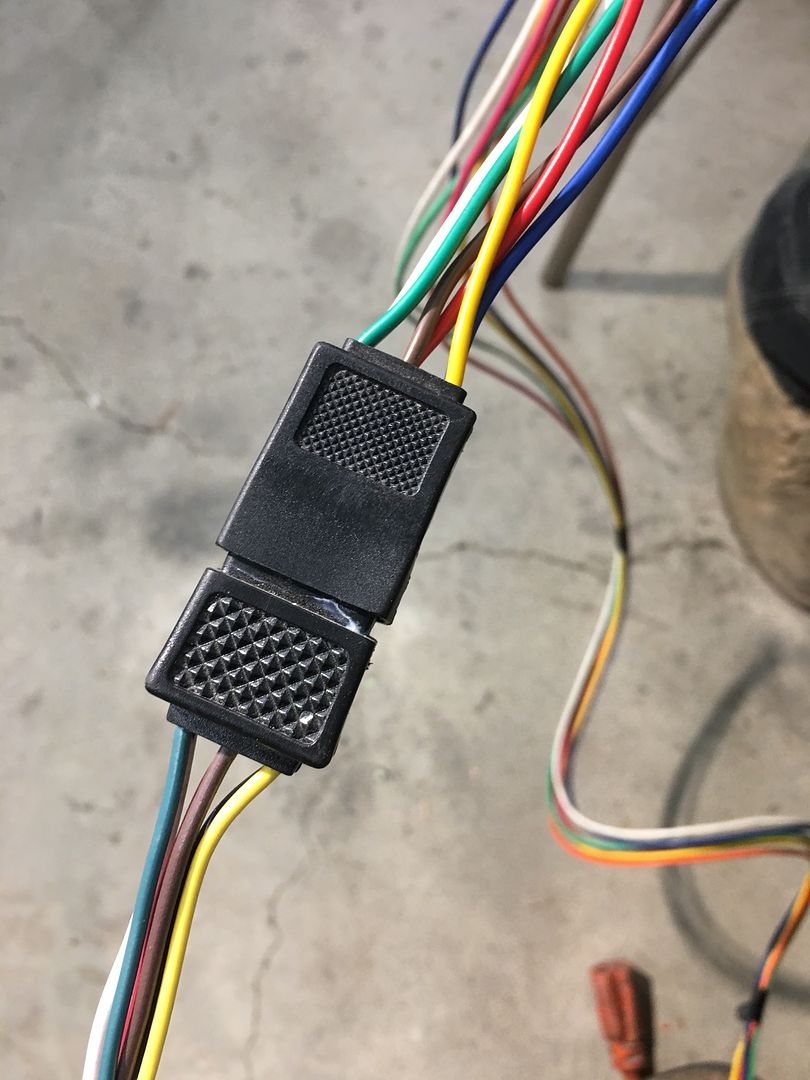
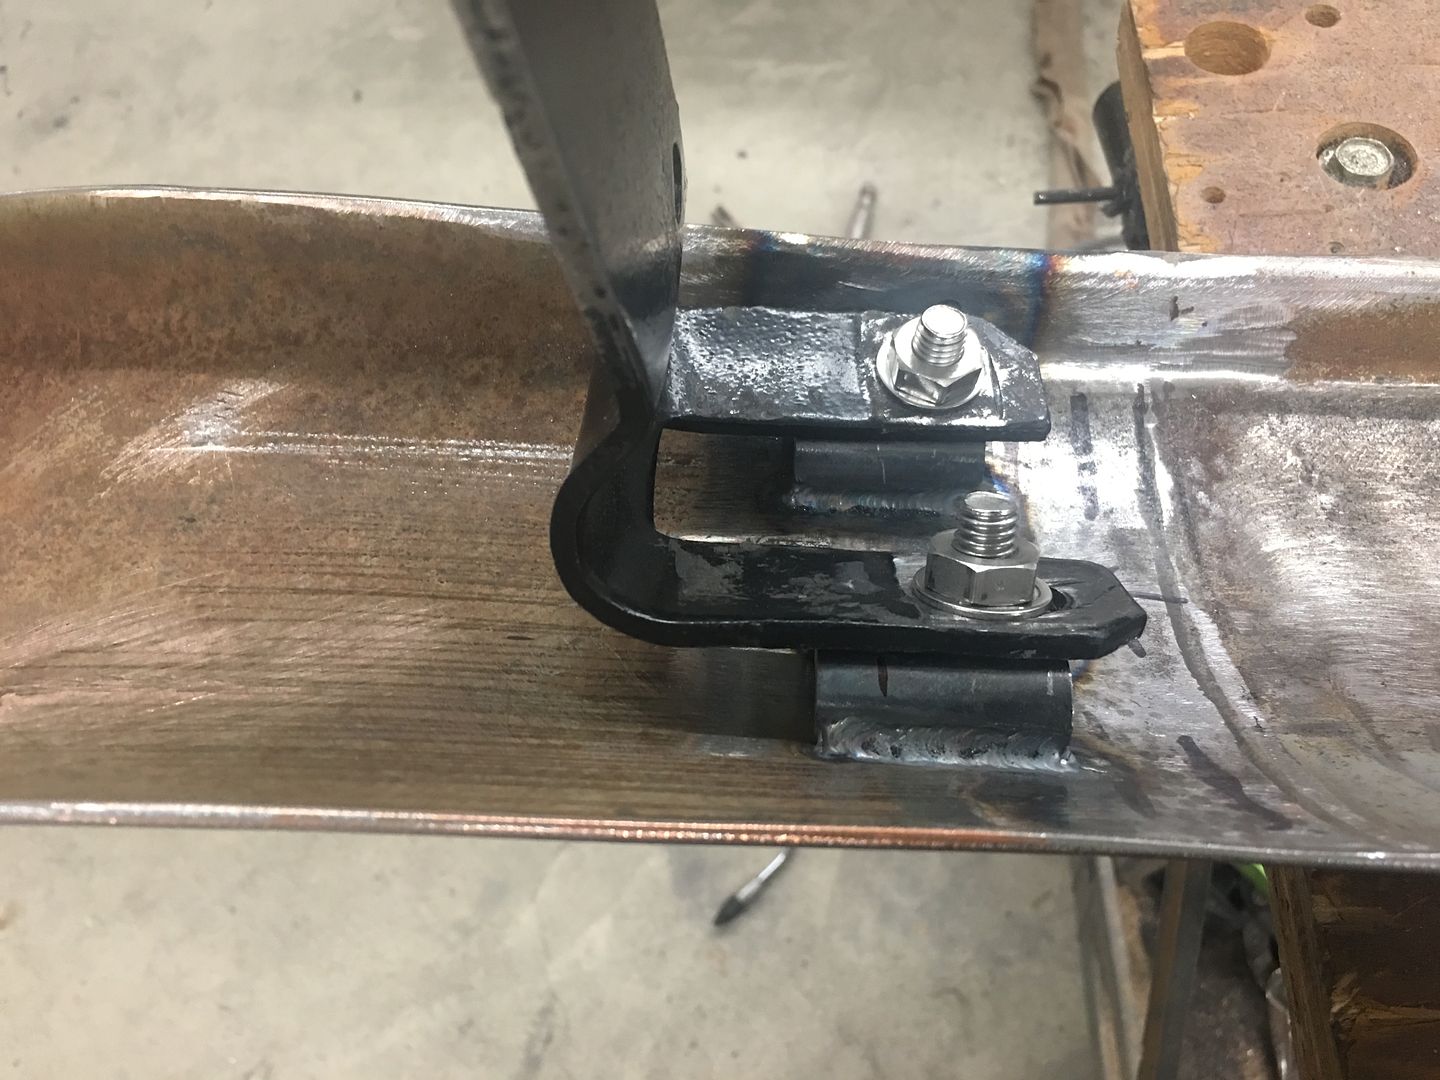
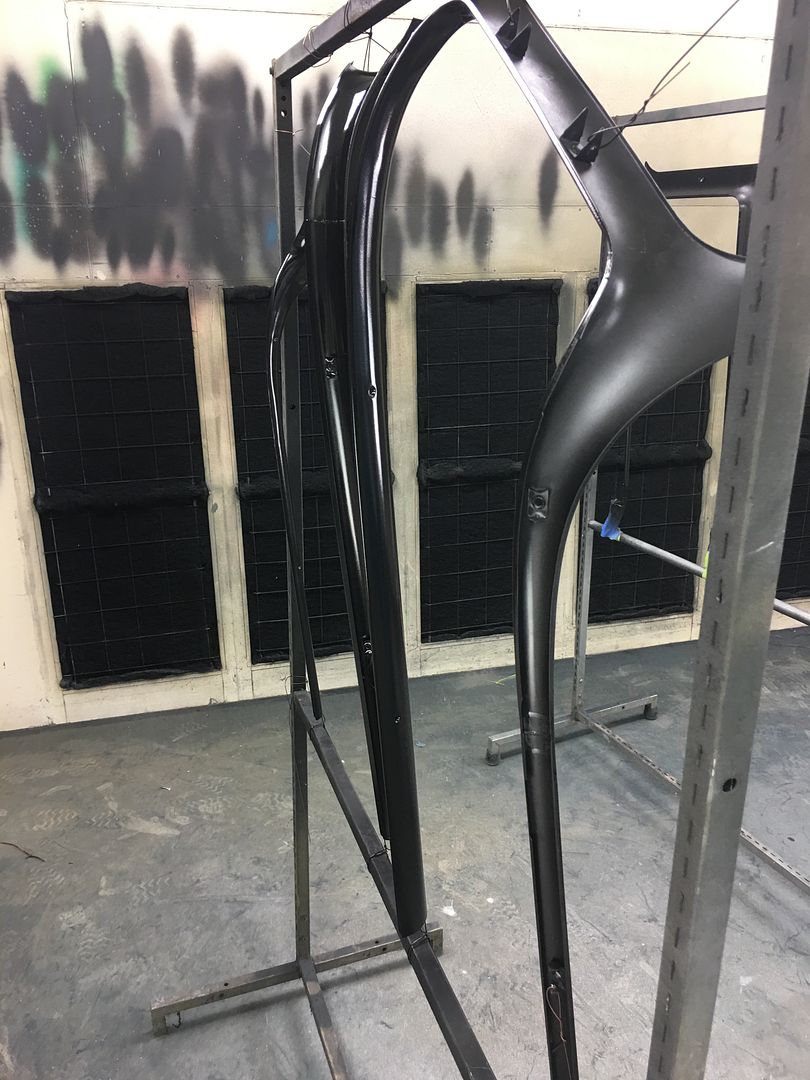
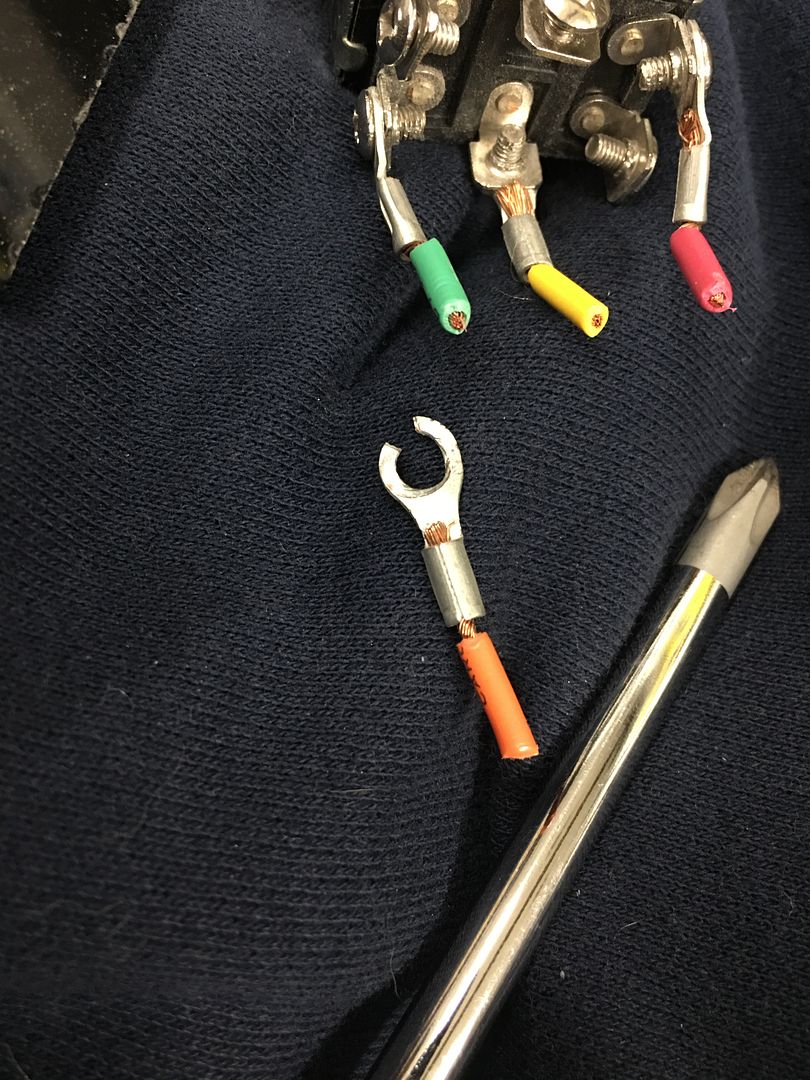
    Next, in order to test fit the front bumper and provide the same "trim fitting" we will need to install the doors and front fenders. So our hinges got some new braid loom and a pull wire installed for the hidden wiring..


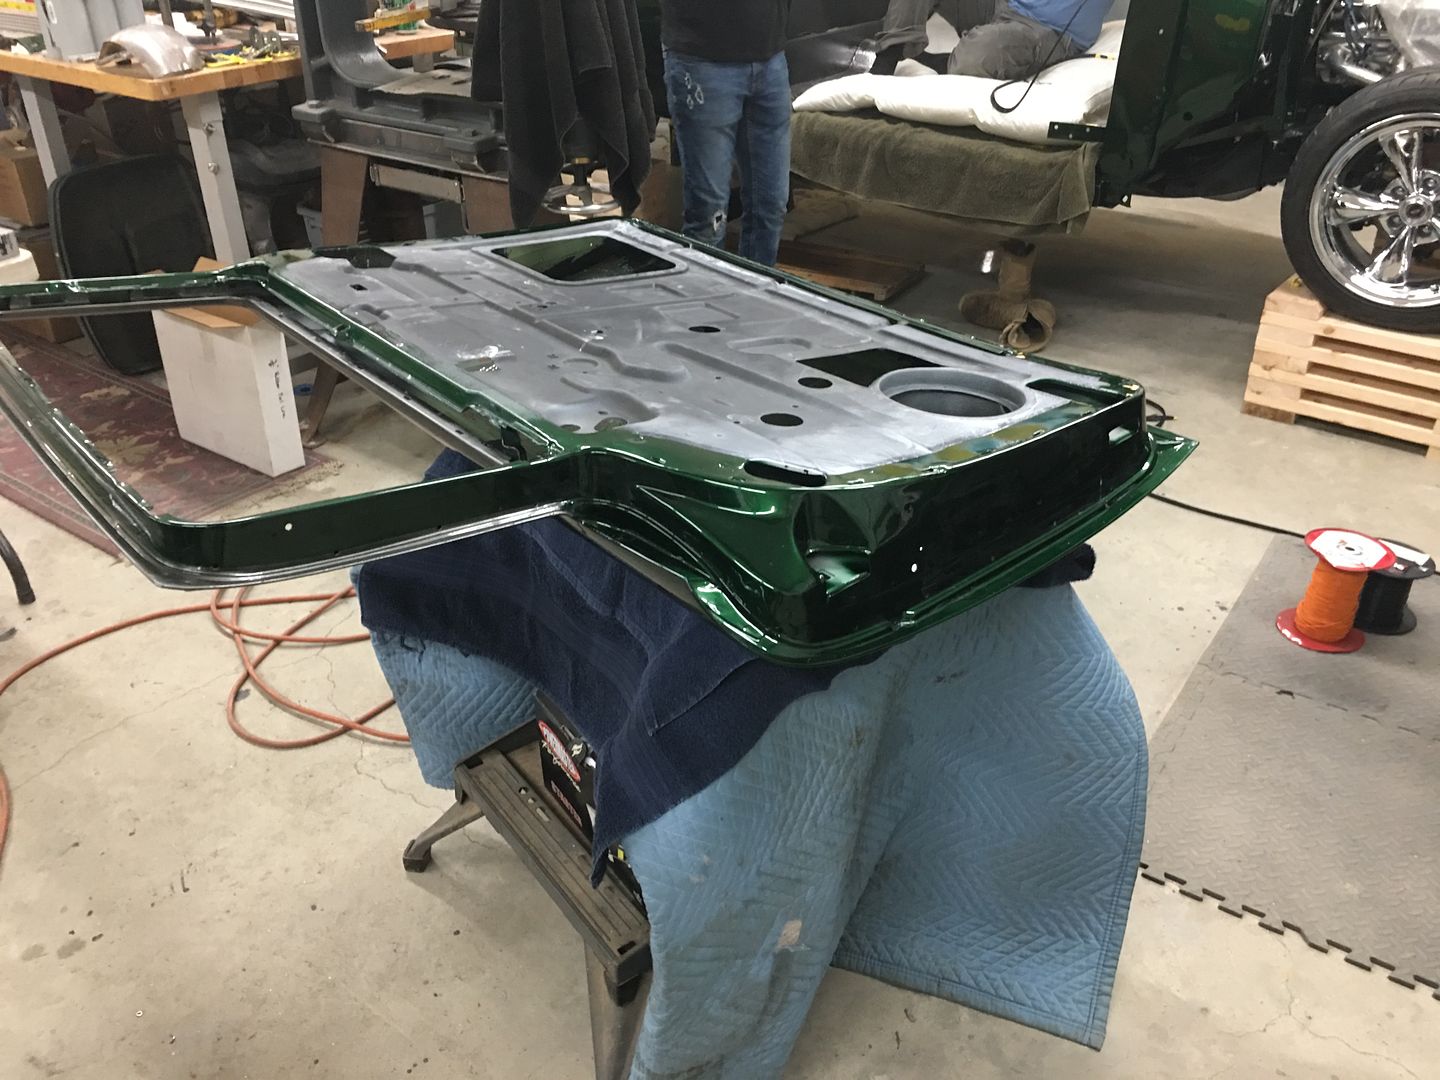
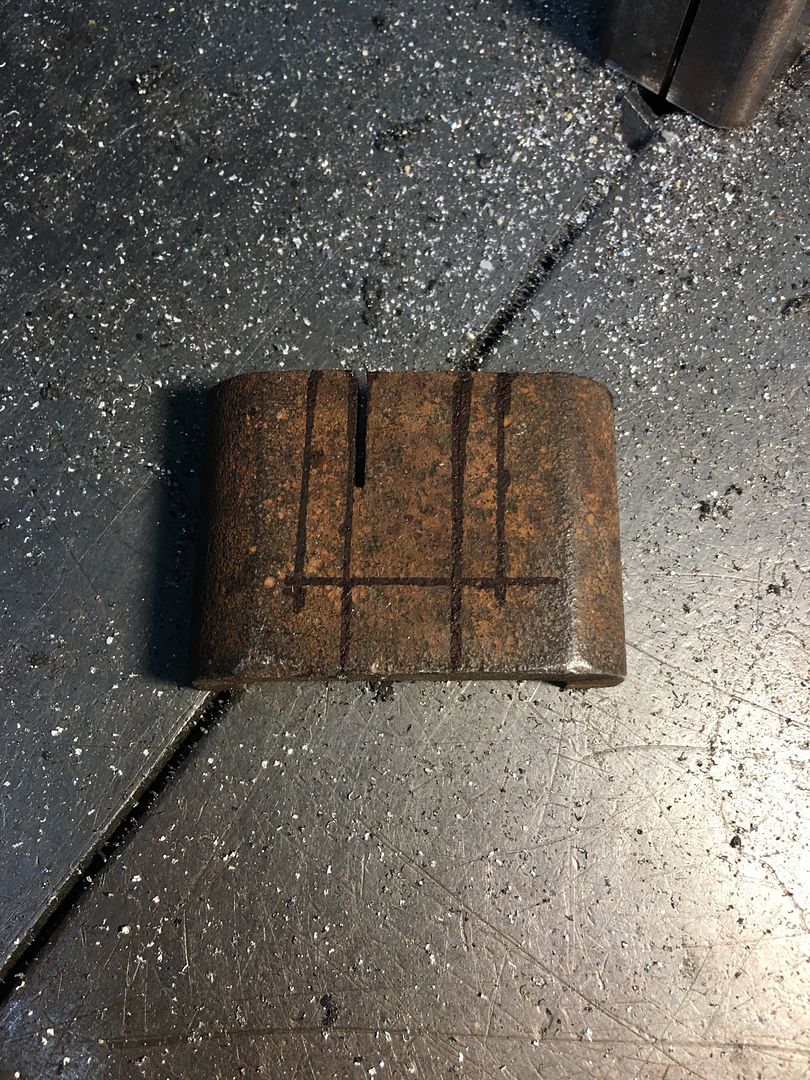
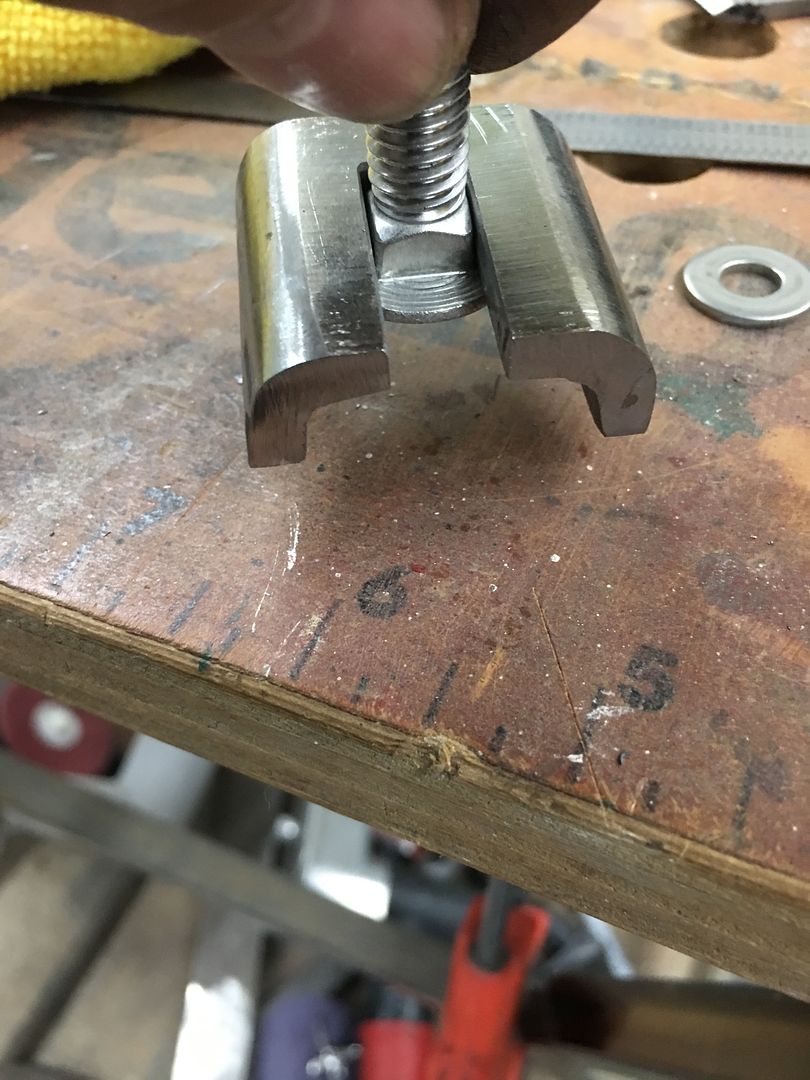
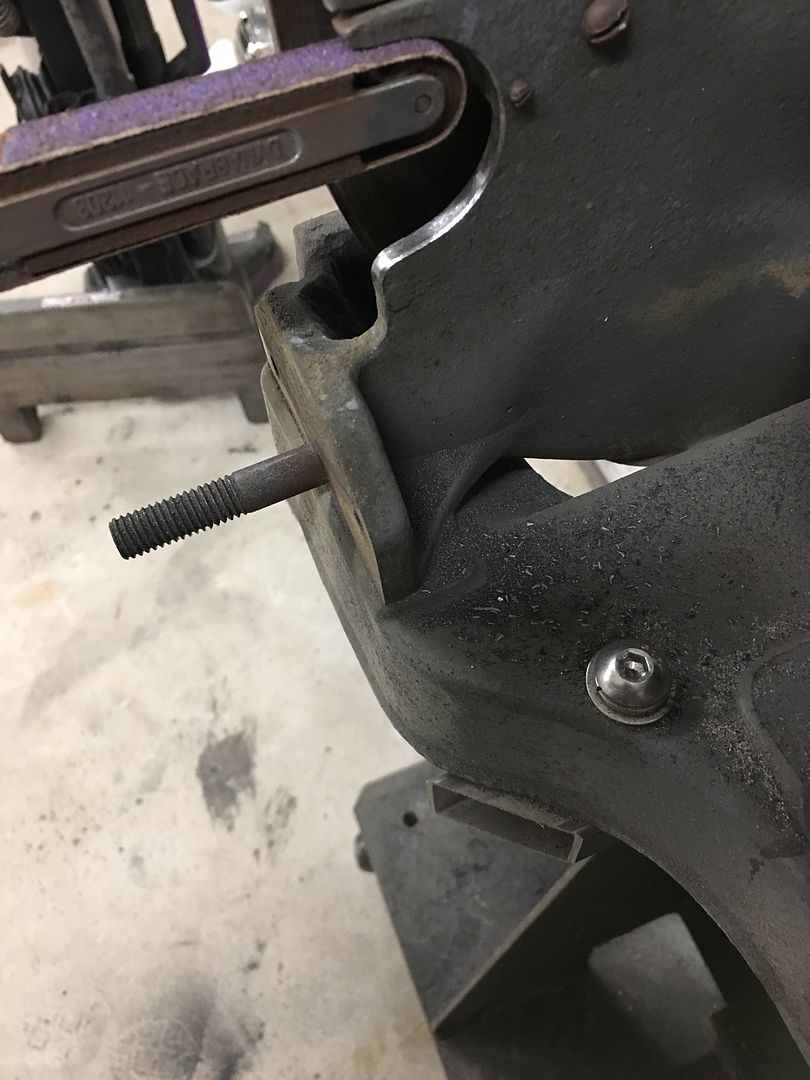
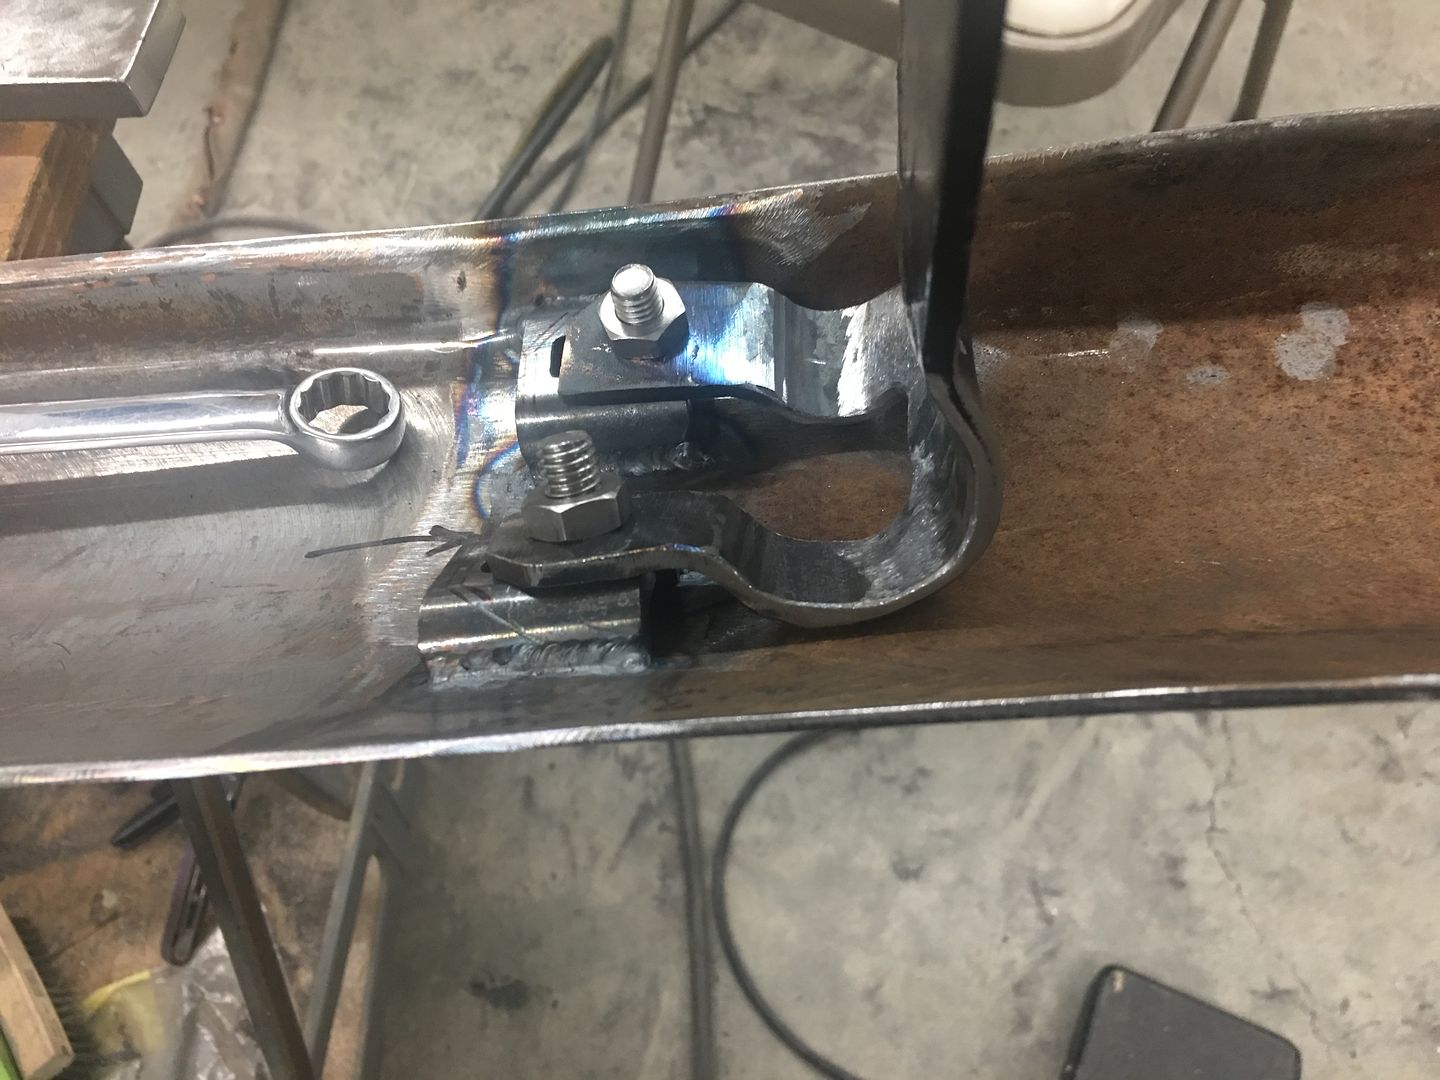
    The tapped holes in the door's nut plates were chased to insure the fresh paint did not interfere with the bolts..


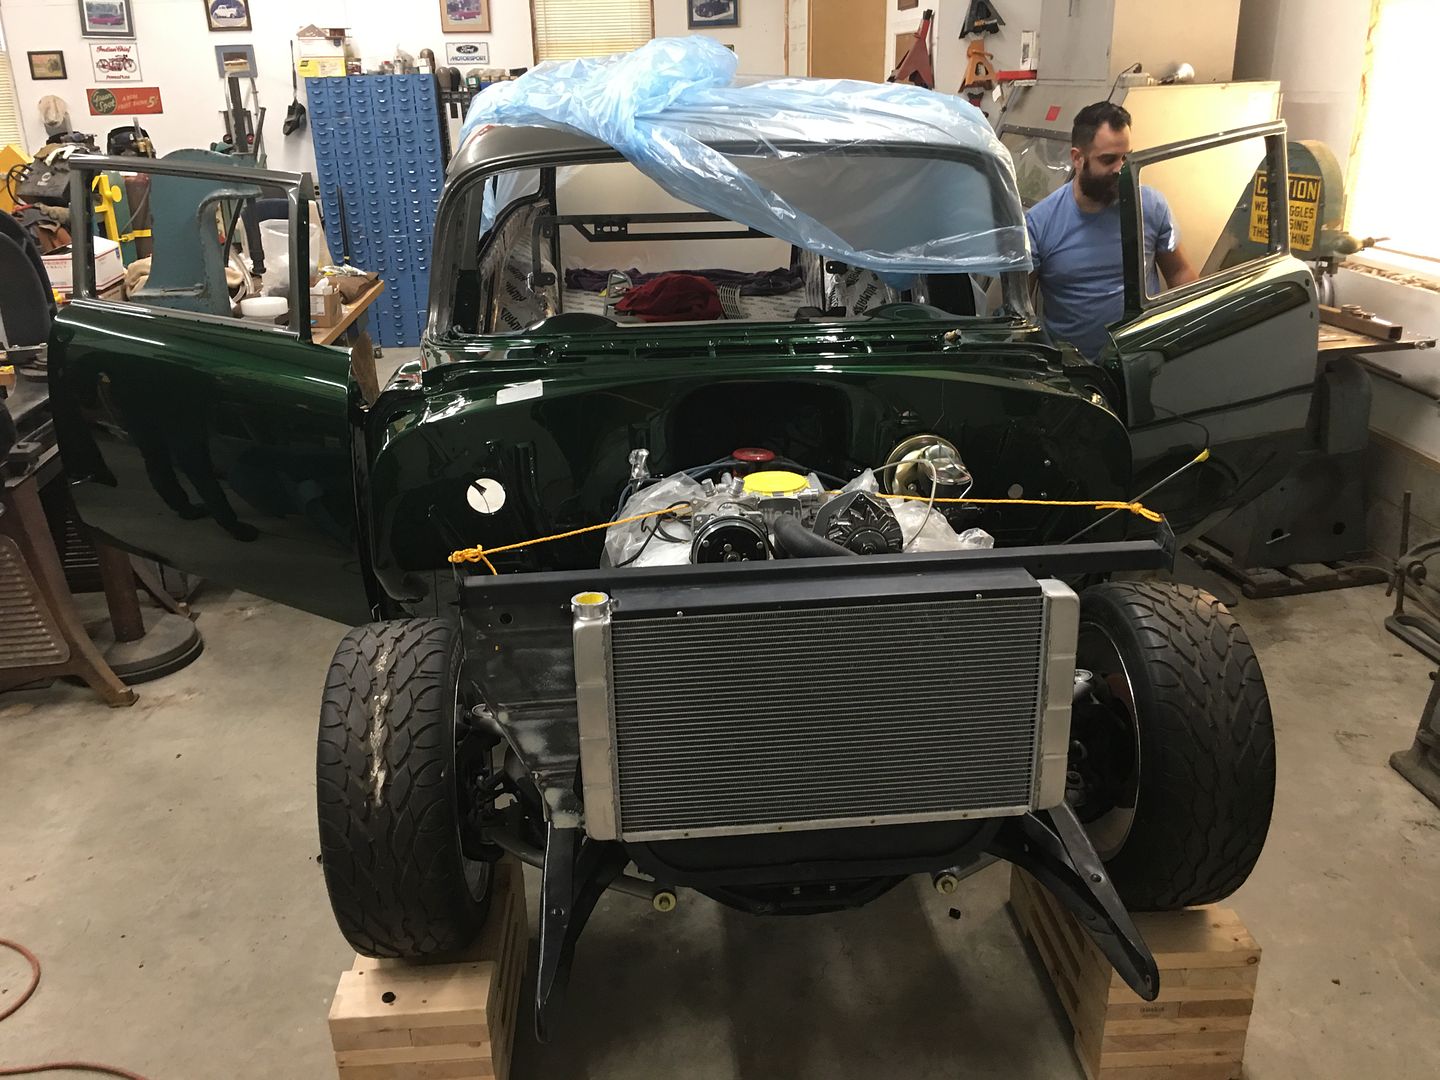
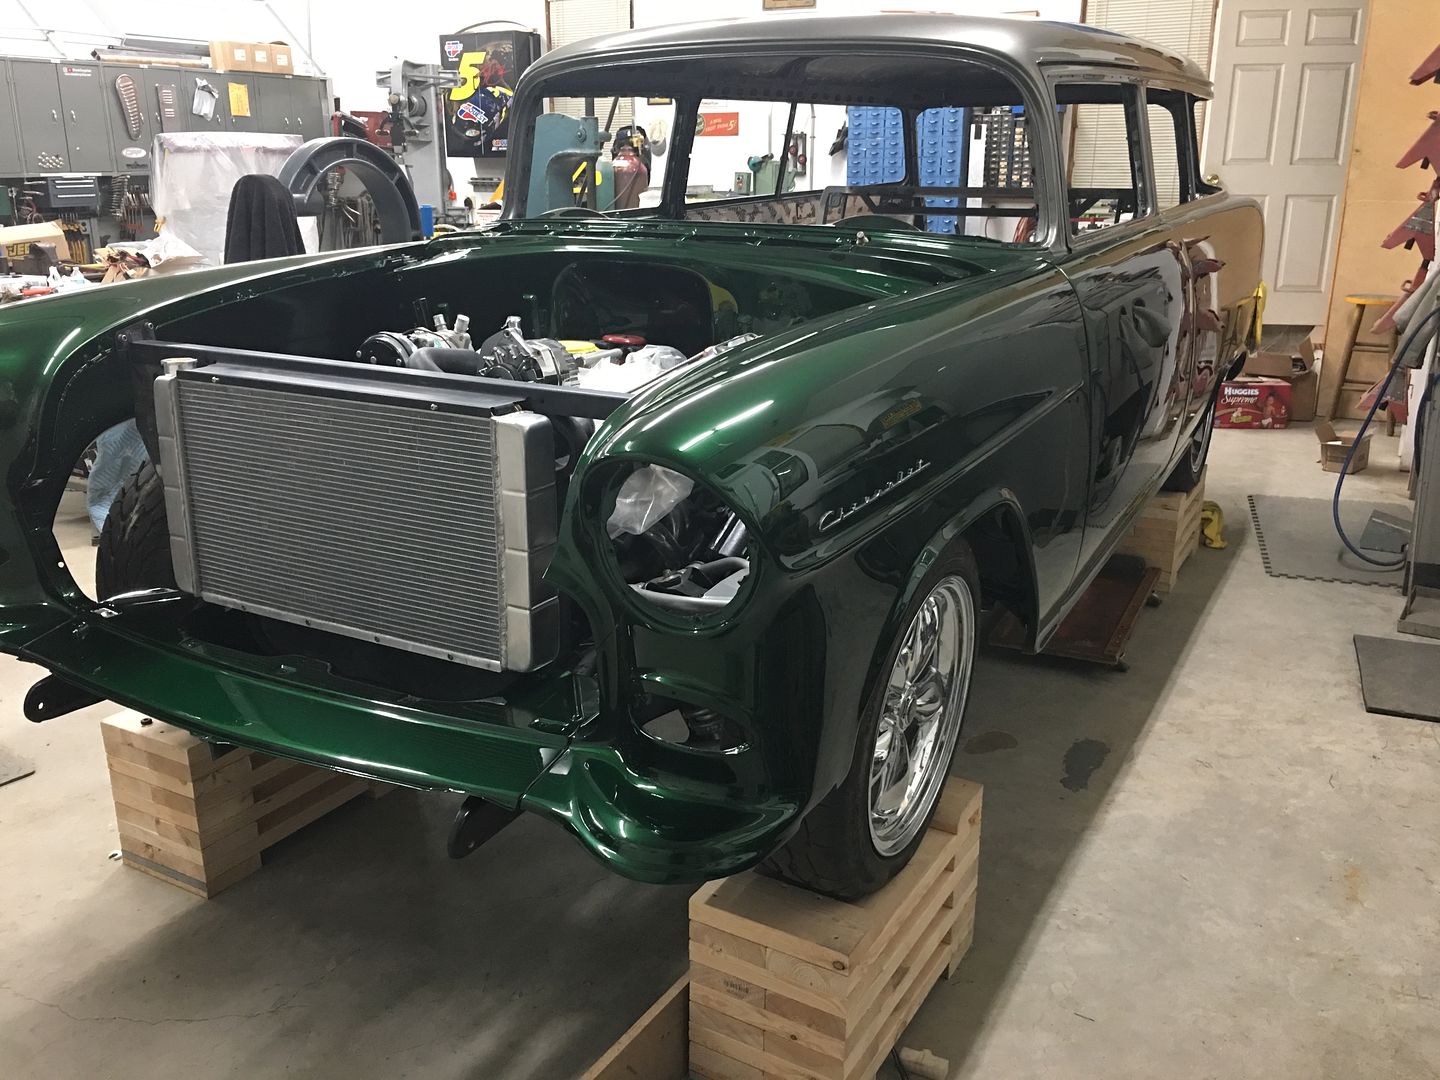
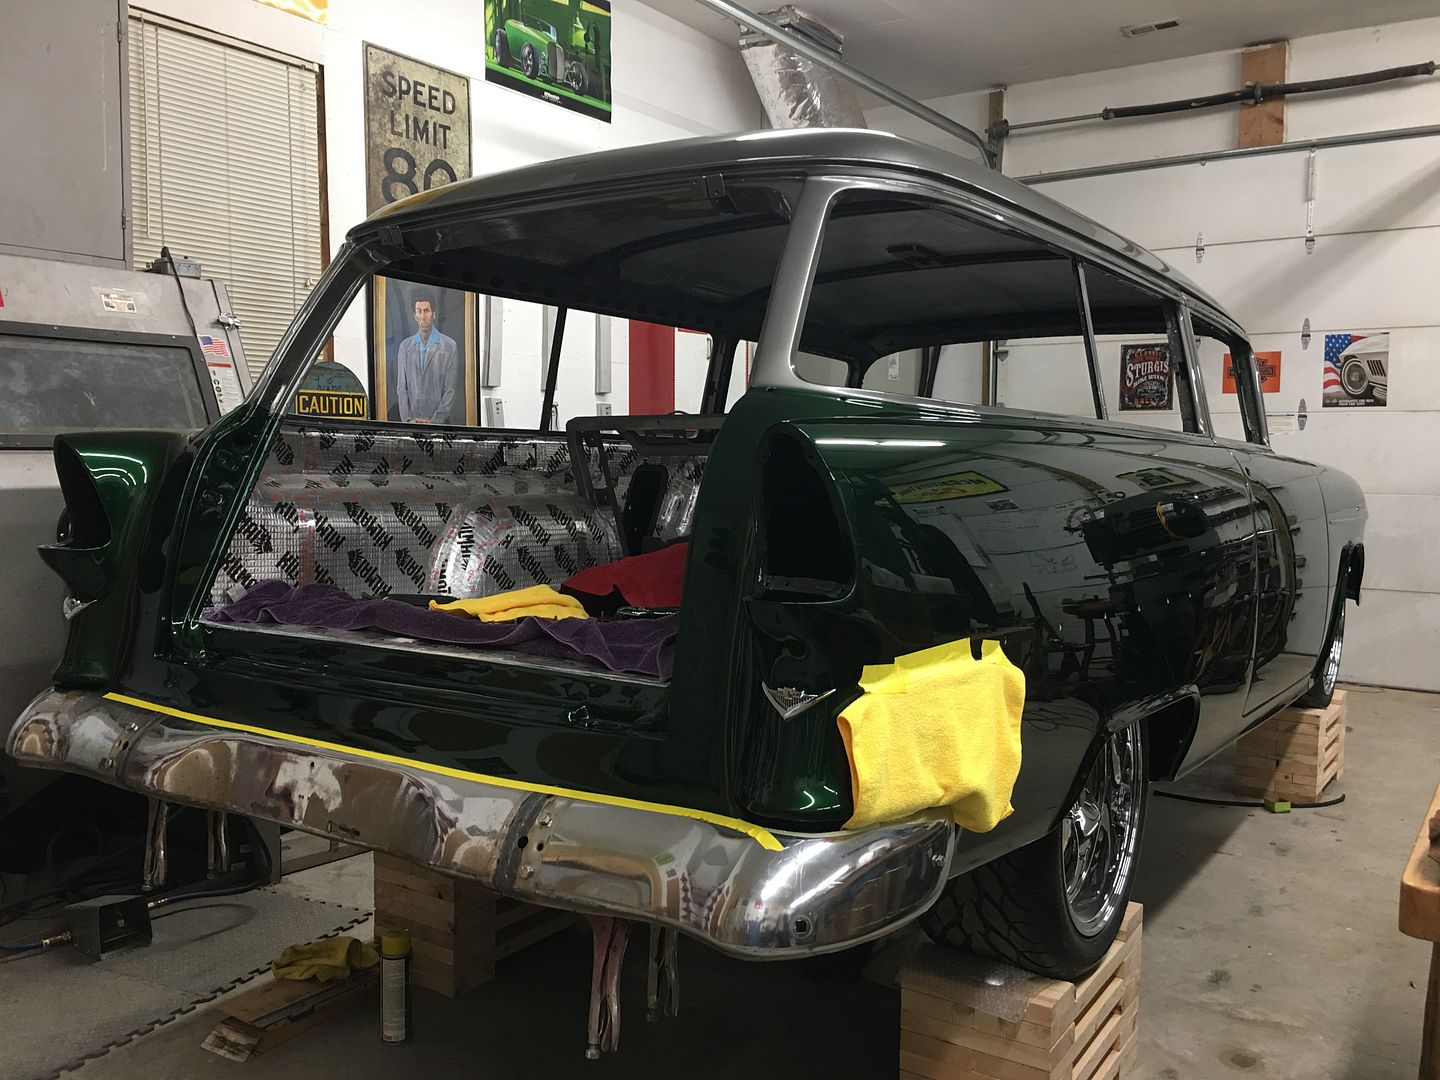
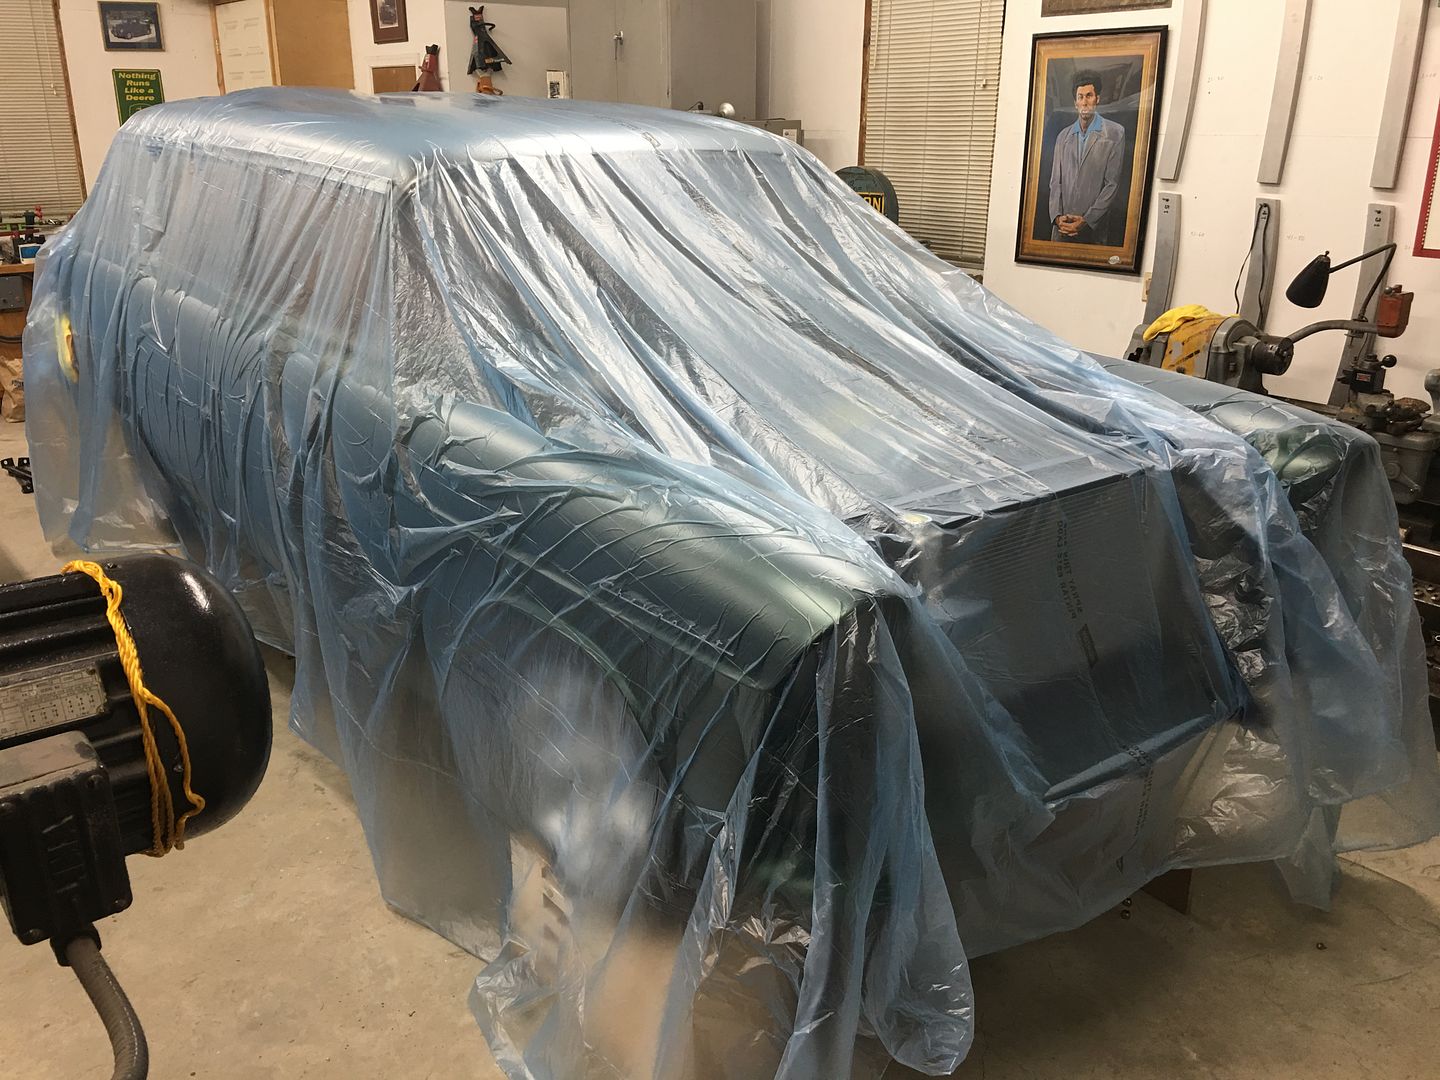
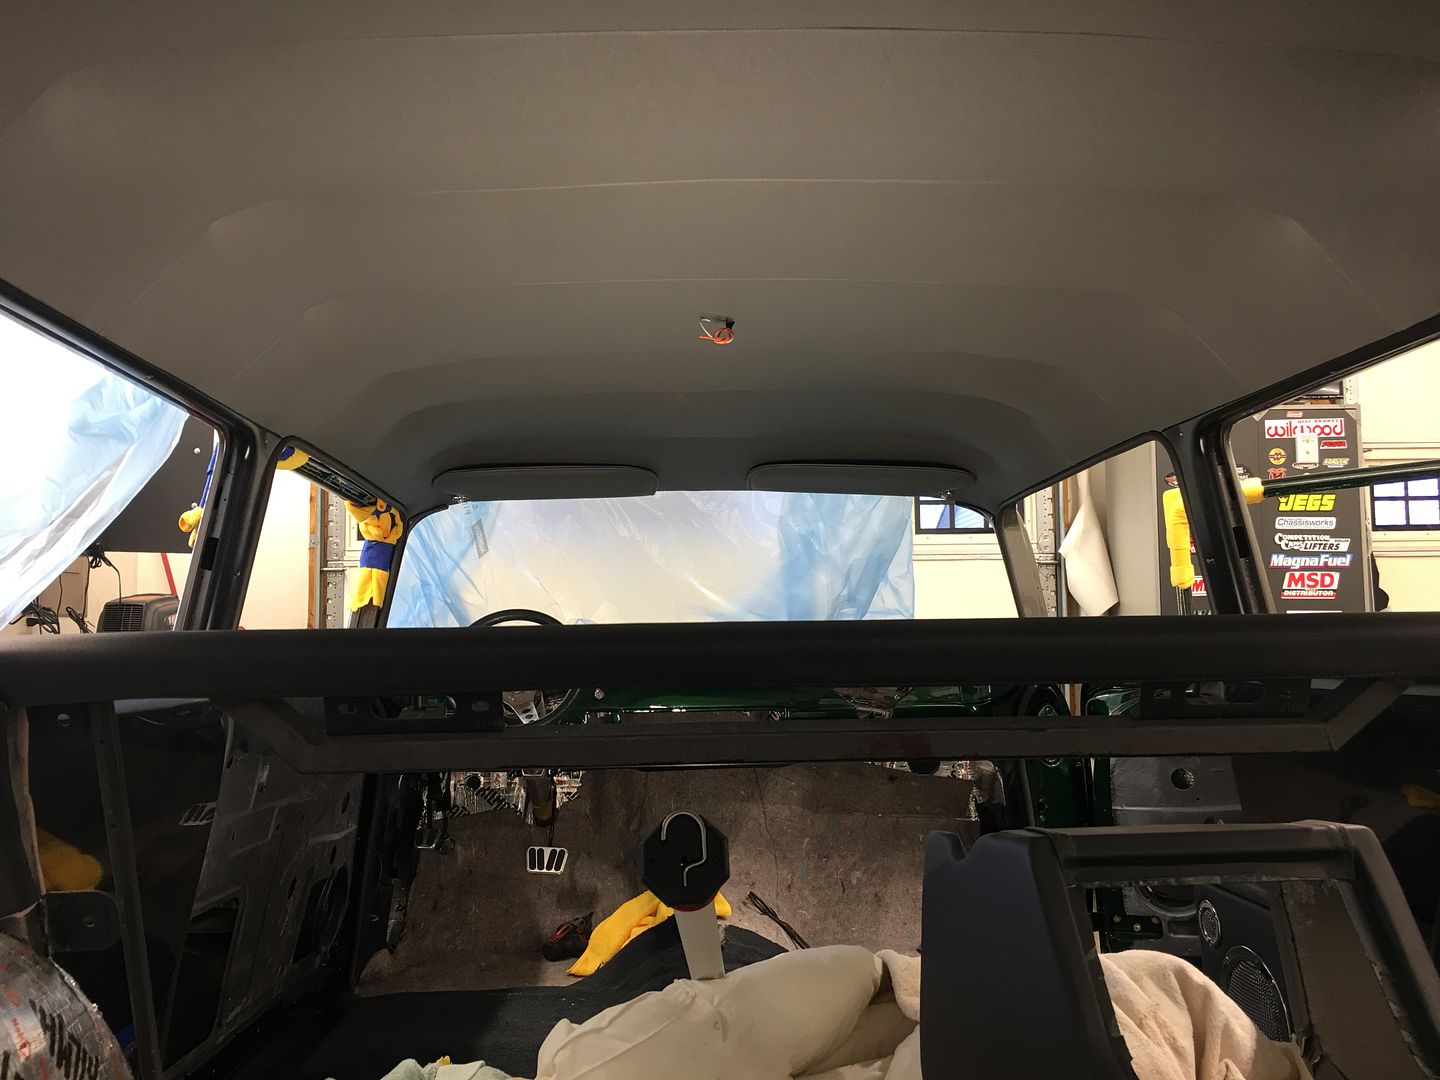
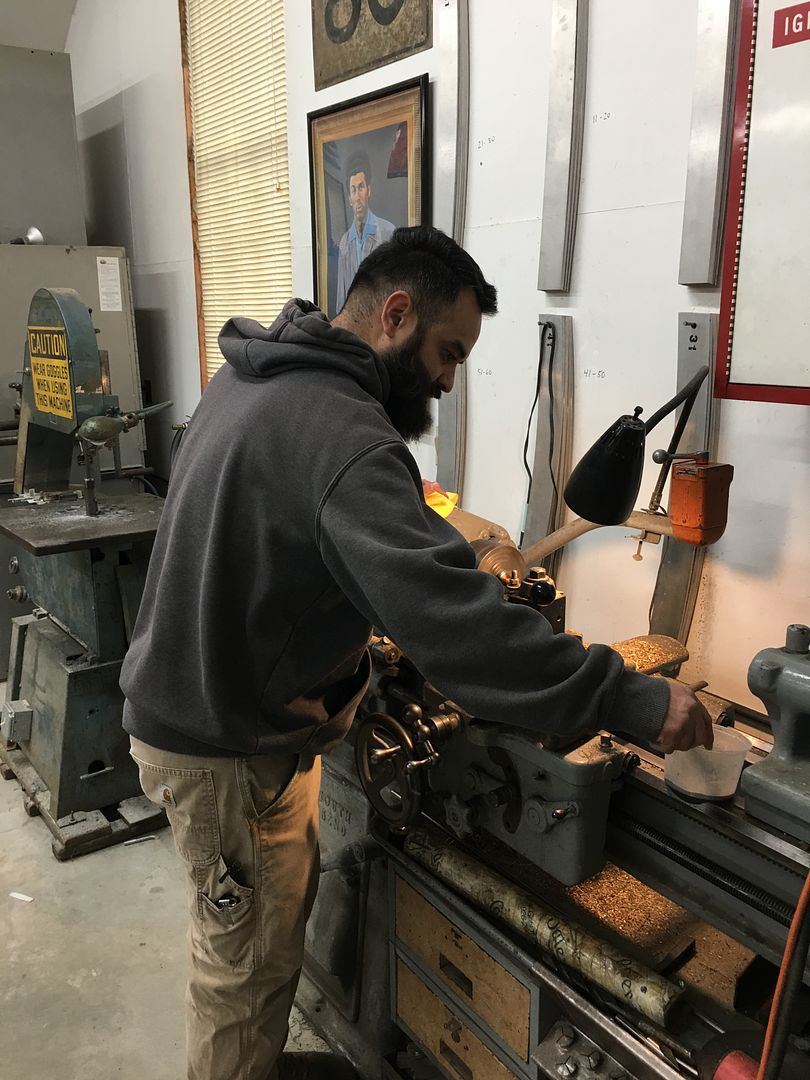
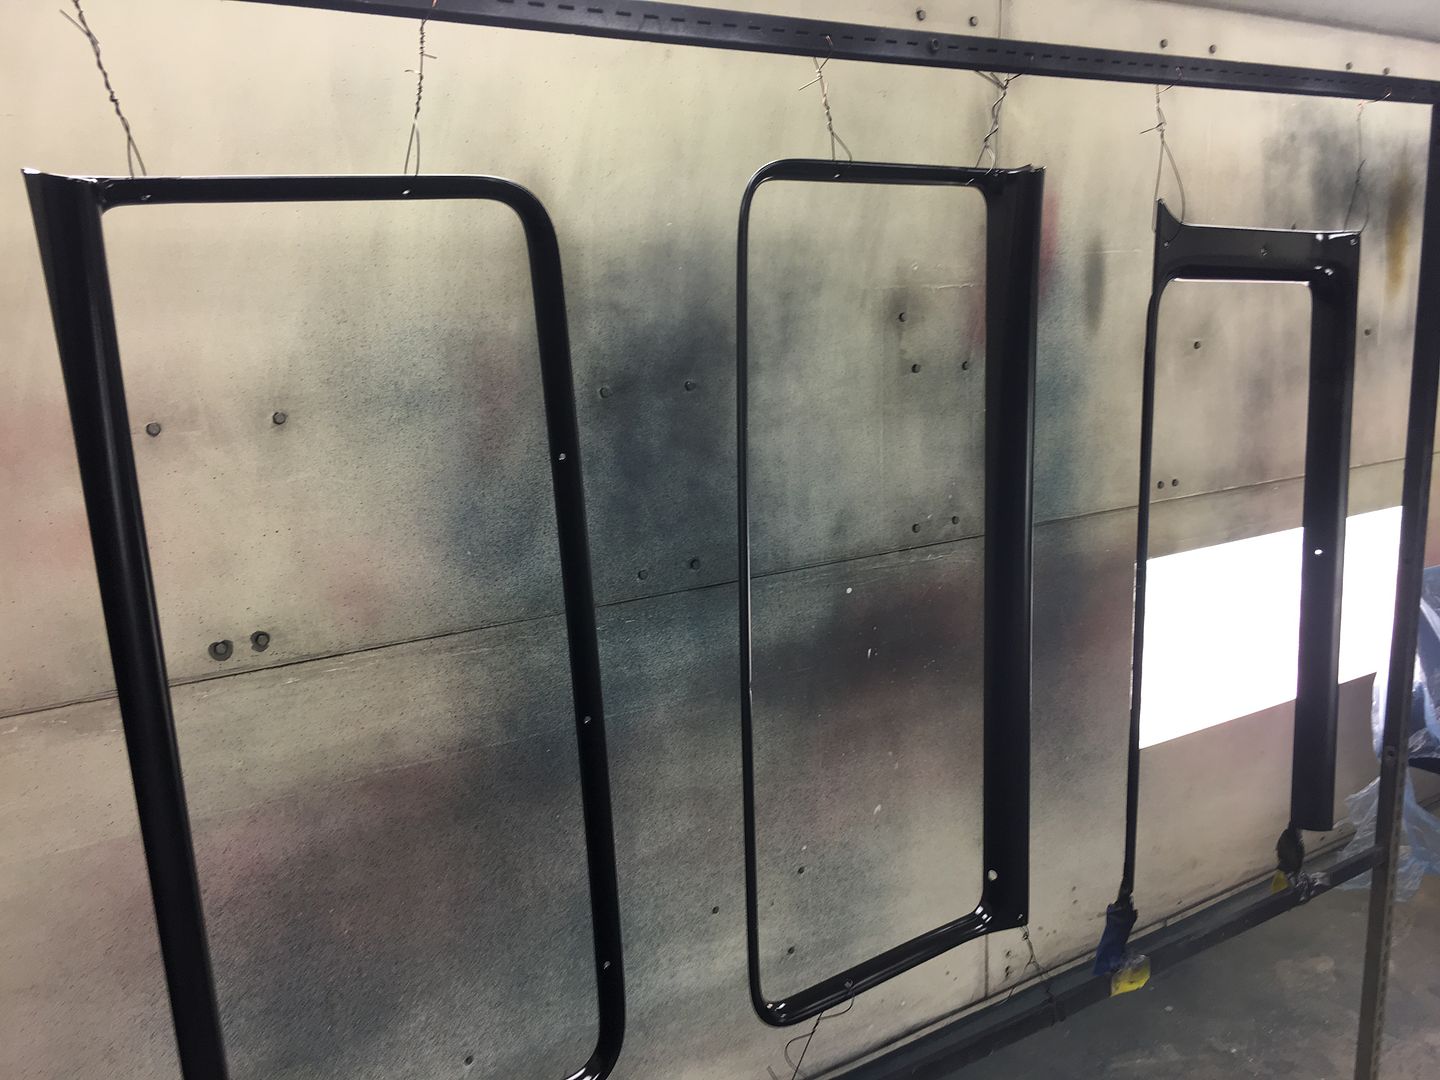
    All buttoned up for the day, and under Kramer's watchful eye..


    Robert


    Instagram @ mccartney_paint_and_custom


    MP&C Youtube Channel

    Comment


    • More progress on the wagon, more bumper action. Part of the problem with using three pieces to form the bumper with a nice wide bumper guard to hide the overlaps, is there is less of a smooth transition from end to end. So in using those individual parts to make a single bumper, we need to trim to correct this. While on the car, painters tape is used to lay out a smooth transition from end to end.


      An air body saw is used to cut off the bulk and roloc sander for cleanup afterward...


      Jared has been helping out with the bumpers, here making tight fitting plugs to fill in the old bolt holes for a smooth look on the outside.


      Our front bumper center section had a bit more damage to repair, the center section showed it had been used to pull/tow/?? in a previous life... As the car was pulled, it added some creases as the center pulled outward..


      A bit of off-dolly with a rather large hammer and we're much better now.


      The center section also had a stepped flange on either end so the outer pieces would be flush when mounted. As we are making one-piece bumpers, the step is trimmed to length and the step is flattened using a precision flattening device..


      Video version:


      Welding our 3 piece bumpers to make one-piece smoothies, the center sections had a stepped offset so the outer pieces would be flush on the surface, with bum...


      Next, we wanted shaved fasteners but also still wanted some fine-tune adjustability. So that eliminates the old weld bolts on the back side caper.. Next option was a bracket that accepted the carriage bolt but also allowed some adjustment side to side. This design was graciously shared with us by Laszlo Nobi (aka Chevynut) as he had done on his 56 Nomad build (see here: https://www.trifivechevys.com/showth...final-assembly ). So we started with 2 x 2 x 1/4" thick square tubing. The 1/4" thickness allows for the height of the "square" of the carriage bolt, and we cut down on the width to just enough for the carriage bolt diameter, both to minimize size of the bracket and also to minimize the tendency for the center of the bracket to pull outward.


      Square tubing is cut to length and sliced and diced as shown...


      Adjacent parts are beveled to insure full penetration on the 1/4" thick material..


      A 7/16 hex nut is used to maintain the 3/8 width so our weld does not close up the slot when the weld shrinks while cooling..


      The part is then cleaned up, here is our finished part that will weld to the back side of the bumper...


      Making brackets that will weld to the back side of the bumper for carriage bolts. Thanks to Laszlo Nobi (chevynut) for sharing the idea.


      Meanwhile Mike has been working on electrical wiring, here getting the interior light wiring in place so we can load up and take to the upholsterer for headliner installation..


      Robert


      Instagram @ mccartney_paint_and_custom


      MP&C Youtube Channel

      Comment


      • Your "Baby Touch" is VERY Evident in the pix with the "Wife's Quilt Top" on the interior floor, and YOUR SHOES OFF !!
        (Nice Rodney Dangerfield socks)
        SO you don't Mar anything......

        Comment


        • Well we are about to get started on some automotive electrical work when the wagon returns from Upholstery, and in an attempt to limit/eliminate any need for butt splices, I was looking around for various automotive "W" crimp terminals that were available. I found a gem of a store, www.repairconnector.com that carries much of the old style crimp on terminals, as well as some of the newer stuff. We do have some new light fixtures going in, and to help in eliminating excessive connections (ie: butt splices) I found they carry the replacement terminals for lamp base sockets.. (and terminals for fuse blocks, and.....)


          Some of the terminals we just picked up from Repair Connector


          Typical replacement light housing has pigtails that will require some type of splice...


          New lamp base terminals from Repair Connector


          These terminals will help us get rid of some splices..


          If you have a need to repair/replace any of your automotive electrical wiring, give them a look, they may have something you can use..
          Robert


          Instagram @ mccartney_paint_and_custom


          MP&C Youtube Channel

          Comment


          • Wagon update, we stopped by Norris Upholstery on Saturday to check on the progress and go over some door panel design ideas. Getting closer!


            Back in the shop, Mike and I got the assembly line action going on the hidden bumper brackets. These weld to the back side of the bumpers for hidden fastening and the slot allows for slight adjustment side to side. This idea was shared with me by Laszlo Nobi.


            Robert


            Instagram @ mccartney_paint_and_custom


            MP&C Youtube Channel

            Comment


            • Busy weekend, Norris Upholstery is in the process of getting the door panels done..


              We plan on using the original stainless that was used on the door panels but some of the factory "nails" that get folded over were very fatigued and in some cases, gone..


              To try and fix these we needed a machine that would weld on new nails, which were originally .06 diameter. Using a dent puller stud welder would require resistance welding, which means heat generated. Not good. We have a local sign shop, A&A MetalWorks, that has a Capacitive Discharge stud welder that does not produce the same type of heat.. He did not have the small studs needed so I picked up some of the type that fits the dent puller. Since a collet was needed, Allen dropped off one of his larger collets and Mike became more fluent on a worn out South Bend this weekend, making a collet so we could do a trial run... Here's a collet for a 1/4-20 stud, our sample...


              Mike in action....


              Our fabricated collet, borrowing some parts from the sample...


              Testing out the welder, we did have to reshape the ends of the studs to have a point, much like the 1/4-20 sample above, but here are the results.. As you can see there is no appreciable heat introduced into the panel, no heat mark, no distortion. A stress test performed using pliers showed the metal would pull inward and the stud still did not release..


              Welder in action:


              With our trial run complete and deemed a success, Allen is ordering some 14 gauge pins to fit his machine so we won't need to modify them. The size goes up about .01, from .06 to .074, but they seemed plenty malleable to bend over for trim retention. I'll add, these CD stud welders work on steel, stainless, or aluminum.


              Needing to put a fork in our bumper bolt brackets, the inside slots needed cleanup work and the 12" disc sander seemed ideal for doing such. But some clearance was needed on the machine..


              All ready for welding..


              Lastly, we visited the last known remaining milk truck from the Leonardtown Dairy. It had been sold to a local waterman, who used its refrigeration capability to store crabs and oysters. Needless to say, it wreaked havoc on what remained of the truck, the lower sides had been patched over with galvanized sheet metal long ago. It did give us enough details to capture what we need for lettering/sign painting the Divco, our next shop project.


              Robert


              Instagram @ mccartney_paint_and_custom


              MP&C Youtube Channel

              Comment


              • All of our mounting holes in the bumpers are filled, and the three pieces assembled into one..


                We picked up the wagon from upholstery, still needs door panels done so we need to finish stainless trim for them.. Boy that sunlight is like turning on a light switch!!


                How our brackets will work....


                video explanation of our next modification...


                Brackets that we're welding to the back side of the bumper for hidden fasteners. Thanks to Laszlo Nobi for sharing the idea..


                With brackets clamped in place the "weld locations" are found by starting with centerline of the bumper, adjusting to actual offset of the car, and locating the spacing needed.


                Jared and I add some tweaks to fine tune ear placement and test our tig welds at the same time..


                In the meantime, Mike is doing some cleanup of the door stainless, bumping up dings, filing, and taking to a Trizact 5000 finish. Then we'll get the studs welded on and final polish..


                Robert


                Instagram @ mccartney_paint_and_custom


                MP&C Youtube Channel

                Comment


                • For our door panel stainless, the correct studs came in for the CD stud welder, and tests have shown them to provide the solution we need..


                  These studs have much less mass at the end, for a lesser capacitive charge needed.


                  Tested on a piece of 19 gauge steel, note the back side has no discoloration whatsoever. Allen used a pair of Vise grips to give it a twist test to see if the weld would release. Where the one that is cut got too close to the cutters, the others did not release, and in fact distorted the shape of the metal because they held so well. The one pin shows a good 90* bend, which is what will be used to hold the stainless onto the door panel per the same design as original.


                  And now for the next wrench thrown in our bumper modifications.. Welding causes shrinking, so TIG welding the slotted brackets onto the back side of the bumper invariably causes flat spots on the front side of where the brackets reside.. So some quick work on the South Bend to make a purpose built punch so we can do some metal bumping on the bumper..


                  ….or the motion picture visual....


                  Welding causes shrinkage and our outside surface now has flat spots where the brackets were attached. A quick session on the South Bend lathe and we have a ...


                  And after a bit of metal bumping, we have the area down to less than a 1/32 depression, which should be just fine for the copper stage of plating..


                  Note the minimal gap behind the straightedge. One down, three to go...


                  Robert


                  Instagram @ mccartney_paint_and_custom


                  MP&C Youtube Channel

                  Comment


                  • In another back up and punt moment, we found some interference with the new bumper brackets and the rear tailpan. In order to tuck things in nice and close, we need to trim a portion of the rear channel in the tail pan. Nothing a pair of tin snips and a file can't resolve. Pay no attention to that green paint. The bare edges will be touched up with SPI epoxy primer..


                    Our final test fit on the back bumper before chroming:


                    This makes use of the hidden fasteners shown in previous video, here's the test fit before we send to chrome plating at DGM


                    On to our tail light hidden fuel fill...…


                    This thing had been giving us fits in intermittent operation, and it hasn't even been exposed to water yet. Looking at the wiring (why can't we keep the colors consistent through?)…..


                    Well this isn't part of the problem... found a couple loose terminals..


                    So we decided to eliminate the original trailer connector and term board connections and replace with Weather Pack connectors. The relays will be mounted behind the rear seat for a closer proximity to the tail light, and the DPDT toggle switch will be replaced with a DPDT momentary rocker.


                    Robert


                    Instagram @ mccartney_paint_and_custom


                    MP&C Youtube Channel

                    Comment


                    • So part of our fitment exercises with the bumpers has been to get them in a little closer to the body for more consistent gaps to the body. The rear bumper had it's challenges with needing to notch out the lower lip of the tailpan.


                      The front would be no different. The front nose of the frame rails was hitting the rear side of the factory brackets and preventing us from locating the bumper for a good consistent gap..


                      So some modification was in order so that the frame horn could fit in closer to the rear side of the bumper..


                      We now have a much better fit..


                      Robert


                      Instagram @ mccartney_paint_and_custom


                      MP&C Youtube Channel

                      Comment


                      • I cringed when I saw your run with the CD stud welder. We used those to hold the bracing on the bottom of stainless steel dish tables (especially ones for commercial dish rooms) - it is possible to keep those dimples from forming if you have a large enough pad on the back side, that said, they are finicky at best. FWIW, we use body panel epoxy to hold those channels on now - and the stud welder, I'm not actually sure where it is anymore.....
                        Last edited by SuperBuickGuy; January 12, 2022, 03:39 PM.
                        Doing it all wrong since 1966

                        Comment


                        • If your stuff was any prettier it would be illegal. Jealousy all over the place......

                          Dan

                          Comment


                          • Thanks guys!! So we've started on our wiring, what can go wrong? First item on the list is the interior lights, we had run the wires before the headliner went in. We had installed a second light just behind the rear seat and the plans were to gang it to the front light by putting two wires into a 12 gauge pin in the weatherpack connector. This should be a 5 minute job.

                            Only the weatherpack connector would not fit inside the void in the ceiling. Since we don't intend on using butt splices, we had tried installing two wires previously into the w-crimp lamp base contacts as shown:


                            This sample we did using the red Teflon insulation fit inside the brass "tubes" of the lamp base perfectly. But the insulation on AAW wiring is much thicker. Ahhh, the dominoes they do fall. So let's see what we can do to modify the brass tubes to better accept the wiring going in. Our local Ace hardware has a good selection of "model" tubing in aluminum and brass, so with fingers crossed, we picked up the 3/16 size.


                            The ID measured out to .154, about .010 larger than what the lamp base came with. The outside diameter of the tube was turned down on the lathe to a size that would play nice inside the plastic housing and not bind on the spring.


                            Some aluminum bar stock was drilled with a tight clearance hole for our new tube, and served as a fixture to swage one end for spring retention. Sorry, missed pictures of some of the details (fire the photographer). The opposite end was swaged after insertion into the housing..


                            With the tubes now sized for two wires, we got the front light installed. The rear light and its single wires should now be a breeze.


                            Robert


                            Instagram @ mccartney_paint_and_custom


                            MP&C Youtube Channel

                            Comment


                            • Progress from yesterday, while Jared was blocking out some of the window garnish moldings, I worked on the door panel stainless trim to ready them for stud welding. Mike had used the trim repair tool to remove the dings, which were then filed smooth.


                              The last 65 years had left their mark; we had numerous scratches needing removal as well. We started with 320 grit on the fine pattern palm sander, and progressed our way up to 8000 grit trizact..


                              This is the final using the 8000 grit, and we'll start the buffing process once the stud welding had been completed..


                              Working on our door panel stainless for the 55 wagon. Used 320, 1500, 3000, 5000, and 8000 trizact to remove the 65 years of scratches, now it is ready for ...


                              With the stainless prepped, we turned attention to the window garnishes. They were sprayed with three coats of SPI epoxy.


                              Today we went to A&A Metalworks in Ridge MD to get the studs welded in place. This sample shows the studs, where three have been folded over to a 90. This is how the factory held them onto the door panels as well. Note the back side shows no heat pattern with the Capacitive Discharge welder.


                              Welding the studs onto the stainless trim...


                              Our results...


                              A test to check the heat the welder introduces into the panel..


                              This shows these welders make a good choice to use where cases of heat sensitivity may be an issue.
                              Last edited by MP&C; January 13, 2022, 05:43 AM.
                              Robert


                              Instagram @ mccartney_paint_and_custom


                              MP&C Youtube Channel

                              Comment


                              • Finishing up the interior lights. Here wiring up the rear light. The included pigtails were discarded to eliminate a butt splice, and our newly installed wiring made use of new lamp base contacts (W crimp) from Repair Connector.


                                The lens used in light fixtures like these are typically plagued over the years by overheating and then cracking, so we opted for a 1004 LED replacement. Should keep things cooler for longer lens life, and brighter!!


                                Onto more electrical issues, the "hidden fuel door" we had purchased was so intermittent in operation that when we had dropped it off at Absolute Rod & Custom Paint to test fit to the car when they were fine tuning the bodywork, we were second guessing whether we should use it at all.


                                All the harnesses came into a terminal board with wires going to the relays on the opposite side. Some of the terminals had as many as three wires in them, and Mike Flores found about 6 loose wires. Splices didn’t carry the same wire color through, making trouble shooting a bit of a challenge. The toggle switch (which should have been momentary contact but was not) had some home-made fork terminals. This thing was looking more sketchy with everything we looked at next. For a store-bought product intended for an automotive environment, they should find someone more competent in wiring.


                                To get rid of the terminal board, we opted for weather pack connectors, one to each of the end terminations (switch, fuel door, power source). We eliminated the triple wires to single terminal by jumpering, making use of two wires in a single pin, and jumpered as required.


                                Our new wires going into the relay connectors made use of new Packard 56 style female spade terminals from www.repairconnector.com (more W-crimp) These were also jumpered two wires to a pin where needed.


                                The toggle switch was replaced by an automotive grade MOMENTARY rocker switch from McMaster. Works flawlessly.


                                Not pretty, but much improved. The relays will be located behind the rear seat on the sub box, conveniently between all our end points. Just like our speaker grilles, black plastic really doesn't belong in plain view in a 55 Chevy. So our more highly functional rocker switch will be hidden inside the glove box..
                                Robert


                                Instagram @ mccartney_paint_and_custom


                                MP&C Youtube Channel

                                Comment

                                Working...
                                X