Announcement

Collapse
No announcement yet.

55 Wagon Progress

Collapse
X
 
  • Filter
  • Time
  • Show
Clear All
new posts

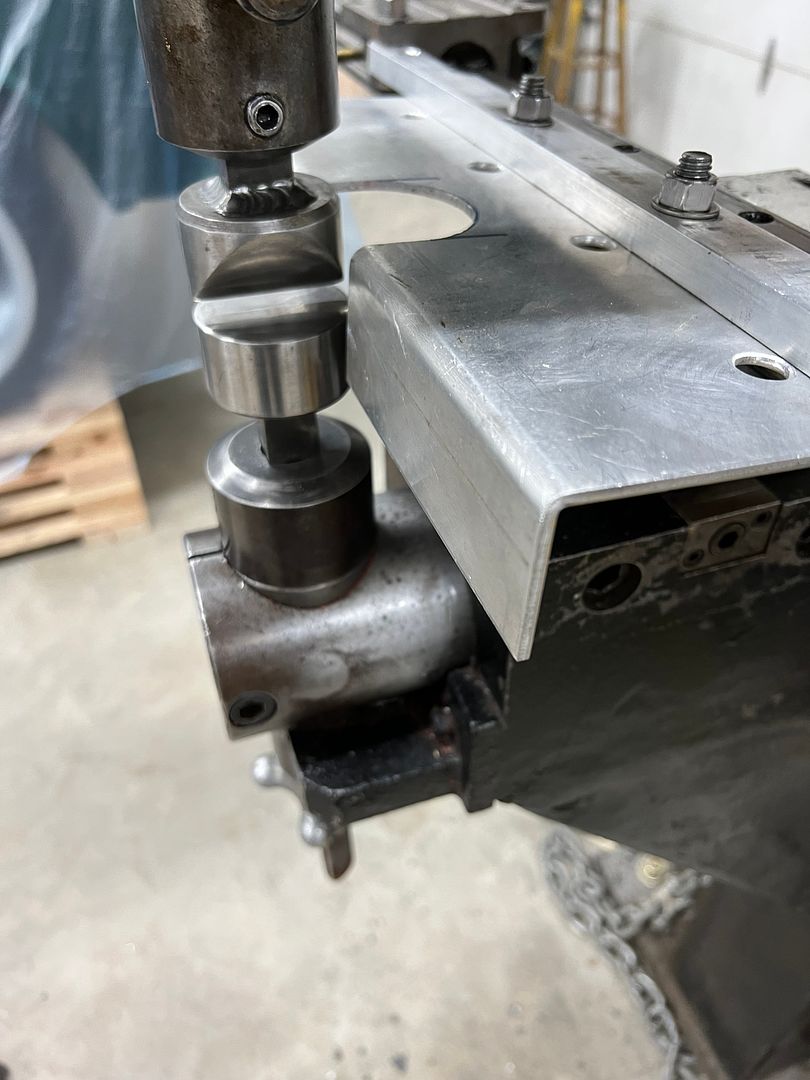
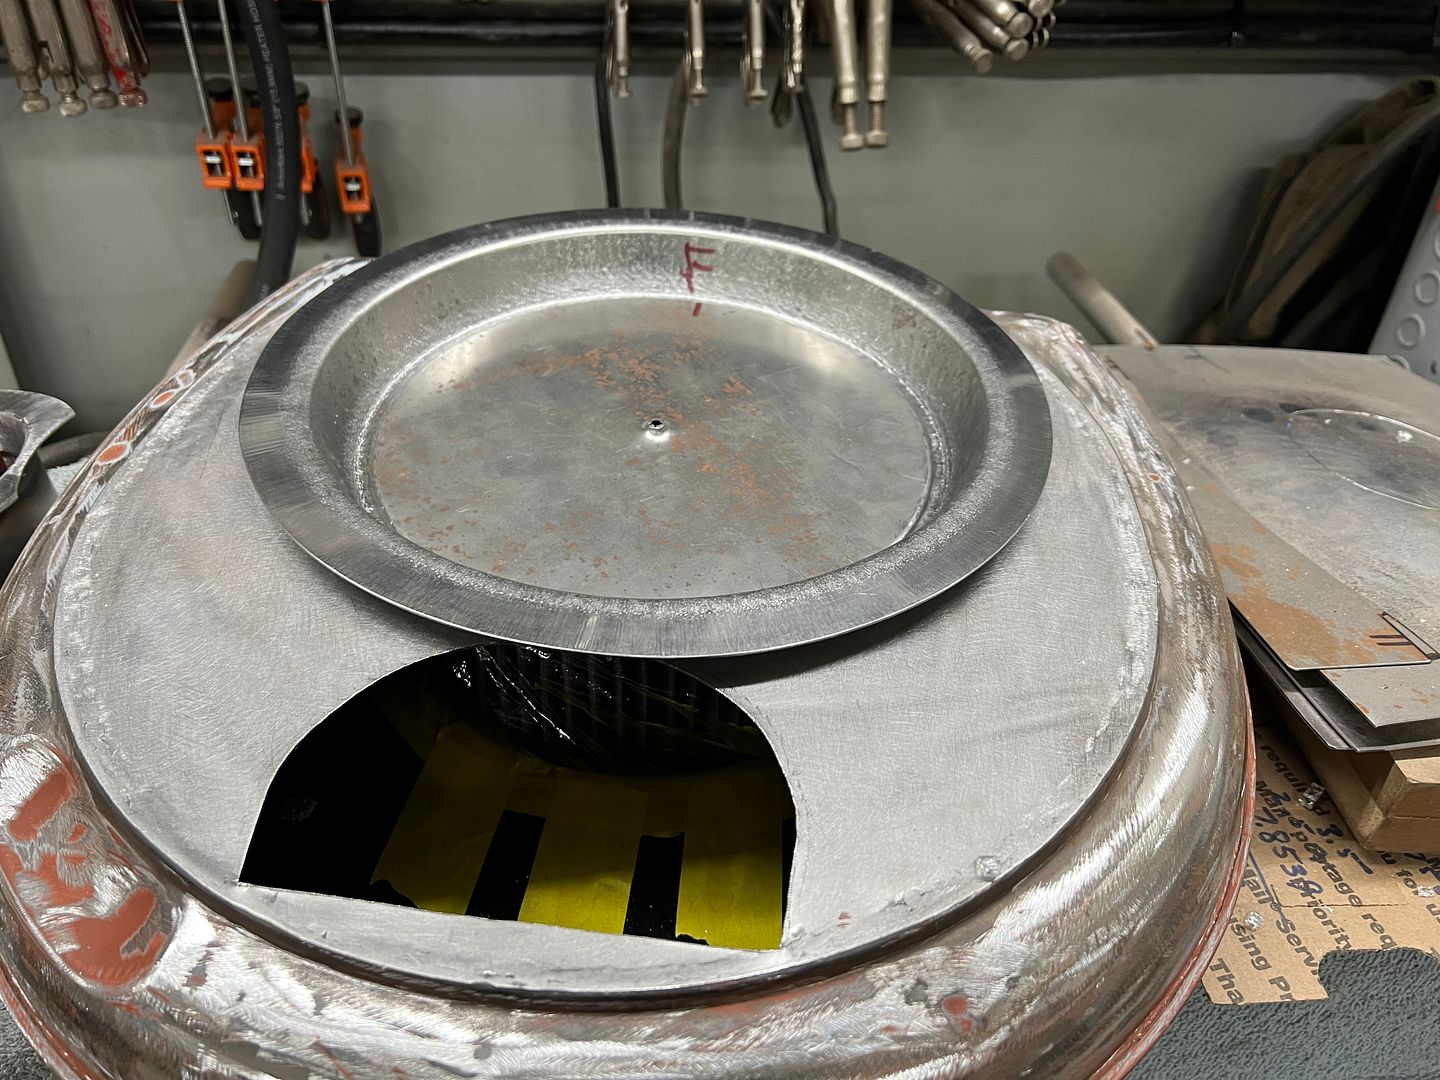
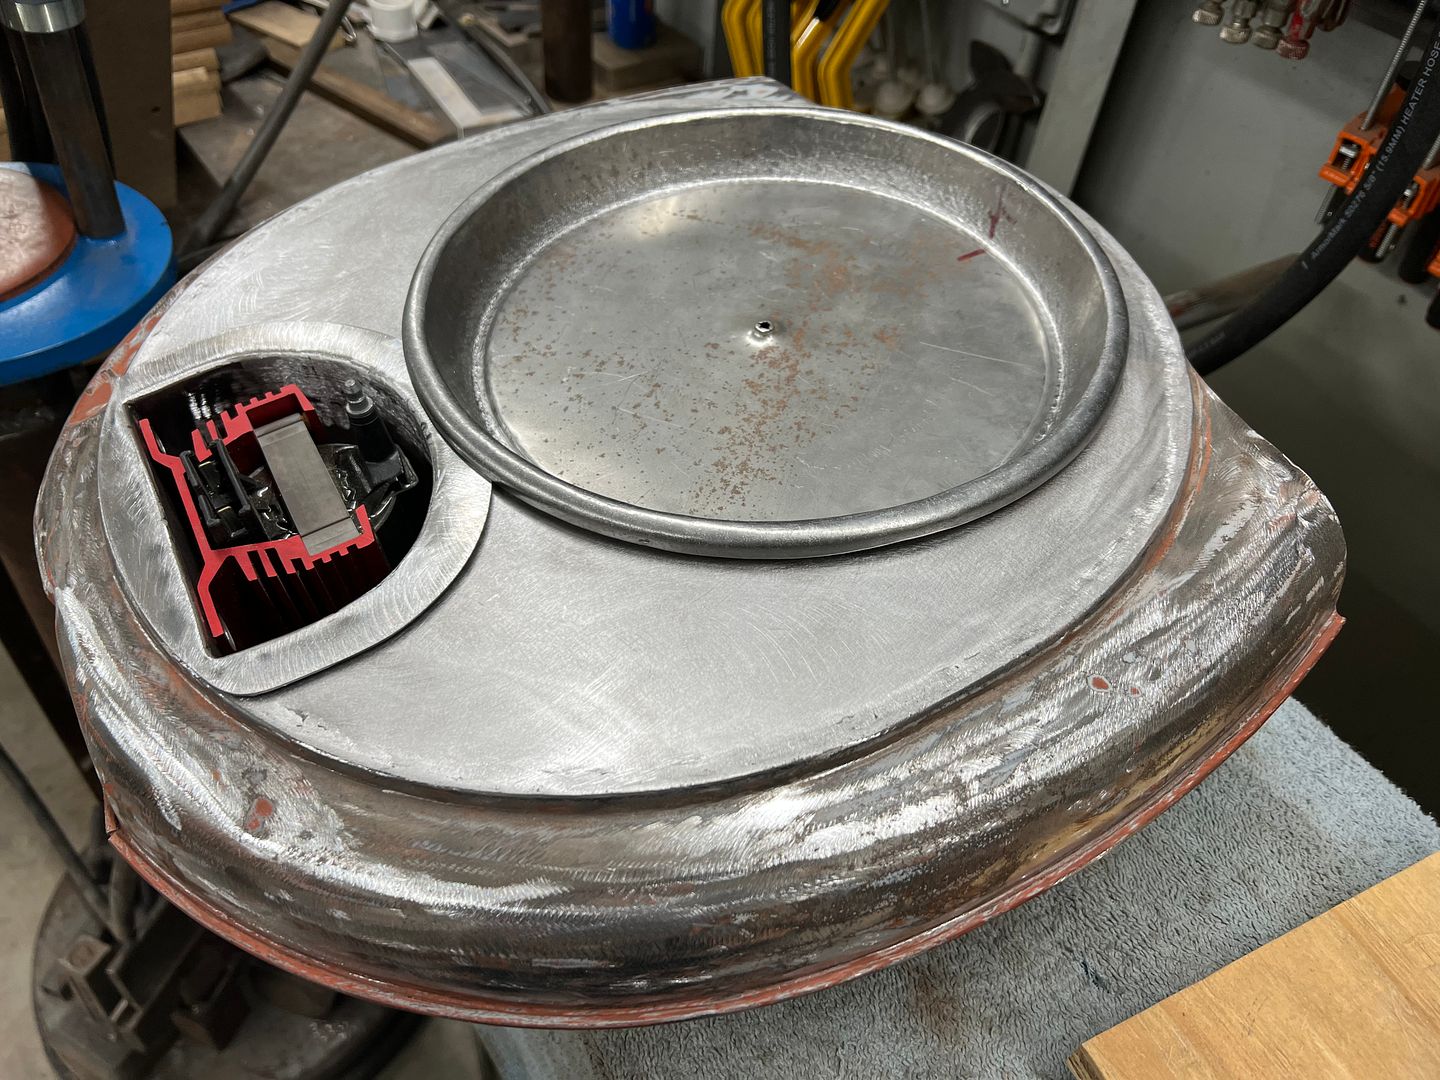
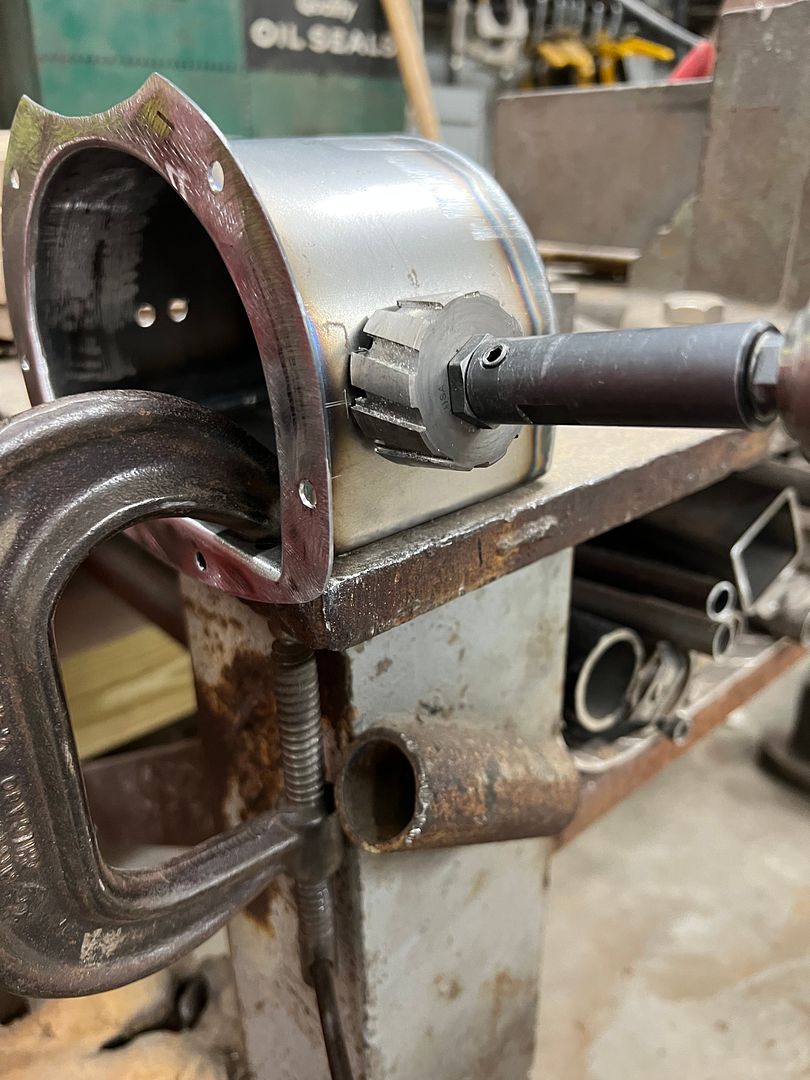
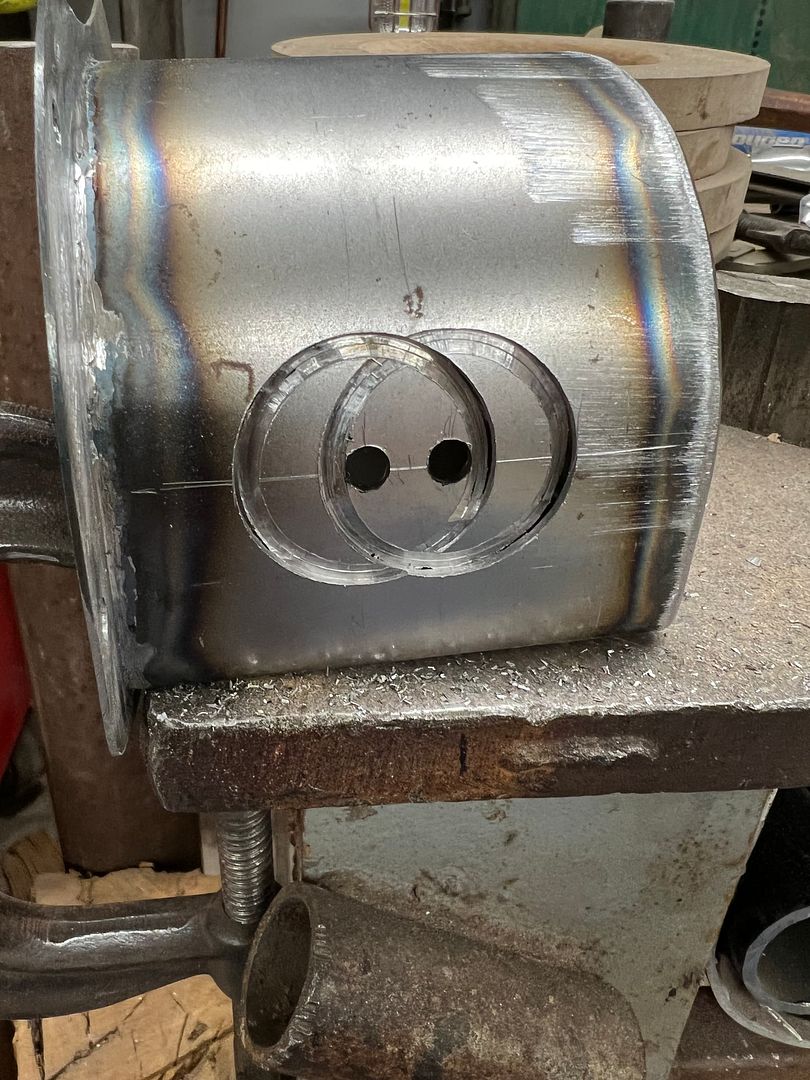
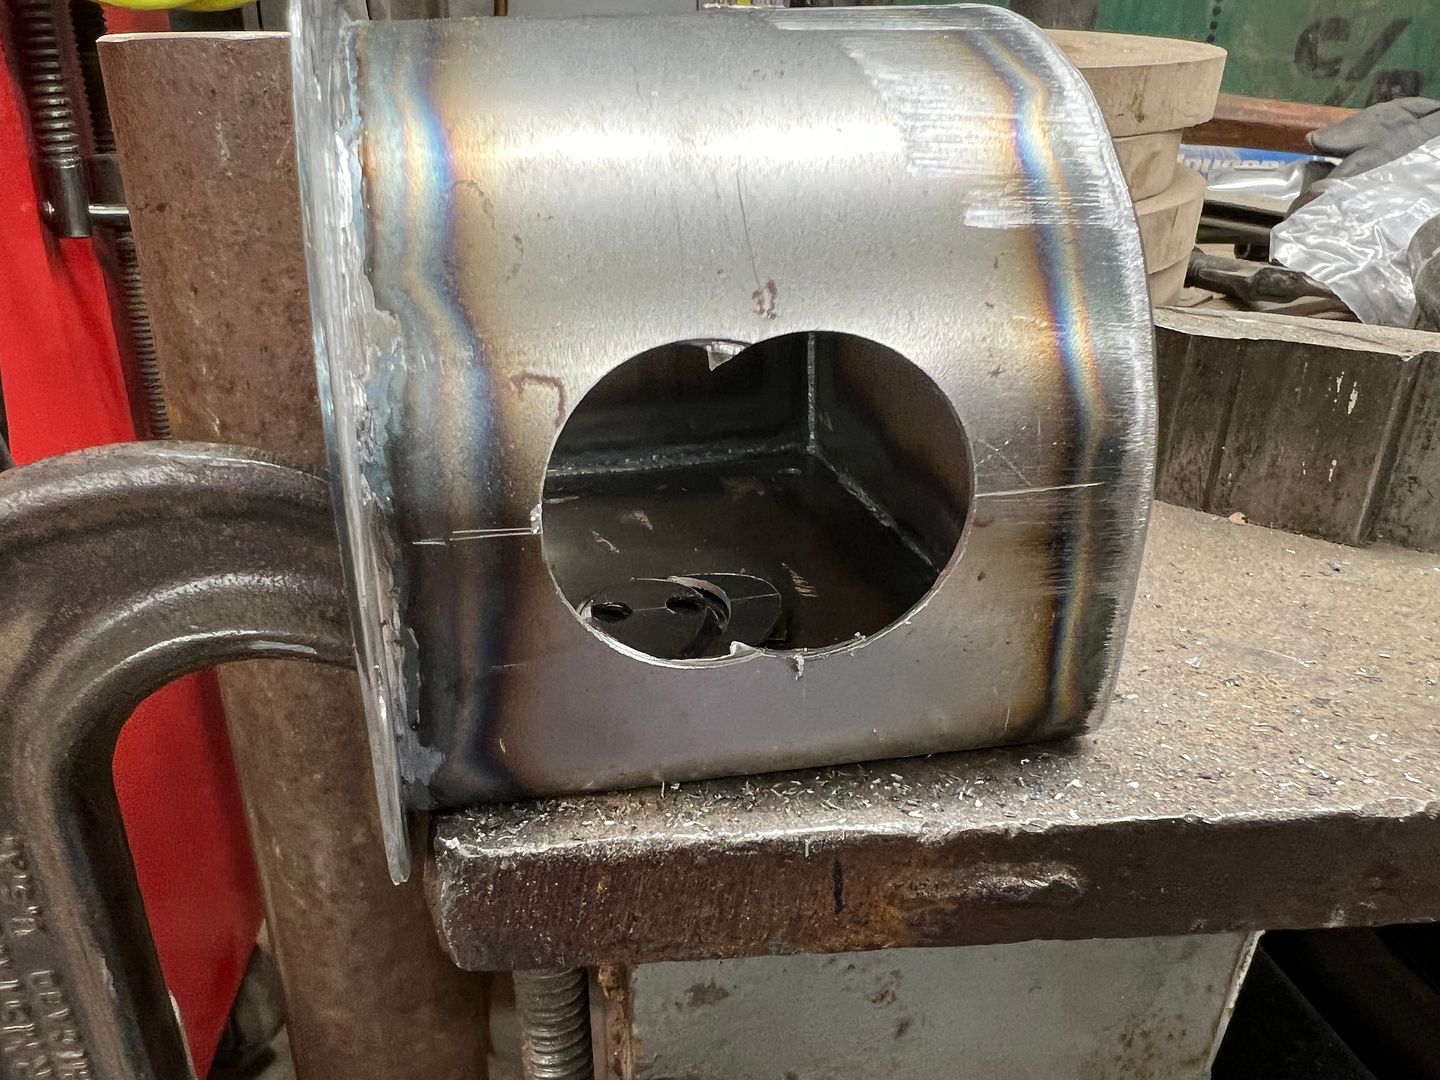
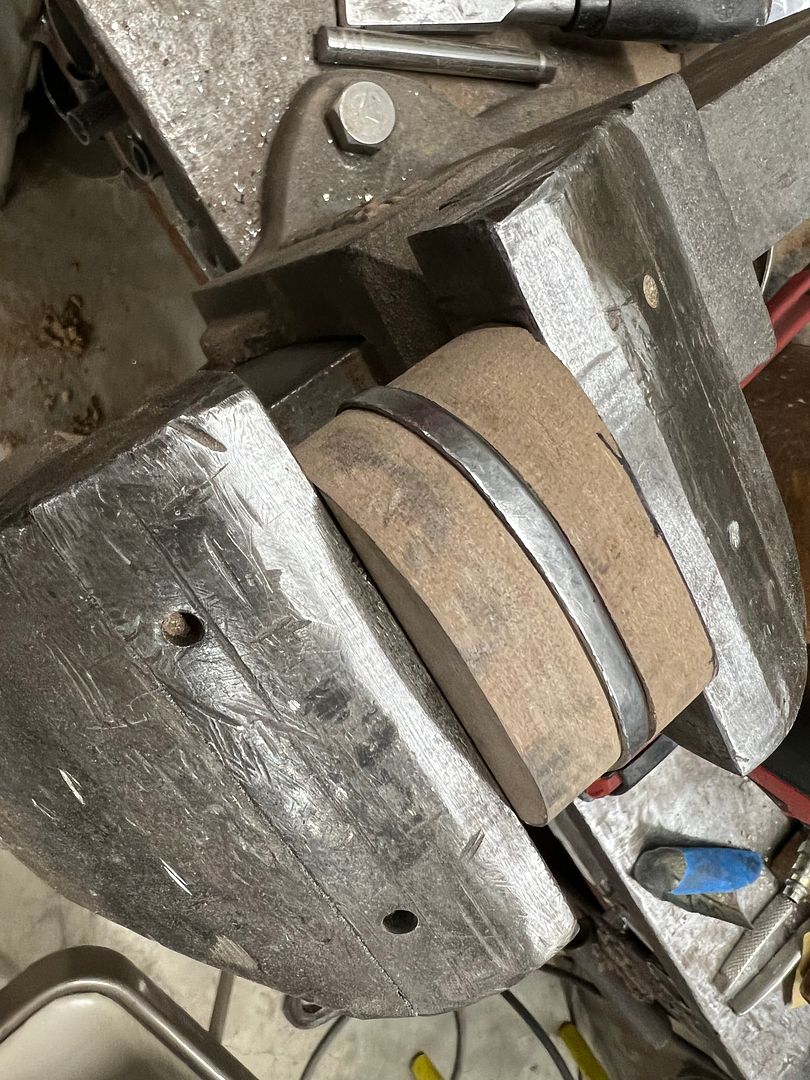
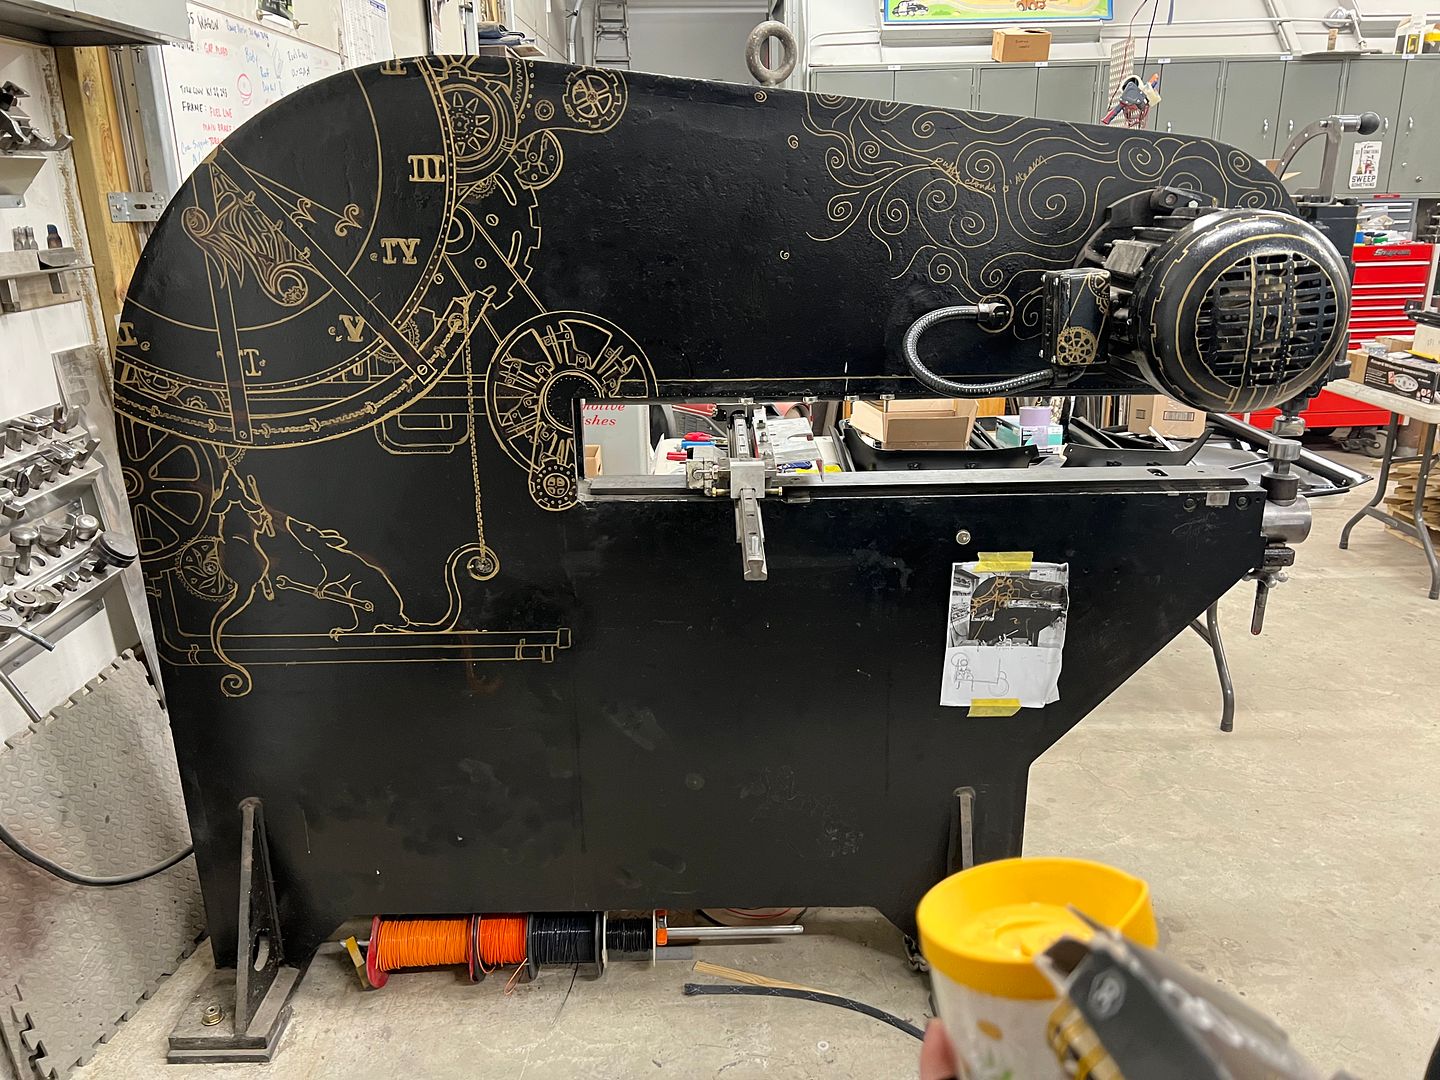
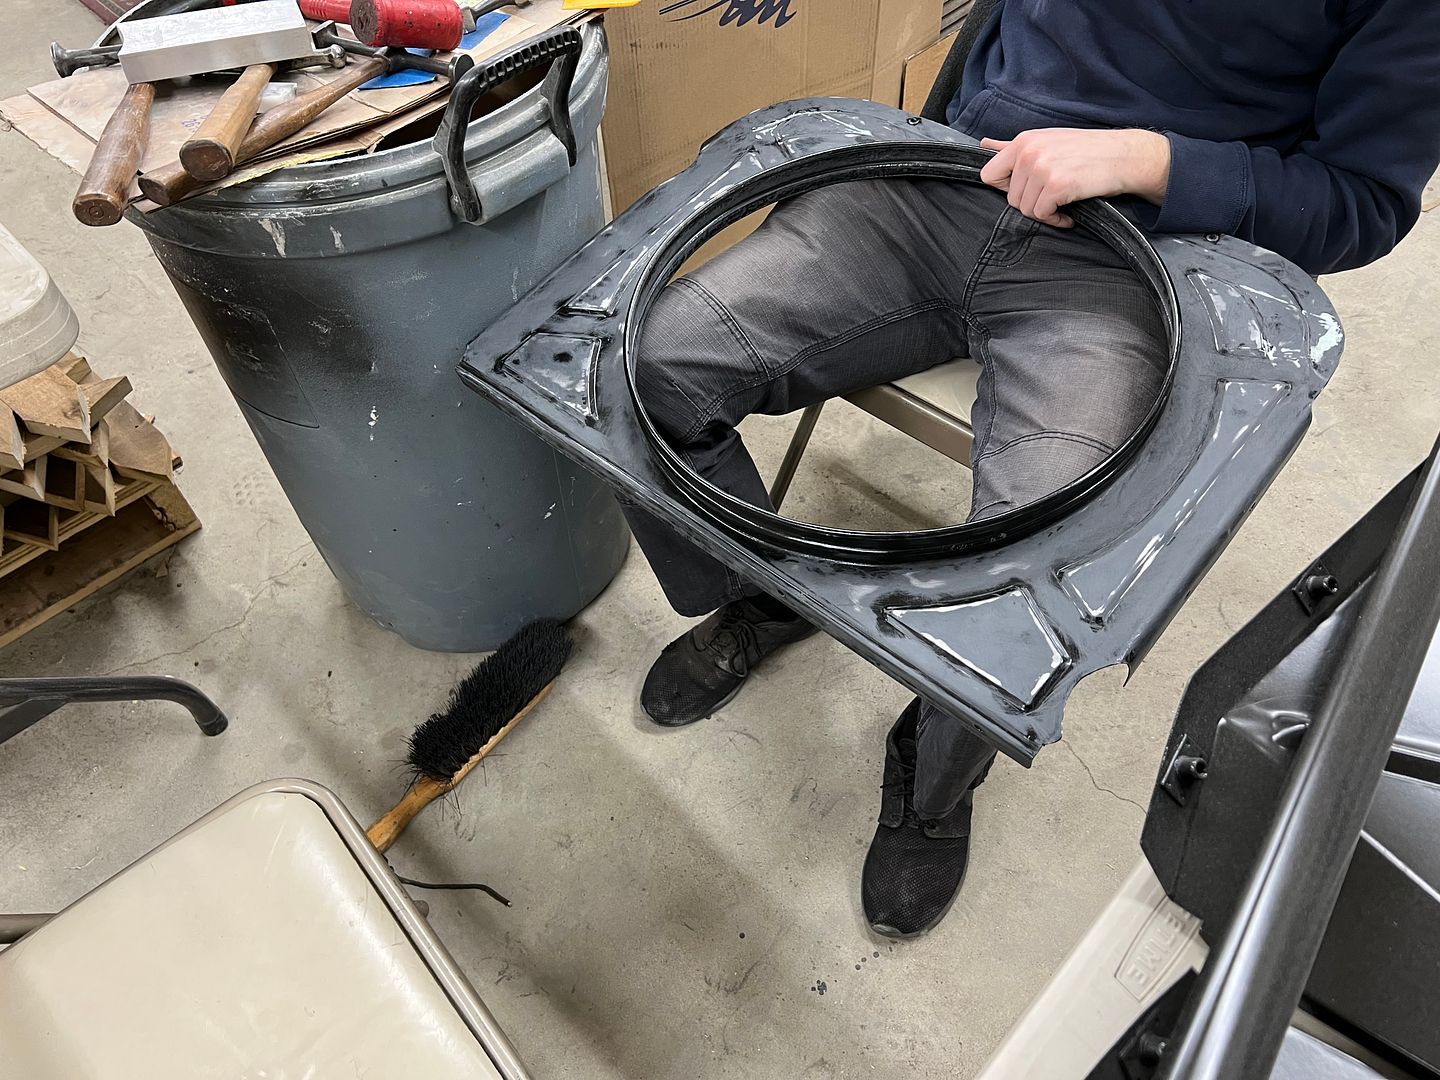
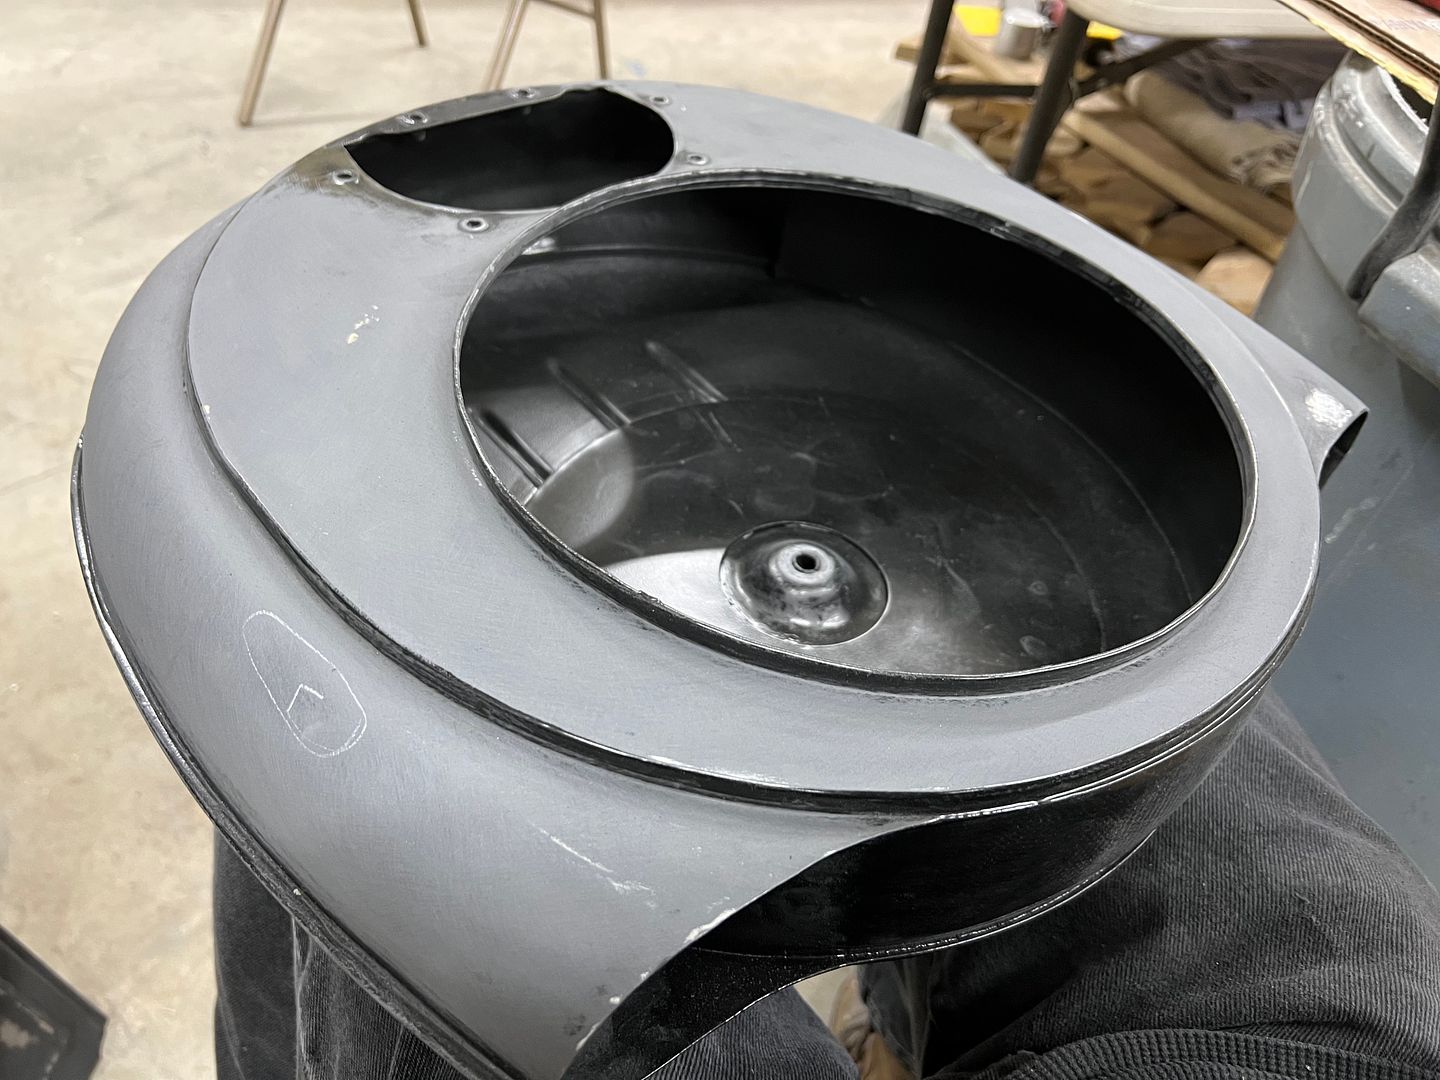
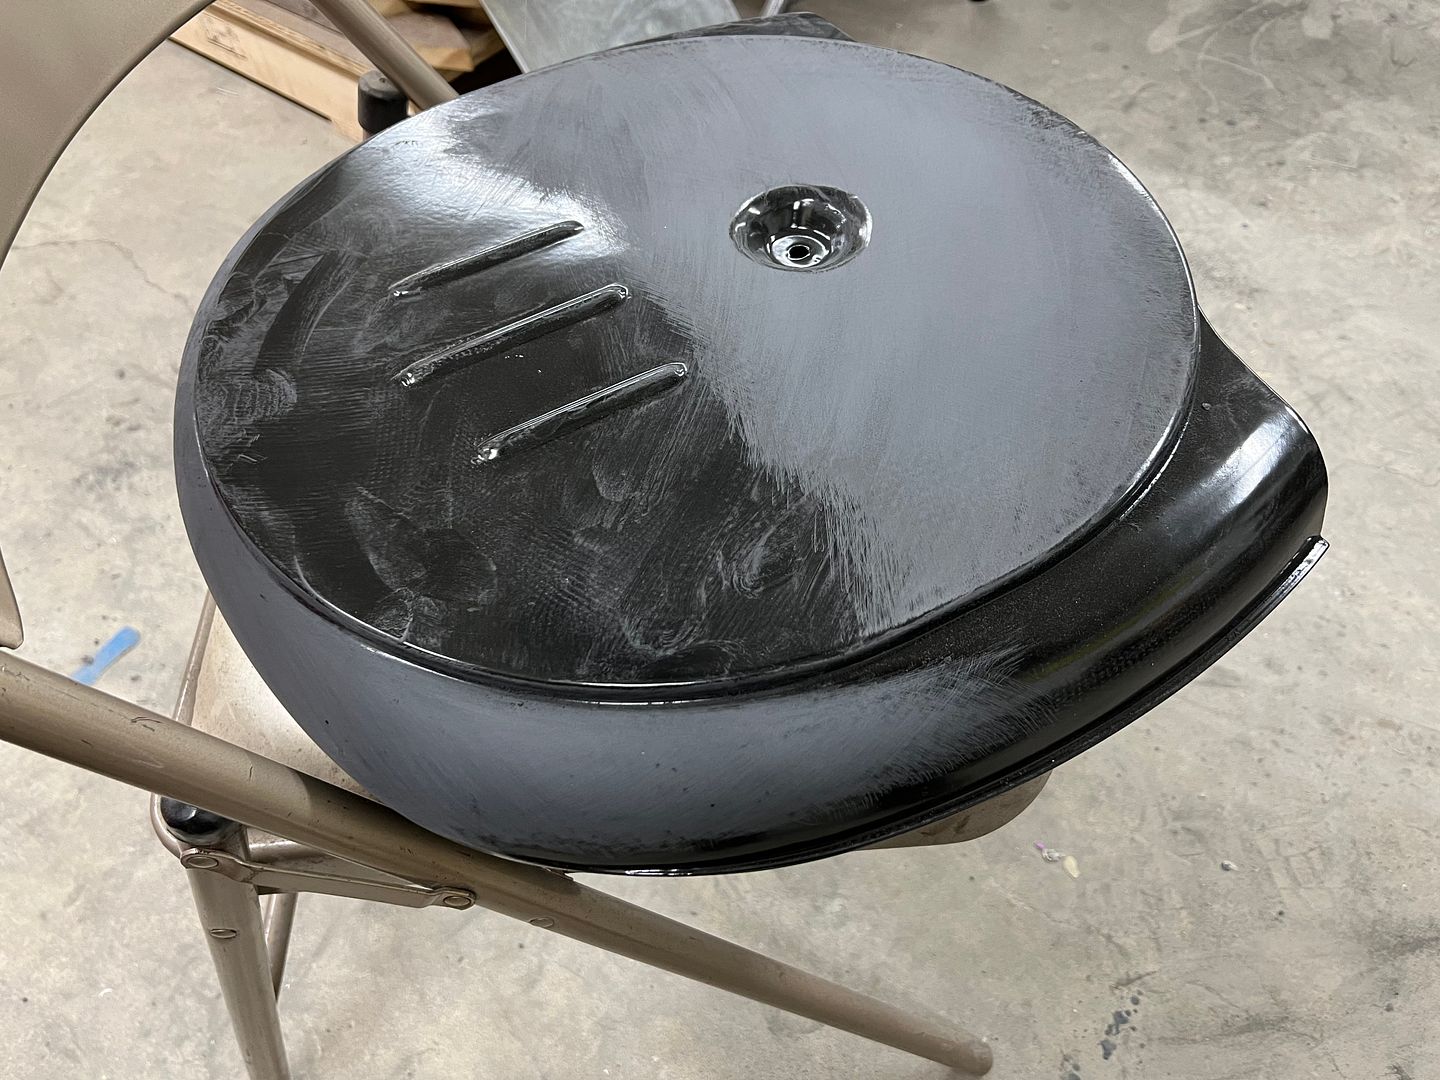
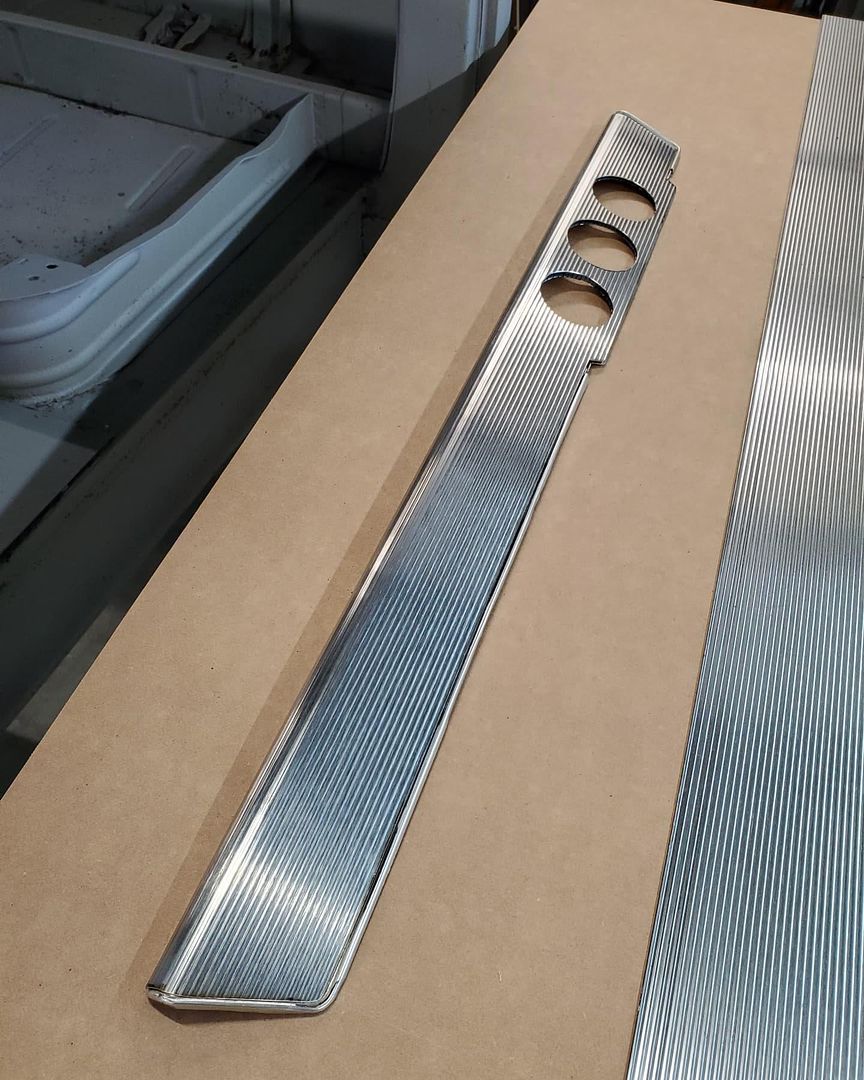
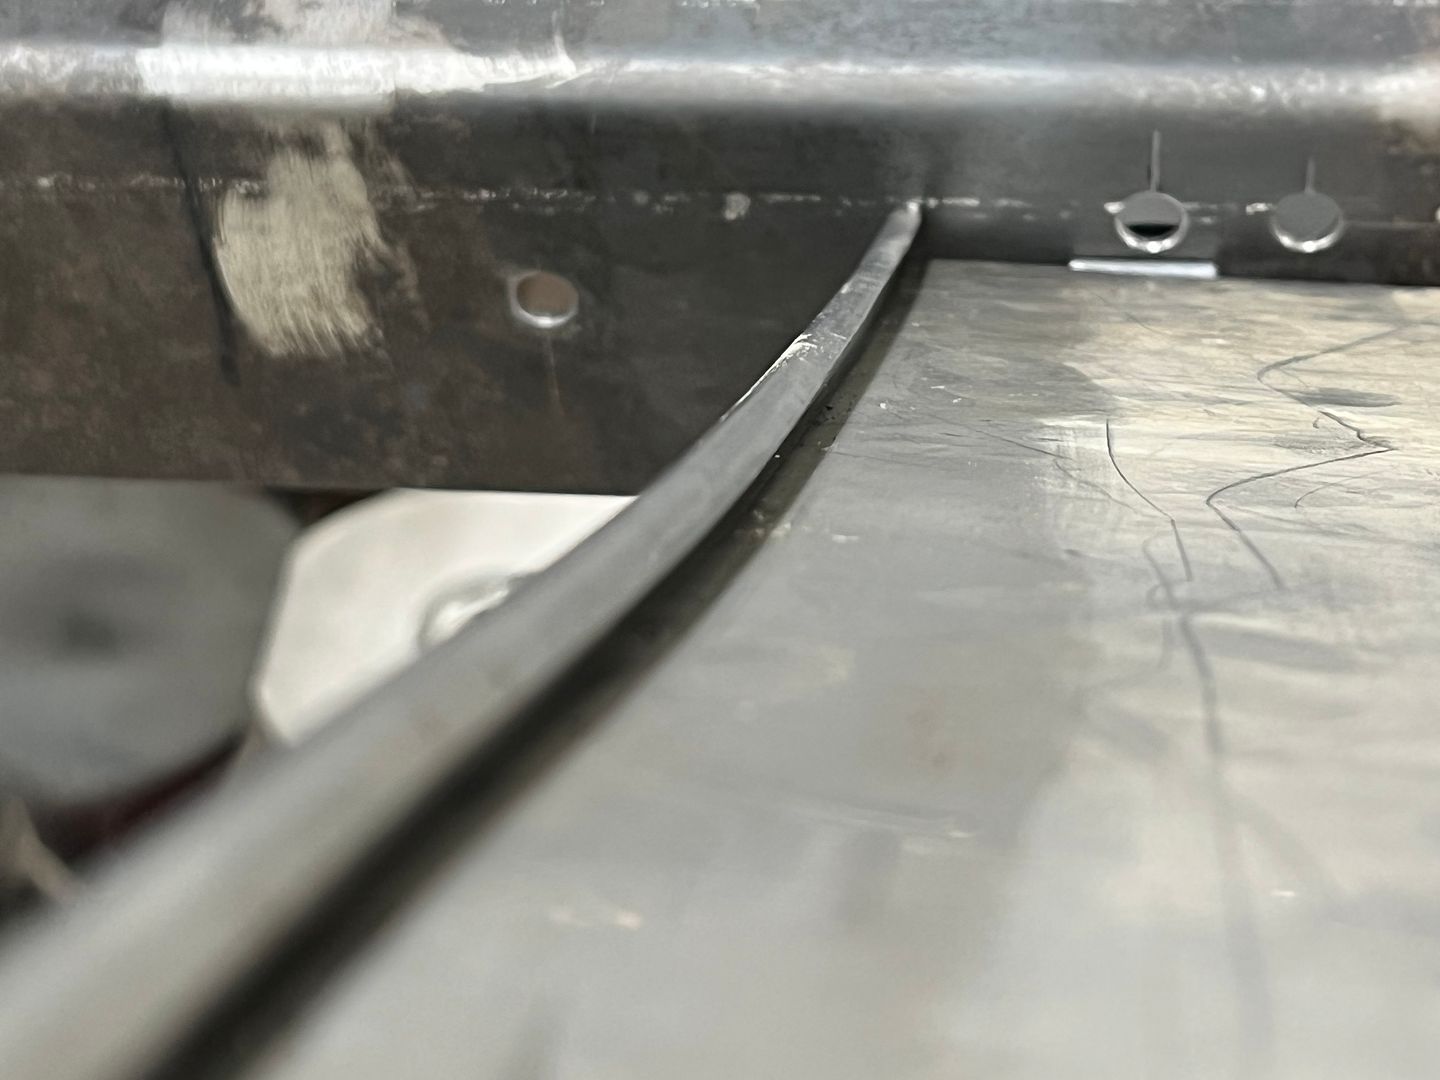
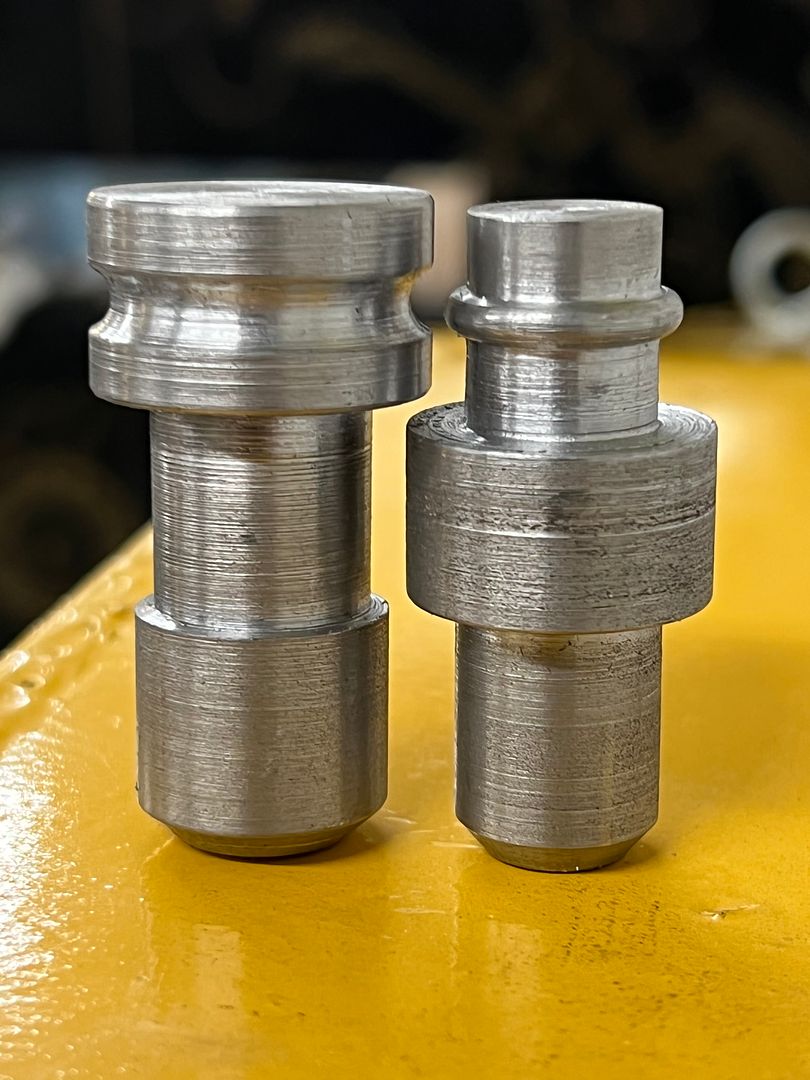
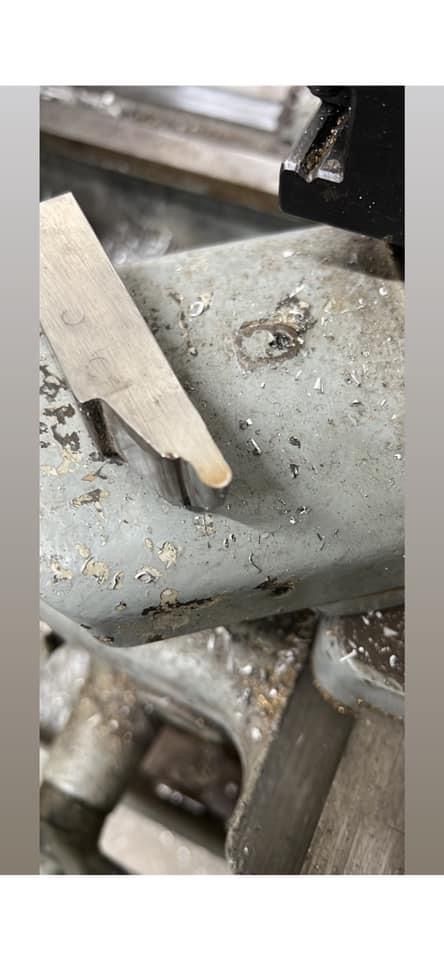
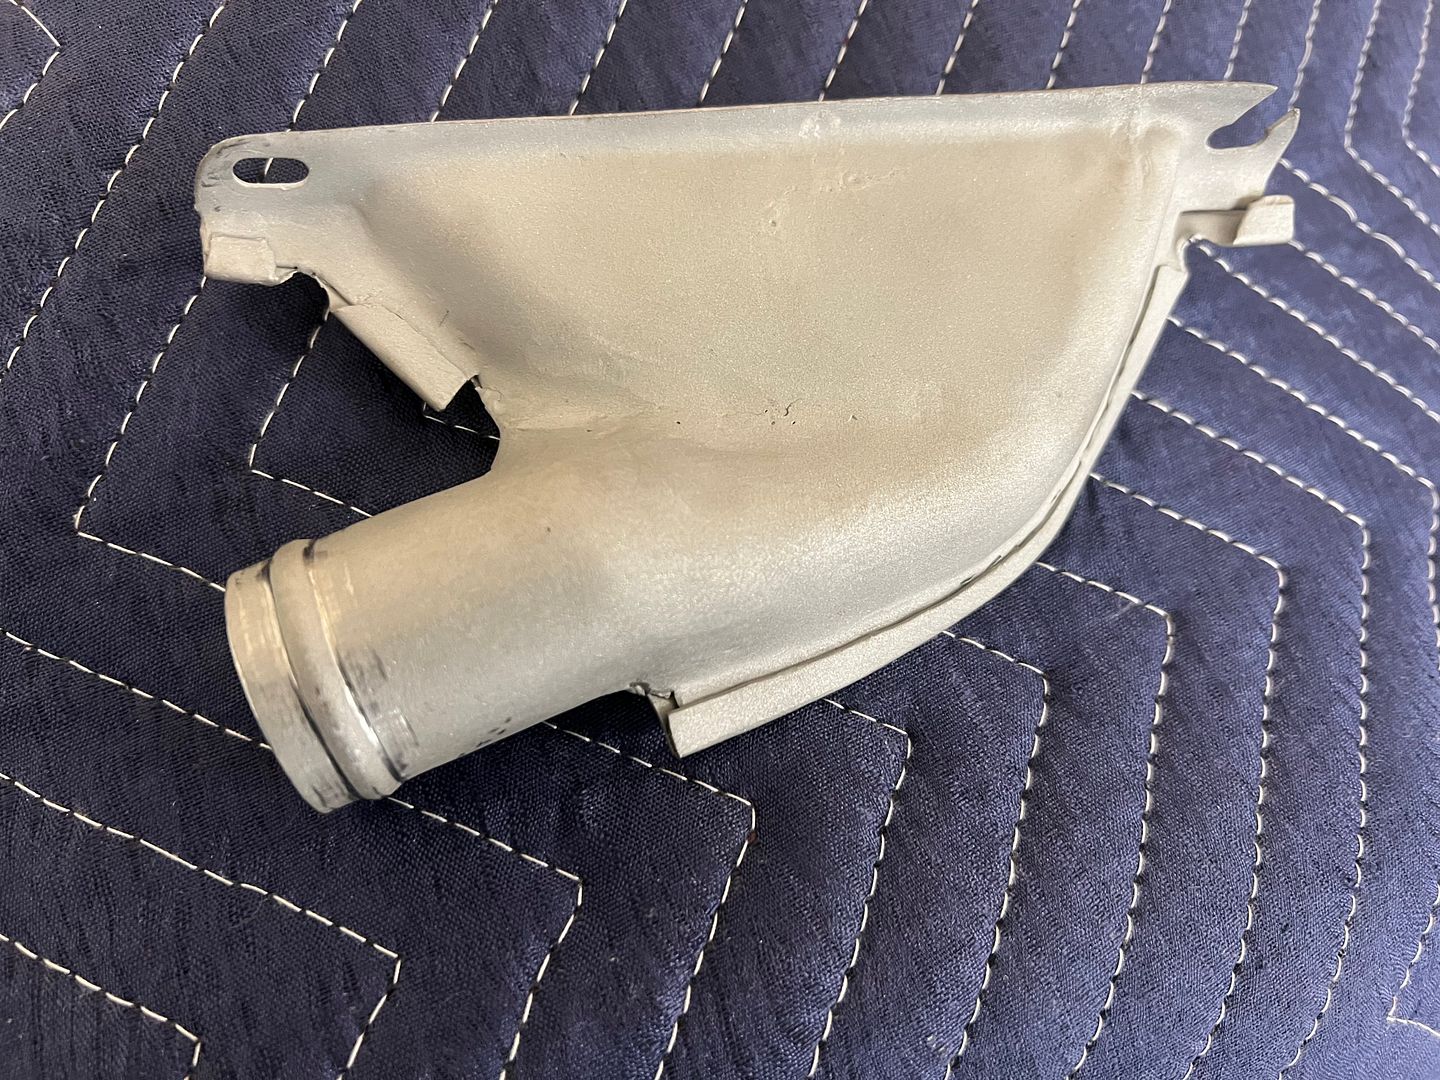
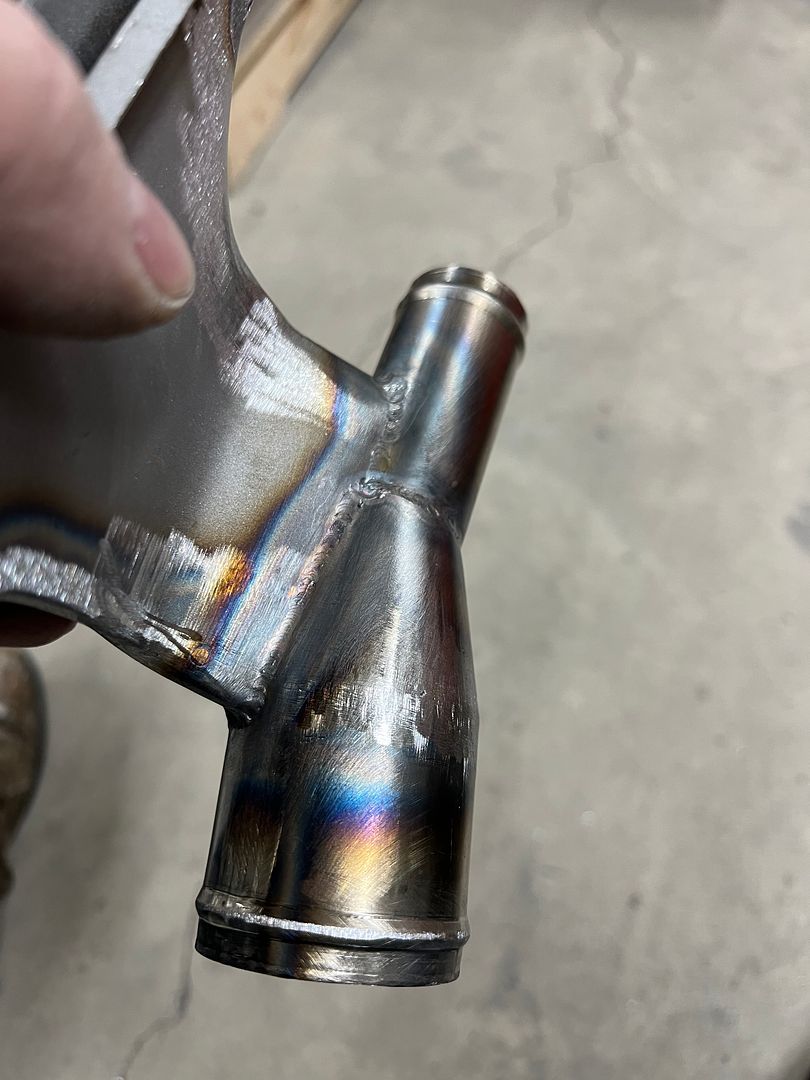
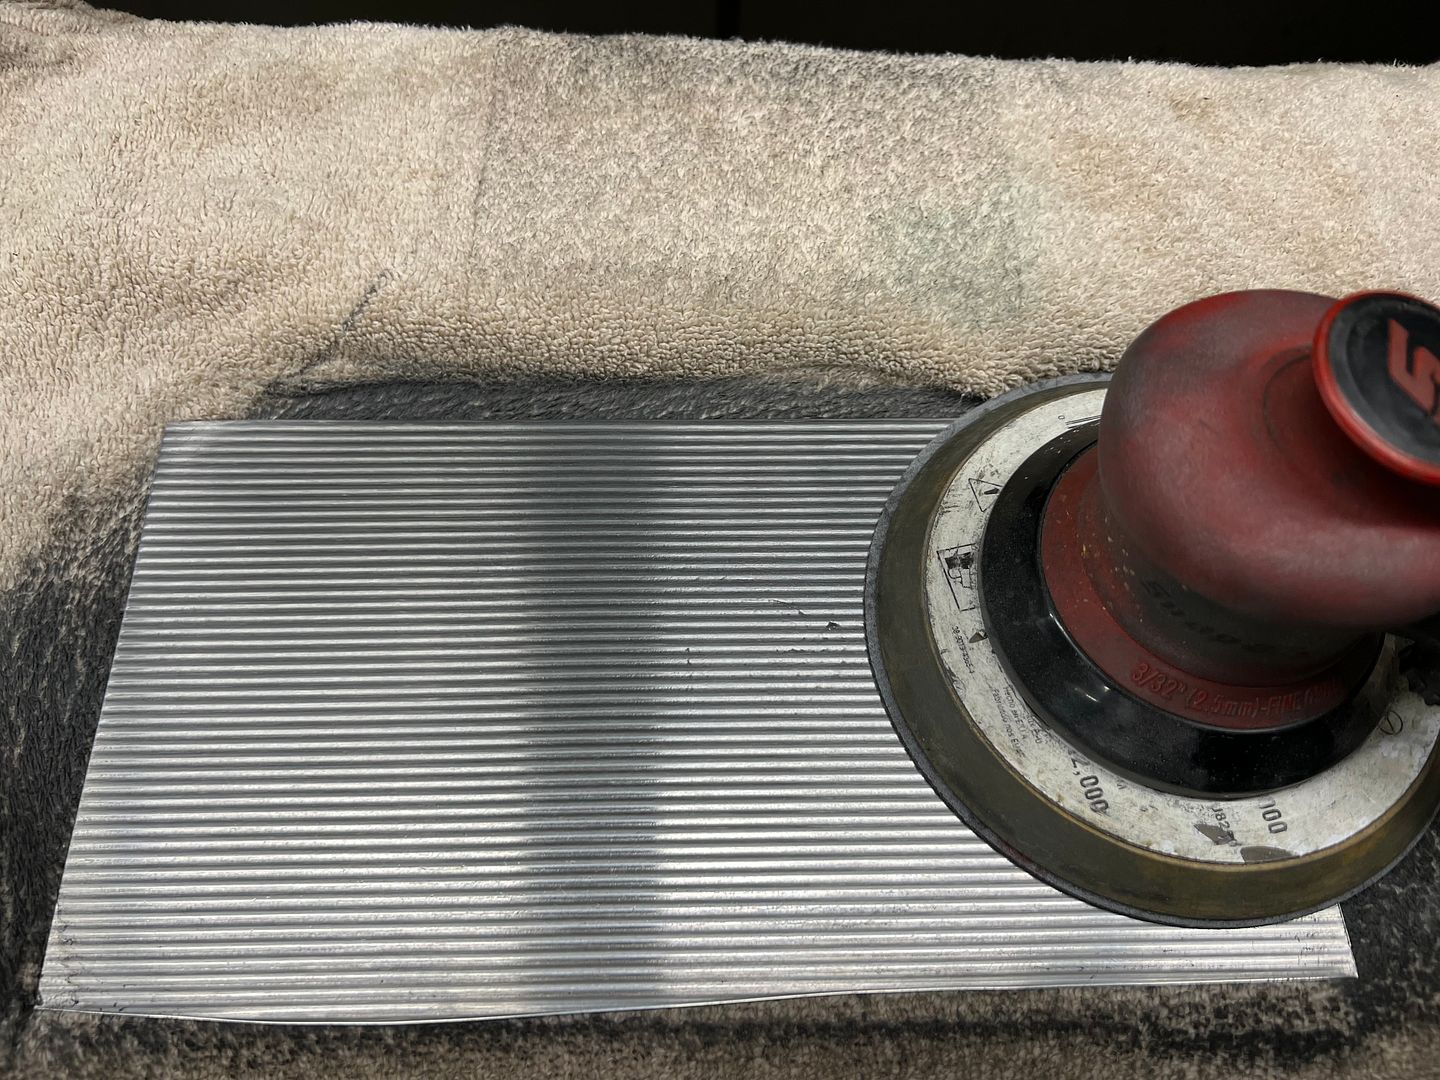
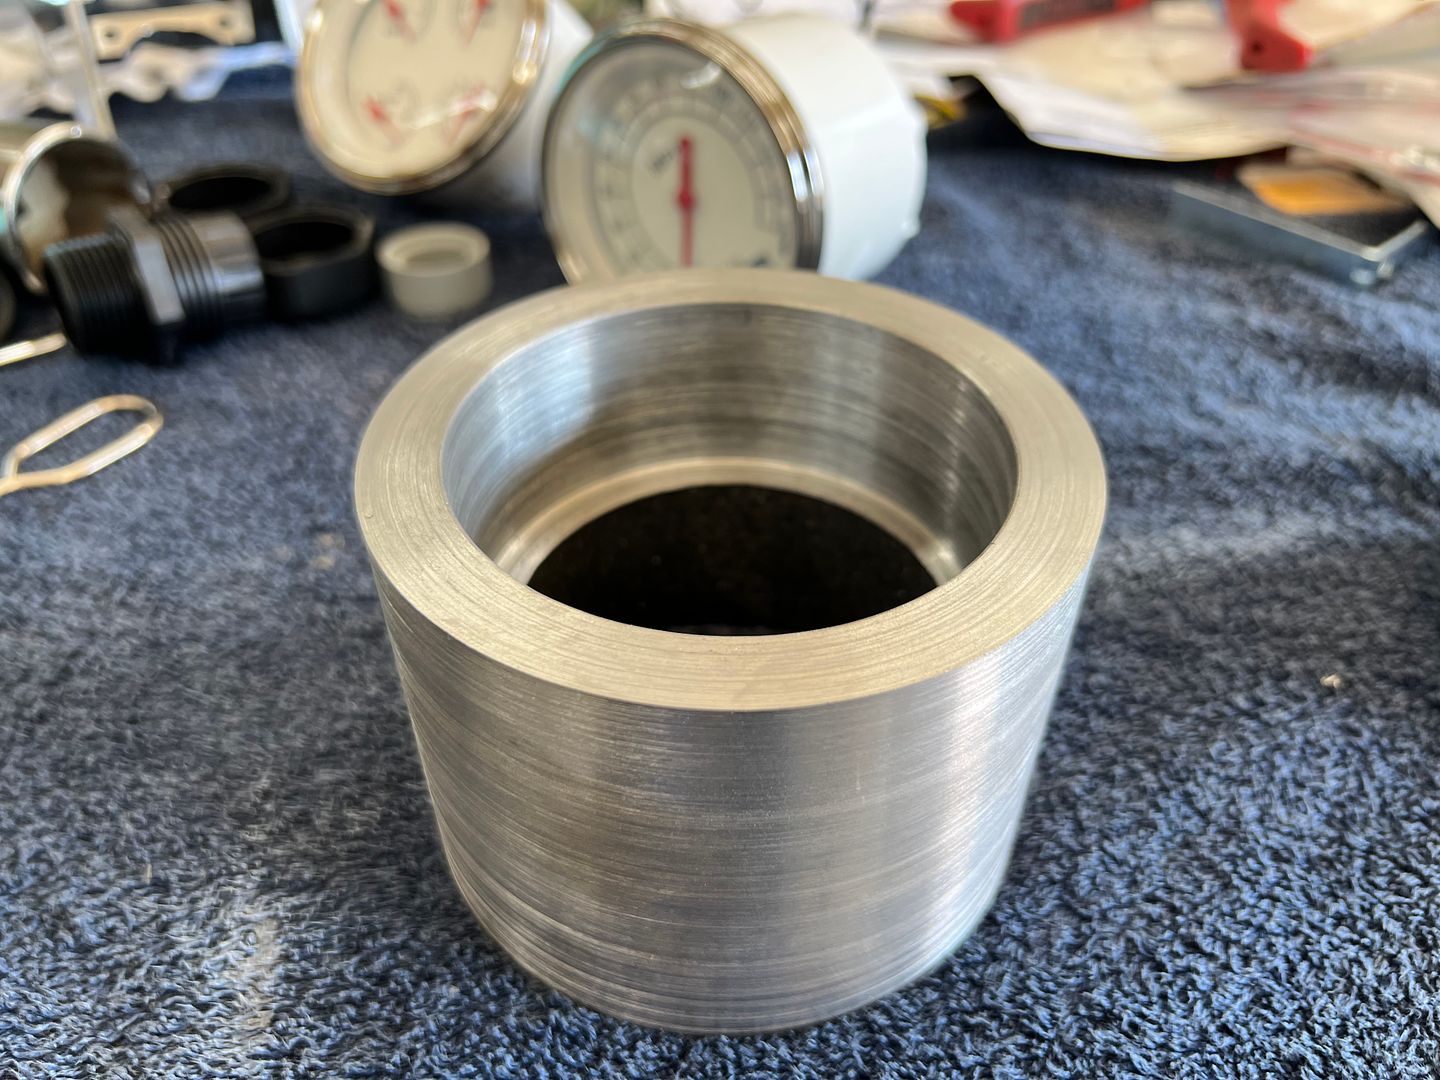
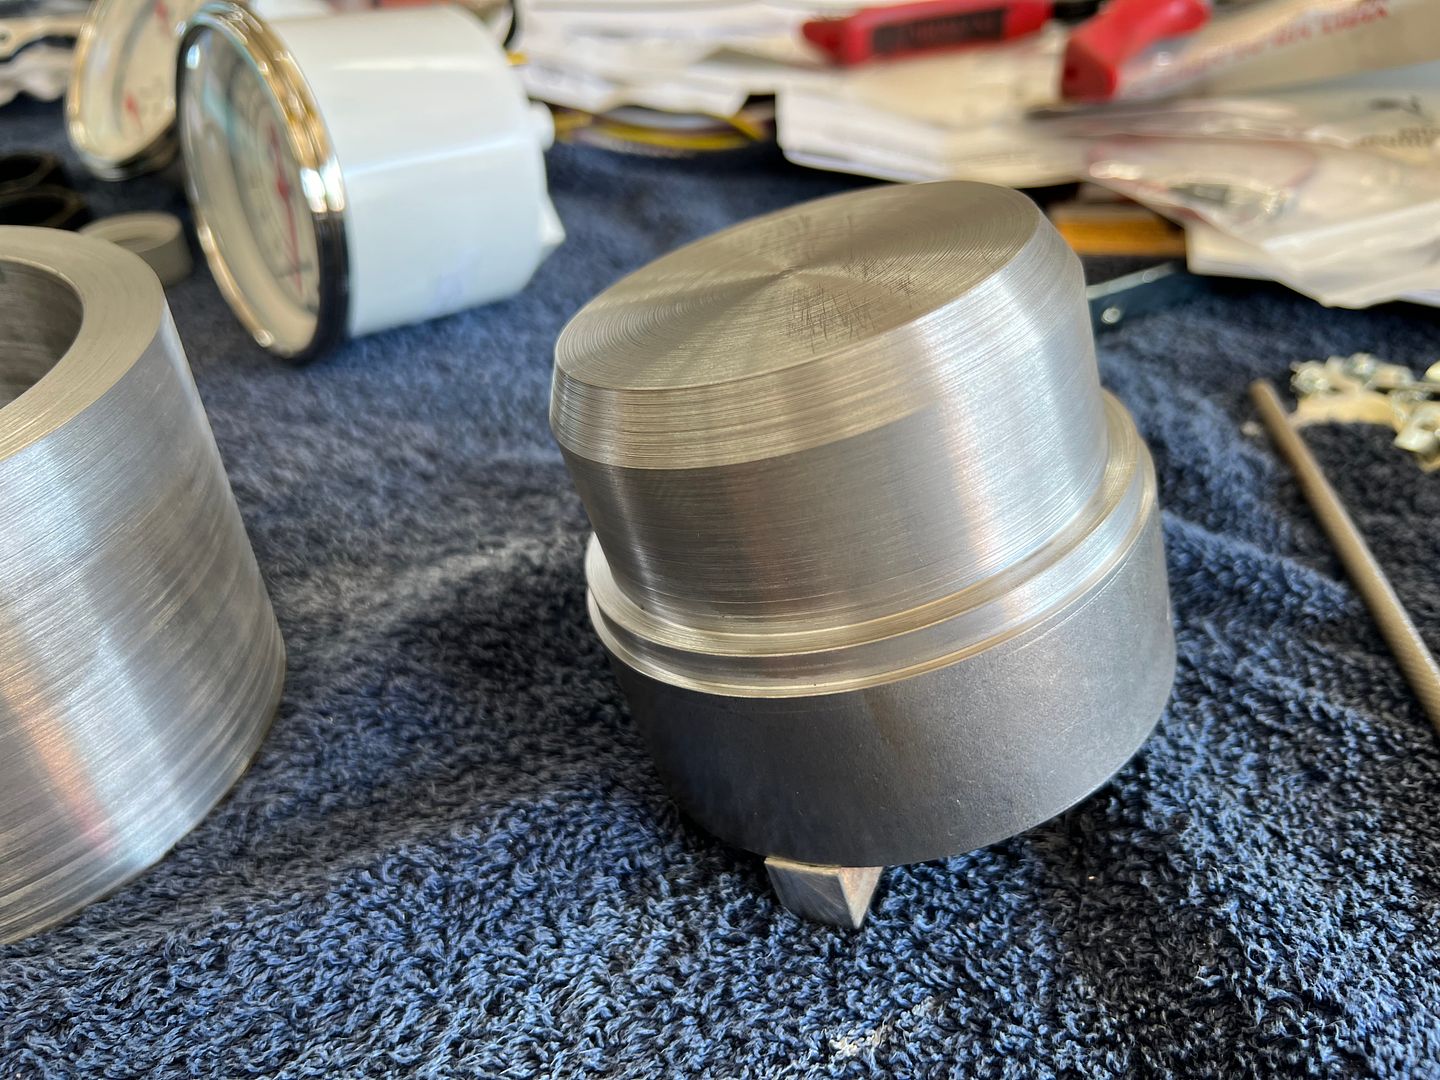
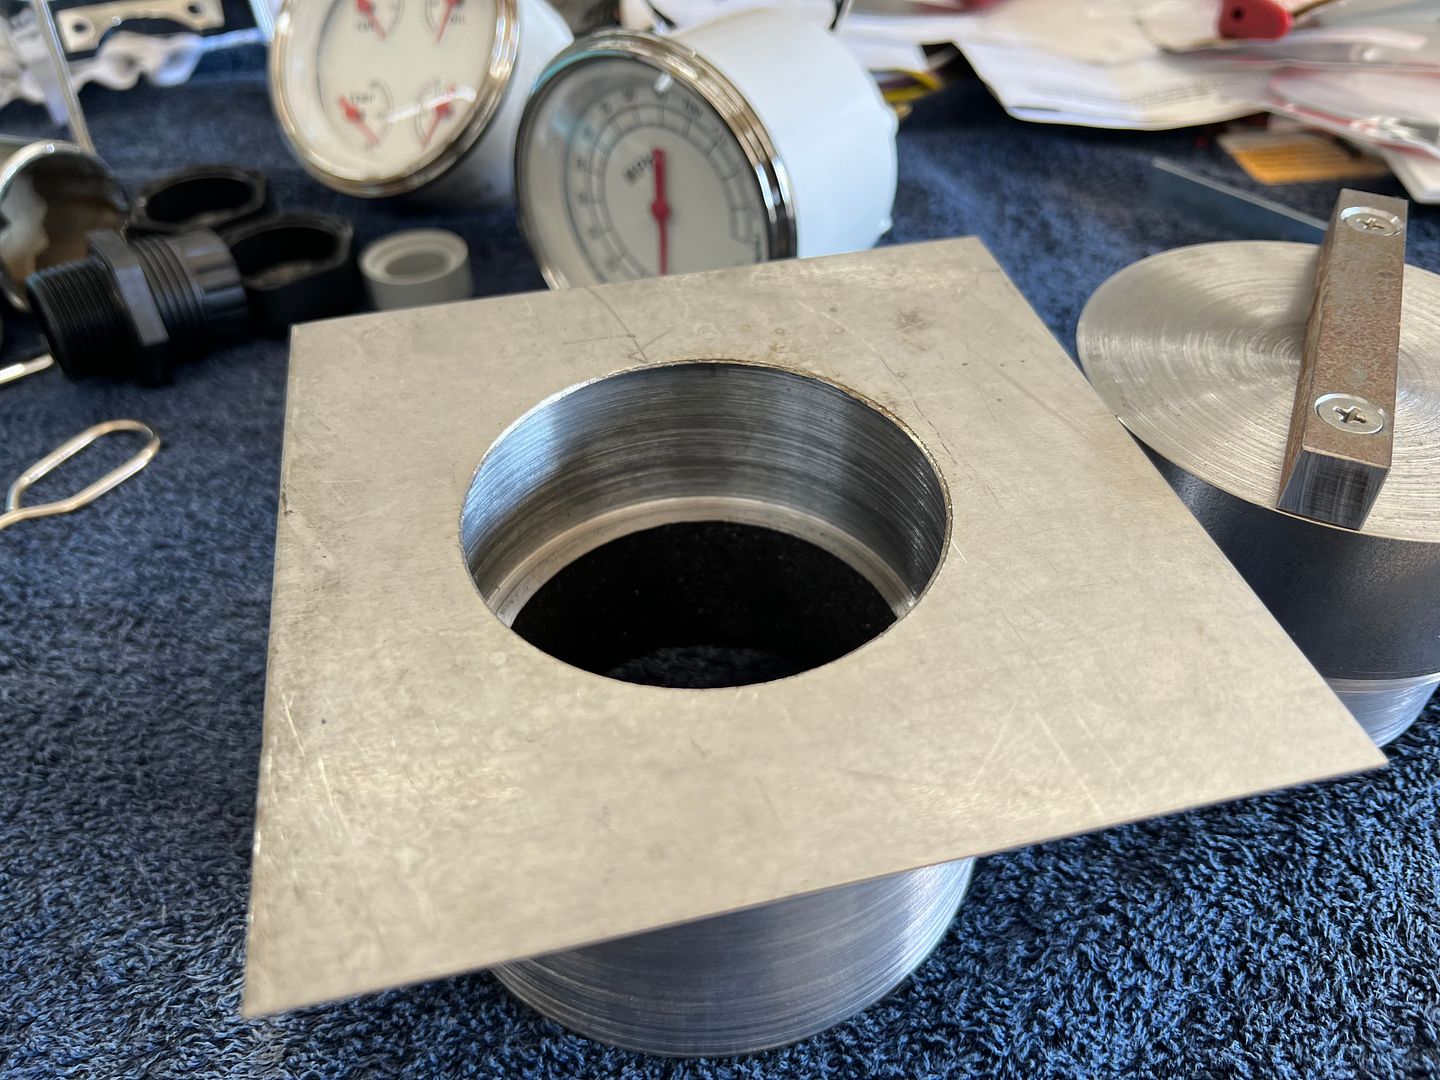
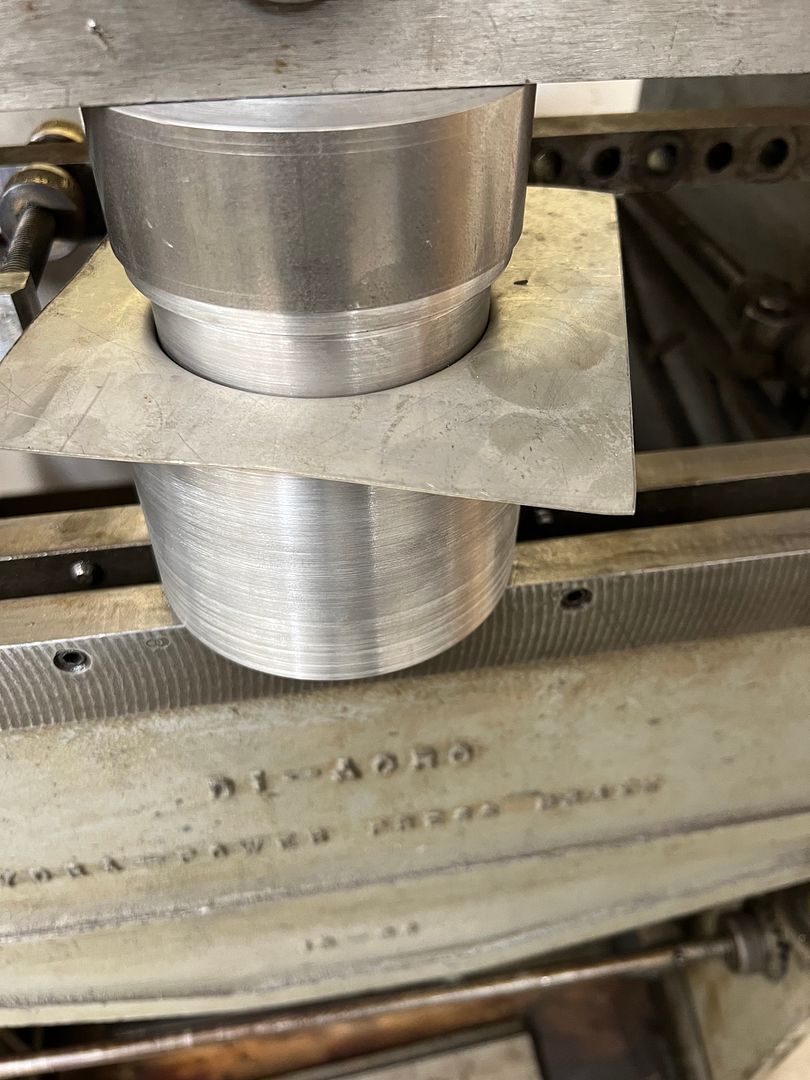
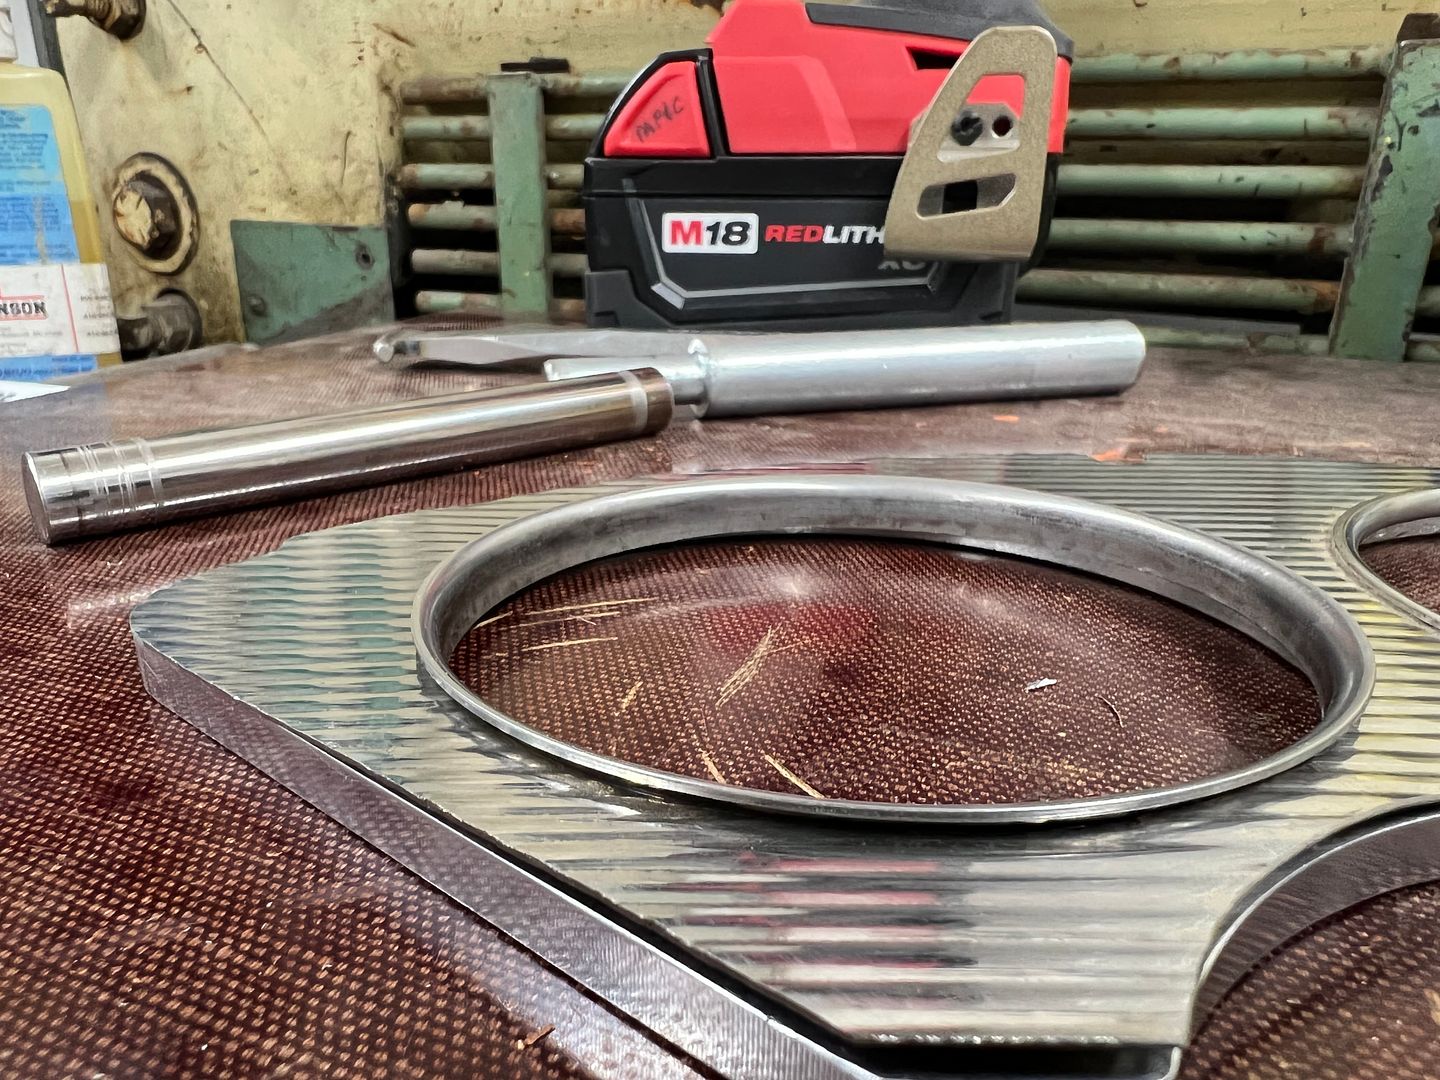
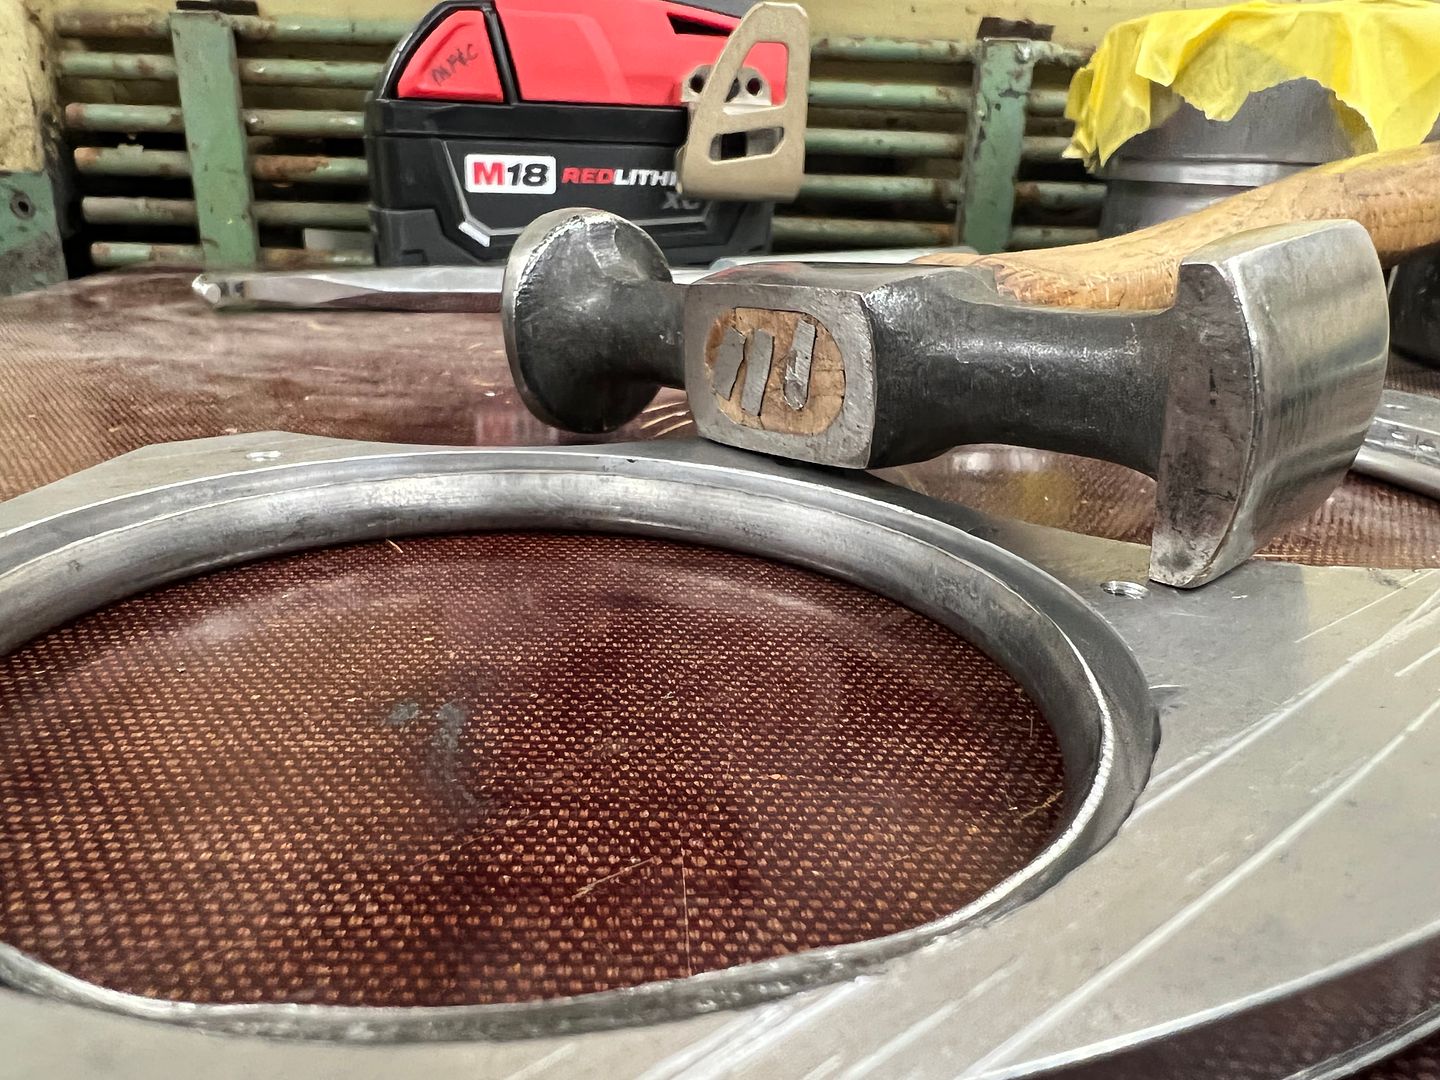
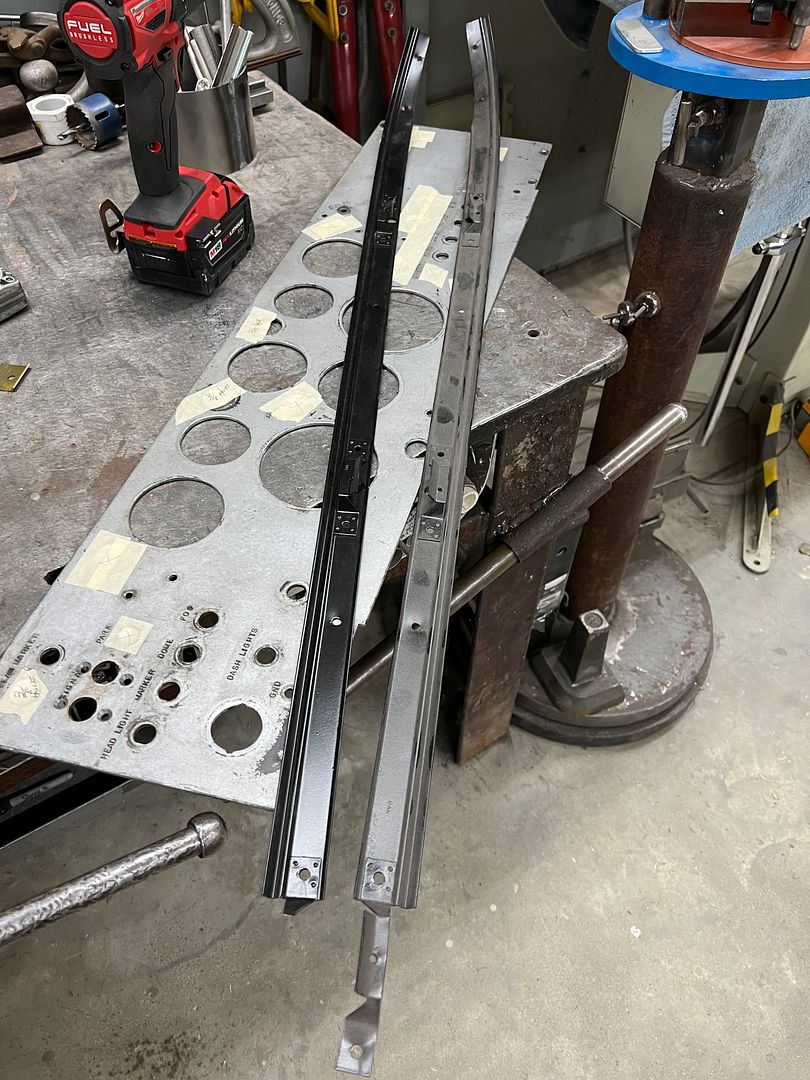
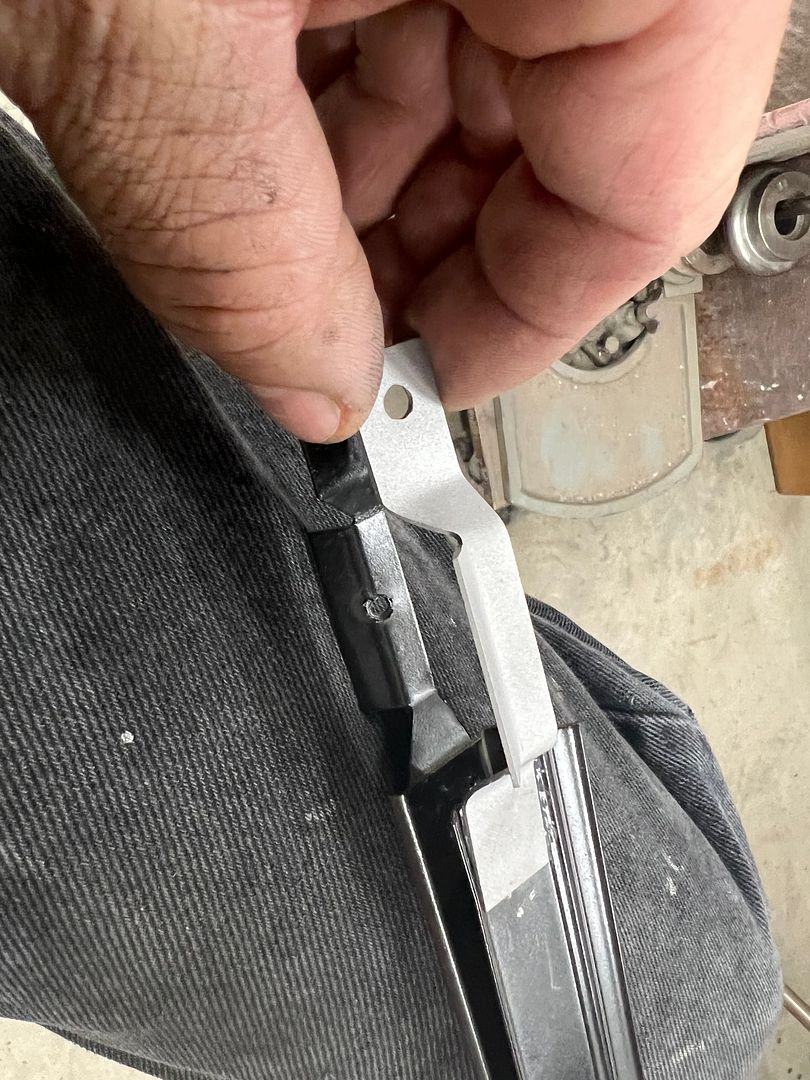
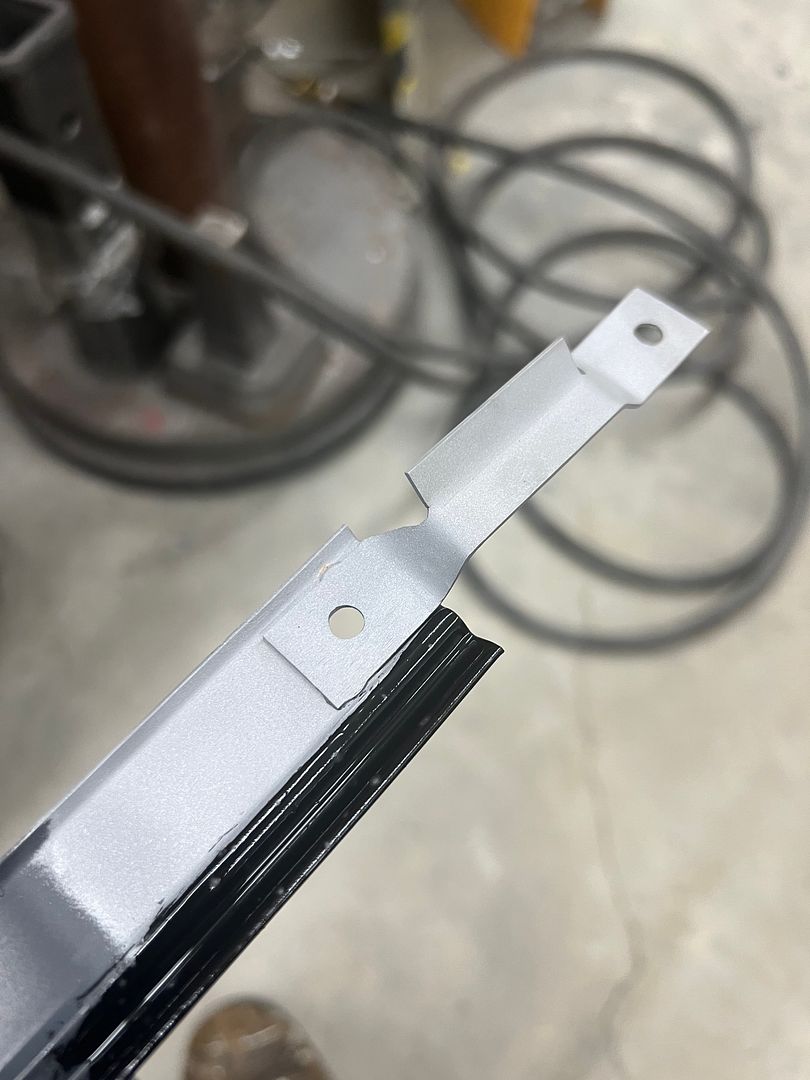
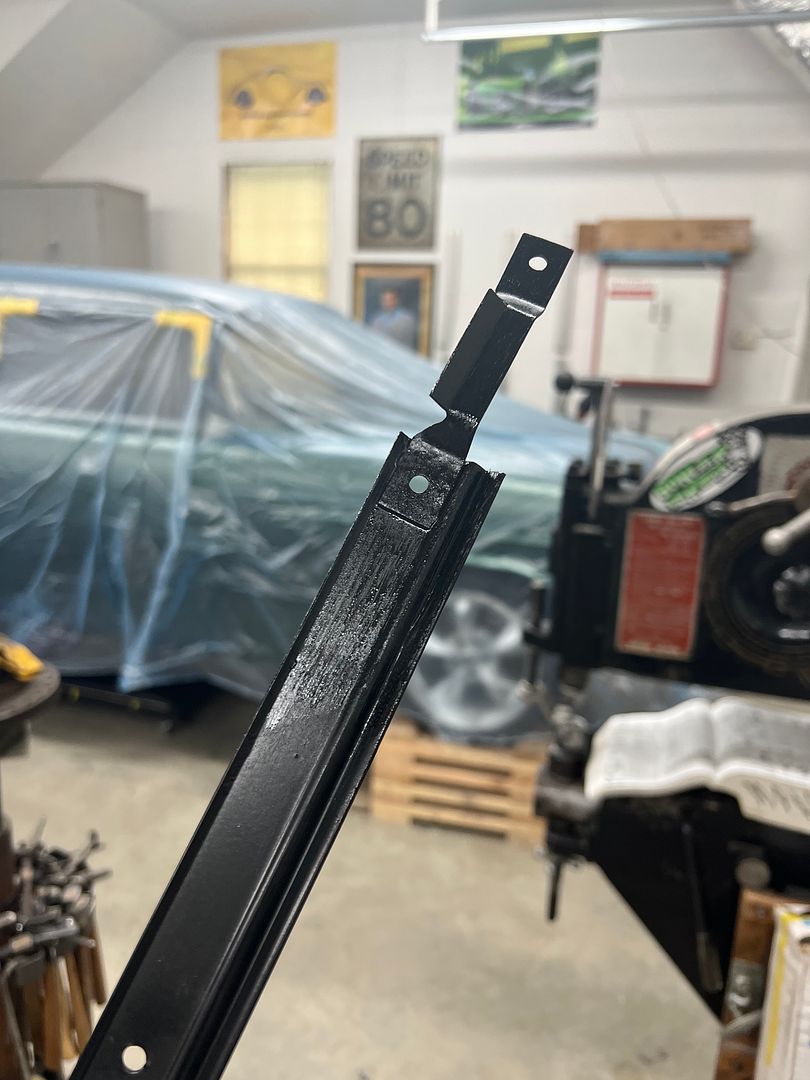
  • Then we changed out the thumbnail shrinking dies for linear stretch dies in the Lennox TE250 in order to tip the flange back horizontal again. We have a backstop / fence that had been notched for tooling and this did a nice job of getting the flange depth consistent.


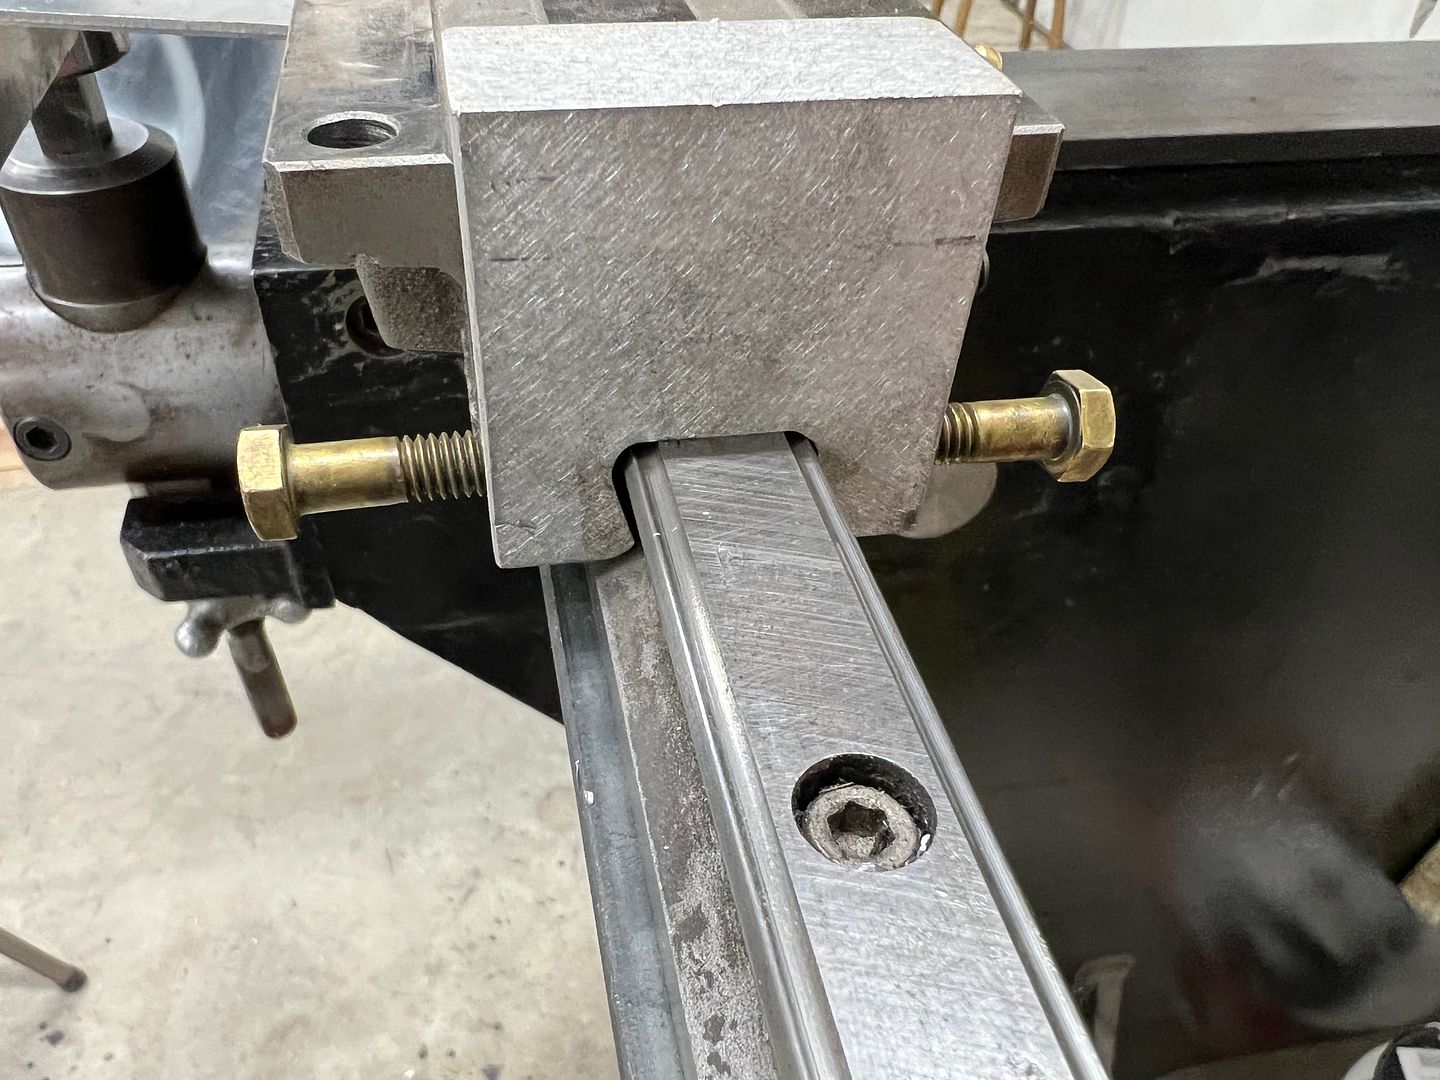
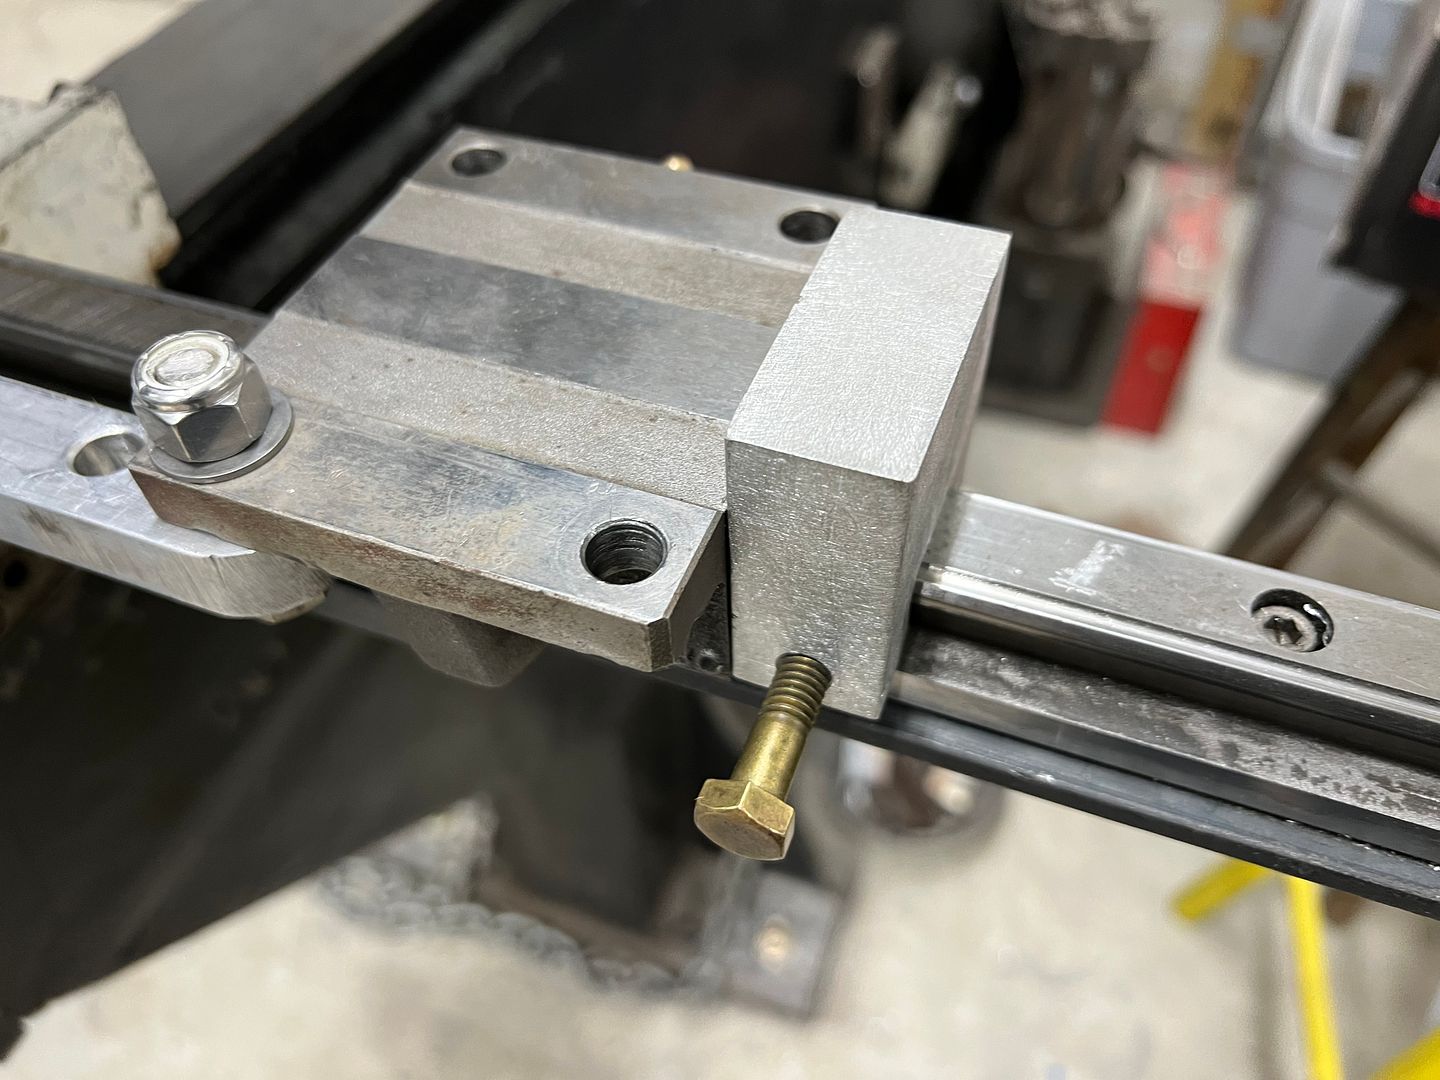
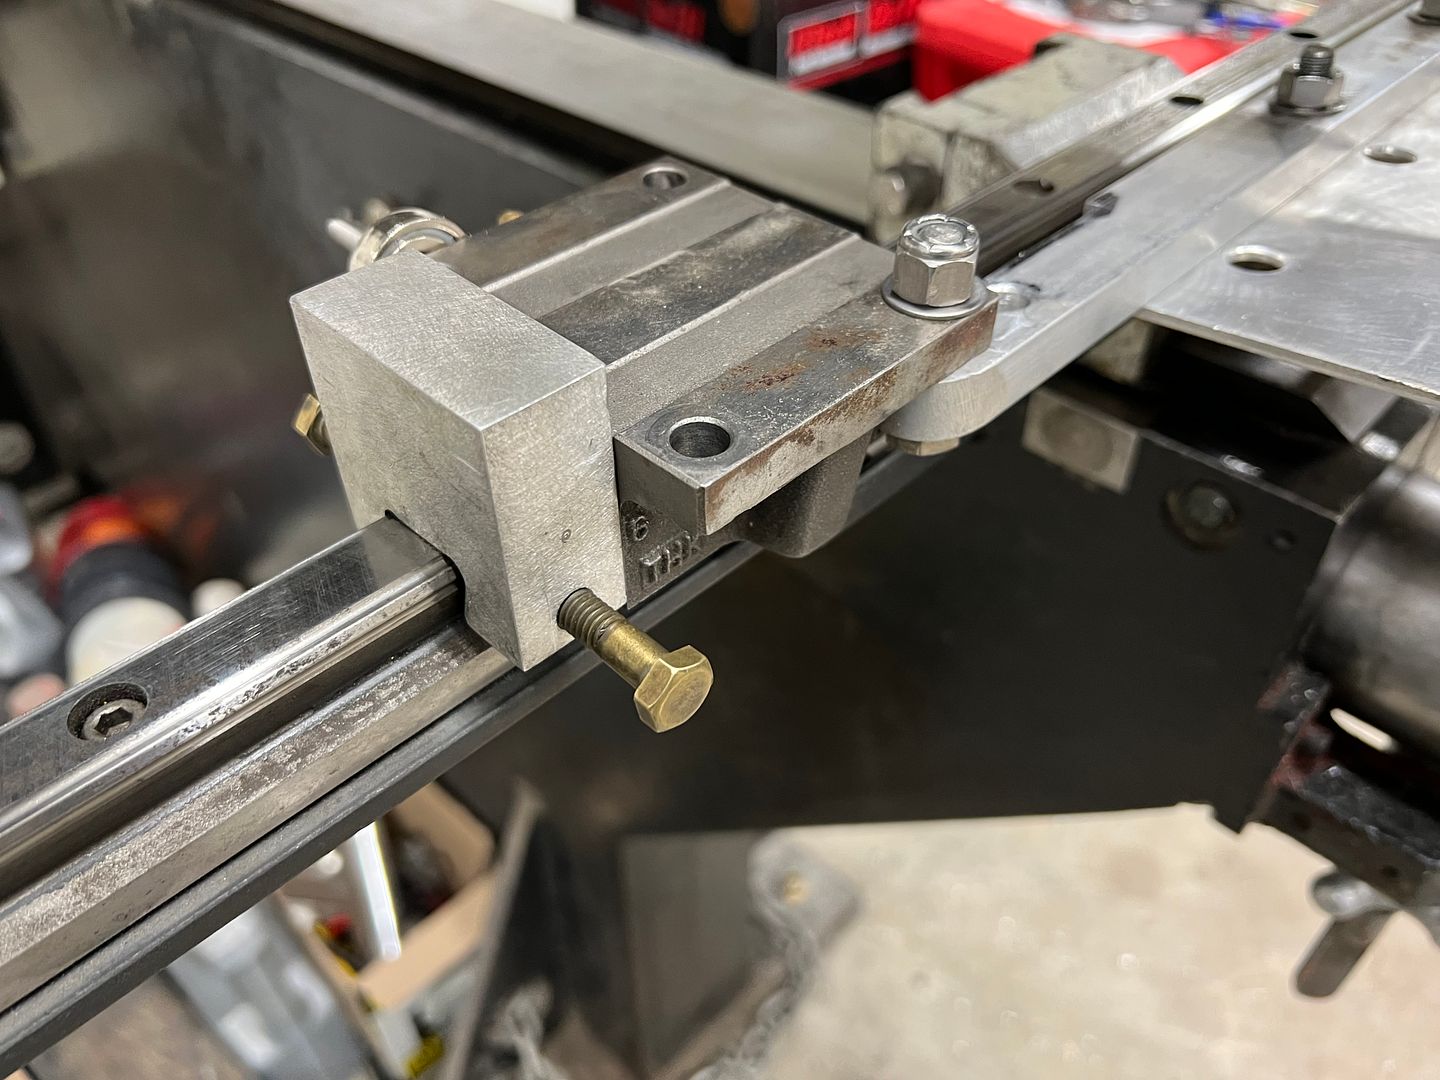
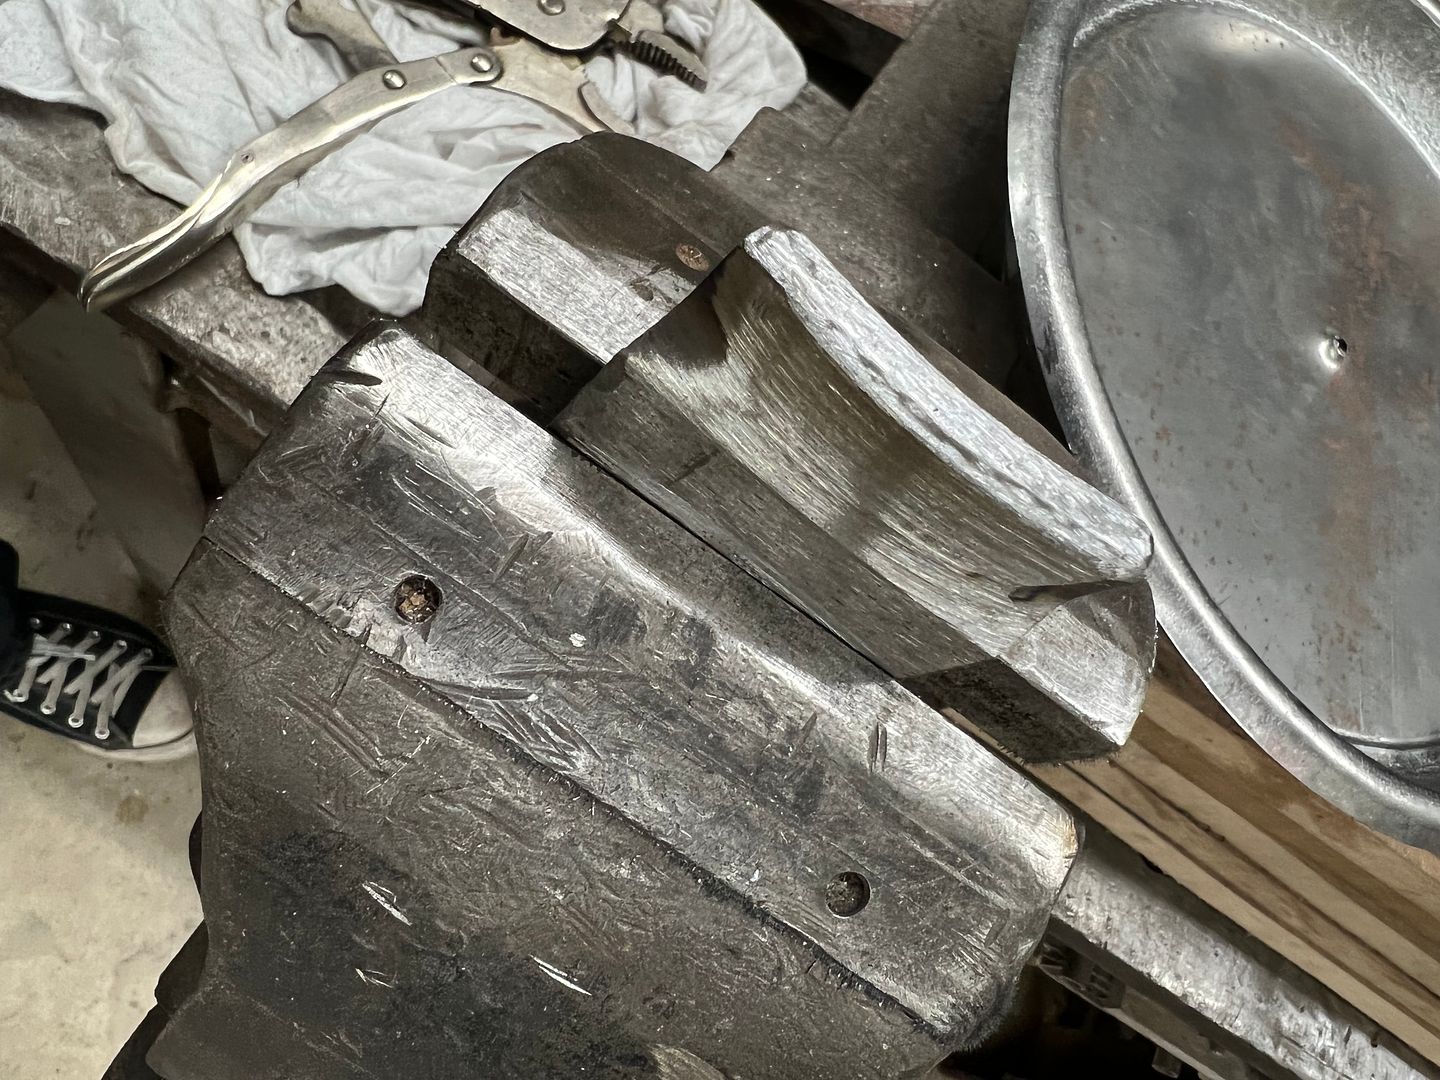
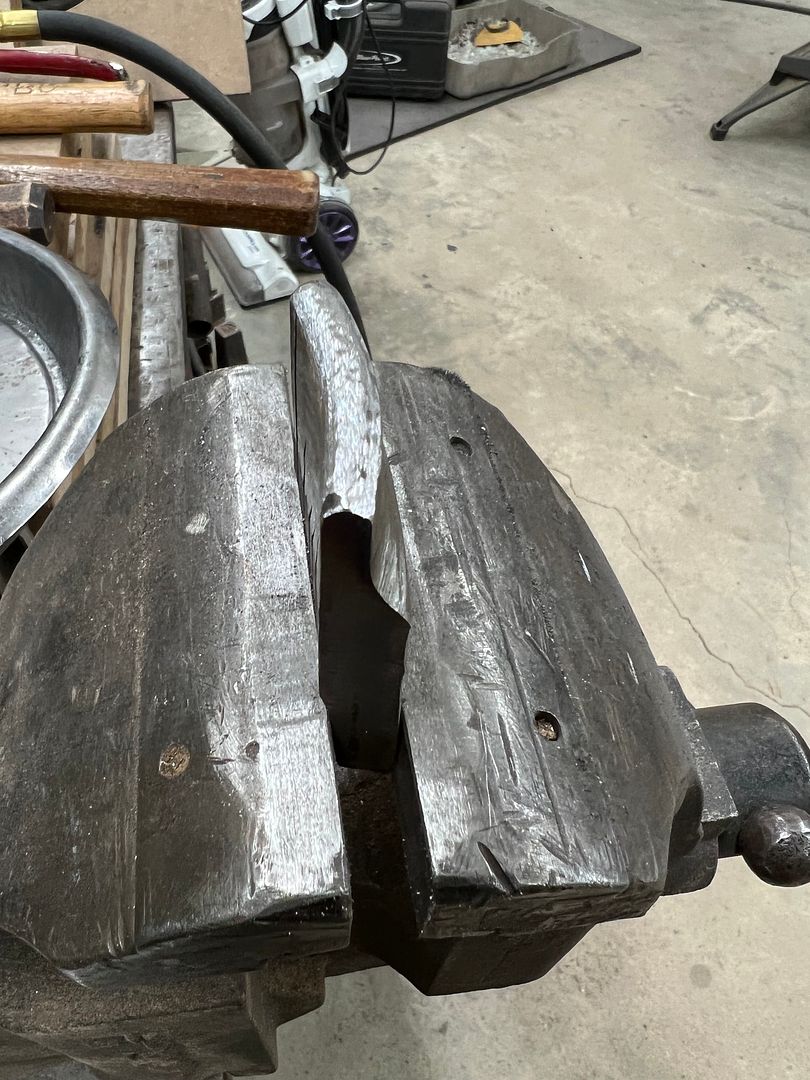
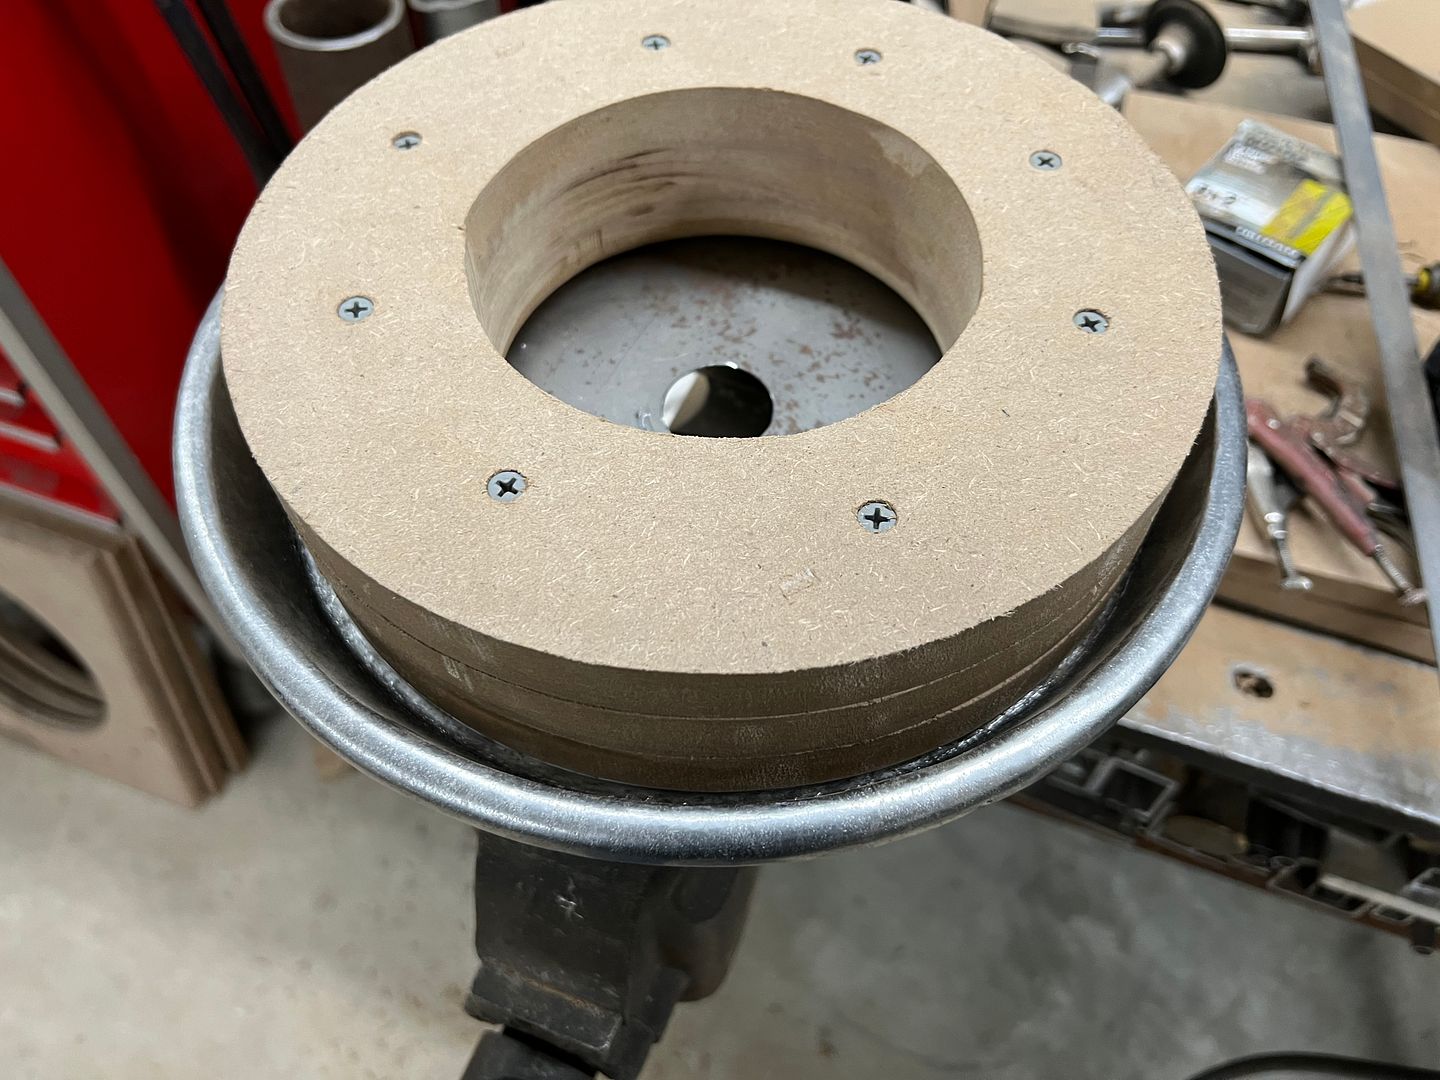
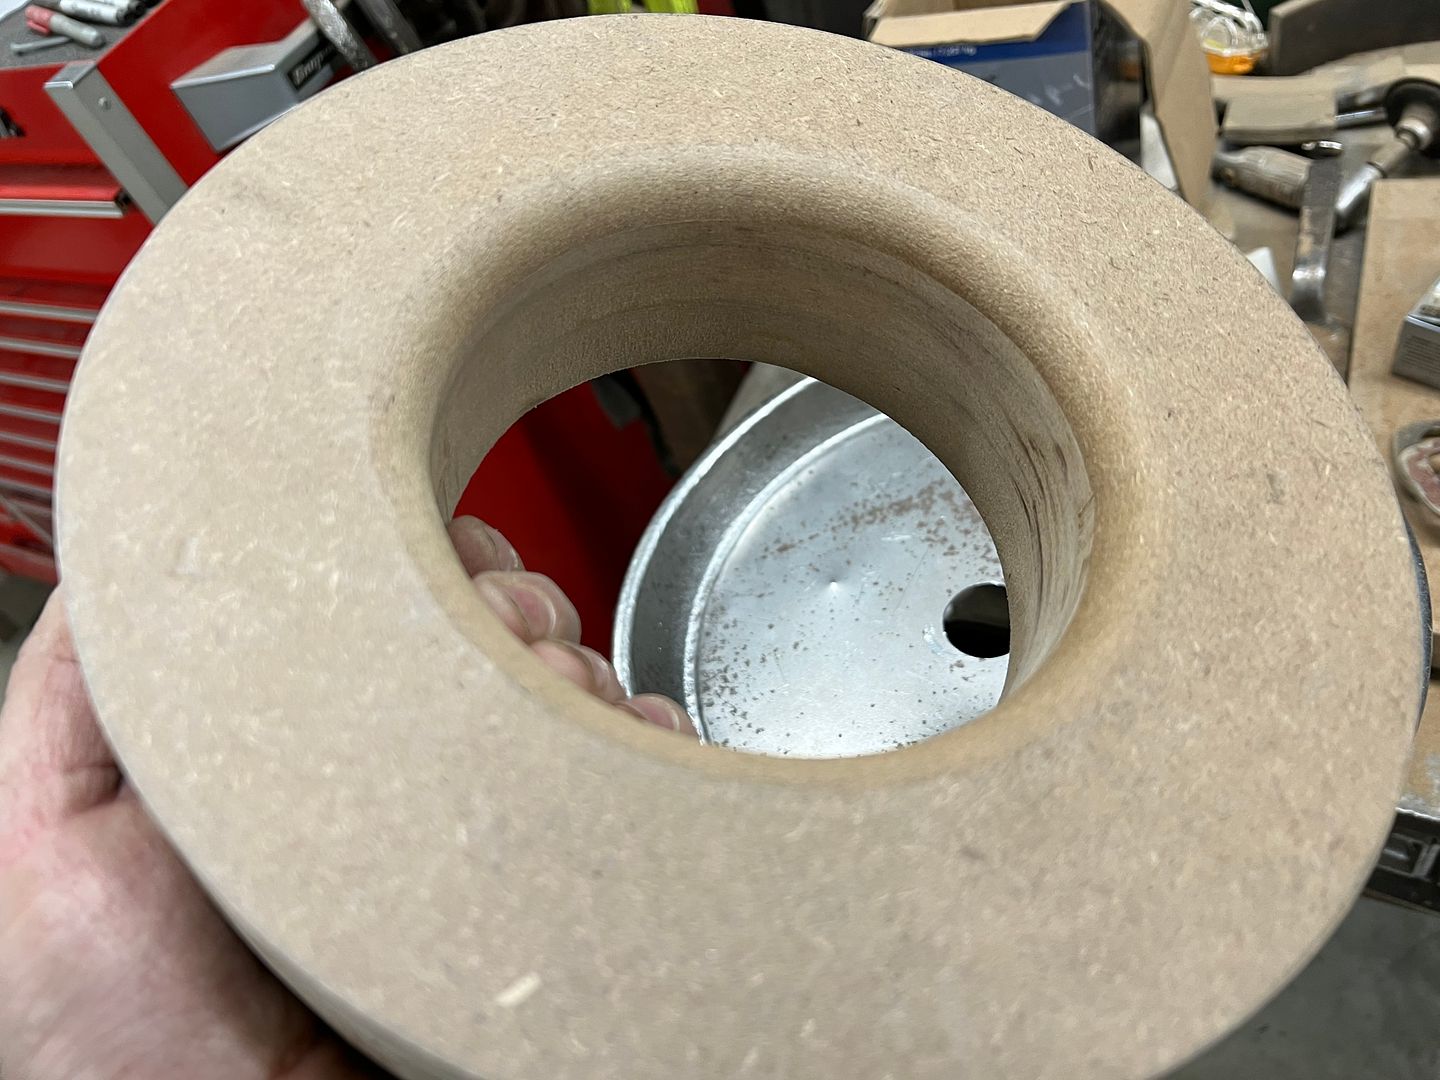
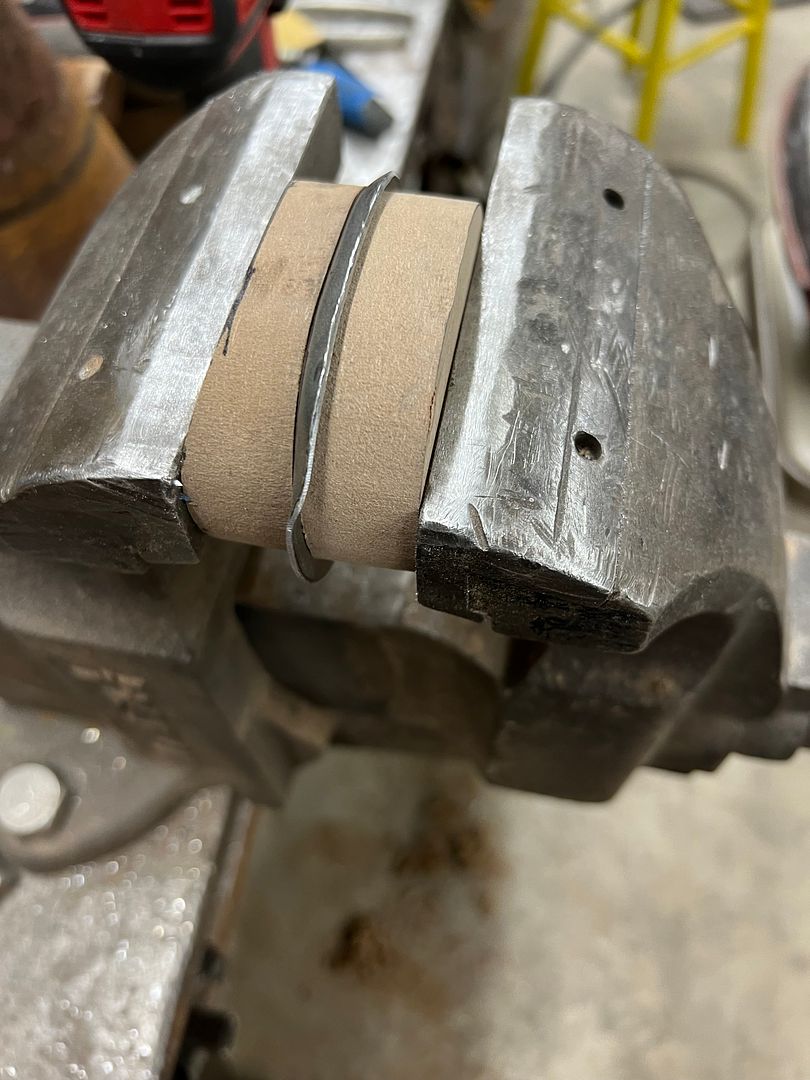
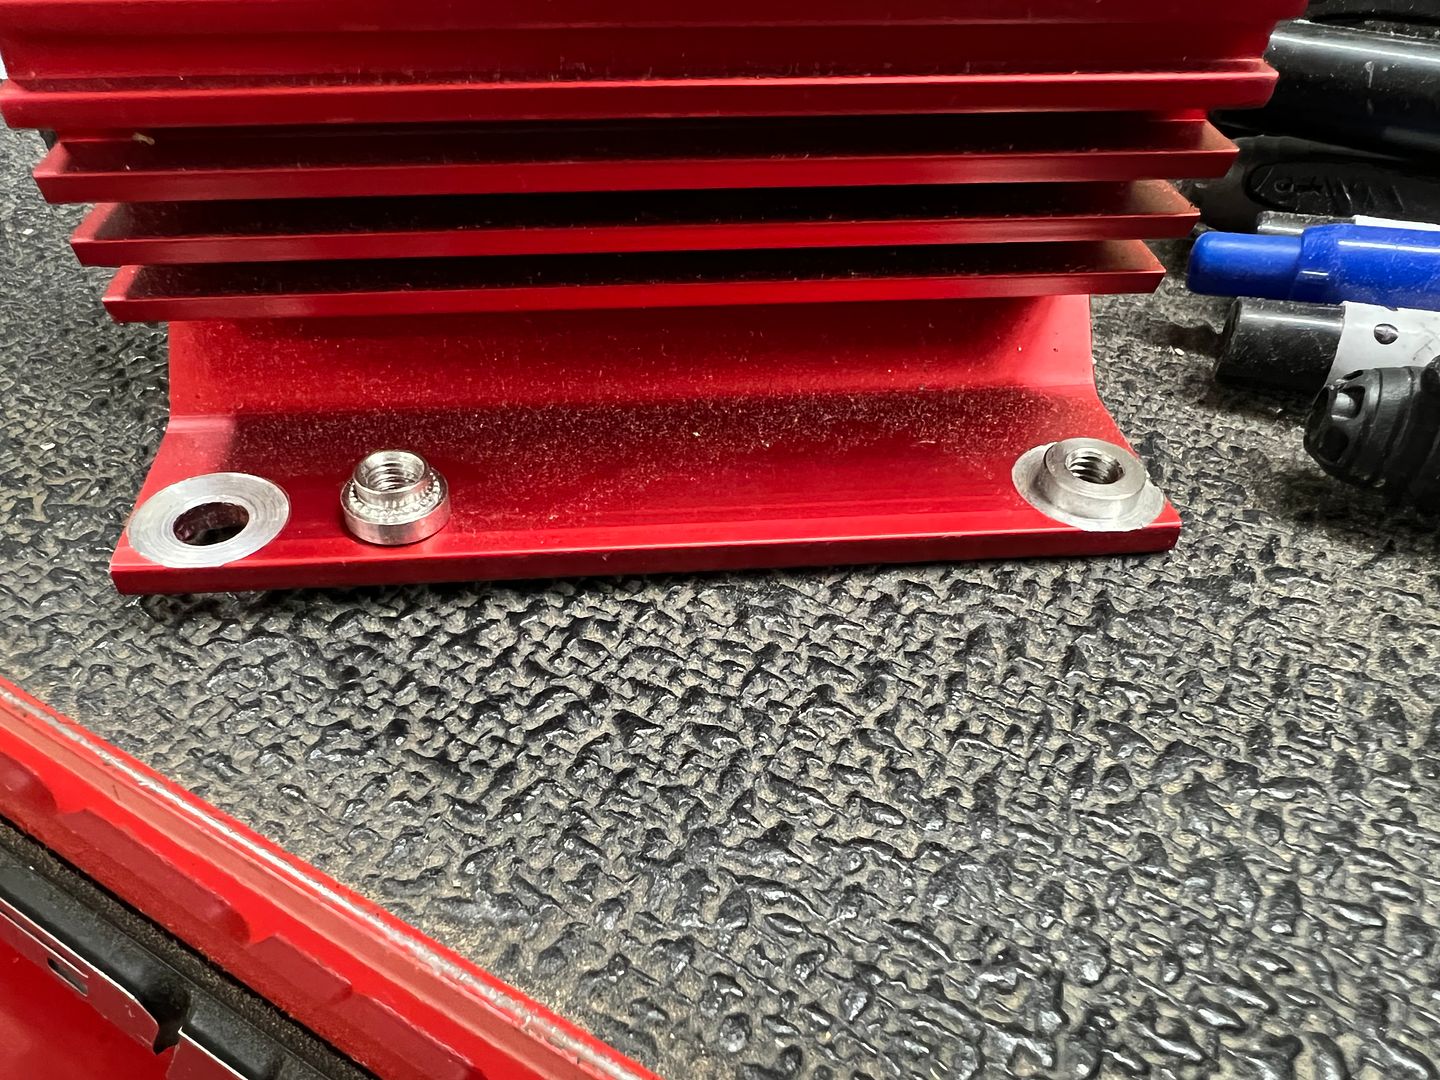
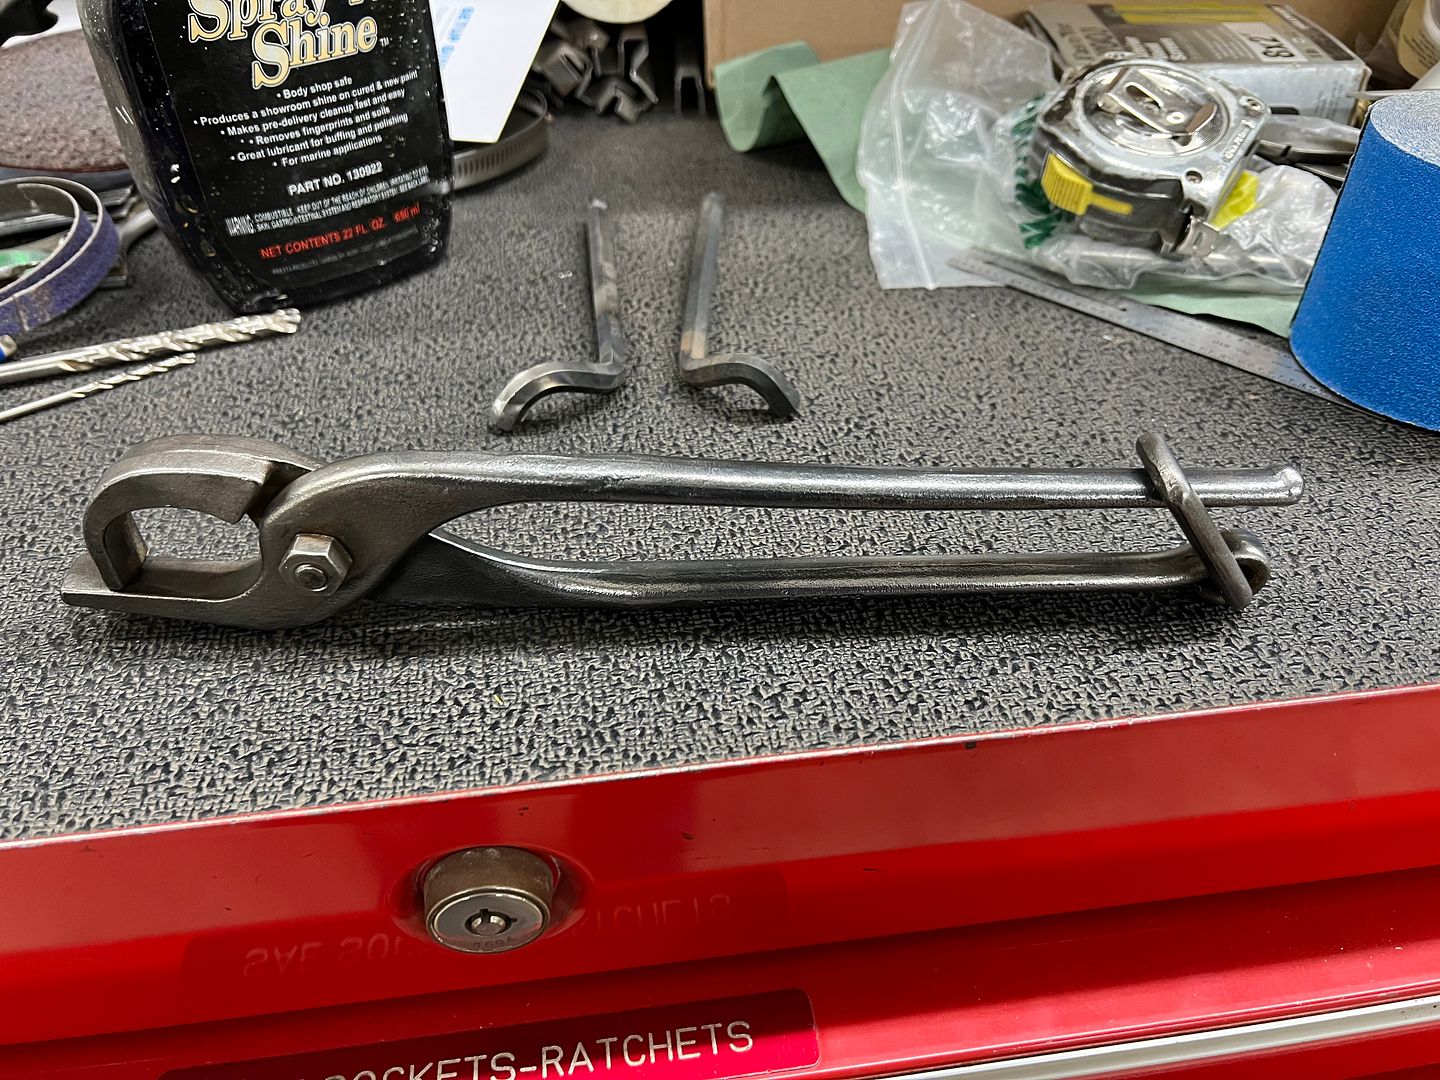
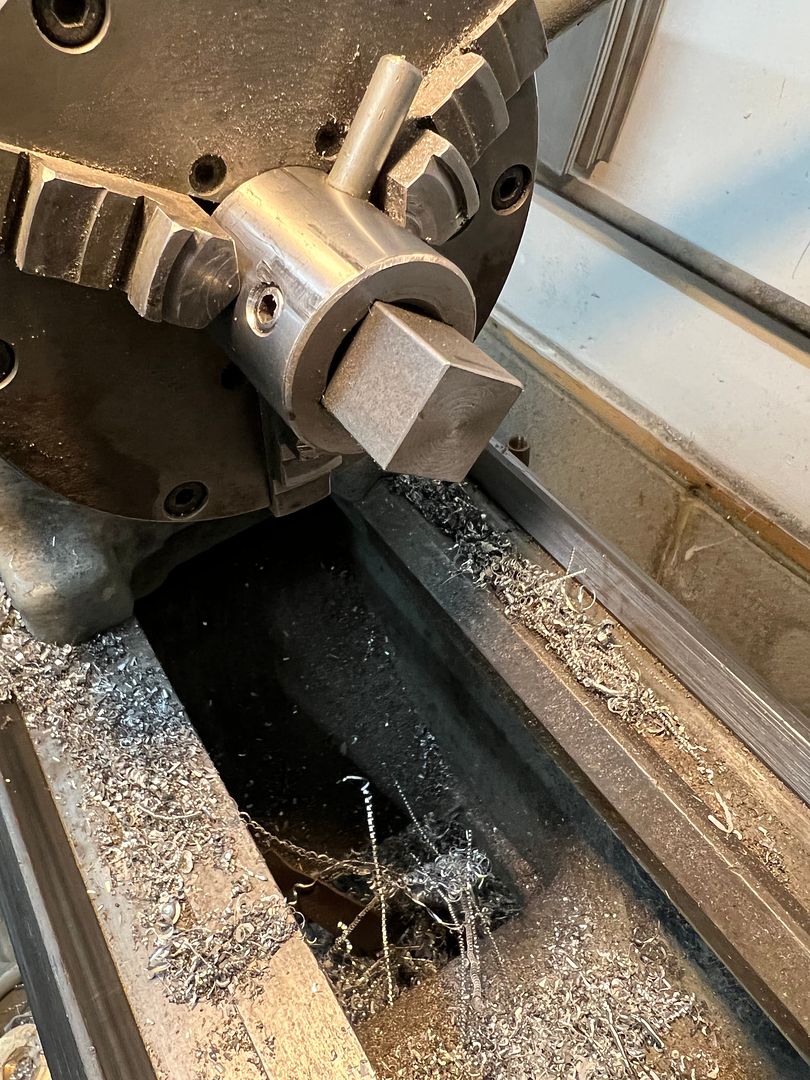
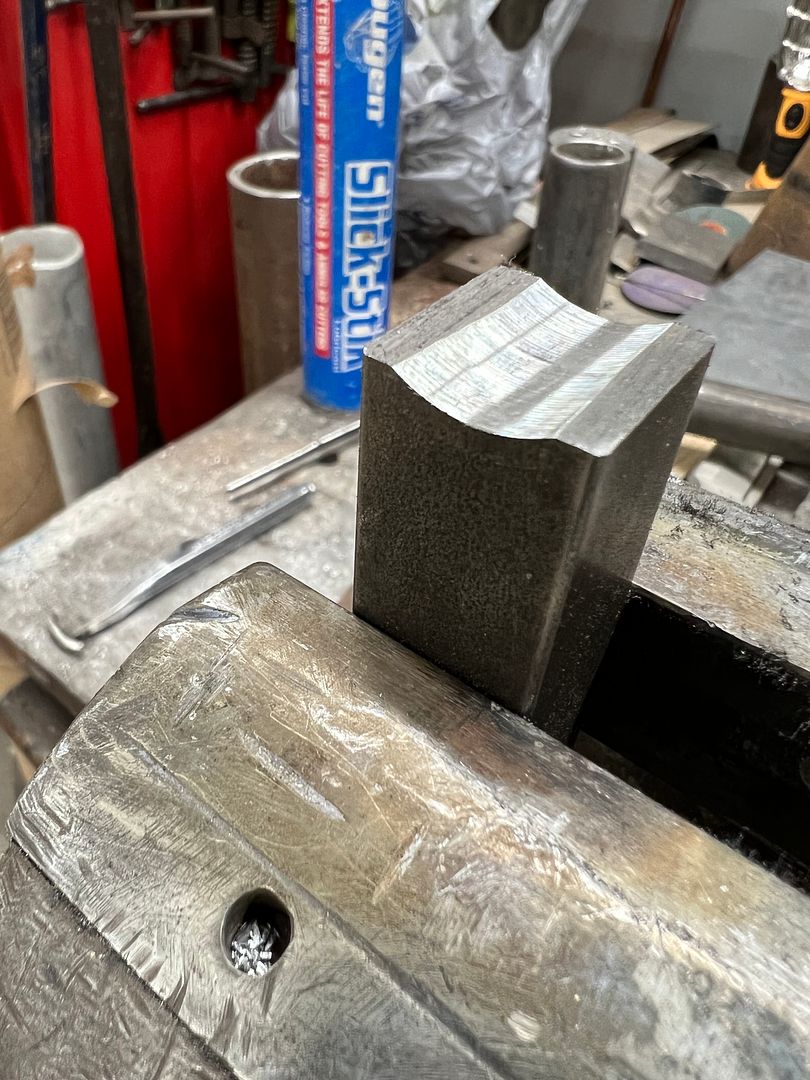
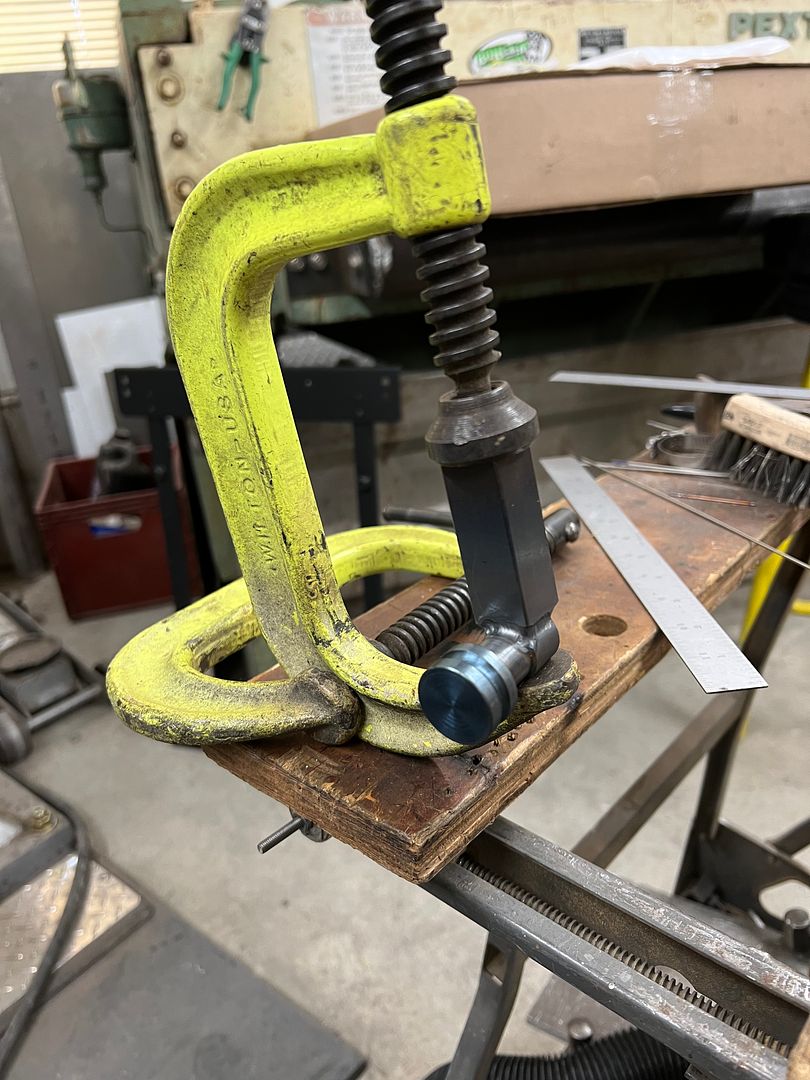
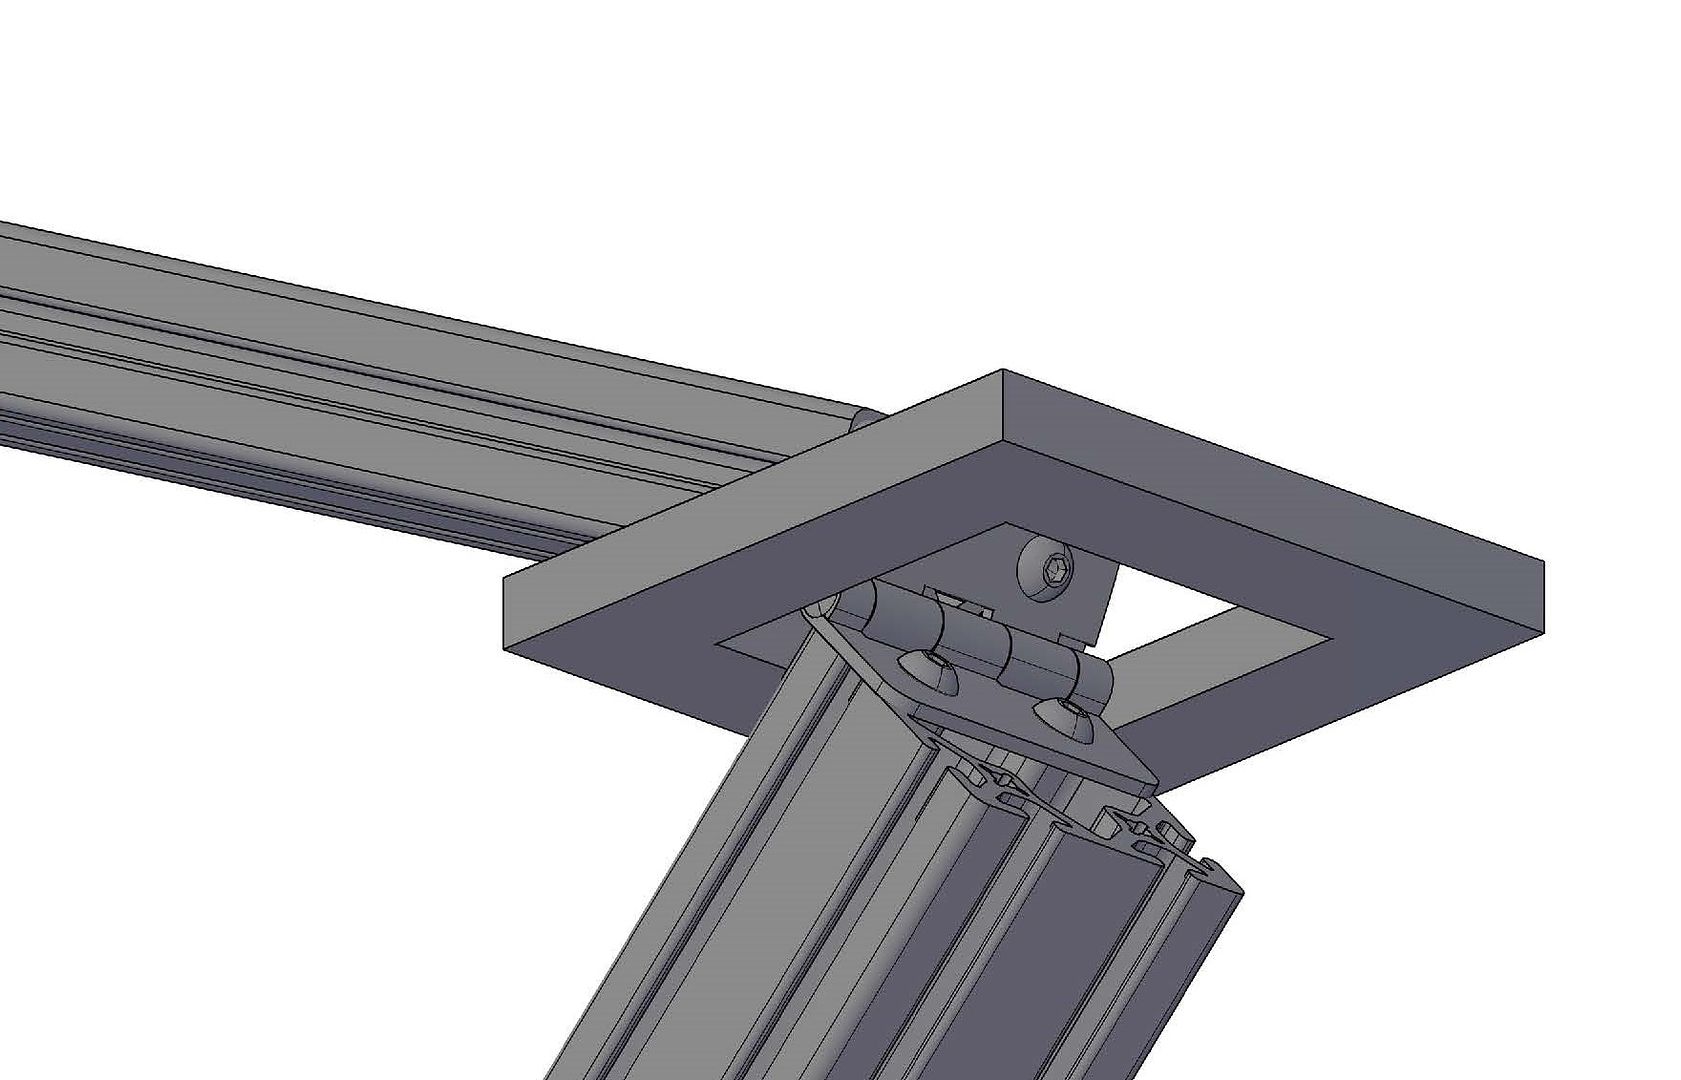
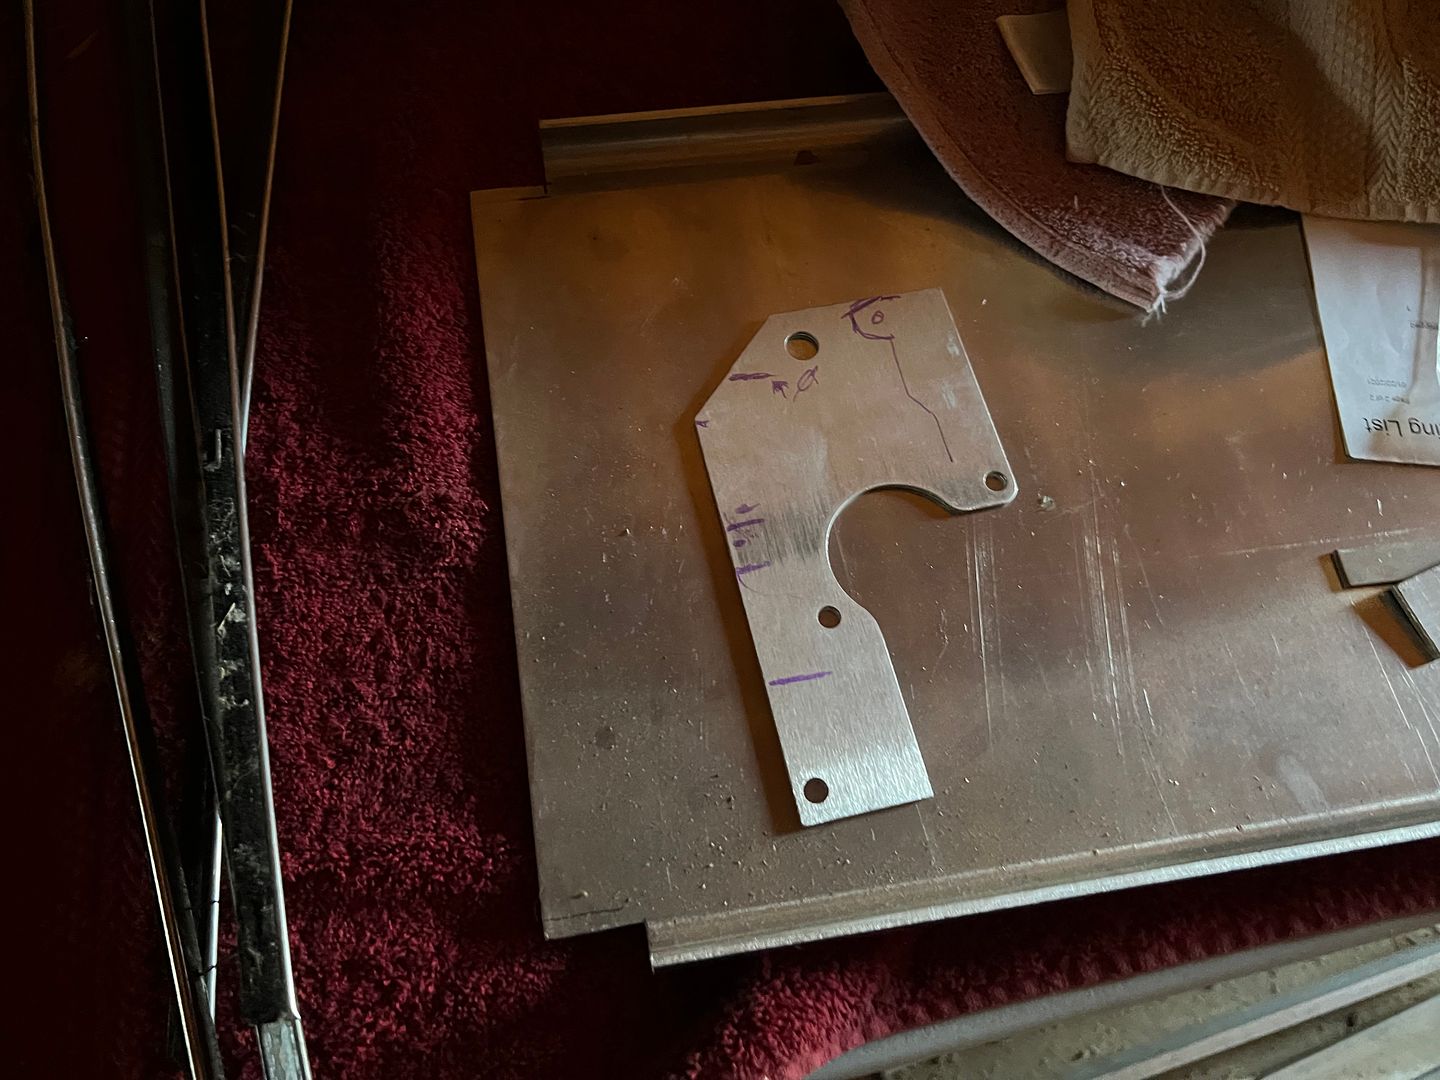
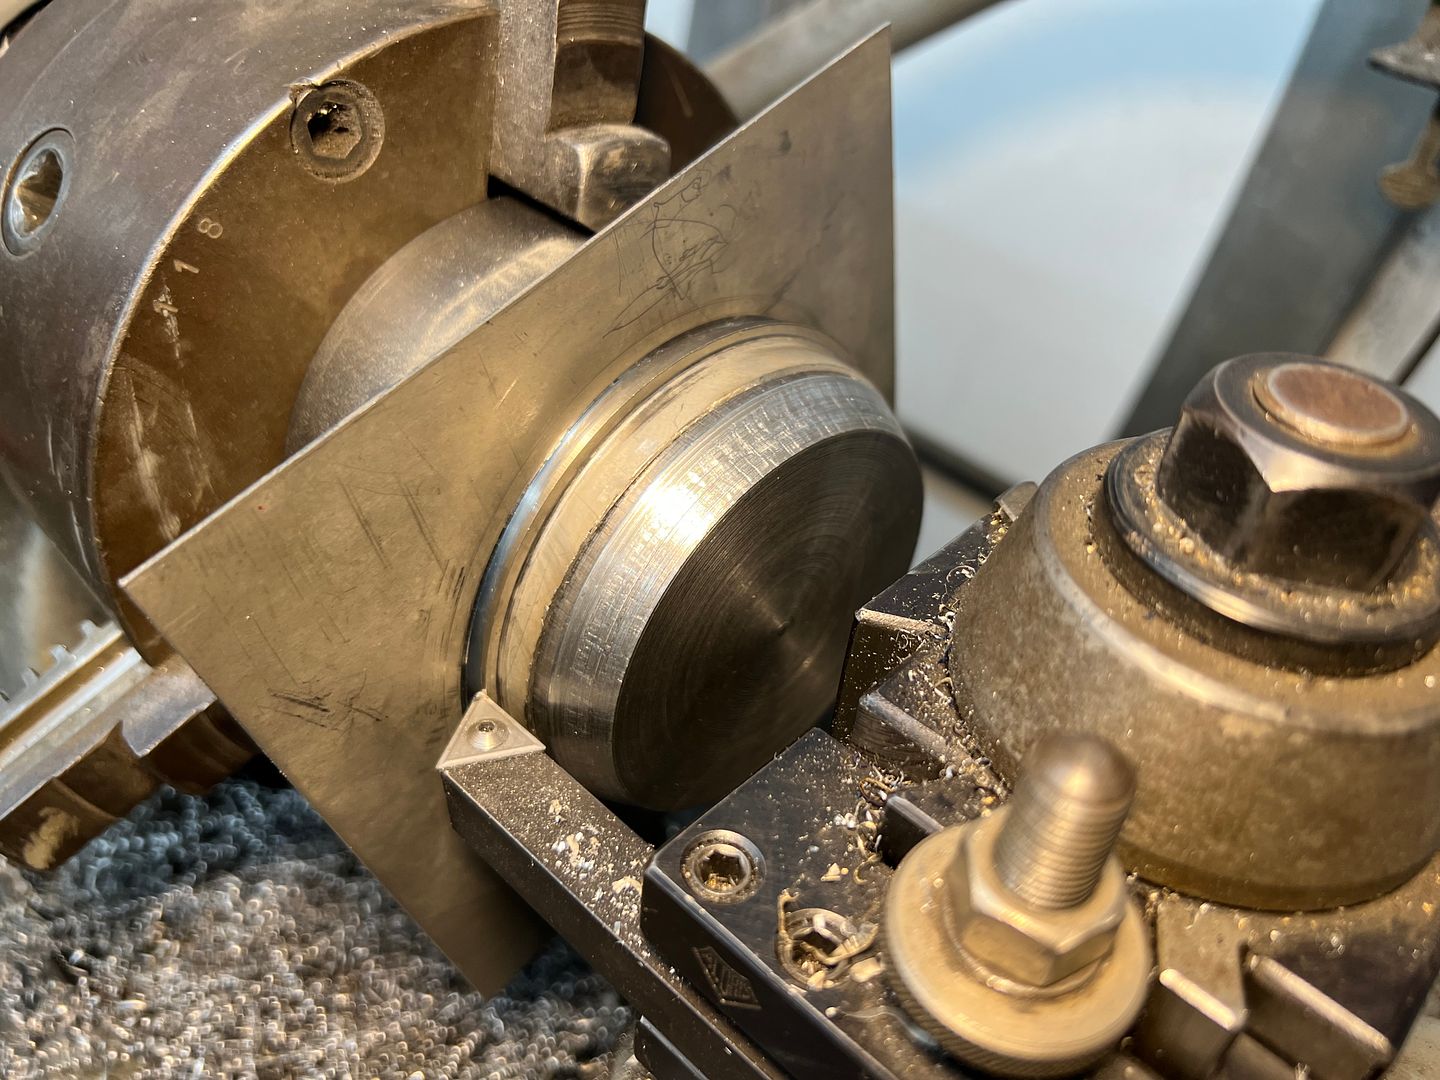
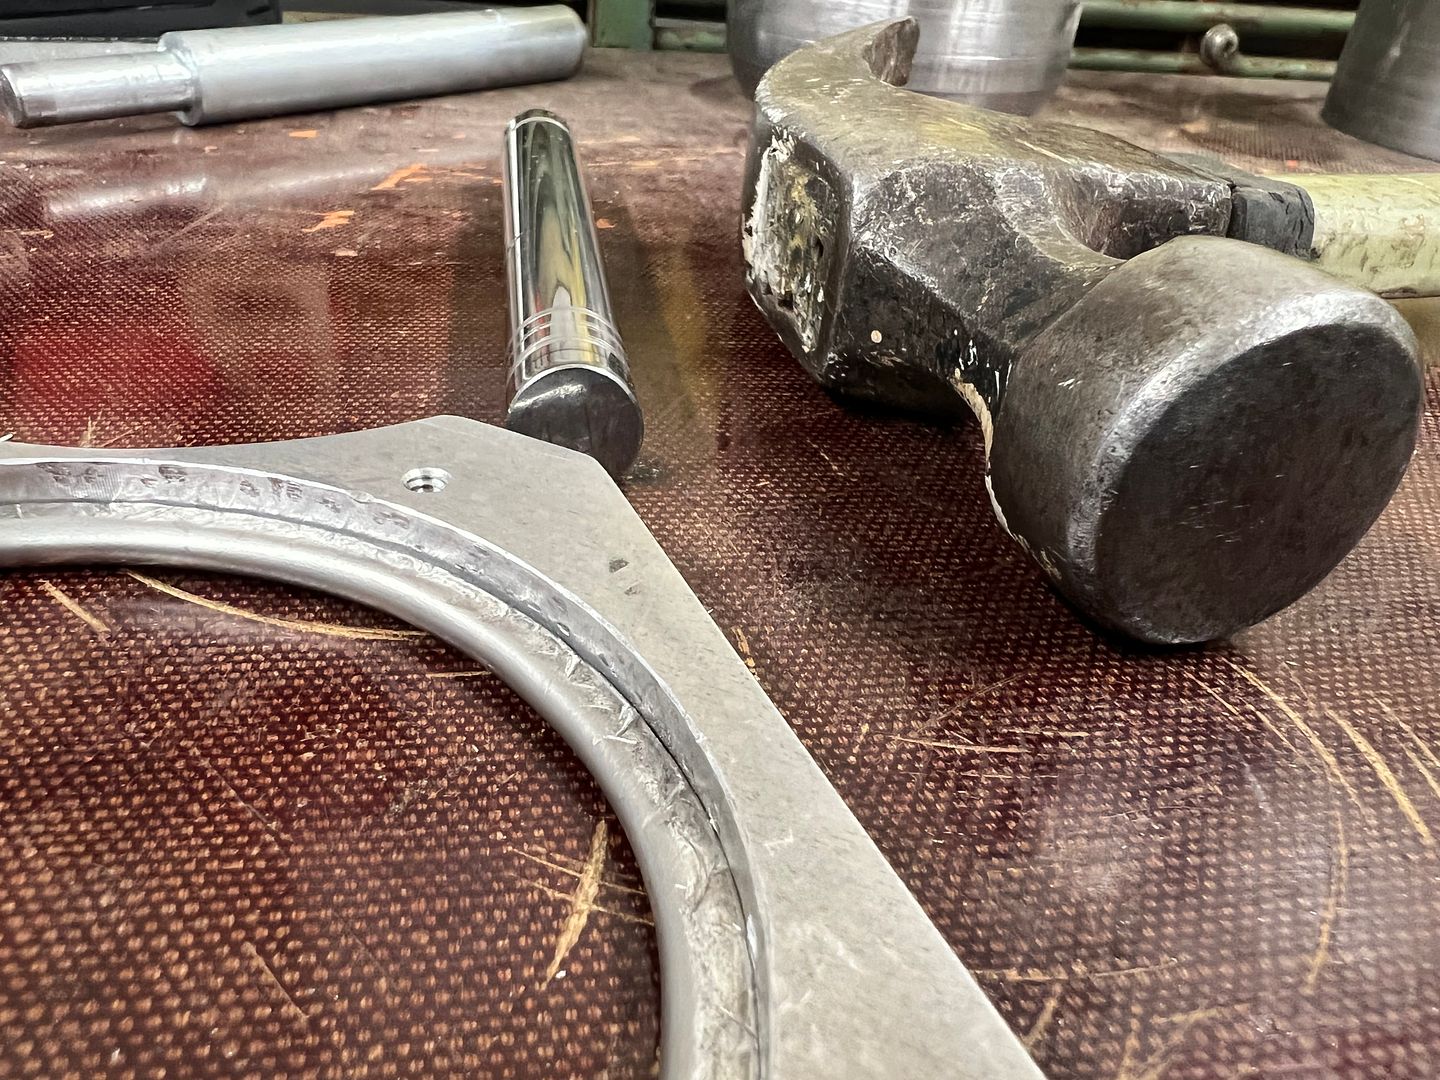
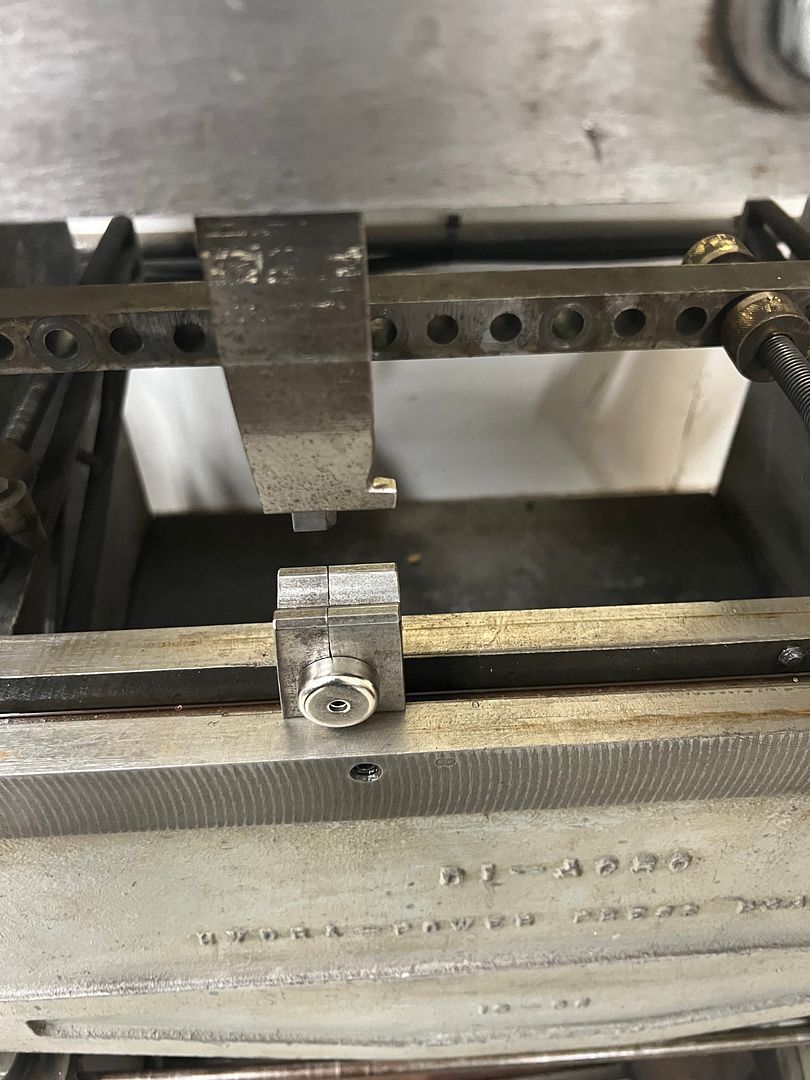
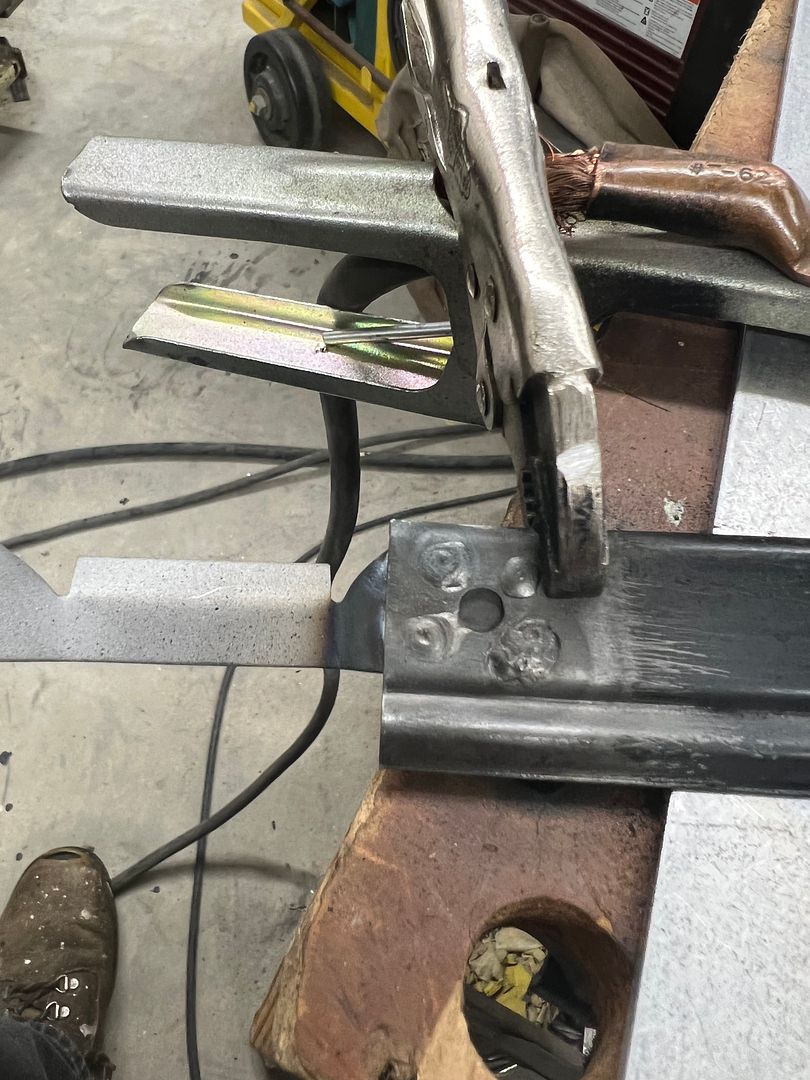
    As this gets bolted to our linear slide and we'll need that to remain stationary, some Cerutti built clamp blocks are added.


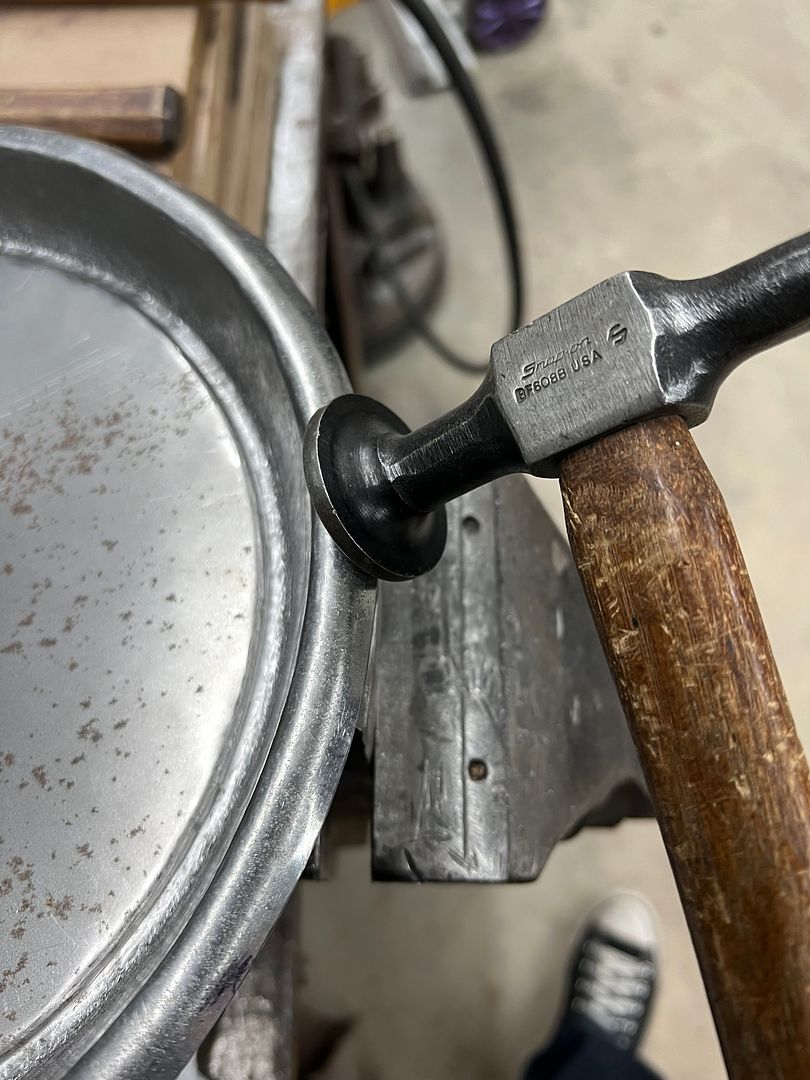
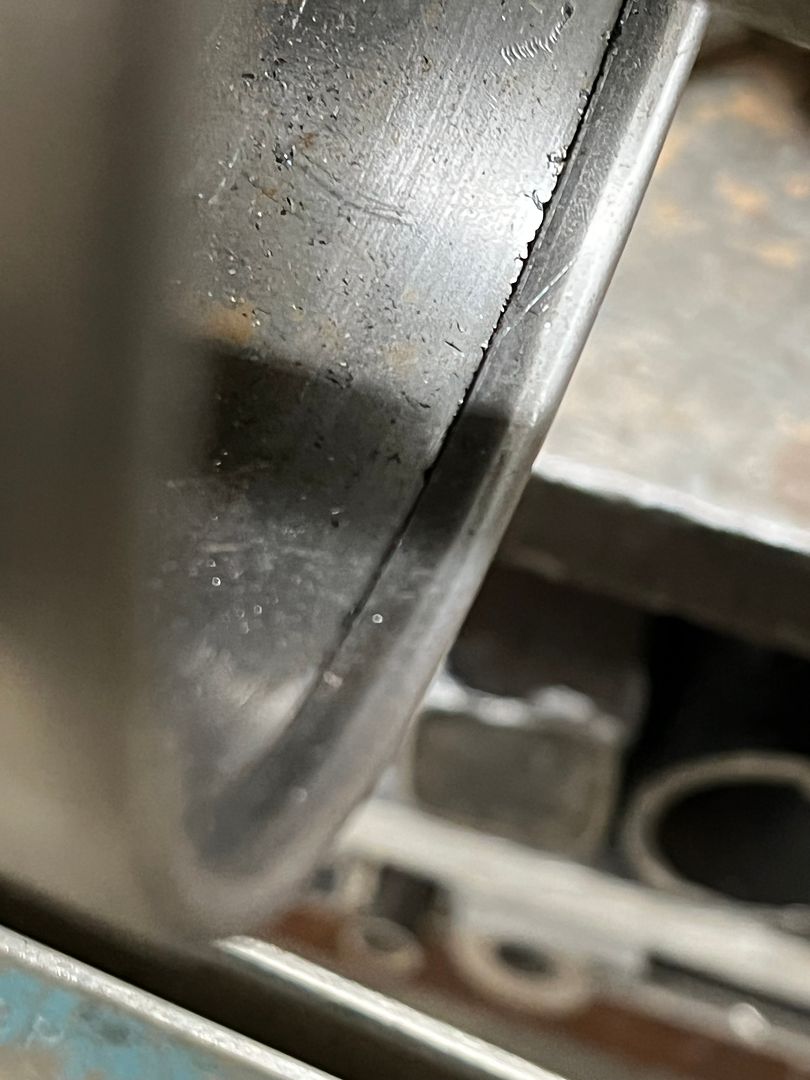
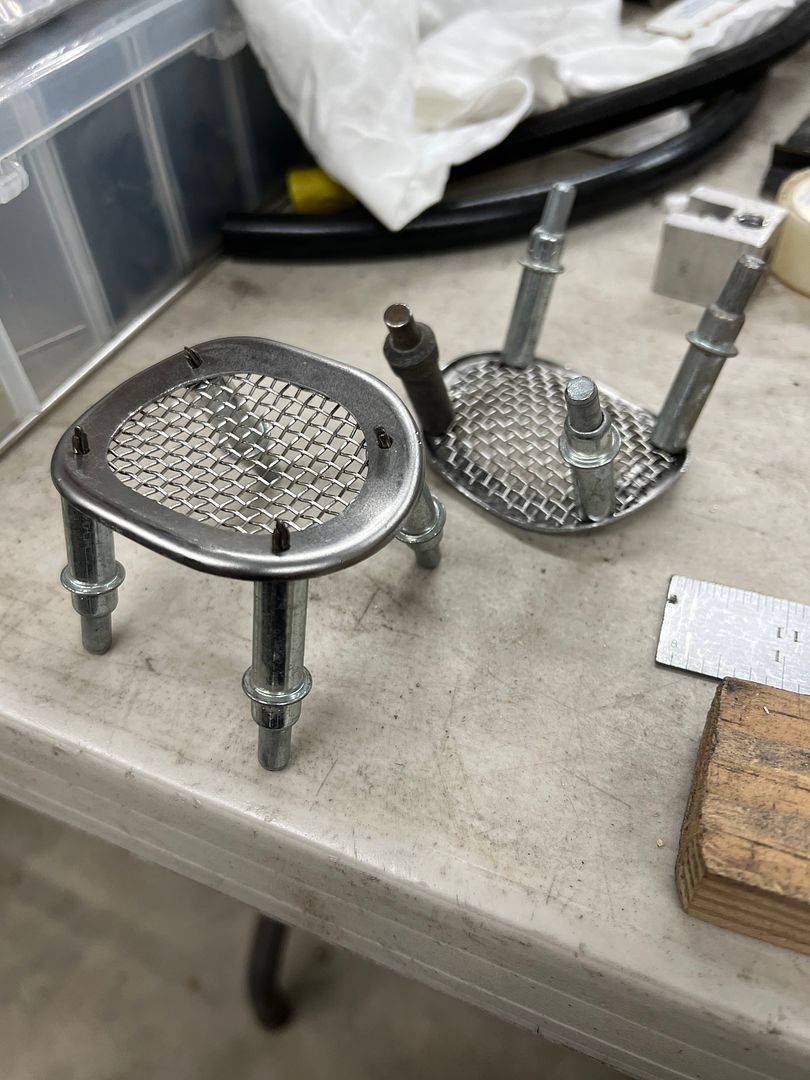
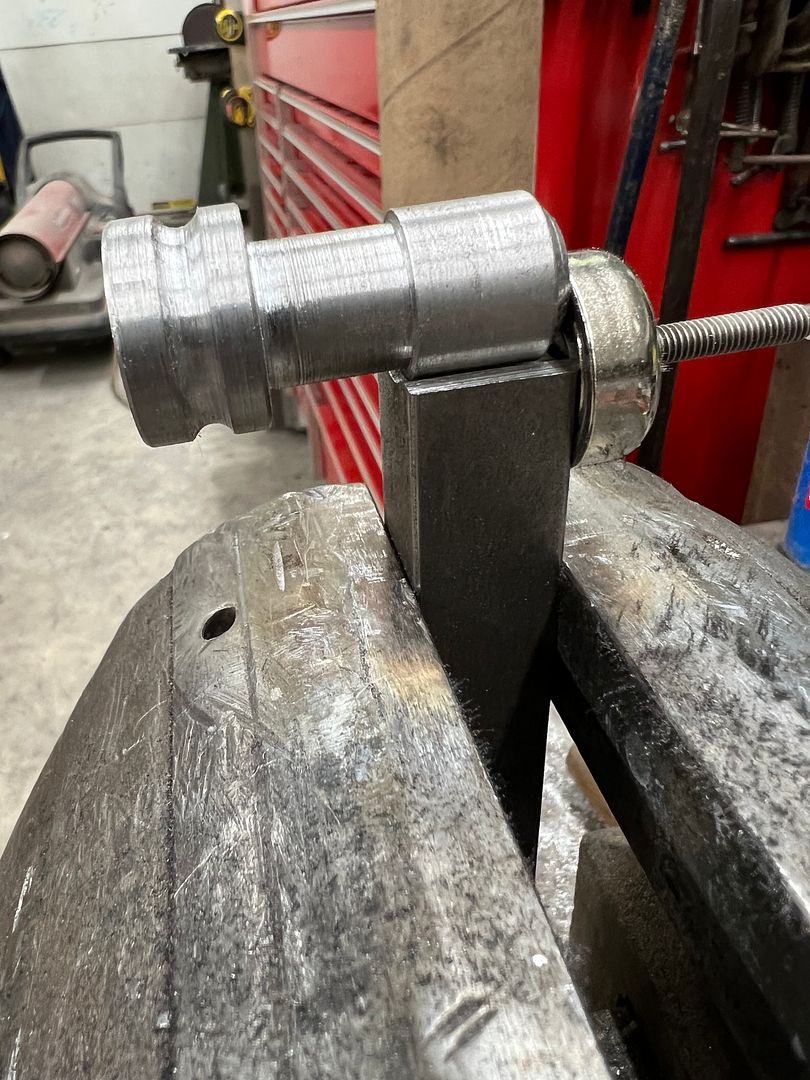
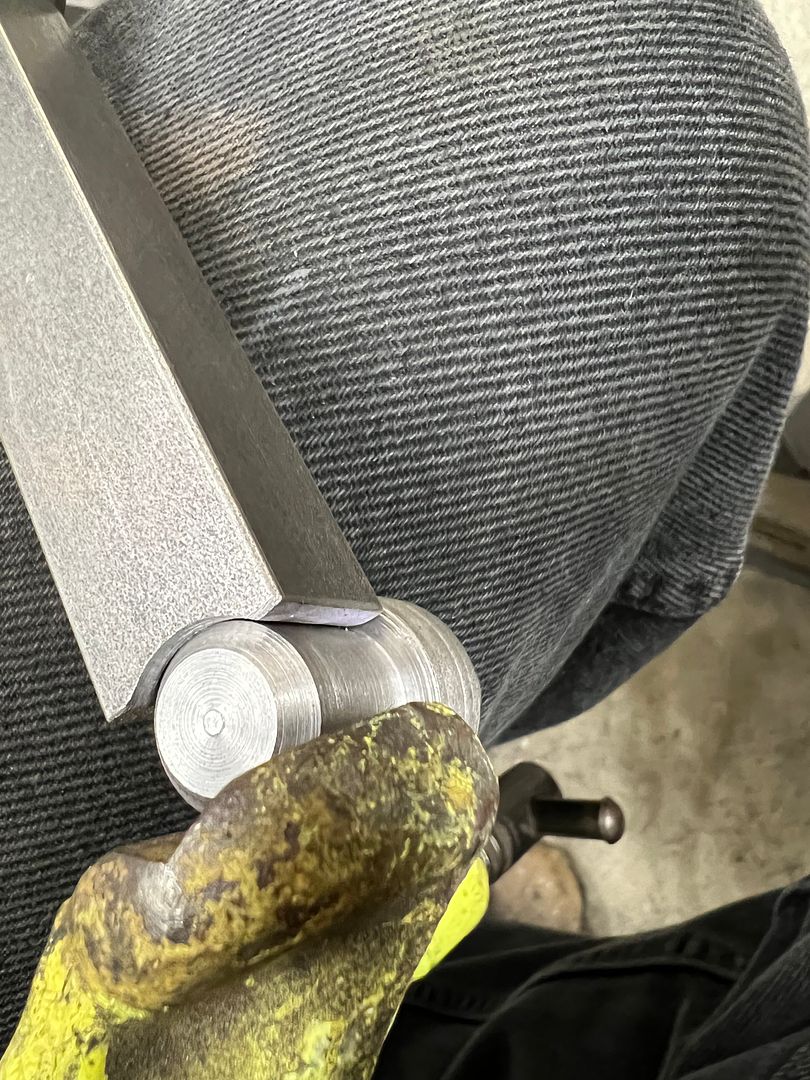
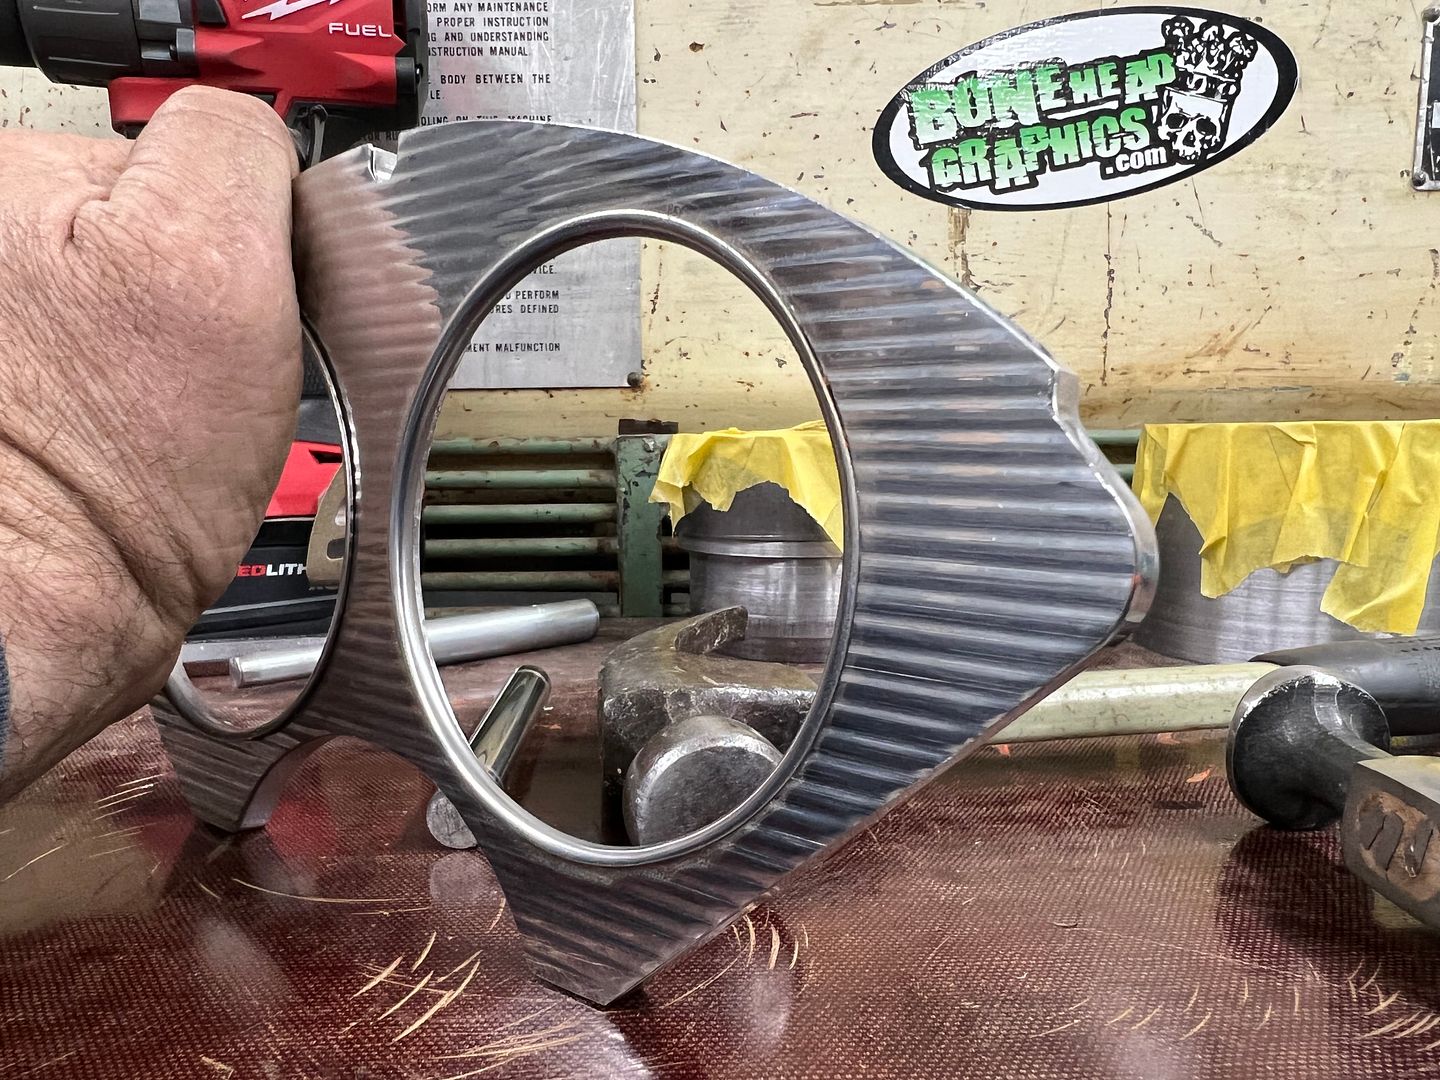
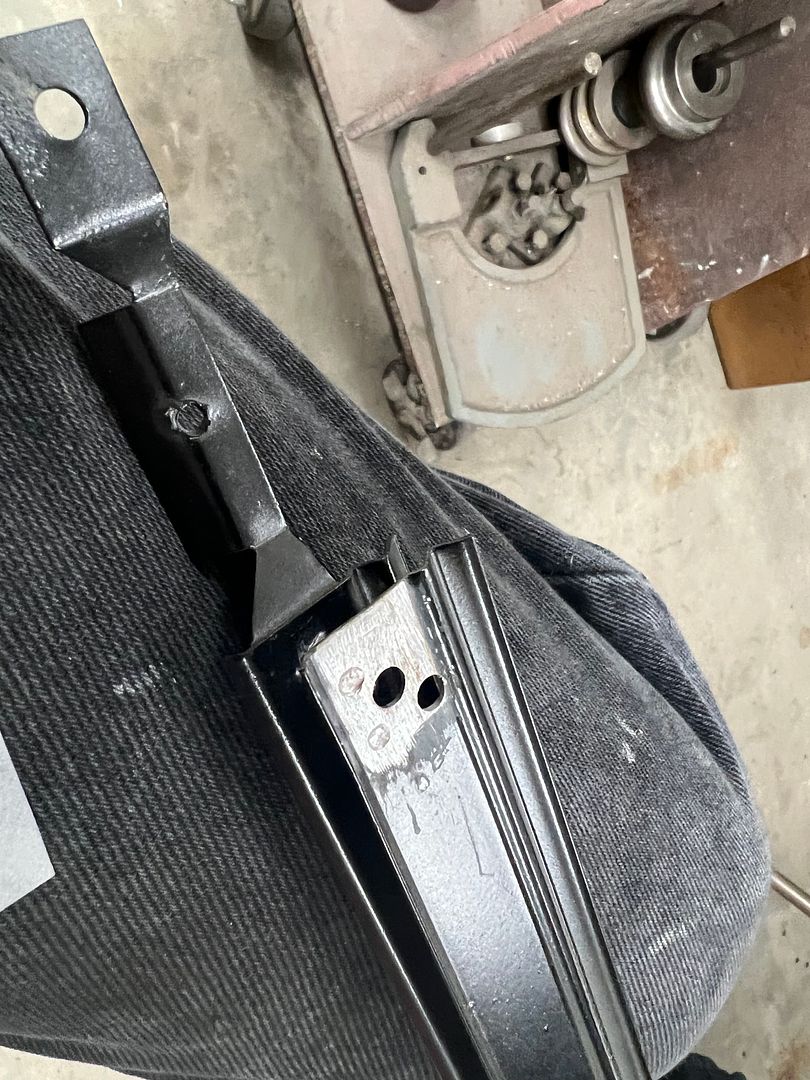
    Linear stretch dies in action:


    Last edited by MP&C; January 14, 2022, 08:10 AM.
    Robert


    Instagram @ mccartney_paint_and_custom


    MP&C Youtube Channel

    Comment


    • Now to fold the outer perimeter of our air cleaner base. I thought of using a tipping wheel, but that appeared to be rather close for comfort. So a curved piece of bar stock in the scrap pile (resource inventory) was selected and a drum sander used to fine tune the radius to match our part.


      Then a hammer form was made to stretch and shape the "horn" of the base. Quite a bit of stretch needed but you don't know until you try...


      Video of hammer action:


      Alas, cracking occurred, so the horn was trimmed just down from the radius and a piece of 18ga was hemmed, rolled, and welded, to form a band. The band was tacked up for a test fit, we'll get it fully welded tomorrow and get all the parts bolted up with some rivnuts and press nuts..


      Robert


      Instagram @ mccartney_paint_and_custom


      MP&C Youtube Channel

      Comment


      • To address any heat/ventilation issues with the coil, we had some stainless mesh left over from our speaker grill fabrication that we plan on using to address air flow inside the cavity.


        An 1-1/2" Rotacut is used to provide the hole in the pocket, two pilot holes spaced 1/2" apart will expand the hole for us.. and the venturi effect inside the breather should promote air flow across the coil.


        Next, to hold the mesh in place some retaining rings will be needed. We'll use some MDF trimmed to size to fabricate these...


        Or the action version....


        The newly formed part has a tight hold on the hammer form, so much that we can clamp it in the vise, drill the two pilot holes to match the pocket, and drill out two 1-1/2" Rotacut holes without the part budging..


        The dynabride belt sander cleans up the points into flats, the side flanges are trimmed to size with a roloc sander, and then we can roll to fit the inside of the pocket.


        test fit....


        Holes are added for some 3/32 rivets to clear the mesh


        Aluminum pop rivets are used to get a better view of the final look before we blow it apart for priming..


        We will be using press nuts in the coil to ease the pain of assembly, and we also added some more shiny stuff on the front end..


        Robert


        Instagram @ mccartney_paint_and_custom


        MP&C Youtube Channel

        Comment


        • Some equipment repairs were in order over the New Year's break, our tried and true Lathem time clock in the shop had given up the ghost. In speaking to Lathem, this model has been obsolete for some time and the only parts available are the print ribbon and a replacement motor. Doesn't help me with this little part...


          Quite used to this lack of availability in car parts, how hard can it be? A $1.99 package of music wire from Hobby Lobby and some round nose pliers, we are back in business....


          Next on the list, I had received a pair of Fairmount wire edge pliers for Christmas, which had quite a twist to the handles where it was difficult for the catch to swing over the adjacent handle:


          Since these aren't available for return at the local hardware store (obsolete), and also since they are drop forged, I decided to do some heating and twisting. The Meco torch was used to bring the handles to a light tan color.... and a twisting device employed with a bit of tension via ratchet strap as the handles cooled...


          ....and here's a video showing their use on a test sample. These do a nice job of locking the wire tight to the flange as you stake and wrap the wire..


          Finally, since the artist in the family had asked a few months ago, looking for a canvas to paint, I pointed her to the Lennox. Here is the layout on the one side in Sharpie in prep for painting..


          As far as the wagon, we are still here, back to one of the more boring stages..... applying epoxy primer and making black dust on the floor...


          And in the planning stage for one of the trim details, the owner had ordered a ball milled dash insert for the wagon many months ago, which was far too 1990's billet. So naturally I breathed a sigh of relief when it did not fit the dash contour. (go figure) I was leaning toward an engine turned panel as it is more of a hotrod flavor. Unfortunately, it is more of a TRADITIONAL hot rod flavor, and we were in the gray area there as well. So in the meantime, a buddy has a shop in Wilmington DE, and does absolutely fabulous detail work (had a hand in the Double Bubble wagon's fabrication), and has been using this ribbed stainless sheet for dash inserts and other details.. (his picture and work)


          This gives a nice classy and timeless look that is a better fit to the flavor of the car we have, so that is the direction we're headed... So to test a theory in adding a finished edge around the perimeter, we broke out the false wire edge Pullmax dies and installed them in the Lennox for a test run on some 19 gauge stainless. The "backstop" was setup to be just shy of a full wrap, which should give us a slight gap for the ribbed stainless to slide into. Our edge strips will be "outfitted" with some hidden press studs to hold it in place on the dash.


          That may just work.....
          Robert


          Instagram @ mccartney_paint_and_custom


          MP&C Youtube Channel

          Comment


          • More blocking, then more epoxy...


            Another hurdle in the way of running our wiring under the dash, we need to address the defrost vents for the Vintage Air unit. What they send is cheesy at best, and given they only send two vents where Chevy installed 4, we're going to go another route..


            The factory piece does take up quite a bit of real estate, and now interferes with the raingear wiper system and the VA heater box.


            So all things considered, we plan on using the original vent top portion and adapt tubing in the equation to make use of a more flexible hose arrangement. The VA has two 2" outlets at the top for defrost, so we will use a 2" tube to feed the center two vents, and 1-1/4" tubes to feed to the outer vents.


            Missed some of the details with that one, a bit more for the center vent..


            Forming our transition from 2" to 1-1/4".....


            As the ports from the VA point almost straight up, the 2" tubes were welded at a slight incline to remove any sharp bends in the supply hose.


            .....as a follow-up, our local artist has been working on the other side of the Lennox..


            and we have been working with some local hippies to explore other shop shirt options.. This was done on the yellow shop shirt so naturally that base color limits what results you will get...


            Robert


            Instagram @ mccartney_paint_and_custom


            MP&C Youtube Channel

            Comment


            • [/QUOTE]

              Can I order one of these in extra large?
              Chris - HRPT Long Haul 03, 04, 05, 13, 14, 15,16 & 18
              74 Nova Project
              66 Mustang GT Project

              92 Camaro RS Convertible Project
              79 Chevy Truck Project
              1956 Cadillac Project

              Comment


              • And one in Medium? Love that shirt!

                Dan

                Comment


                • All this is Very Good to be watching on this build. BUT My Wallet went Dry just on the Labor Hourly Rate on the Air Cleaner !!! :-)

                  Comment


                  • Thanks for the comments on the prototype ;) shirts.. We are still working the logisitics and trying to keep them cost effective. The tye dye portion per shirt cost me about what I paid for the shirt to begin with. So we're still investigating options to try and keep the cost down.


                    In adapting our defroster vents for the wagon, we needed to add a bead in the tubing to better retain the hose attached. The beading die we made for this purpose on the bead roller was too large to fit the 1-1/4" tube, so another tool is in order.. Our worn out Southbend was used to make the round profiles, with a step in the bottom die to act as a backstop for better consistency in bead placement.


                    I don't have much in the form of hardened tool steel for making specialized cutters for the lathe, so I used a 3/4" square cutter from the Lennox to form the following for making the concave shape.. the male counterpart was done on the fly...


                    The 4140 square stock was squared on both ends, then a relief added for our round profile to rest in.


                    Our c-clamps had a VEE notch that would assist in keeping the round bits from moving, so that was used in lieu of a vise..


                    The infinitely adjustable clamps worked well, the TIG was used to add a fusion weld around the perimeter (no filler rod)


                    After welding, the assembly is heated to a straw color (pre-blue) and dipped in our official Mickey Thompson fluid container (transmission fluid) to harden things up a bit.


                    Here are the dies in use, take note of what happens when you don't keep pressure against the backstop.... No harm no foul, a couple more passes cleans it right up...


                    That should help to keep the hose in place...
                    Robert


                    Instagram @ mccartney_paint_and_custom


                    MP&C Youtube Channel

                    Comment


                    • Those videos really help add some depth to what you're doing. Excellent build thread.

                      Comment


                      • Finally back from the latest round of hanging TV's for the day job, We’ve installed three video walls since the end of December, along with other AV equipment. Some we can’t take pictures of, but we’ve included two that we could. So here's some highlights of what we installed and some of the fabrications made in the shop to help out in getting the job done....


                        Before, a couple of 80" displays


                        After, a seamless video wall just shy of 24' long... much better suited to this classroom setting..


                        Our next room gave us a multitude of challenges, the walls here are free standing and we felt they were insufficient for supporting the video wall without deflection. So we opted for an 8020 structure in front of the existing, attached to the floor and the deck above. Next challenge is to anchor the columns to the concrete above with no access due to the 60" Drywall surround encircling the ceiling tiles.. before:


                        So I came up with a diagonal bracing that would make use of hinges for allowing assembly of the column and brace within the hole we would cut into the ceiling for minimal disturbance (less drywall repairs)


                        ....which in reality was not as easy as it appeared in print....


                        This video wall is just shy of 16' long and uses 0.9mm pixels.


                        Some of the fabrications made in the shop, a water fall to help support the abundance of cabling going into the equipment rack....


                        This was our first time using Cyviz touch panels, which were only available as a table top version. The old touch panel was recess mounted in the wall, so we either leave the old one in place to fill a hole in the wall, fill the hole in the wall with a blank panel, or come up with a wall mount design that Cyviz sorely needs.. One guess as to the option I chose....


                        Powder coating done locally by The Shop at Shorty’s.
                        Here's the video of installing the mount to the touch panel... Funny story, one of the tech reps that showed up from Cyviz swore this wall mount was their product...


                        He was told, "no, one of my guys made it in his garage".. He didn't believe it...


                        ....and installed...


                        Last edited by MP&C; April 18, 2022, 12:02 PM.
                        Robert


                        Instagram @ mccartney_paint_and_custom


                        MP&C Youtube Channel

                        Comment


                        • So...where we had left off on the wagon, more blocking of primer, fabrication/modification of defroster vents, and wiring.. So a test fit of our fuse panel mounting plate (American Autowire) found that along with our parking brake pedal assembly location and the close proximity of the Raingear wiper motor, things were much too snug. So in looking at the room available under the dash, just to the right of the brake pedal looked promising but one of our newly formed defroster tubes interferred... This one hung down too low....


                          And, in typical domino fashion, the fuse panel mounting plate would not work where it was not intended.


                          We made a new bracket of 1/8" aluminum, and bent some mounting ears to be able to place it well above the accelerator linkage. We also designed it to use existing hardware to minimize any additional holes through the nicely painted firewall.


                          Next, the interfering defrost duct was shortened to provide the needed clearance. Side note: Check out the HAZ difference between a TIG tack on tight fitting panels vs. having to add filler on a slight gap...


                          Fitted before we do the final welding, this shows to leave us sufficient room...


                          And now for the fun part....
                          Robert


                          Instagram @ mccartney_paint_and_custom


                          MP&C Youtube Channel

                          Comment


                          • While we're getting prepared for wiring installation, the instrument cluster was dug out of its box to help us see where all the wiring was going. And there it was in all it's billet glory. This will kinda clash with the ribbed stainless trim we're using for the dash insert, so let's look at adding it to our gauge cluster as well...


                            Where this gauge cluster was designed with a flush fit in mind, we need to be able to hide the cut edge of the ribbed stainless. So the holes were opened up slightly where the gauge could be installed from the front, and the bezel will now hide our cut edges..


                            The stainless is in a rather raw form, and to give it more pizazz, perhaps some polishing is in order... So we used some Trizact products on the DA, and ended things on the buffer...


                            Here's how it turned out...


                            We also have some new indicator lights coming for the high beam and turn signals to get away from the tiny LED's that also scream billet.. The new lights should hopefully be here Saturday where we can get this modification wrapped up this weekend..


                            Last edited by MP&C; April 22, 2022, 05:55 AM.
                            Robert


                            Instagram @ mccartney_paint_and_custom


                            MP&C Youtube Channel

                            Comment


                            • Today we had a back up and punt moment. The nice chrome bezel on the gauges is far too large to fit in those corners of the instrument panel bezel from the outside. So we'll have to keep it on the backside, but that doesn't help us cover up the cut edge of the hole in the ribbed stainless..


                              ......so let's make some stainless "eyelets" to both hold the ribbed stainless securely to the billet panel, as well as give us a finished edge around the cut hole.. First a punch and die will be needed to press one side of our eyelet.


                              and we added a 1/2 x 1/2 tang to hold the punch in the press brake...


                              Back to the south bend to cut out our flange lip.. The punch was snug after the press operation, so it was used as a holding fixture for the trimming operation.


                              A holesaw in the drill press started the holes for the gauges and then we used our Jigsaw with cruise control to fine tune the openings.


                              A sheet of phenolic gives us a non-marring surface to pound on, the Snap-on linear stretch hammer swages the flange over and a 1/2" diameter round makes a good punch to flatten out the rest.


                              Finished "eyelets"


                              Still have to install the indicator lights, but since I need to pack up for the local car show tomorrow in Leonardtown, we'll finish that up this coming week.


                              .
                              Last edited by MP&C; June 8, 2022, 03:35 AM.
                              Robert


                              Instagram @ mccartney_paint_and_custom


                              MP&C Youtube Channel

                              Comment


                              • We did a test fit of the instrument panel in the car to see what it looked like with the green backdrop...


                                This stainless will be the same material used in the dash insert "band" that goes from side to side, as well as the insert for the console. Should add some pizazz to the interior... Here's the view with our Alpinetech indicator lights added....


                                Our OEM retainers for the bottom of the curved side glass had one piece with a bracket broken off. These brackets serve as a place to screw/attach the garnish moldings.


                                The broken piece was removed and the spot welds ground smooth...


                                A new piece was cut out of some 19 ga steel and the Diacro press brake made short work of repeating 45* bends.


                                The new part was media blasted, TIG welder used to plug weld things back together, more media blasting and some epoxy mixed up and brushed on using an acid brush.


                                On to our glass installation, we had picked up some 3M strip-calk to seal the rubber to the glass.


                                We found that the full width strip provided a bit too much and some oozage ensued... First is always the messy one, right?


                                So we laid the following ones on the glass and cut down the middle for a more narrow strip.. More better....


                                So then a person gets cocky and needs a reality check on the driver's side....


                                Eh, good a stopping point as any..
                                Last edited by MP&C; May 16, 2022, 12:53 PM.
                                Robert


                                Instagram @ mccartney_paint_and_custom


                                MP&C Youtube Channel

                                Comment

                                Working...
                                X