 Tweet
Tweet
When perfection simply isn't good enough.......
-
-
OK, long overdue for an update..
Playing some more with our dash insert, this should look good..
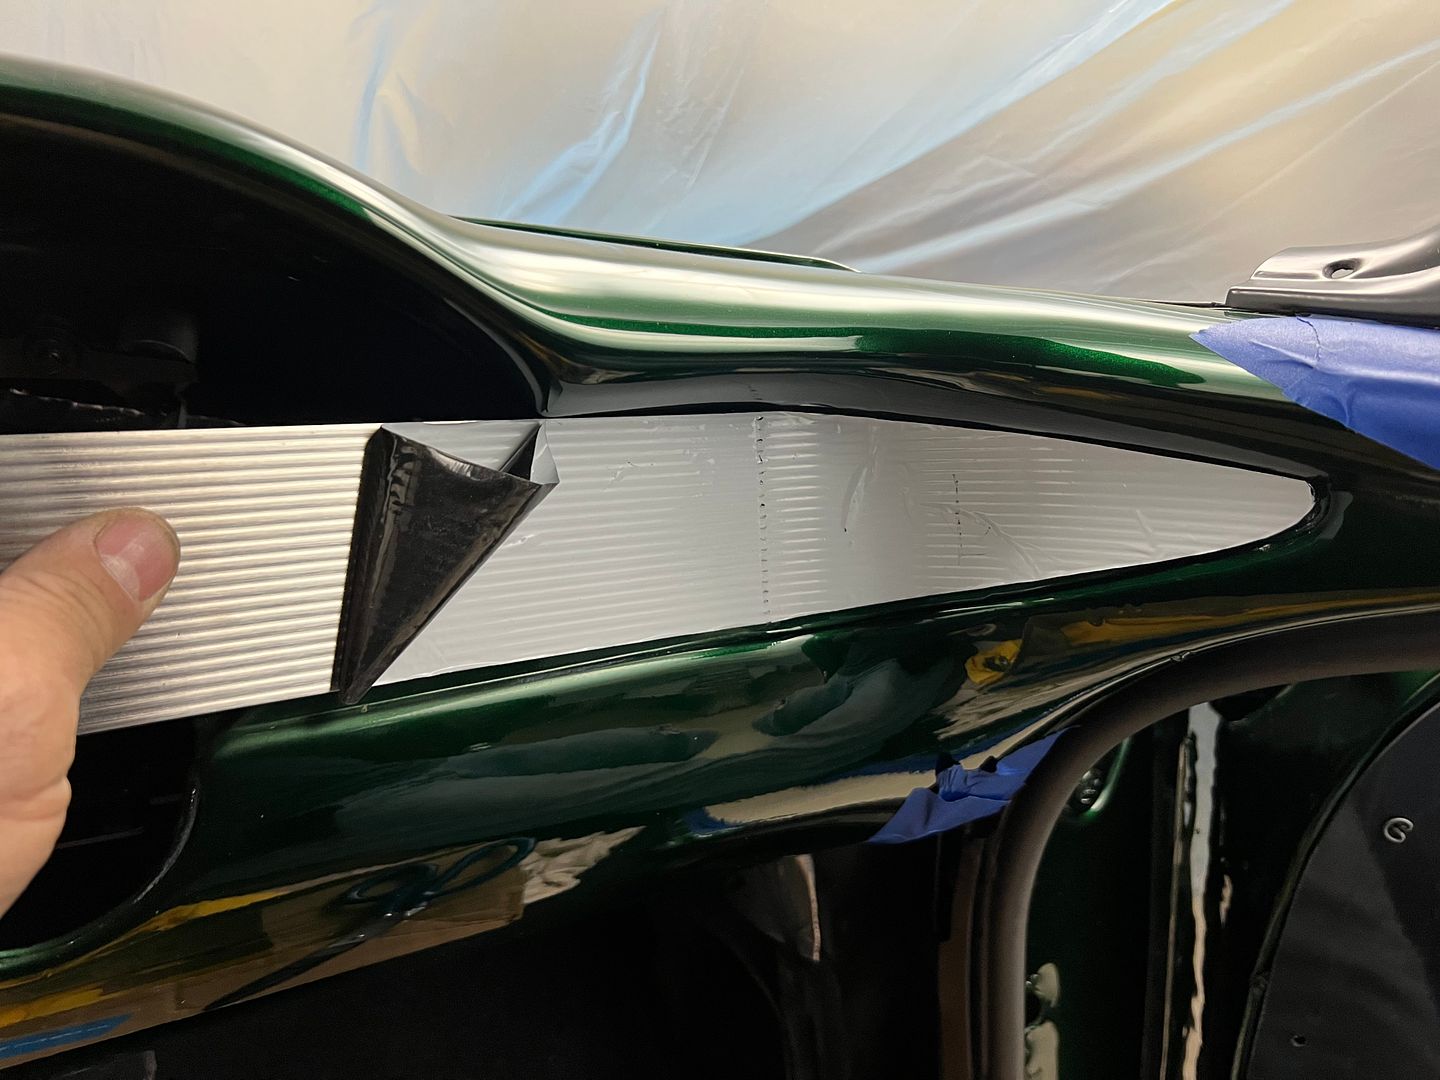
We attempted different processes for folding the hemmed edge trim, but alas none gave a good consistent finish.
So some stainless strips were dropped off at Triton metals, a local machine shop we have used before... They will get much better results, still waiting on completion.
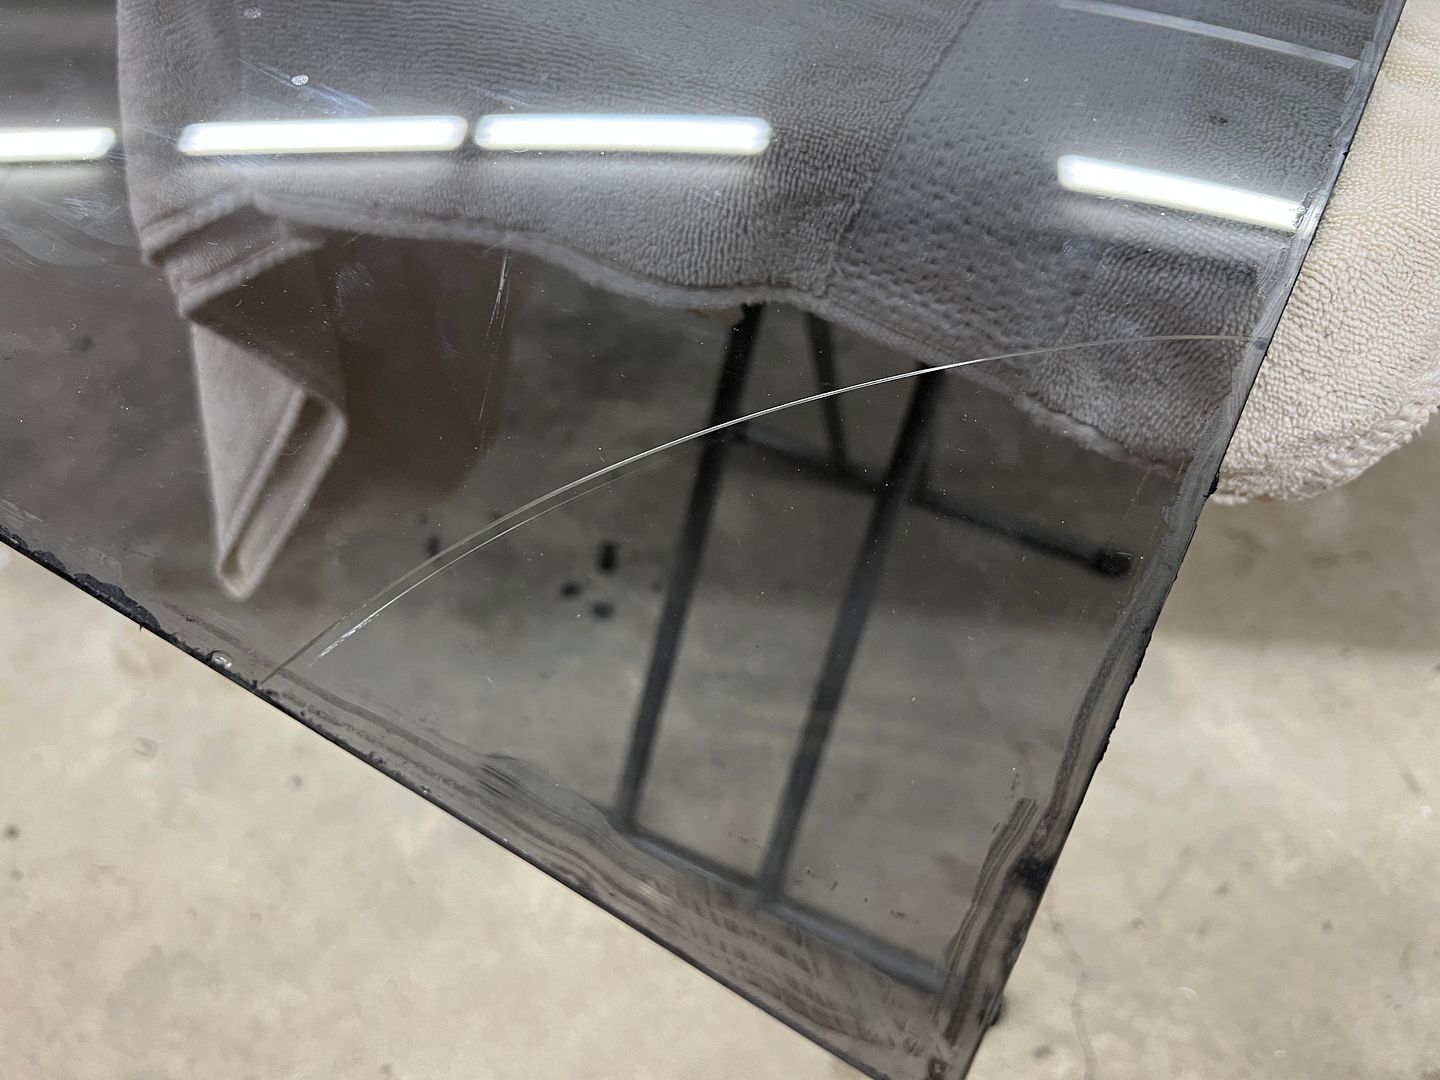
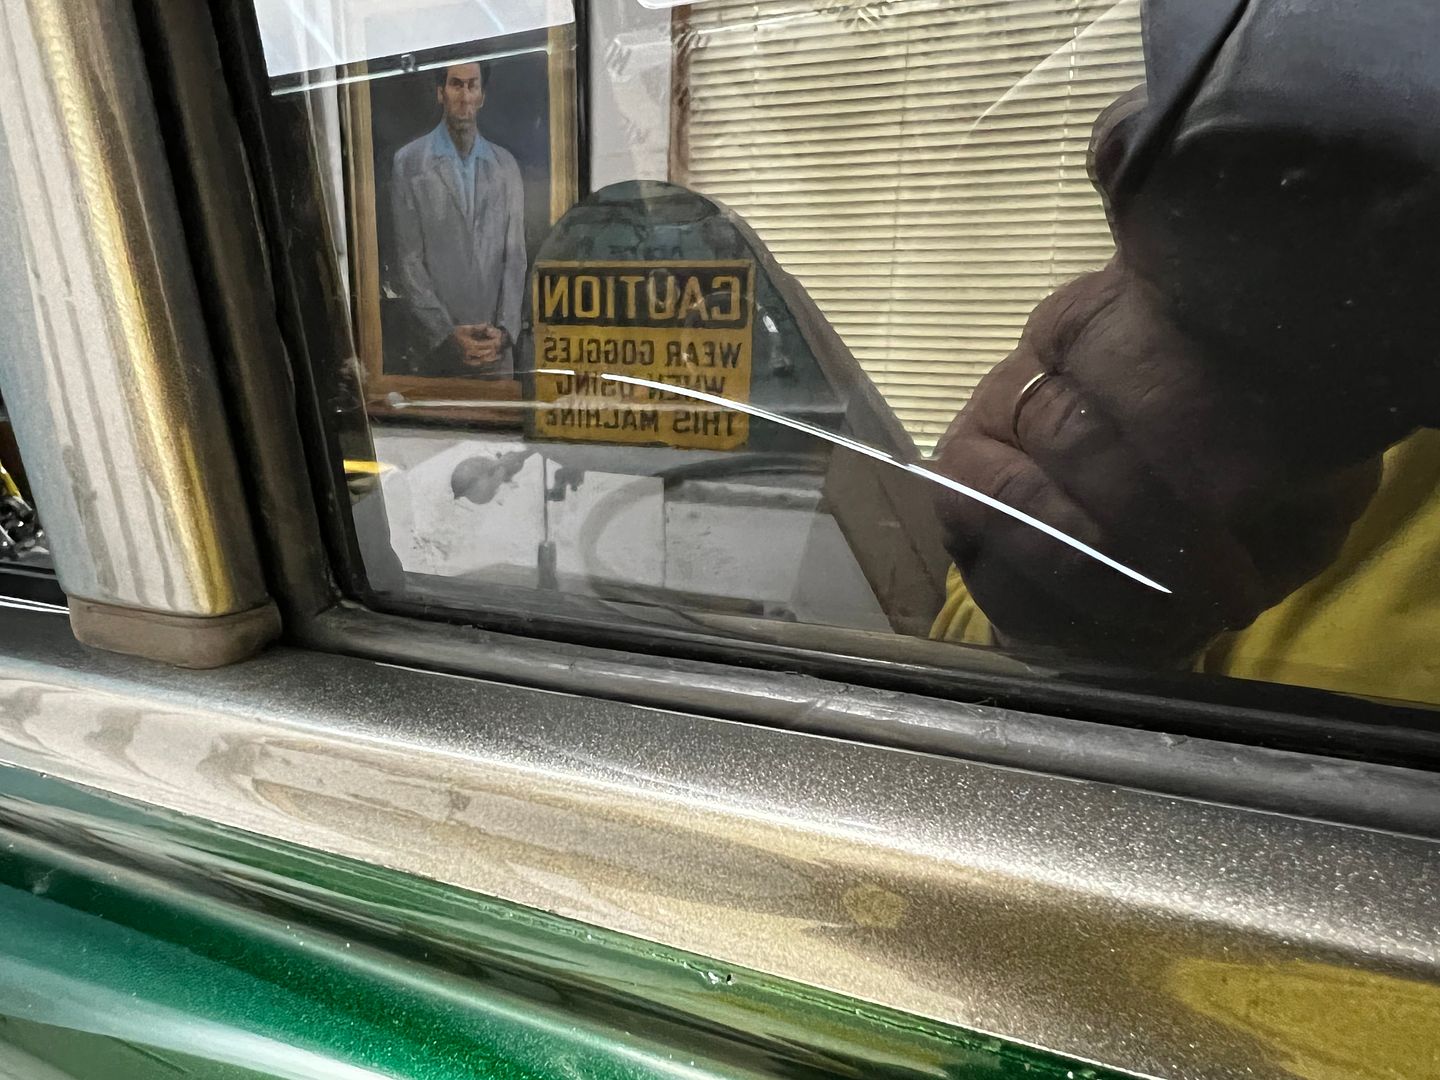
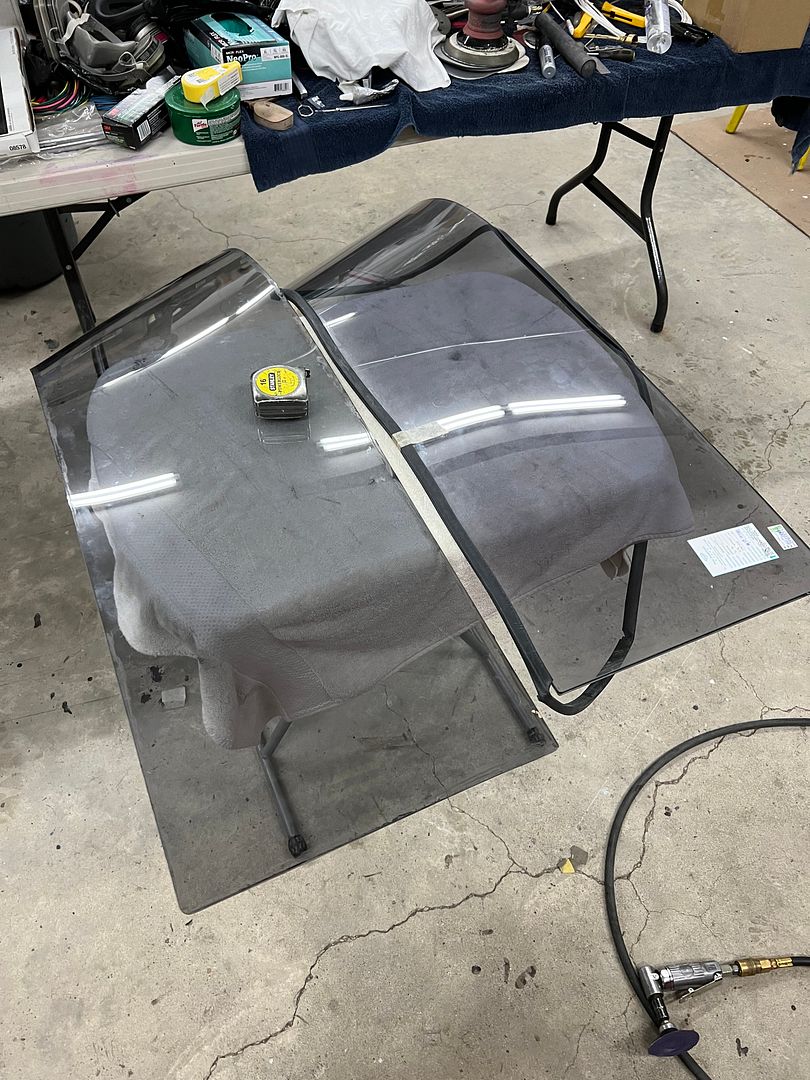
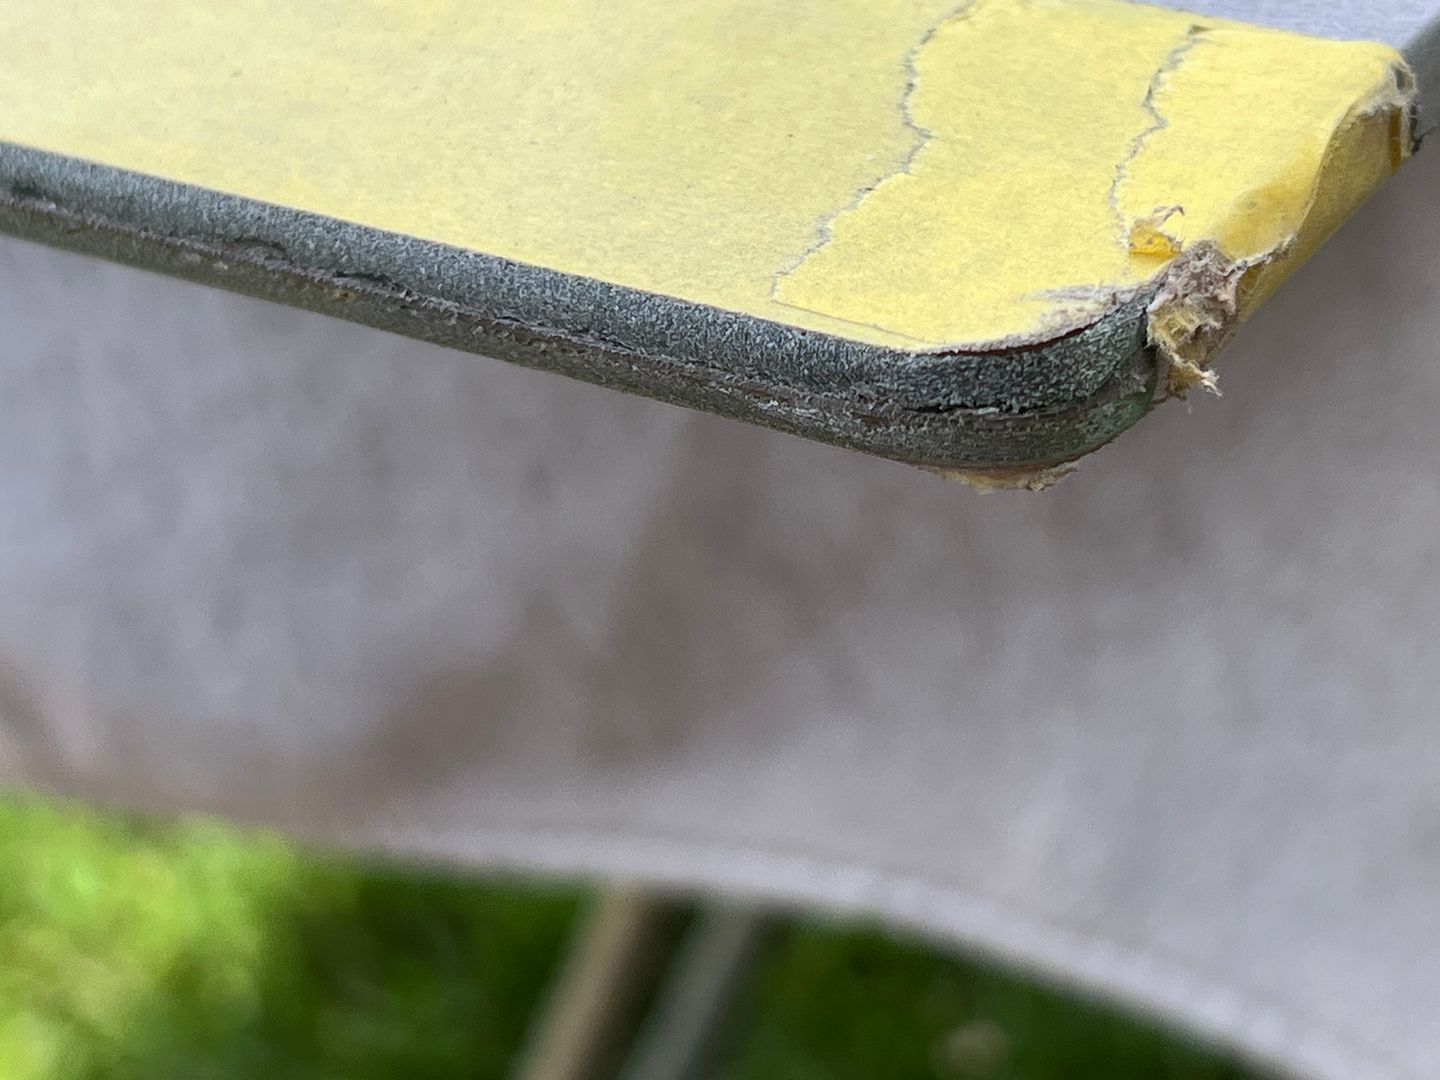
Back to our problem child of a window, this crack occurred as I slightly pried rearward with a metal rule. Exactly where I pried.
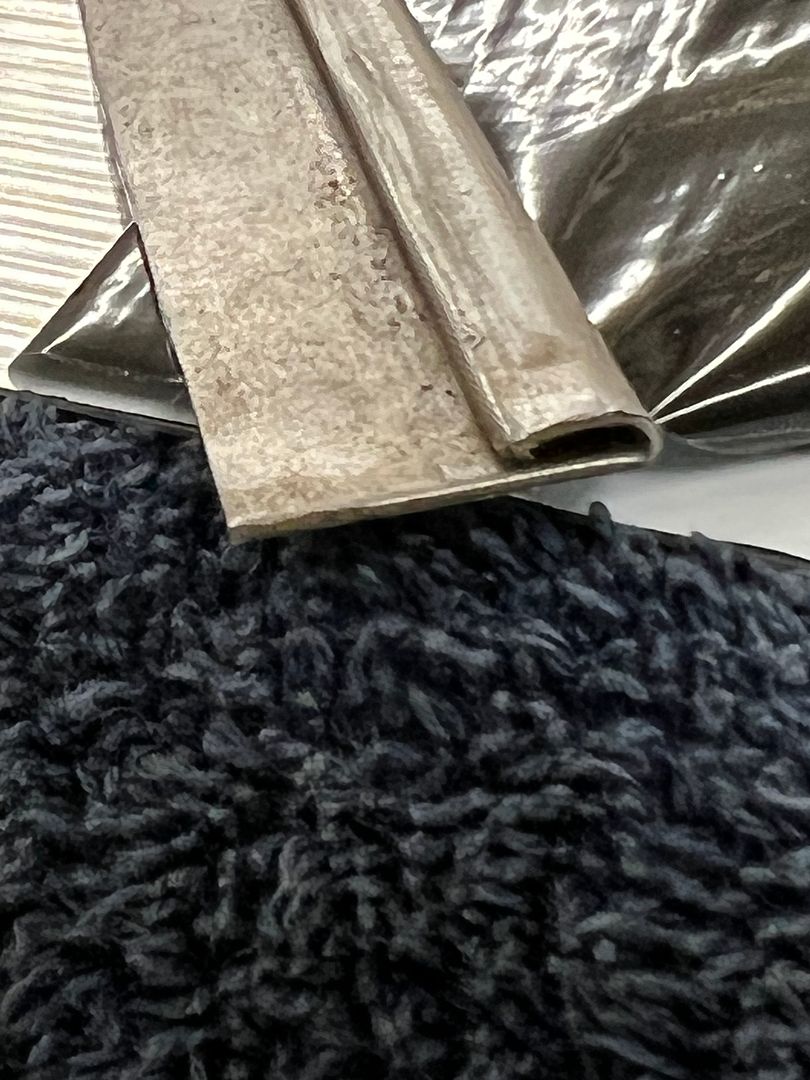
To limit the excess squeezed out of the seals on our next glass, we took the 3M strip-calk in its original form and sliced right down the middle..
Here's a video showing installation of the strip-calk, and another with installation of the seal over the strip-calk.


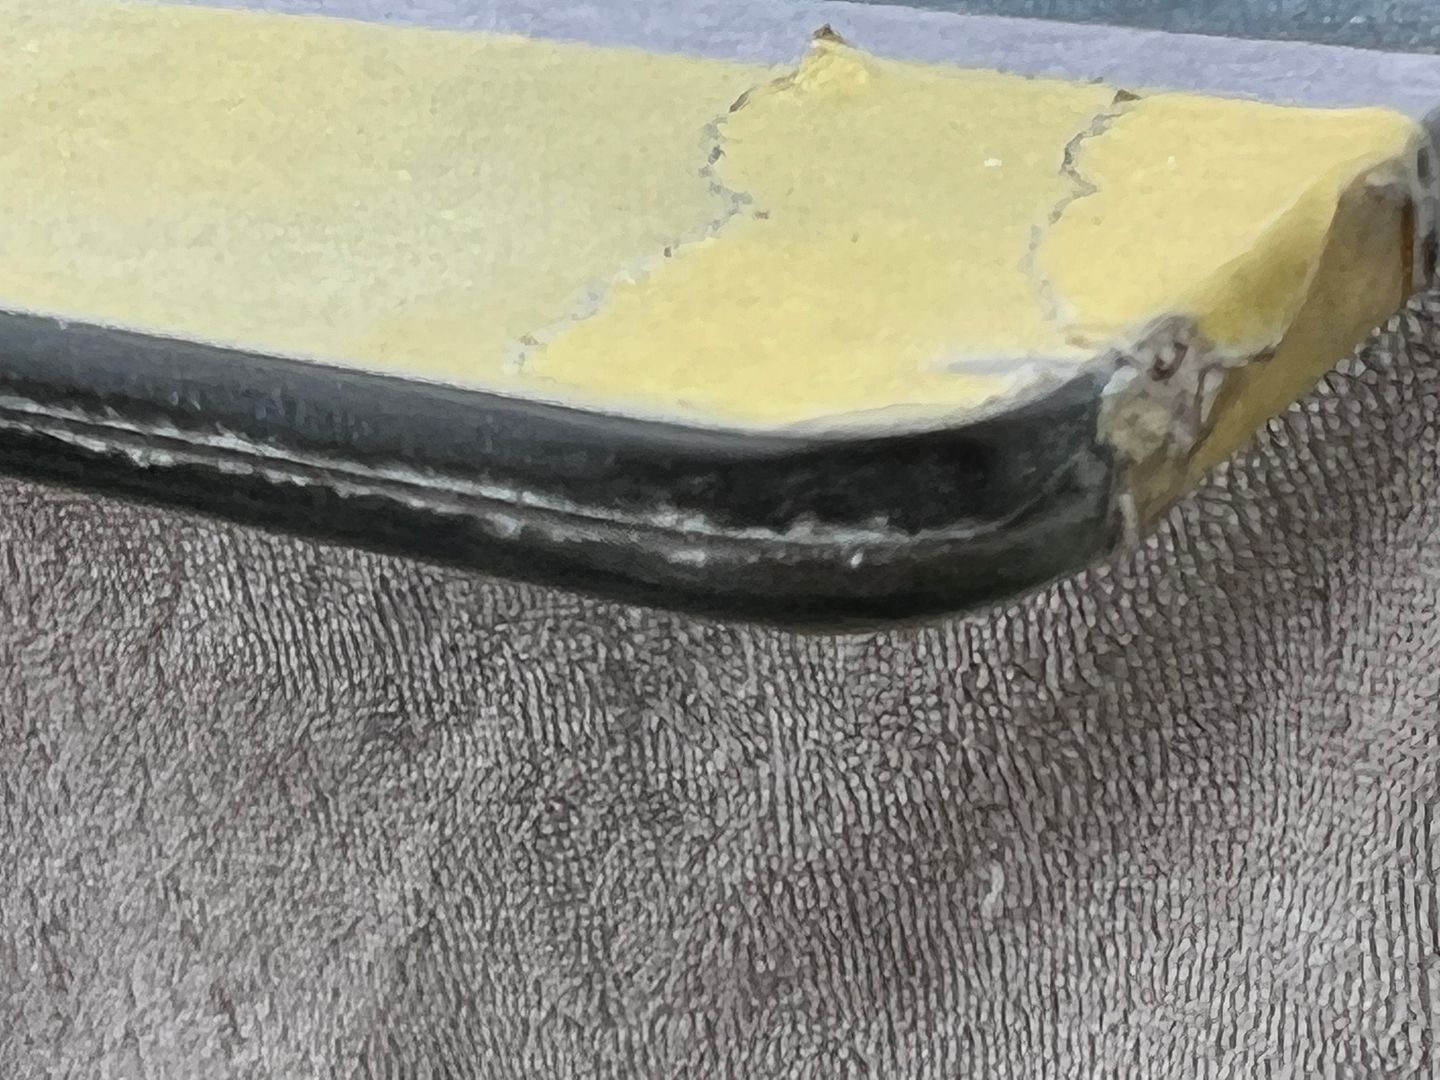
Installing window #2, we had a slight tight area and I asked Jared to push outward and that's when we had a repeat of Groundhog Day..
 Last edited by MP&C; June 8, 2022, 03:38 AM.
Comment
-
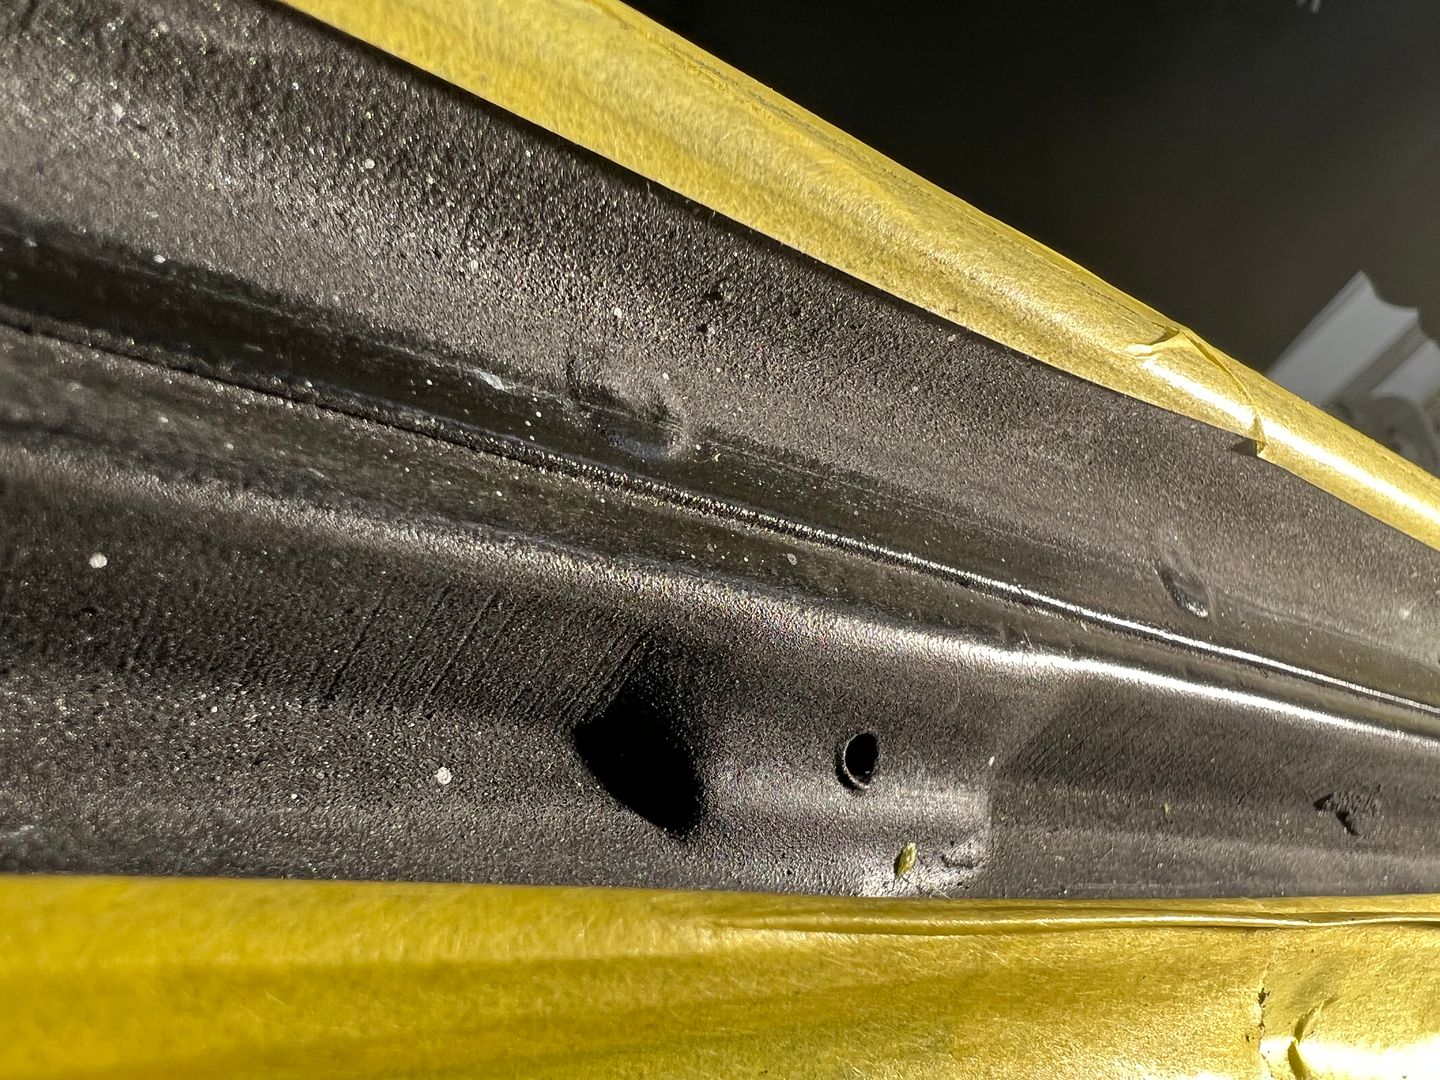
So, maybe the pry the first time was not the only issue. Fast forward so we can look back, last night we did a dry fit of the garnish moldings around these windows and found that the tack strips holding the headliner were far too thick and pushed the moldings down so far that the back side would be visible through the glass. In addition, this was also pushing downward on the window and seal while we were attempting the installation. When we had installed the quarter panel previously, we used plug welds inside this window opening and some had a slight proud. Nothing that I was concerned with at the time and considering had the tack strip been the correct thickness it likely wouldn't have been an issue now. But with the headliner pushing downward, the seal was hanging up on one of the plug welds as Jared was pushing outward on the corner, which made a perfect pendulum effect for crack Forum Since we aren't pulling a headliner out, we went ahead and cleaned up the plug welds. This meant taping off all the nice pretty paint on the outside and the interior as well..
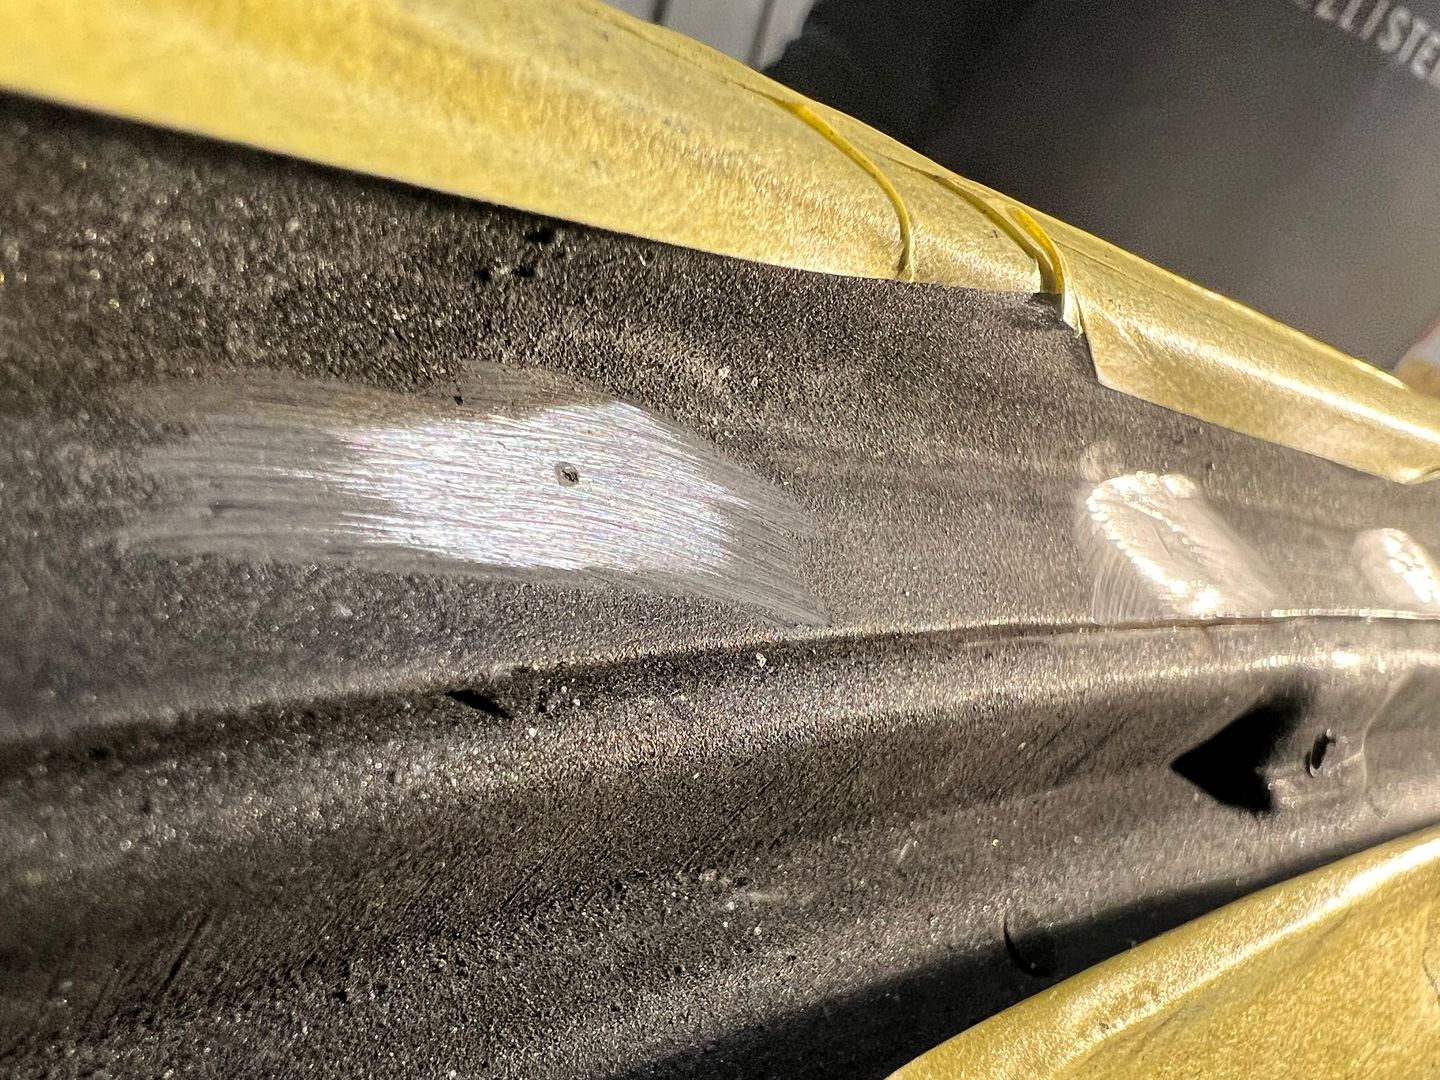
All of the welds cleaned up, we mixed up some SPI epoxy and used a small brush to add three coats on the bare areas. And to counter the effect of the garnish molding hanging too low, we will now need to make some one-off upper clips that are half height of the ones we just ordered (and have been waiting 4 months to arrive), in order to get the molding up and out of sight when looking through the glass. Story of my life..
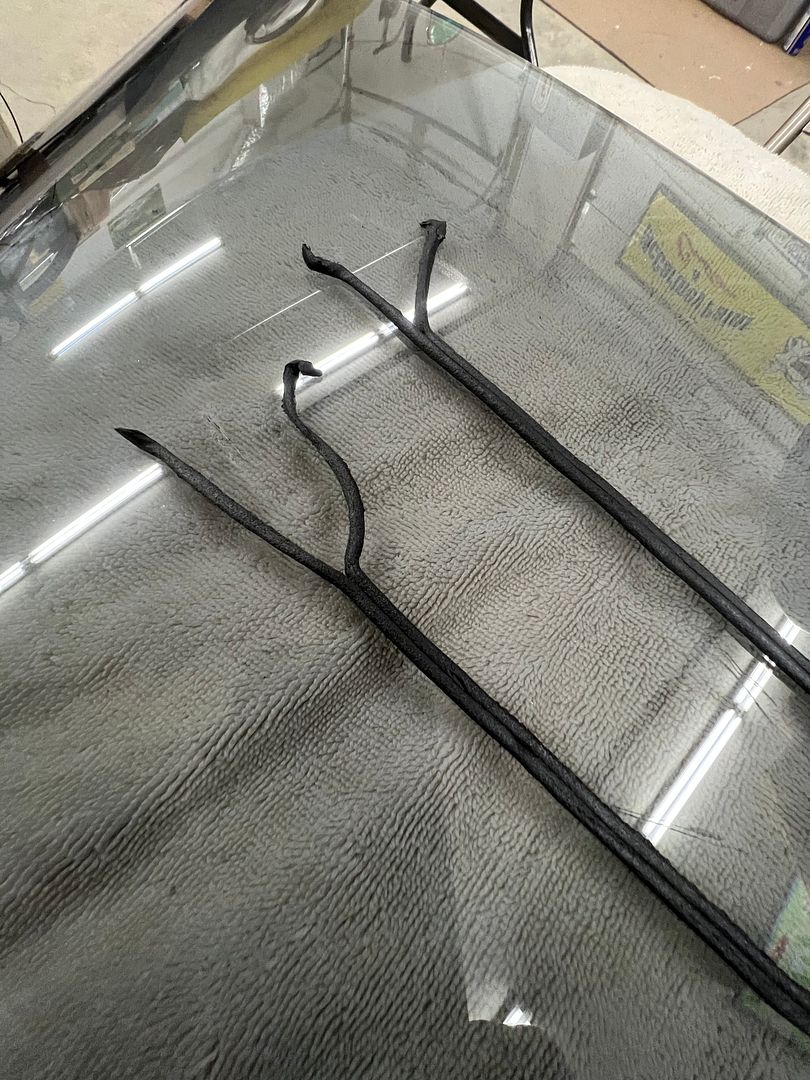
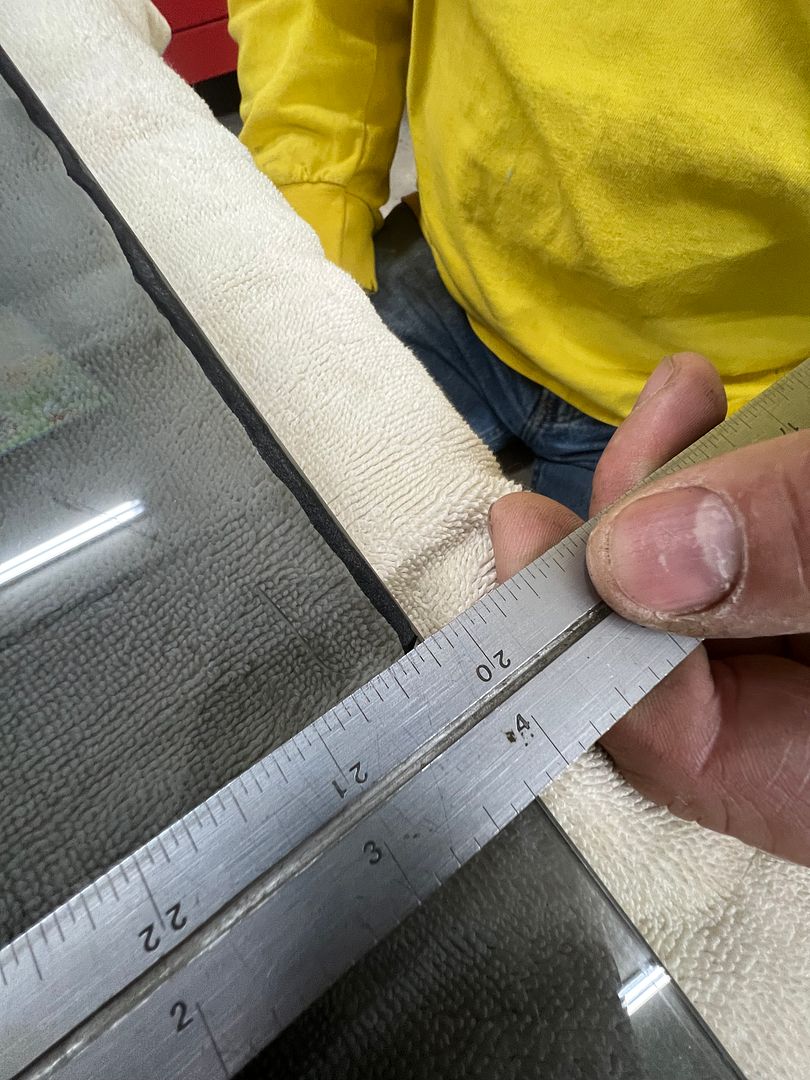
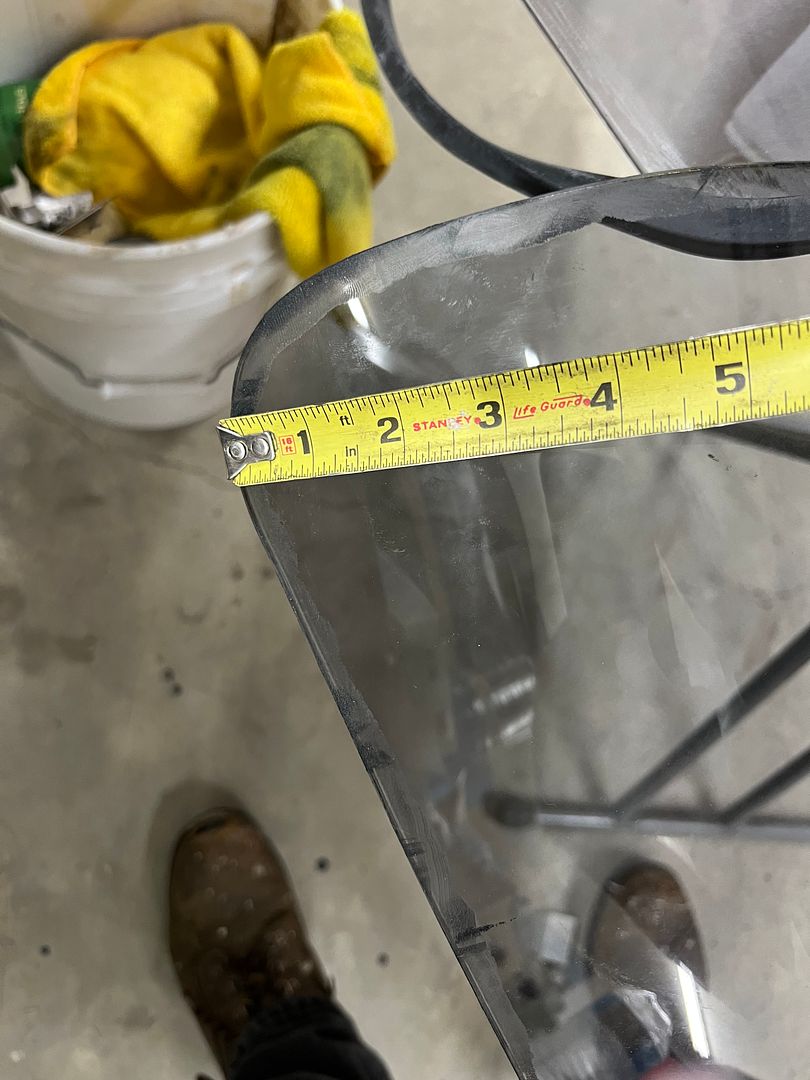
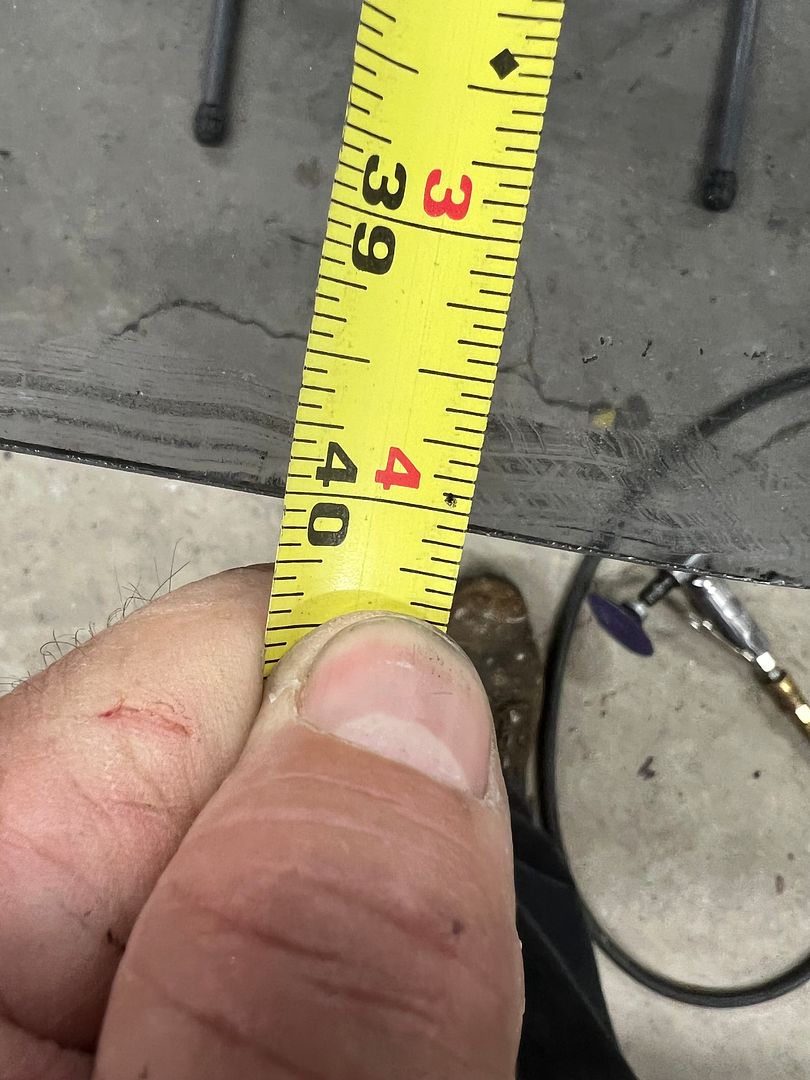
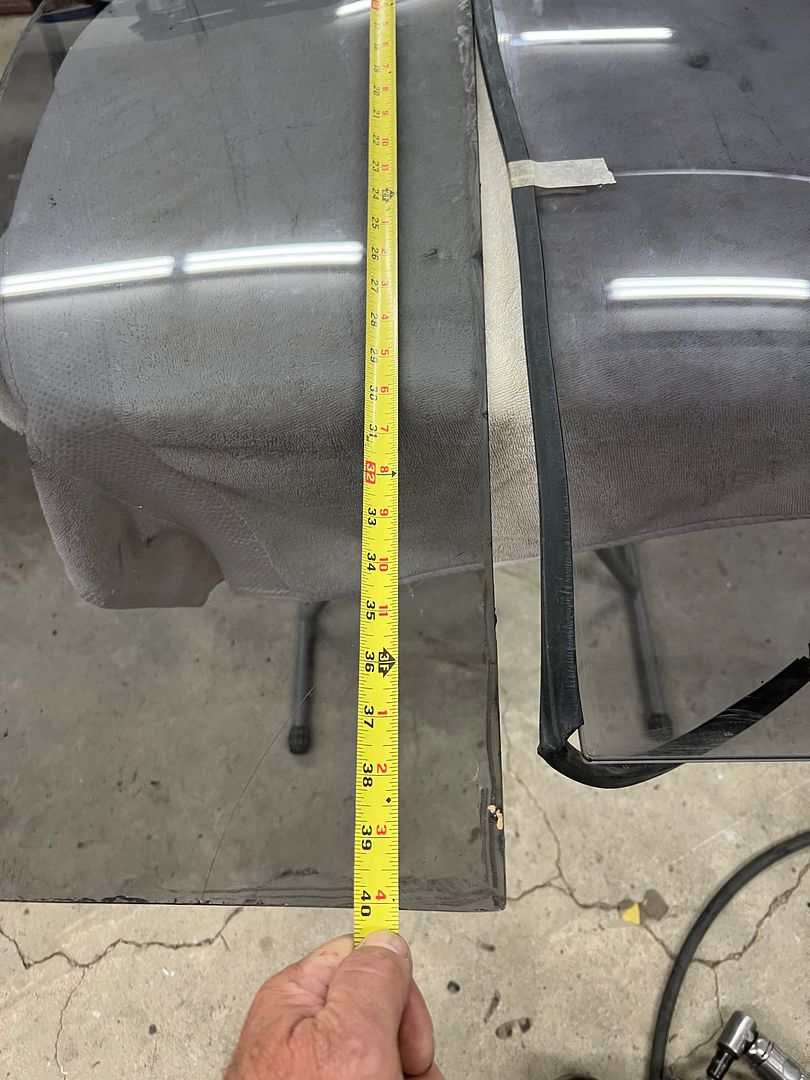
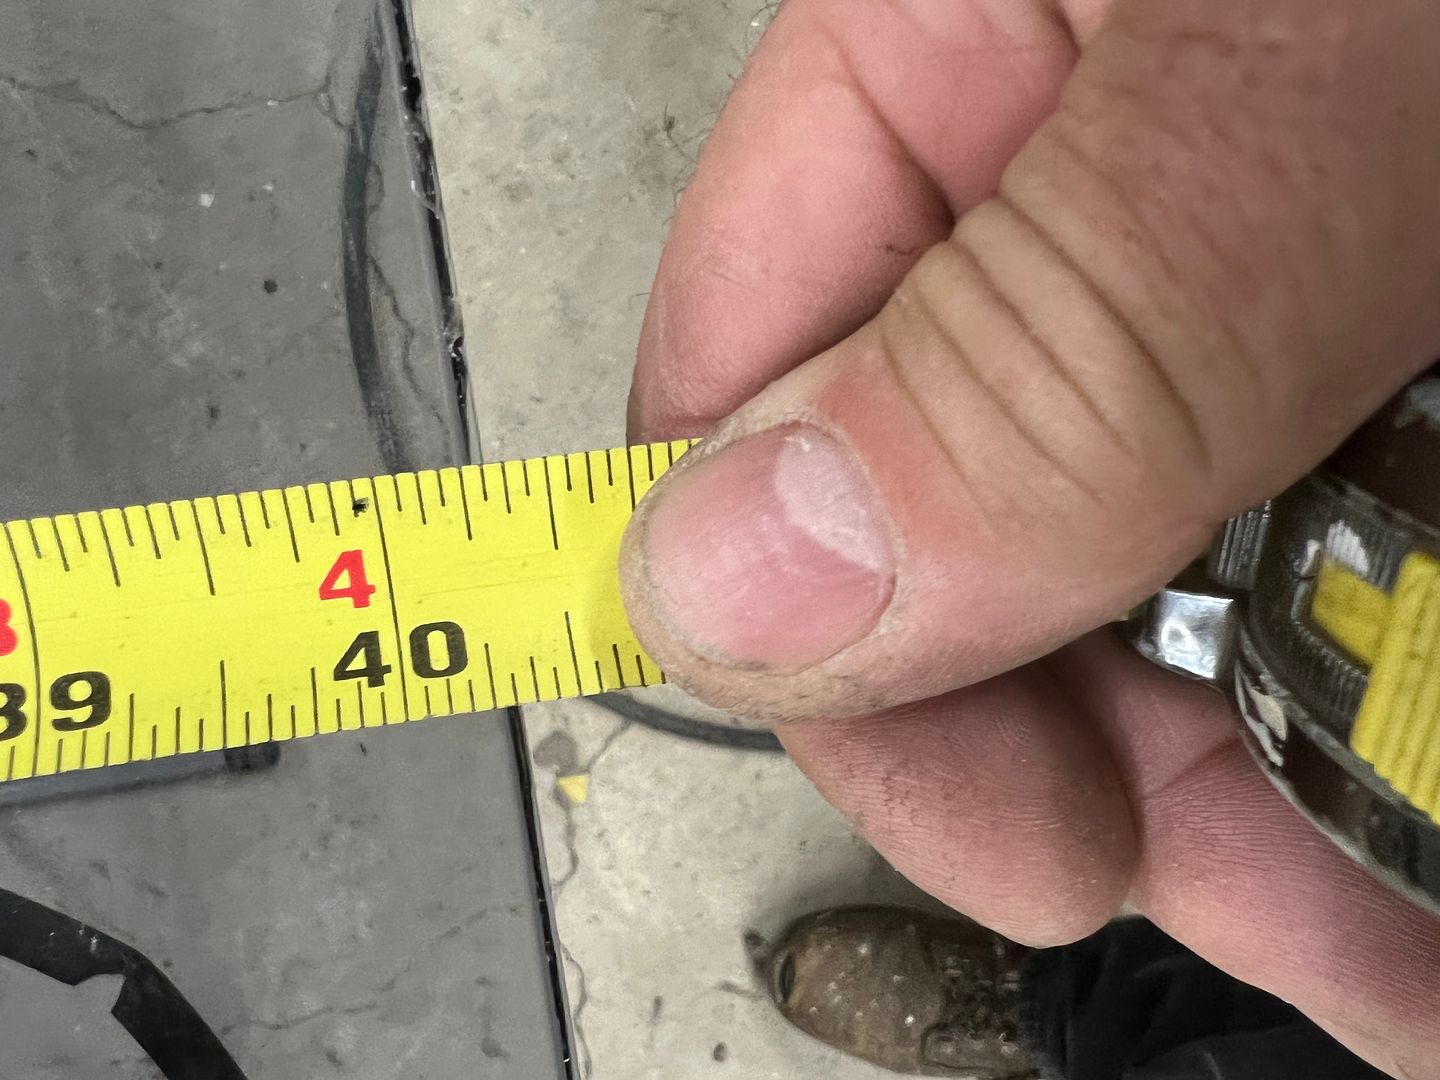
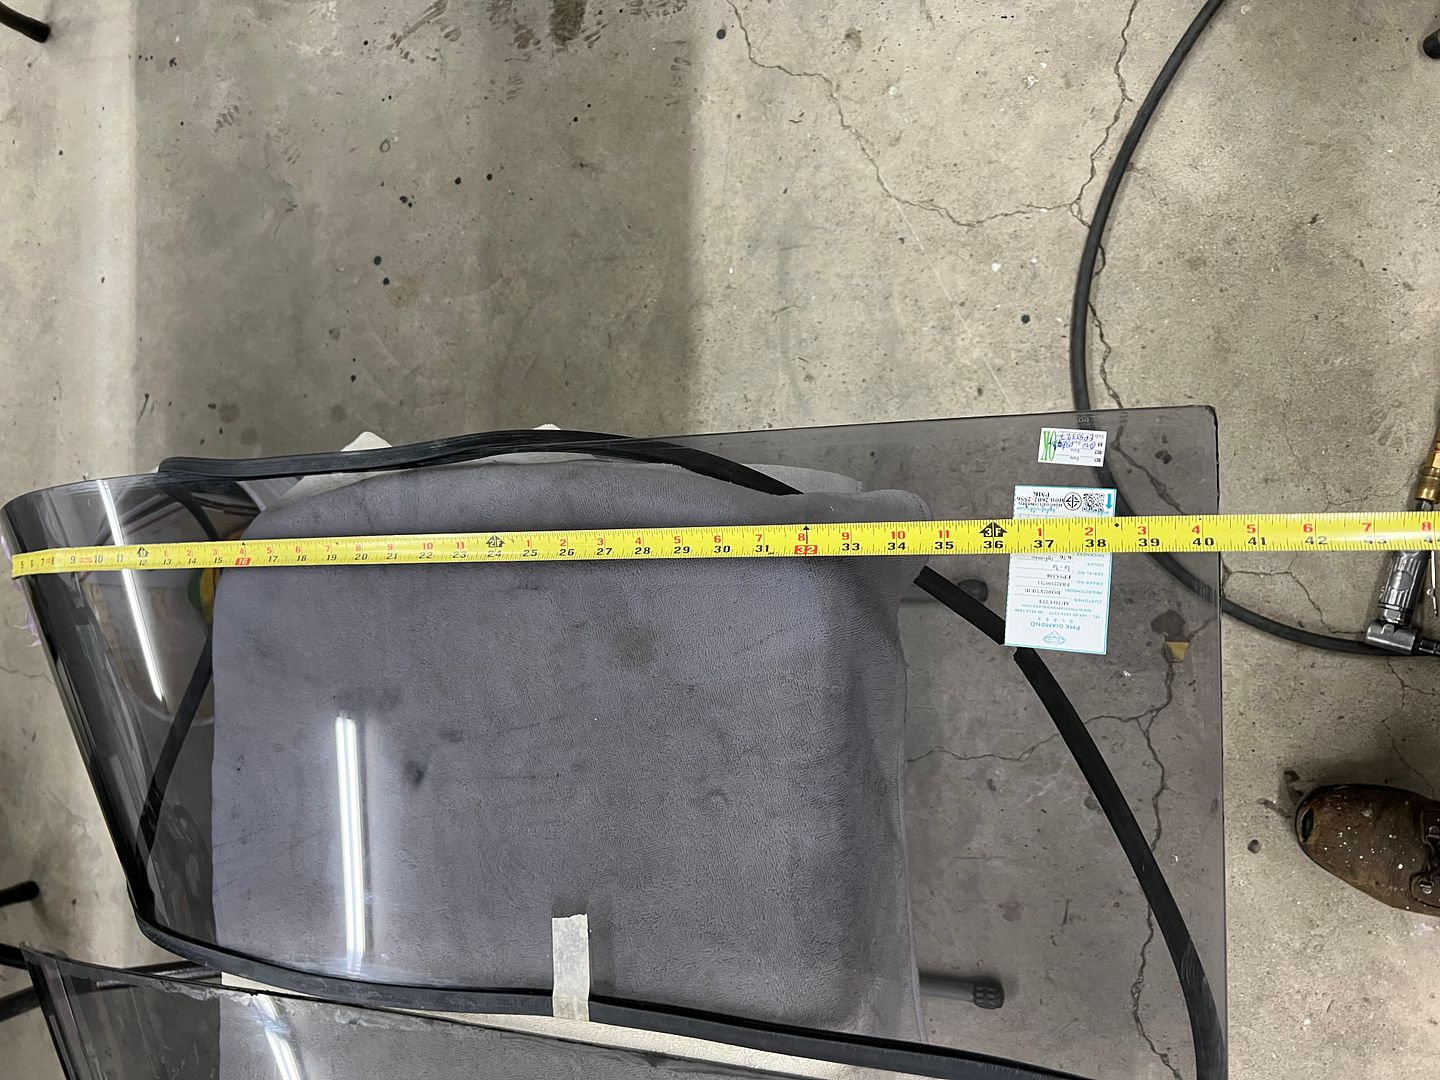
Window #3!! We had length issues from the last replacement, let's check this one as well. Hooking our tape measure on the apex of the pointy end, the original ordered with the rest of the glass set shows to be 40-1/16 in length. The new replacement, like the last one (#2), was 40-5/16. So we have a 1/4" to remove.
So we consulted my glass expert John Glenn the last time we did this, and got the rundown of the various methods we could possibly use. Since I'm more of a go slow and sneak up on the end goal, I opted for using Cubitron belts on our Dynabride sander. It did a better job of taking down corners so we followed the process discussed in the next video. Then when we had reached the size needed (three hours later), a 320 grit disc on the DA gave a more polished appearance.

Our installation last night went in relatively painless and crack free. Now to make some upper clips..

Last edited by MP&C; June 8, 2022, 03:45 AM.Comment
-
Persistence pays off! Excellent work as always.Comment
-
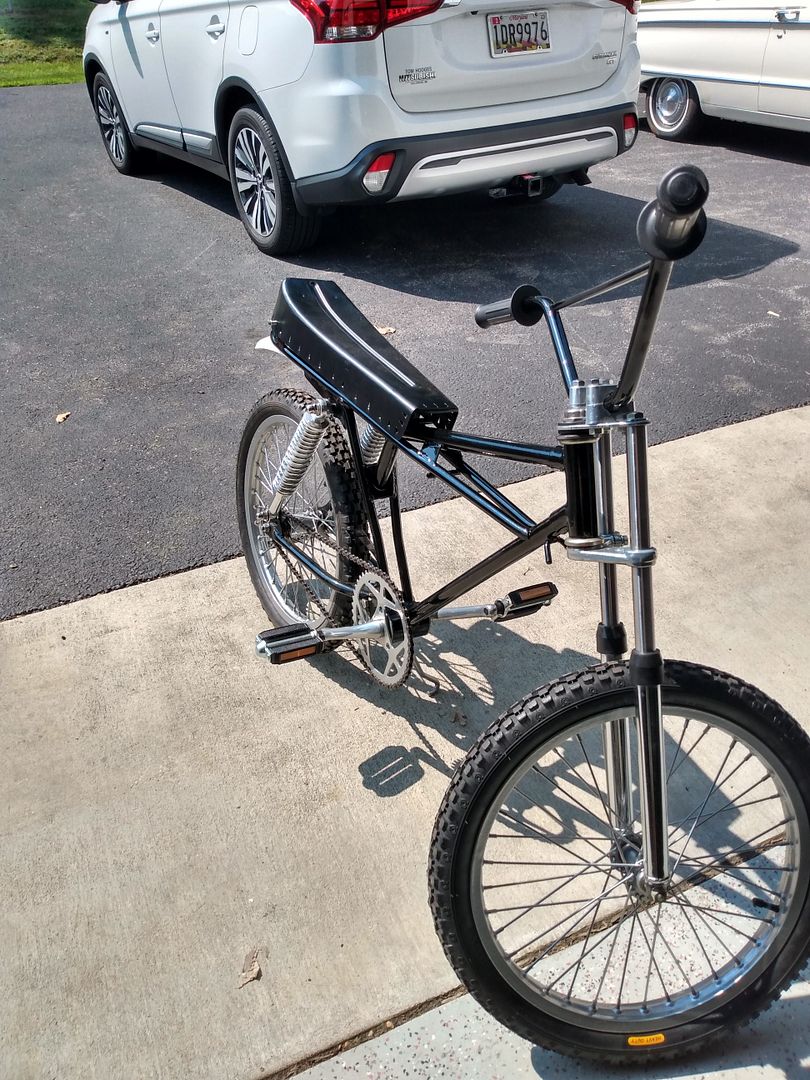
Another small job that came in the shop, a good friend of mine has a powder coat business and has been restoring a Kent model KMX850 bmx bike. The bike was found in the woods and was brought to him for repairs, with many of the obsolete parts being sourced from other style bikes and scooters. Here is where he has it thus far..
.JPG)
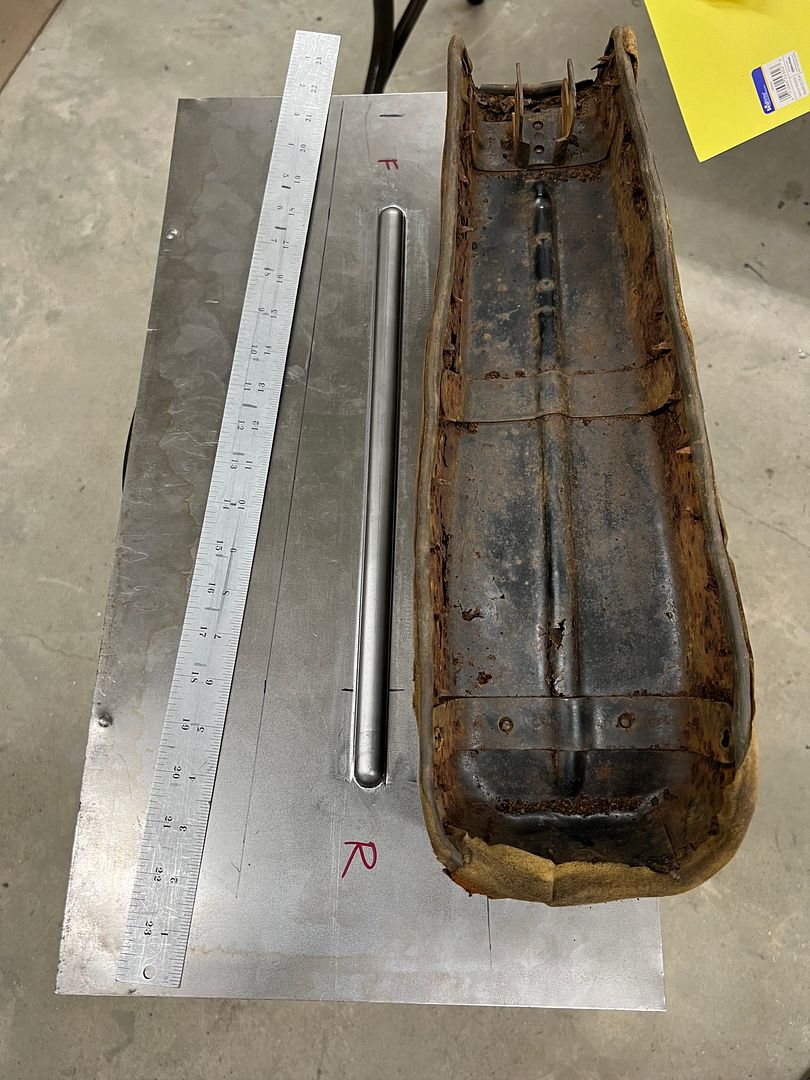
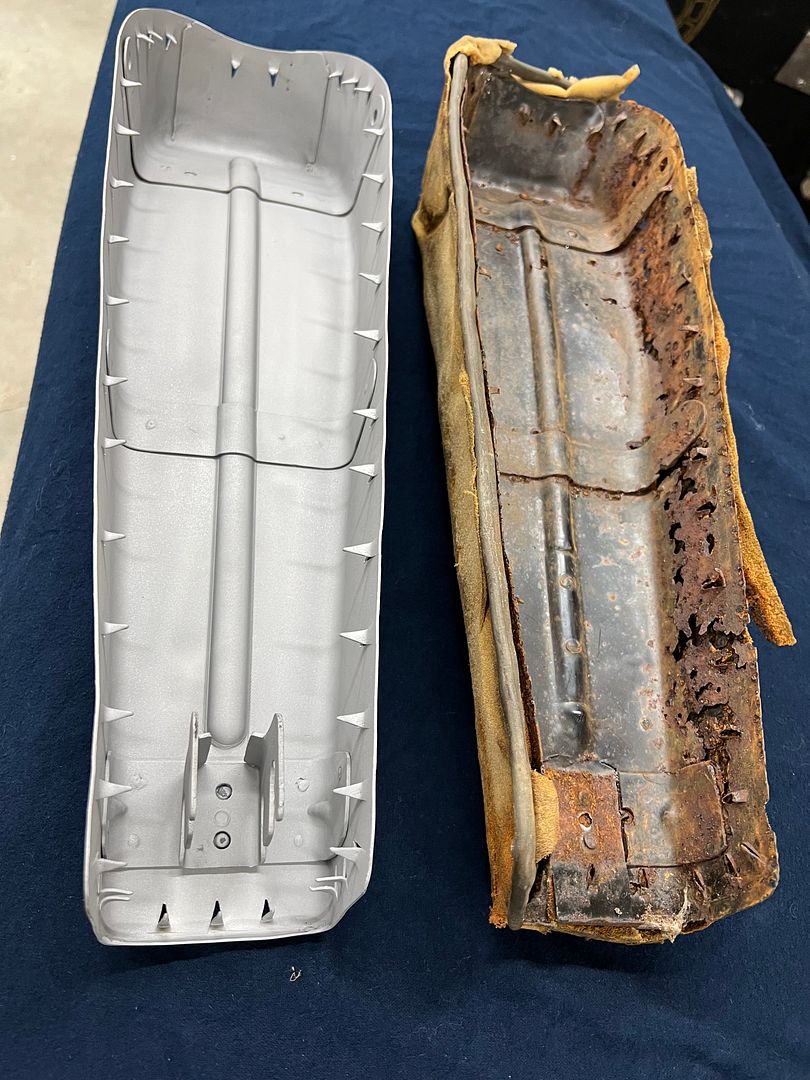
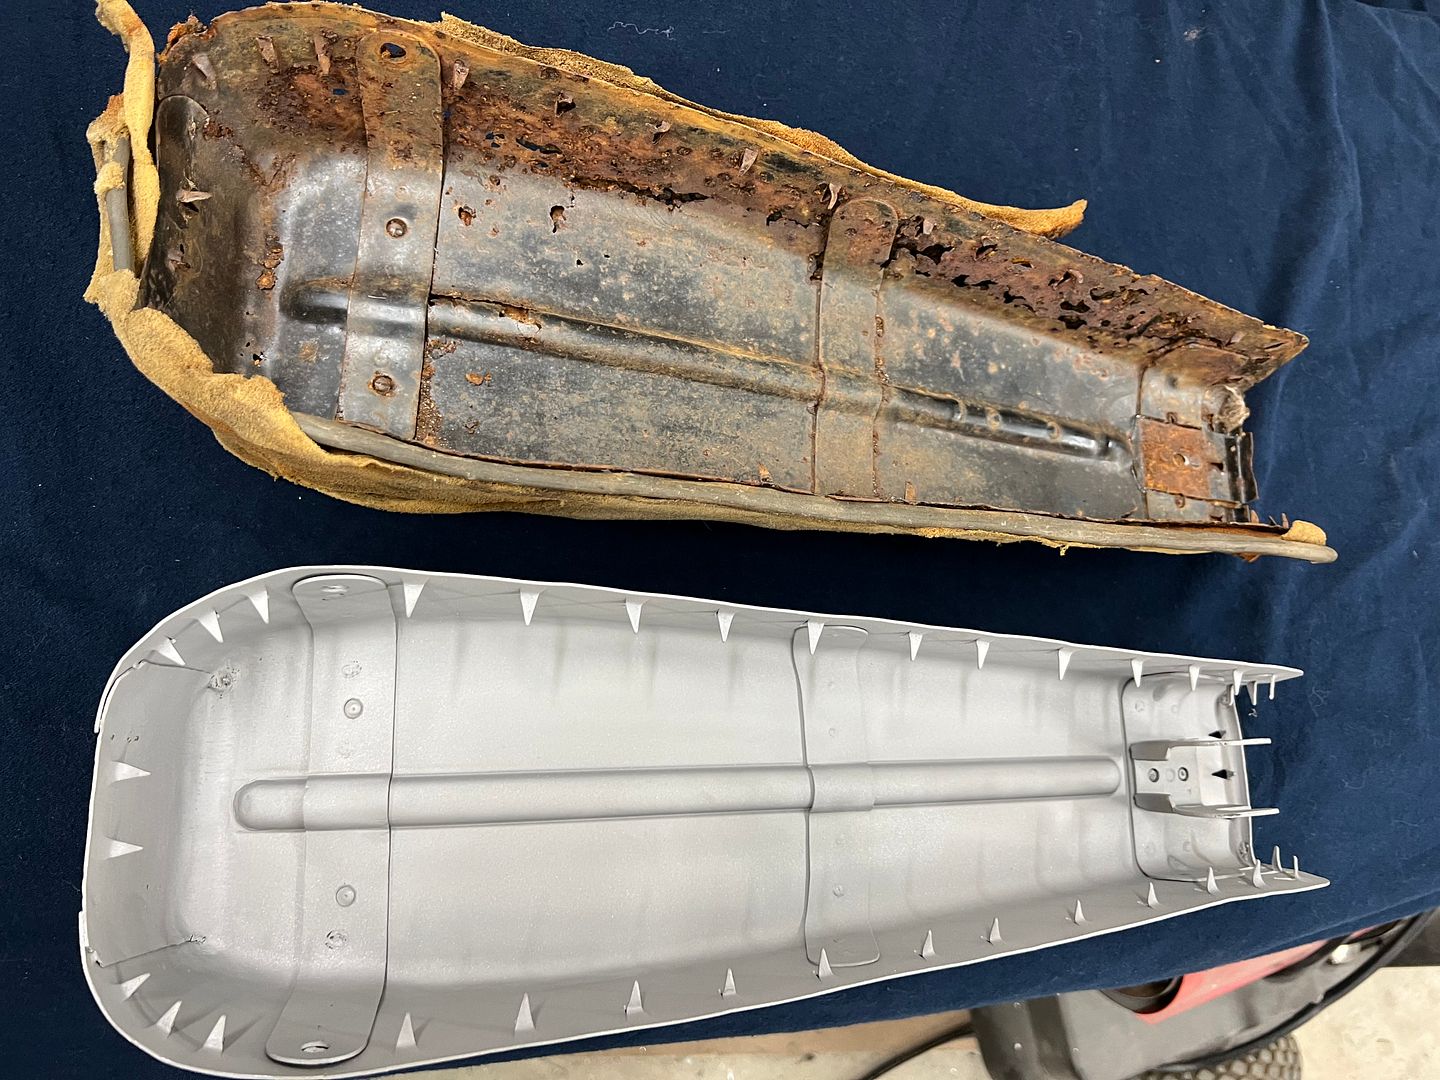
Once the sun had taken its toll on the seat upholstery, the foam inside became a nice sponge for all the precipitation that Mother Nature could throw at it, leaving much of the seat pan gone. So he needed a seat pan fabricated, and this is where I entered the picture..
.JPG)
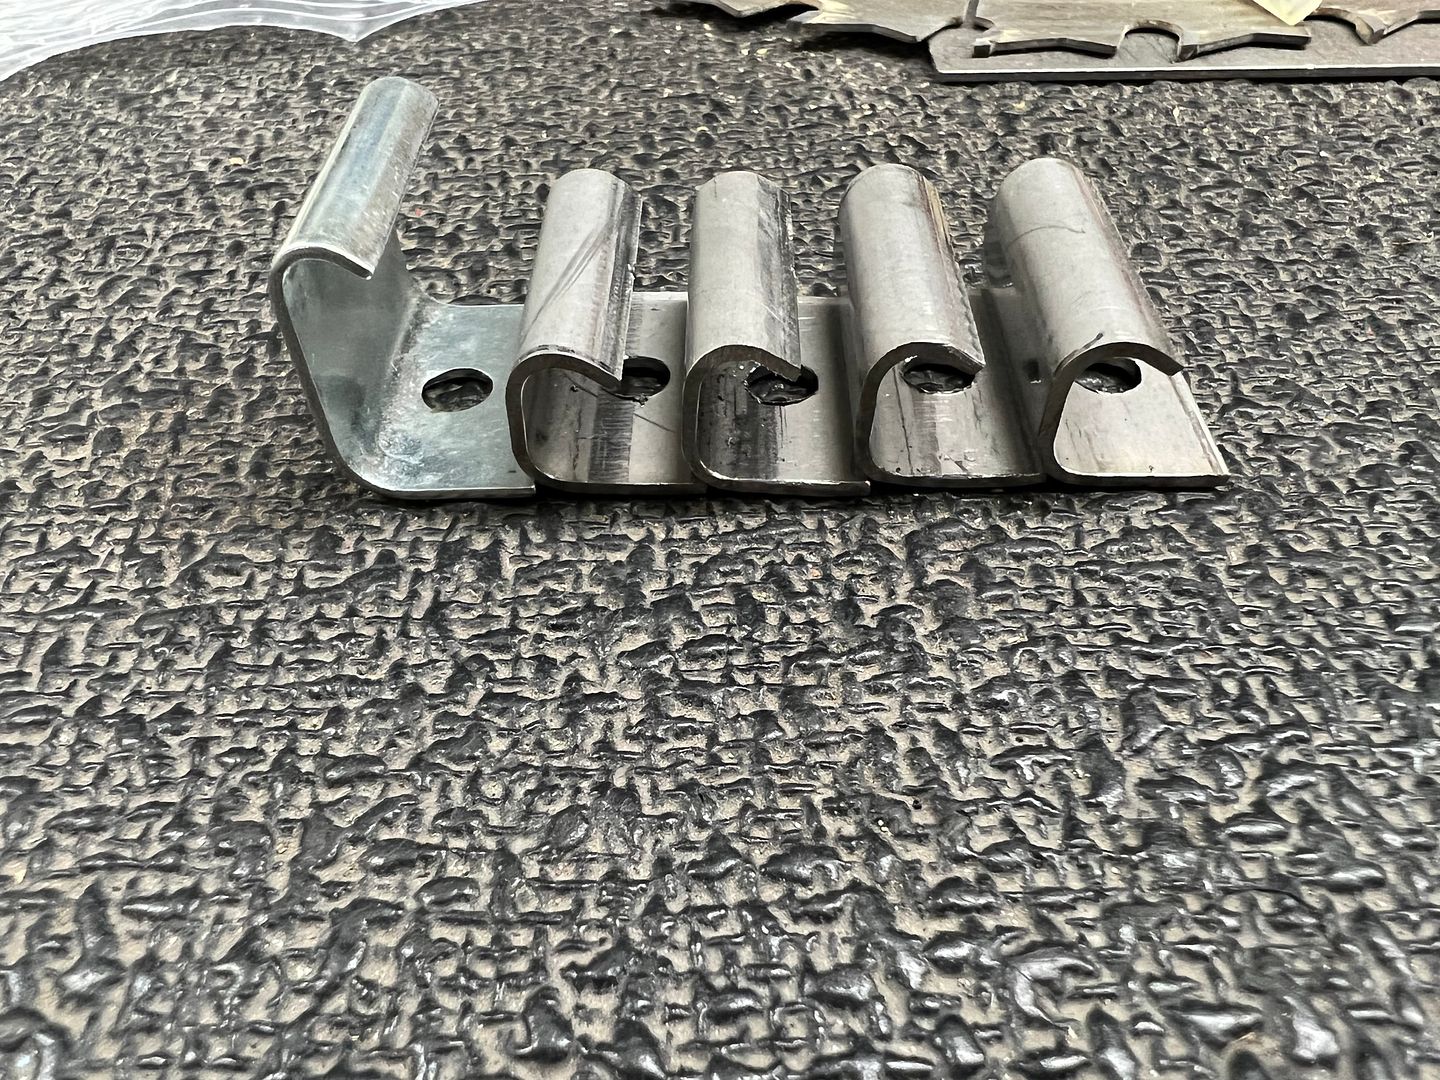
His major concern was that we duplicate the impaling spikes to secure the upholstery.
.JPG)
I had attended an estate sale about a year ago and picked up a set of Malco notchers, not knowing what I'd ever need them for, but also knowing I couldn't do without them.
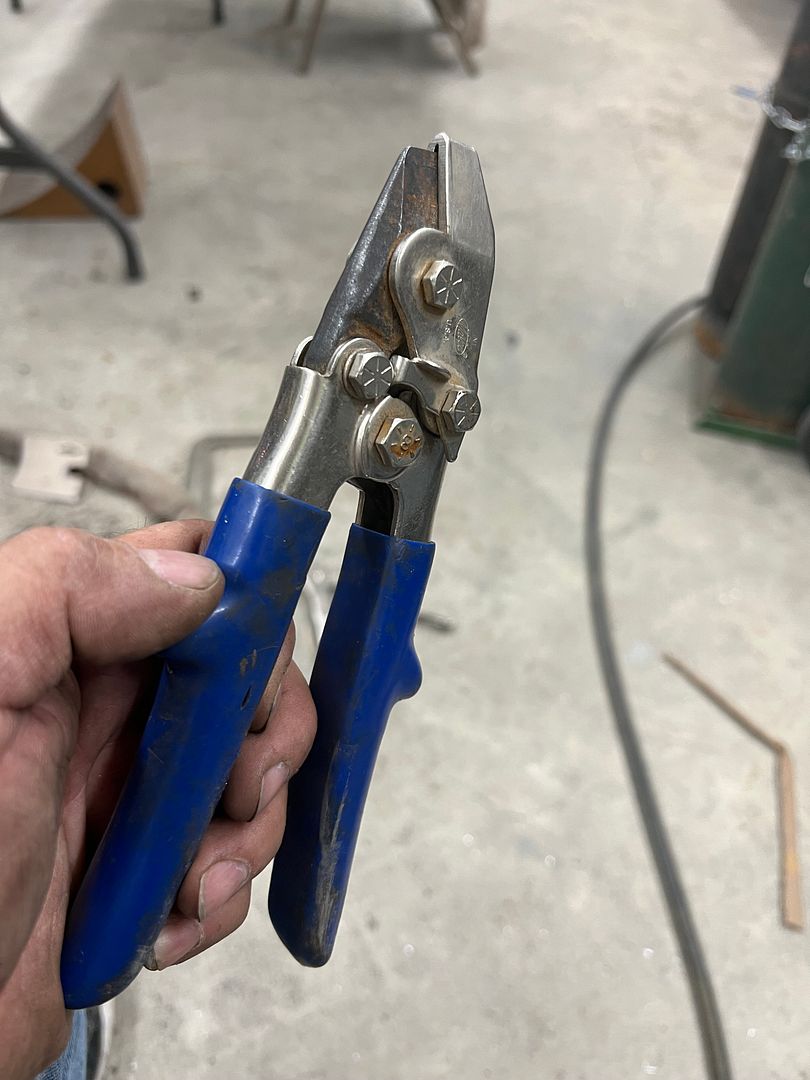
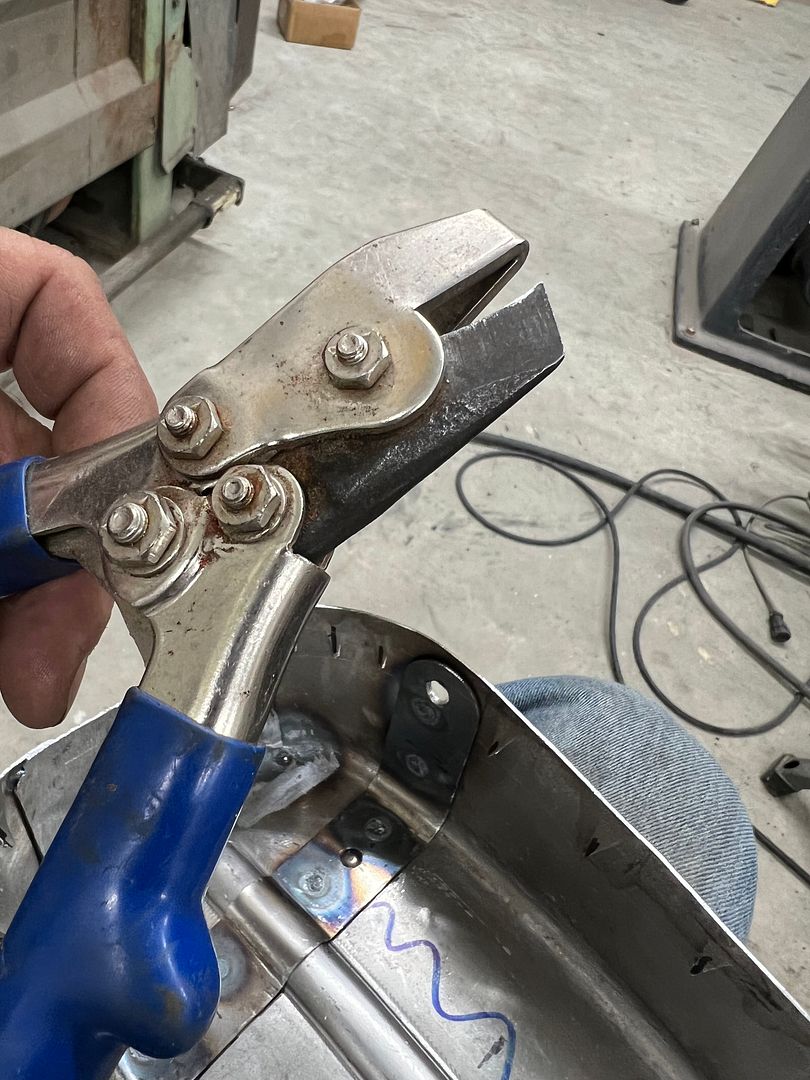
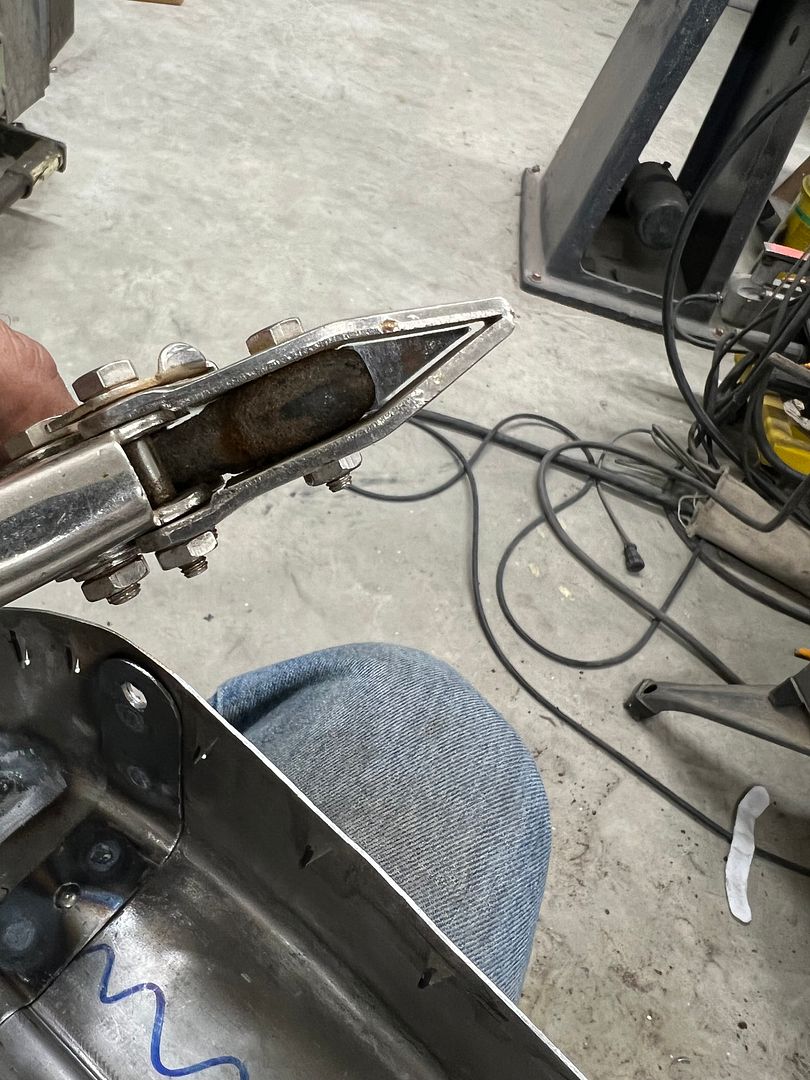
So when I pulled these out of the tool box all fears had been abated..
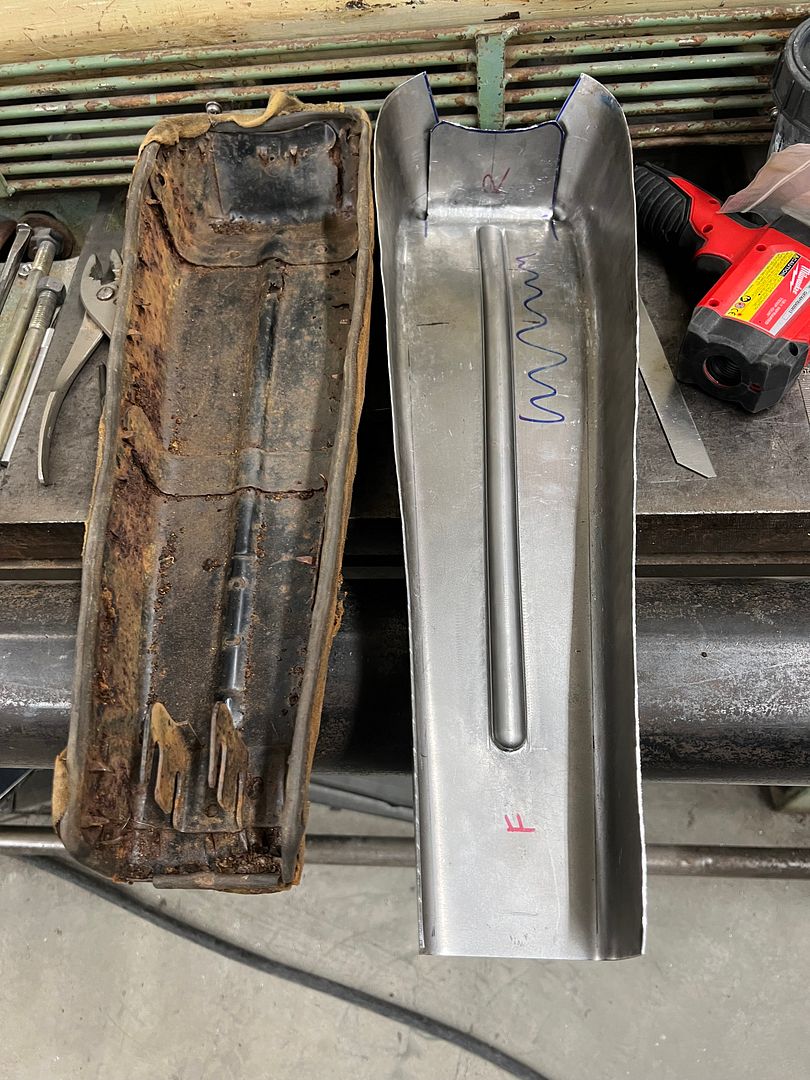
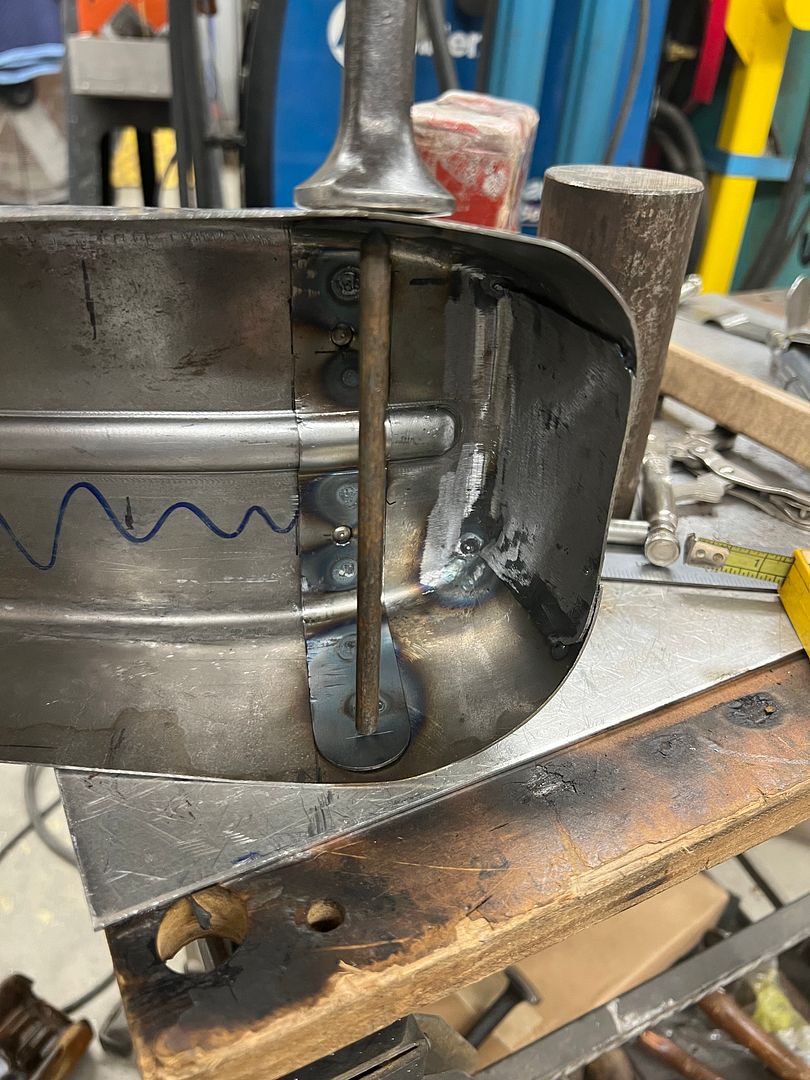
We started with a piece of 19 gauge AKDQ and used Stan Fulton beading dies to add the center bead.
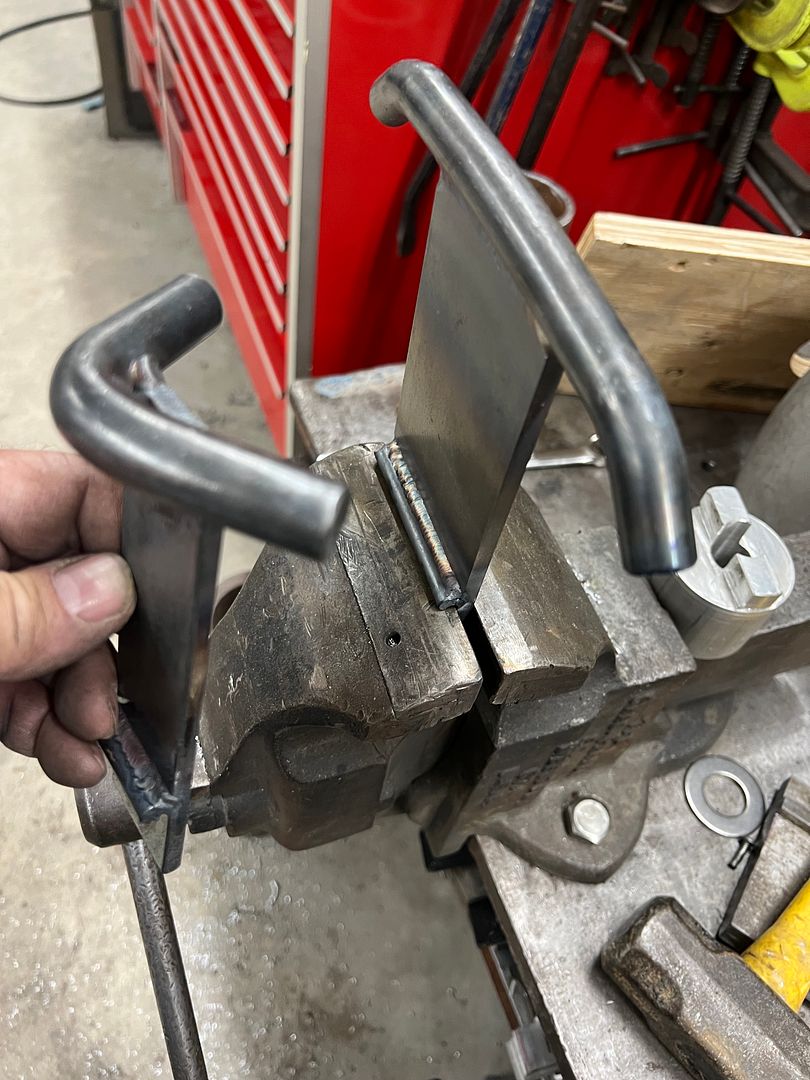
A piece of 5/8 round stock on the magnetic brake then added the radius for the side bends. Some of the 5/8 round stock was also used to make some post dollies with a welded stop for use in the bench vise..
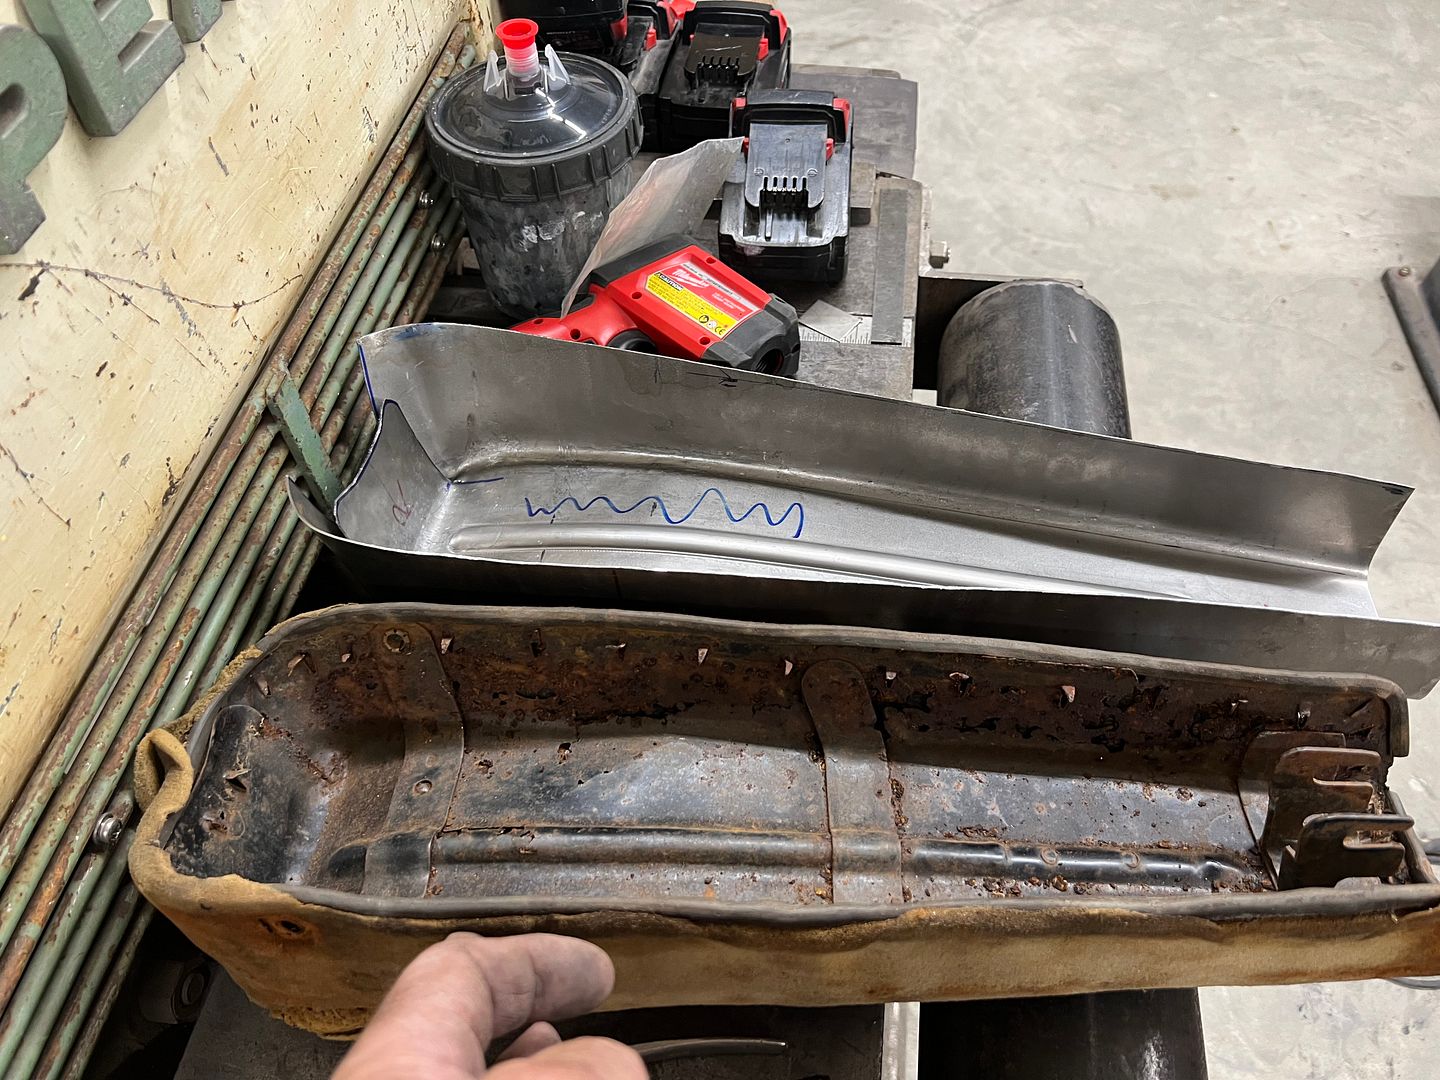
Basic shape
The Erco kick stretcher used on the sides and the post dollies on manipulating the radius bend helped to provide the kickup needed at the rear.
A solid rod across the rear mounting holes gives us some critical dimensions for layout....
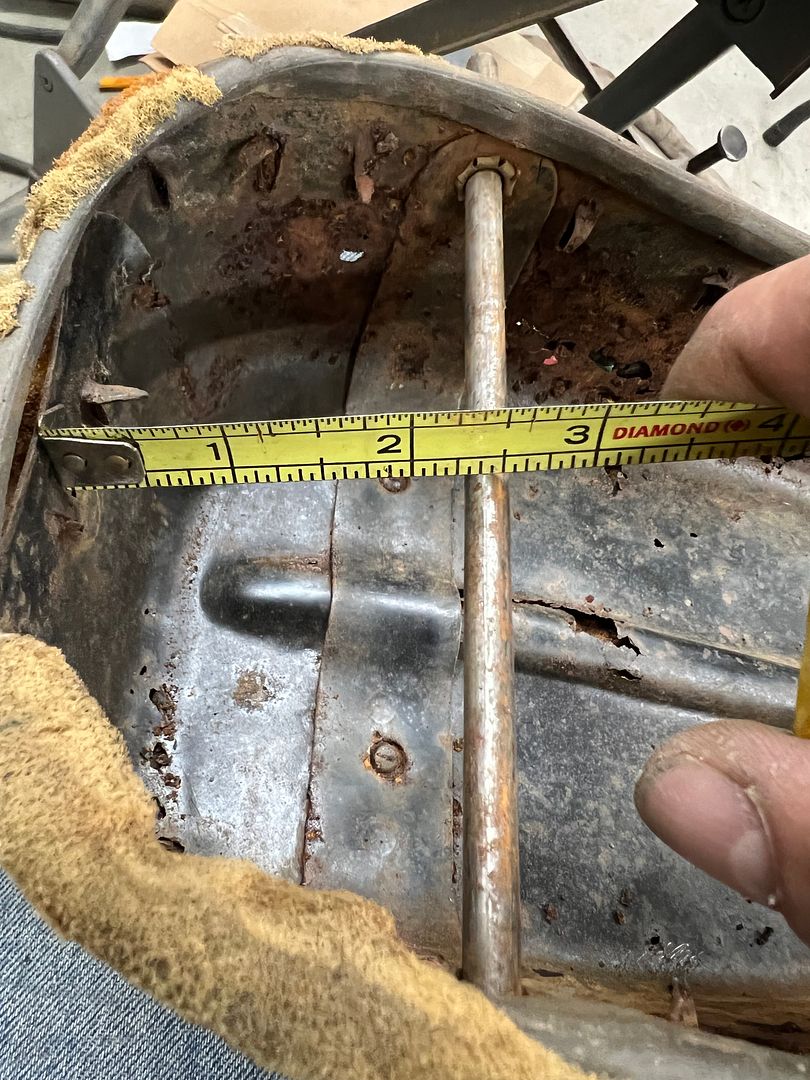
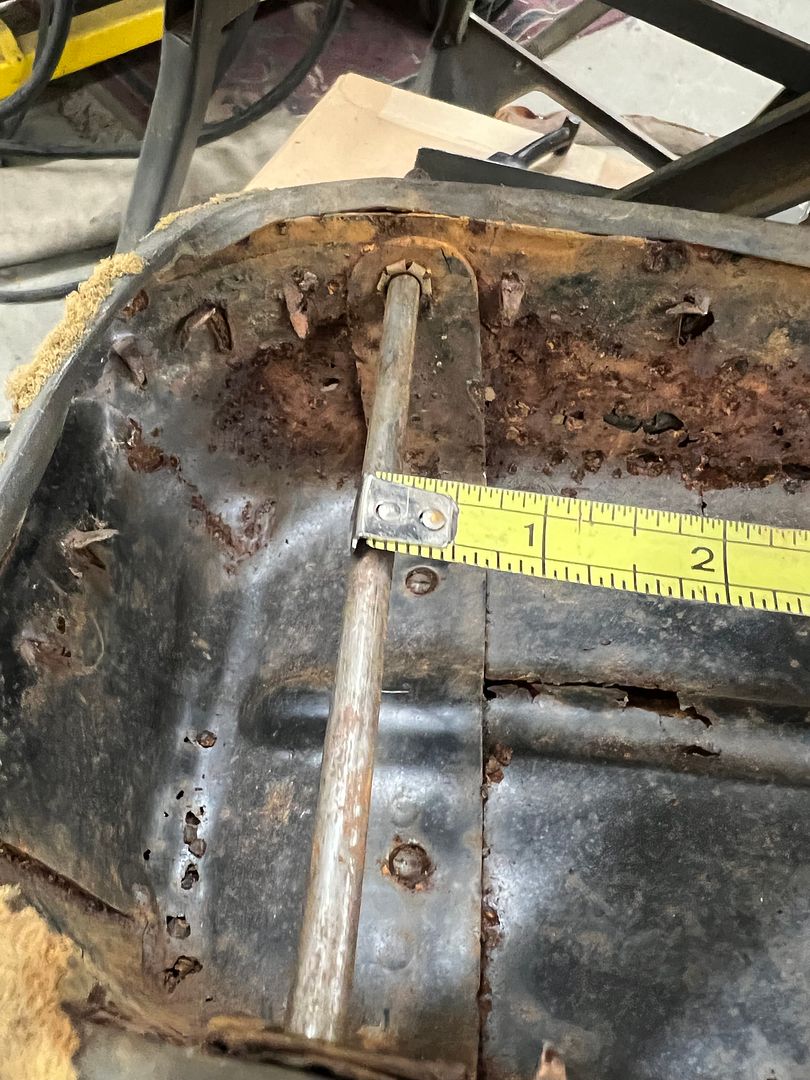
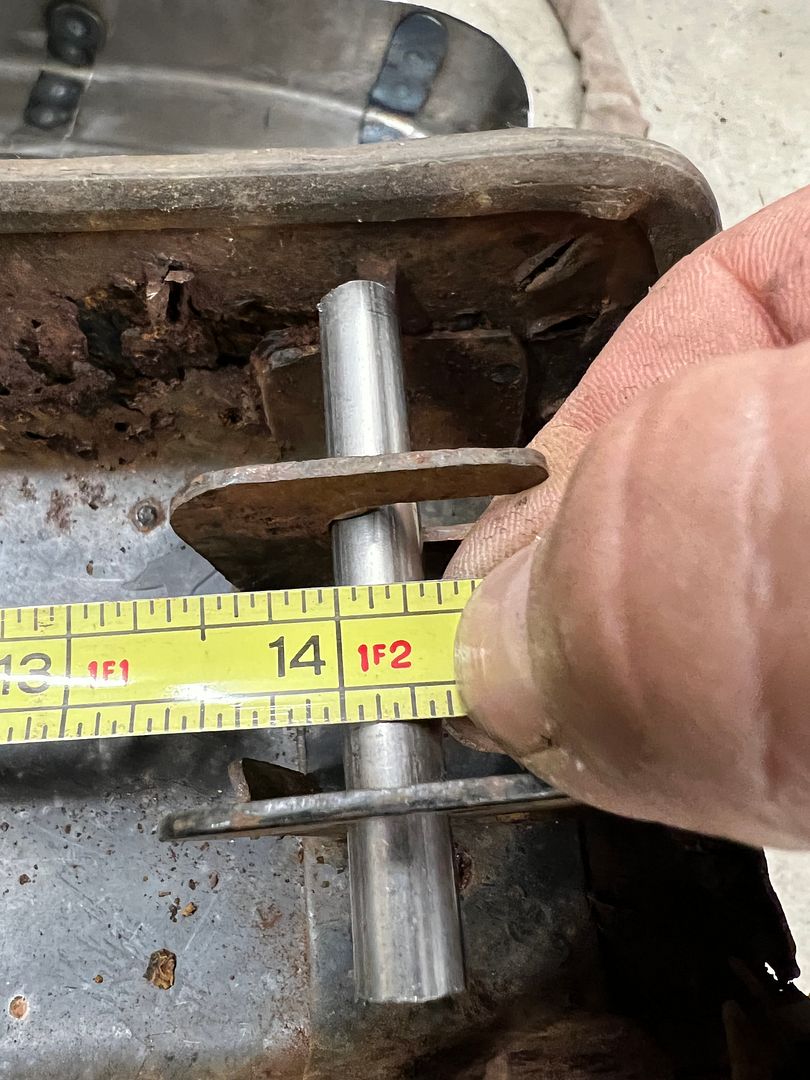
For the mounting holes in the rear, we measured 9/16 from the edge to hole center as per original, and then made a two ended transfer punch that fit snugly between the sides. Once we had our rear measurement and the point aligned to the 9/16 scribe line, we tapped either side to mark the holes.
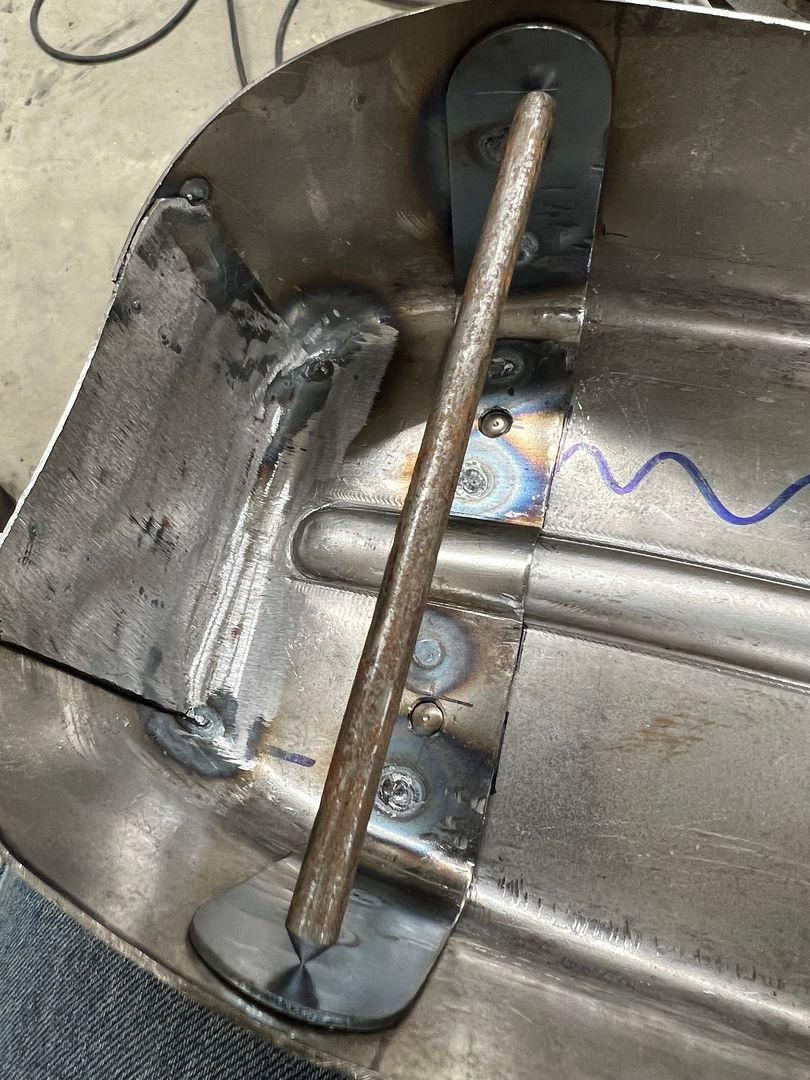
Once drilled, a rod through these holes lets us locate the front bracket. We reused the bracket to save some time (and money) as it was still good and solid..
Impaling spikes added

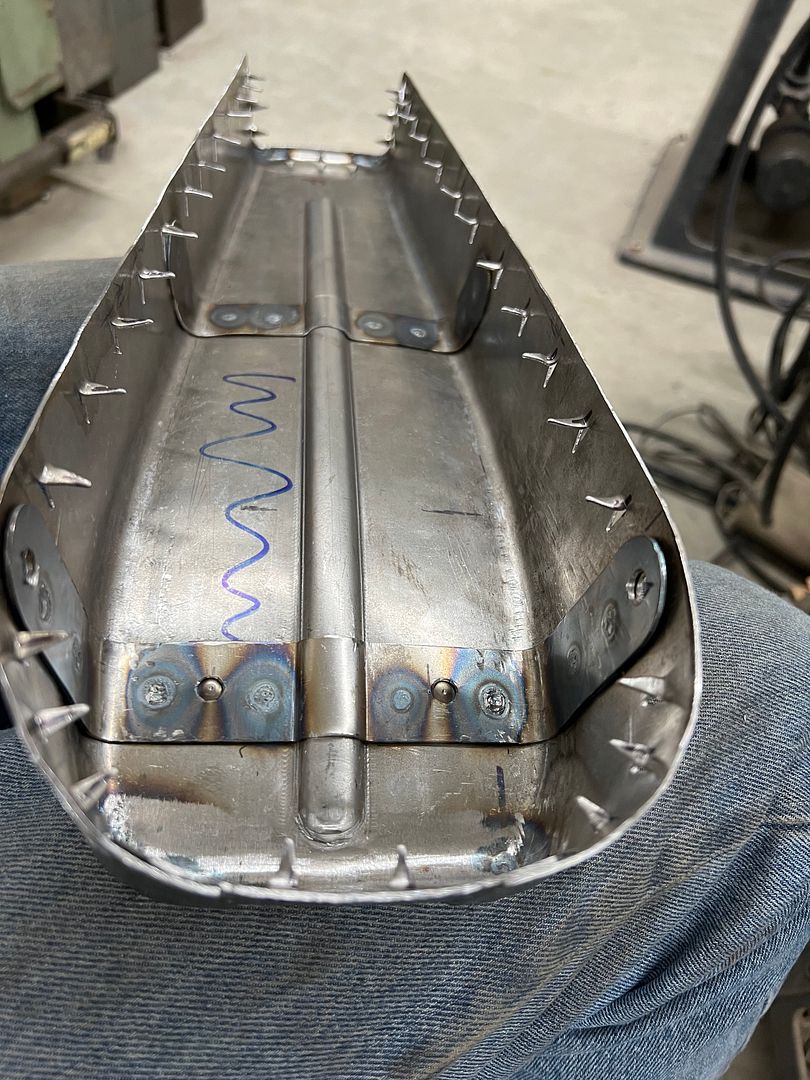
All bracket installed and assembly gets media blasted to prep for powder coat.
Comment
-
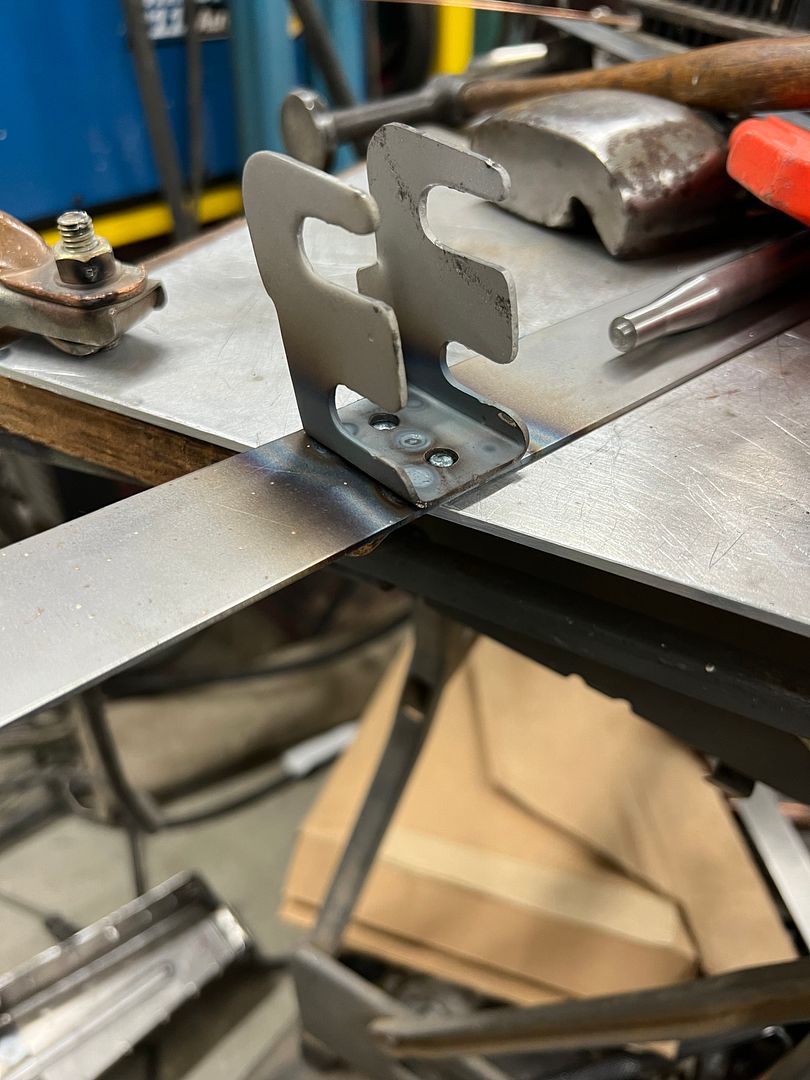
One expensive lesson we learned from installing a window three times, the tack strip that the owner bought was too thick for the headliner, and as a side effect cramped the glass going in. This also meant the upper window clips, which also serve to "position" the garnish molding, pushed the molding down far enough that the back side was visible through the glass.
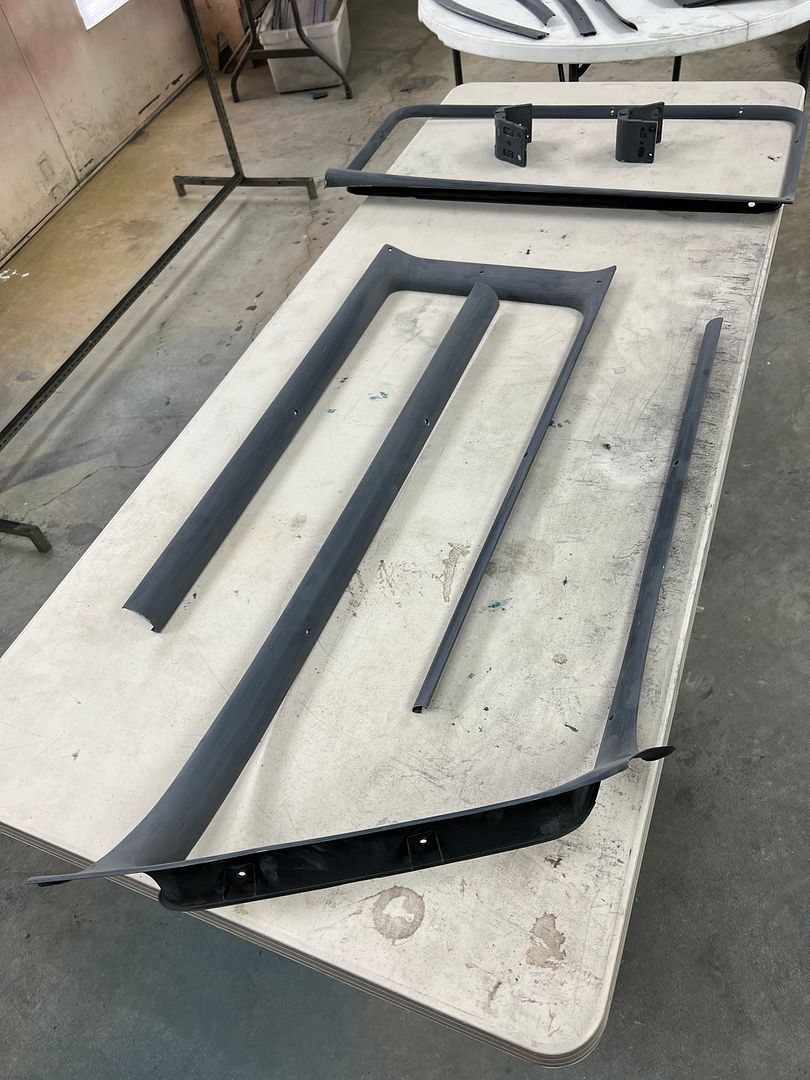
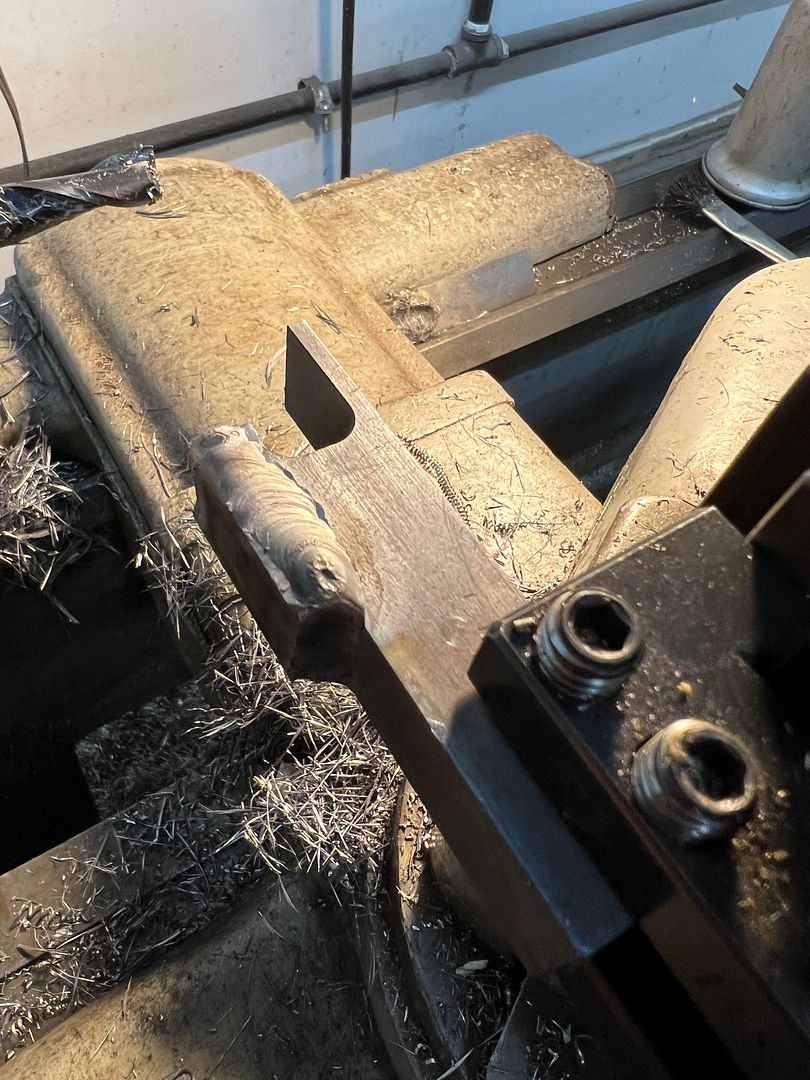
In order to remedy that view through the glass, we need to fabricate new clips that allow the trim to position higher on the glass. We start with a set of dies for the Lennox so we can make a run of the needed shape, and then cut them individually to size. This should give us the best consistency on size. Our first set of dies will take a folded 90* shape and form it into a "U" shape. We used the Southbend "milling machine" to provide a relief for the long side flange of the clip.
Additional reliefs and some roloc sander action and we have the lower die ready for the shortened clip.
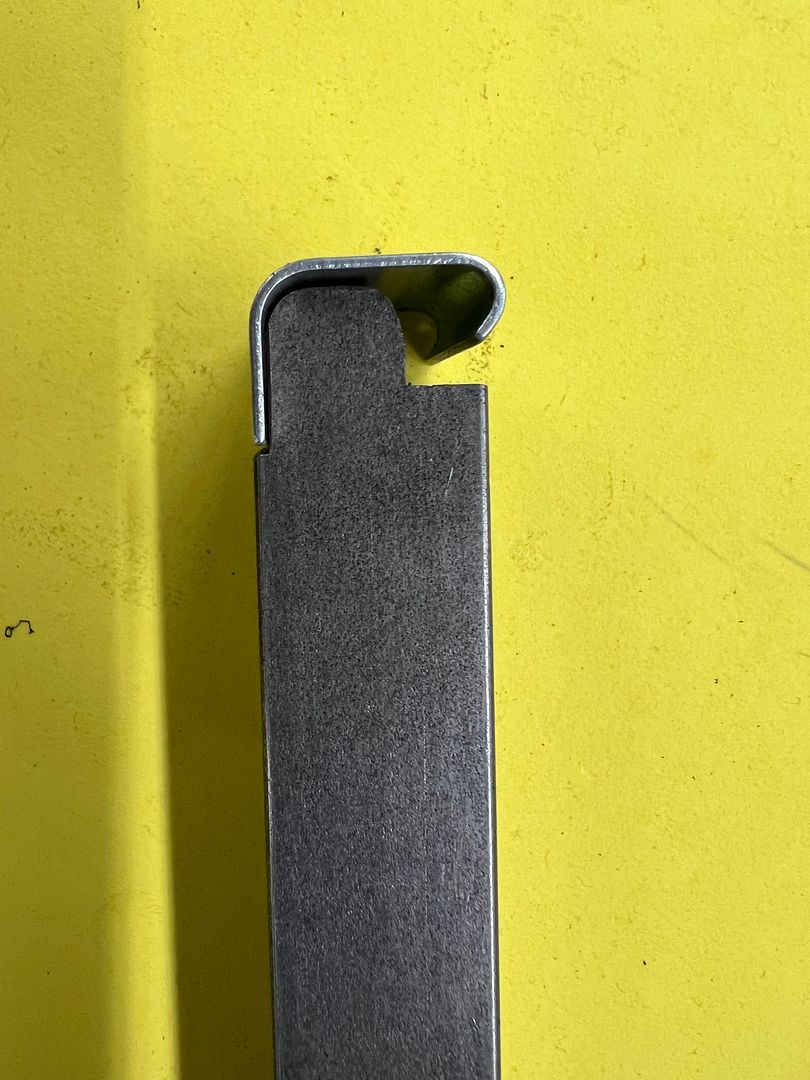
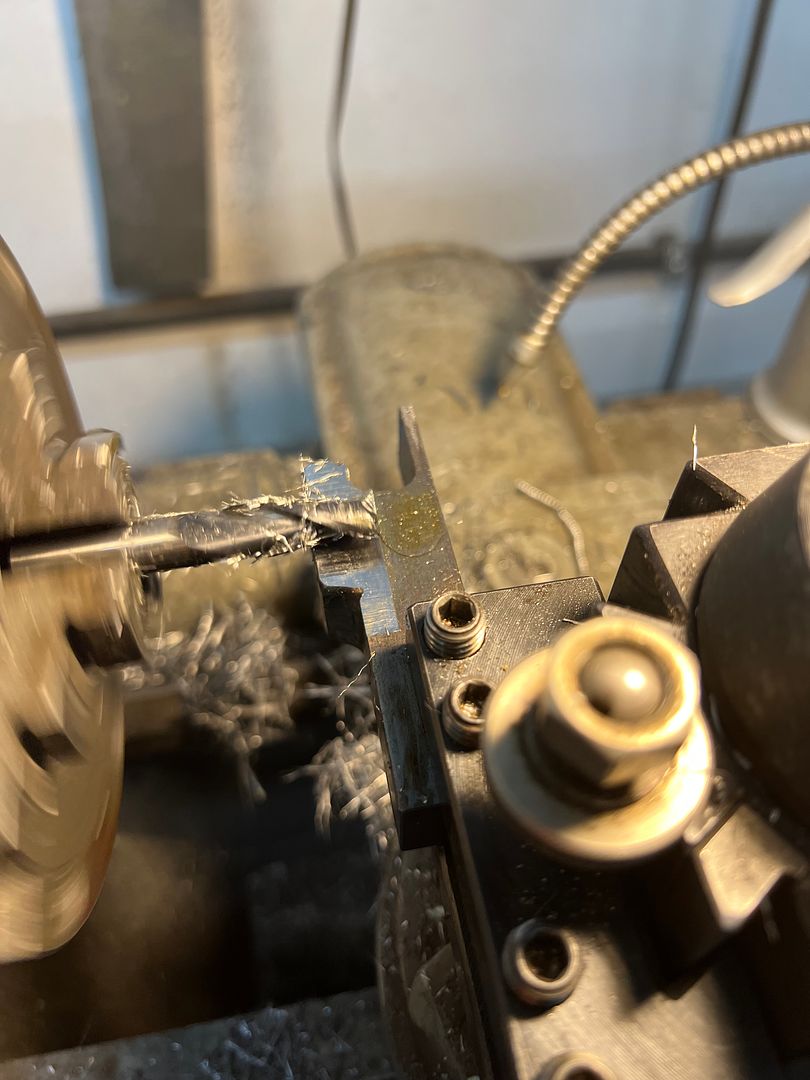
Then our 3/8 end mill is brought in from the end to form a matching profile.

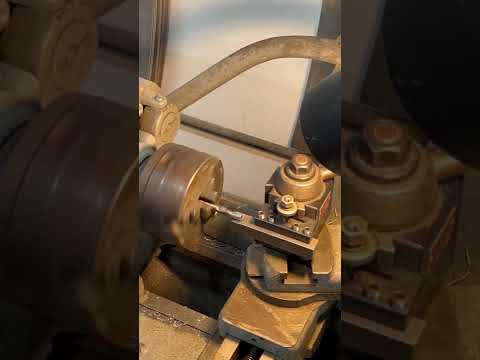
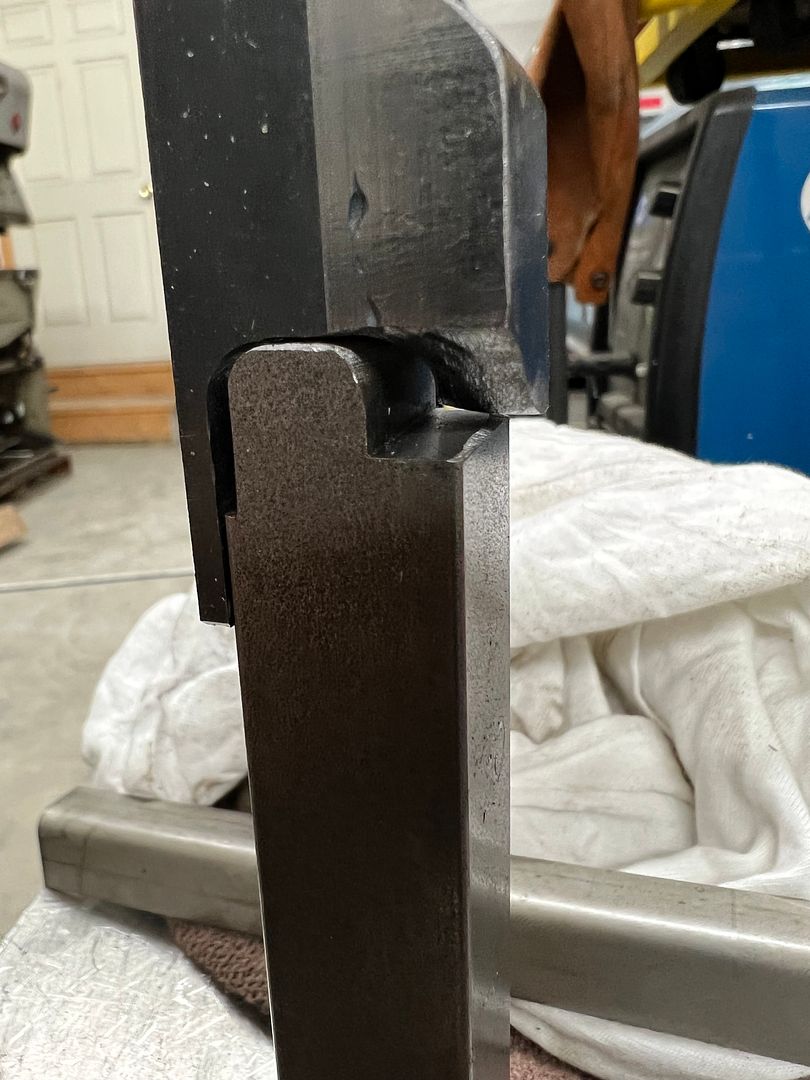
A piece of 1018 is welded onto the side to give us more "meat" to make the folding ramp, and then machined to clean up the weld.
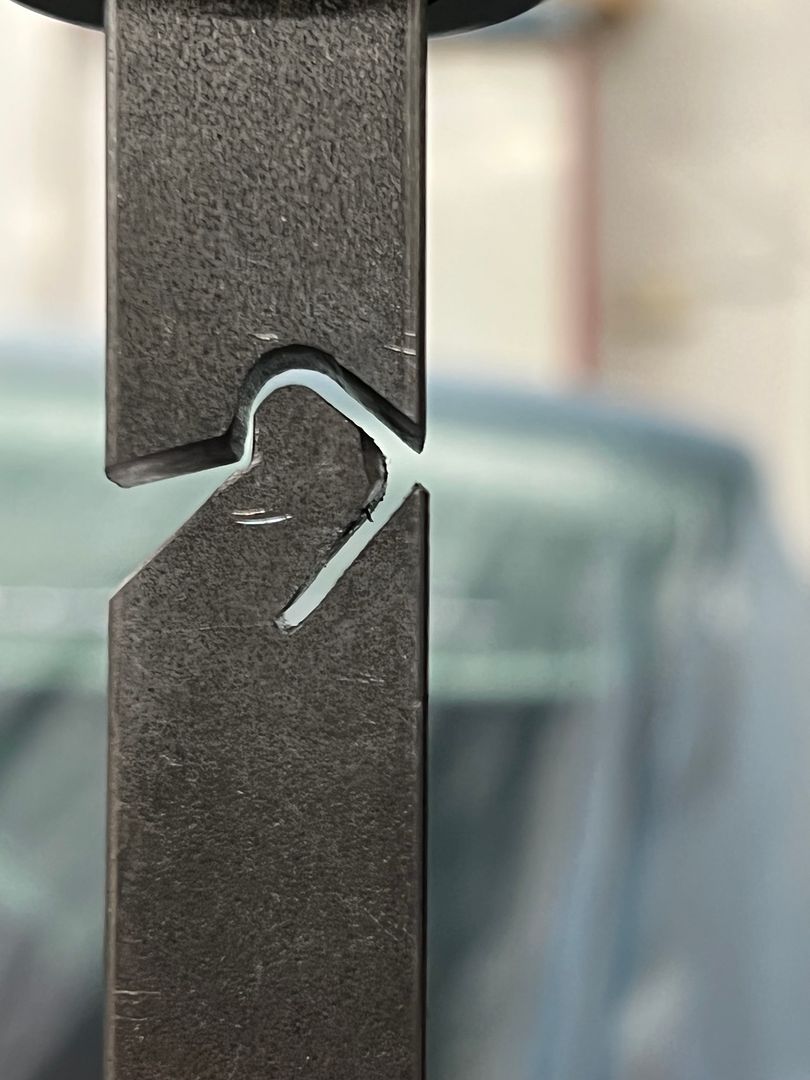
Using the pneumatic belt sander and a cone shaped die grinder we add the ramp to the upper die and then run a profile through..

Our next set of dies for the wrap around fold....

Clips cut to length and mounting holes drilled
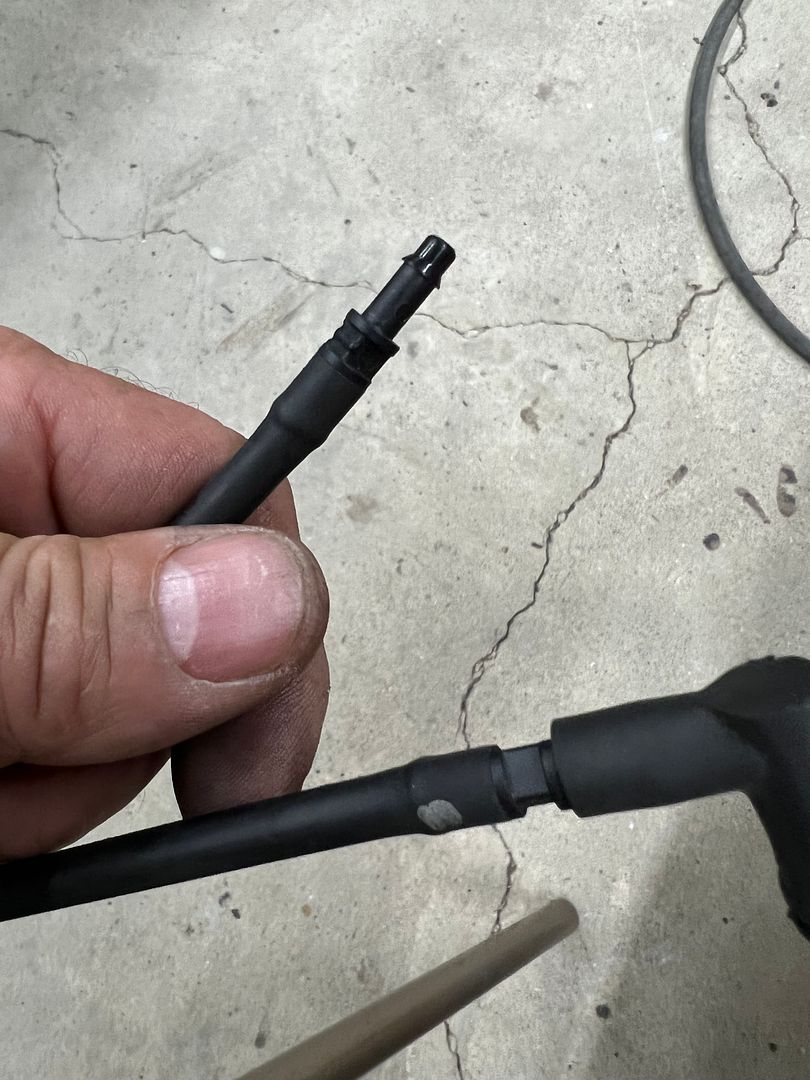
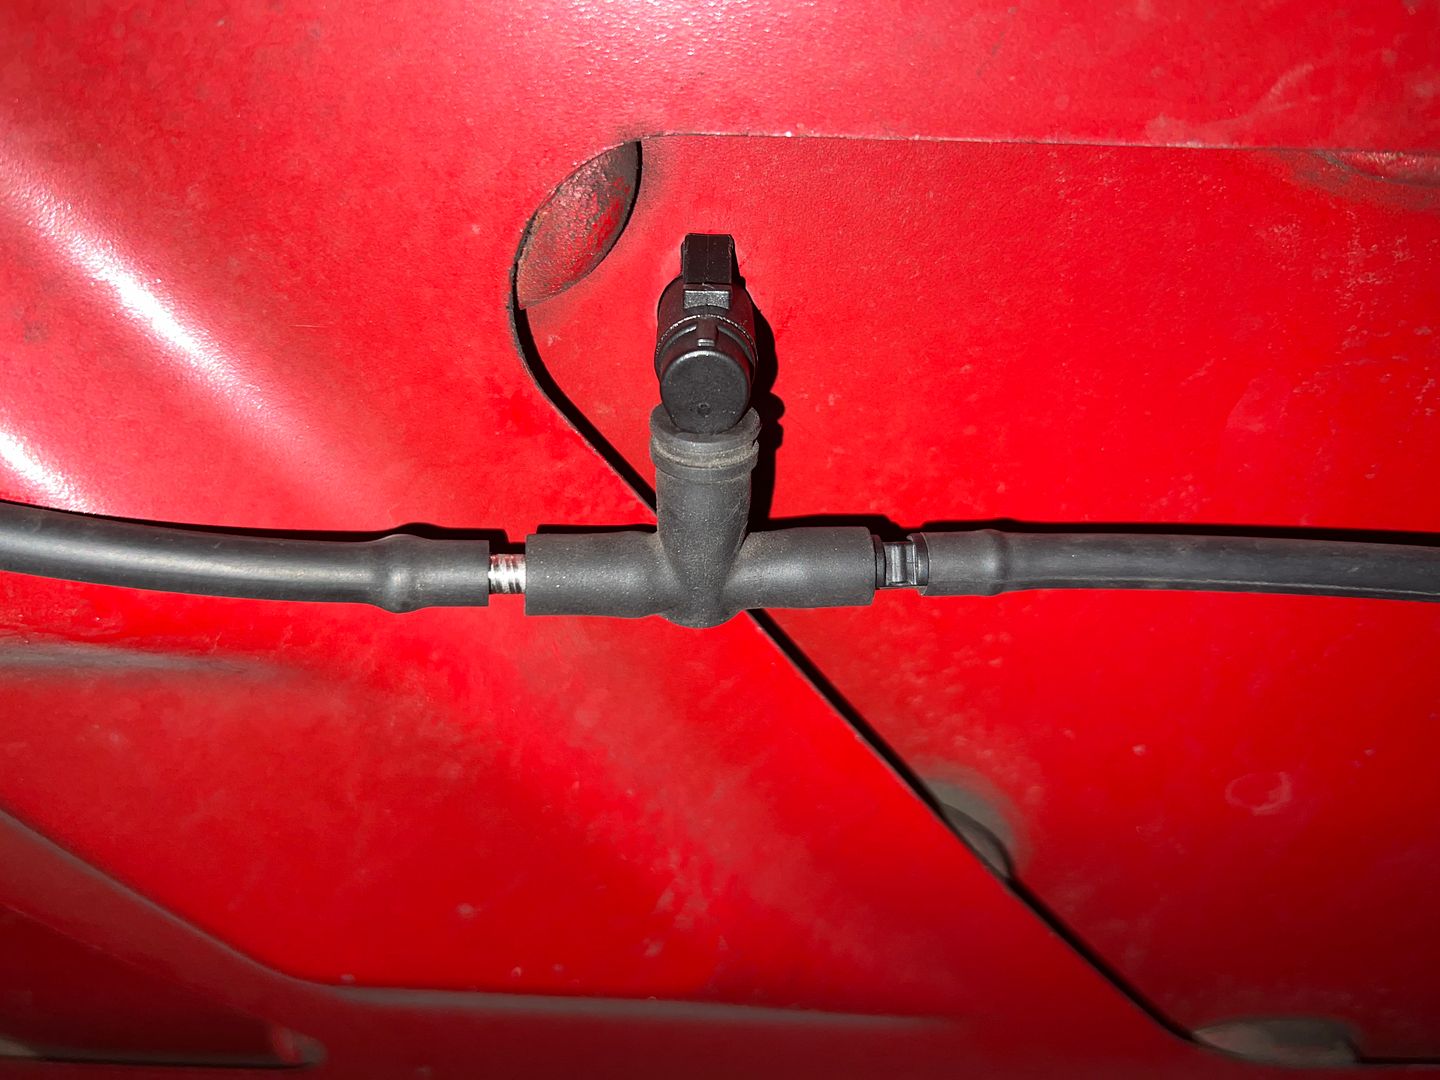
Next on the list was to install the new wiper washer nozzles on my daily, since the old ones couldn't stand the heat under the hood with a turbo. The barb fitting had broken free of the nozzle and we no longer had windshield cleaning service. Upon removal, I found that one of the barb couplings had disintegrated as well. And here we were one hour after the auto parts stores had closed. Here's a still intact sample:
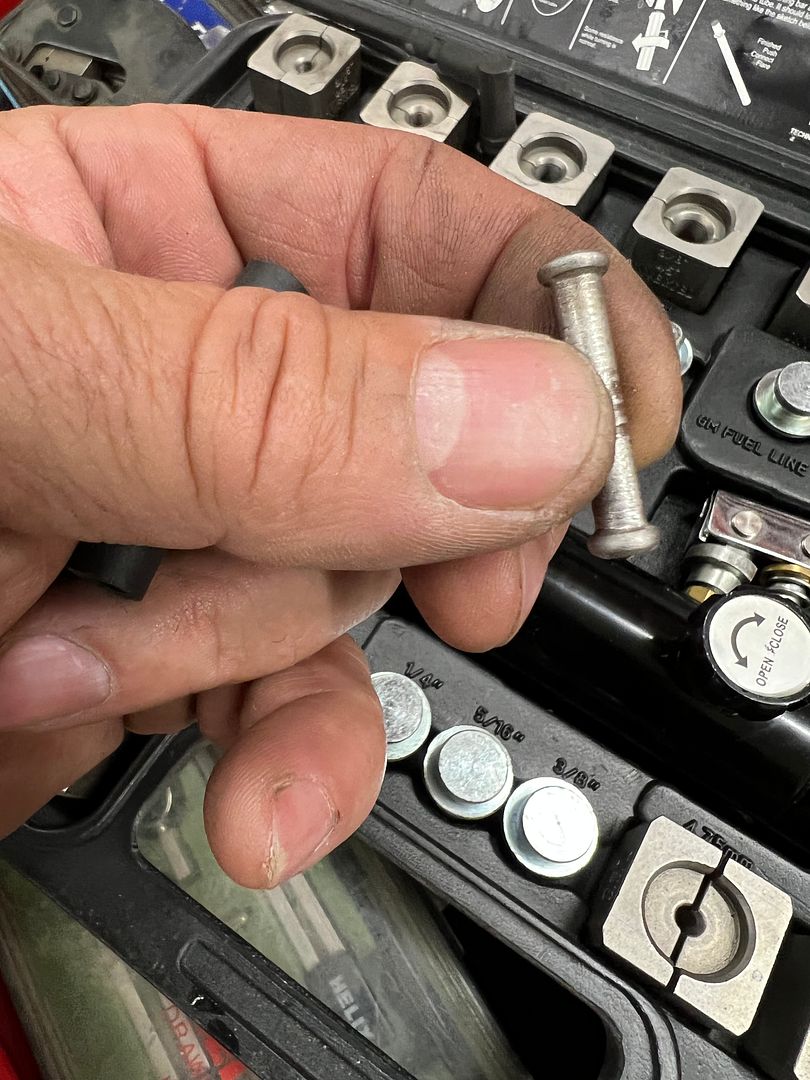
Since we had some stainless brake line left over from the wagon, lets make some lemonade...
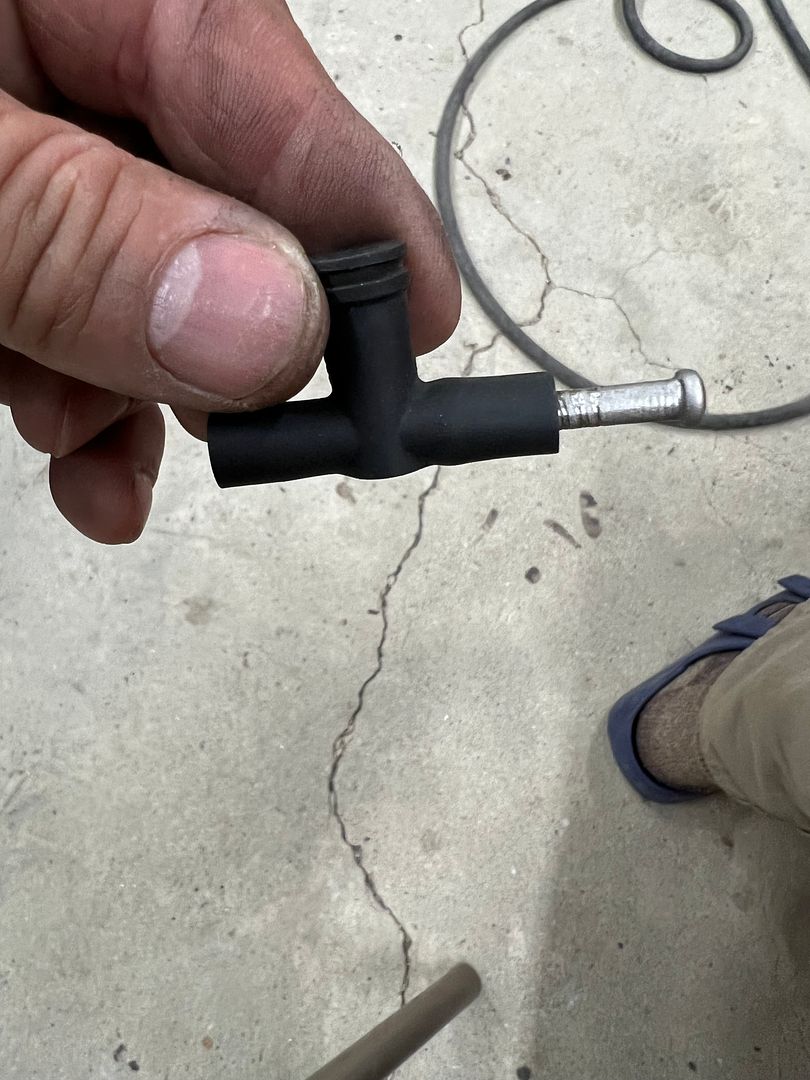
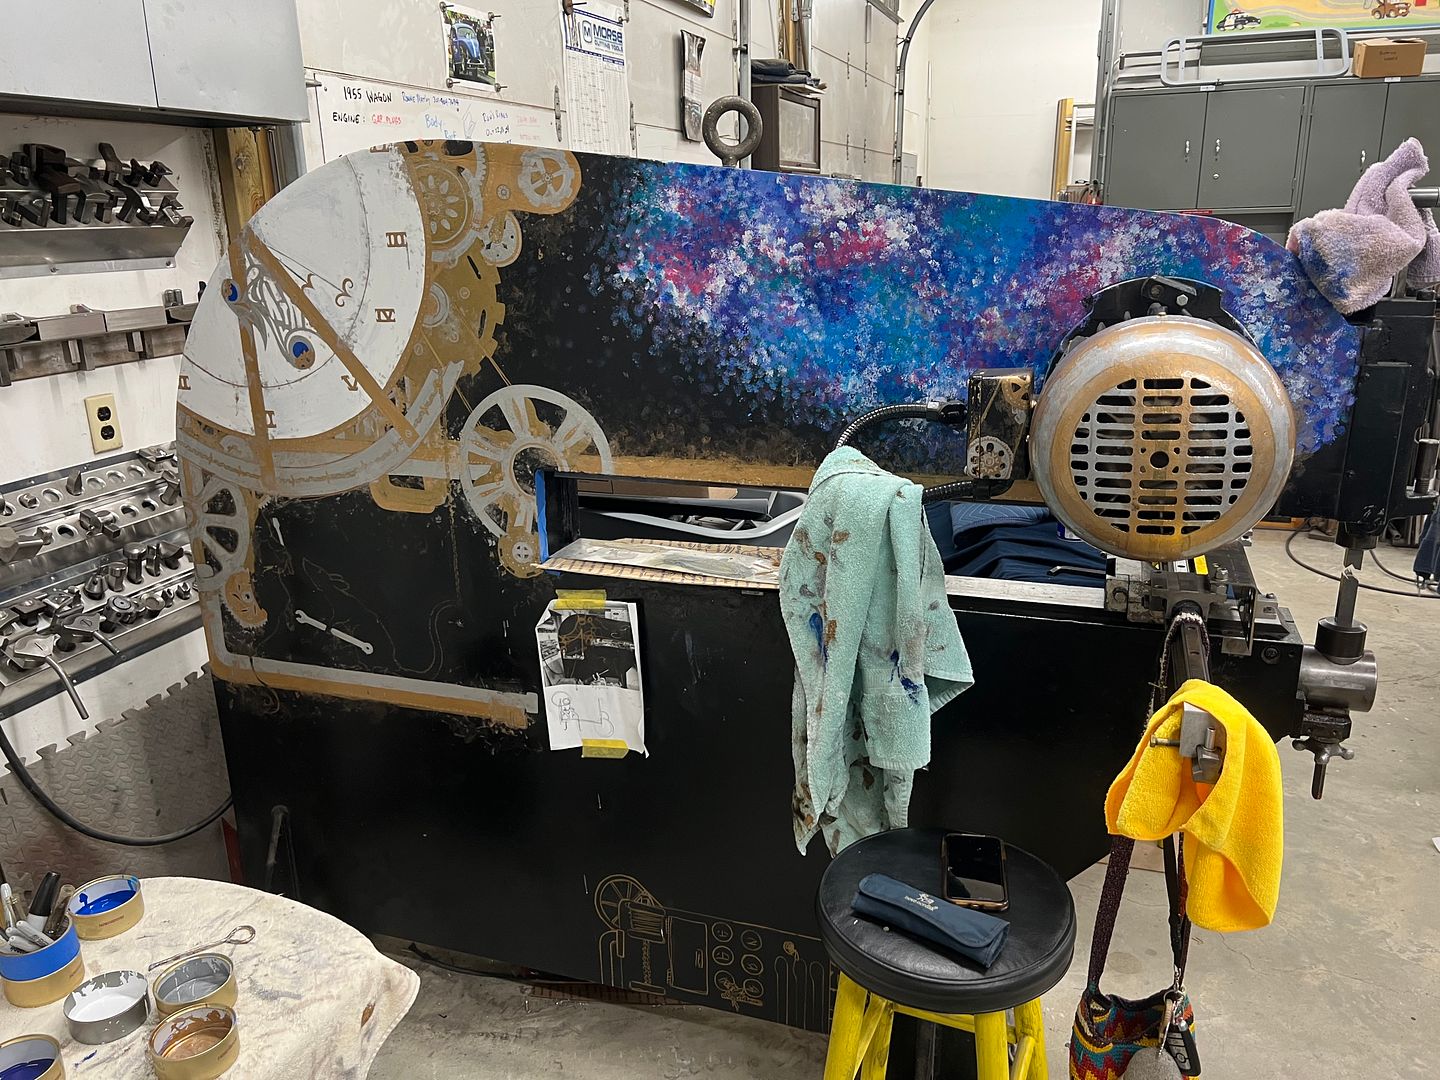
Back in business.. And the artist has made some progress on the Lennox....
 Last edited by MP&C; June 21, 2022, 10:41 AM.
Comment
-
Update on the Kent bike seat, we have a good fit and now it's off to the upholstery shop..
Comment
-
So I've been rather lax on the updates as we've had a distraction here at the shop. Someone had a mishap in returning home on Memorial day (about midnight) from one of the local watering holes. Let's call him "Dale Jr"
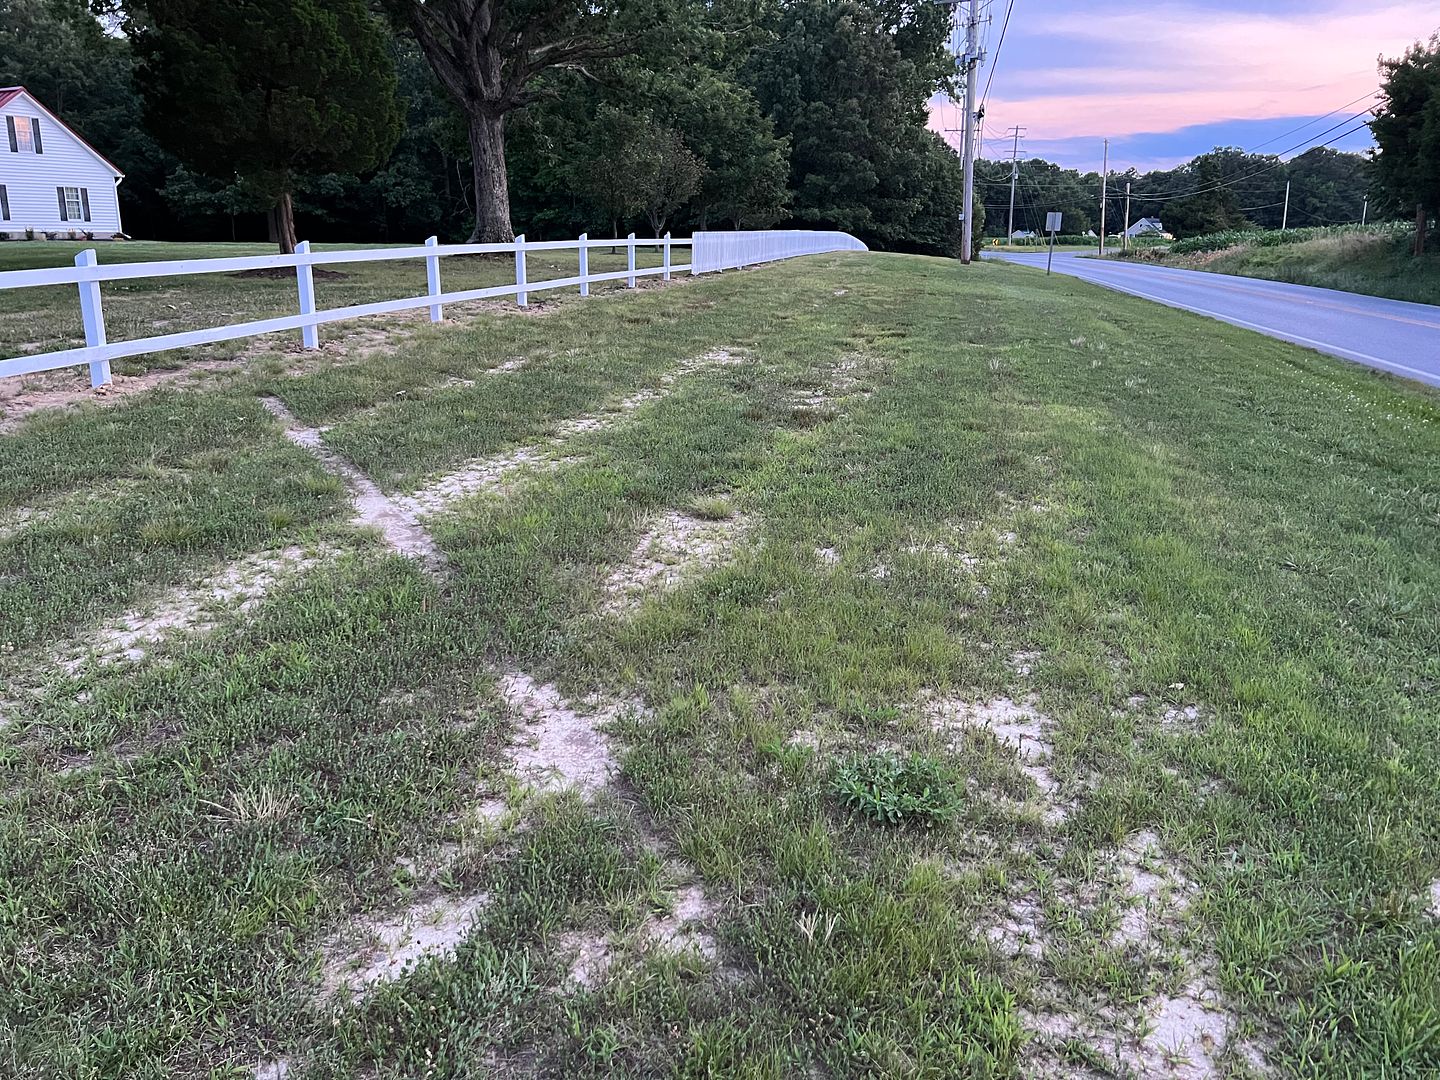
Seems he was coming in a bit hot in the final turn where his left tires were out in the grass in the opposite lane..
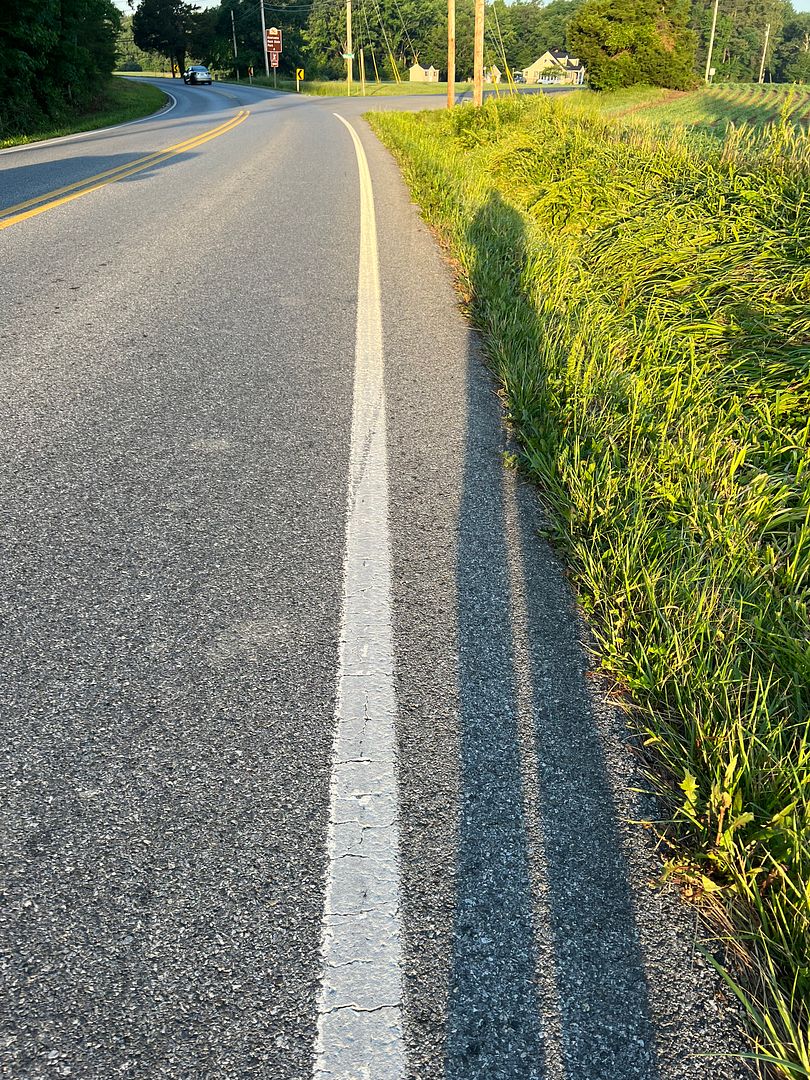
Which, when combined with over-correction....
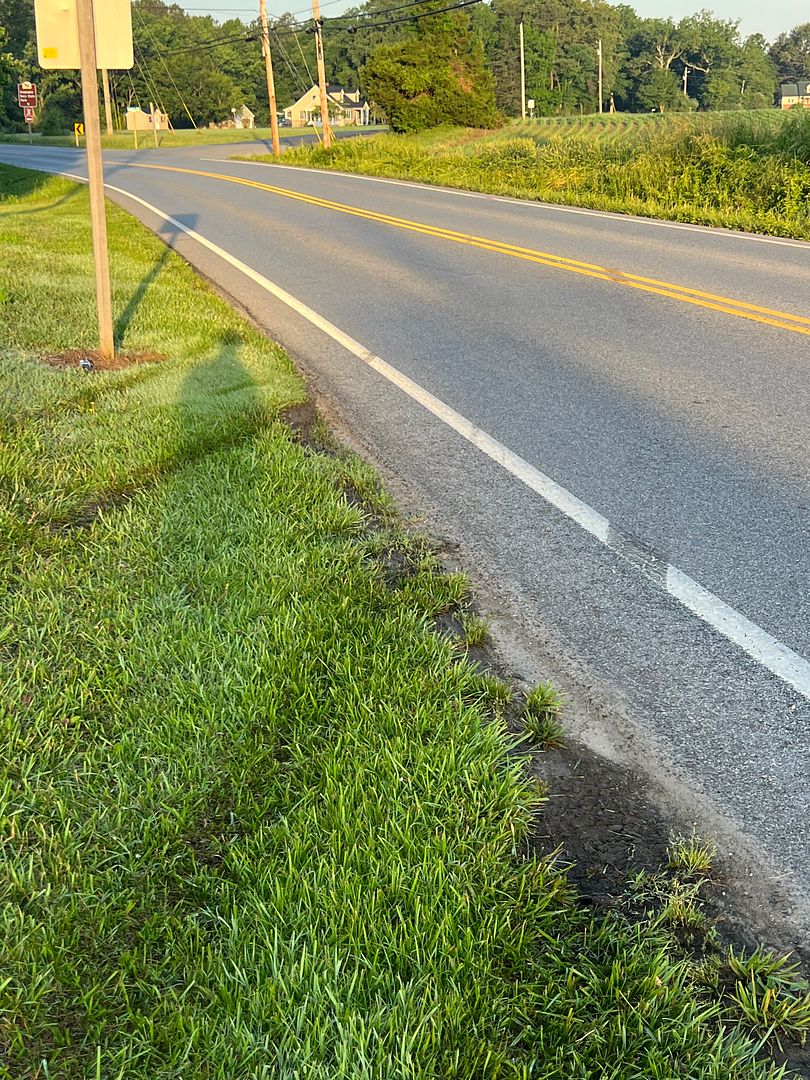
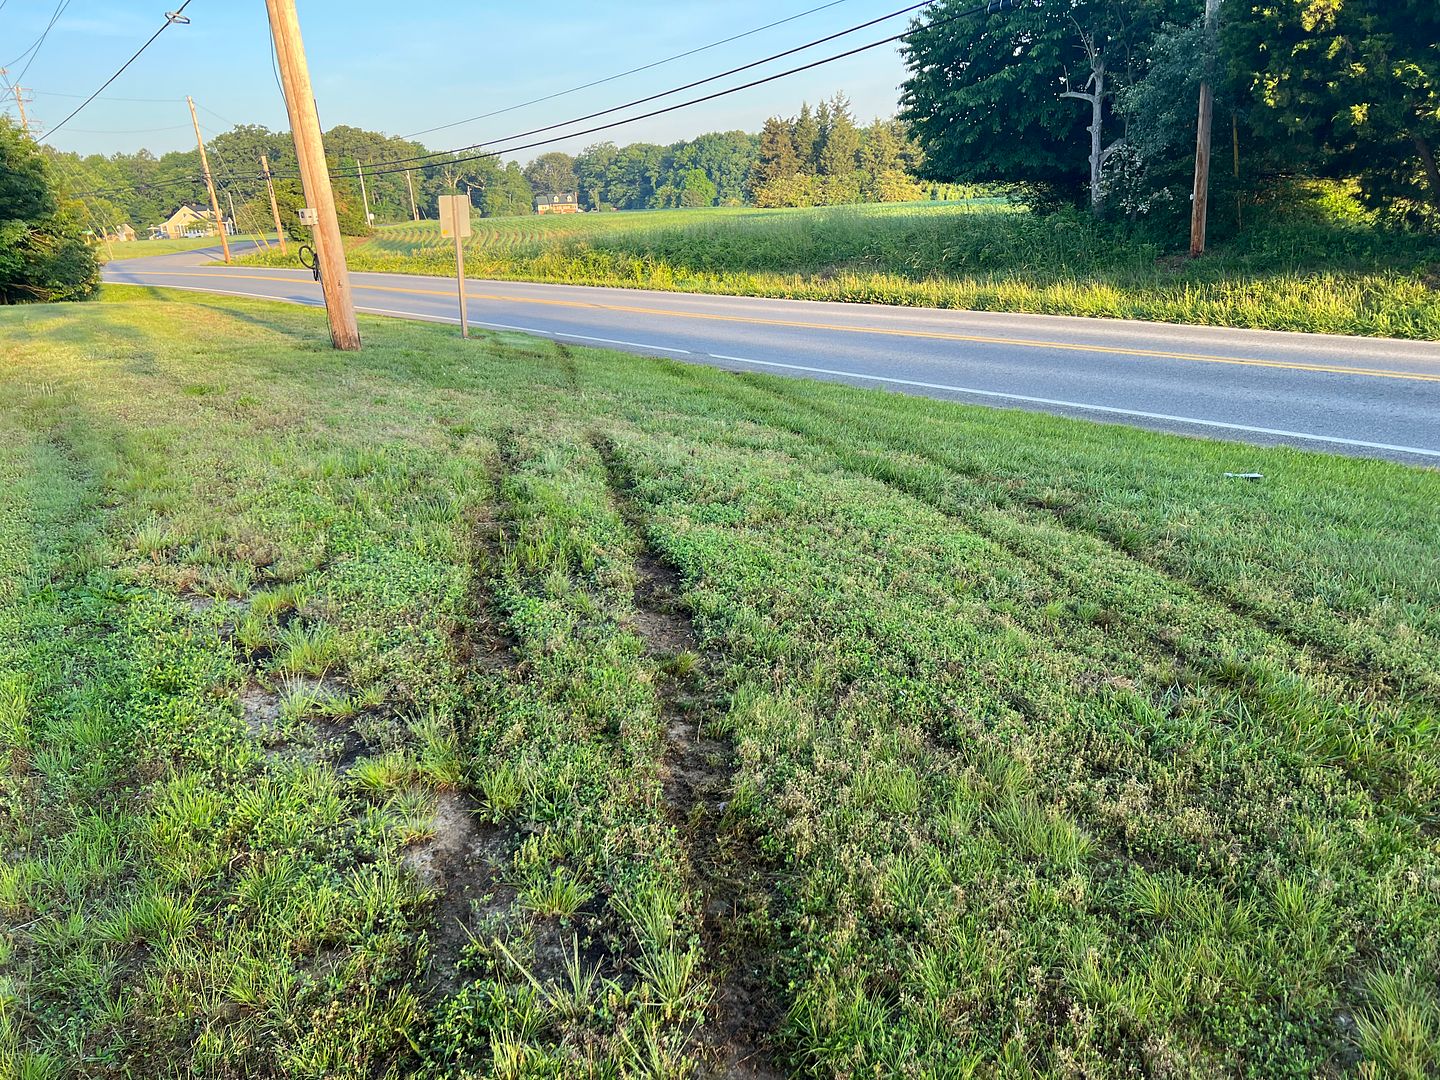
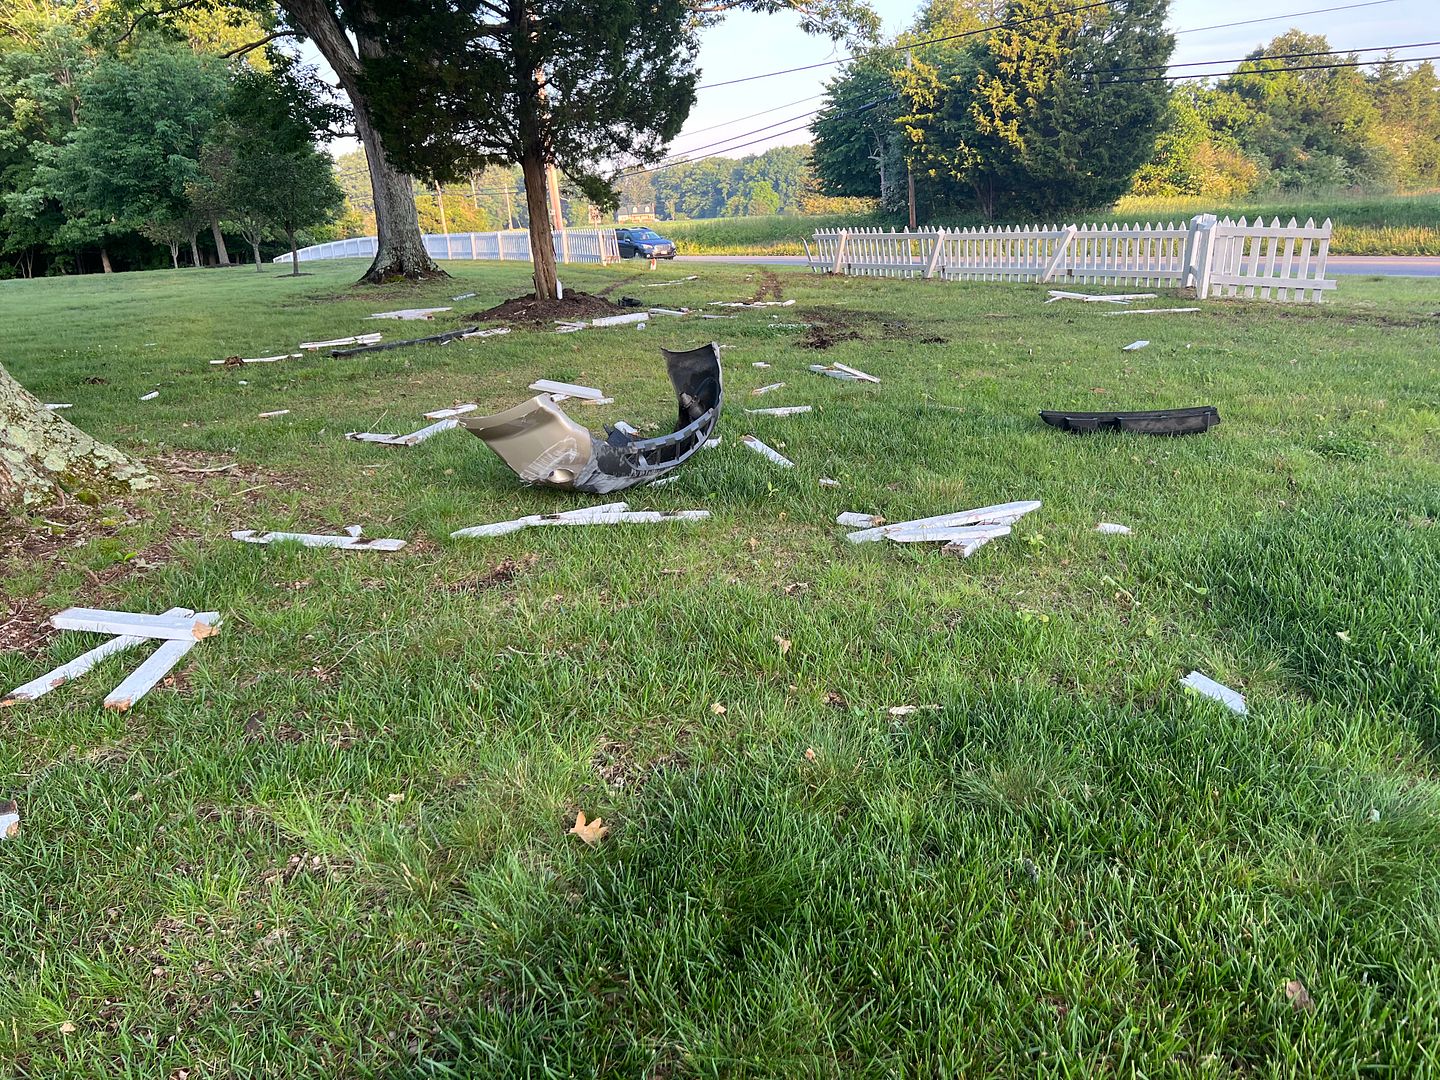
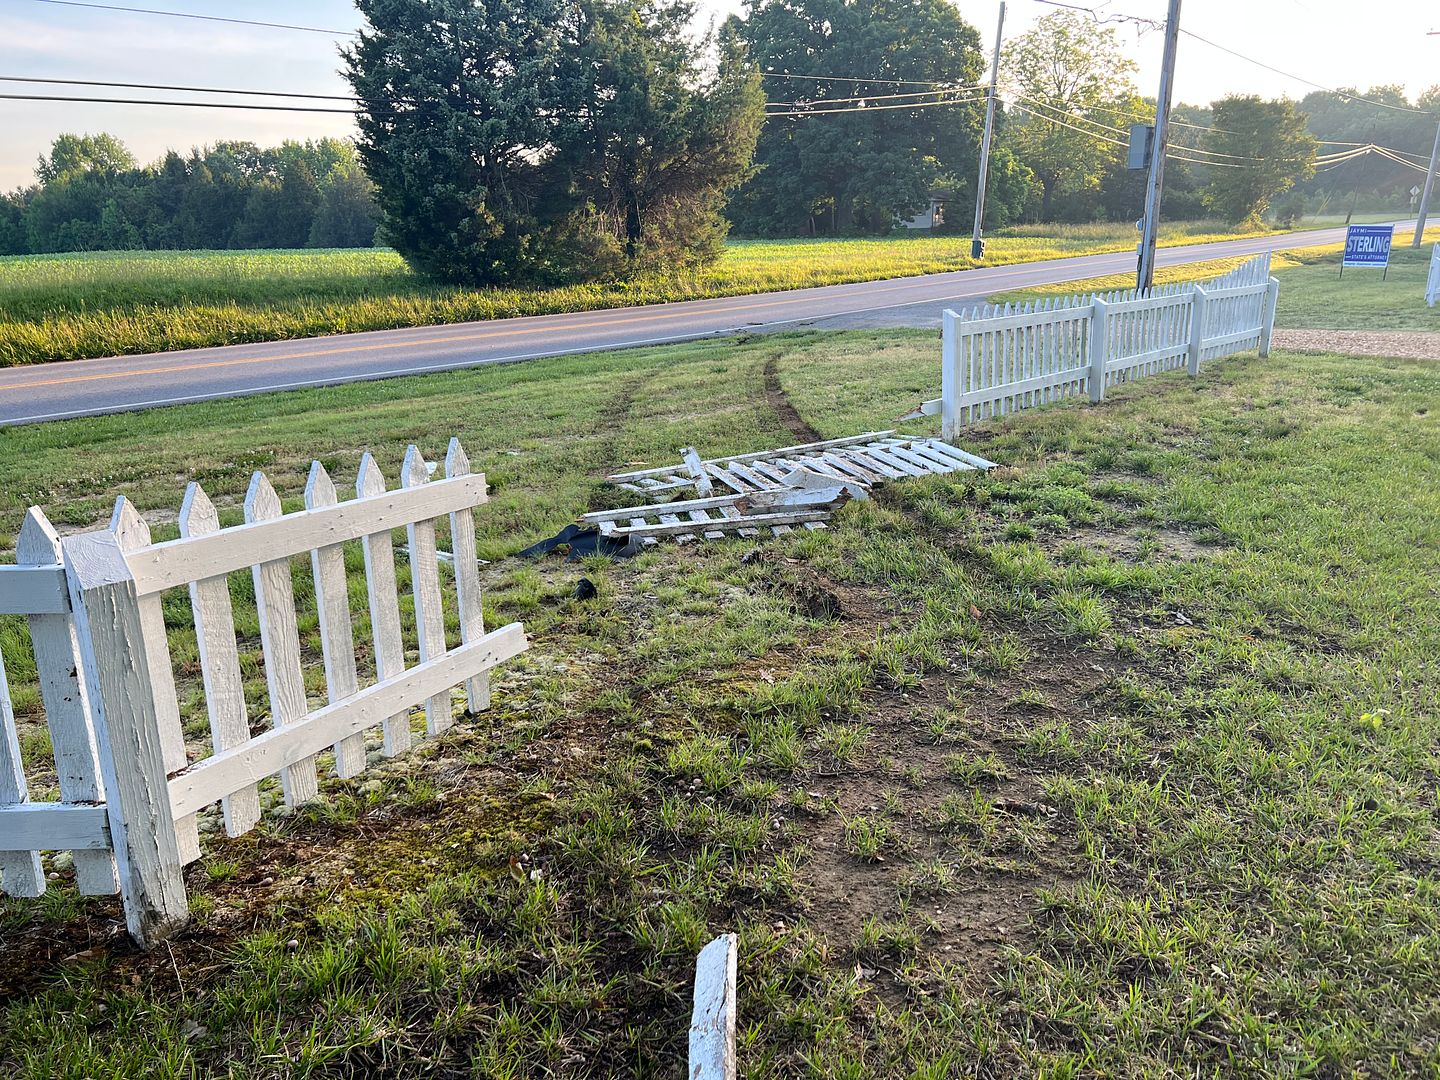
Here, I guess not wanting to go a lap down, he took the nearest path back to the "track", completely ignoring pit road to his right....
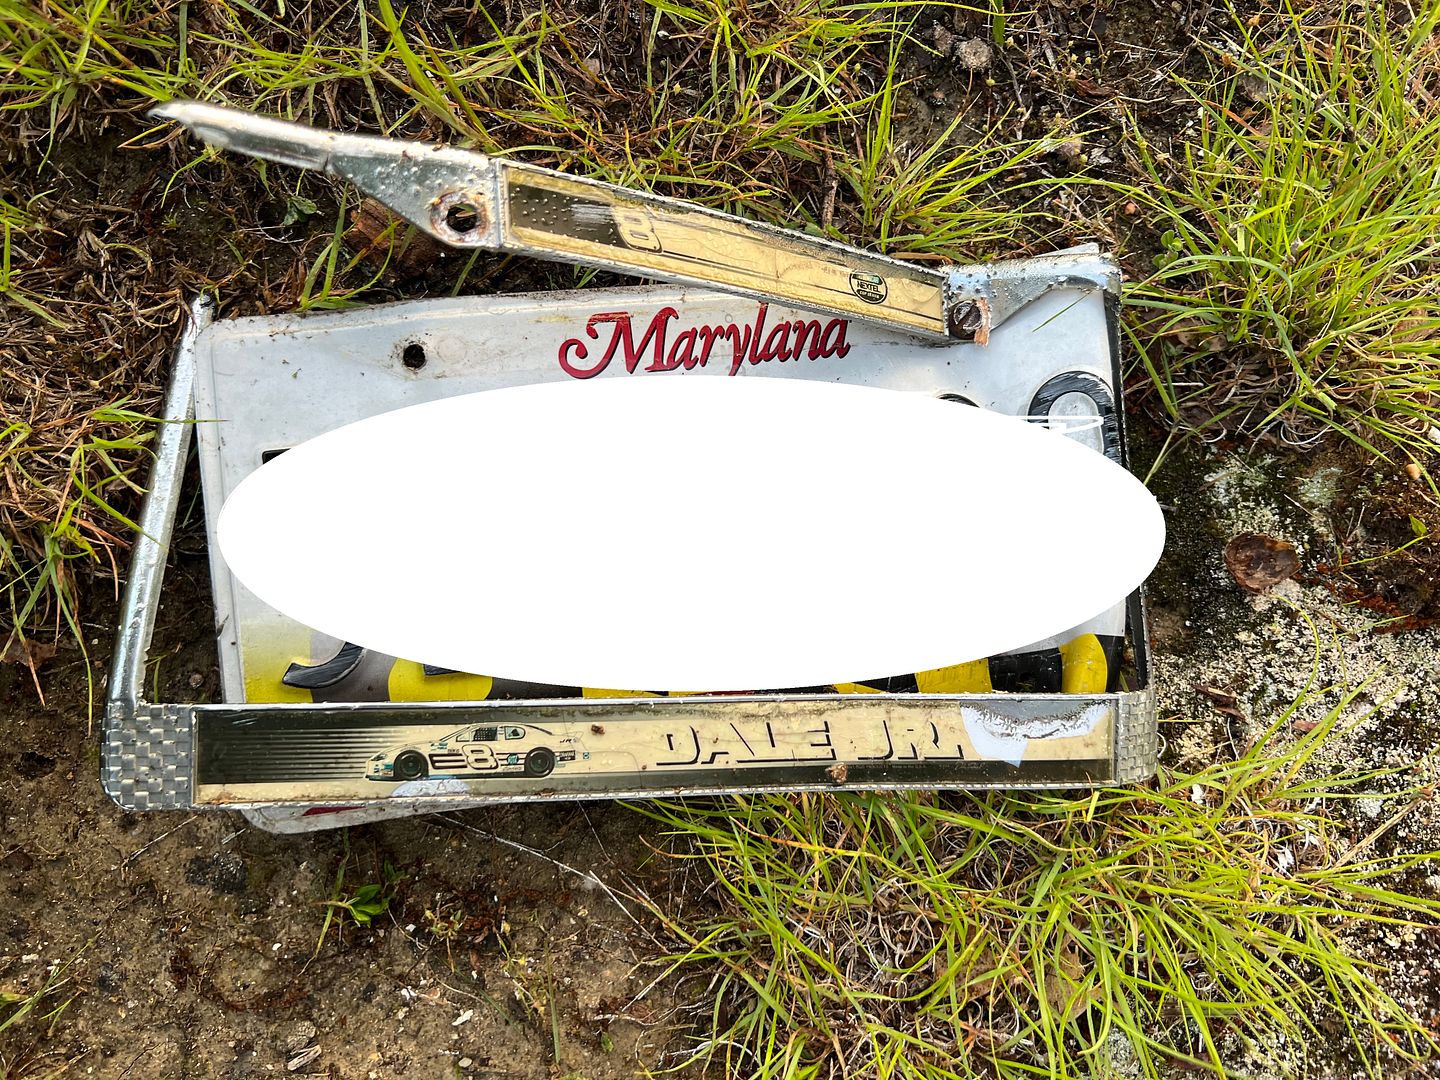
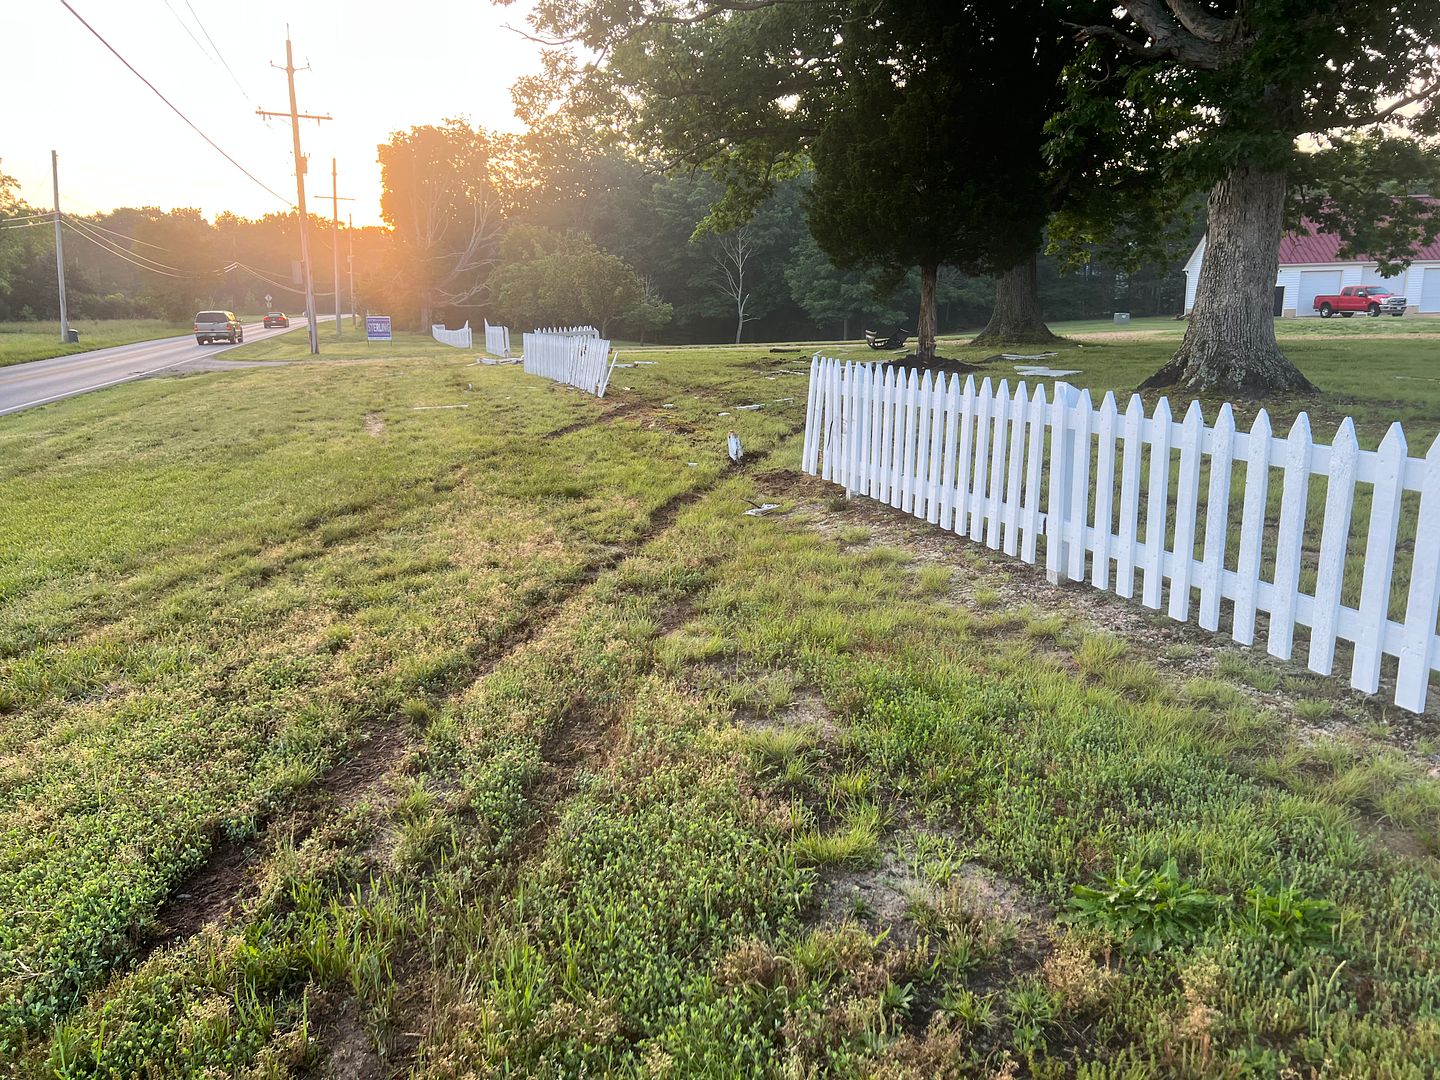
The remnants left behind suggested the drivers window broke out, likely when this gem flew out of the vehicle...
So we've been rebuilding from that the past few weeks in spare time, pre-painting pickets to limit June/July sun exposure.....
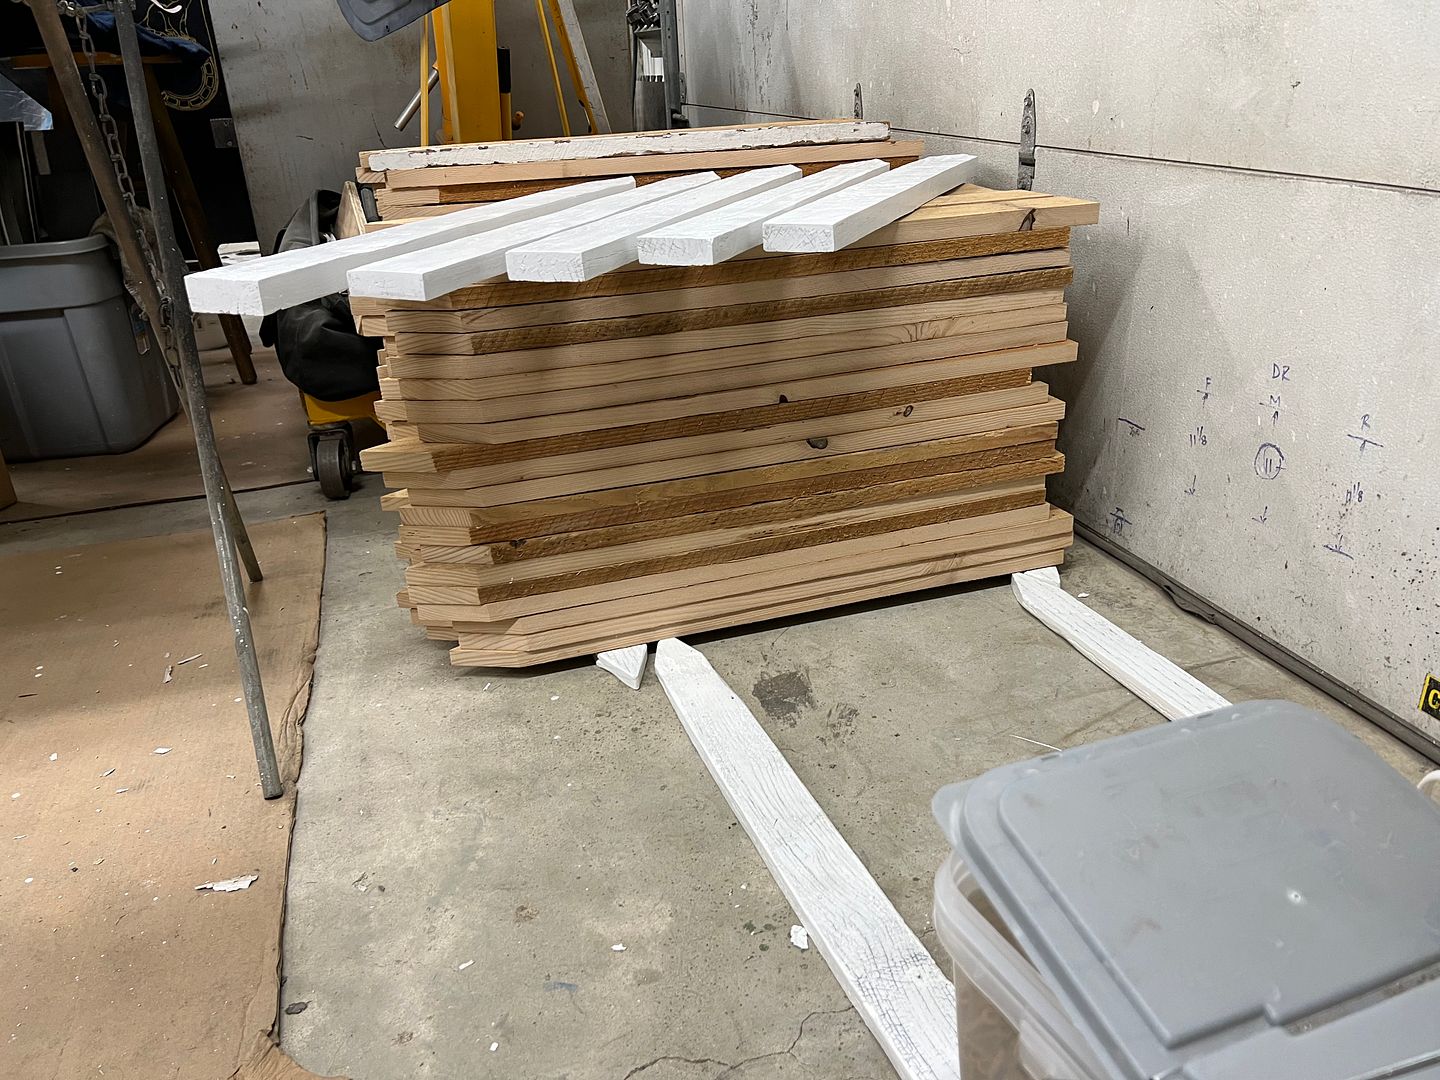
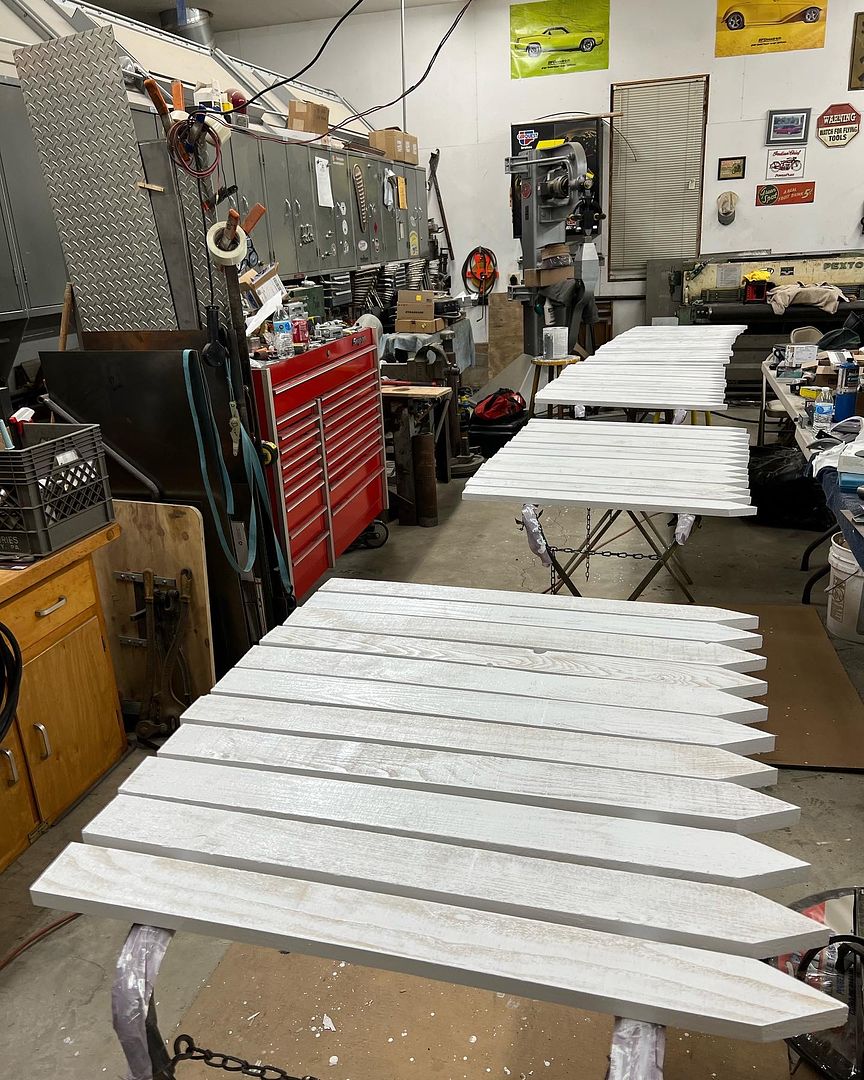
and we finished off here yesterday around noon...
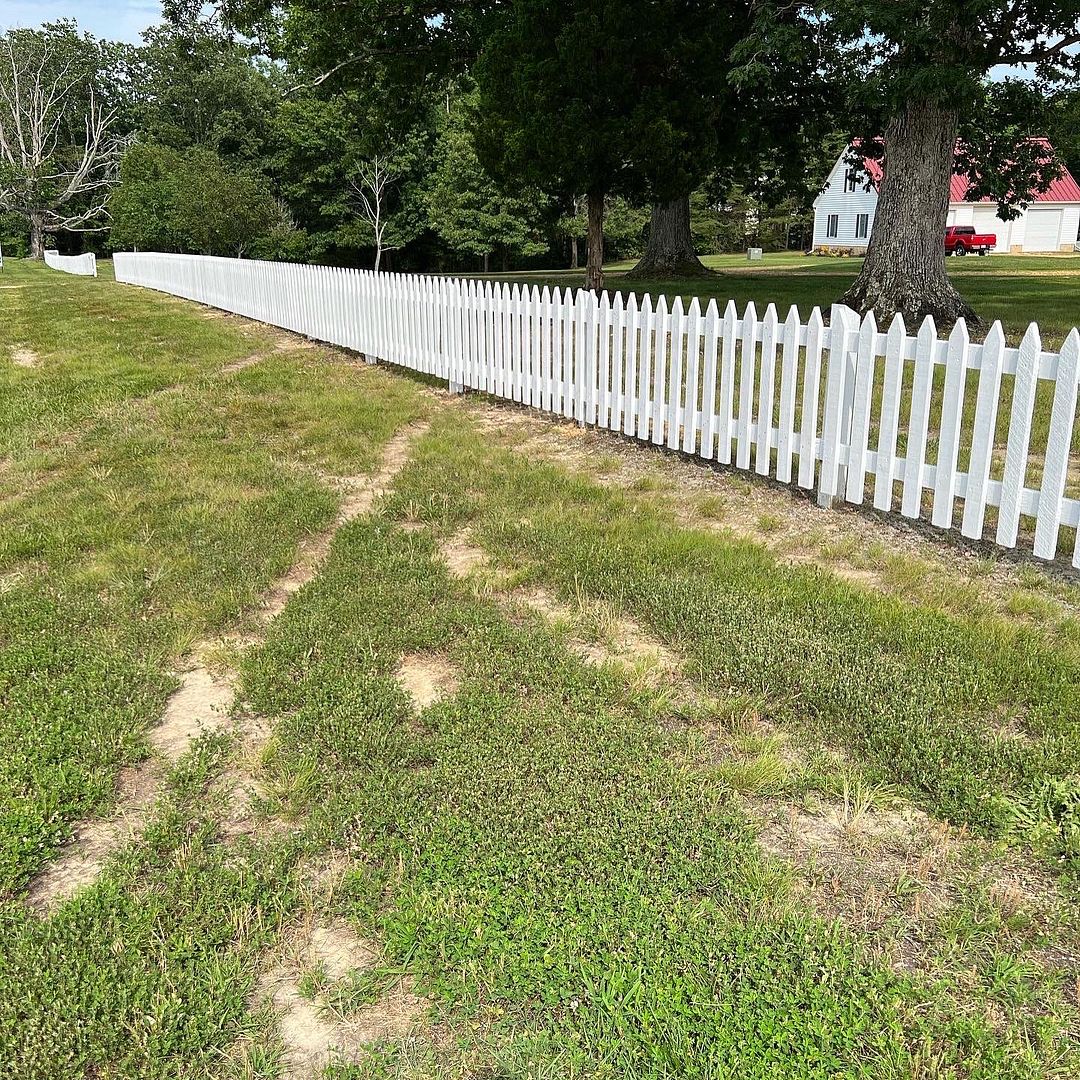
Still have one more coat of paint to apply, but this will hold it until cooler days or the next mishap at the track..Comment
-
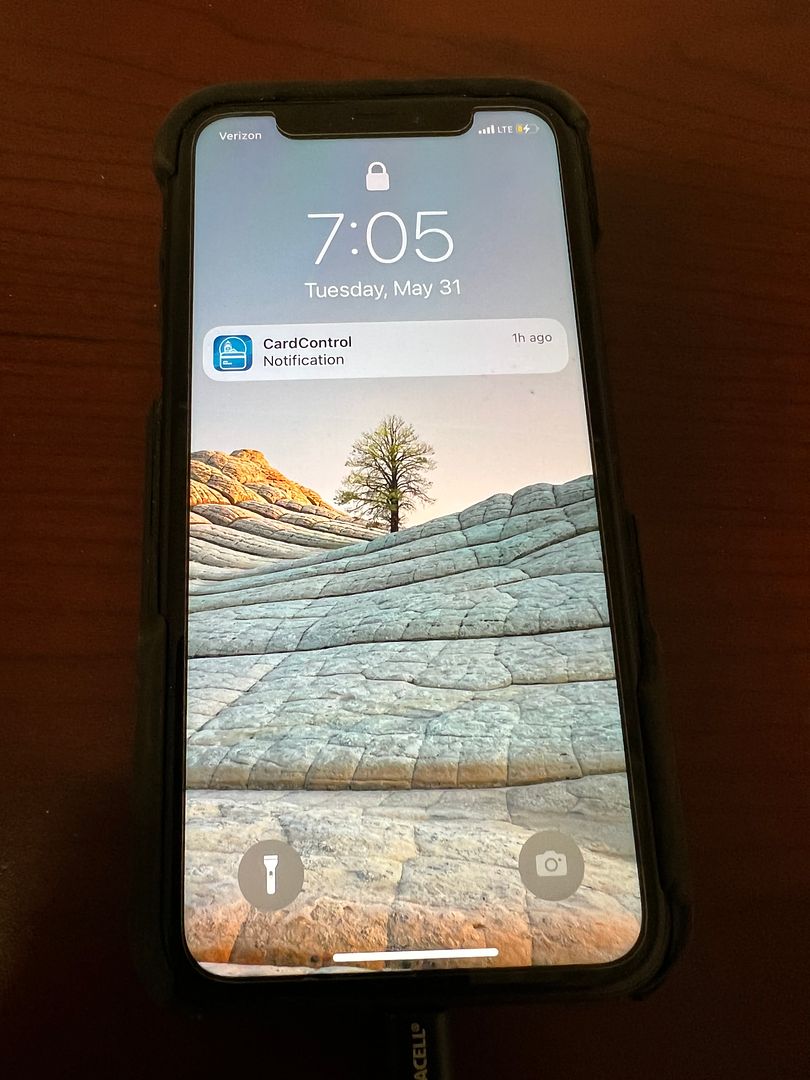
It was nice of him to leave 2 forms of I.D. Better than a note
A.K.A. Brian
Better than a note
A.K.A. Brian
Jack of many trades-master of noneComment
-
I would hope that the local constable and judge will tend to agreeOriginally posted by DirtyWhiteBoy View Post
Patrick & Tammy
- Long Haulin' 2008, 2009, 2010, 2011, 2012, 2014...Addicting isn't it...??Comment
-
Did you install some tire shredders too?Ed, Mary, & 'Earl'
HRPT LongHaulers, 08, 09, 10, 11, 12, 13, 15, 16, 17, 18, 19.
Inside every old person is a young person wondering, "what the hell happened?"
The man at the top of the mountain didn't fall there. -Vince LombardiComment
-
The vehicle too a few licks, chalk one up for the picket fence and cedar tree. we found ball bearings out of the CV joint in the yard.Comment
-
That's a bummer, I hope they driver had insurance. The Police should have been able to provide that information based on the plate, did the bumper have a VIN tag? Where you able to file a claim on their insurance? Make sure you keep up with your hours for labor charges.Comment
-
Not the brightest lad. You would think they would have picked up the evidence.Comment
-
There may have been other items he deemed higher priority to gather before assistance arrived.Originally posted by DanStokes View PostComment
Comment