-
Finally got my men's fellowship together last night and we ripped into the donor motor and while most of the stuff is in pretty good shape, minus a surprise of RTV on a pushrod and the known bad oil leak nastiness.
However as we were pulling the exhaust manifolds off I noticed they had gaskets on them which Buick didn't put on there orginally. While I can see someone putting them on there chasing an exhaust leak it made me very suspicious of the engine's history. My fears were confirmed when I pulled the head and saw .030 NP4590 embossed on the piston crowns... The engine is already 0.030in over and that means I'm looking at 183.87 on a 183.9cid rule and my current pistons don't work!
Well I have an engine to play around with now and mock things like the MFI and test the Rover timing cover out on but I'm dead in the water again for a block to house the final configuration. I can't really use something with greater than a 0.020in overbore due to displacement concerns and I'm not going to through more money at the problem by trying to offset grind the crank to a reduced stroke on top of buying custom pistons. Fortunately it looks there might be a bare block in a yard nearby, they are checking it out to see if it's standard bore.Leave a comment:
-
I don't think you lose much with the extra clearance, and it will beat the hell out of seizing on the big end. You *might* lose a bit to blow by but again, it's nothing compared to ripping piston crown off and having it bounce around in the bores at 7000 rpm or having it seize outright and mr. rod taking a multi piece dirt nap at the same 7000.
Forged pistons start out looser anyway. They grow more with temperature than a cast piston does. It may chatter a little bit more when you start it but by the time it's warm, that goes away. Nothing to fear... it's a race car, not your wife's grocery getter. Progress is good!
Leave a comment:
-
Engine purchased!!! I put down the $180 deposit on an 84 Regal 3.8L "stripped" engine today with $90 due at delivery. While I could haul it home myself, $20 to deliver it was worth it in my book. Odo was a 44K but that could be 44K or 144K believably on the motor so we'll see when we open it up. Also with my long and hot runs at Bonneville, the machinist wants me to run a loose piston to wall clearance anyway to keep the clearances from tightening up at the top end. Now, I'm not 100% sold on this but considering he ran 200+ at Bonneville in a Hemi Superbird, has his own blown alky BBC 55 Chevy that runs in the 7's, and has built winning Baja, Indy, and Pikes Peak motors... he speaks, I listen.
By "stripped" they mean, pull the carb, alternator, AC compressor... etc and just leave me with intake to oil pan, water pump to flexplate. Considering that I'm not going to use any of those anyway, I'm happy to leave them off. I can always pull a 2bbl carb from a junkyard engine if I needed one to run it, or more likely break in the final assembled engine with a 2bbl off of a 3.0L to seat the rings, break in the cam, and look for parts trouble.
Things are moving again and my men's group that is both on board for hanging out in my garage and for helping out with the motor will start meeting here in a month or so. I'm stoked!Leave a comment:
-
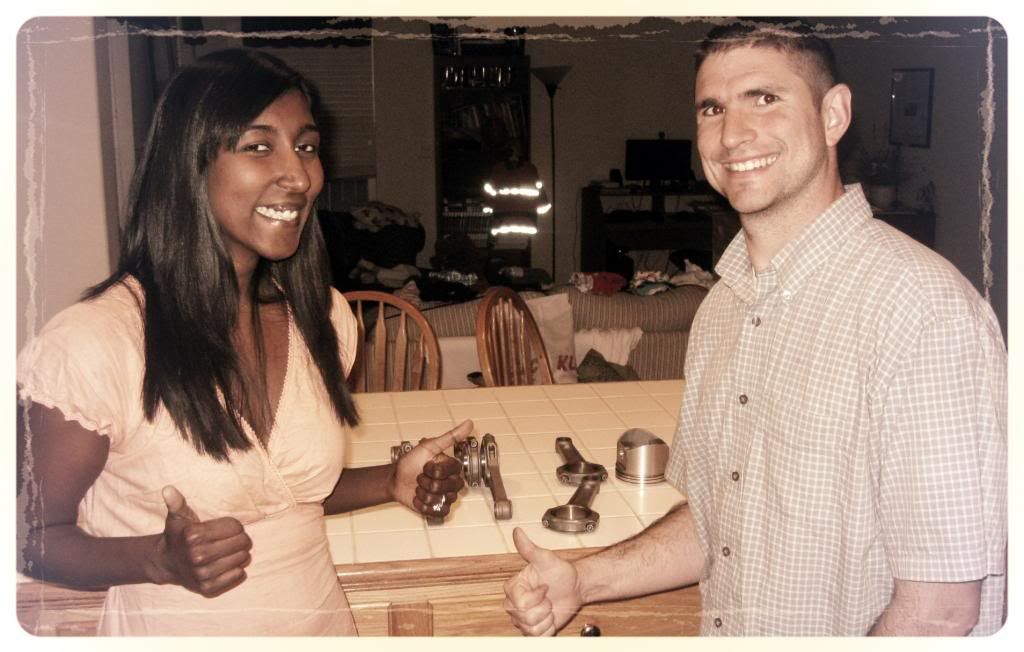
For those of you who noticed that the parts were on the kitchen counter... this is probably what you are expecting:
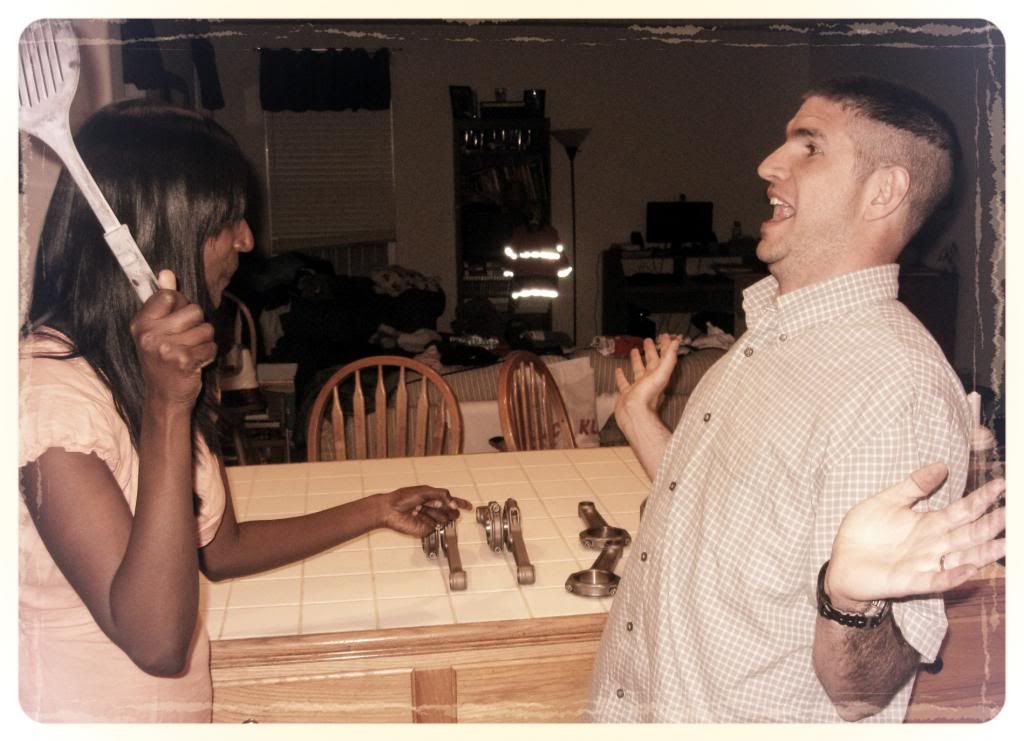
In reality this is what the wife's reaction is:
Leave a comment:
-
In-laws have been in town so have not been able to get pictures till tonight.
Arrow 6.300 long, 0.927 pin, 0.940 wide, 2.100in bearing, 0.065 offset, made in the UK rods courtesy of eBay.
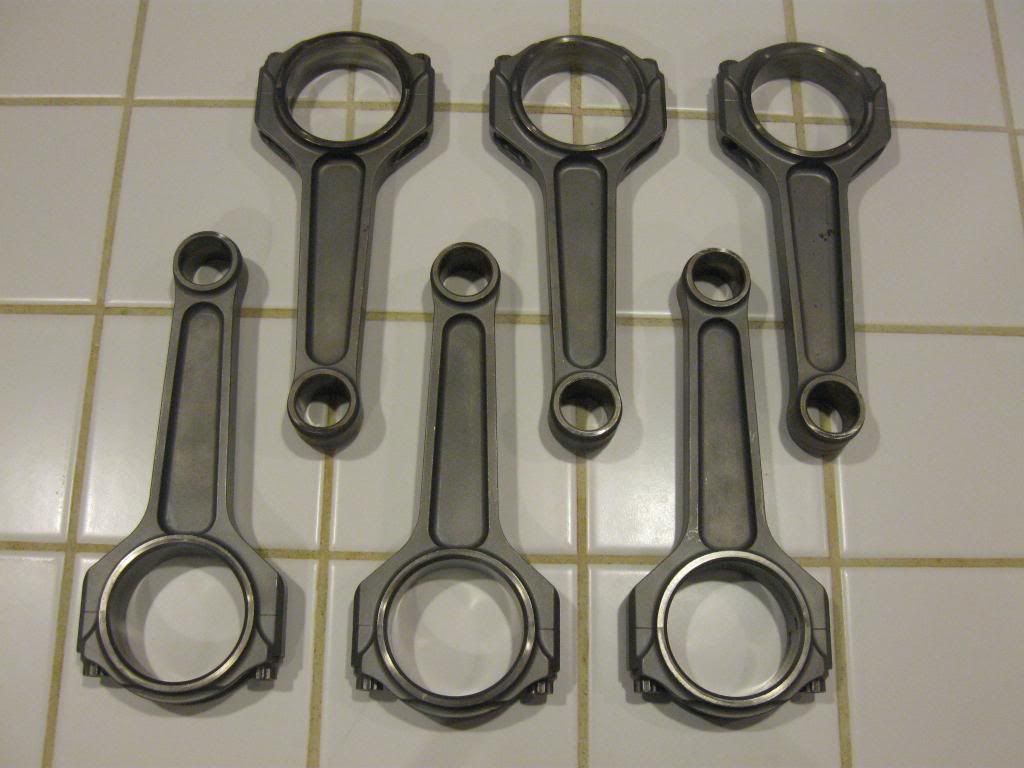

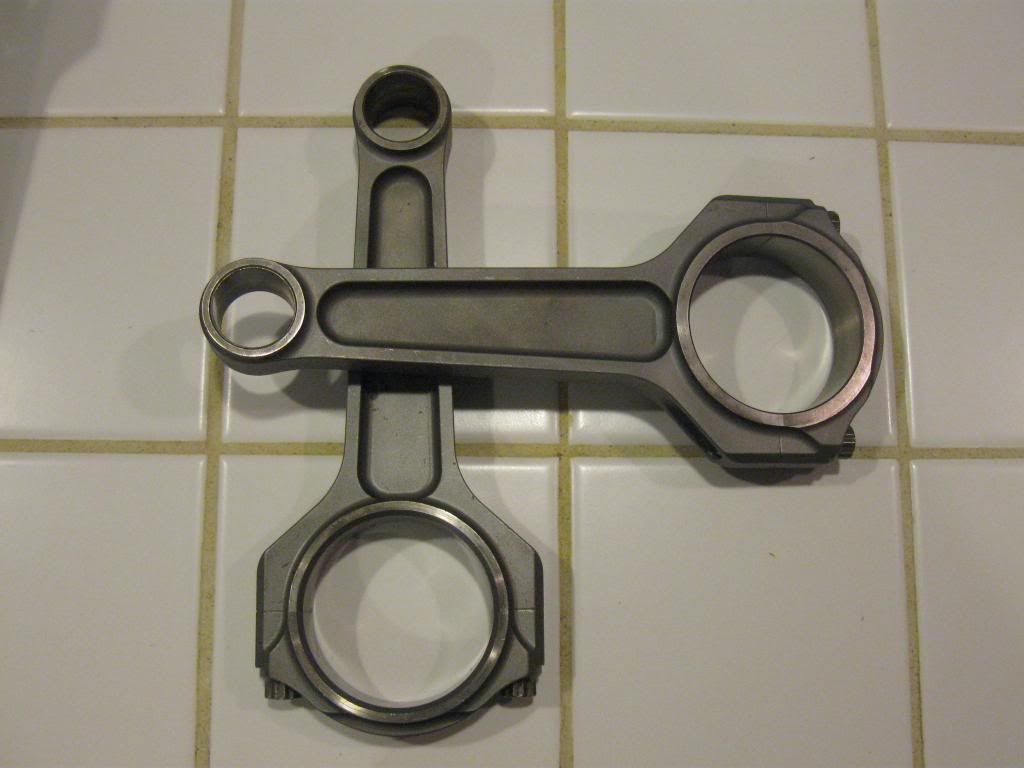
Interestingly they are scribed with numbers and I bought them off of a Ford guy (kinda explains the greater beam offset). Seeing that there are only six and 1 and 5 are missing, if it was a Ford motor that they came out of something bad happened to the front cylinders.
Mechanical MAF (AFM) off of a 92 Mercedes 300E.
The shape of the cone (underside shot) dictates how much the plate moves for a given air flow. Steeper the walls, the richer the mixture. The stock cones are made of 3 different sections, the bottom for off idle power, the middle for cruise and other part throttle stoichiometric to slightly lean, and the top for power again. Got emails out to people (mainly Porsche guys) who make power out of these things with turbos about for my race application making a single shape in the cone for a constant "rich max power" ratio.
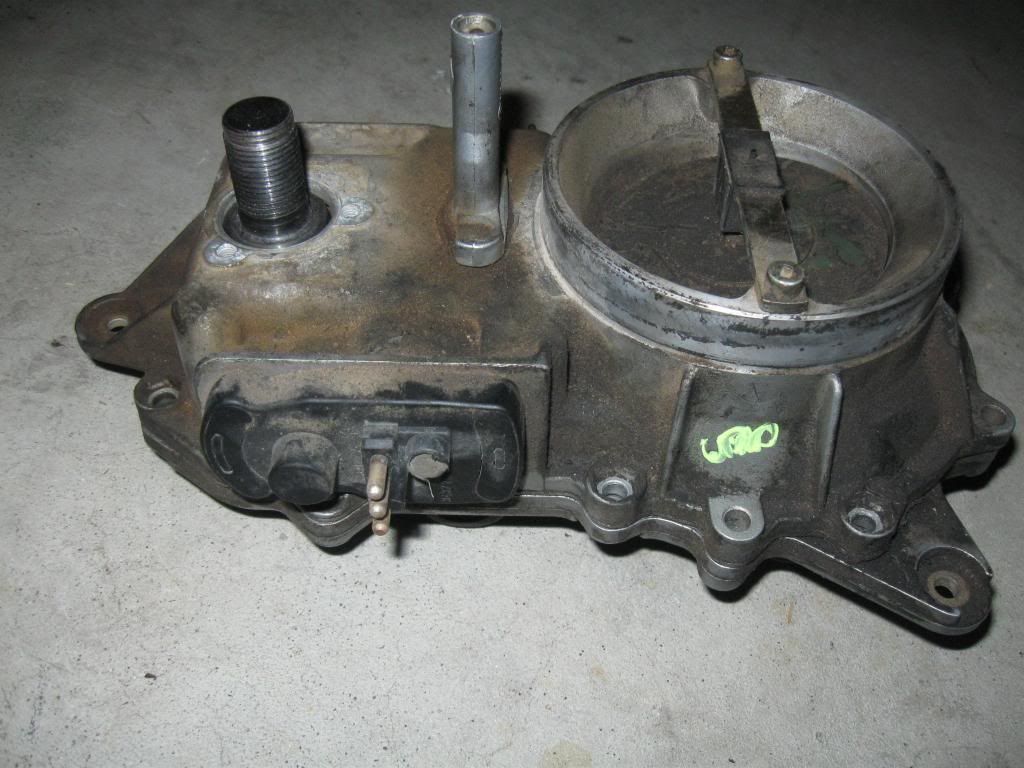
In this picture the bolt is resting on the roller that moves the control piston up and down in the fuel distributor with the plate at rest, i.e. 0 air
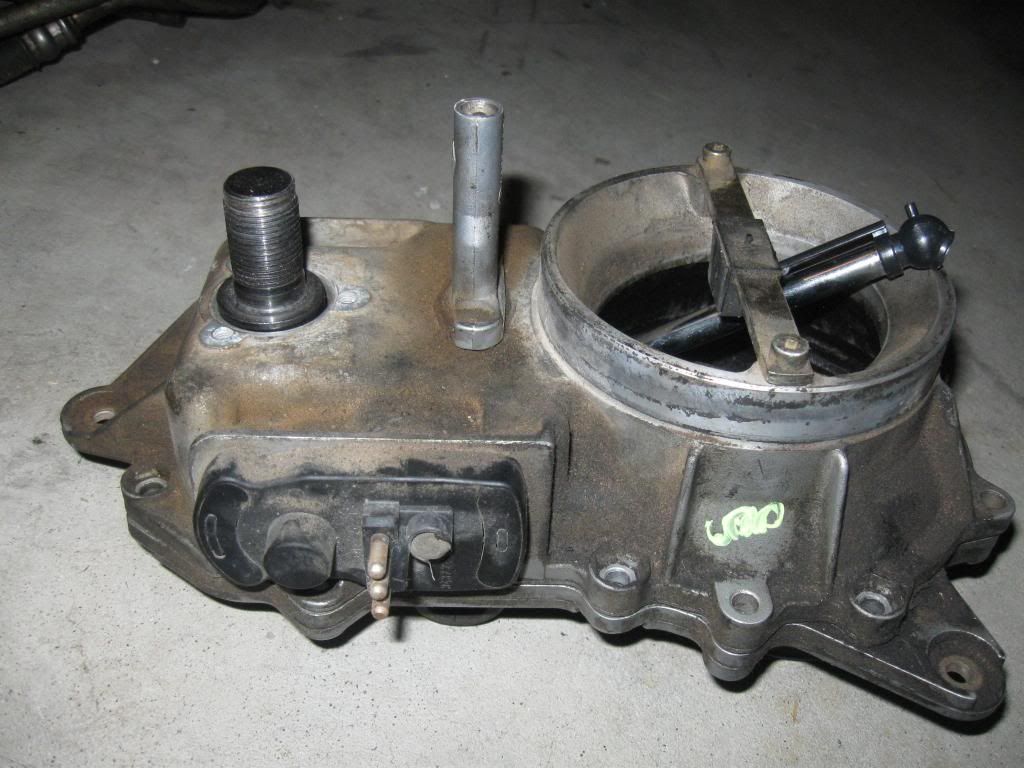
In this picture the tire pressure gauge is pressing the plate down and it's moved the roller up, pushing the bolt up and delivering more fuel
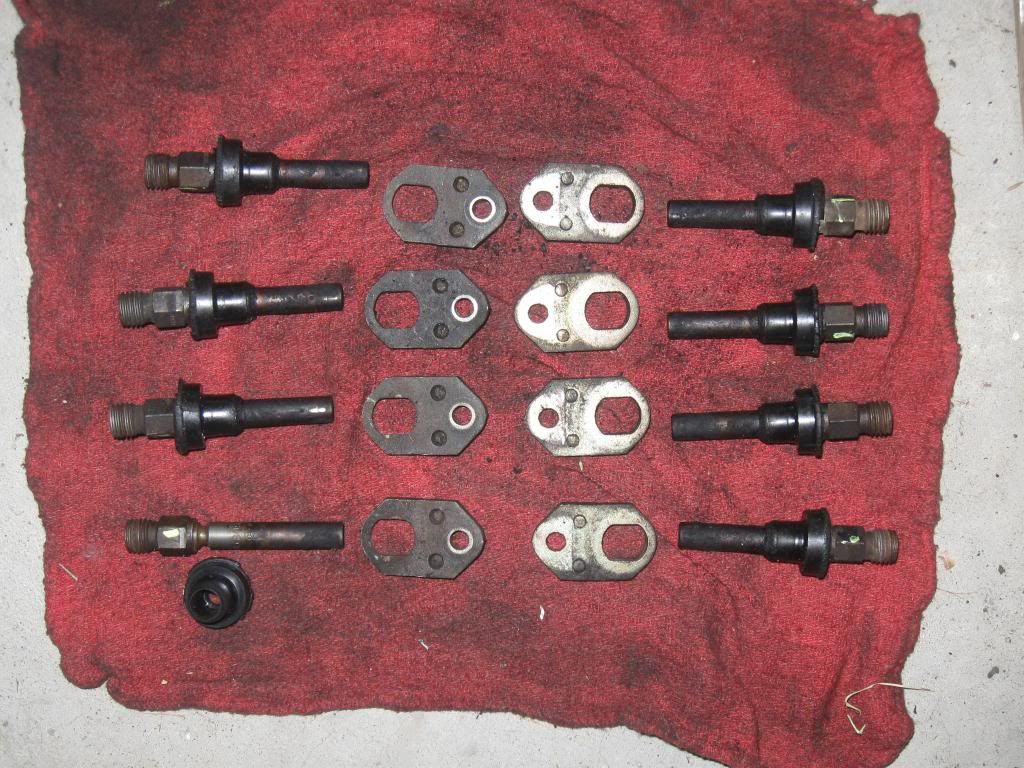
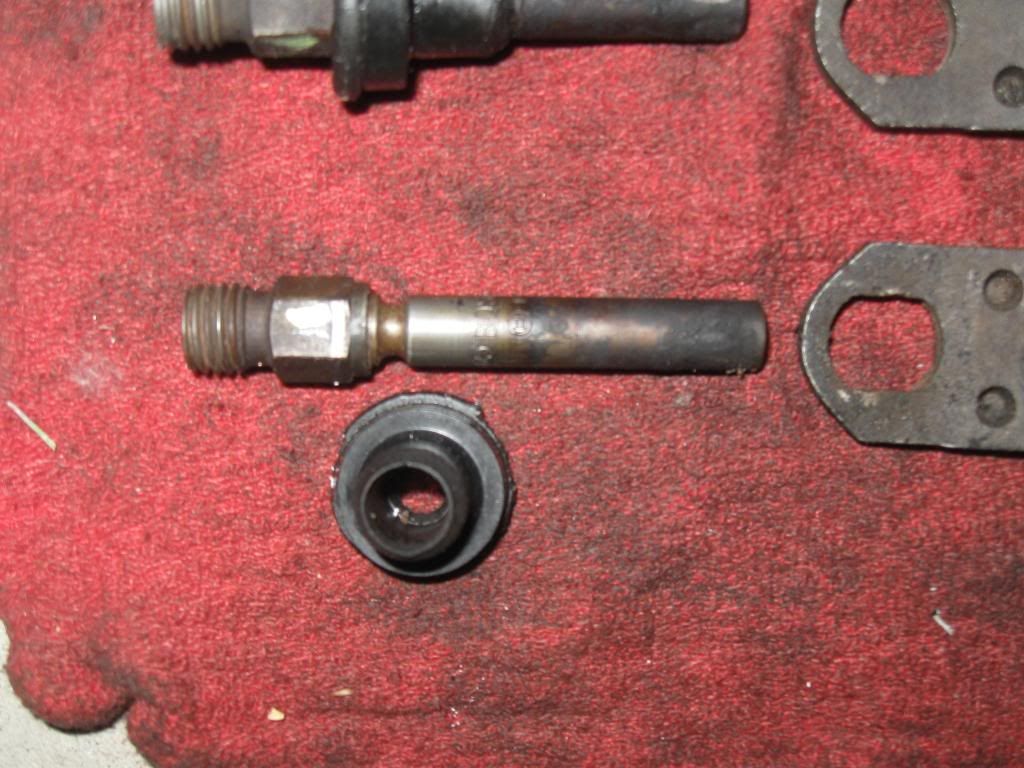
Injectors, really nothing more than a spring loaded poppet and nozzle that opens when the pressure pushes it open. The pressure drop makes them squeal as the nozzle moves around.
Leave a comment:
-
Took the day off for my son's 3rd birthday, during nap time made a ~1hr trip to the junkyard and snagged a 4.0L Rover V8 neutral balancer that will work with the timing cover I've got and the neutral balance crank, mechanical injectors from a scrapped 79 S-class Merc with 2-star general stickers next to the DoD tag!, and an mechanical air meter from a 92 300E.
I'm headed down the path of K-Jetronic MFI! Just got to get the rubber boots off of the injectors so I can soak them in solvent and figure out how I'm going to start mounting various different components. The AFM I got didn't have a fuel distributor on it but at $20 it's worth it in just taking it apart and figuring out how the meter part works!
Pictures when I get new batteries for the camera.Leave a comment:
-
The cam I have just isn't going to work and it's not worth getting solid roller lifters just because I have it. Probably going to trade it to the speed shop for wrist pins or labor or who knows what since I have nothing I can use it for.
Bullet Cams confirmed that the R100 is most likely the LSA and that's just too dang tight for a turbo motor, even one that will rev to 6500rpm+.
Going to be getting a custom solid flat tappet from TA with associated parts like chain, gear, gear spacer... etc. Hopefully I'll get it ordered up in time for it to arrive and my best friend can help me check pushrod lengths before we pull the engine off the stand to refresh his Jeep 4.0.Leave a comment:
-
Well I've not really been productive in a garage sense though I did take the cam and dist into the speedshop as well as confirm that the crank is at the crank grinder. However I've bought some important bits, found important bits, and taken pictures of the bits I do have.
Crank report:
It's a Moldex 2.66in stroke, neutral balance oddfire forged crank in great condition. Crank grinder is going to hold it till I get my rods then balance and polish it up for me.
Cam report:
We're kinda happy with the lift numbers but the label R100 on the back end makes us think it's a 100deg LSA which is way too tight for a turbo motor. However with blank billets costing $450+, I don't think I can afford another so we'll try this one out.
If anyone knows what the R### means on an UltraDyne cam please let me know because I think it's the LSA but have no proof.
Rods:
Bought these: http://www.ebay.com/itm/261200399121...84.m1438.l2648
They are 6.300in long with 0.927in pins, 0.940x2.100in big ends, and most importantly 0.065in beam offsets (even if they turn out to be 0.035in offsets I can make them work) and there is only 6 of them. Means if I need to do work to them, no opps room but I'm pretty sure they'll work out of the box with the current pistons I have.
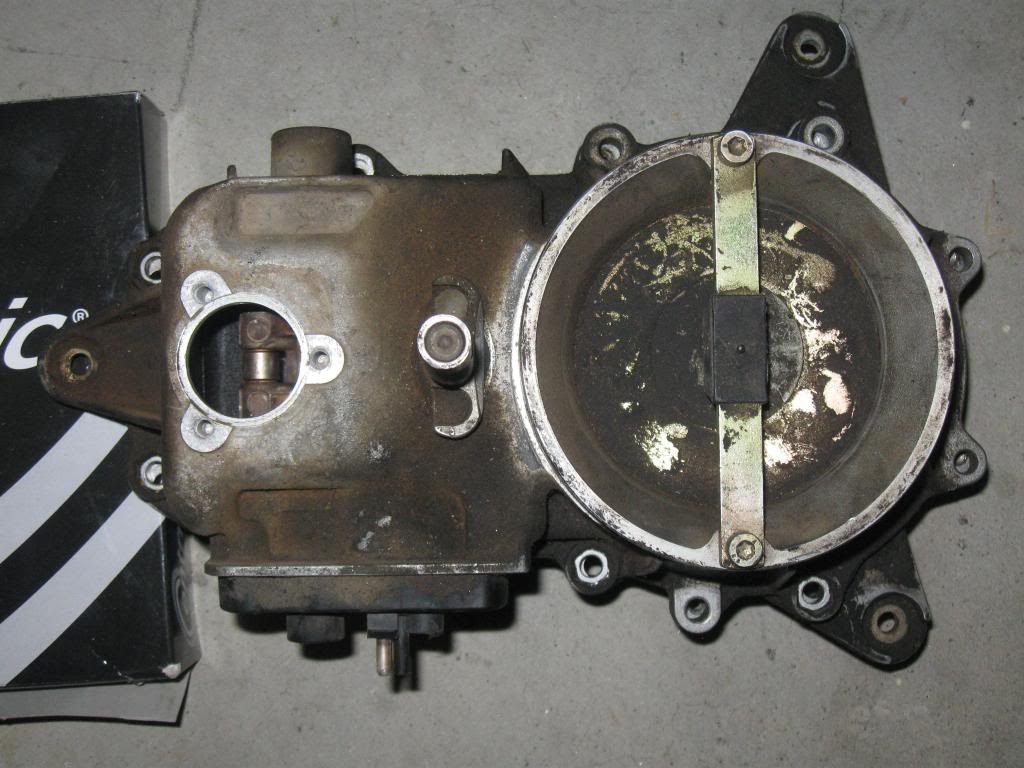
Timing Cover:
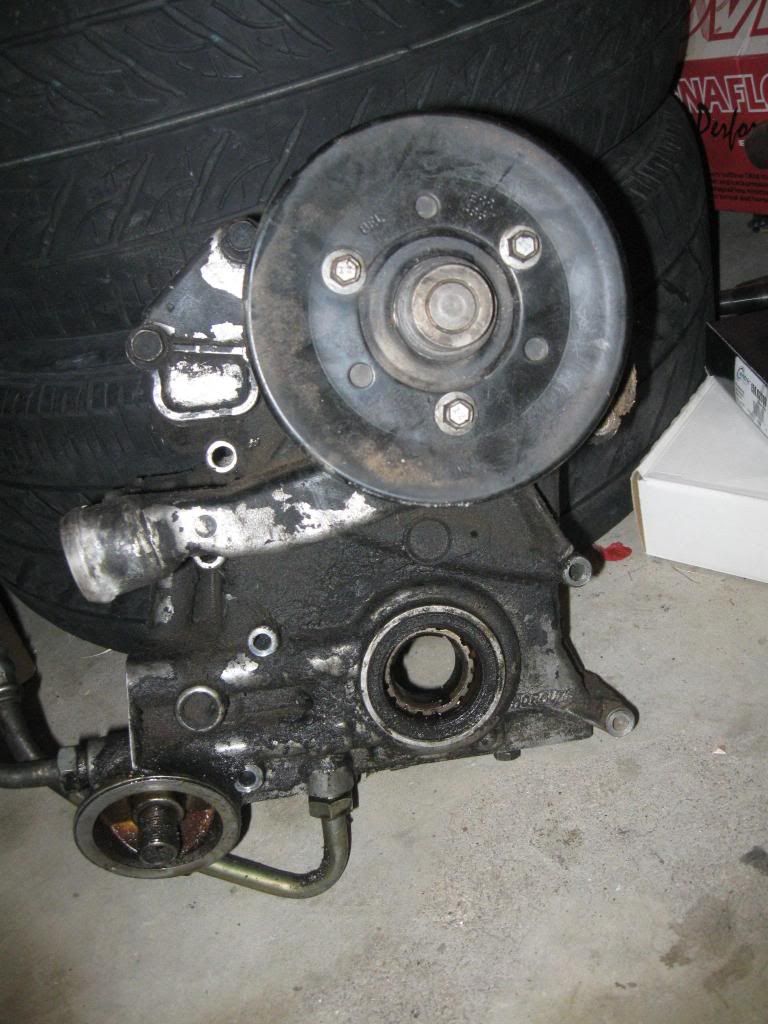
It's a 94-95 Rover 3.9L unit found in Discoveries. The lines out the bottom and side are for the oil cooler that I'll probably use an F-body power steering cooler to cool the oil using the primary coolant or the intercooler return line. Big deal on these covers is that they still take a distributor but have the gerotor oil pump that is driven by a crank keyed gear instead of the lower timing gear like the V6's. Now there is another version that has a cast hole for a distributor that's not machined open and takes a flying magnet cam sensor that the EFI guys can use but since I'm in Classic, distributor it is.
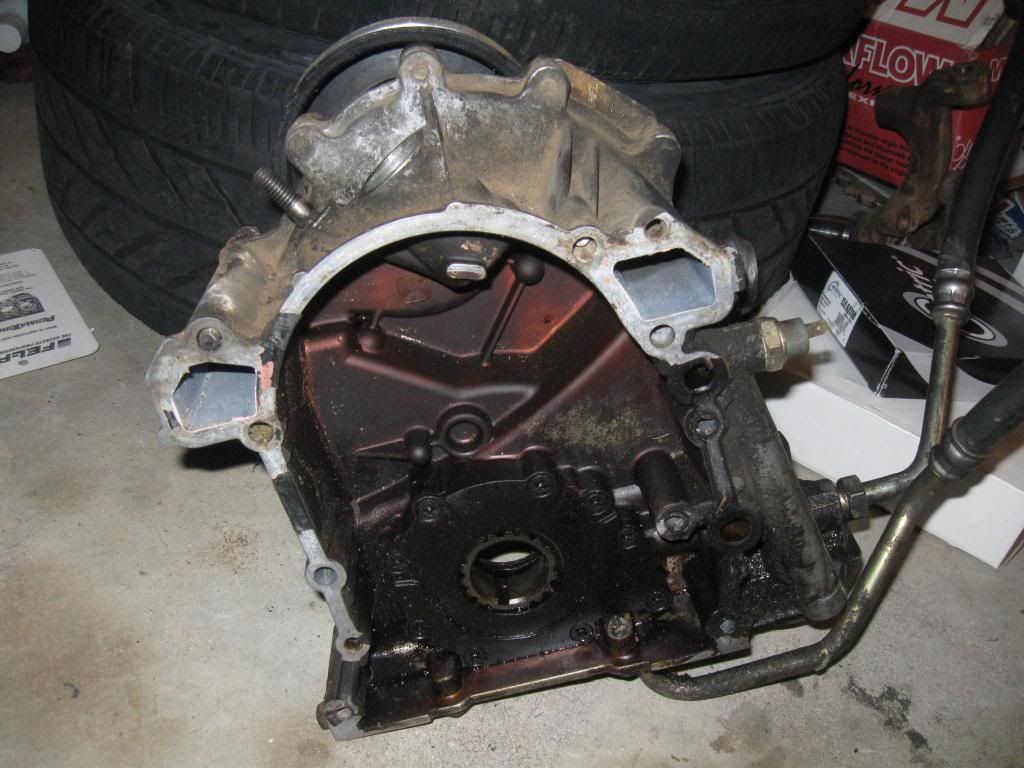
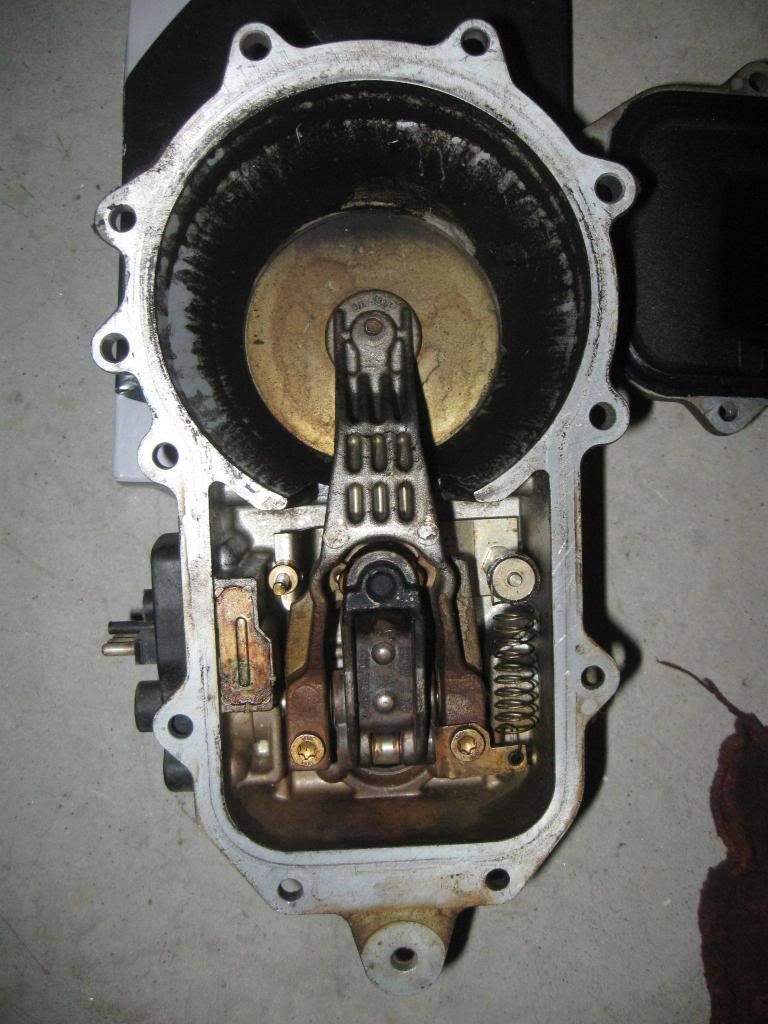
Here's the backside, the lack of a cam bumper pad might be a problem since the Rover cams were positively retained.
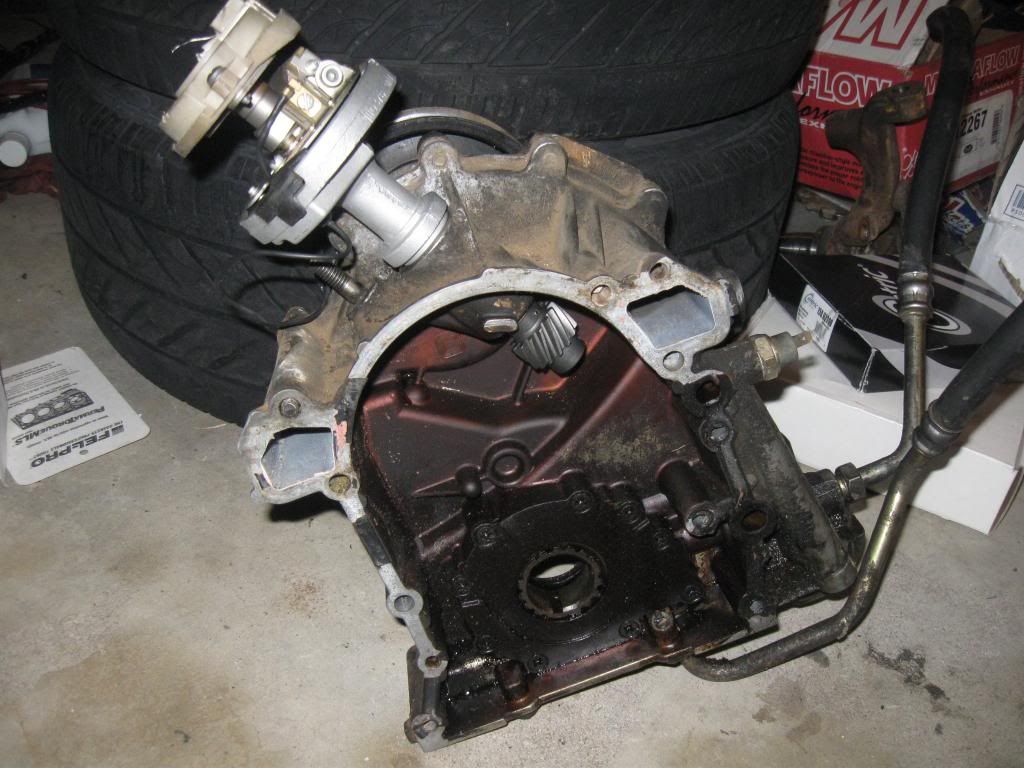
Now with the 60's points unit stabbed.
Cam and Rockers:
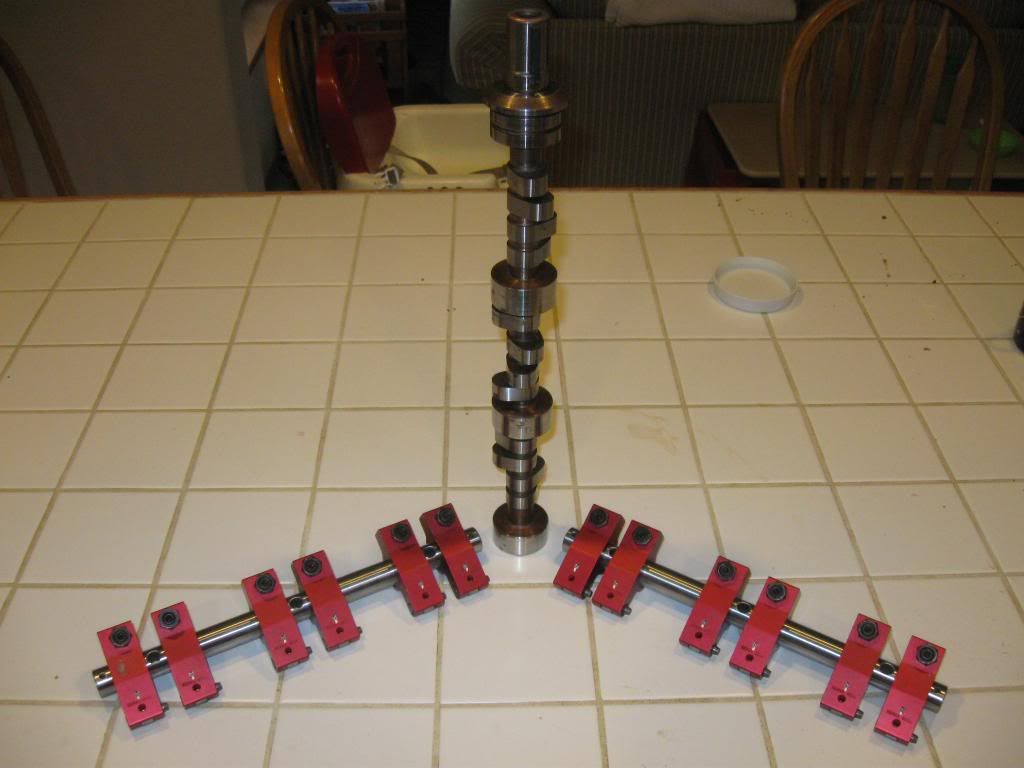
UltraDyne billet solid roller that is healthy to say the least! See the top for concerns about LSA.

KB (T&D really) 1.60in roller rockers but missing all of the hardware that keeps the rockers from sliding on the shaft and attaches them to the heads. Getting a TA rebuild kit for 350 rockers which share the same bore spacing and will make the parts work. Going to have to machine the heads to get the rockers to clear the rocker stands, no big deal.Leave a comment:
-
I'll look into tapping it and then machining/grinding the bolt to contour nicely into the plenum. It's not just a simple hole, it's a 3/4in vertical notch I put in there; opps. I already have to make a plate that blocks off the EGR from the floor and what is left of the old TB opening. Probably going to take the mill to it again and make a slight recesses pocket for a piece of aluminum sheet that I'll bend up and then screw in place with lots of tiny self tapping screws and a back coat of JB weld or some other epoxy to make sure it all seals. I might try HRM's aluminum casting idea to back fill the EGR passage and the back side of the TB hole, but the plate will be doing the hard work.
I forgot to mention that the base of the new plenum will not be welded in place, it'll be held on by 4 bolt into the old injector rail bolt bosses and sealed with Aviation Form-A-Gasket. I'm still thinking about how to design it and if it should put some flow vanes in the base. Something like:
[IIIIIIIIII]
across the base to help straighten and equilize the air into the lower plenum. I also need to deal with the funky little bumps in front of each of the port openings into the plenum. I think I'm going to epoxy them up and grind into a bell mouth shape to smooth up the entrances.Leave a comment:
Leave a comment: