-
Escaped on a technicality. -
Looks like the PAINT was holding the oil in I don't know how I missed that except to say I was rushing to get ready for Drag Week =/
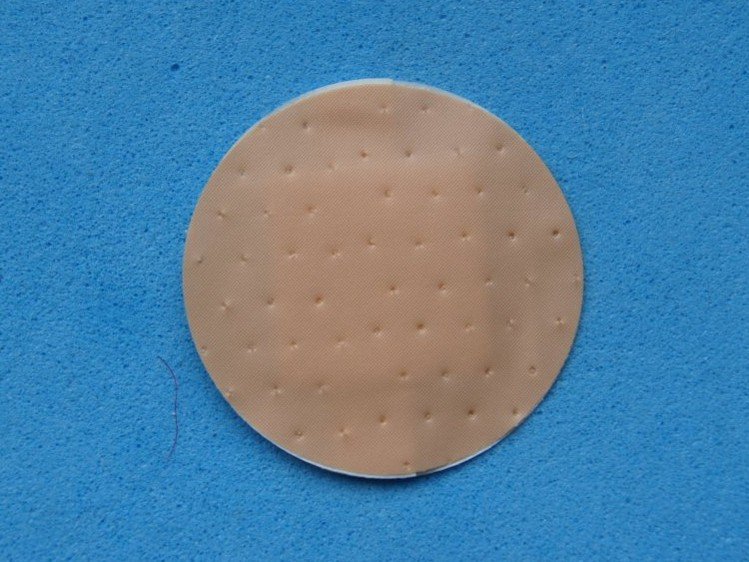
Good sized hole.

Slathered with metal epoxy.

And capped with a genuine band-aid You know to push the epoxy into the hole =P
 Escaped on a technicality.
Comment
-
 Of all the paths you take in life - make sure a few of them are dirt.
Comment
-
Are you changing your name to " Band-aid Buick " now ?Comment
-
hmmm.. how did you get a hole there?
nice band-aidDoing it all wrong since 1966Comment
-
A friend gave me duct tape bandaids as a joke. He saw me use a paper towel and duct tape to make a bandage when I cut myself. I carry them in the car, just in case.BS'er formally known as Rebeldryver
Resident Instigator
sigpicComment
-
Same thing bro. I used the duct tape and shop towel trick because the regular bandaids just didn't stay put in the greasy car enivronment. The ducktape bandaids work well enough but if Its crunch time and I need to get it done, duct tape and shoptowel it is.Originally posted by Scott Liggett View PostCentral TEXAS Sleeper
USAF Physicist
ROA# 9790Comment
-
Changed out the six body mounts on the car this morning. Took about three hours. The service manual and directions with the Energy Suspension set said to do one side at a time, and with some recommendations here I did it that way. It was a piece of cake really. Warning: This could make north-eastern folk cry
Had to start by removing my "rusty" battery tray =P

This was under the tray, the top of one of the front mounts.

This is the underside of one of the front bushings.

The middle bushing.

And the rear bushing. The rears were by far the most deteriorated.

The new bushing set.

The simple jack arraignment I used. The big jack has a length of 2x4 on the body. I used the little jack to bring the frame up or down a bit in finer movements than the big jack (namely when laying on my side). The subframe connectors I think made it so I had to jack the body up more than normal as the rear of the frame did not drop as much as I think it would of otherwise.

Lifted the body up quite a bit to clear the rear frame mount.

None of the bolts gave me an ounce of trouble.

However it looks like the design of OE bushings trapped water in them. When I got this one out I decided I needed to go get new bolts.

Then I pulled this one out of the other side! Yep, needed new bolts! At least the threads are pristine!

The old bushing set.

You can see the rears were definitely the most deteriorated.

New front bushing.

New middle bushing.

New rear bushing.

The immediate noticeable effects are the fact the subframe connectors are no longer touching the body. So that's good for sure. I don't know if it would of solved my tire rubbing problem up front with the wide tires since the fronts didn't look too bad. But now I have skinnier tires on there so that's a non-issue at the moment. I think now that I got these in, at some point I'll take Jeff's advice and square up the front and rear frames, though I did look at the alignment holes and it didn't seem to out of place, and once that's done I'll weld the subframe connectors in. I didn't want to weld them before knowing that the body mount bushings were shot.Escaped on a technicality.Comment
-
In other news. I got the MegaSquirt 3 in the mail from DIYautotune.com So I'll have to start working on modifying an HEI to become a cam sensor for sequential injection. With that I thought I'd do two things. One is a compression test of the engine to see if I want to advance the cam or not and two degree the cam so I know where the valve events are for the sequential.
Well I did the compression test, and over all was happy with the results with the exception of one cylinder appears to be down ~13%. I tested each cylinder twice and the low one 4 times, including removing the compression tester and going back to it after doing the rest. I'm going to ignore it for now, but it will be thought about the next time the engine comes apart.
The front of the engine is to the right, and #2 is low. The previous engine combination averaged around 135psi. Remember I'm at 6500ft, so those numbers could go up a tad at lower elevation.

So the next thing is to figure out if I can degree the engine with it sitting in the car. After the compression test, I'm still undecided if I'm going to advance the cam or not, but I'd like to be sure of where the intake and exhaust valve events are for the sequential injection. I have a long crank bolt that I'm going to see if I can get a nut for it from the hardware store so the degree wheel will clear the oil pan/timing cover and then see if I can degree the cam with just removing the fan, crank pulley and valve cover. But I'm going to wait for this damn wind to quit. It's blowing over 35mph today, and not forecasted to stop until maybe Tuesday, and there is dust abounding everywhere.Last edited by TheSilverBuick; March 25, 2012, 12:17 PM.Escaped on a technicality.Comment
-
What is your static compression? Those are the numbers on the Monte Carlo's original 350.BS'er formally known as Rebeldryver
Resident Instigator
sigpicComment
-
-
I'd think you'd have closer to 200 with that compression. That's what both of my engines have.BS'er formally known as Rebeldryver
Resident Instigator
sigpicComment
-
My 8.5 to one engines have those kinds of compression numbers. Well, except for the 135 I'm still learning
Comment
-
I'm thinking I should test it at a lower elevation to be comparable. It's safe to assume the air here is 15% less dense, which puts it around 180psi average, if it's that linear. As mentioned, my old 9.6:1 compression engine averaged 135psi, so I think the compression went up a reasonable amount for the compression increase. Right now it runs nicely on 85 octane though Escaped on a technicality.
Comment
-
Never thought about the elevation causing a lower number. Maybe try redoing next time your down here.
Was the compression check done on a warm engine?BS'er formally known as Rebeldryver
Resident Instigator
sigpicComment
 Tweet
Tweet
Comment