 Tweet
Tweet
Nice! I've never looked, does it have roller drawers?
-
Flying south, with a flock of bird dogs. -
General is a great box. I don't know if this is still the case (see what I did there?) but at one time they actually made Snap-On boxes. That one is big enough that if you get in trouble with the bride you can move right in!
DanComment
-
nice boxDoing it all wrong since 1966Comment
-
Yep, roller drawers. The deeper ones have double rollers on them.
Darn thing is kinda heavy too! Has an actual frame underneath, box tubing, angle iron off that in places. Well built stuff for a decent price.
Of all the paths you take in life - make sure a few of them are dirt.Comment
-
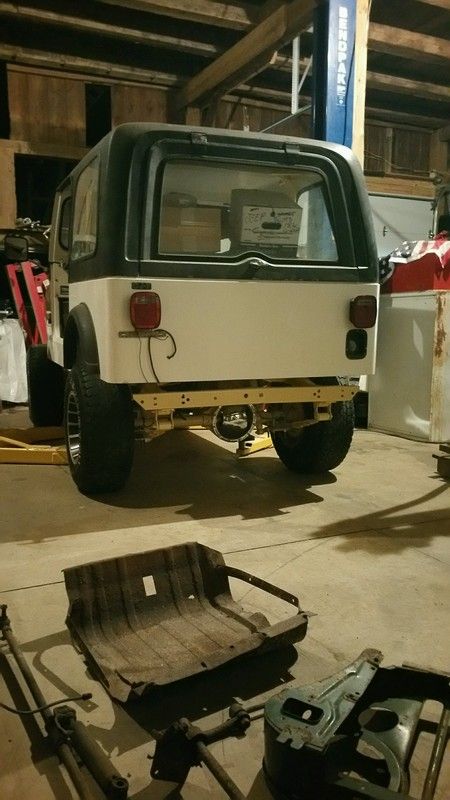
Trial fitting of body.
None of the fiberglass body manufacturers do a very good job of describing how they intend for their bodies to be mounted. 4WD Hardware did the best job in my opinion, they even produced a videotape that was included with each purchase. Unfortunately, it does a better job of tell how to disassemble the rusty jeep than how to actually mount their products.
And of course there are always many ways to skin the cat.
A PO of my "new" frame had already moved the body mount brackets. Some rough measuring showed that they did that to mount a 'glass body without using funky adapter plates.
See, once you make sense of the optional "mounting kit" the intention is to "bridge" the center two mounts on the frame with a piece of wide angle steel - so that the rubber tube mounts can sit on those and thereby "land" more directly underneath the front left drivers seat bracket mount bolt, and the front right passenger seat bracket mount bolt.
Likewise the two center mounts towards the rear can "land" under the factory sport bar / roll bar / seat belt mount. If you are good or lucky you can manage a single bolt to accomodate 2 or even 3 functions.
The 'glass bodies from 4WD have balsa block core built into these areas to spread the load further. The blocks are oversize, so missing them completely will take some dedicated screwing up, IF you understand the intended mounting process, which the companies severely lacked detailing.
Anyways, good news is that a PO seemed to know what was up. The relocated mounts are in good places. Some of my mounting holes in the body may be off a bit, as I originally drilled them to line up with the rusty frame (I intended to repair the rusty frame way back then, before it was back-burnered) but for a mish-mash of parts over a 20 year spread its darned close.
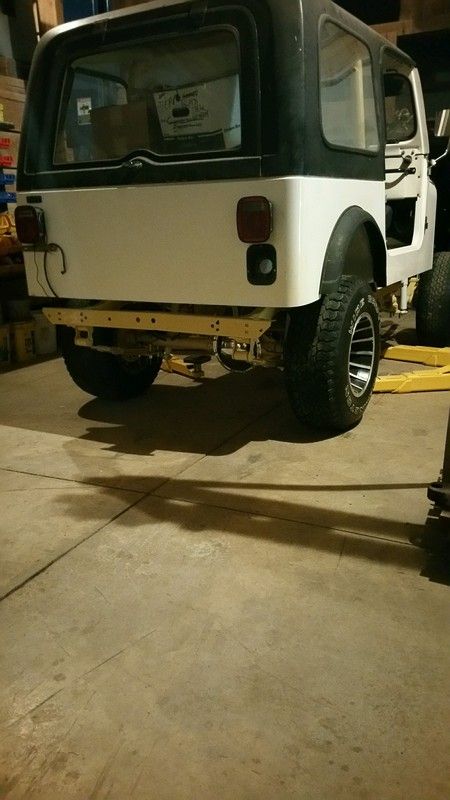
From ground to body lip in front of rear tire is 25.5"......to the body lip in rear of front tire is 26.25" - and it measures the same on both passenger and driver sides! Woohoo! It will come down some more up front once all the stuff is on there.
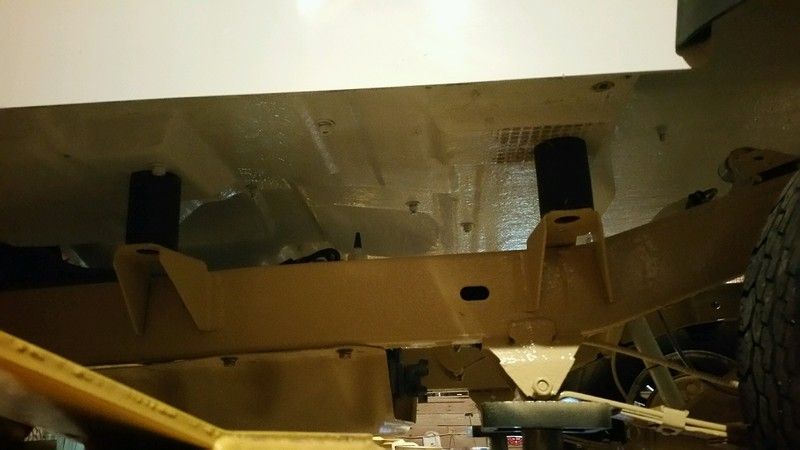
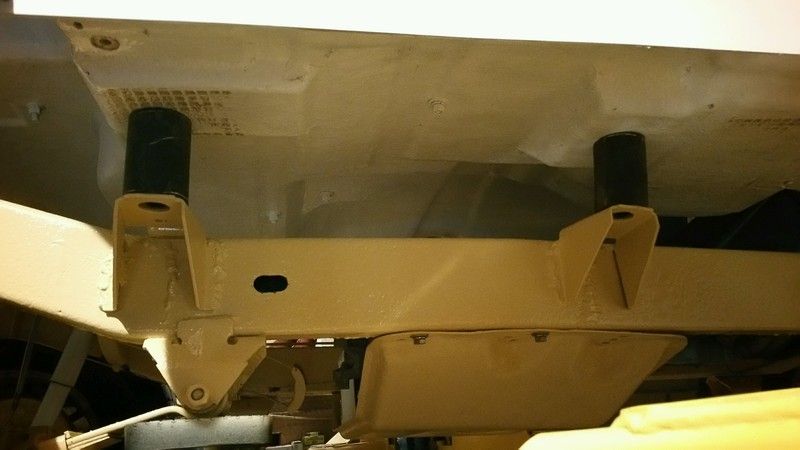
The center two body mounts that would normally be "bridged" with the mounting kit. Looking closely you can see the welds where the mounts used to be. The rear was farther to the rear and the front was farther to the front.
Driver side
Passenger side
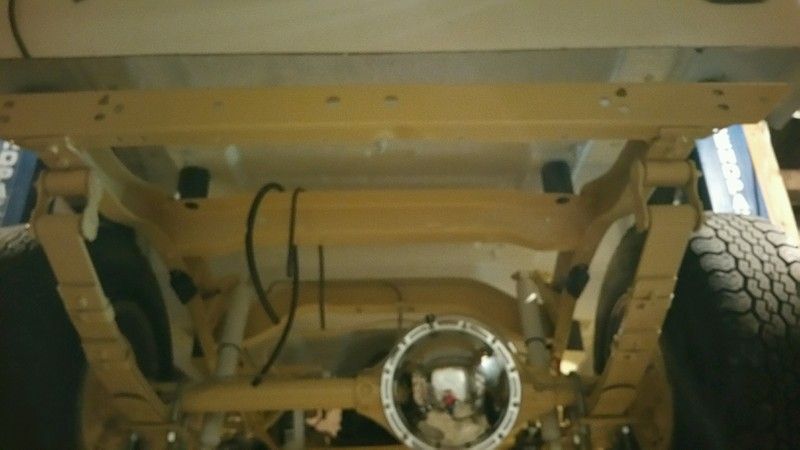
Close-up of the next set of mounts going rearwards. These support the rear seat area.
Last edited by STINEY; June 22, 2016, 09:27 AM.Of all the paths you take in life - make sure a few of them are dirt.Comment
-
 Here is a picture of the "mounting kit" installed on OEM frame bracket locations, just for reference so you can see what I am trying to describe.
This is on a CJ5, but the design is the same.Last edited by STINEY; January 26, 2018, 10:06 AM.Of all the paths you take in life - make sure a few of them are dirt.Comment
-
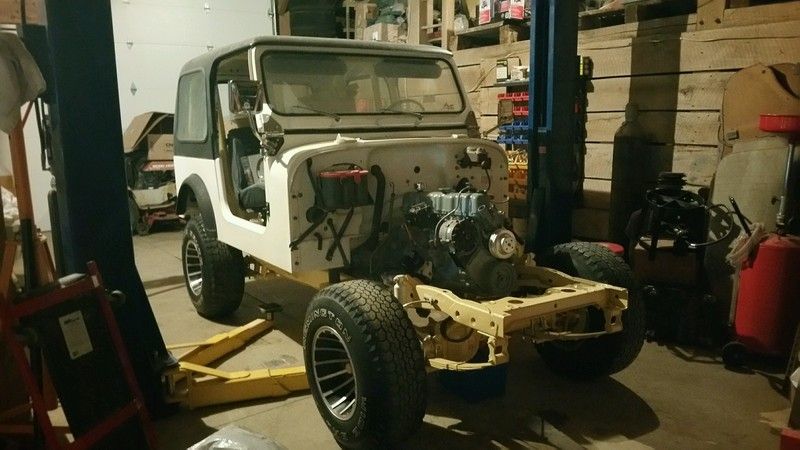
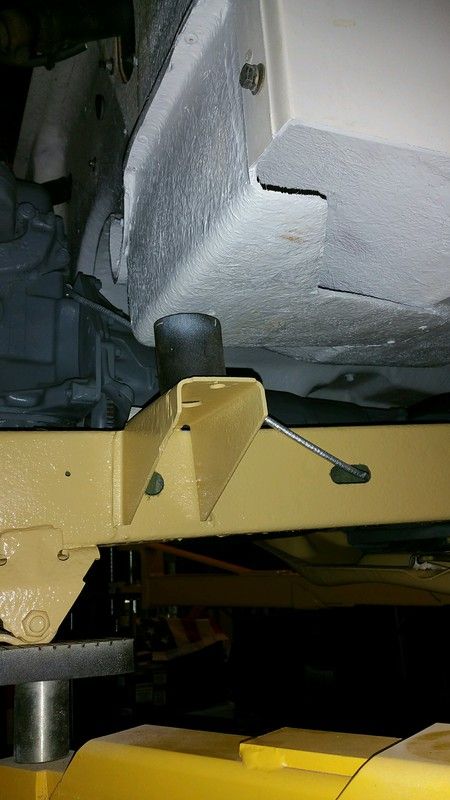
Continuing on to the front mount area.
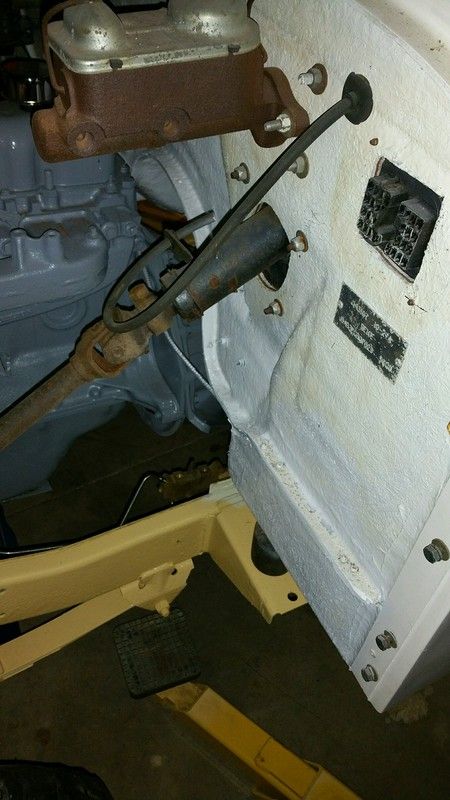
The front edge of the 'glass body needs to be in line with the front frame mount bracket. Simply put, take a straight edge up against the firewall below the master cylinder area and slide the body frontwards or rearwards until both the firewall and the frame mount are even with each other and the straightedge. Then center side to side by measuring from outer edge of the body to the side of the frame.
As another side note, all of my rubber tube mounts are 2" taller than they should be. This is an easy way to get a body lift while cutting the rubber tube material to length, I thought I needed a 3" lift (these fiberglass bodies have a 1" lift designed into them from the factory) back in the '90's for some reason.
Times change though, and I might be cutting these down some. Probably cutting 2" back out of them, for a net 1" lift from the 'glass body.
Kinda undecided at this time.
What do you guys think? Access is sure nice underneath with an extra 2" to work around. Don't want it to look goofy though.Last edited by STINEY; January 26, 2018, 10:03 AM.Of all the paths you take in life - make sure a few of them are dirt.Comment
-
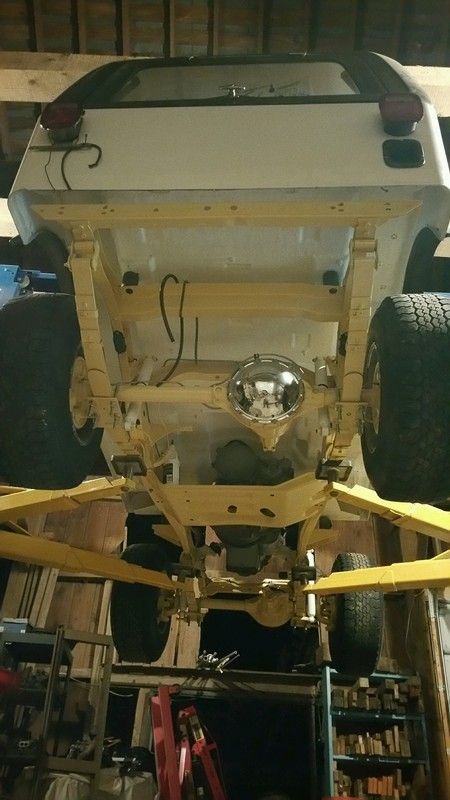
Playing around with the camera on a creeper shots. Or flying Jeep shots? Whichever.....
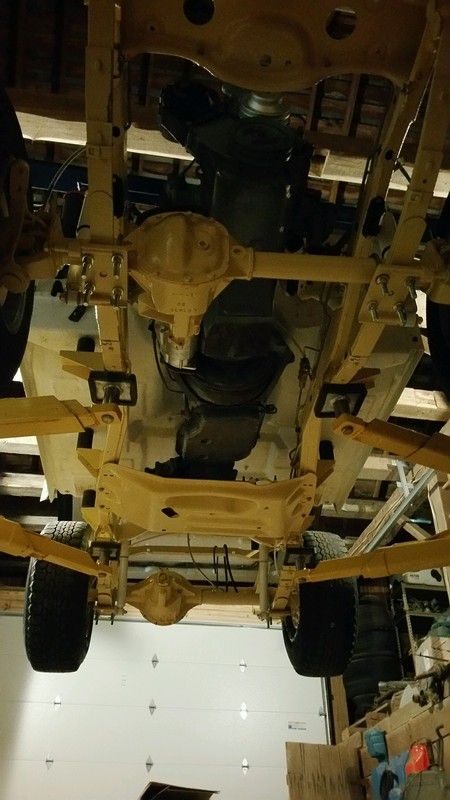
It's easy to see the tilt AMC had cast into the TH400. It's only a few degrees, but they show when you look at the trans pan from this angle.
 Last edited by STINEY; June 22, 2016, 07:27 PM.Of all the paths you take in life - make sure a few of them are dirt.
Comment
-
I'd be far less concerned about a goofy look then I would about them cracking the body due to the increased leverage and the noodle-soft frame.... but I've never dealt with a fiberglass Jeep body - so perhaps they made them boat-strong? I dunno.
More to the lift, the taller you make it, the more unstable it becomesDoing it all wrong since 1966Comment
-
This one is at least boat-strong. We're talking hand laid and rolled fiberglass mat boat strong, not cheap heavy over-resined chop-gun boat strong.
Not all the 'glass bodies have that reputation. Lots were sub-par,
I'm leaning strongly towards cutting the mounting rubber in half.
Of all the paths you take in life - make sure a few of them are dirt.Comment
-
I say to lower it as much as possible. Don't take Jeep/off road advice from a Land Speed racer.
As far as looks - if it's up in the air but on big tires won't that look OK? Wadda I know?
DanComment
-
I'm with Dan - lower is better - unless there is a specific tire size / clearance constraint, or tire range of travel concern as with some of the crazy rock crawler stuff.
Given the fact that we're talking about bolting the body to the frame with handful of bolts, I'd like those bolts to be as strong and short as possible with giant washers to spread the load out as evenly and far as possible to prevent 'glass cracks from starting. (thinking of my 'glass boat fixing days....)There's always something new to learn.Comment
-
It's hard to tell with out a stight side shot. I won cut an inch at a time. Had to add it back. Do the mounting points need to be bigger? Would they ever punch through? If you cut them in have you could have twice as many mounts
Comment
-
It's a '65 Ducati 250. Belonged to my Grandpa, he used to herd livestock with it back in the day. Not the fastest thing on 2 wheels but it oozes cool.....been thinking of selling my other bike and really doing this one right.Originally posted by RideTech_Ryan View PostOf all the paths you take in life - make sure a few of them are dirt.Comment
-
In derby we remove body mounts and add 3/4" bolts in place of the stock bolts..
Stockers are noodle thin and snap..
In that theory, bigger bolts is better..
Right heigth is even better..
Get it settled to the tires you want to run and go from thereComment
Comment