Announcement

Collapse
No announcement yet.

Valve cover dings and dents

Collapse
X
 
  • Filter
  • Time
  • Show
Clear All
new posts

  • Valve cover dings and dents

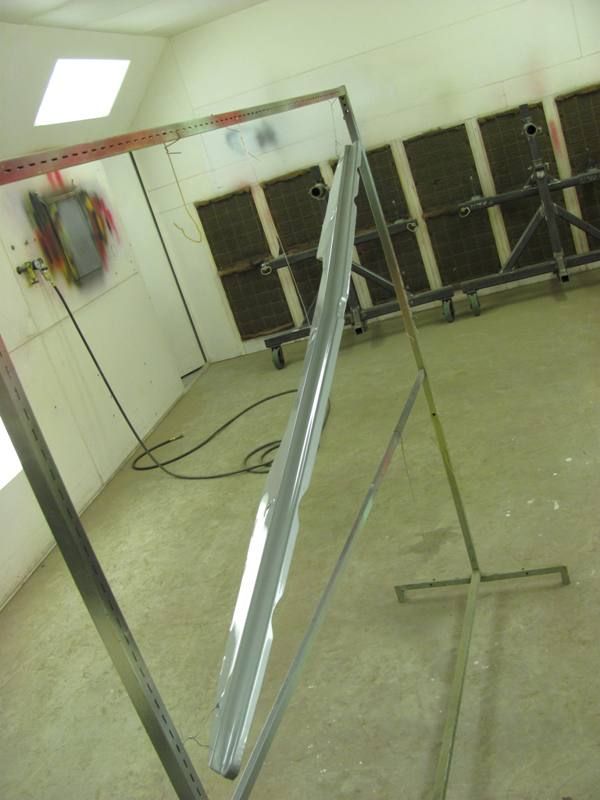
    About a month and a half ago a buddy of mine came over with a bumper filler panel off a 61 Starliner he's putting together as a 70th b-day present for his dad. He was using my media blast cabinet to clean off the paint and was planning on spraying some Krylon and reinstalling. Well, I had him strip the paint, I smoothed out some dings with the hammer and dolly, and here's how I finished it, using some of my Imron rather than his Krylon...


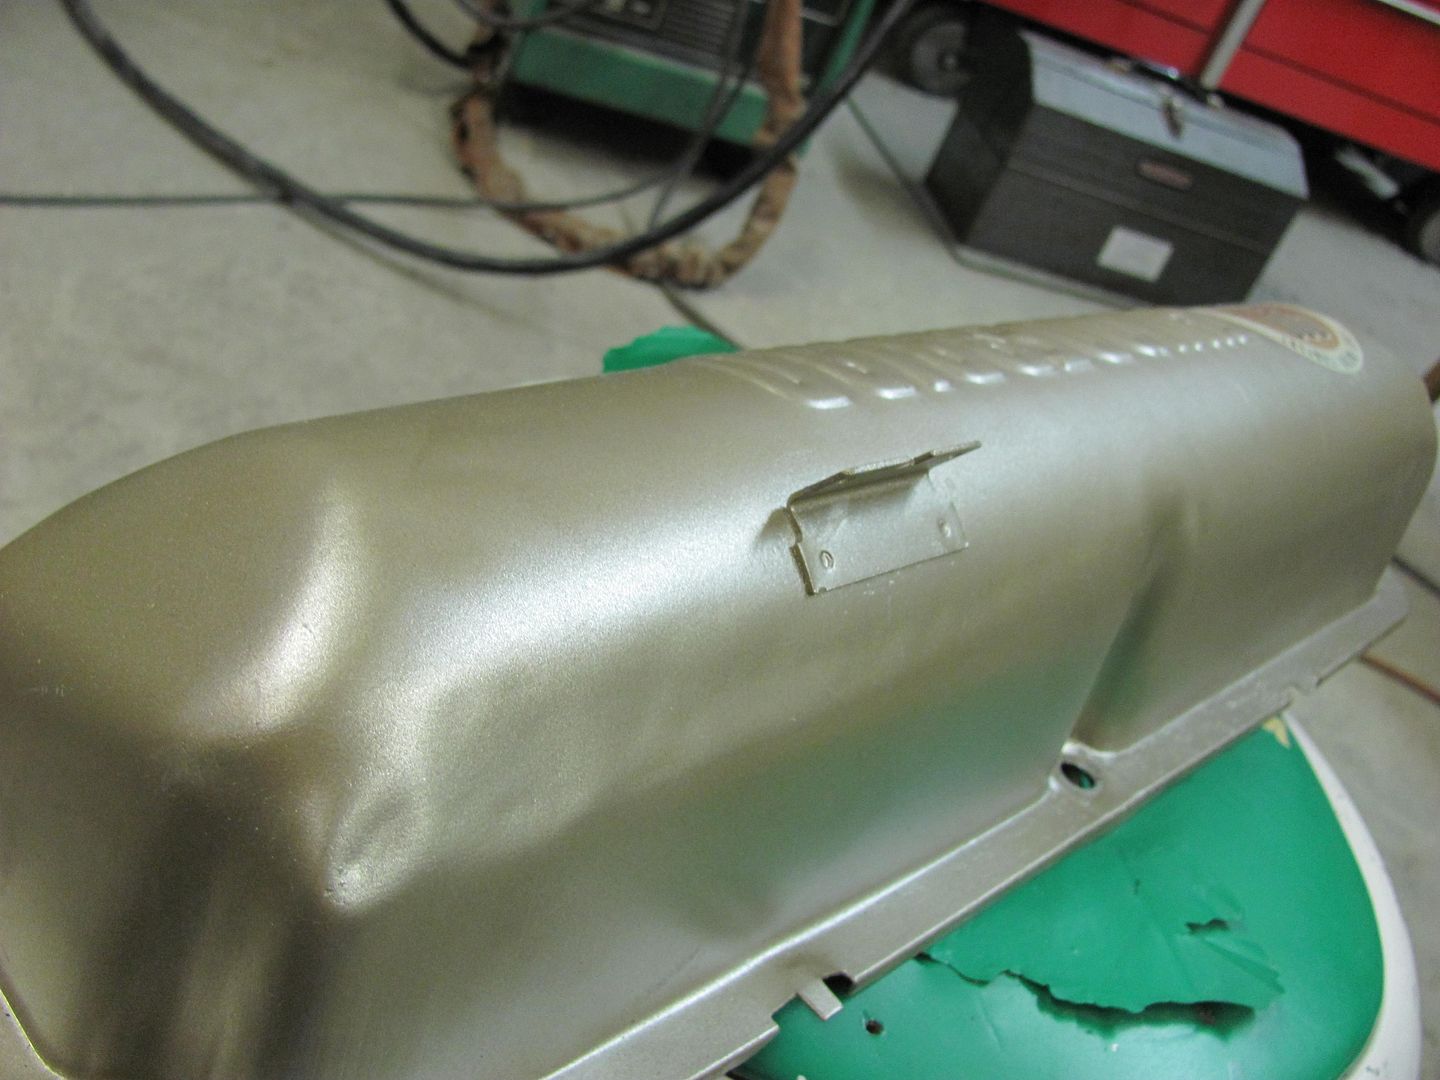
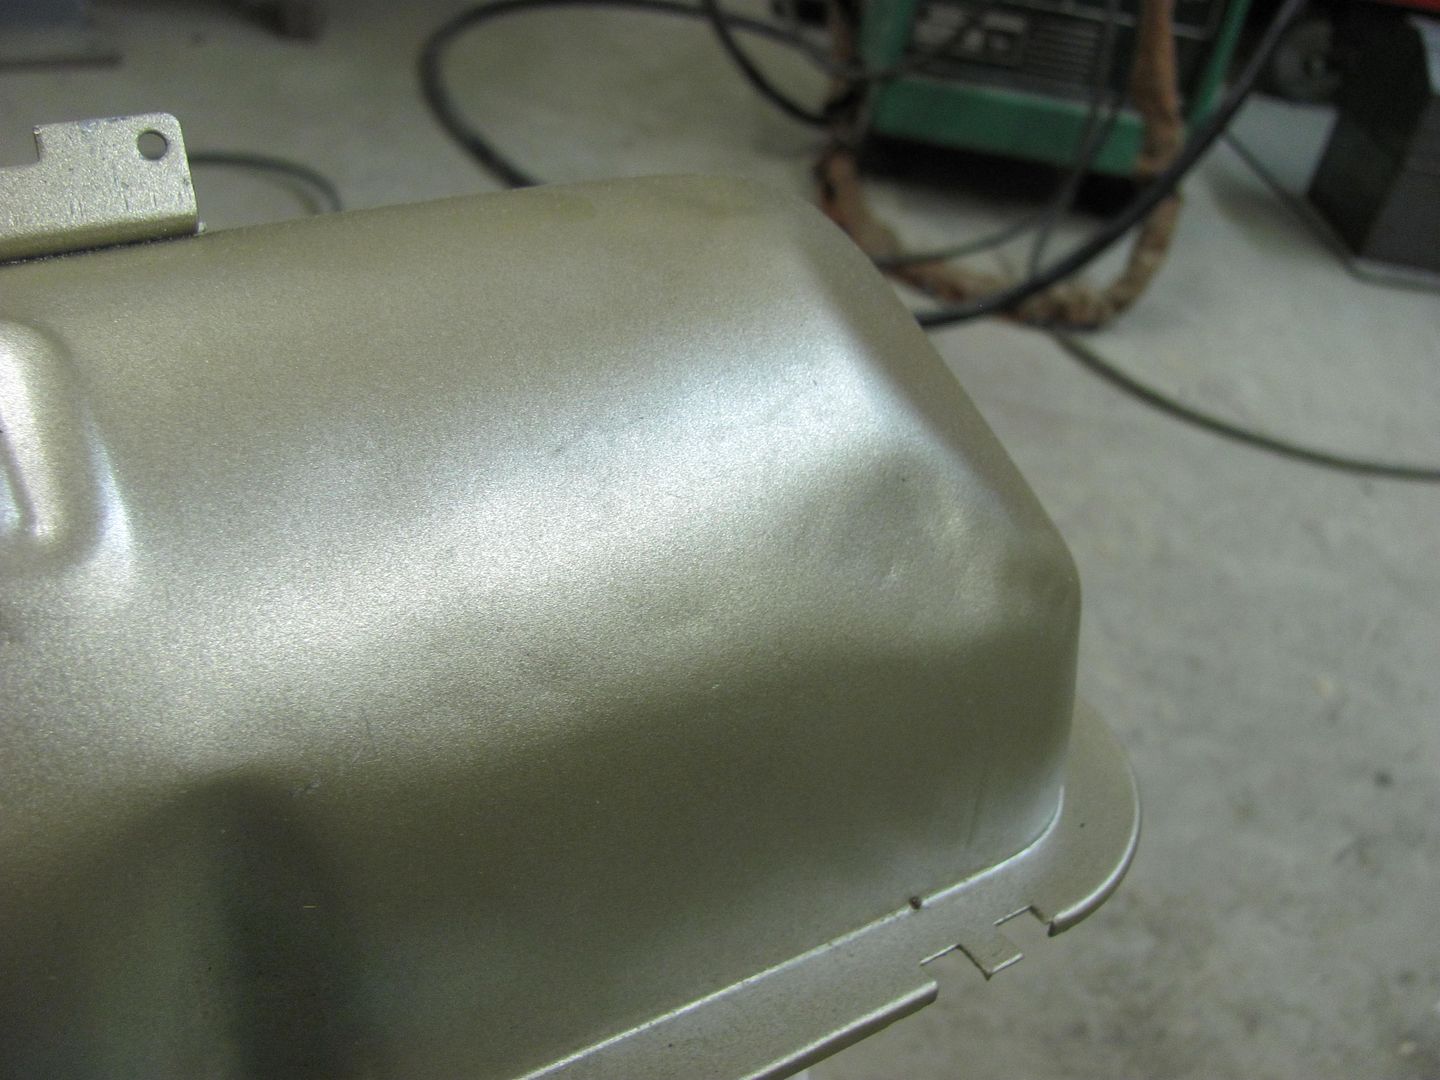
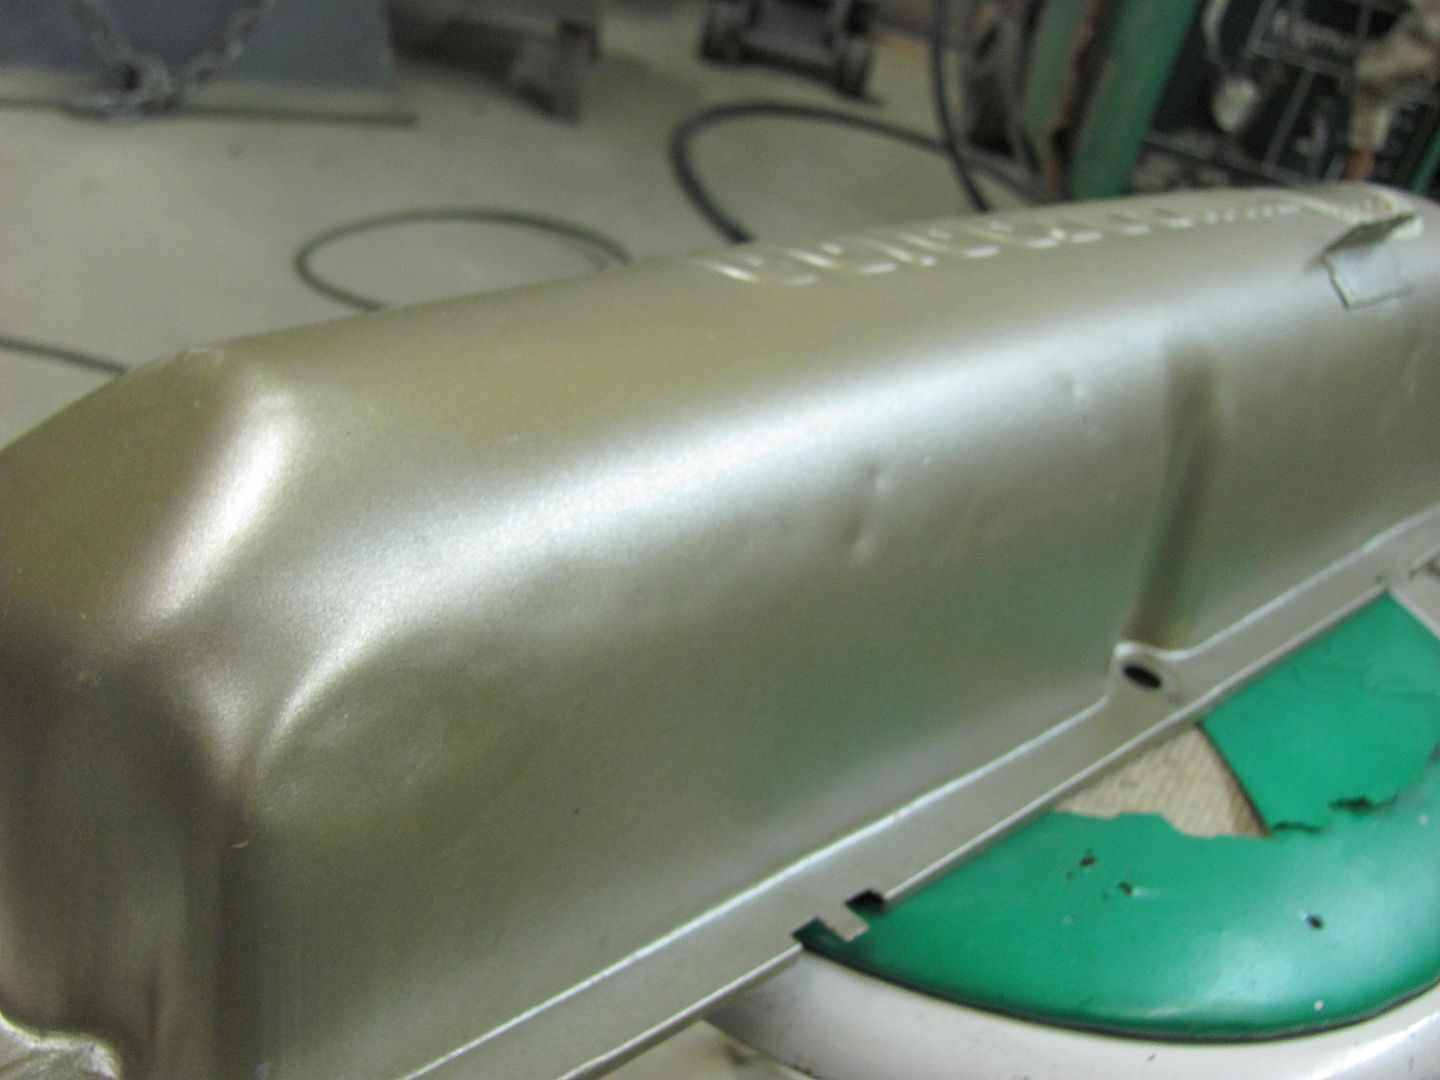
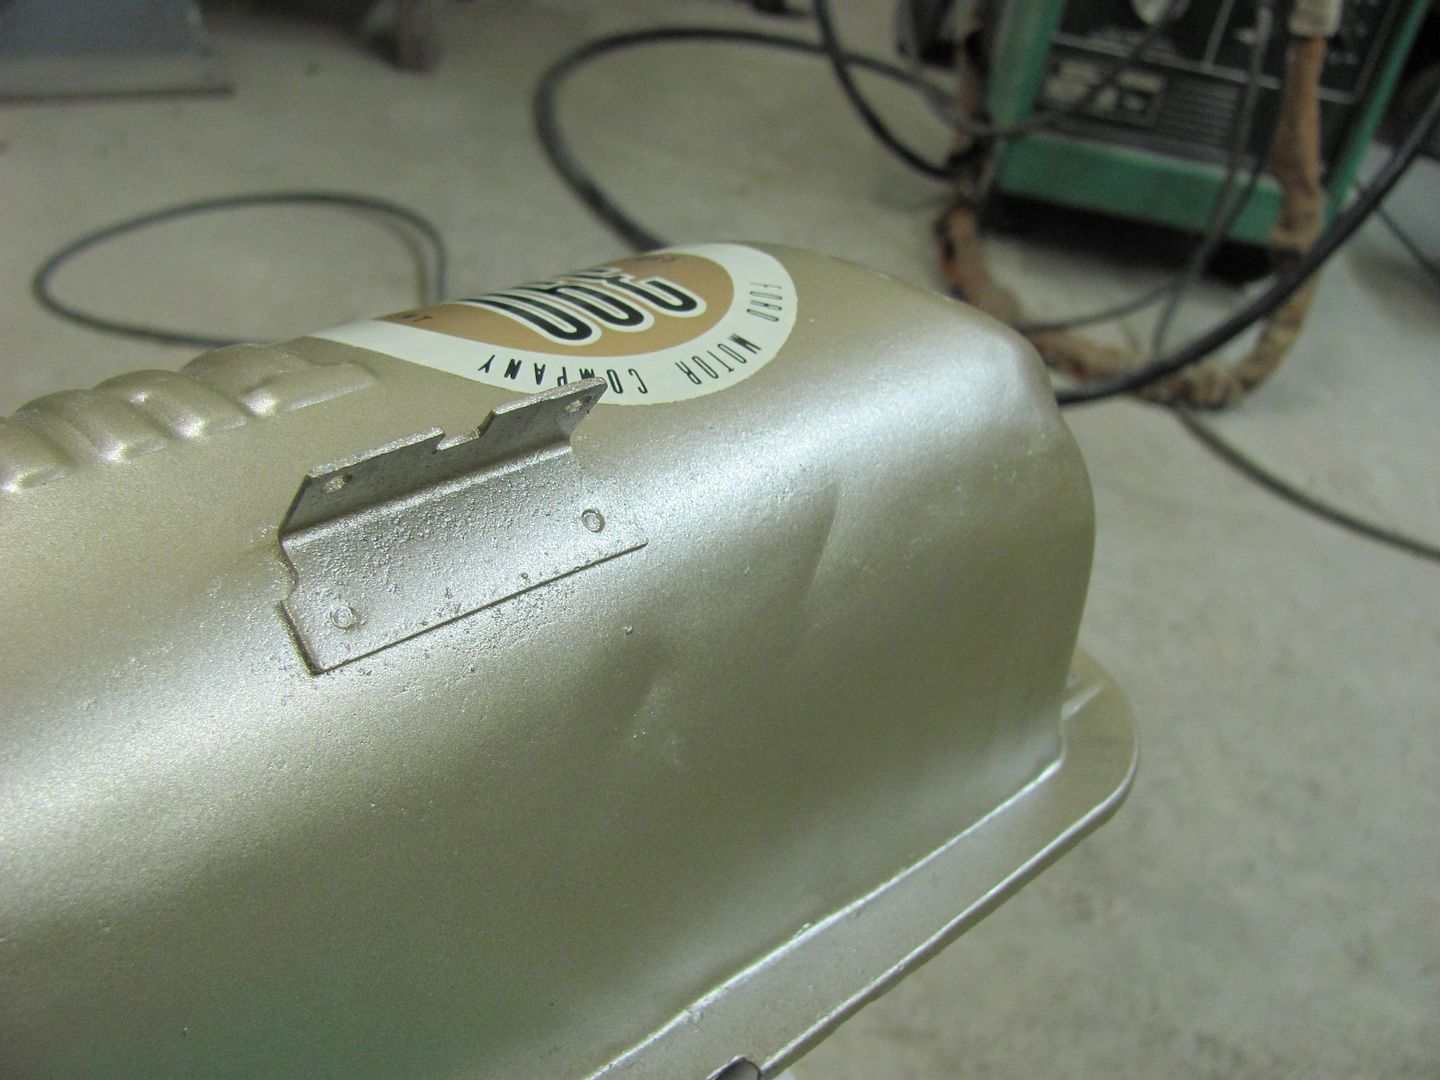
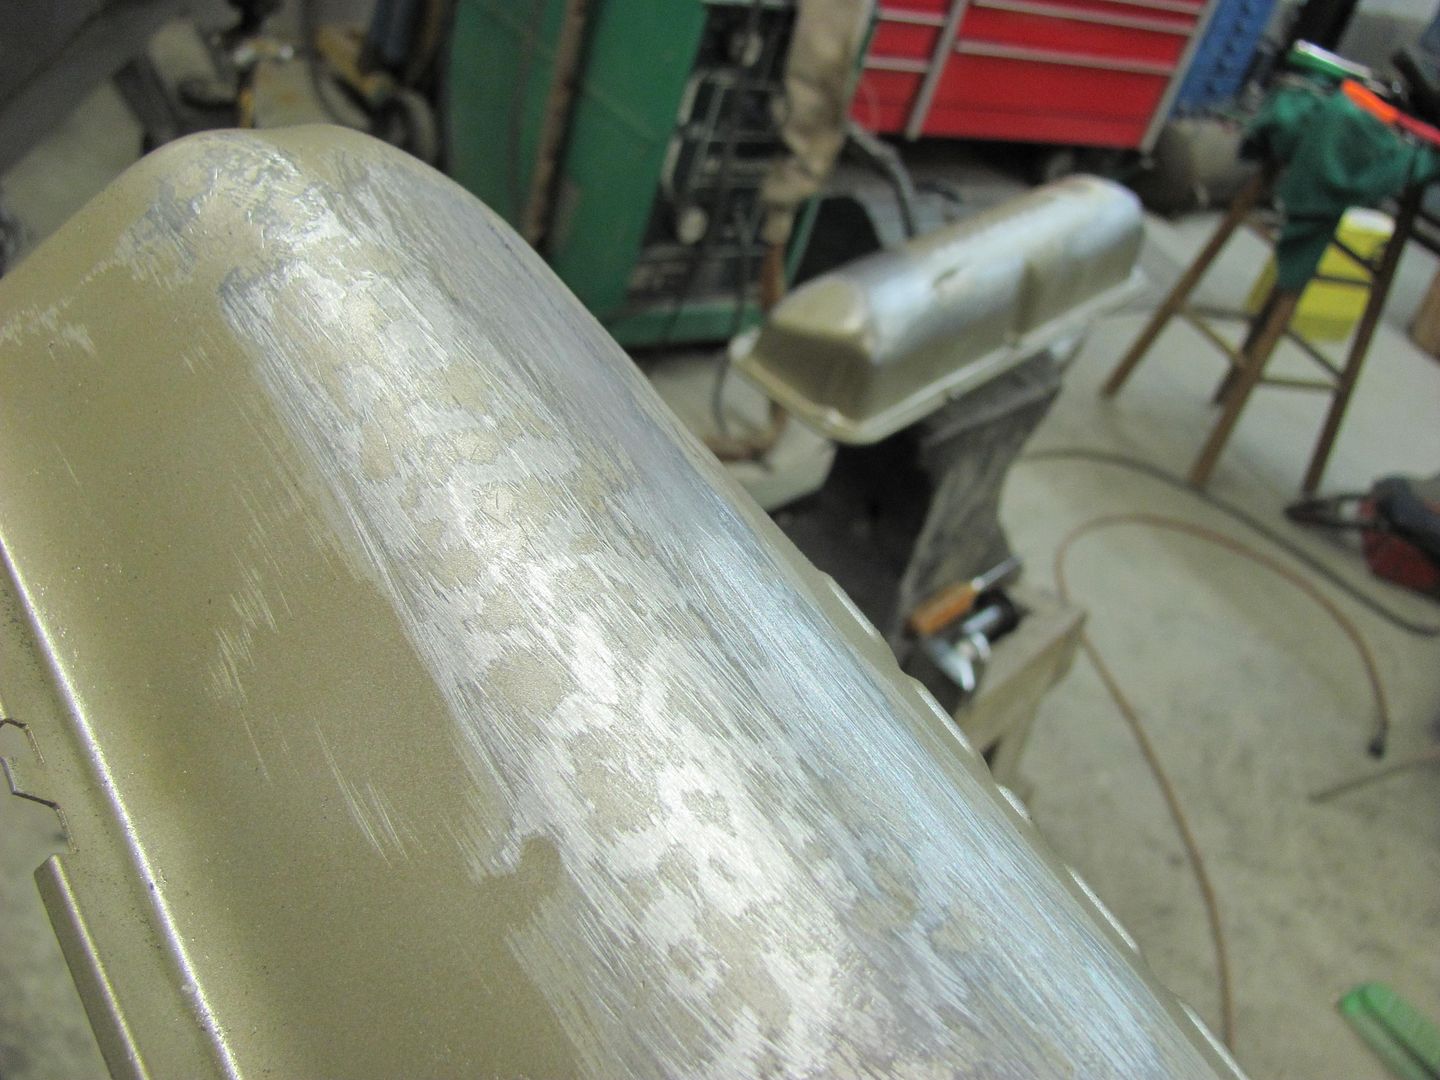
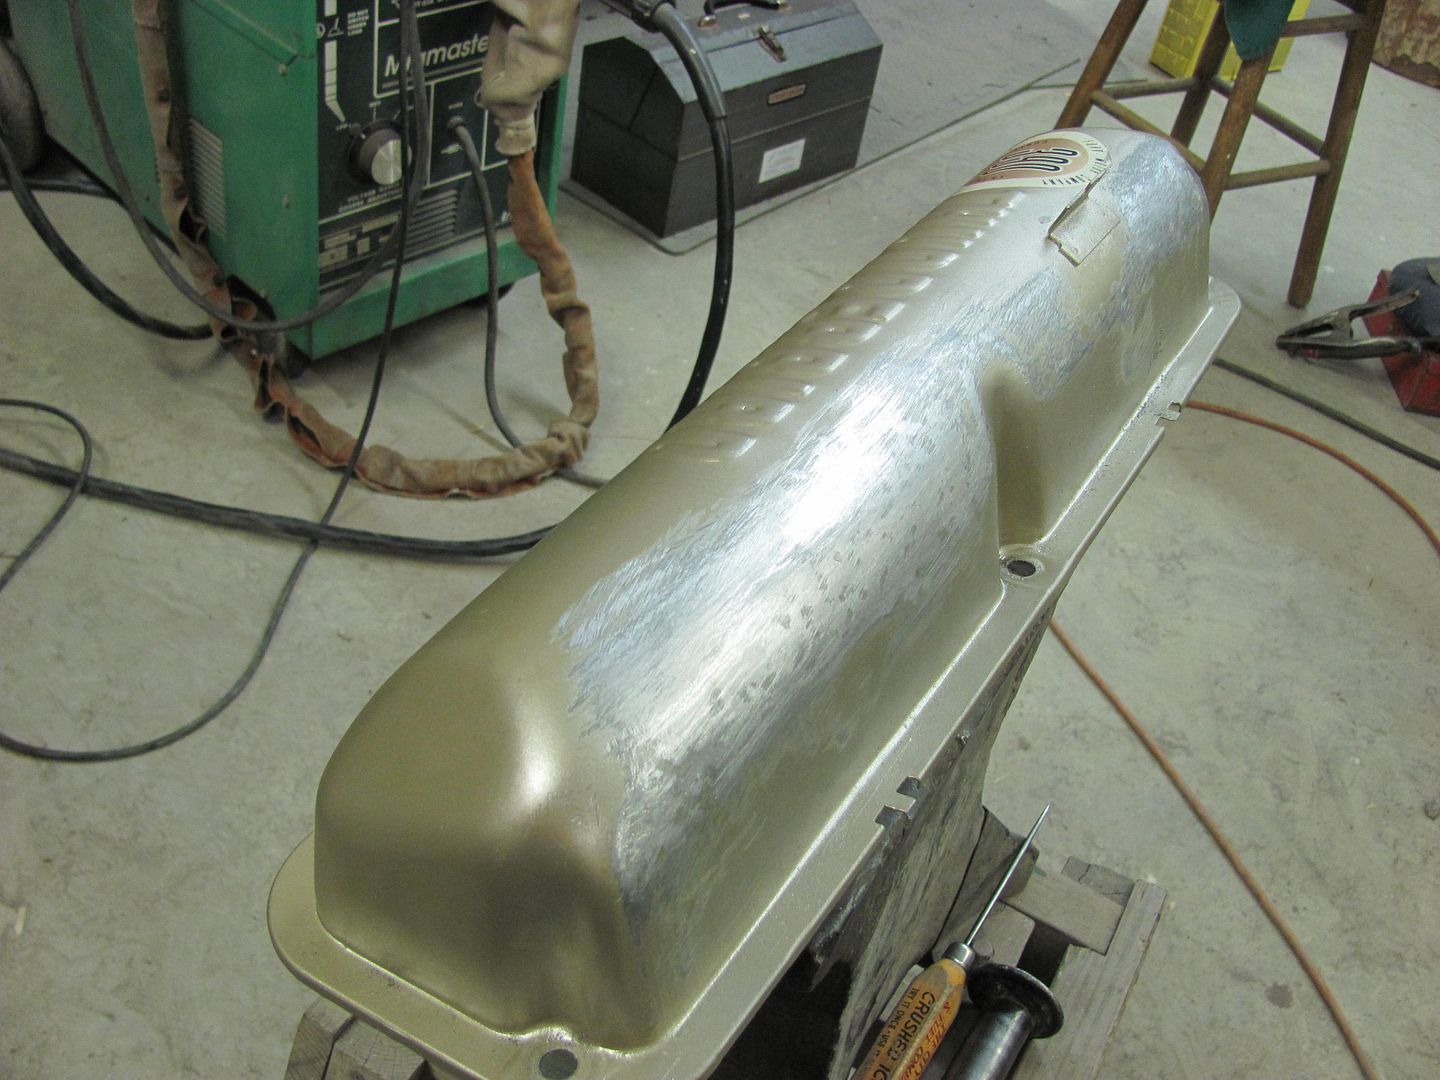
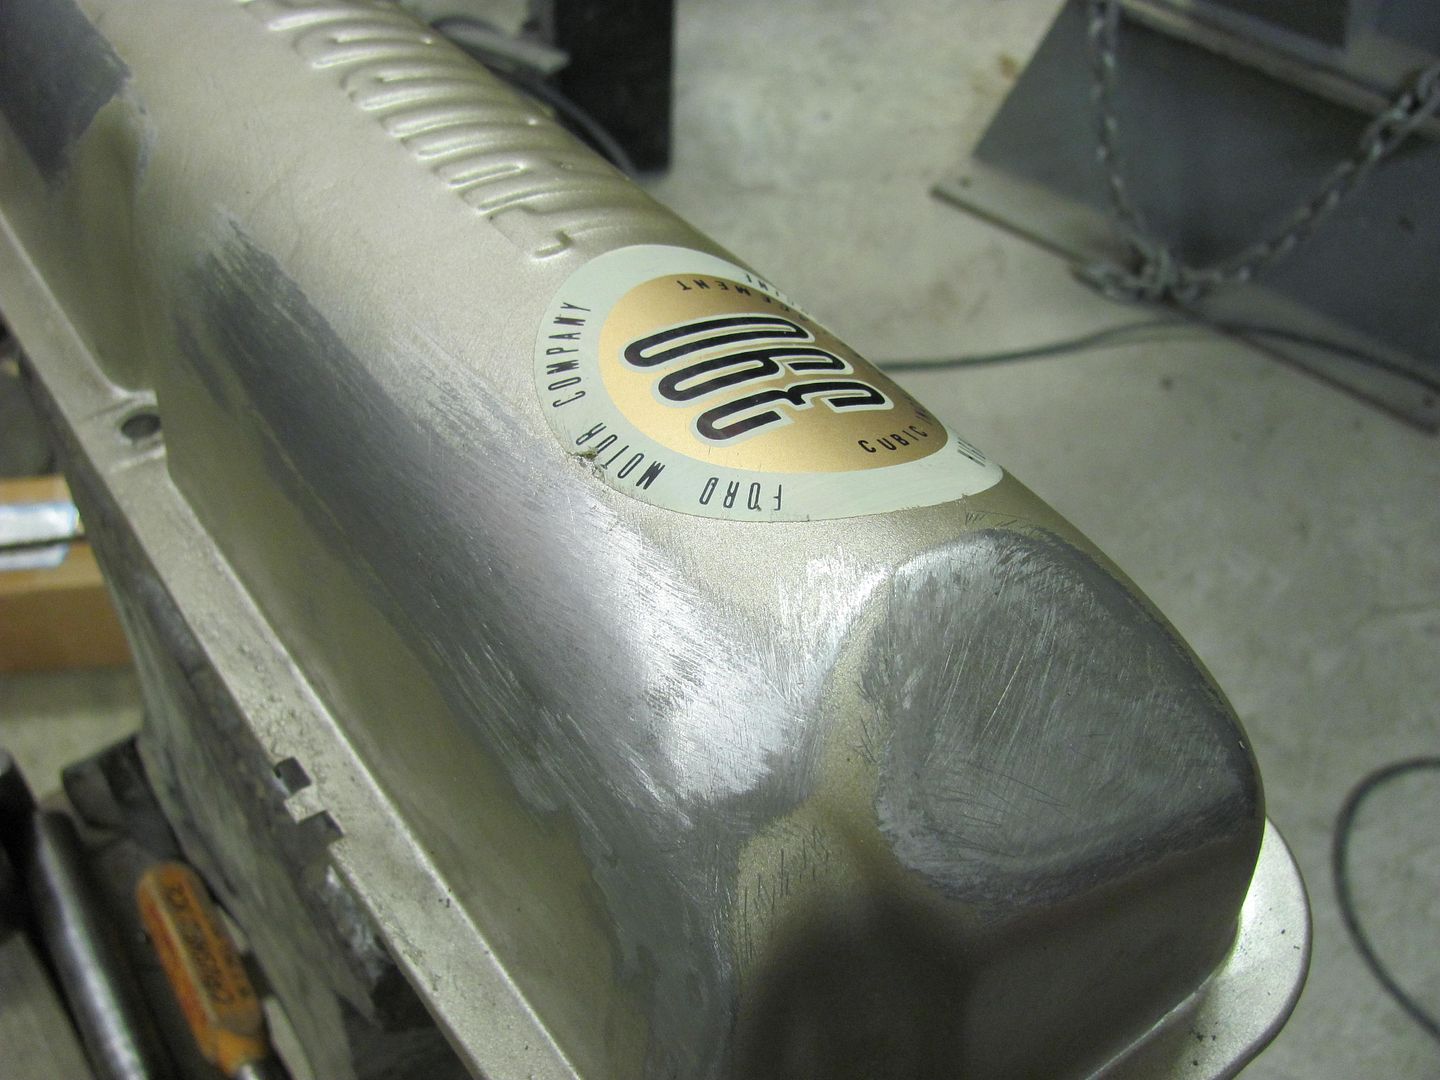
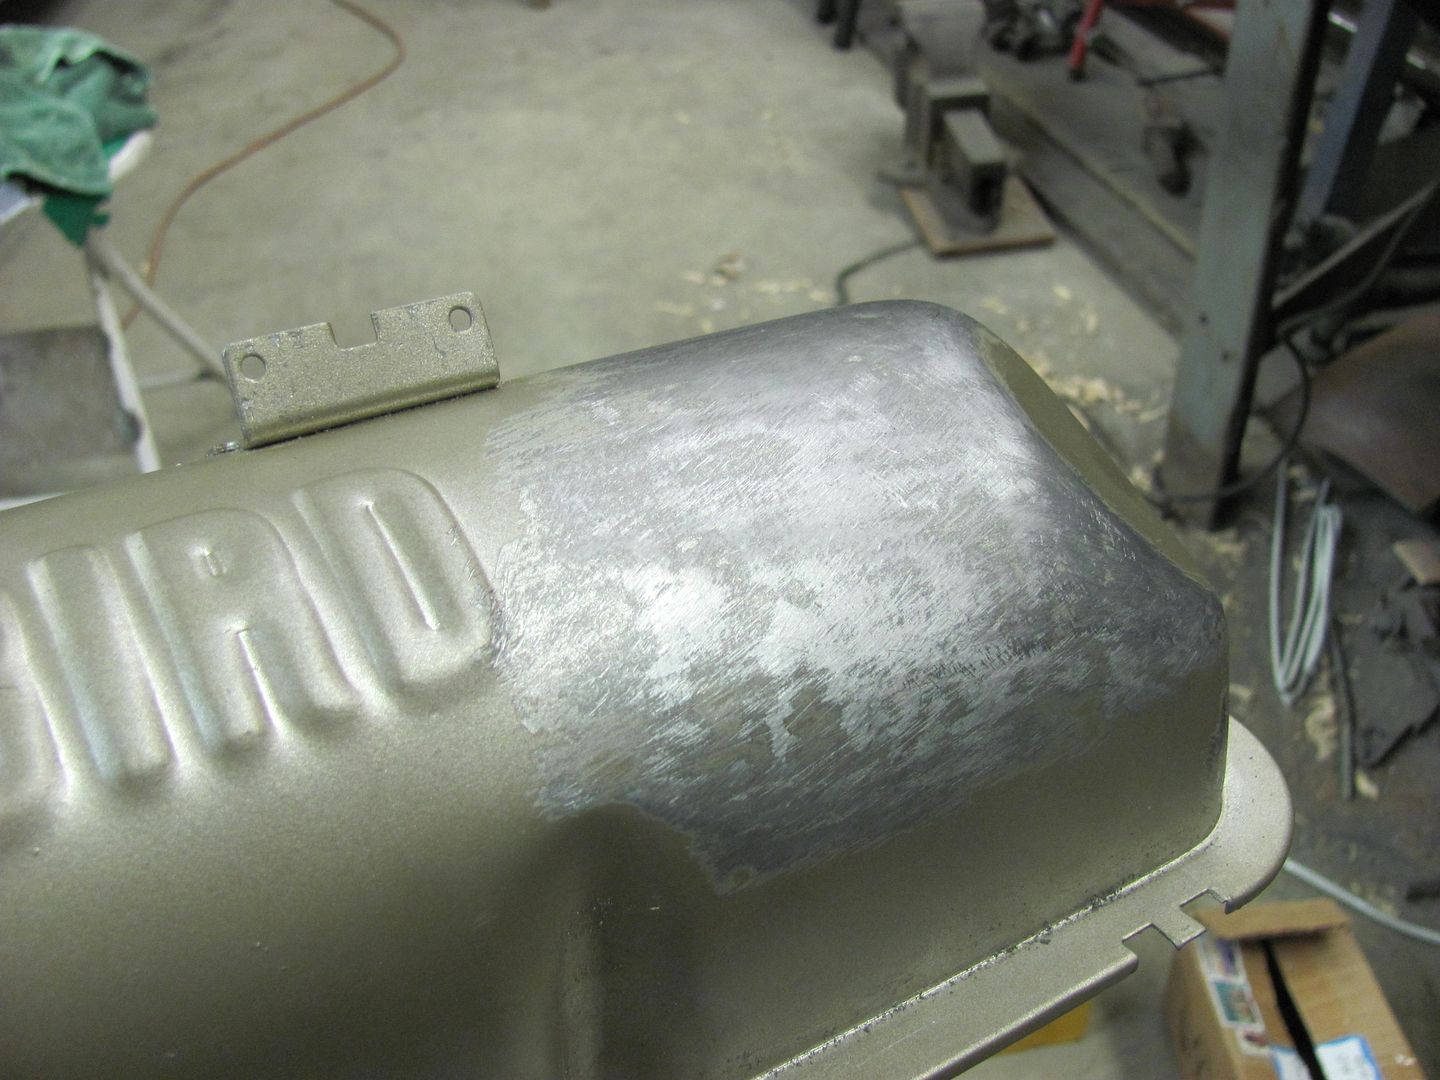
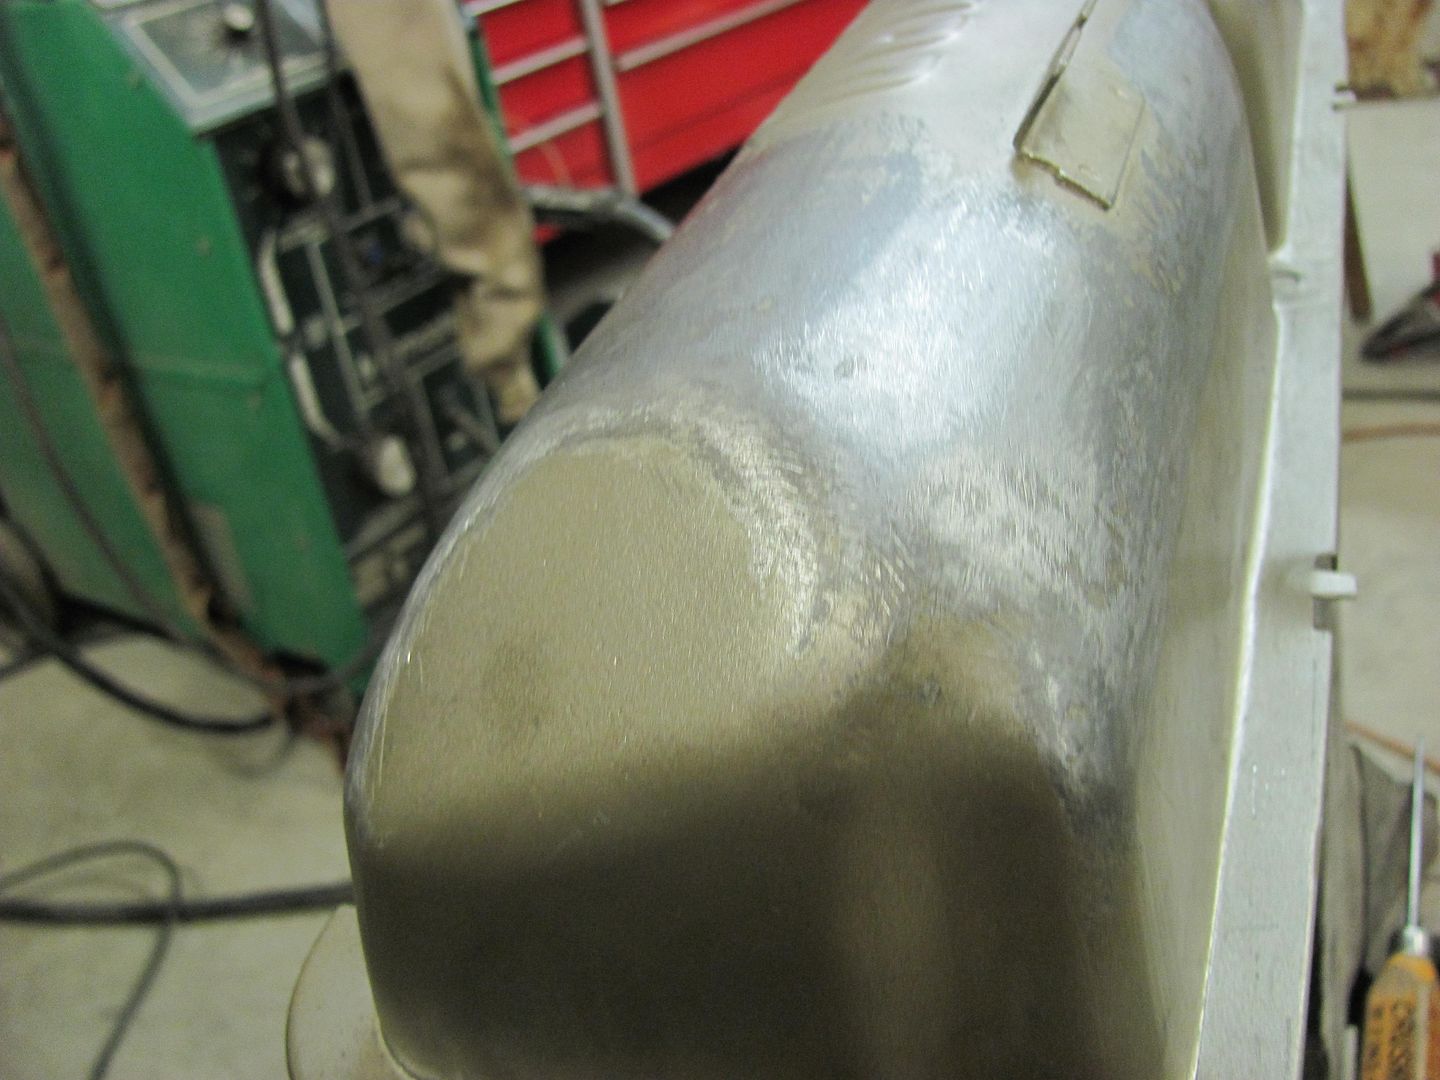
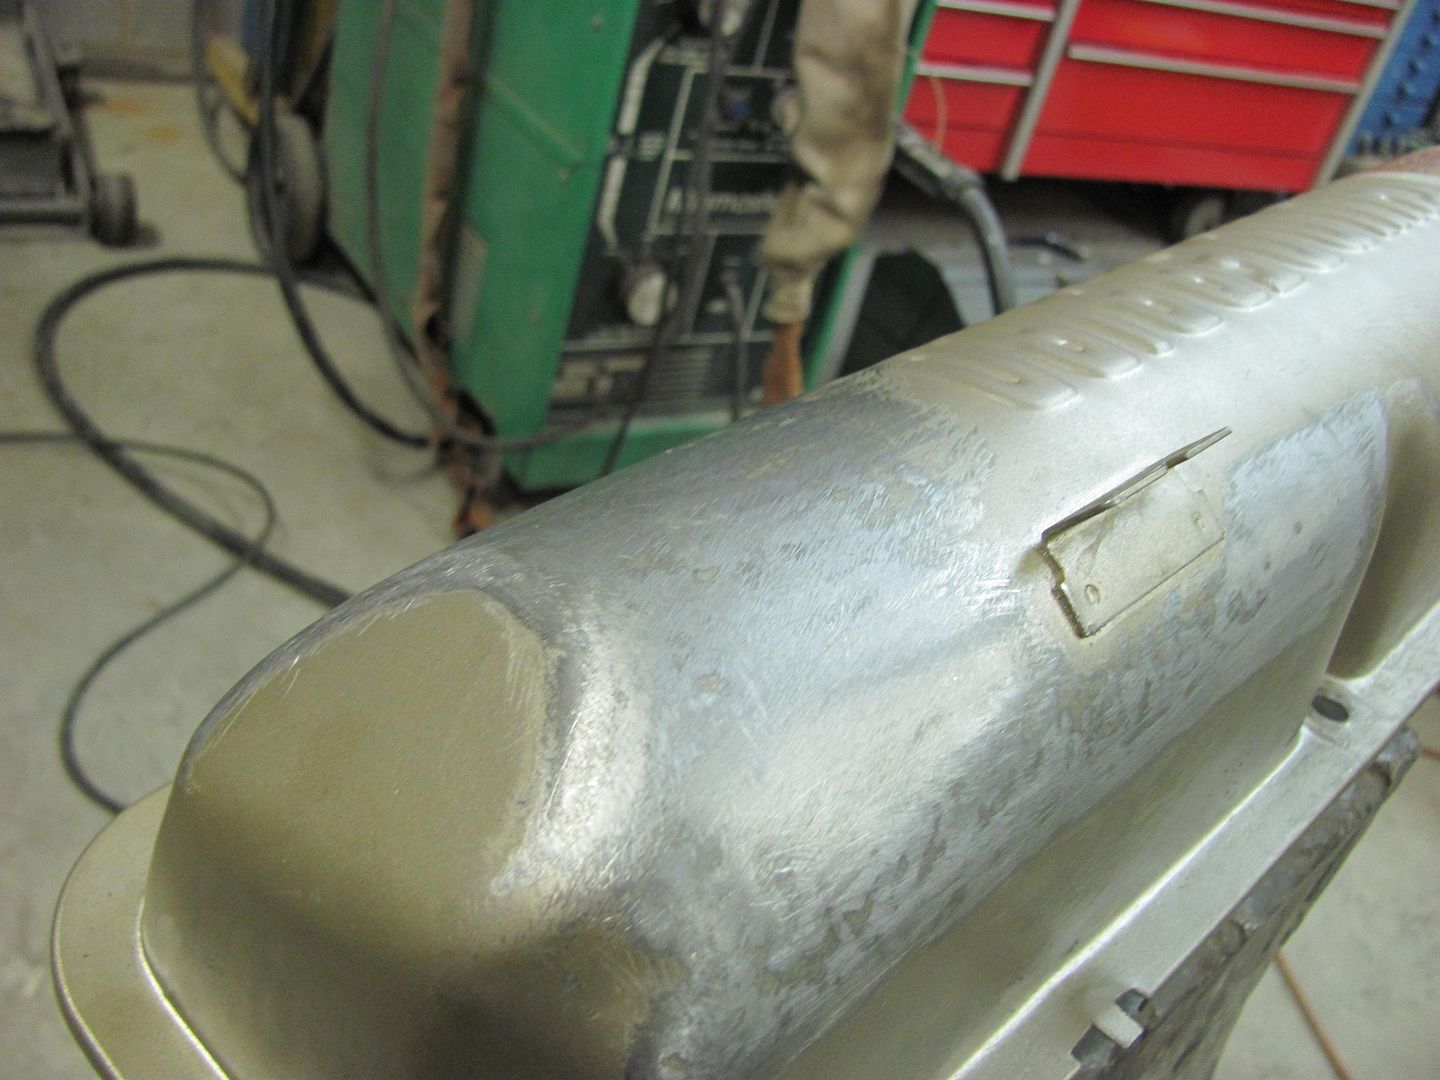
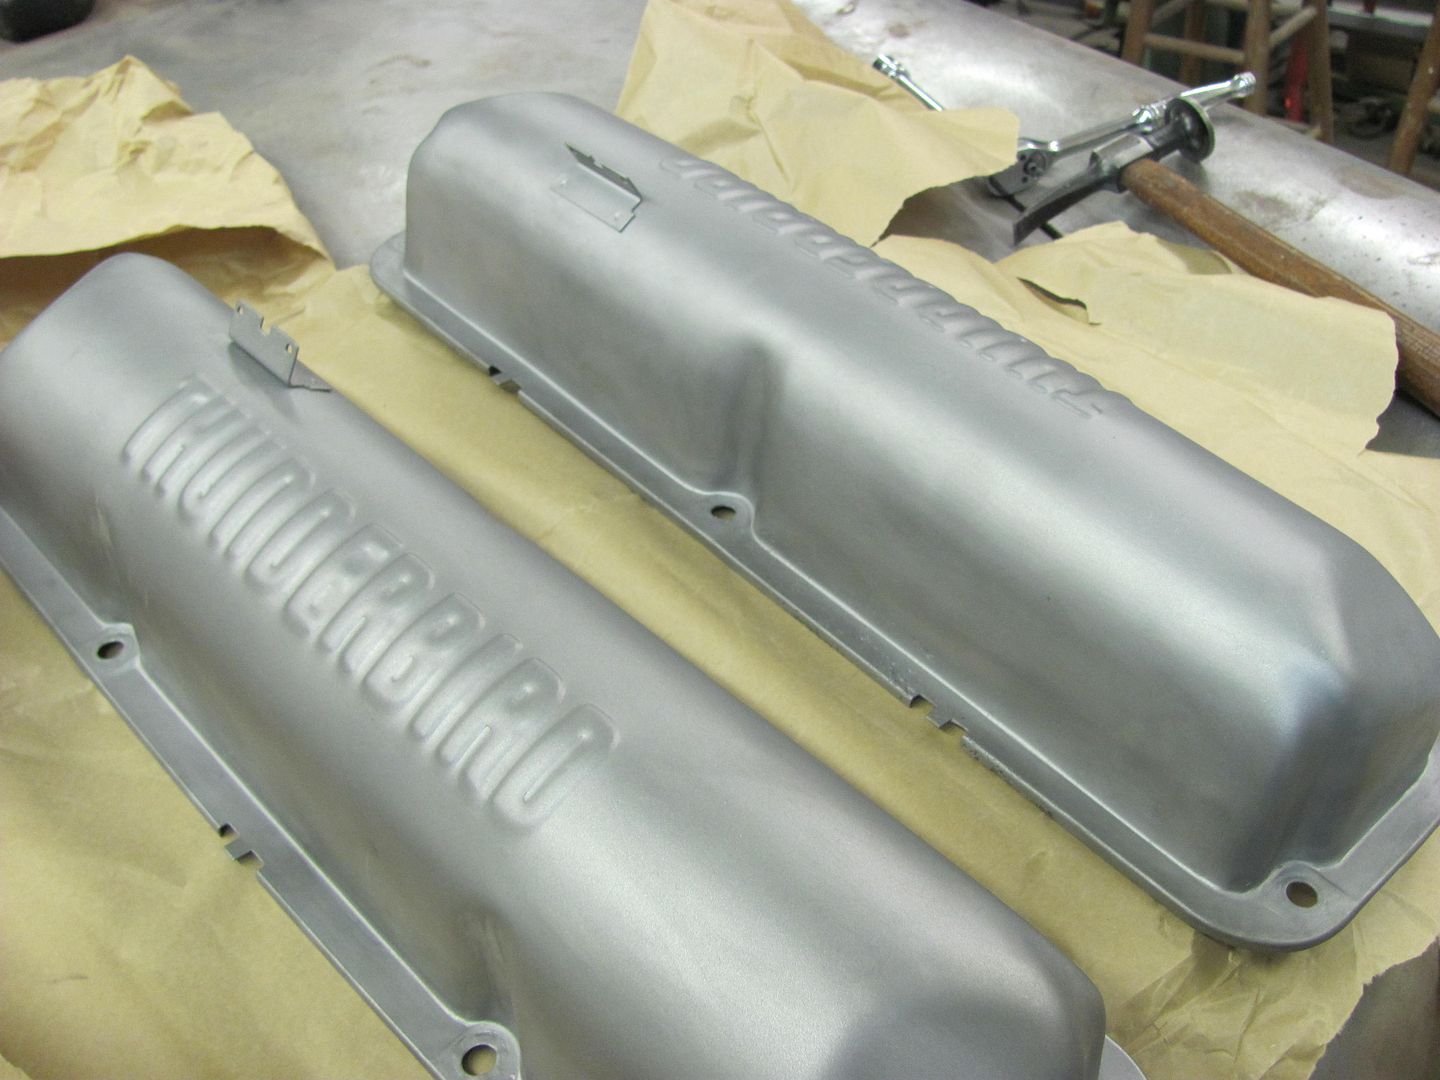
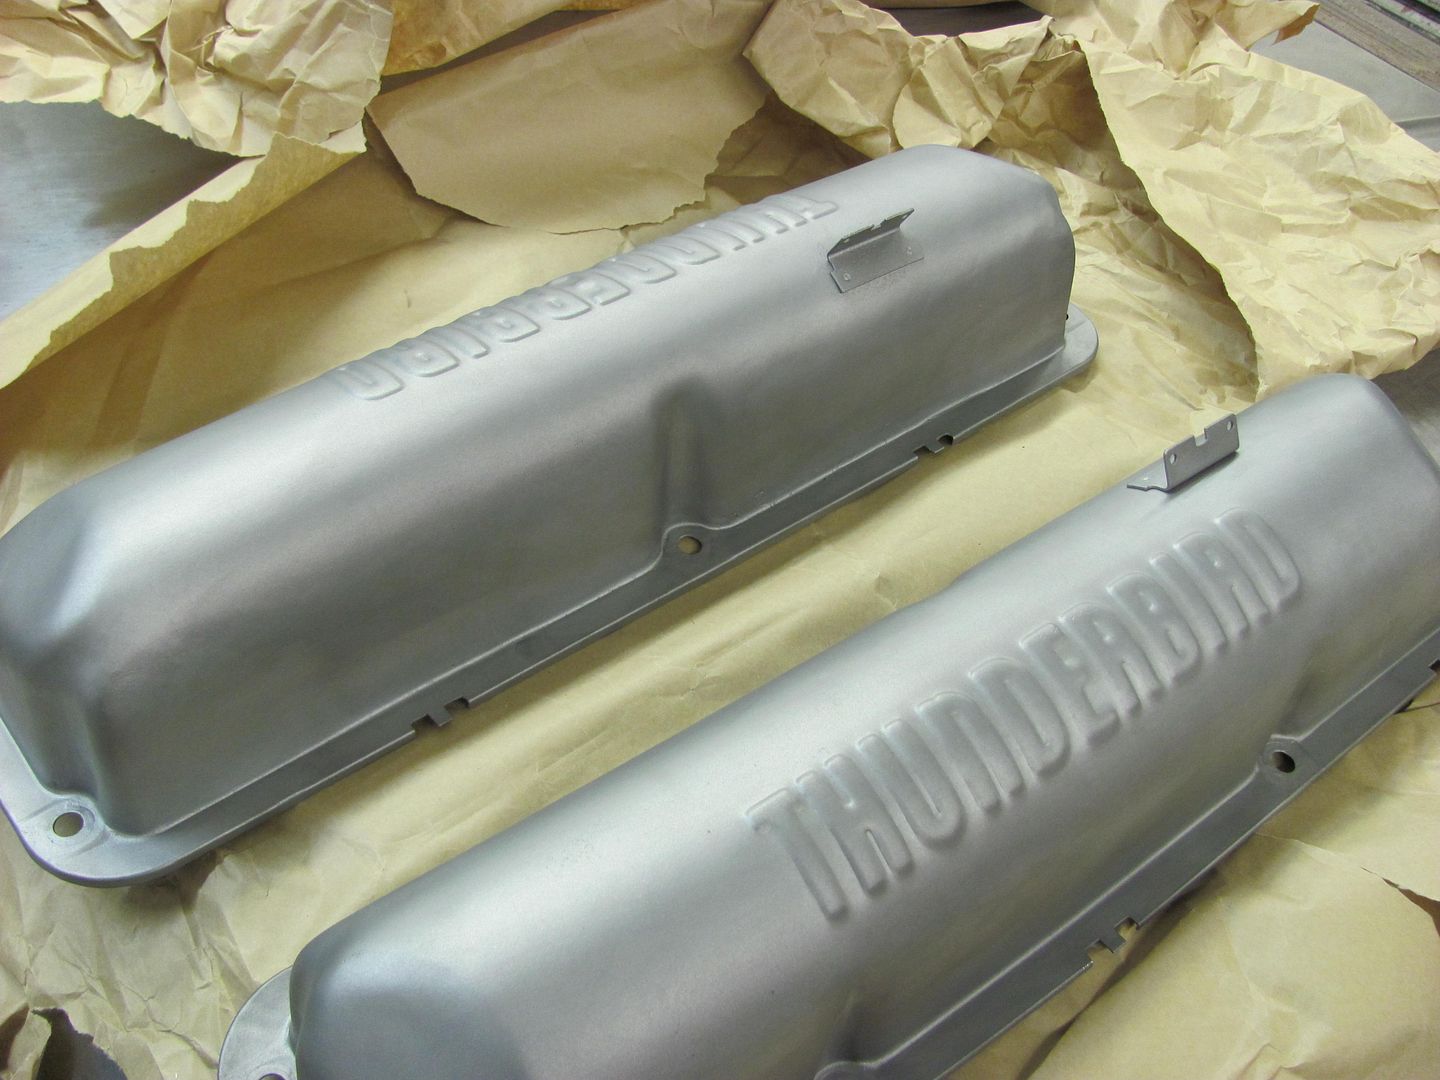
    Well I stopped by to check it out after he installed it, and noticed the valve covers looked like someone had changed out the intake and dropped it a few times on the valve covers. So he dropped them off for some dent repair this evening...


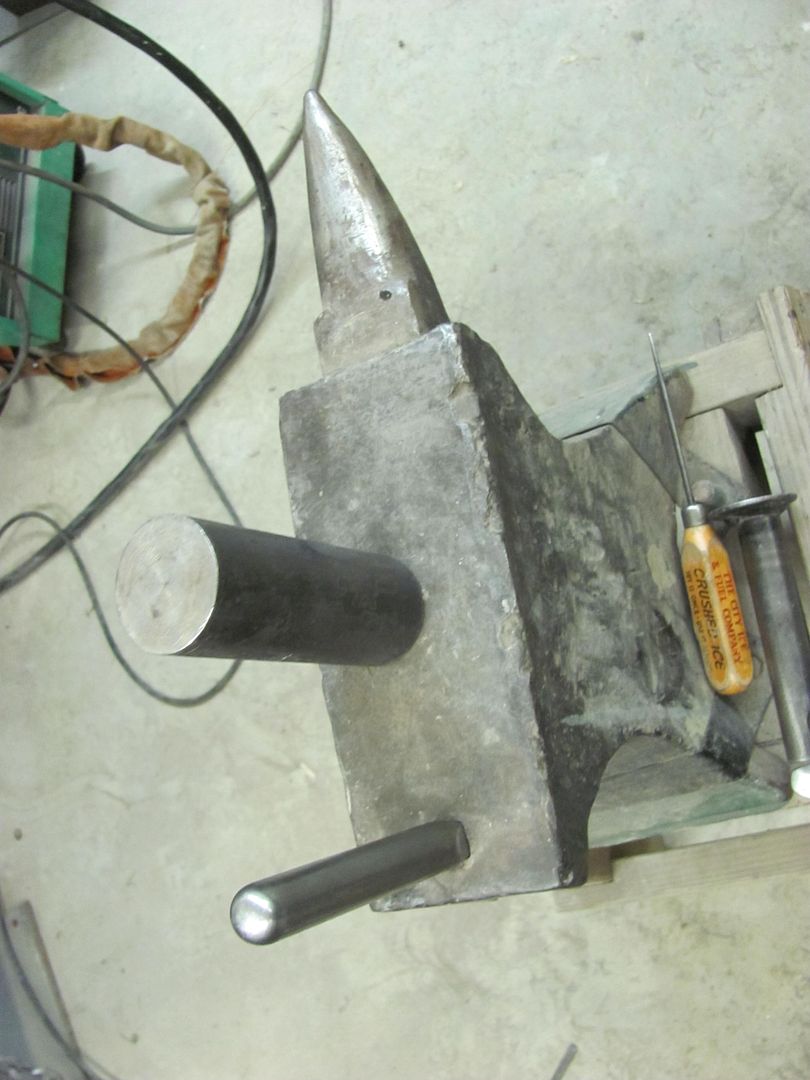
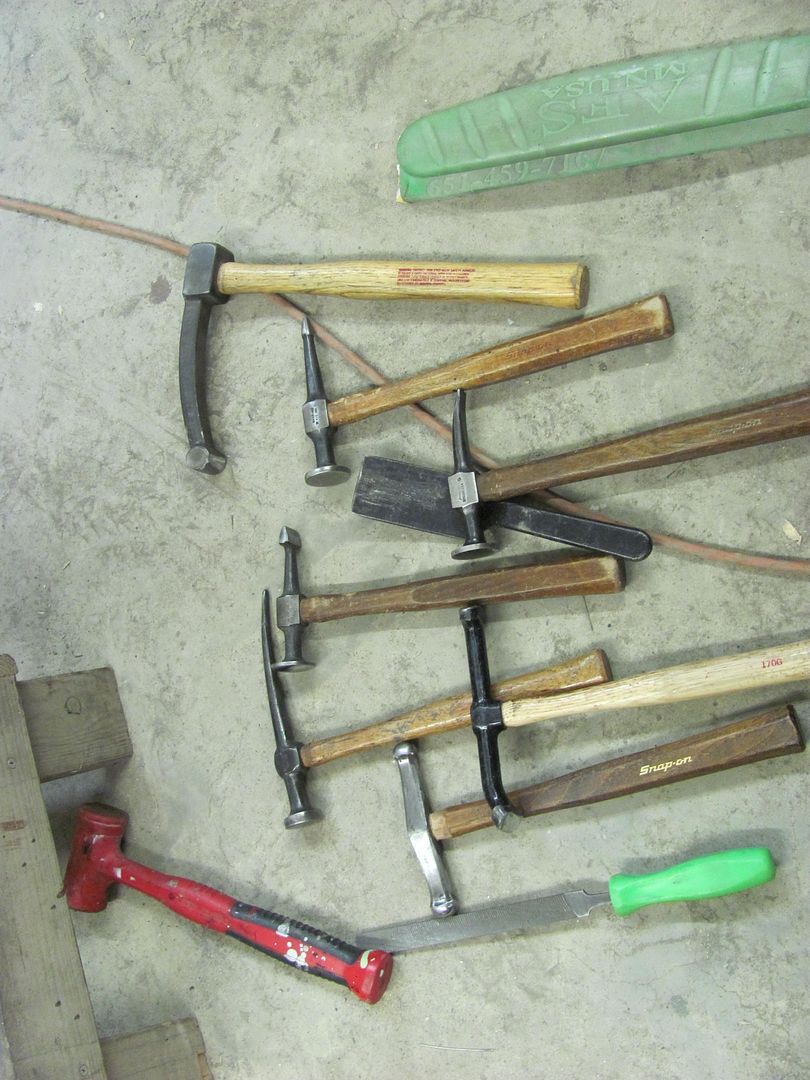
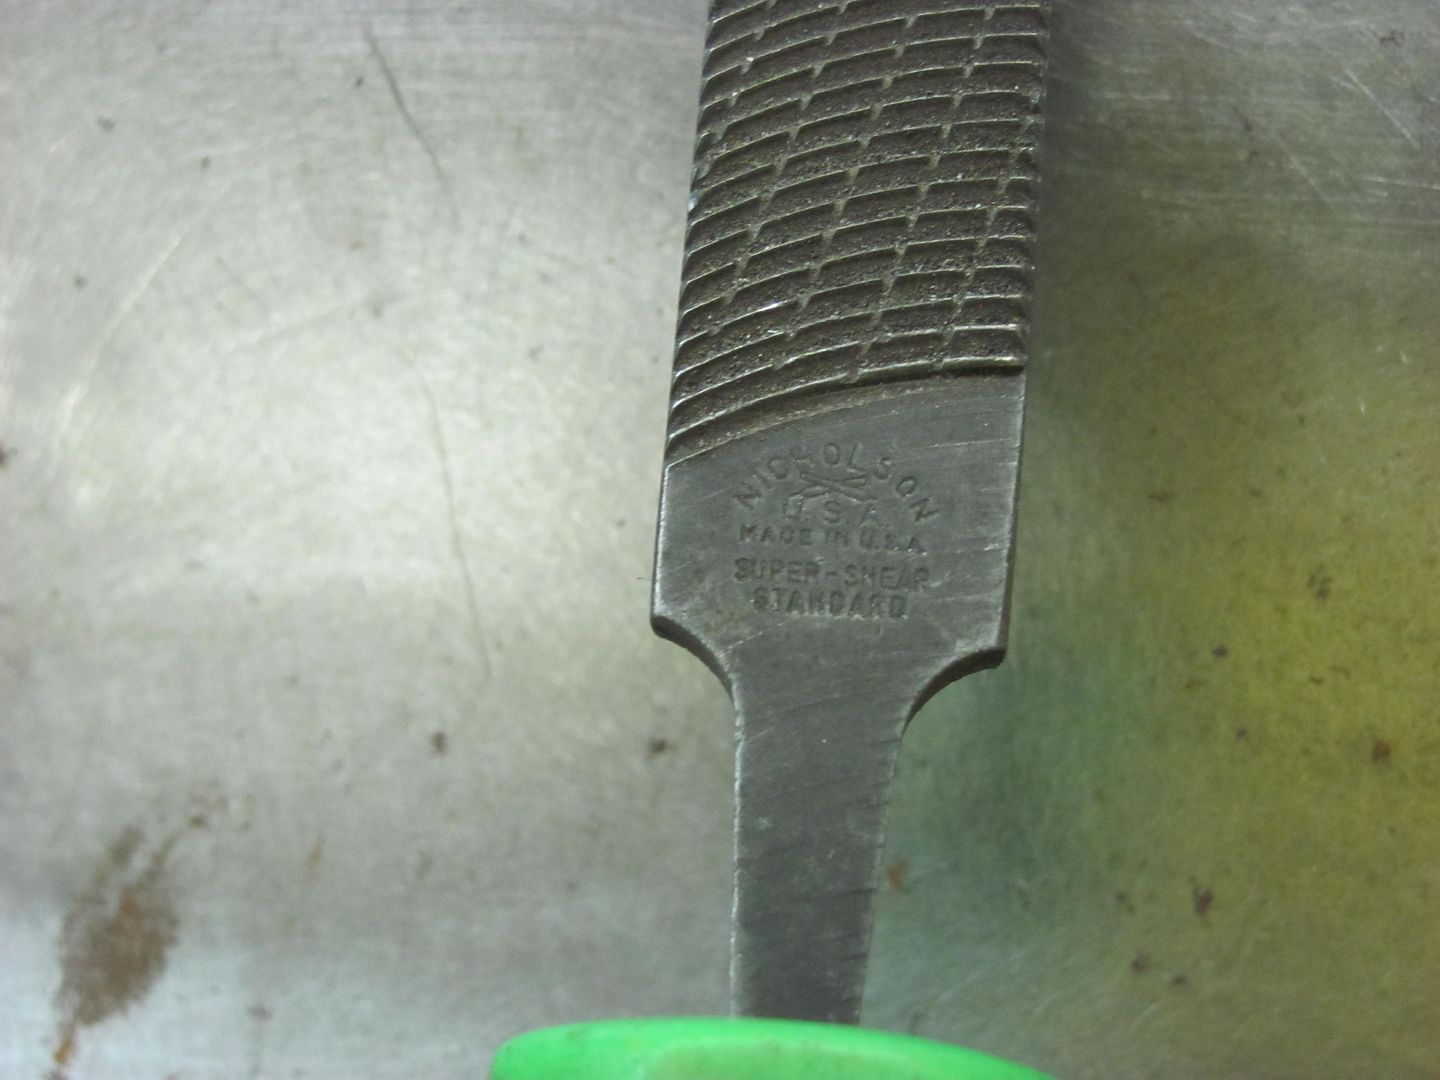
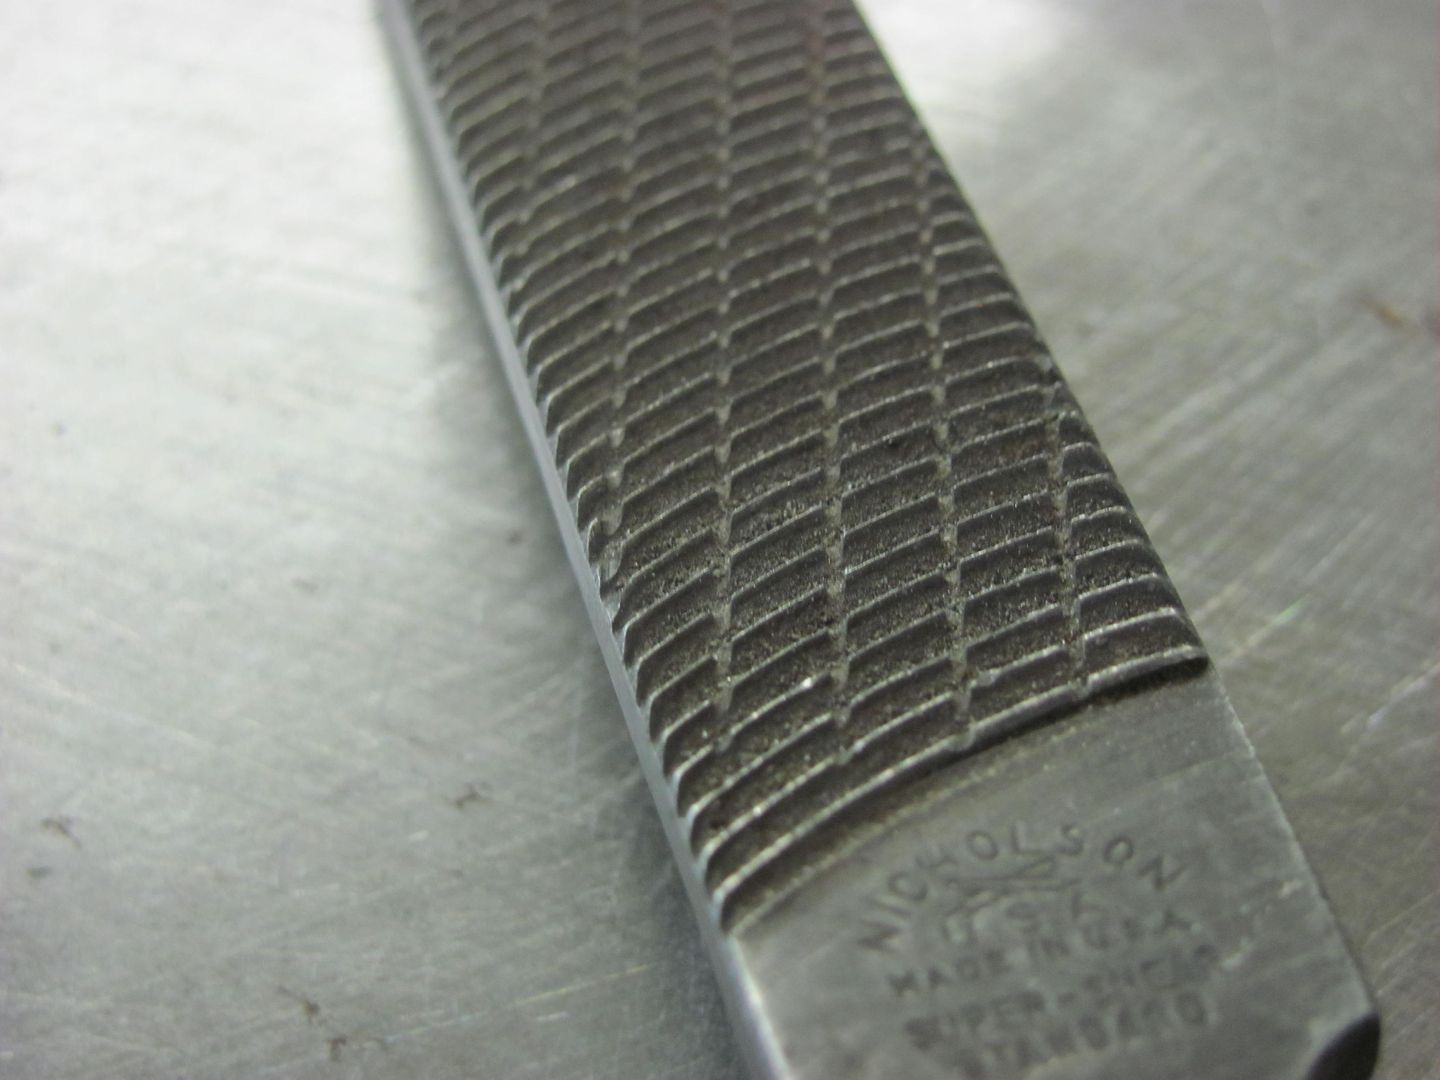
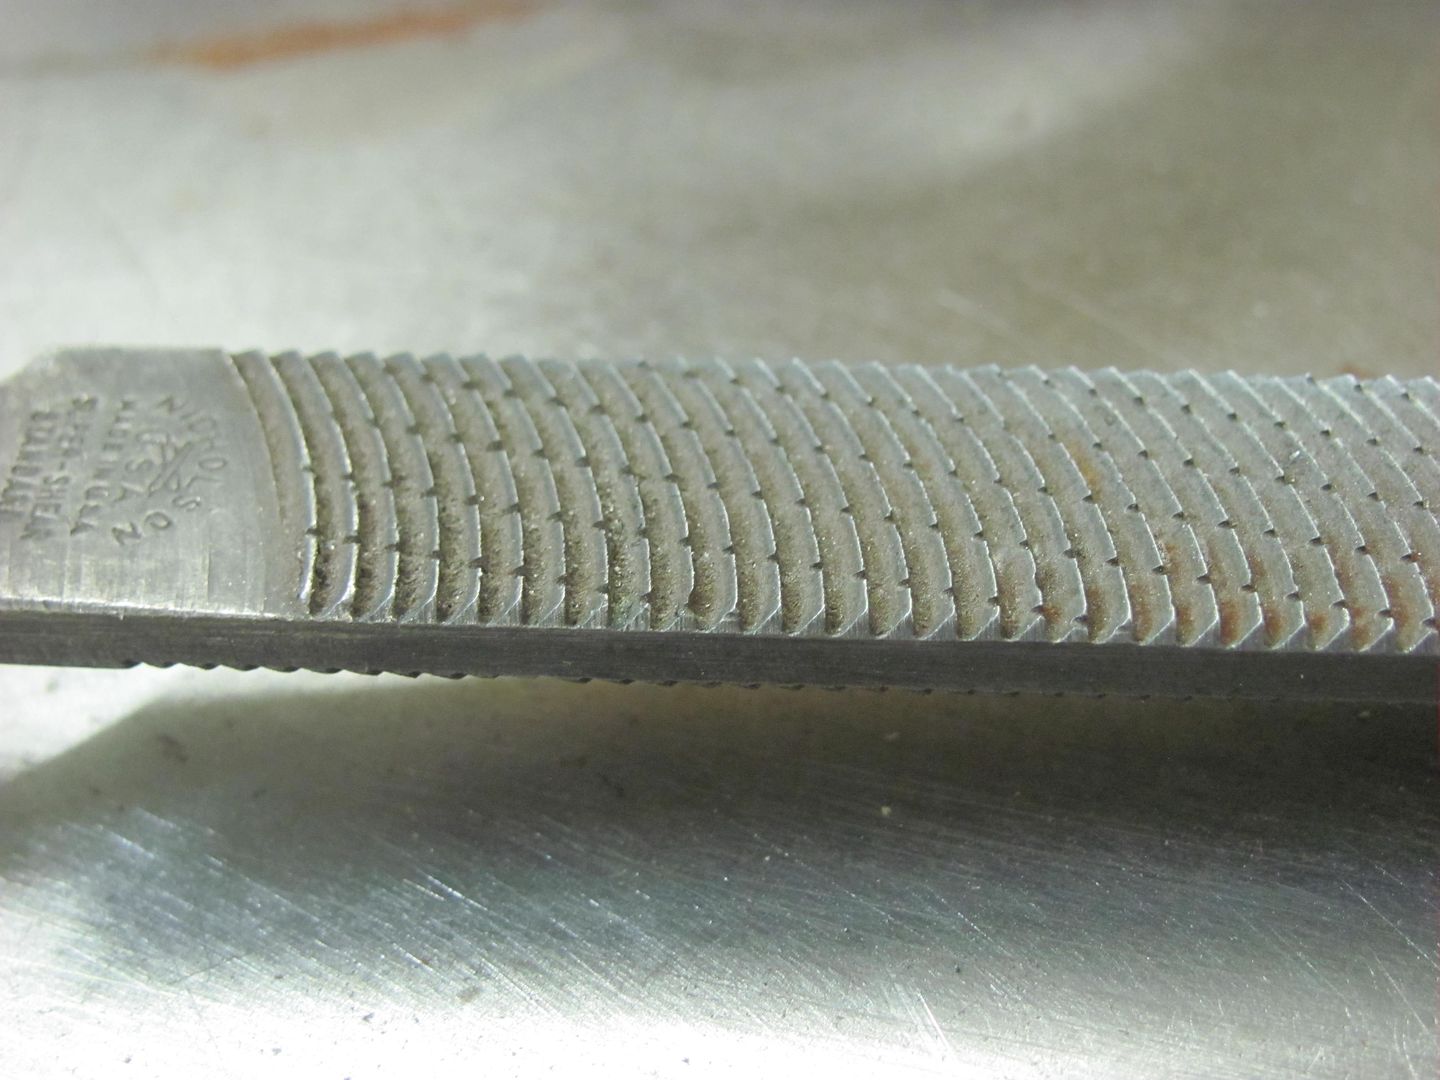
    All of these tools were used this evening at one point or another...


    Dents were worked with various implements of destruction, filed to find the high spots, and low spots bumped up, then repeat.


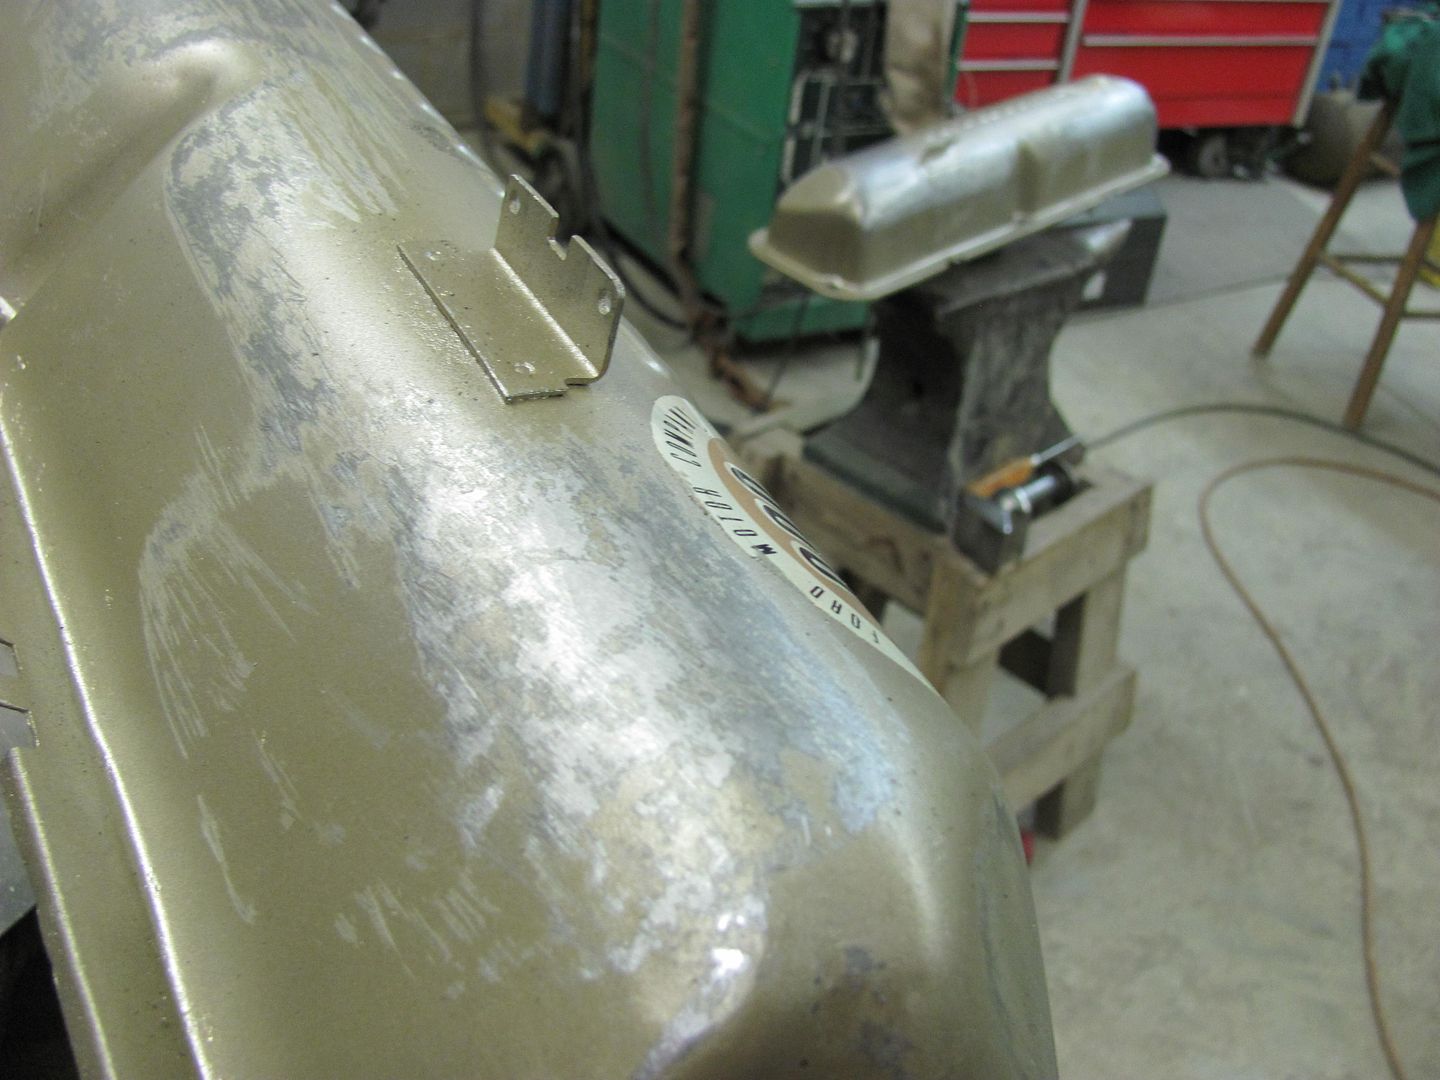
    As they will be painted, we'll leave off with the following.... Sandblasting and some H/K epoxy primer will take care of any remaining defects...


    Robert


    Instagram @ mccartney_paint_and_custom


    MP&C Youtube Channel

  • #2
    You're going to make me attempt some of this at this rate Nice work!
    Escaped on a technicality.

    Comment


    • #3
      Its just body work.... those look like the THIN ones that if you looked
      at them they they dented

      Comment


      • #4
        Originally posted by TheSilverBuick View Post
        You're going to make me attempt some of this at this rate Nice work!
        A litlte persuasive arm twisting never hurt anyone...
        Robert


        Instagram @ mccartney_paint_and_custom


        MP&C Youtube Channel

        Comment


        • #5
          Is there anything you can't do?

          Maybe it's time I invest some money in some specialty hammers and attempt to follow your lead.
          There's always something new to learn.

          Comment


          • #6
            Nice work. The thing about valve covers is they often seem to have those little dents in the hundreds. The harder you look, the more you find.

            A couple years ago I built a tool specifically for valve cover dents. It had a male mandrel (w/ interchangable shapes) that you held the cover over then hit it with a rubber hammer. Above was a laser that aligned with the center of the mandrel, so that you put the red dot over the dents (which seem to be more obvious looking at from the outside of the cover) and then "pop". It made the process of doing three-hundred tiny dings a little easier.
            ...

            Comment


            • #7
              Nice job! They make the quicky job I did on my wife's 69 Mustang "Powered by Ford" valve covers look like crap. But then again it just started out to replace leaky gaskets.
              Tom
              Overdrive is overrated


              Comment


              • #8
                Thanks for the comments guys.. Loren, thanks for that, I think I'm going to need a few lasers around the shop!
                Robert


                Instagram @ mccartney_paint_and_custom


                MP&C Youtube Channel

                Comment


                • #9
                  I saw the before and after pictures of the valve covers , but what I would really like to see is the in between video. nice work.

                  Comment


                  • #10
                    when you said you took a file to the high spots, what kind of file and size of file did you use ?
                    Charles W - BS Photographer at large

                    Comment


                    • #11


                      looks like a big flat mill bastard? Green handle thing on the left.
                      Flying south, with a flock of bird dogs.

                      Comment


                      • #12
                        Sorry so long to respond, been out of town for a week. The file is a used Nicholson I got from a local flea market, it is a Vixen file and about 3/4" wide. This file tends to dig less than a rasp or mill file, and more or less glides along the surface to mark where the high spots are (or miss the lows) Once the lows were identified and bumped up, the file is used at a different angle to better show the "new" low spots.


                        Robert


                        Instagram @ mccartney_paint_and_custom


                        MP&C Youtube Channel

                        Comment


                        • #13
                          As tomorrow is supposed to warm up a bit, I'm going to try and spray some epoxy primer to get them ready for the gold paint. Here they are all sandblasted, hot tanked, and ready to go....


                          Robert


                          Instagram @ mccartney_paint_and_custom


                          MP&C Youtube Channel

                          Comment


                          • #14
                            they came out awsum, very nice
                            Charles W - BS Photographer at large

                            Comment


                            • #15
                              Amazing - I'm sure a lot of those have been scrapped as they were "too messed up to save"

                              well done indeed!
                              There's always something new to learn.

                              Comment

                              Working...
                              X