Announcement

Collapse
No announcement yet.

Can a caveman do DIY EFI? Nothing ventured, nothing gained...

Collapse
X
 
  • Filter
  • Time
  • Show
Clear All
new posts

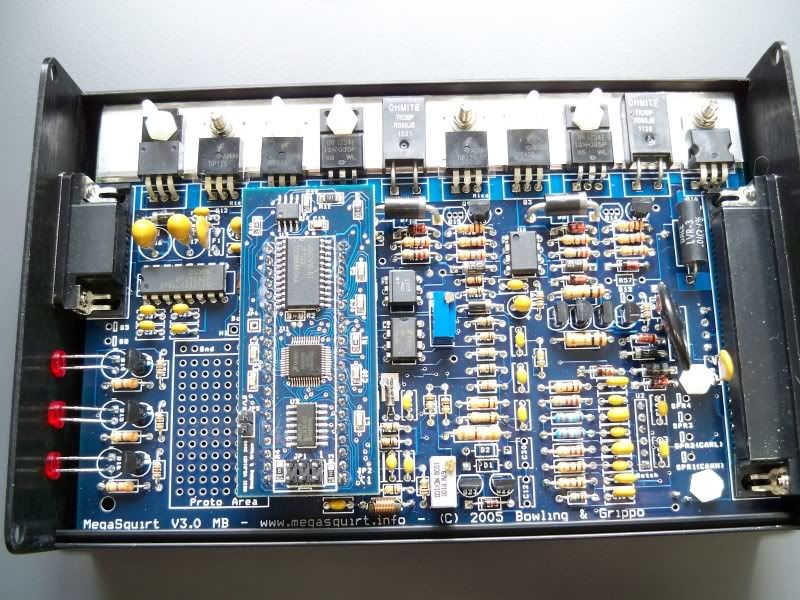
  • Built both ignition circuits and found another confusing segment for me.

    Step 51 says that HEI uses the Hall/optical ............ I was always under the understanding that GMs HEI was a Variable Reluctor? And in the manual under ignitions the manual also states that HEI uses a Variable Reluctor sensor.

    So which section do I want to jumper to? Or should I leave ignition unjumpered at this point and jumper it when I am ready to take over ignition?

    When I do ignition, I plan on using the HEI sensor to trigger the MSII, and have the MSII either directly control the coil, or have MSII control an MSD box and the MSD fire the coil.

    Do I have this right? Don't I want the VR section?
    Of all the paths you take in life - make sure a few of them are dirt.

    Comment


    • Jumper everything through the VR setup. I ran that way for years, and when I switched to a Hall sensor, I'm still running it through the VR circuit at D/G's suggestion and it works fine.

      This part was BY FAR the most confusing part of the whole assembly.
      Last edited by TheSilverBuick; February 19, 2012, 05:44 PM.
      Escaped on a technicality.

      Comment


      • Originally posted by STINEY View Post
        Built both ignition circuits and found another confusing segment for me.

        Step 51 says that HEI uses the Hall/optical ............ I was always under the understanding that GMs HEI was a Variable Reluctor? And in the manual under ignitions the manual also states that HEI uses a Variable Reluctor sensor.
        HEI distributors have a variable reluctor pickup coil - then, the HEI module converts that sine wave into a square wave. HEI modules don't make great coil ignitors, but they do make awesome VR-to-Hall converters. The early Megasquirts didn't have onboard VR circuitry, but yours does. As Randal advises, set your jumpers for VR (but assemble the Hall circuits anyways, might come in handy down the road, you never know). Do yourself a favor and, at the assembly stage, turn the two VR pots (zero cross, and hysterisis) ALL THE WAY TO THE LEFT! These stupid things are the number one cause of "no tach signal" at least for me. I always forget about the pots, but they'll become your best friends later if you're trying to work around an imperfect tach signal.

        Meanwhile, this past weekend I learned a neat trick. Our VR sensor was picking up a ton of noise during cranking. We blamed the starter because the noise wasn't there if we spun the engine over by hand. Swapped starters, still noisy signal. It was bad enough that our Microsquirt couldn't pick up cranking RPM reliably. The engine had perfectly good grounds and power to the starter. But, the block ground was located completely across the engine from the starter... thus we figured the current was traveling through the block and causing noise in the VR pickup. We moved the large ground wire to be right next to the starter and were rewarded with perfectly stable signal coming off the VR. I've installed hundreds of these things and just now figured that out. lol.
        www.realtuners.com - catch the RealTuners Radio Podcast on Youtube, Facebook, iTunes, and anywhere else podcasts are distributed!

        Comment


        • That's amazing on the starter ground. I'll make it a point to have that "cure" done before even trying anything on the Cadistang.

          I read in the directions to turn the VR pots all the way to the left, and tried to do that.

          They seem to have no stops? I assume I need to have something working and watch "on screen" with the laptop to see when they are all the way to the left?
          Last edited by STINEY; February 22, 2012, 06:45 AM.
          Of all the paths you take in life - make sure a few of them are dirt.

          Comment


          • There are stops,they click then clutch. Next to impossible to feel. Turn 6 turns left, then count turns right from there to adjust if needed. IIRC
            Last edited by seanm; February 22, 2012, 06:59 AM.

            Comment


            • Near impossible to tell is right. I'm not positive I've ever truely identified the stops. I played with them right after I went to a getting my tach signal from the HEI pickup coil, the turning didn't seem to mean anything to signal on mine

              Basically I wouldn't worry about it until it's installed on the car. Make sure it's accessible though, at least to start with.
              Escaped on a technicality.

              Comment


              • Nothing picture worthy to report, but I did actually feel the stop on one of them. The other, still a mystery.

                Its rather cool to me to have reached the point where we can watch the inputs from the engine simulator (stim) move the guages. Boys just about wore them out!

                Didn't get the MAP guage to move with suction. Further study is required......I'm certain the MAP is in correctly, it lines up with the precut end panels and the wording is facing up. Things would be really wonky logistically if it were installed the other way.

                Some of the guys at work want me to bring it in for them to see. I've got some interest peaked; one is a garden tractor puller who is planning on switching his turbo diesel over to run on alcohol.
                I'm thinking this would be an excellent answer to his question on how to induct the alcohol.
                Last edited by STINEY; March 2, 2012, 07:50 AM.
                Of all the paths you take in life - make sure a few of them are dirt.

                Comment


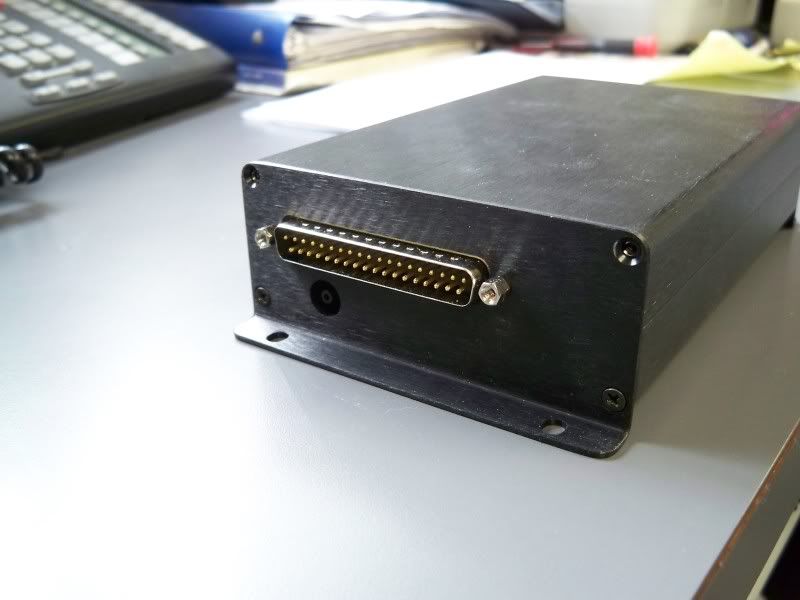
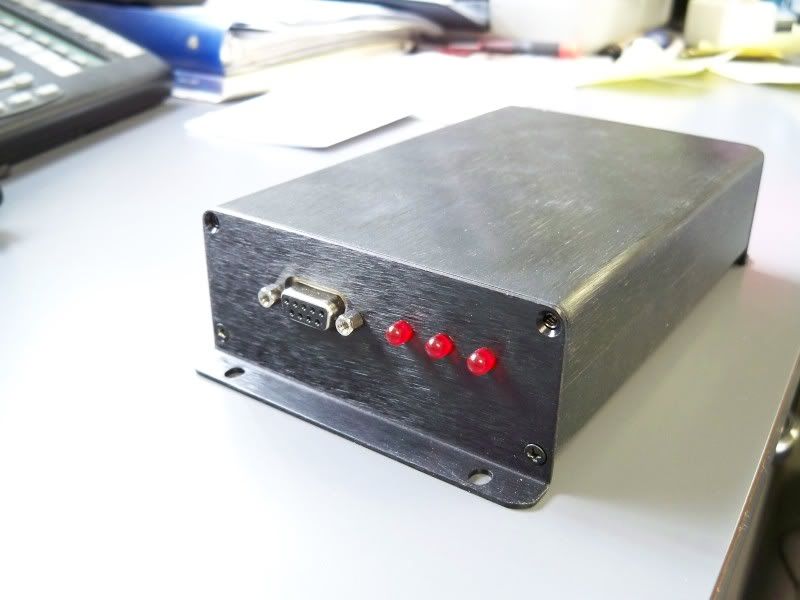
                • Finished assembly last night. Last thing I had to do was install the LEDs and the case. I put the logo on the bottom side, I like the subtle look of the all black case.

                  I did some preliminary testing, and I think it reads that the fuel pump light on the stim should be lit all the time when its on and connected? Mine definitely isn't on all the time, iirc it does come on briefly then goes out.

                  Have to do full-scale test tonight if time allows.


                  I lost the jumper from the daughterboard for burning......... darn cat grabbed it in her mouth and ran for the basement, couldn't find it anywhere. Bad cat, bad.
                  Last edited by STINEY; March 6, 2012, 08:50 AM.
                  Of all the paths you take in life - make sure a few of them are dirt.

                  Comment


                  • Hmm, the fuel pump light should remain on if it is recieving a tach signal. If you are getting rpm on the computer screen then the fuel pump light should be on.
                    Escaped on a technicality.

                    Comment


                    • Originally posted by STINEY View Post
                      Finished assembly last night. Last thing I had to do was install the LEDs and the case. I put the logo on the bottom side, I like the subtle look of the all black case.

                      I did some preliminary testing, and I think it reads that the fuel pump light on the stim should be lit all the time when its on and connected? Mine definitely isn't on all the time, iirc it does come on briefly then goes out.

                      Have to do full-scale test tonight if time allows.
                      The fuel pump, in default settings, will light for 2.0 seconds at initial power up. Then, it turns off until the tach input sees any RPM signal - this is for safety reasons.

                      If you go in and set the Priming Pulse table to "All Zeroes" (a good idea for the initial installation, to keep from flooding the engine as you test) then the fuel pump will not run at all during initial power up, only when the MS sees incoming RPM signals.

                      If you show RPM on on your simulator setup, then you should have a Fuel Pump light.
                      www.realtuners.com - catch the RealTuners Radio Podcast on Youtube, Facebook, iTunes, and anywhere else podcasts are distributed!

                      Comment


                      • The RPM is real sketchy, it shows functionality but only in a very narrow range. The dashpot has to be manipulated in the lower left position, and only through a small range, to get the guage to move. From reading the manual, I interpreted this as normal?

                        I think the fuel LED does flicker briefly when the guage moves.
                        Of all the paths you take in life - make sure a few of them are dirt.

                        Comment


                        • Do you have a JimStim or the more basic Stimulator? If JimStim, you have some configuring to do on which tach output signal it's emulating.
                          www.realtuners.com - catch the RealTuners Radio Podcast on Youtube, Facebook, iTunes, and anywhere else podcasts are distributed!

                          Comment


                          • I never liked the potentiometers that are on the JimStim. One or two of mine were flaky right out of the package, but work well enough to tell me what I need to know for testing.
                            Escaped on a technicality.

                            Comment


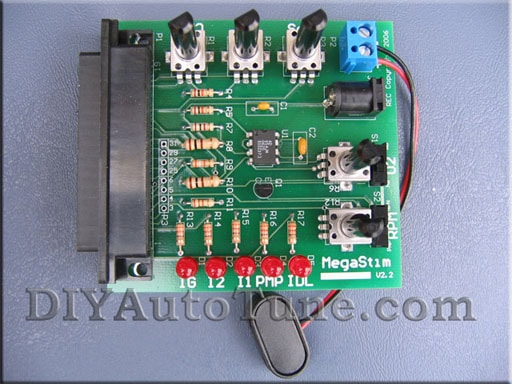
                            • I have the more basic Stim, like this one.

                              Of all the paths you take in life - make sure a few of them are dirt.

                              Comment


                              • Make sure your MS is set up for distributor mode in software, and not a 36-1 wheel then. You want to make sure you can control the RPM and keep it steady from 300-400 on up to 6000 or more.
                                www.realtuners.com - catch the RealTuners Radio Podcast on Youtube, Facebook, iTunes, and anywhere else podcasts are distributed!

                                Comment

                                Working...
                                X