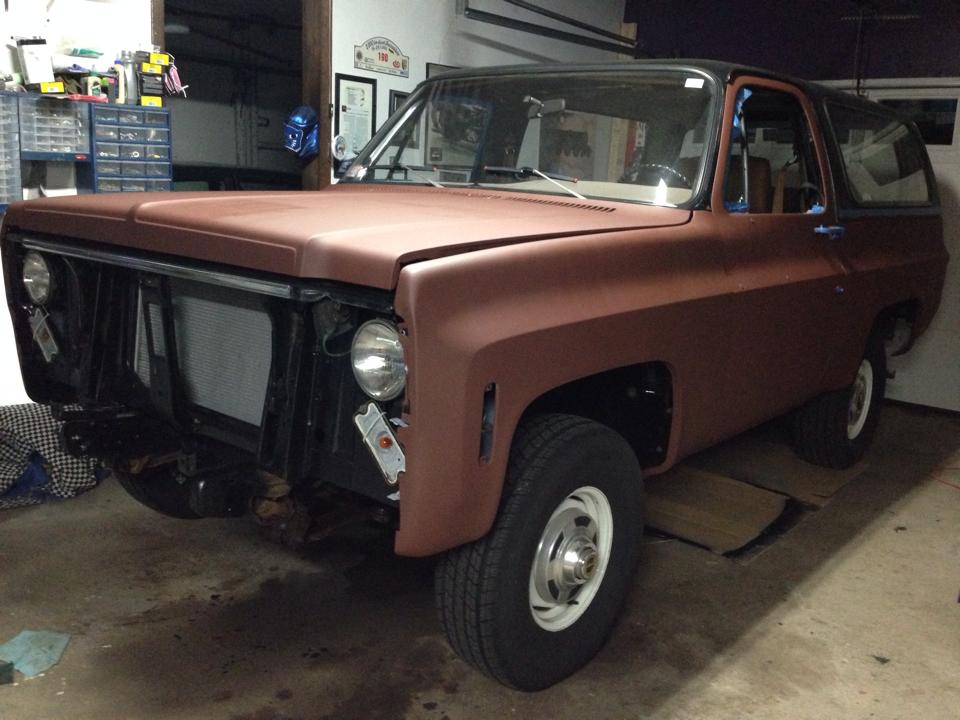
Hey, kids, it’s been a while since I’ve provided an update, but the Blazer project is coming along nicely. Using the techniques I picked up from Hot Rod, from the RickWrench’s $50 Paint Job website and some friends, I managed to get color on the truck and I’m pretty surprised at how it looks.
Regarding my timeline: Lohnes mentioned that I took a new gig at BestRide.com, and I’ve been churning out copy over there — stuff like why both Irv Rybicki and Bill Mitchell didn’t like the first gen Camaro.
But I digress: the Blazer stares me in the face every time I go out to the garage for a beer, and I get guilted into working on it every weekend.
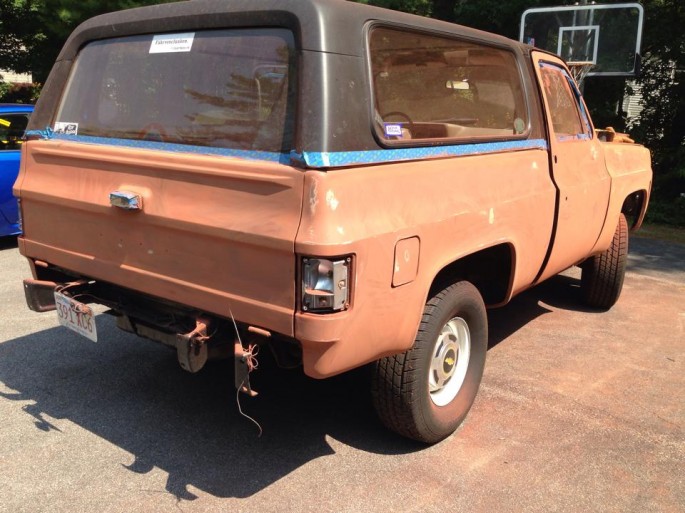
Over the month of July, I primed it using Rustoleum Stops Rust Primer — the red stuff you can get at any Lowe’s or Home Depot in America for short money. I cleaned up any bodywork issues I had while I did that. The driver’s door, which is still original to the truck, had a couple of dents in it I needed to work out. They came out pretty well and the door smoothed out acceptably.
Once I got everything pretty smooth, I went over it with Rustoleum Primer Sealer — the gray stuff. That, you’ll probably need to pick up at an auto parts store, like I did.
CAUTION: The inch and a half of dust on the top of the gallon can I bought from AutoZone should’ve been an indication that this gallon hit the shelf around the time J.R. Ewing was getting shot. I got the can home and pulled the top off and the paint had completely separated: oil on the top, solids on the bottom, settled into a plug like soft concrete at the bottom of the can. I mixed it by hand enough to get the paint moving, and then stuck my mixer in it and ran two batteries out of my cordless drill getting it smooth.
The point here is that most of the advice you read online tell you not to have the cans shaken at the paint department. Screw that. Have them shake it up, even if you need to let the bubbles settle out for a day. I’d advise that on the paint, too, and I’ll get to why in a minute.
So, primer on, I set to block sanding. I sanded for the better part of two weekends, trying to do my best at both 240 and 320. I shot a guide coat at it and fixed some of the low spots, with the exception of the two low spots in the tailgate, which had been there since the truck left the factory.
I sanded a lot.
…maybe too much.
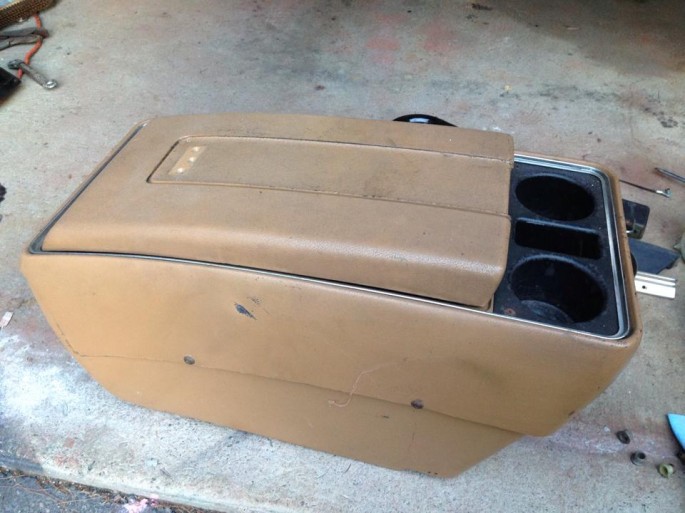
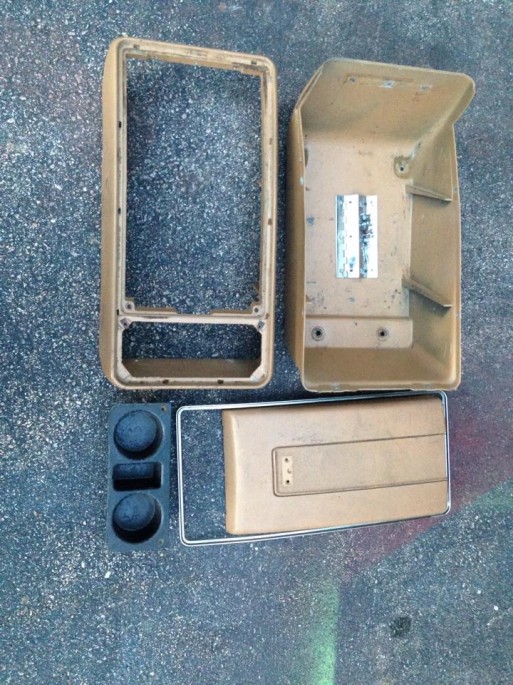
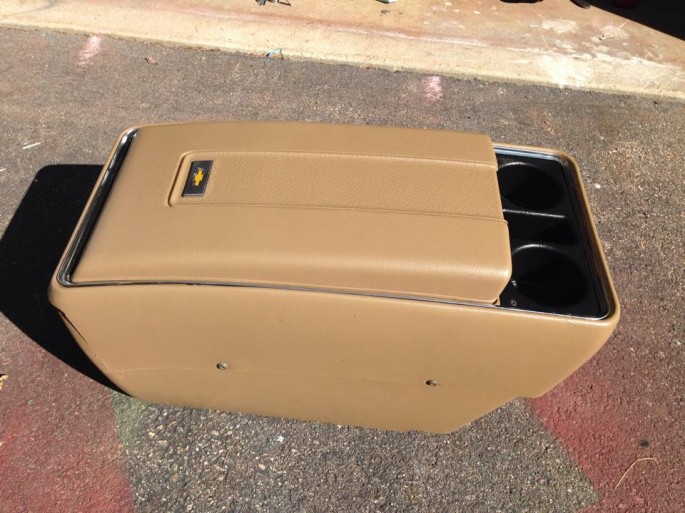
I’ll admit I was nervous about the paint at this point, so I occupied myself restoring the console with a rattle can full of SEM’s Color Coat in Saddle Tan.
I blew the truck off with air, washed it well, dried it quickly and let it air dry for half a day. Then I wiped the truck down completely with Prep-Sol before I got to work with the paint.
I used Rustoleum Gloss Black, along with a four-inch foam roller, and a number of foam brushes that I could use to get into areas that were a little too tight for the roller.
Masking? I barely did it. I masked around the door handle I left on the driver’s side, on the tailgate handle and that was it.
The basic advice is to thin the paint before you apply it, but I rolled the first three coats on full-strength, but before I applied the paint to the body, I rolled it out on a flat piece of sheet metal, almost like I was rolling out ink. The stuff’s designed to go on full strength, and I was going to wetsand between every second coat anyway, so I didn’t really see the point of putting on thin coats. I’m a novice at wetsanding and buffing, so I’d rather err on the side of thicker paint than not.
Everybody’s advice warned that the first coat looks pretty lousy, but honestly, I thought it looked pretty good. It was applied well enough that I decided to sand that to 600 before I put another two coats on.
After I sanded the orange peel out of it, I applied two more coats, within 12 hours of each other. Actually, it was the third coat I got a little concerned about. It looked pretty crappy and I was wondering if maybe I’d made a mistake by choosing this route.
That said, I wetsanded it to 800 grit, and really took my time with it until I was pretty pleased with the results. On a couple of the sharp contours, I sanded through the paint, but I actually did pretty well, and it educated me on how to stay away from those edges when I do my final course of wetsanding next week.
Once I got it down to where I was happy with it, I rolled on two more coats. This time, I thinned the paint out, though. I mixed a pint or so of paint with mineral spirits. I can’t tell you the exact ratio, but I can tell you what I did to get there.
I poured some mineral spirits in the mixing jar with the paint and stirred it relentlessly until I was convinced it was completely mixed. Then I pulled the mixing stick out of the jar and counted the seconds until the paint coming off the stick went from a solid stream to drips. I was looking for somewhere around four seconds.
That tip came from this guy on YouTube and the advice was invaluable. Please ignore the awful soundtrack.
By thinning to that point, the paint flows out really nicely, but still has enough viscosity to hang onto the vertical surfaces. Any thinner and it’s going to be a runny mess.
Rolling out is pretty much like rolling latex on your bathroom walls. With the thinner, any of the roller marks simply disappeared in a few seconds. The same goes for any air bubbles in the paint, which everyone seems to be paranoid about. They disappear quickly.
The technique I mentioned with the foam brush is this: Don’t try to brush paint on with the foam brushes. Dab it in place. It generates a lot of air bubbles, but they disappear instantly.
At this point, I’ve got plenty of paint on it, and I’m going to start the final wetsand process, going from 1000 to 1500 to 2000. More on that in the coming weeks.


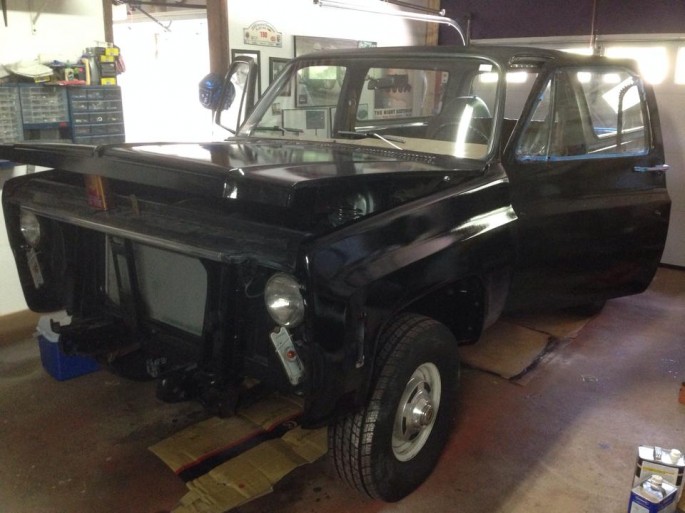
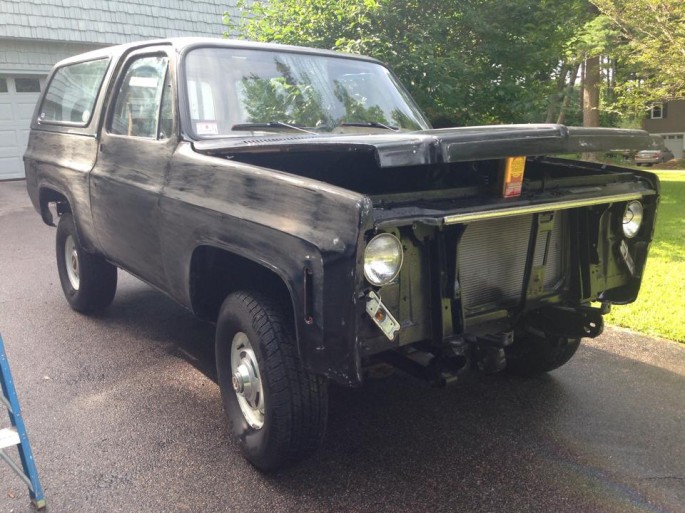
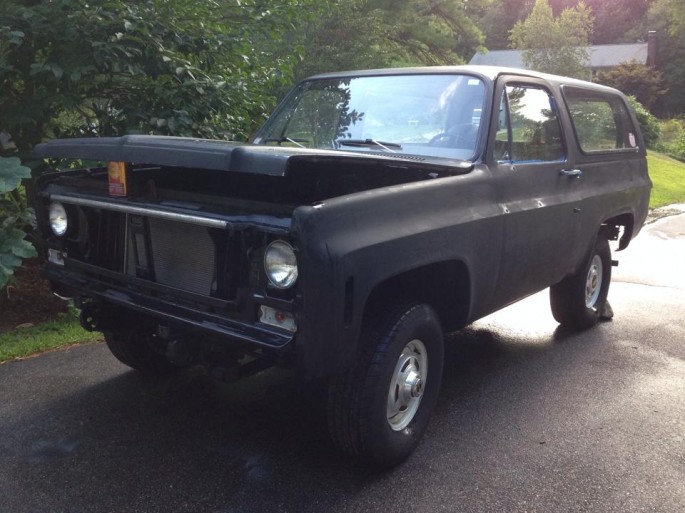
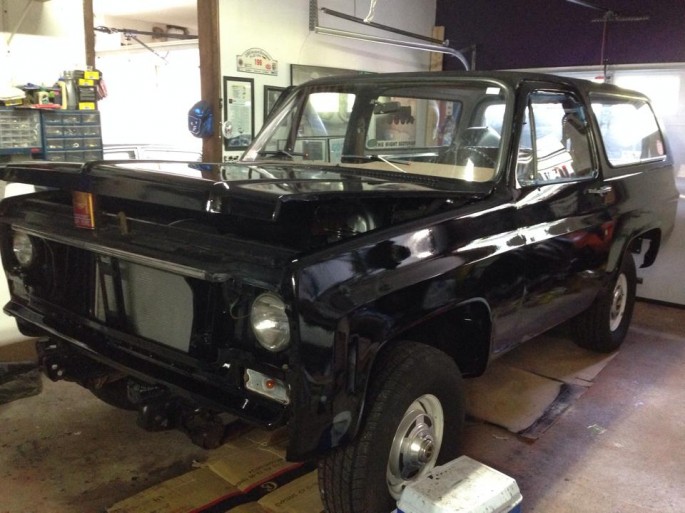


Looks pretty good already.
Much better then the spray job I did on my mother’s car at school. Then again, you probably put more paint on that thing on your first coat then I did in total!
haha his paint job looks way better than the one i did on my sisters car.
Been waiting for an update…Looks Good!
I wouldn’t sand it – it looks great just like that.
Black is really unforgiving, been there done that – I re-painted a Grand National.
The second time I painted a car in my garage it was white!
so wait, this might sound dumb, but how i understood is he used a paint roller instead of a production gun?
Im unclear, you sprayed the primer, then brushed the paint? We always use rustoleum satin and just add (mineral spirits, i think, it says on the can..) to it until it sprays nice out of your (insert cheap make of gun here, I use $20 harbor frieght guns). Seems like a lot less effort than brushing and dabbing..
Kick ass!
I know huh!!
Winning!
Looking pretty good – so you’re using the Moparts paint your car for $50 idea?
I used to be really into that, but now I’ve been thinking about Plastidipping my wagon instead.