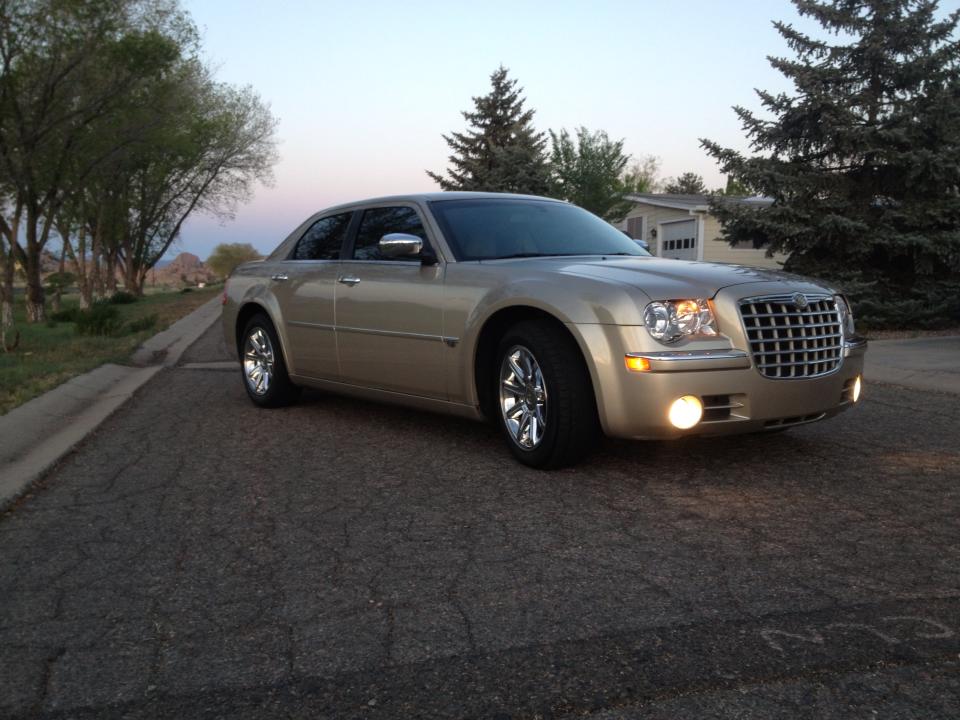
The problems for the Angry Grandpa Chrysler started on the last day of the PRI show. As Lohnes and I were getting our cars warmed up in the morning before heading over to the convention center, two very similar Chrysler products were having two very different mornings. His rental 5.7L Dodge Challenger was thumping along at idle, nothing wrong. AG, on the other hand, was suddenly in full-panic mode. No, wait a minute…that was the owner. The oil pressure had read flat zero, the check-engine light was going berserk and my heart was in my throat. After a bit of panicking and more than a few minutes of troubleshooting, it was determined that my oil pressure sender had cracked just shy of 150,000 miles, spitting enough oil to not read on the dipstick and not sending a pressure signal. I figured that I had dodged a bullet, so with fresh oil poured in and a friend following me home, I limped the car back home to Bowling Green, changed out the sensor, and was all ready to start driving the car again. That’s when things got worse…not only was I not getting a pressure signal, now I wasn’t getting an oil temperature signal and the computer was having a fit. Another teardown revealed that the female connectors for both sensors no longer locked in place, their locking tabs broken clean off. There was no way that a signal was going to the ECM.
That meant that I would have to get new female connector ends and splice them onto the existing wiring harness. No issue, right? Wrong. Because the 300C is over ten years old, supplies are starting to dry up at dealerships and in the case of one connector, was discontinued by the supplier. The reason why Angry Grandpa spent about a month parked in mothballs was because I was hunting down those connector ends…junkyards proved fruitless and eventually, I had to turn to some pros in the business. Thanks to Andy at EastCoastMoparts.com, I was able to track down the discontinued item and my local dealership was able to pull in the other. They were not cheap, but electrical hardware isn’t something to cheap out on.
Many people cringe at the idea of rewiring something. Lucky for me, electrical work isn’t all that bad. For years part of my job as a helicopter technician involved connector setups in the same vein as these. Compared to pinning cannon plugs for a Kiowa, the connectors for the Chrysler were a breeze. Here’s how the work went down in the shop…nothing is too complicated, the hardest part of the job is removing the alternator to get to both connectors and the most specialized tool I broke out was a pair of crimping pliers that you can pick up from pretty much any hardware store or auto parts store. All in all, including breaks to warm up (it didn’t break twenty degrees outside today) the whole process took me two hours, from the moment I started ripping off the belly pans to the moment I fired off the car and verified that there was no more check engine light…or pig-rich idle.
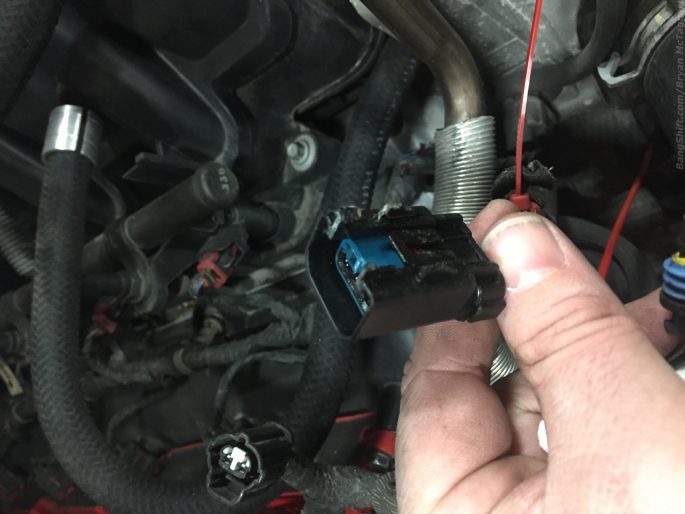
This is the oil pressure connector. Where you are seeing a lot of blue plastic is where the catch clip is supposed to be. You can also see a lot of the burned oil that made it’s way in there when the original sensor failed and sprayed like a cut aorta.
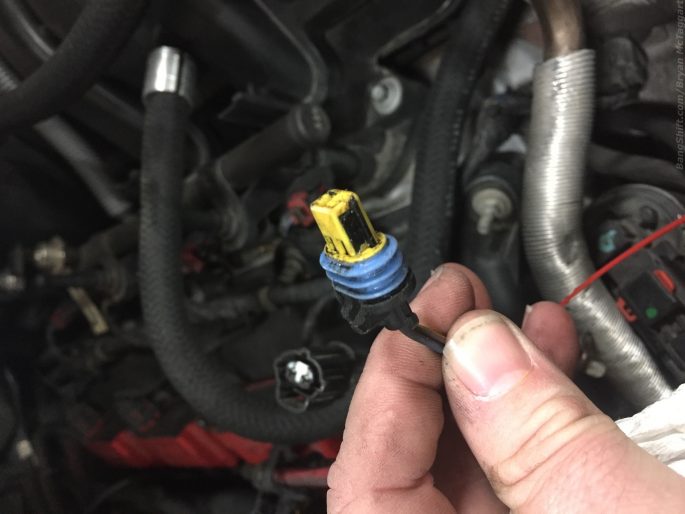
And here is the oil temperature sensor connector. You can see where the clip broke off just behind the blue weatherproofing section.
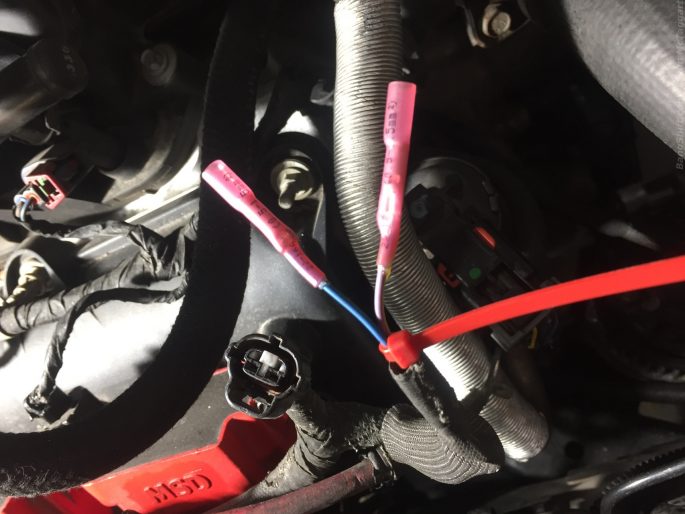
The Chrysler kits came with alligator-style crimp joins. I personally do not like them, so instead I utilized butt connectors that have heat-shrink tubing on them. They’re dirt-cheap and work very well. The zip tie is to hold back the wire sleeving while I worked.
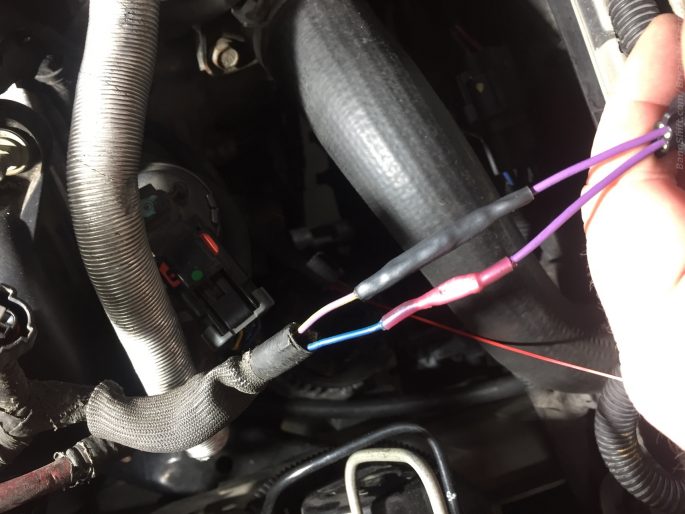
An additional section of heat-shrink tubing per wire came with the Chrysler kits. While the butt connector’s heat-shrink will suffice, adding another layer that extends past the connector’s surface can’t hurt. This is the oil temperature sensor connector, and the hardest part of the job was making sure you had the right wire going to the right terminal point. Nothing to it.
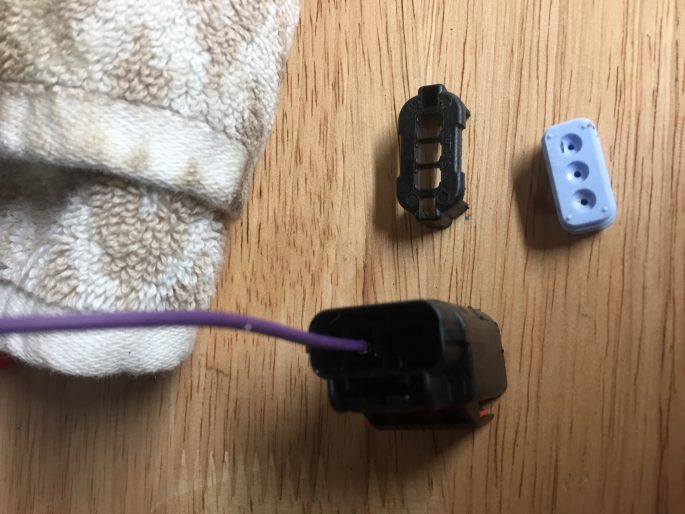
The oil pressure sensor’s plug was a bit more involved. Chrysler/FCA has used this style of plug in several different ways, so this was shipped as a build-it-yourself kit with two different size wires. In the case of our Chrysler, all three leads were 16-gauge wires. To build the connector, you pop off the retainer, remove the weather-resistant filler and install the leads in place, using a plastic push-pin (or, in my case, a flat-bladed jeweler’s screwdriver) to click them into their spot. Then you just thread the wires through the weather-resistant piece, slide it back into place, thread the wires through the clip and connect it all together.
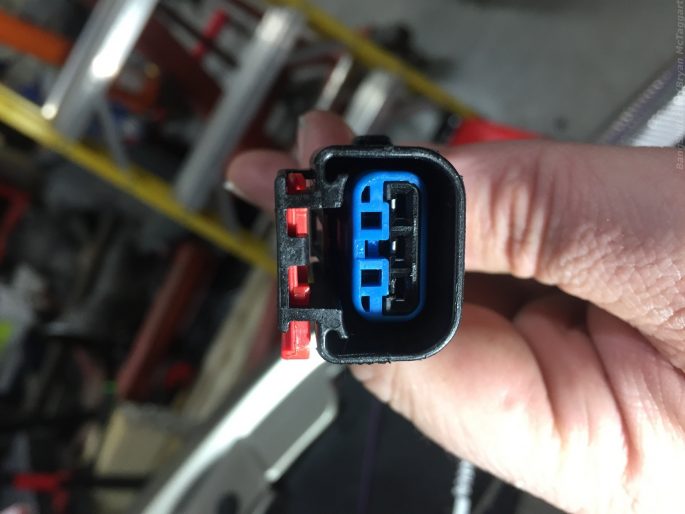
Always make sure that you have the wire leads seated properly. If you aren’t sure, look at what you took off of the car. In this case, there was a tab in the lead that was at the “top” (red side) of the plug and the leads seated with a nice “click”. If you can pull the lead right back out with little force, it didn’t seat properly.
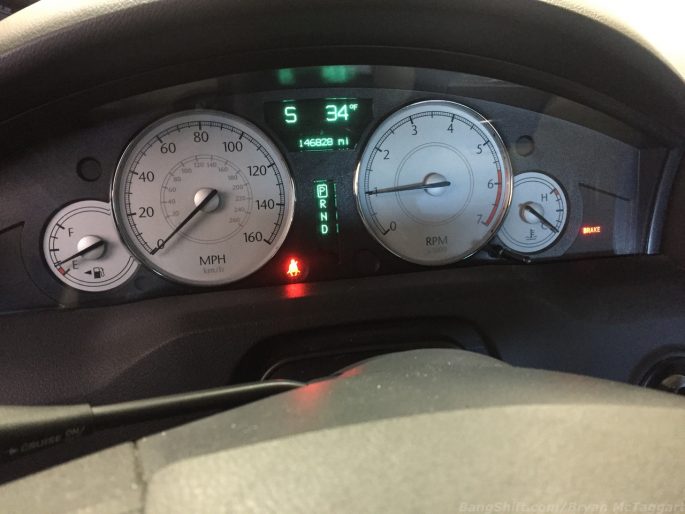
With everything put together and the serpentine belt re-routed, Angry Grandpa produced a first-time GO result. The Trinity monitor/programmer, with it’s ability to read codes, backed up the missing check engine light: pressure and temperature was back to normal. Once the snow and ice start to melt away, we will road test to make sure that everything is good underhood.




Anchor brand connectors can be had with hot melt glue in them or I sometimes use silicone sealant in the heat shrink when working on my boat. Modern connectors can be a pain.
Solder is your friend. I solder all my crimps.