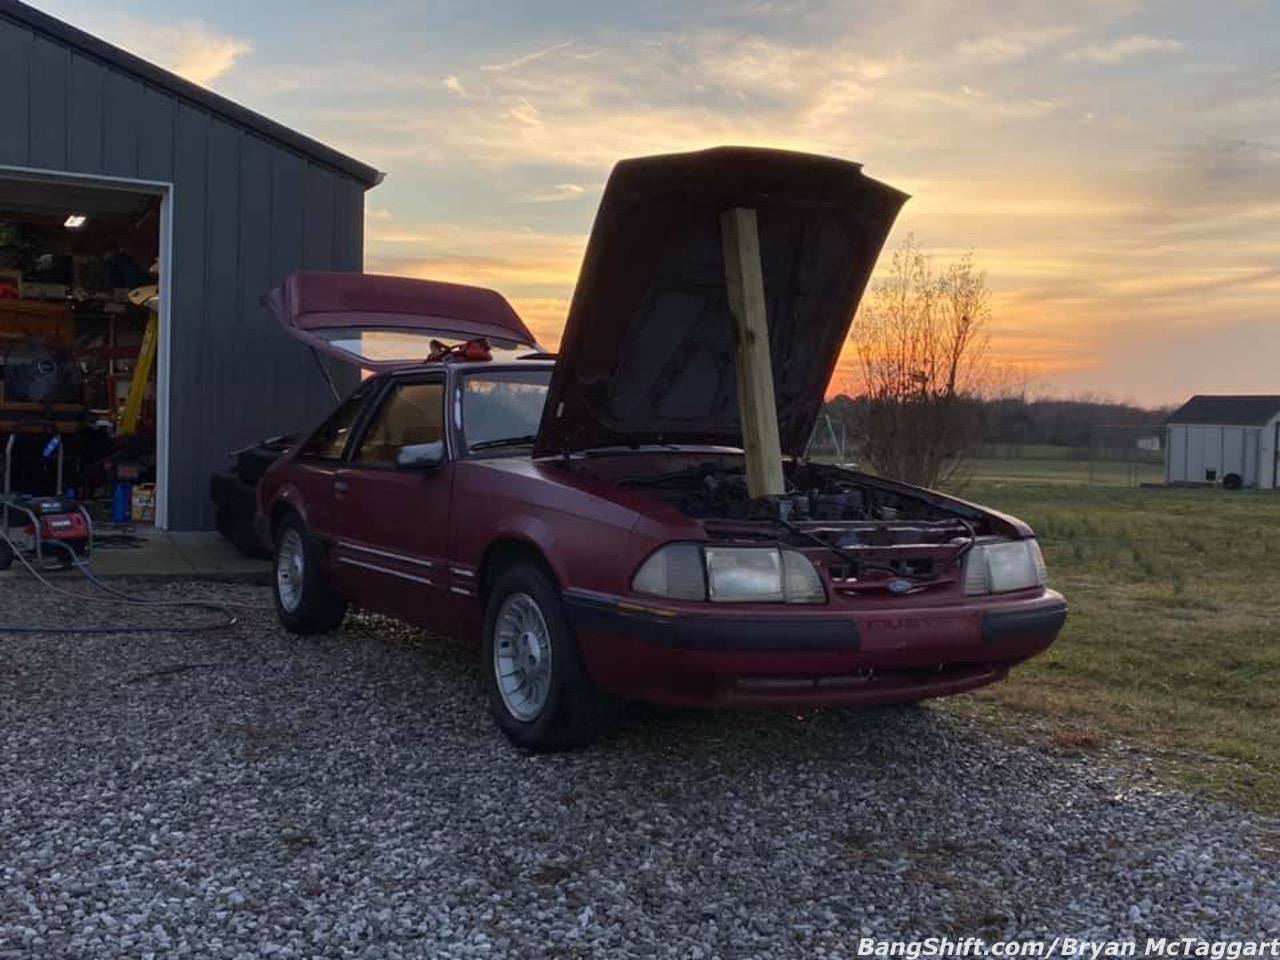
The fun part of doing a project car build with a vehicle purchased in early January is the weather. It sucks out loud…you hope and pray for a half-decent day so that you can get some stuff done. Luckily, I’ve had a few of those days since I dragged home the 1989 Ford Mustang LX that is our in-house cheap-car build. With precious little money spent and plenty of options to spend it, I decided that the smart money would be better spent on not spending one red cent until I had things cleaned up inside and had completely assessed one end or another of the car as a starting point for work. I’ve spent too much time working on crap cars, at least with this one I want to have my ducks in a row and quacking before the credit card goes flying. Follow along in the pictures as I explain what all has been done to the car since it’s introduction:
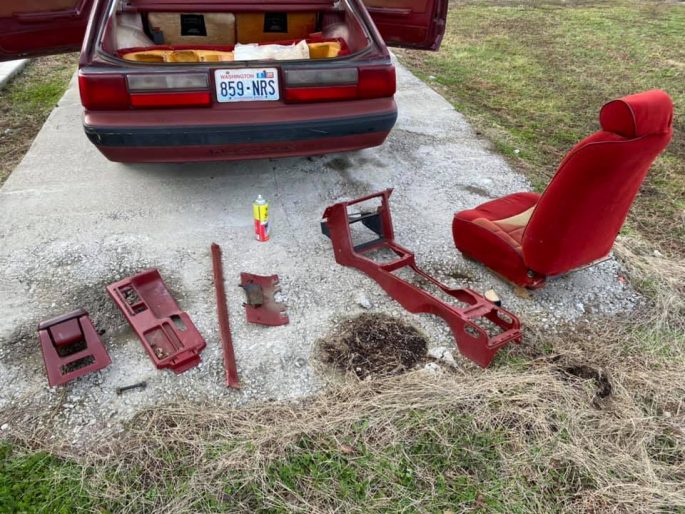
In order for anything to get done inside of the Mustang, the seats and the center console needed to come out. While I was at it, I gathered up all of the loose plastic trim pieces and washed each one while I was disassembling everything. The console has a crack near the radio slot and some broken plastic near the E-brake, but isn’t as bad as some I’ve seen before. The seats have been under water, but they aren’t too bad to use for the time being. I will hit those with a steam cleaner later, just to be sure.

Um…yeah. I had no qualms about ditching this mess whatsoever. I’ll replace it further on down the road.
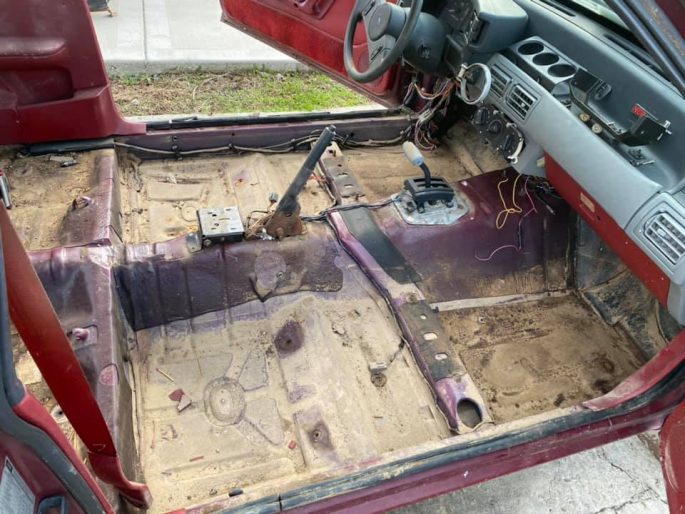
Ugh..this is where my pressure washer got a workout. I popped all of the rubber drain plugs and the two big ports in the rear footwells and went to town. Afterwards, I replaced all of the reusable drain plugs, wiped down the plastics that are still in place and all of the glass, and replaced the floor port panels. I need to order more rubber plugs…

I didn’t expect that finding a manual driver’s side mirror for a 1989 Mustang would be so difficult. Maybe because this probably isn’t a 1989 door…but whatever. I’m waiting to see if Thunderhead289 managed to save one off of his “Rotstang” project.

A request, please: can someone with a 1987-89 Fox body take a photo to show me how the MFING hood latch is supposed to go? Either the cable is too short or there’s something wrong here. Thanks in advance.
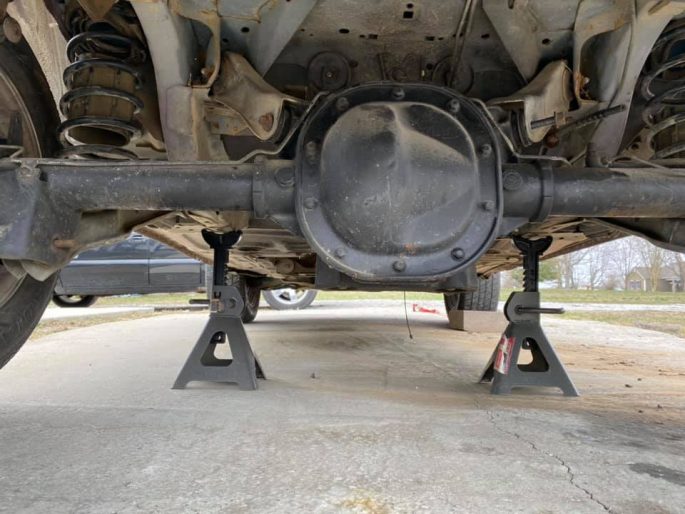
The rear end is a happy story: 8.8 rear with quad shock mounts, 3.55 gears, and Traction-Lock. This makes me very happy. I need to drop the pan and check fluid and condition, but for now I’ll put this in the “win” column.
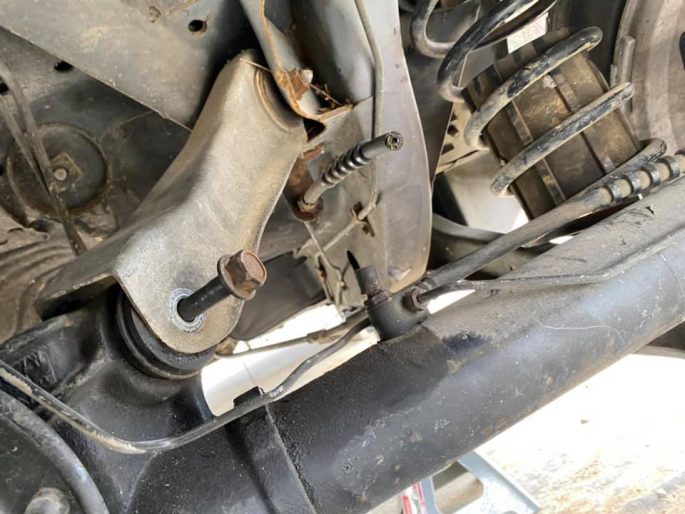
I knew before picking this car up that the rear axle was slammed into the car hastily so it could be loaded up quickly. Bolts were present…but nuts weren’t. There was only one on the control arms, so I ordered a hardware kit and moved on, and installed and torqued everything down when they arrived.
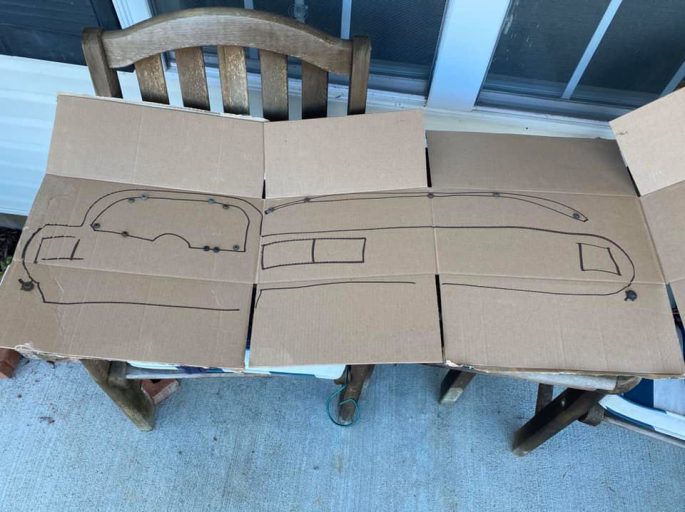
Who knew art class was going to be good for something? Unless you have a perfect memory, a long-term project with many fasteners can benefit from a layout board like this, where you can put hardware in for easy identification later. And since that is my best attempt at a Fox dashboard…

…I decided to take what seems to be the most dreaded task head-on, the heater core. It’s a $600 car I want to drive on the road, the least I can do is bite the bullet and do the heater core while I’ve got the rest of the interior out. Using that line of thinking, I decided to remove the whole HVAC box so I could do the A/C evaporator, too. I’m not forking over for a full A/C kit now, but later on down the road, I might, and I do NOT want to do this again.
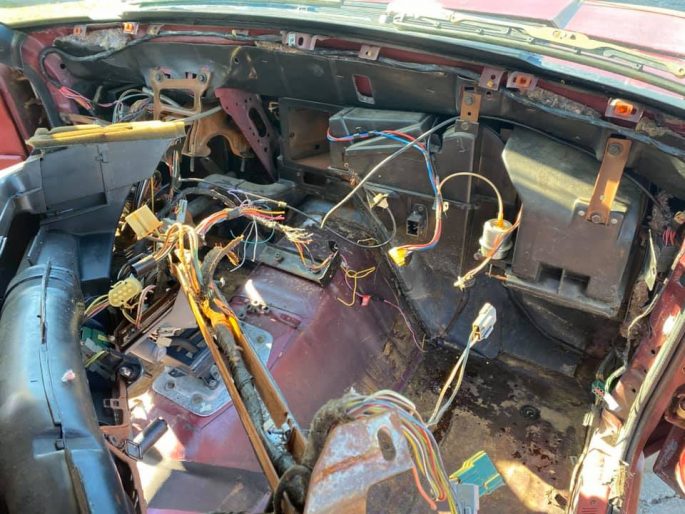
For all of the hype about how the heater core is such a bitch of a job, I’m honestly let down. Other than keeping track of hardware and gutting the seats and console, this isn’t that bad. I didn’t even break the speaker grilles during removal, nor did I have to hire a midget to get the bolts that run along the top edge of the dash next to the windshield.
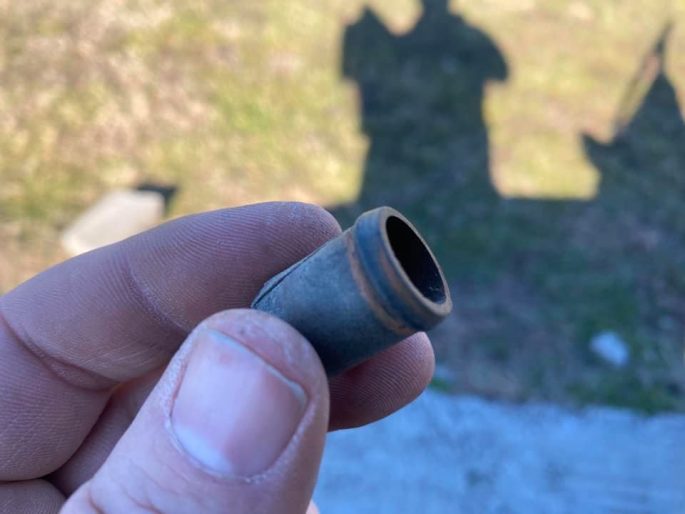
Both heater outlets had hoses on them, so I simply grabbed the razor knife known as “Ol’ Faithful” and started hacking them off. In the input hose was the end to a heater core of the past…not the one that was in the car, but one before that.

The HVAC box free from the car, firewall side out. The big square on top is where the heater core is, the curved cylindrical section to the immediate left is the A/C evaporator’s location, and left of that is the squirrel cage.

It *looks* solid, but it isn’t. The heater core that was in the car had been leaking from the bottom (left) about the center of the core. Once you get the top cover off, it’s a simple matter of removing the old and installing the new. And as I’ve been advised, test your new core out before you button everything back up. You’ll be really pissed if the new system leaks, won’t you?
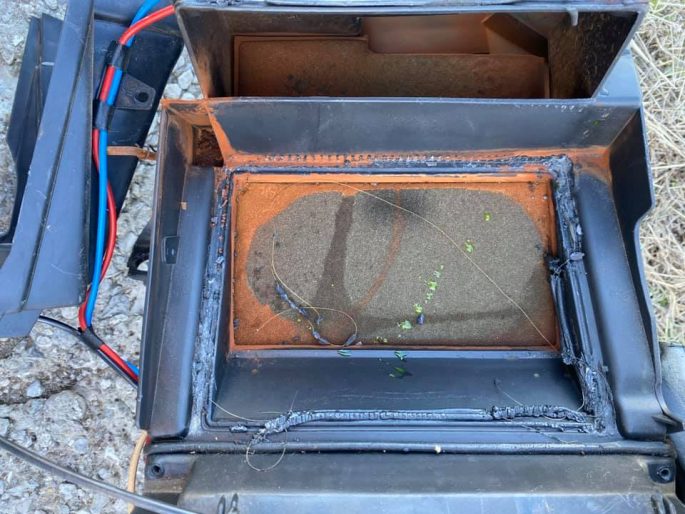
….ew. The whole box is due for a scrubbing.

There was a lot more garbage in the blower motor area than what you see here, but it fell out when I took the motor out. The blower motor bench-tested just fine, so it’ll just be cleaned and reinstalled.
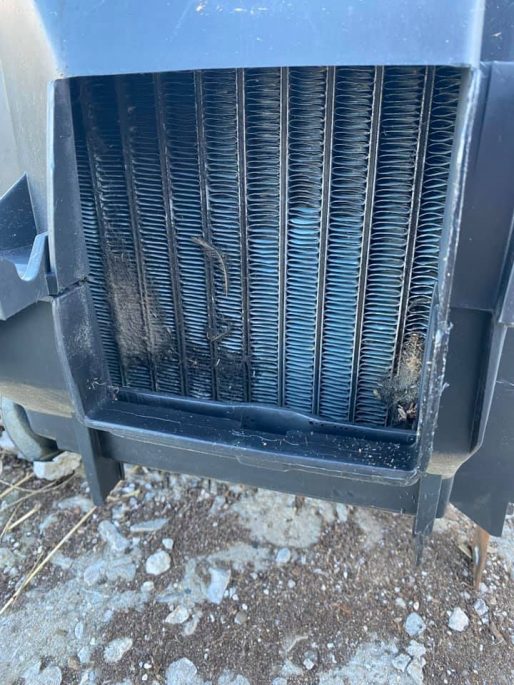
This is the A/C Evaporator. It doesn’t look good, does it? Unlike the heater core, there isn’t really an access door to utilize to change the evaporator out. You’ll see the answer to that problem in the next update.
Previous Rough Start budget left: $4,383
Rear control arm nuts, shipped: $27.98
Hood hinge kit, heater core, and A/C evaporator, shipped: $162.57
Remaining Rough Start budget: $4,192.45




It takes guts to rip into that das like that. Well done!
While you have the center console out, the lid for the ashtray has a return spring that breaks a lot. Only way to repair it is to take the whole console out, so check it while you’re in there. No big deal if it’s broken, just annoying when it stays open and flops around when driven in anger.
If you ever drop the pan on the trans, do the J-mod. You’ll bark second gear.
When you crack open the pumpkin, swap the clutches in the dif. They come from the factory disc/clutch/disc disc/clutch/disc. If you go disc/clutch/disc/clutch/disc you get better bite.
If it is in your budget, get the replacement console top that has cup holders. You wont have to deal with a dead ashtray door anymore, and you won’t have to wedge your drink between the parking brake handle and the passenger seat.