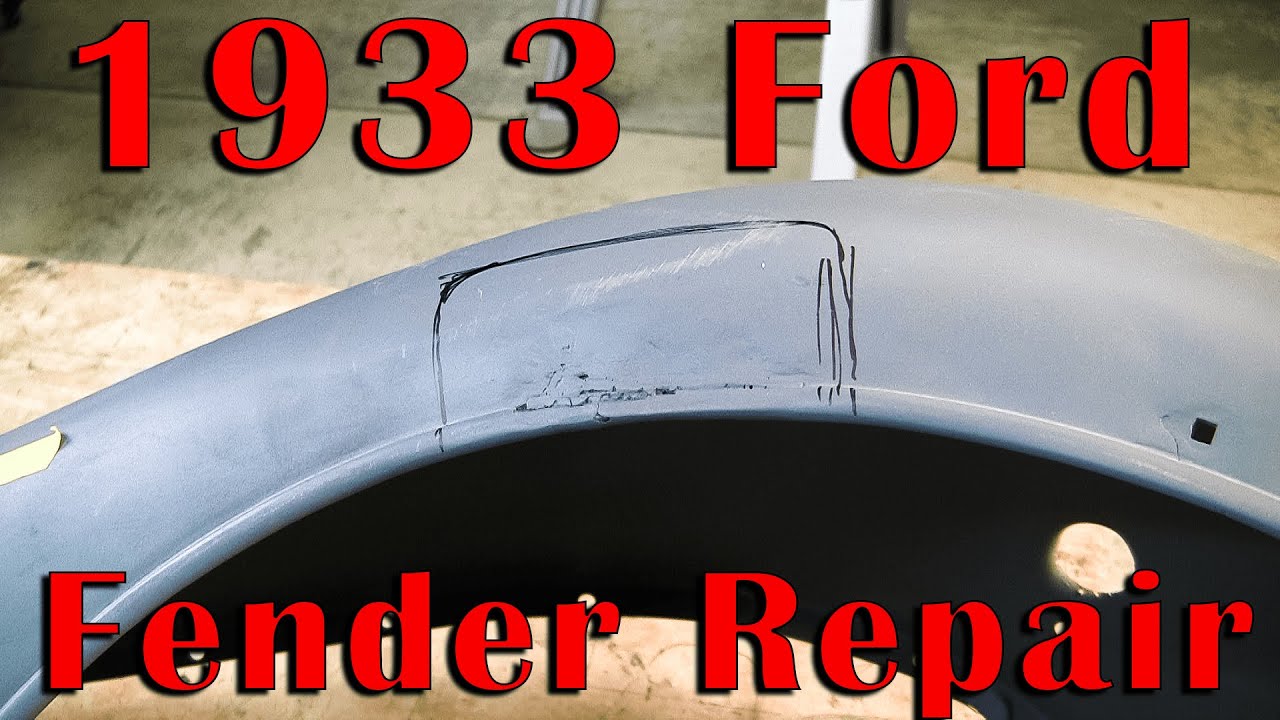
With rare exceptions, fenders from 1920s and 1930s cars are going to have some old repairs that have been done to them. After all, they are 90-100 years old and have been living who knows what kind of life. I’ve personally had to repair several sets of old Ford fenders that have had previous repairs like the ones on these two and can tell you that the old sheet metal, when gas welded and patched especially, can be hard to move around. In this video from ProShaper Workshop you’ll see the right way to make these almost new again. Check it out.
Video Description:
1933 Ford Fender Repair I hope this intrigues all of our viewers. We wanted to finish the Alfa fender but we have something more important to do and we have a limited time to finish it. So here we have 2 1933 Ford Fenders which were repaired at some point but as you can see, the repair needs to be repaired. There is a patch that was put on the inside of the fender overlapping the original skin. On the front side of the fender we can see a lot of holes and micro dents. To fix this Wray starts out with a gauge showing the opening of the fender and comparing it to the fender that needs the most work. The gauge doesn’t fit the second fender as it seems the front has pushed the fender in. Now that we measured everything it’s time to make a flexible shape pattern and gauges. Wray explains how he does it, which is a nice change for me as I just get to film him doing it. Once the flexible shape pattern has been made, Wray compares it to the fender that needs work and it is confirmed that they don’t match. To see what’s going on with the bead, Wray uses his shrinker / stretcher and a 1” strip of sheet metal and stretches it to match the bead. Again, when we compare it to the other fender we see that the bead dips down. Tomorrow we will cut out the rotted section of the fender and replace it with a patch panel to make both fenders match.


