


(By Robert Willliams) – With my departure date for Power Tour set for tomorrow as I write this, the Weapon X project is still behind schedule, but ground is being made up.
With the rearend issues in the rear view, it was time to tackle other parts of the chassis, like the steering and roll cage. First thing I did was to take out the Nova’s heavy power steering box. Since my Pork Chop Camaro now has a rack & pinion (courtesy of Dan Neumann Race Cars), I figured I could use its manual steering box for s imple swap out. Easy, right? WRONG!
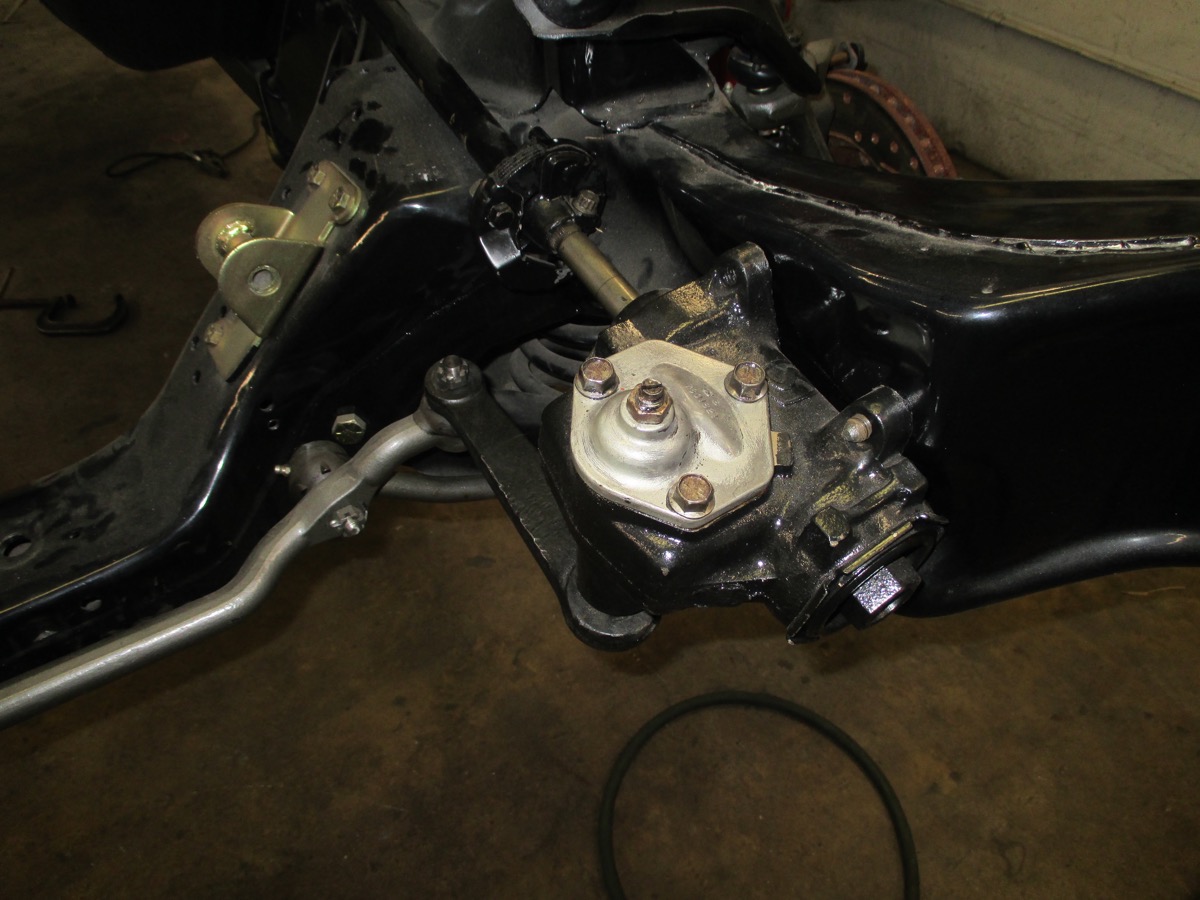
While 4th generation X-bodies share a lot of components with 2nd generation F-bodies, this was one of those times where things weren’t a direct swap. The problem was the intermediate shaft, while the same length, didn’t have the same spline count as the steering box. The solution lay over in the next bay, in the form of another project vehicle (which I hope to share with the readers of Bangshift some time after Drag Week), a ’65 El Camino, given the rather unoriginal name “Hell Camino” ( I know, I know!).
The El Camino had a “borrowed” manual steering box that was the old box from my ’70 Chevelle (that has a rack&pinion in it currently), so I simply “borrowed” it for the Nova.. and here’s where things get a little “interesting”. While the steering box now bolted up, and fit the intermediate shaft, the Nova’s power steering Pitman arm wouldn’t work! However, Pork Chop’s Pitman arm worked and fit just fine. So.. we have three different vehicles now donating parts for Weapon X!
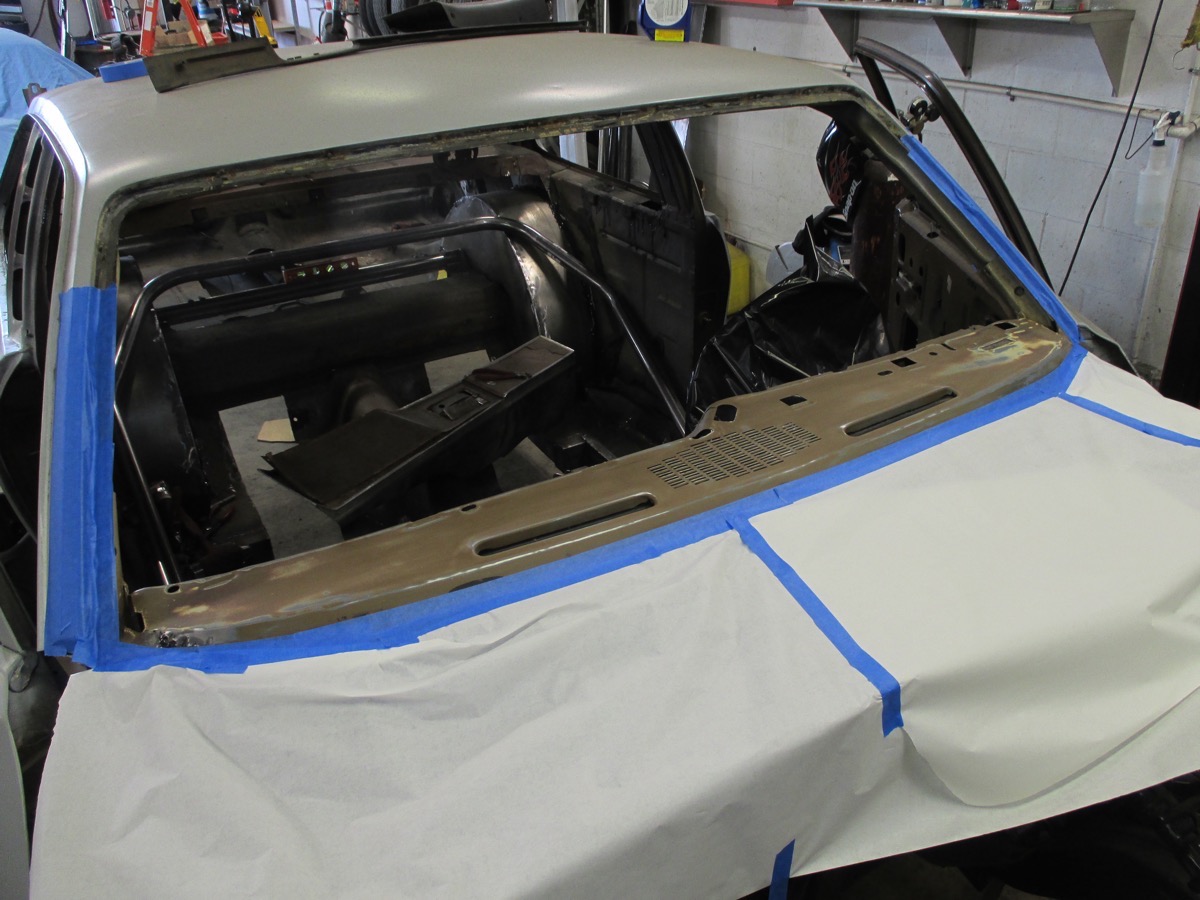
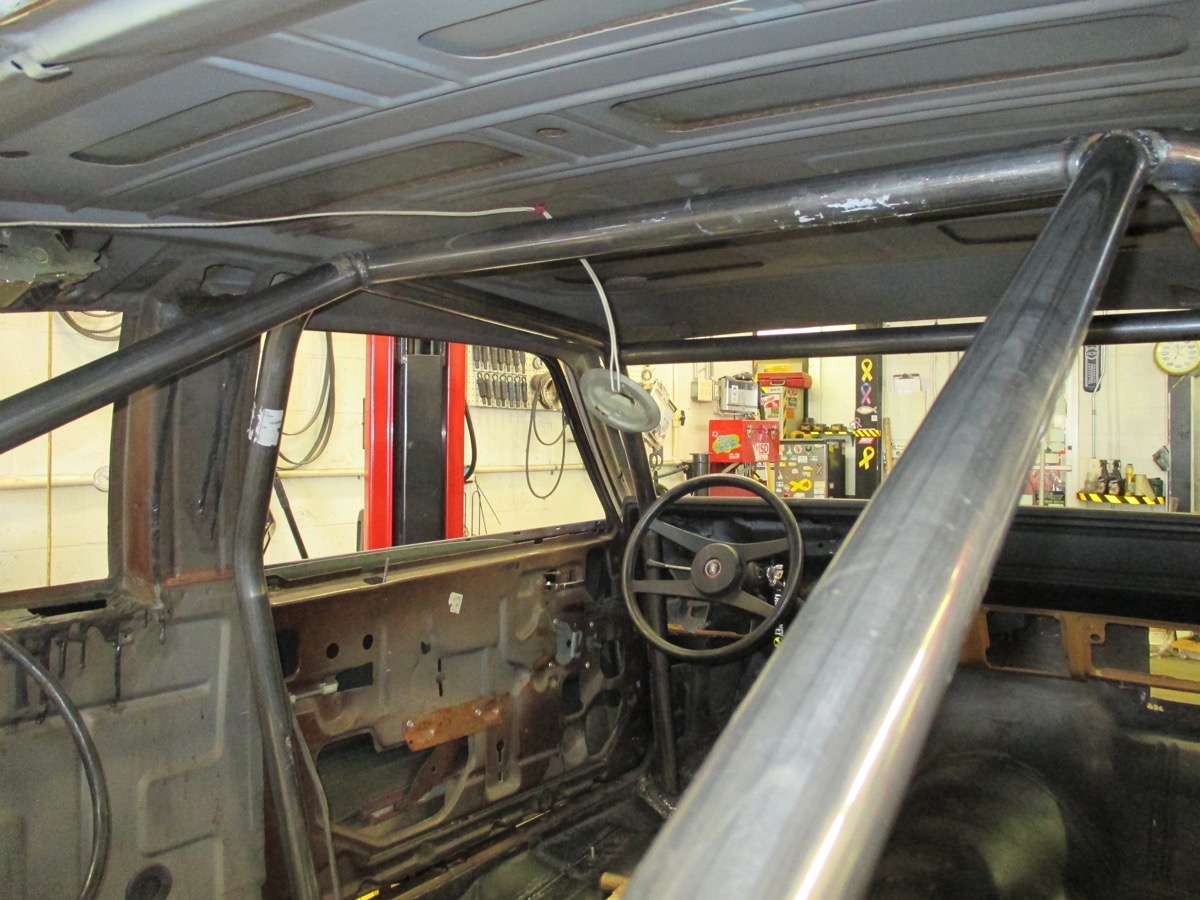
With the manual steering conversion complete, it was now time to fit the Chassisworks roll cage, or so I thought.. I had the floor plates positioned and welded in to mount the main hoop, and I started in on the cage. I laid the main hoop back about 8 degrees, to follow the line of the B-pillar, and went to start fitting the front side bars. Here’s where another problem popped up. While the kit I received was for a 75-79 nova, it also fits 68-74 models, so it’s not a “custom fit” operation. And the problem was, the side bars were designed to fit in front of the dash, rather than fitting behind it (meaning it fits further back towards the driver, rather than you cut holes in the dash steel and slip the bars through). So.. I had to stop, and move my dash refinishing up in the schedule, as it would be a major PITA to try and spray it with bars in the way!
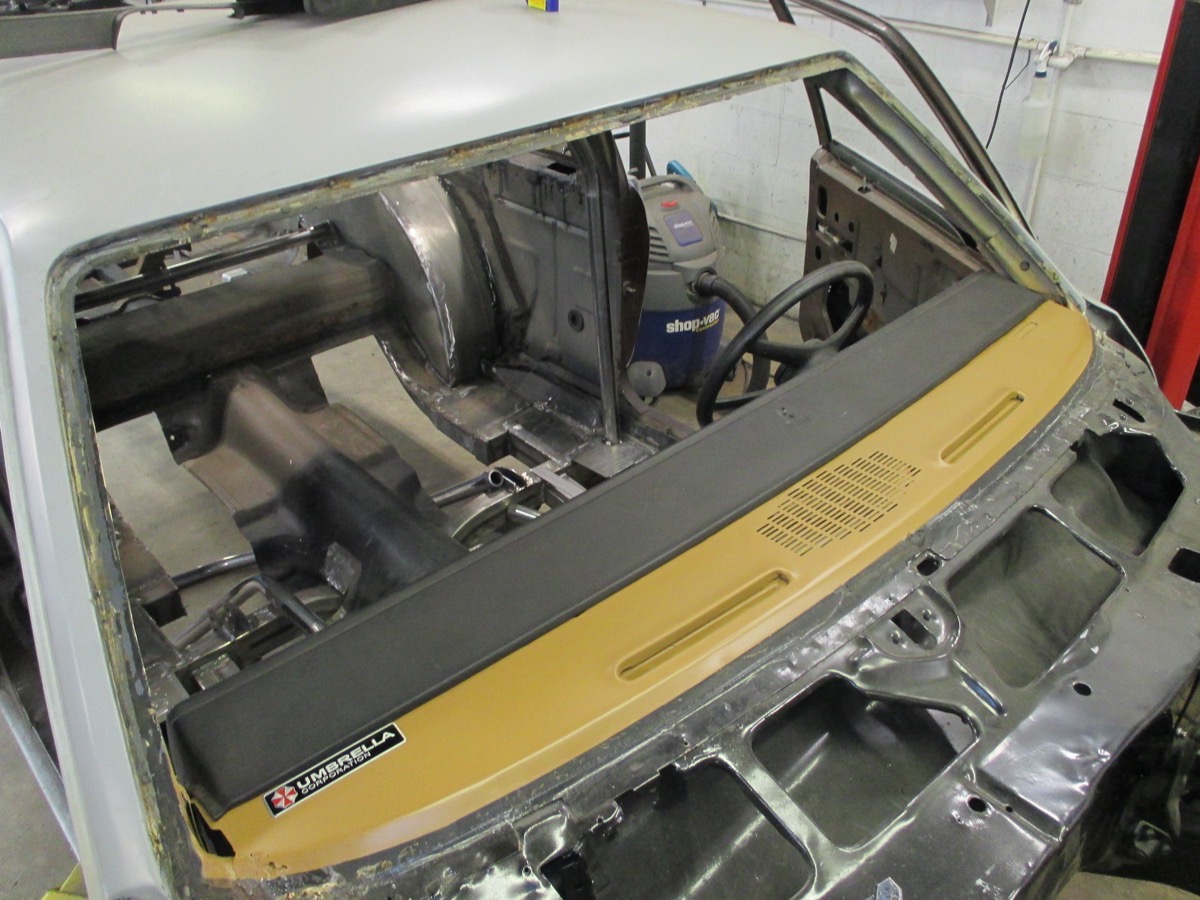
I did a “rattle can resto” on the steel dash structure (using professional quality SEM products), and changed the dash from the ugly medium brown to Camel Tan (an F-body interior color), and then installed the dash pad, because once again, it would be near impossible to put it in after the cage install.
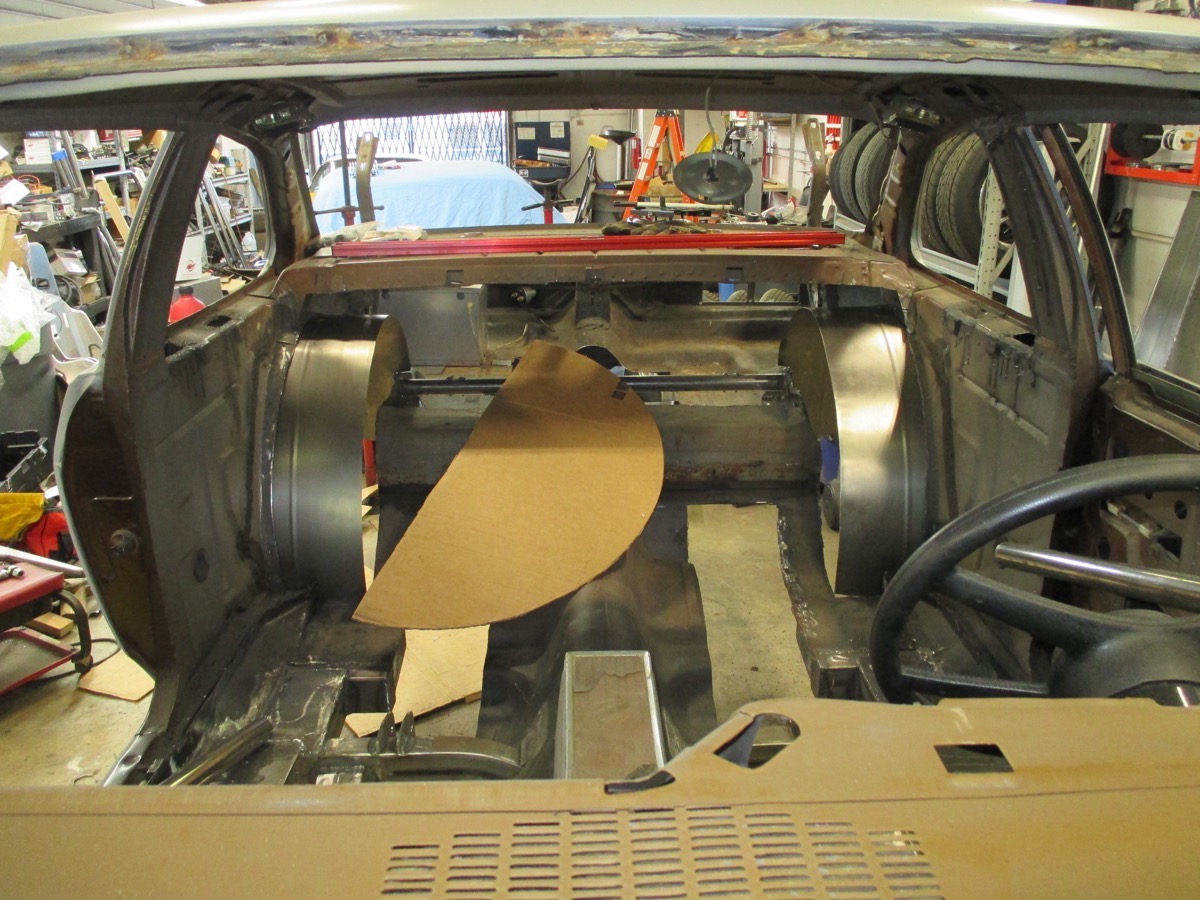
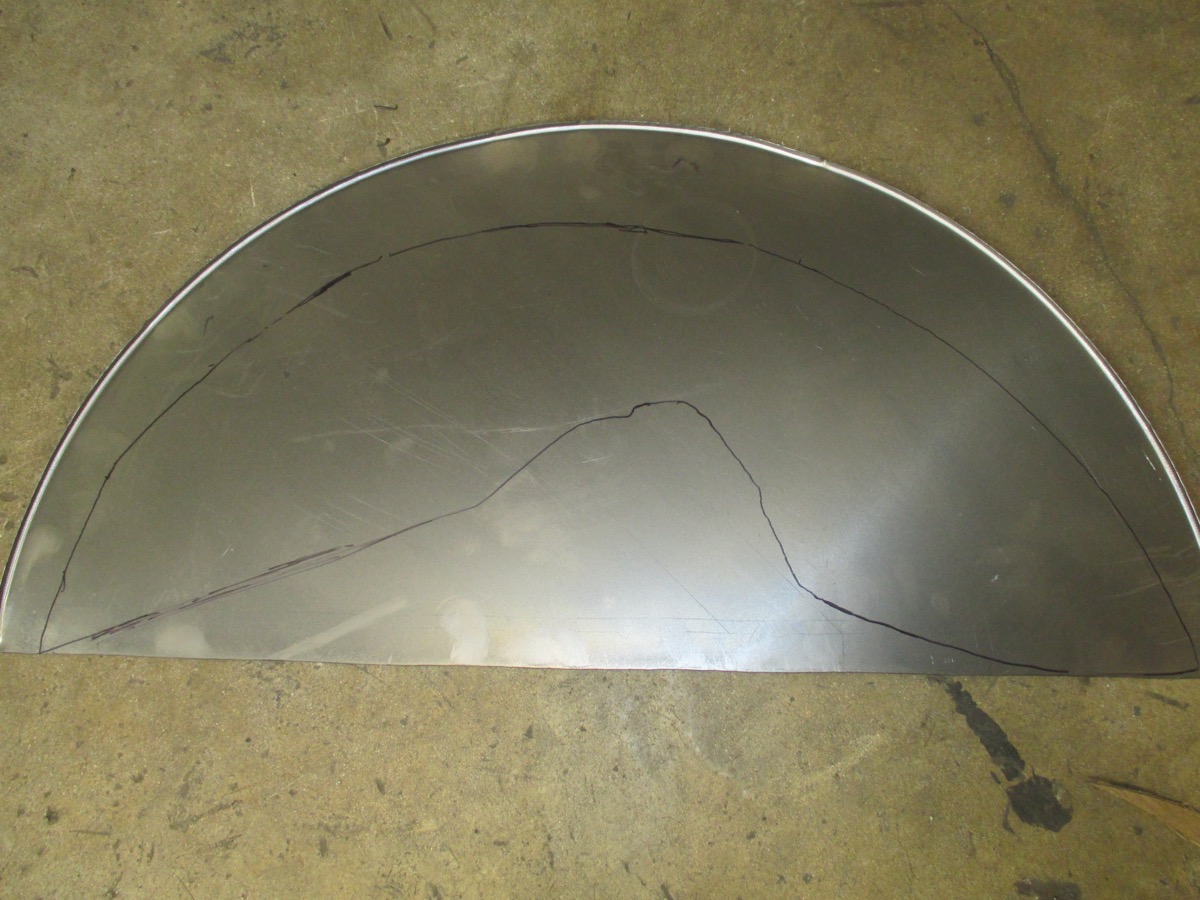
With this out of the way, it was time to start fitting bars.. and then i was hit with another realization: I still had the minitubs to complete, and it would be a lot easier to fit cage tubes around the wheelwells, rather than the other way around! (NOTE! Do youself a favor andtry to have only ONE project going, instead of multiple ones.. your brain won’t get overloaded!) Now there are minitub kits out there, but none for 4th gen X-bodies (of course!), and the only alternative for me was to modify a pair of conventional “big tire” wheel tubs.
Since the rear frame rails were already trimmed back, it was a (“relatively”) simple job to make some cardboard wheelwell templates and transfer the pattern to the steel tubs. Unfortunately, even using the smallest tubs available, they were still way too big, so I had to cut them down to fit the Nova’s wheelhouses. This meant the elimination of the Pittsburgh Seam in each tub. So.. once the tubes were Cleco’d into position, the hoop and sides were joined by stitch welding the joint together, and that’s Tedious with a capital “T”! I won’t bore you with any more construction details, but suffice to say, the wheel tubs were finally put in place, and it was time to start fitting bars.
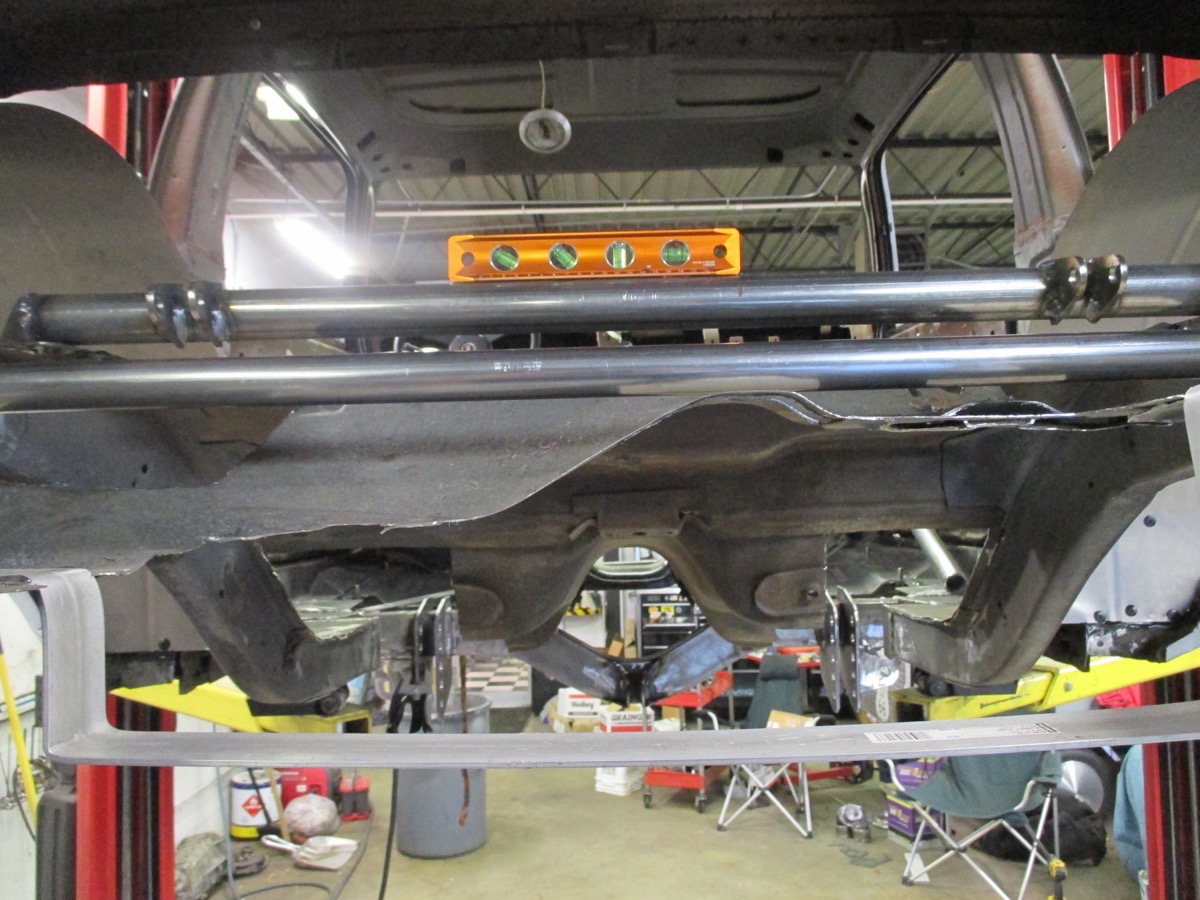
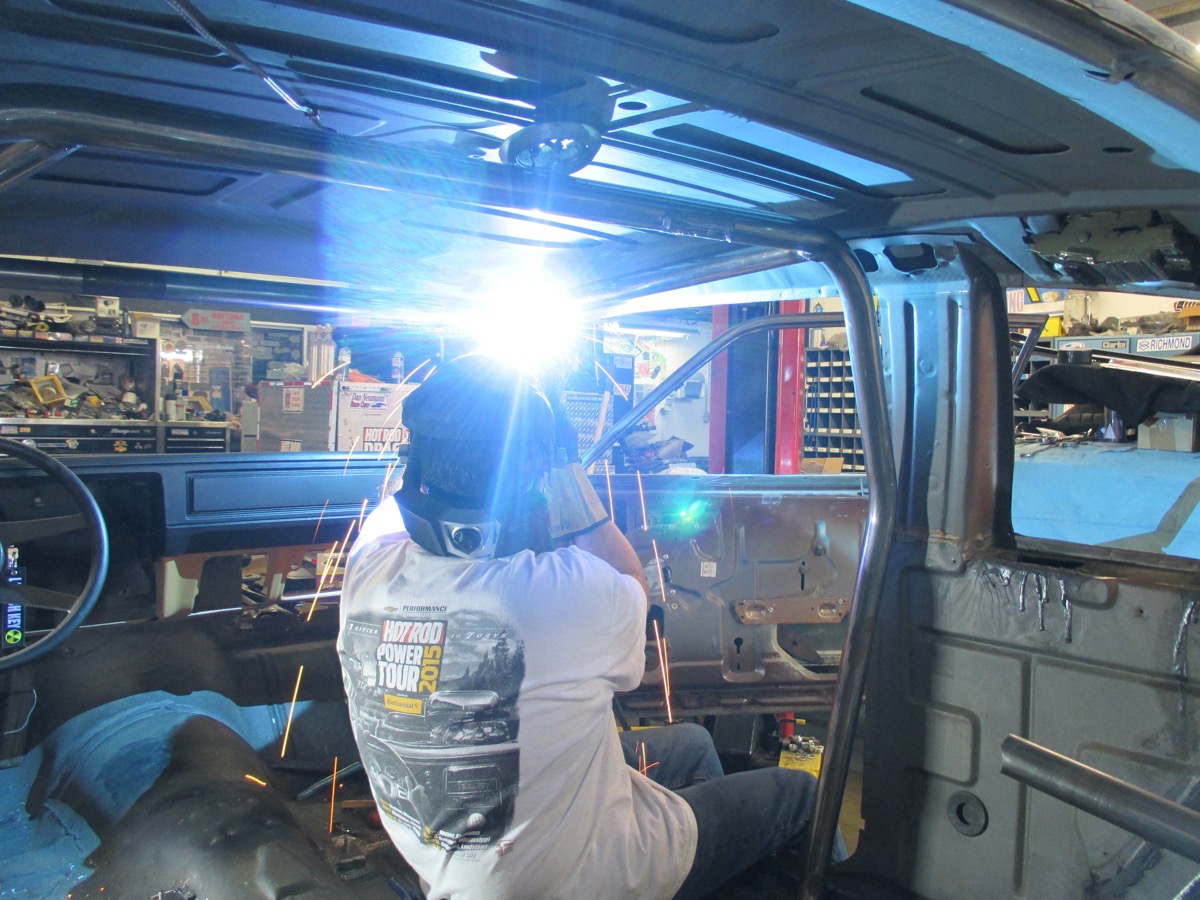
My friend Craig by this time had been cleared by his doc to work again, and it was a welcome relief to finally have some help, and make up some time since I was way behind schedule. We got the side bars fitted up, and then the windshield bar. Things were humming along and we were finally getting stuff done! I decided to run the rear roll cage bars as far back as I could get to the rear of the car, and tied them into the crossmember that held the parachute mount. Then, we made some stanchions to tie the rear shock crossmember to the cage, and tied the rear bars together with a hidden cross brace. this allows for good visibility out the rear window (important in a street car!), and saves some weight over a conventional X-brace.

With the main part of the cage in place, the decision was made to wait and install the rest of the bars after we plated the floor back in. It would be much easier to work on the floor without having to contort like a circus performer, so we turned our attention to the floor, which had large gaping holes in it still.
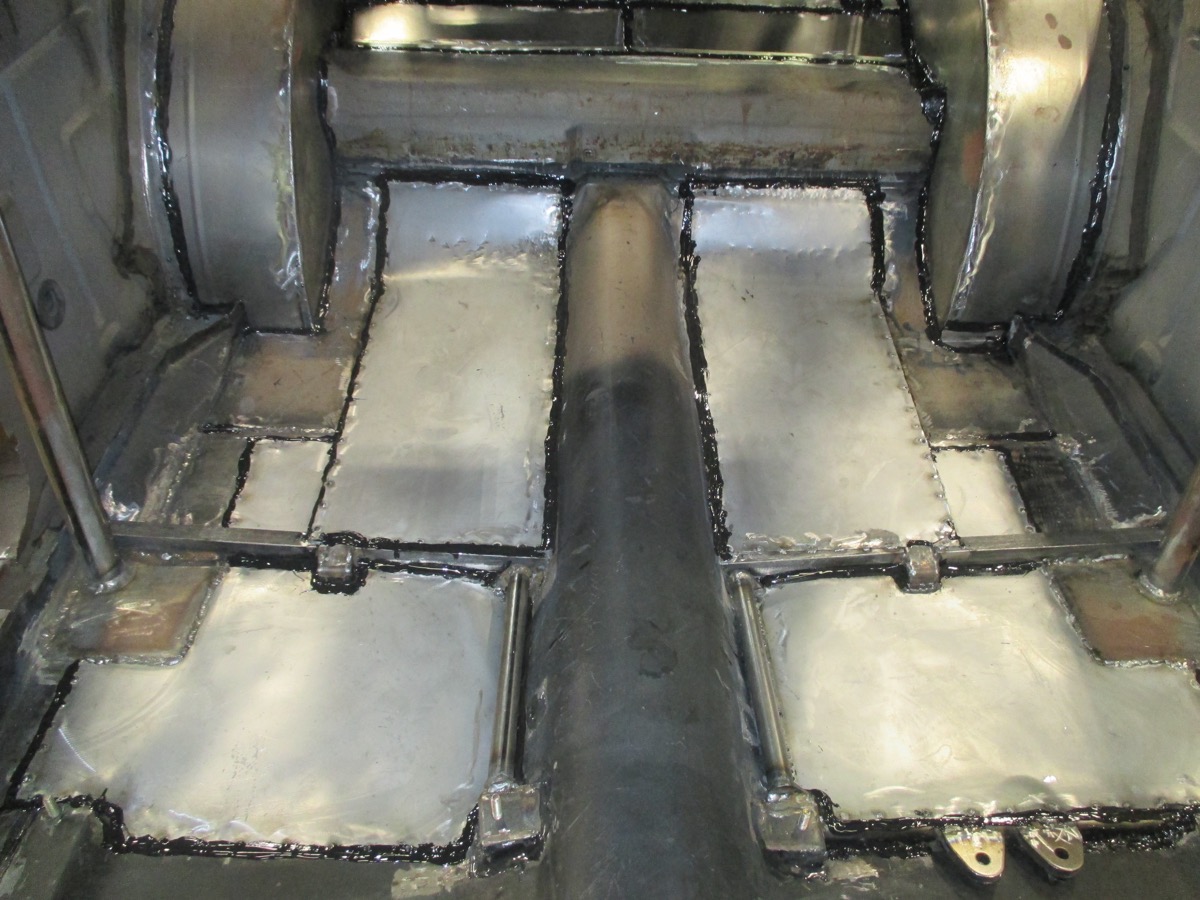
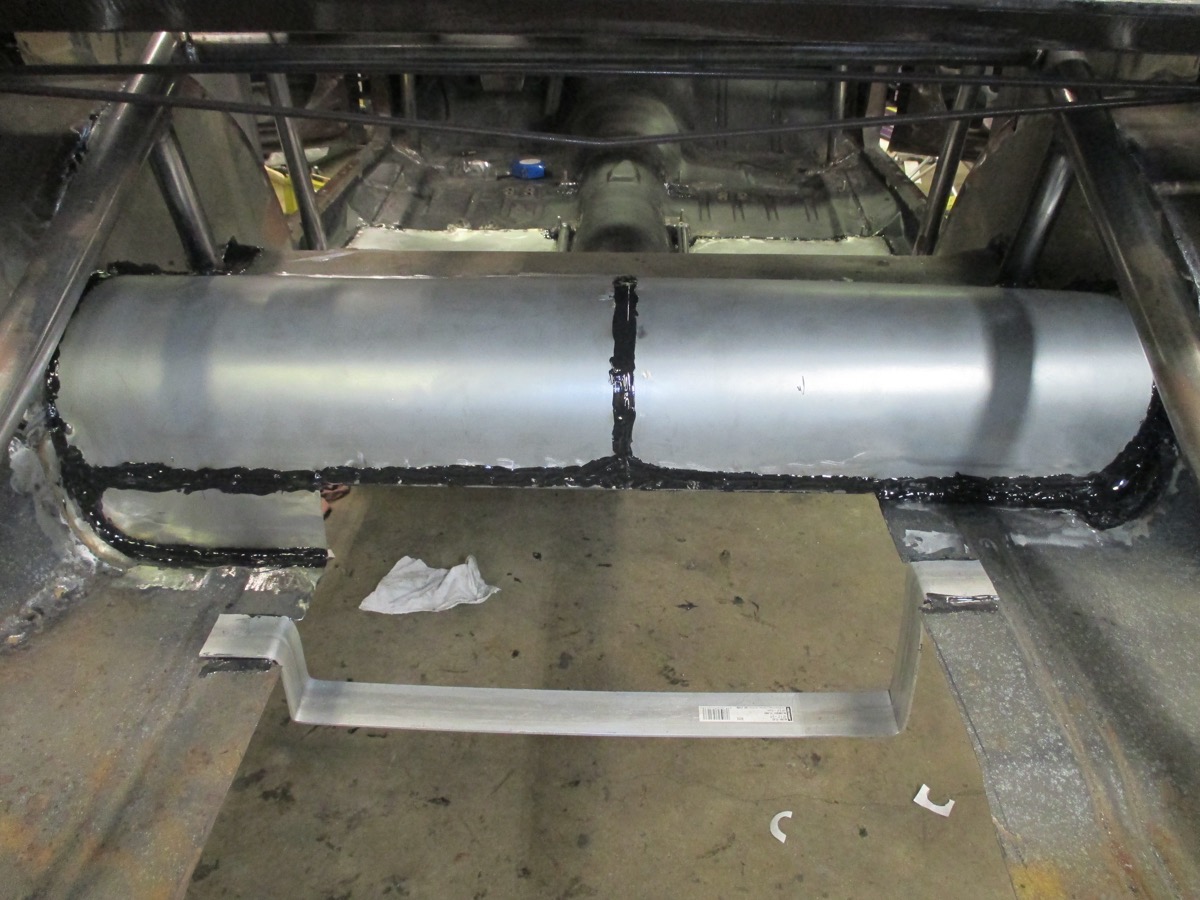
It took us about 4 solid work days to accomplish, with our respective schedules and other commitments, but we managed to close in the floor, and gain some storage space (very important for Drag Week!), in the process. Cutting and fitting out individual panels for the rear seat pans, rear floor pan where the ladder bars ride, and the shock crossmember, everything was stitch welded or spot welded into place (hot nasty work in the sub tropical Florida heat!), and once all the panels were finally in place, I spent another 4 grimy hours sealing all the seams up with 3M’s 3115 “Automix” panel bond adhesive. Great stuff, but nasty to work with! Looking at the clock, it was going on 9PM, on Sunday night (June 4th). I had to let the 3115 cure up, so that was it for the final “Slam” weekend before Power Tour.
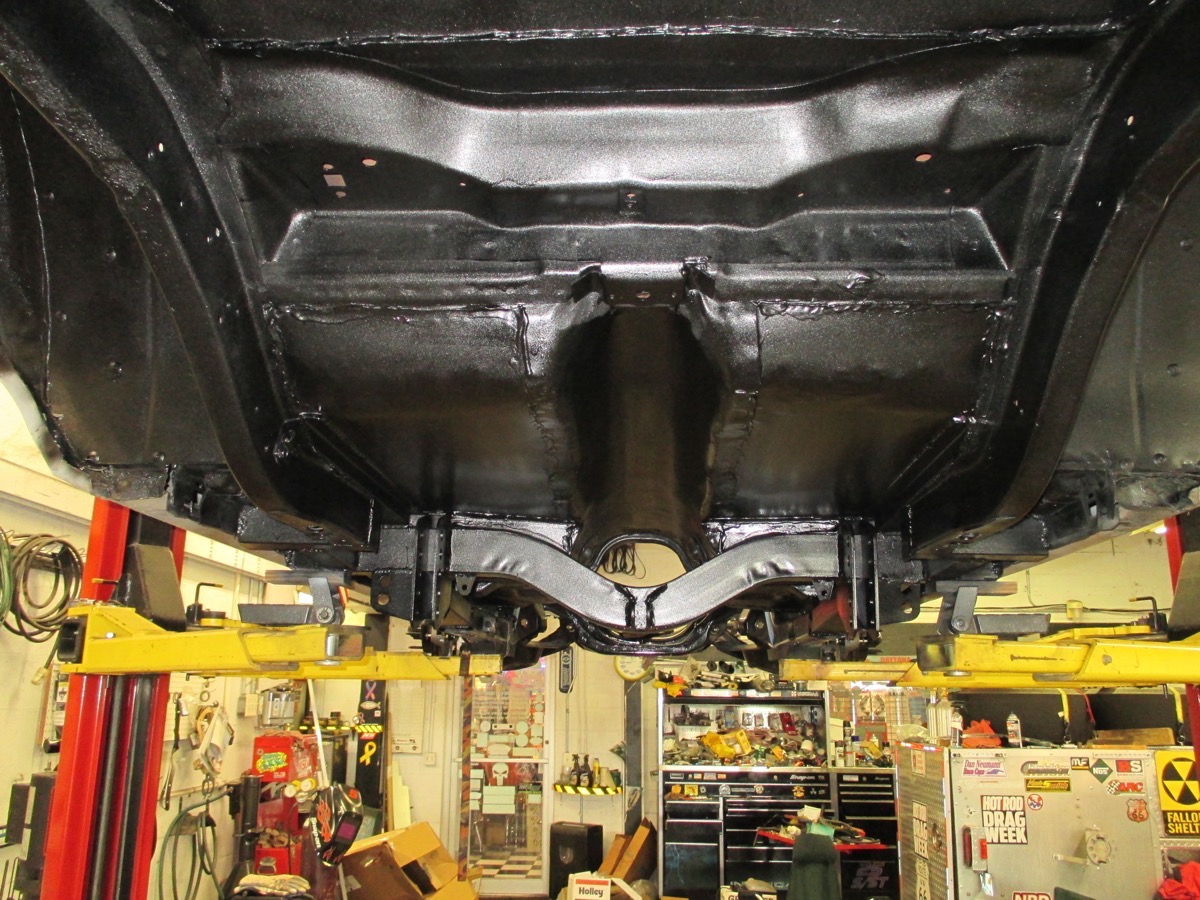
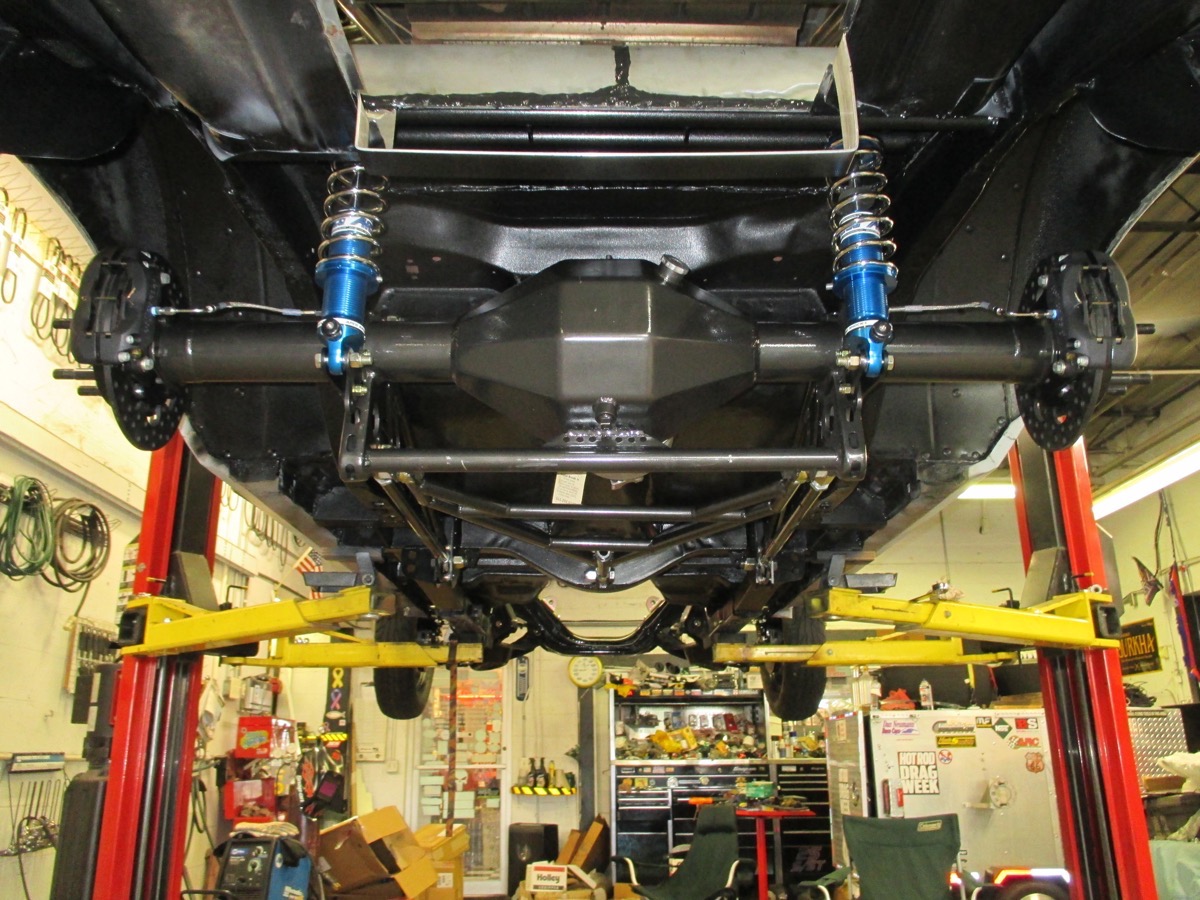
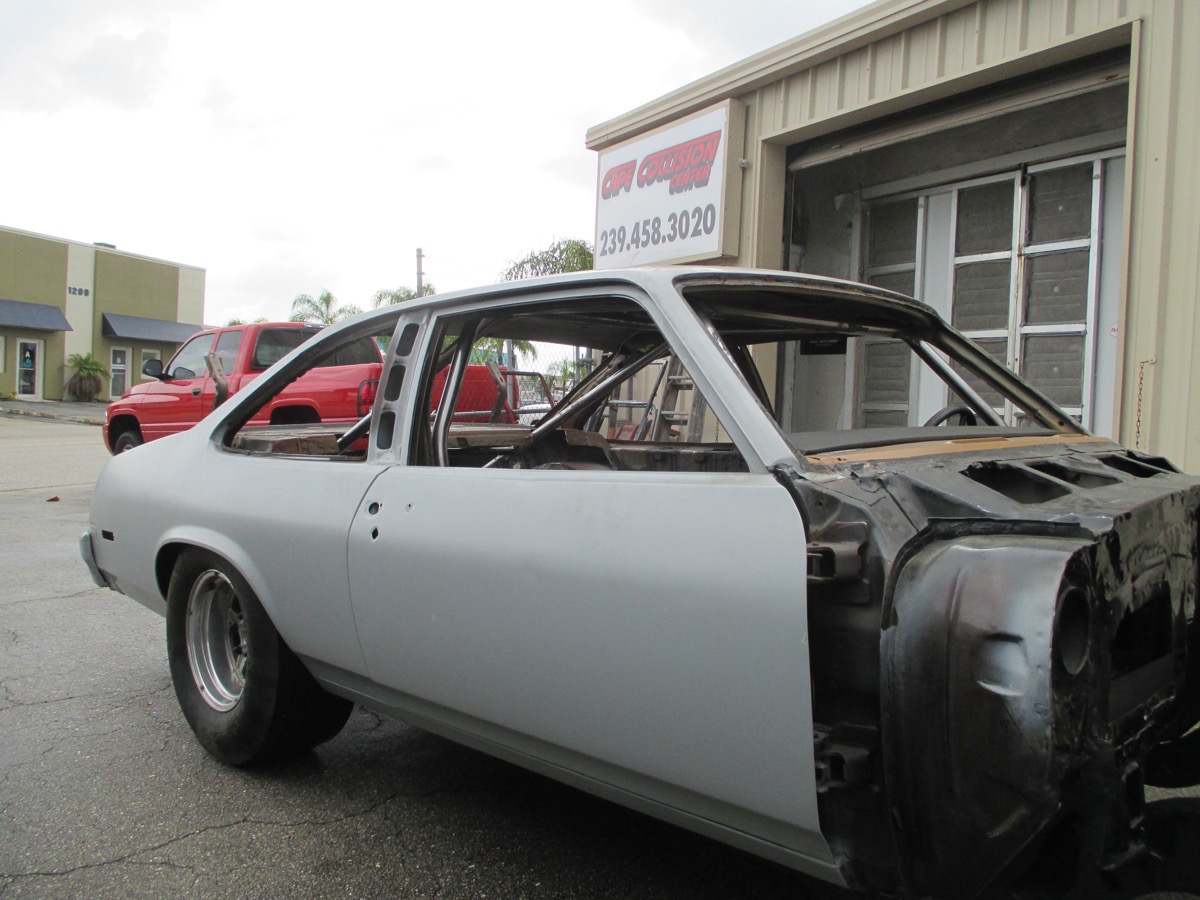
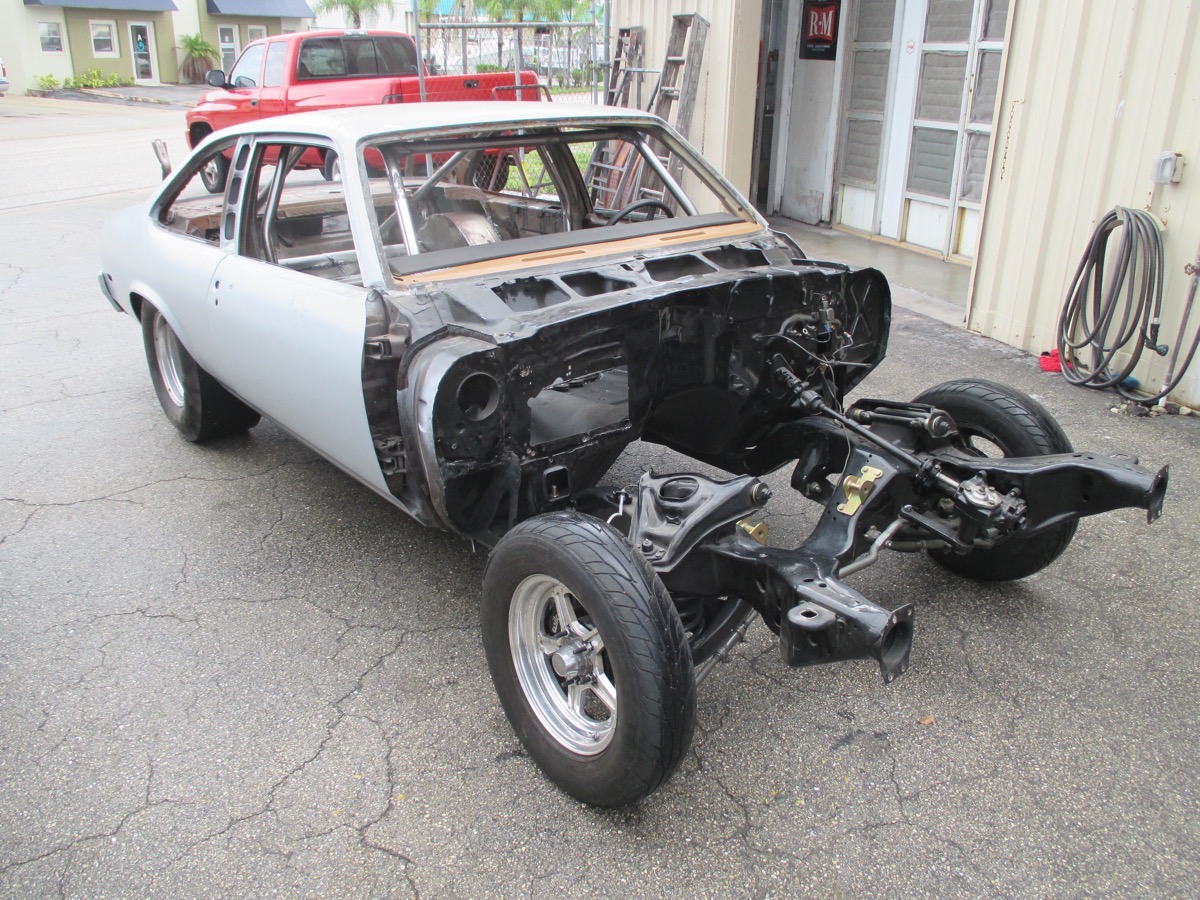
Yesterday, June 5th, marked 48 hours till departure, and the Nova needed to get to her appointment over at Cape Collision Center. Wasting no time, I raised it up primed the bare metal panels we put in, and then once it flashed up, coated the underside with lightweight spray truck bed liner. This gives a good tough finish, almost like gravel guard paint. Another bonus is it has a fast dry/cure time, so while it was drying, I was able to reassemble the ladder bars and axles housing. Craig showed and about that time, and we spent the remaining time during work hours assembling the axles, pressing on bearings, etc. and just before the close of business.. Weapon X was sitting on its wheels for the first time since late March!
This morning, June 6th, we rolled the Nova to its new home for the next 2 weeks. Most Bangshift readers are familiar with the term “paint jail”, as a lot of projects can get stalled by an unmotivated body shop. Pete at Cape Collision Center assured me that the Nova’s stay in paint jail will be a quick one, and that it will be ready when I return from Power Tour on the 21st. That’s a bold statement to be sure, but these guys are a motivated crew. Today also makrs 100 days till Drag Week, and we still have to assemble, plumb, and wire the Nova, plus.. get the engine/transmission in place, and fabricate the turbo system. Lots of work, but to use the Drag Weeker expression, we still have PLENTY OF TIME!
On a personal note, I’d like to thank Brian Lohnes and the rest of the Bangshift staff for allowing me to bore its readership with the saga that is my “Plan B” Drag Week build. I feel a sense of extra motivation to make it, now that I’ve shared it with you all. I’ll do my best not to let you down!
Until the next update…


You and Greg got this.