


We’ve been working hard on our Win A Classic Sweepstakes C10 these last couple weeks, so we thought we’d bring you an update on the build’s progress. To start off, we did a breakdown of our plan for the truck to let people know what they’re winning. This ’71 C10 is going from mild to wild with mostly bolt-on parts.
P.S. They’re Comp Cams Pro Magnum 1.7 Roller Rockers, not 1.6… Little error we noticed after posting.
So far, we’ve installed RideTech’s StreetGrip suspension and Wilwood’s big disc brakes all around. This week, the truck goes to a local dyno to do a base pull to see what difference the camshaft, intake, headers, stall, etc. makes.
We’ve built a lot of cars to sell at CCL and it’s been awhile since we’ve seen a system as simple and straightforward as RideTech’s StreetGRIP kit. Their motto, “One Box, One Solution,” is no joke. For the C10 kit, you get an extra box as well with a set of modular drop spindles and cross shafts for the control arms. The packaging is brilliant. When you open the box, the first thing you see are the HQ adjustable shocks, thick front sway bar, dual-rate coilsprings, and the Delrin bushings. The key to this kit is both the Delrin bushings and the dual-rate coil springs RideTech developed with Hyperco.


Step 1 is removing the front upper and lower control arms to install the new cross shafts and Delrin bushings. This was probably the most troublesome part of the entire install. This isn’t because it’s excessively difficult, but it’s annoying trying to get the new bushings in. We try to do everything all the way, so while we had the control arms off, we sandblasted them and painted them back in black. After driving the truck, the new bushings were well worth it.
Next came the drop spindles. The advantage of drop spindles vs. drop springs is simply keeping the proper geometry in your suspension so you don’t kill your ride quality. We use them often when we lower C10’s in shop. The spindles come with adapter plates to use factory disc brakes with it, but we’ve opted for a set of meaty Wilwood 14” rotors up front with 6-piston calipers instead.

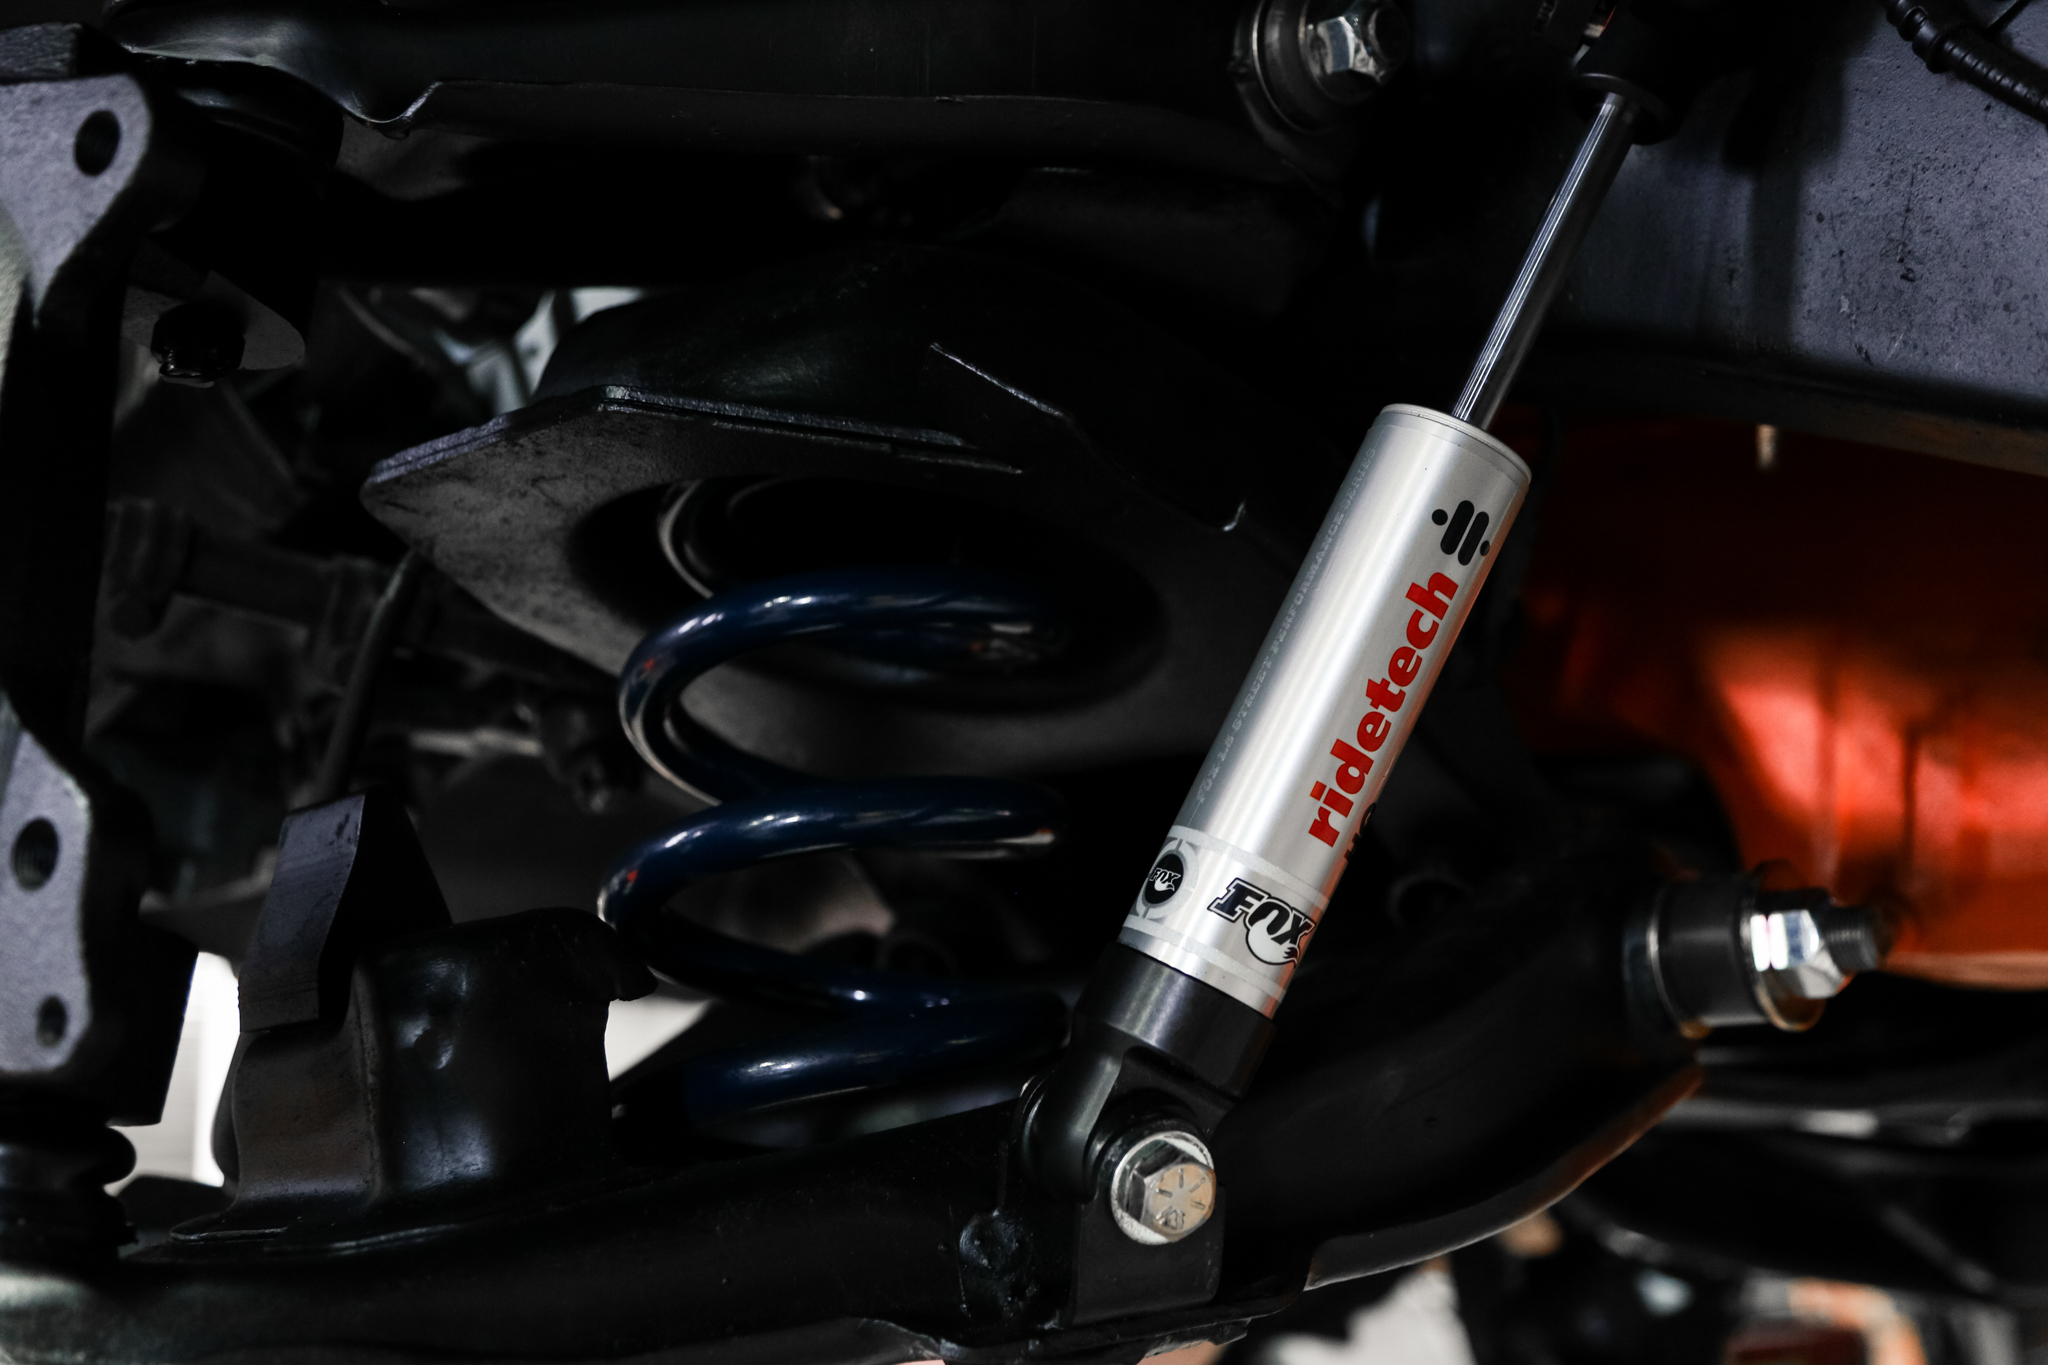
Now that the spindle was installed, Jeff started on the dual-rate coil springs. Since our truck has a big block, they supply a spacer to go on the spring seat to compress the spring a little more to handle the extra weight. I got called away for a couple minutes and when I came back Jeff already had the springs and shocks on. He has done this a few times, but I think this shows how straightforward the kit and instructions are. The new sway bar didn’t take long either. As simple as installing the bracket on the control arm and the frame brackets and adjusting the height with the tie rods. Front suspension DONE!
Then he started on the back. This was the fun part. Jeff spent some quality time with a plasma cutter and grinder to install the C-notch. RideTech’s C-notch kit comes with a printed template that you line up with factory holes to determine where to make the cut. You can see an example of this below in our live video of the cutting. It threw me off how quickly Jeff cut both the notches and got the boxed C-notch in. After he did the first one, I asked if he’d take a breath so I could jump on Facebook Live while he cut the other side.

The C-notch RideTech provides with the StreetGRIP kit is designed to fit inside the factory frame rails and bolt in to stiffen your frame while allowing you to get the rear of the truck lower. The C-notch is commonplace in many lowered trucks today, but a boxed, bolt-in unit like this is new to us. We can’t wait to use more of them in the future.
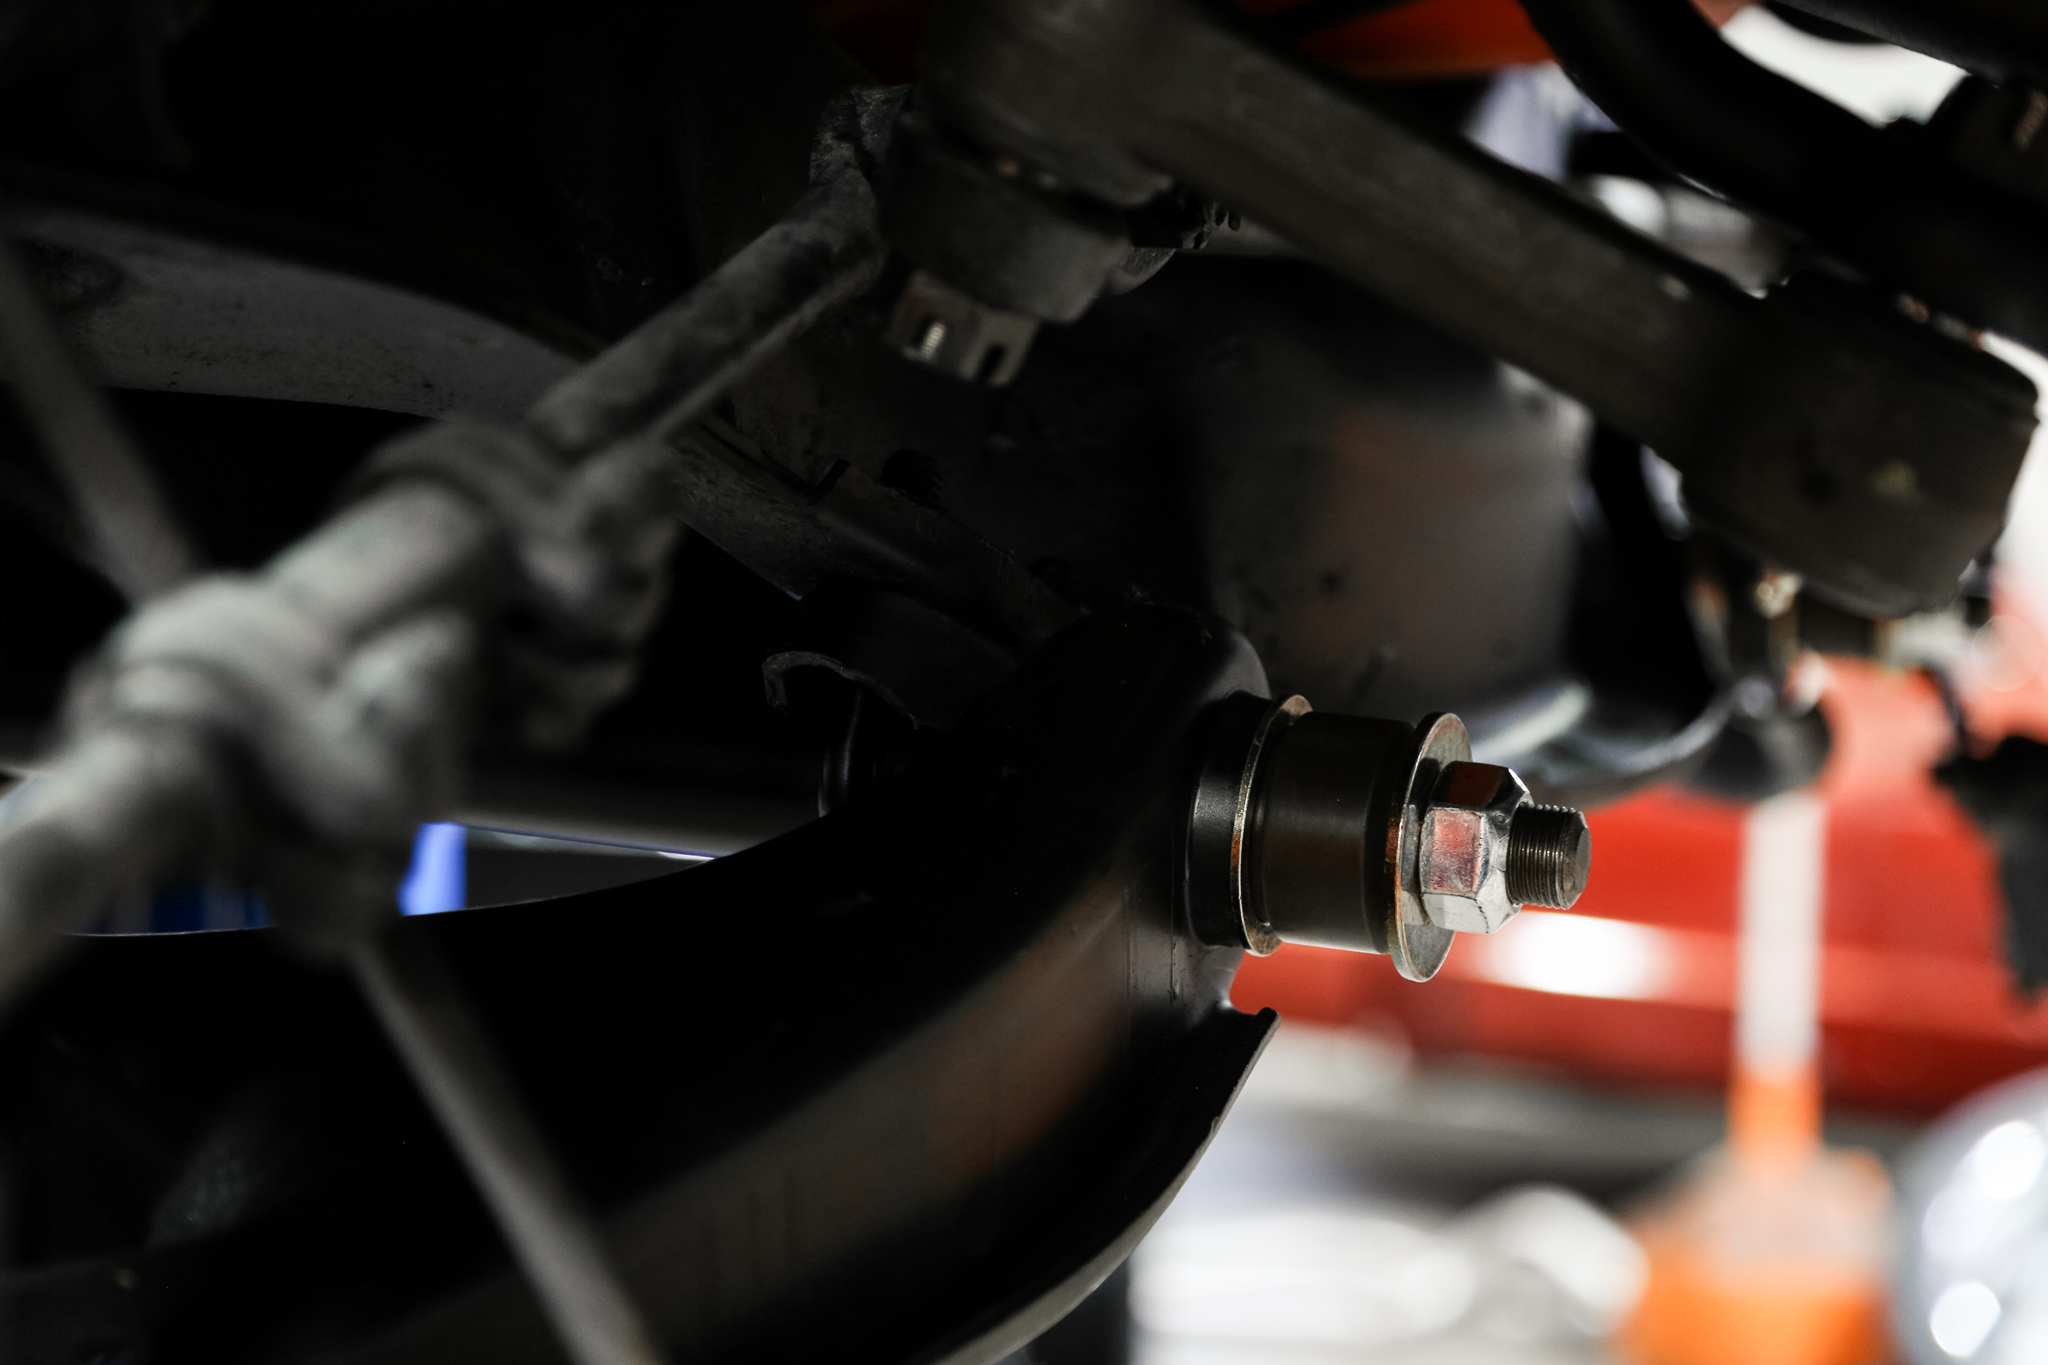
Since lowering the truck compromises the factory suspension geometry if the shocks are left in the same location, RideTech provides relocation brackets. The installation requires drilling or cutting the factory rivets out and boring it out to 7/16 for the new bolts. After he got those installed, the factory U-bolts came off in favor of RideTech’s shiny new U-bolts with spacers containing the mount for the panhard bar. The last step is attaching the lower shock mount. Now you’re ready to mount your shocks and attach their full-length panhard bar!


One important step that many miss is adjusting the shocks on all four corners. To start off, adjust the shock to the ZERO rebound position, which is fully stiff. From there, you can either do 8 clicks for an emphasis on handling, or 12 clicks for an emphasis on street driving like we did on our truck. We took the truck for a ride to see what we thought about the rebound setting and it seemed perfect for what we wanted.
Here’s a little before & after comparison of the rear suspension.


When we took our first ride, I did a FB live while Jeff, one of our mechanics, drove the truck. He kept exclaiming, “This thing drives like a car!” and “Man, this thing rides good.” Jeff’s built a couple of C10’s in his time and claims that this is the best riding and driving one he’s ever been in. RideTech’s got this kit dialed in as a system, not just throwing parts at a truck. We can’t say enough about how happy we are with RideTech’s StreetGRIP kit. Get yours today! – http://www.ridetech.com/store/streetgrip


