Welcome back to our coverage of Project Power Laggin’! Follow along as we take a tired 1979 Dodge W150 Power Wagon we found in Central Maine and transform it from a derelict roadside attraction to a dependable, powerful weekend workhorse that lives up to it’s given name! In this installment, we freshen up our recently plucked Magnum 360, as well as go over some of the things we’ll need to do to make it work in our truck!
Last time we checked in with Project Power Laggin’, the old LA 318 was singing the song of low oil pressure and knocking hard, so we opted to snag a new-to-us Magnum 360 from the local junkyard and haul it home while the truck was still able to run. The new engine was in a running truck that drove itself into its final resting place, and with 138,000 miles on the odometer, it promised to be “good enough” to just plop between the fenders of ol’ Power Laggin’. But before we did that, we needed to make absolutely sure it was up to task, and then clean it up a bit before the swap.
Now, before we continue, let’s just clear the air about one thing: this will be a STOCK Magnum 360 that we are swapping into the truck. We know people have been clamoring for cam swaps and other mods, but hear us out: a stock, junkyard Magnum 360 with our Hooker Competition headers should be good for about 300hp and 400 ft lbs of torque. Considering that the tired LA 318 in this truck came with less than half of that when new, and let’s face it, a lot of those ponies have left the barn since then, this will be a huge increase in power. Plus, it gives us a baseline for future upgrades! Consider this a “Spray Can Rebuild” with some small modifications.
Now, let’s take a look at what we dragged home!
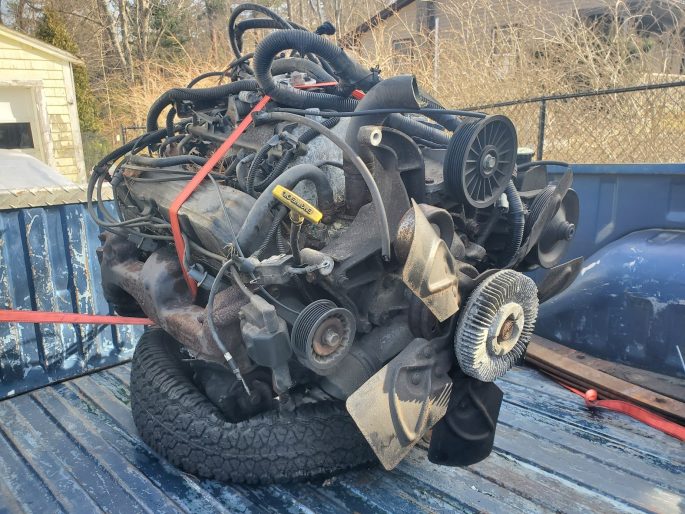
This mechanical nugget is a 1997-vintage Magnum 360, or the Magnum 5.9 V8 as Chrysler’s marketing department called it at the time. They were most commonly found in Ram trucks and vans, but could also be found in the Dakota/Durango R/T as well as the Jeep Grand Cherokee 5.9 Limited. Depending on what they came in, they are rated somewhere between 235hp-250hp and 345 lb ft of torque. In the 1990’s, this was quite the powerful mill, and was an upgrade over the old LA engines in many ways, with updated heads that featured revised intake and exhaust ports, better combustion chambers, and pedestal-style rockers. They also came with modern multi-port fuel injection, roller lifters, a superior serpentine belt drive, and more. They even machined the gasket surfaces to allow use of modern gaskets, which is a big upgrade over the old leaky LA.

Under here somewhere is a V8, we swear!
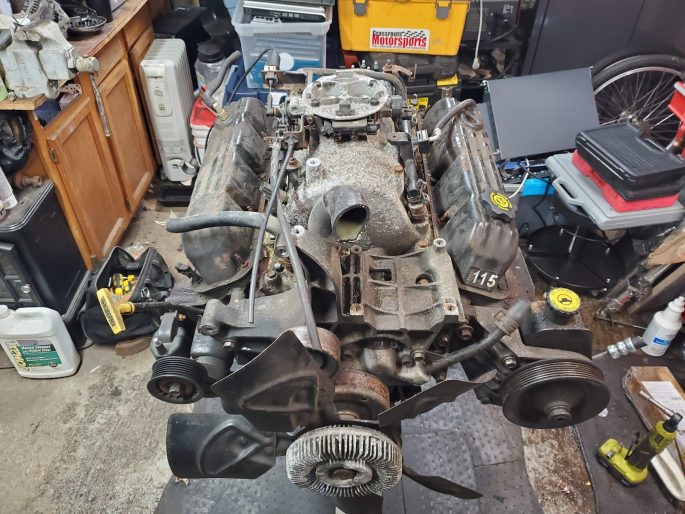
Ahh, there it is. It’s amazing how much stuff they have to bolt to these things. Ours will look a lot cleaner when we are done. Let’s inspect it!

Popping the valve covers off reveals no surprises. Things are clean in here with no sludging.
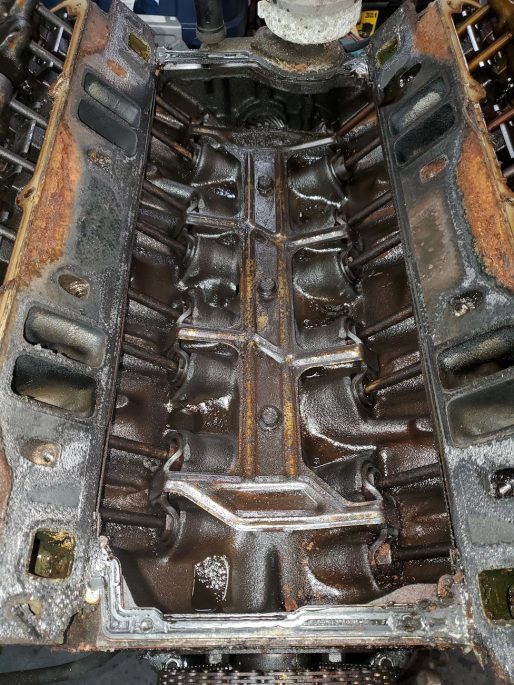
The intake valley has some light carbon buildup, but not nearly as gross as the 318 was in here. Overall, pretty clean.
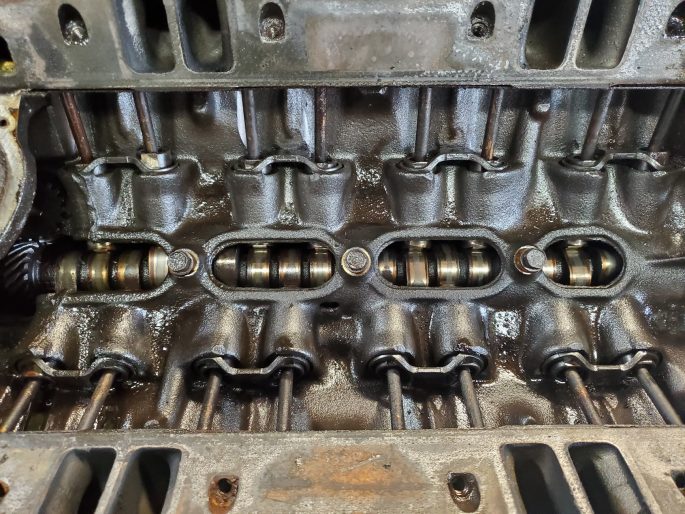
The cam itself still looks like a cam. No major wear here either.
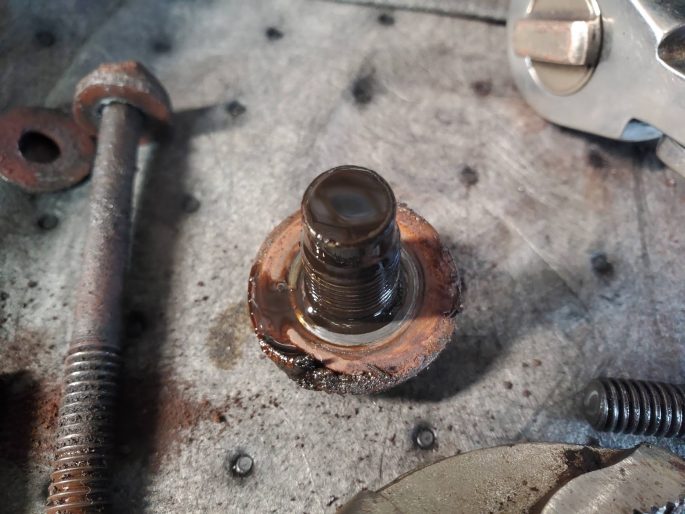
One thing that we didn’t realize is that this thing was still full of oil! Upon draining it, the plug was free of metal and the oil was not sparkly. Good so far.

The pan itself is in questionable shape on the outside, and there’s definitely a layer of sludge in here. Since this was relegated to plow duty in its later years, we’re guessing that sitting in someone’s yard didn’t do it any favors, and deferred oil changes were probably the norm in the past few years. Nothing scares us yet.
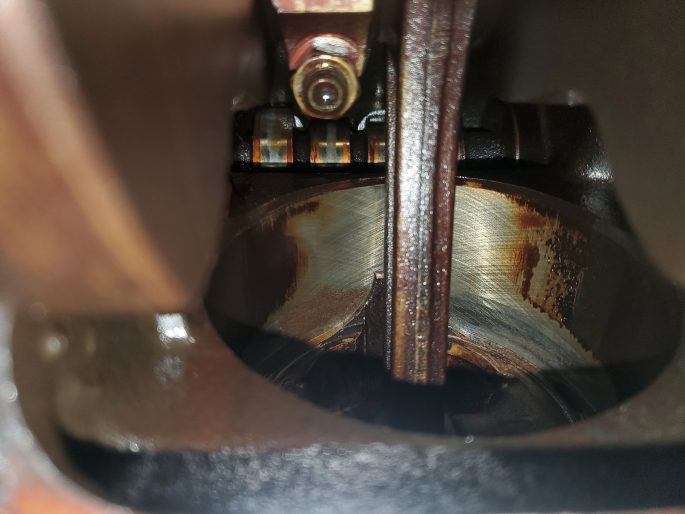
I’ve heard that these engines will show cross-hatching on the cylinder walls way past 200k miles, and yes, sure enough, there they are. All of the holes look great. Most of that old oil just wiped right off.

Pulling a rod cap showed us some bearings that look decent. To be honest, these look worse in pics than they do in person. There’s no copper showing and the surface is smooth. We’ve seen ones with half the miles that look worse.
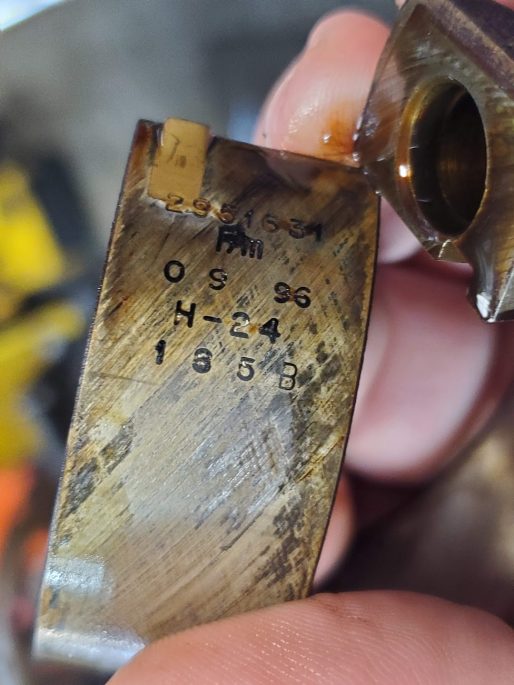
Popping the bearing out confirmed that they are original spec factory bearings, and they carried date codes that matched up with the build date of the truck it came from. We decided to pop it back in with some fresh oil and call it good.
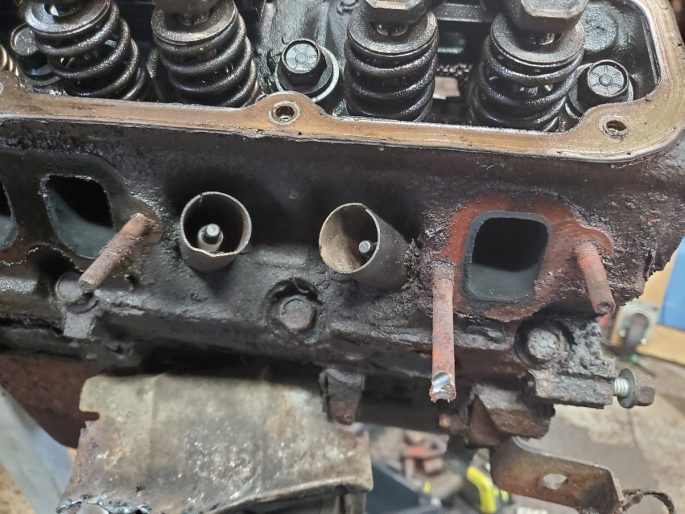
So far, everything has looked great, but there were some minor issues to tackle. First, the exhaust studs were in various states of broken on both sides. These all needed to be extracted.
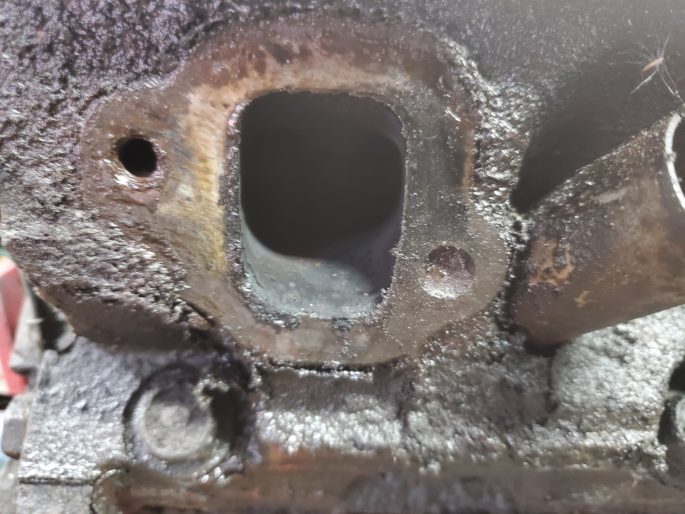
And one of those studs broke off in the head. Oof…
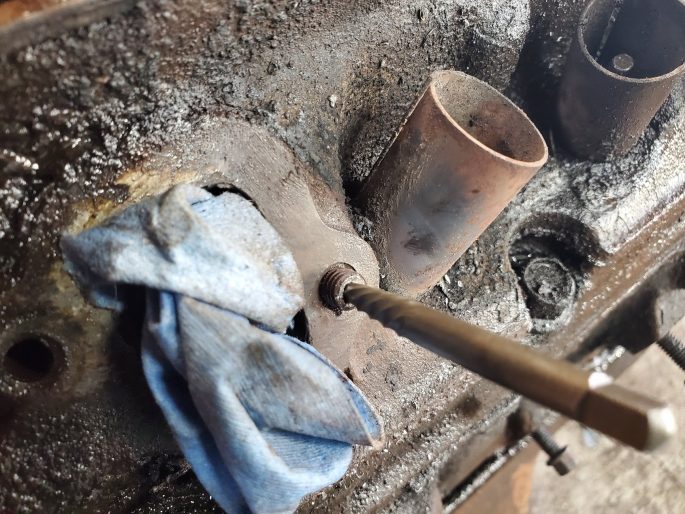
Extracting a broken, sunken stud stump can be a tricky procedure. We soaked it in penetrating oil for a few days, and then hit the stud with lots of heat. Then, we used a bolt extractor kit that has a drill bit and this extractor that you see here. After heating the area, you drill out just enough to hammer in the extractor, and if you do it just right, you’ll be able to unscrew the broken stump. If you’ve done this before, you know that the success rate here is about 50/50.
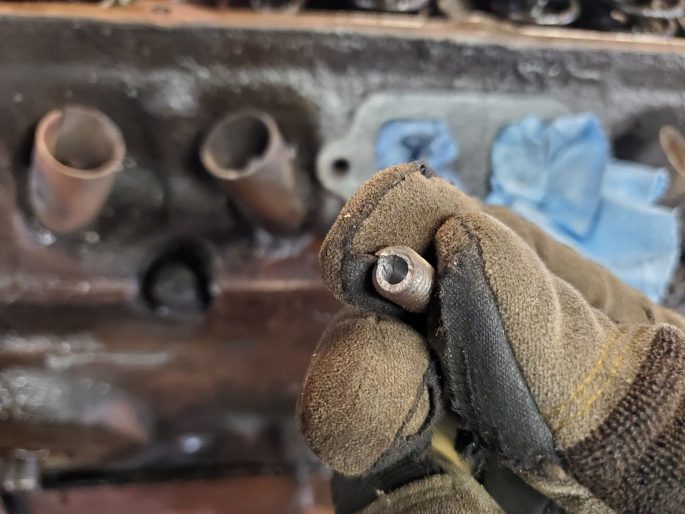
Luckily, the Car Gods shined their blessings down on us and the bolt stump backed out easily. Phew!

Next was pulling the timing cover off. We decided that we would be using the factory Magnum serpentine belt setup. While you can use the LA front dress and belt drive, we’ve been fighting belt alignment issues since bringing the truck home. Since we are running our MSD Atomic EFI 2 and Holley Hyperspark ignition, the lack of a mechanical fuel pump provision was a non-issue. And as an added bonus, if we used the serpentine setup, swapping on a higher output Magnum alternator will be simple. We got the engine to TDC and marked the balancer so we know which mark is the important one when re-assembling.
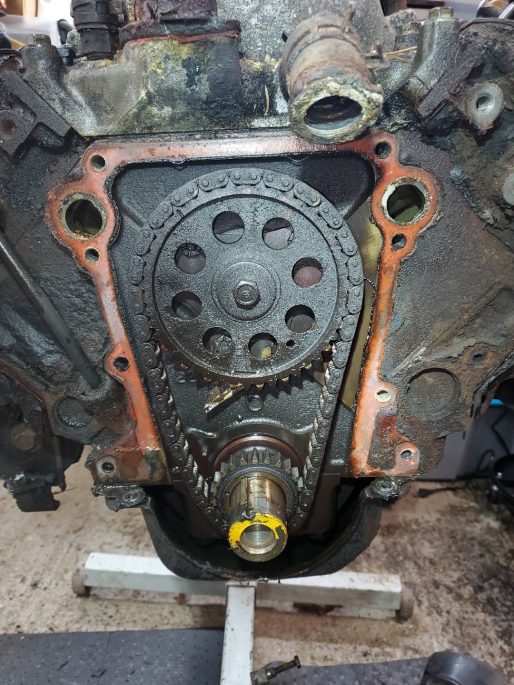
Speaking of timing, with the timing cover off, we immediately checked how sloppy the timing chain was. Just like the LA-series engines, the Magnums have timing chain stretch issues, although they switched to steel timing gears as opposed to the brittle nylon gears found in the LA engines. While it wasn’t quite as loose as the one that jumped off the timing gear on our 318, we didn’t want to take any chances, so a replacement double roller set was ordered.

Next up, it was time to start cleaning this lump. We started with the block. After marinating it in Simple Green overnight, we hit it with a wire drill brush and de-gunked it as much as possible.
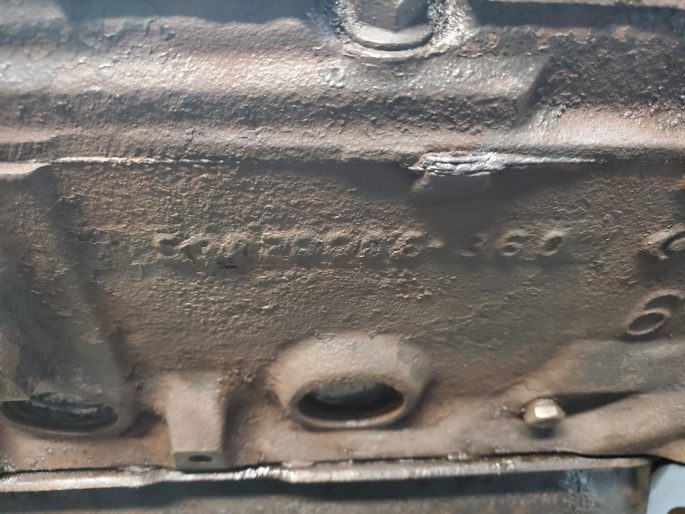
I’ve personally never seen a casting number rot off, but here we are. At least the “360” remained intact.
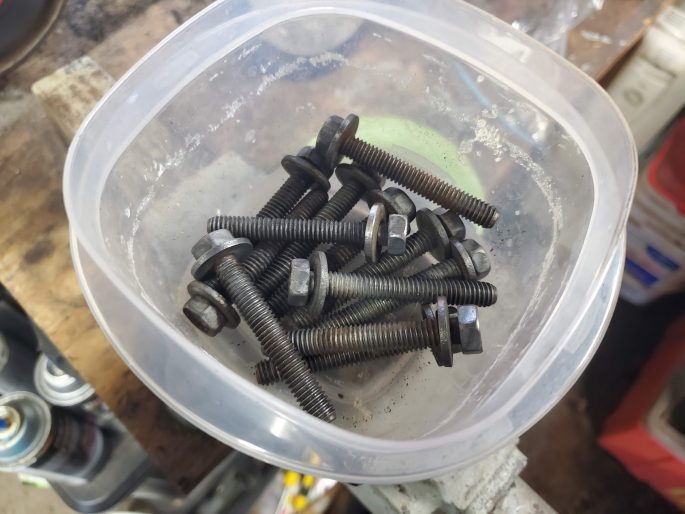
Other than the aforementioned exhaust studs, all of the hardware holding this engine together was in fantastic condition, so it was re-used. All of it was bagged and tagged during disassembly, and each bag got a turn with the wire wheel and dunked in Evapo-Rust. They came out looking as good as new.

Then, we painted the bolt heads so they look pretty. Attention to detail, folks!
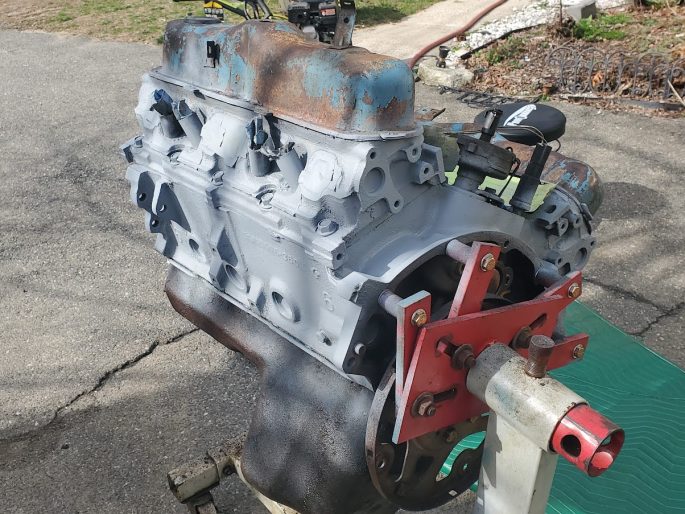
After lots of elbow grease, it was time for paint. The block received a few coats of primer to start.

After that, on went a few coats of Chrysler Corporate Blue. We decided that we wanted to make it look like the factory installed it in 1979, and trust us, it’ll look great in the truck. Side note: it feels like just about all the car manufacturers painted their engines in some hue of blue in the late 70’s. All of the shades of blue are slightly different. Did Detroit (and Kenosha, for that matter) have a surplus of blue paint back then or something?
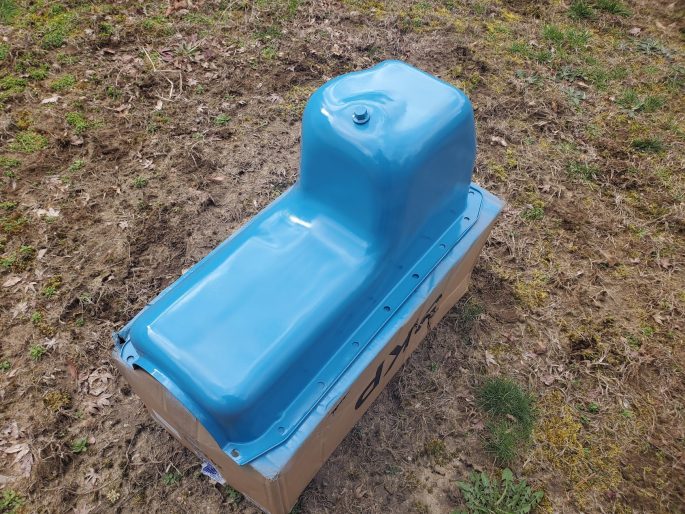
We also ordered a new oil pan to replace the crusty stocker. Since it’s going into a truck, running a stock-style Magnum truck pan will be just fine. If you’re doing a Magnum swap into a car, you’ll need to either get a special aftermarket mid-sump pan or use the stock LA-style pan.
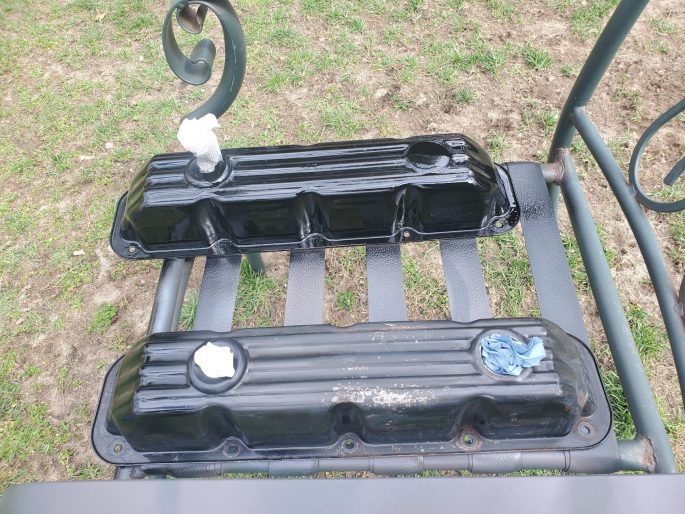
Although you can bolt on the LA valve covers to a set of Magnum heads, we opted to stick with the Magnum covers for two reasons: these use an updated rubber gasket that leaks far less than the LA-style gaskets, and we like the looks. These were painted Satin Black just like they did in 1997.
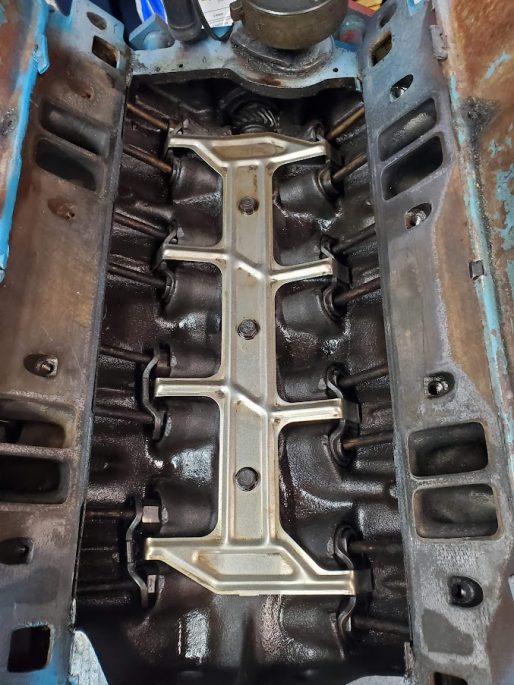
We also cleaned up the inside of the block a bit, especially in the lifter valley. We cleaned the lifter girdle up and made sure there was zero debris in there from the engine clean-up before we went any further with assembly.

One thing that’s a big deal with Magnum engines is choosing what intake manifold to use. We needed a carb-style intake to use with the MSD Atomic 2, so the stock “Keg” MPFI unit had to go. For the Magnum engines, they changed the angle of the bolt holes in the cylinder heads; the LA engines go in at an angle, while the Magnums go in straight up and down. While you can re-drill the heads with angled holes to use LA intakes, there are two dual-plane intakes on the market today that you can use without having to drill. One is the Edelbrock Performer Air Gap, and the other is what we will call the Import Intake, which is sold under a number of brands. Normally, we would’ve gone with the Edelbrock, but with supplier delays plaguing the industry, the only one available was the Import Intake, so we ordered one up. It’ll get the job done.
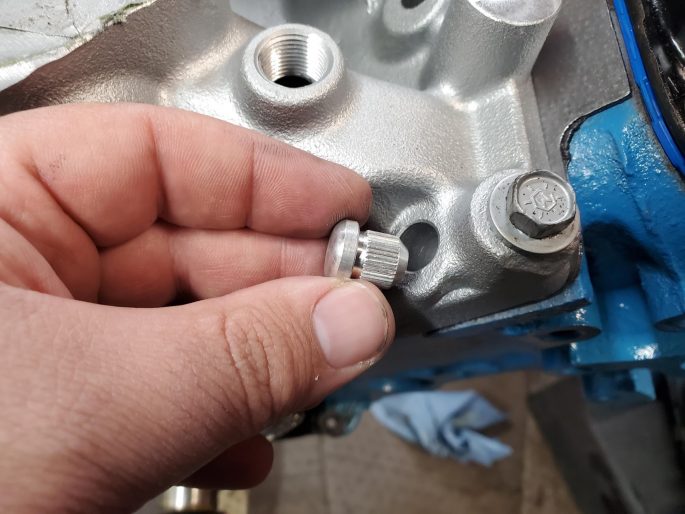
There are two big differences between the Edelbrock and the Import. One is that the Import has dual bolt holes for the LA and Magnum heads. They give you these metal plugs to press into the holes you don’t use.

The other difference is the location of the water outlet. If you plan on running A/C and the Magnum serpentine setup, this intake will NOT work. The Edelbrock intake has the water outlet shifted to the left to accommodate for the alternator/compressor bracket. Since our engine came from a truck that had A/C, we needed to make another trip to the junkyard.

Luckily, right next to the truck we plucked our engine from was another Magnum 360-equipped Ram that just happened to have the bracket we needed.

Yeah, that’s better.
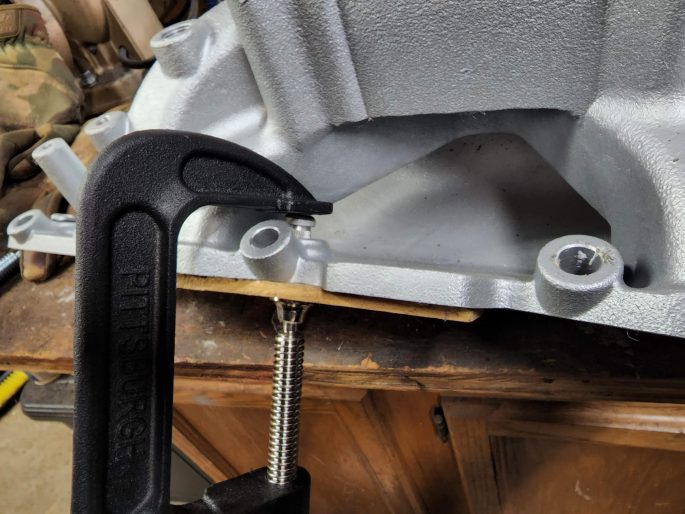
After painting all of the accessories, pan, and front dress, we pressed in the intake plugs. Knowing that it is an imported intake, we were extra careful and took our time pressing them in with a C-clamp and a piece of wood to avoid cracking or marring the intake.
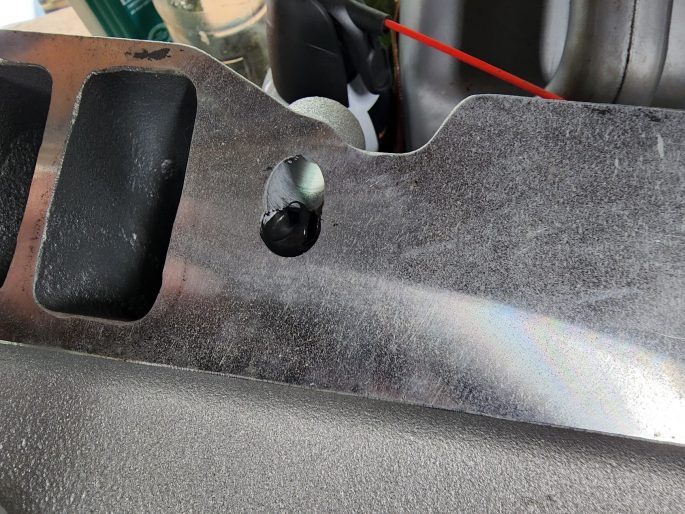
After getting all of the plugs in, all of the holes received a healthy glob of Ultra Black RTV sealant to avoid future leaks.

Before bolting on the front dress, we replaced that sloppy timing chain with a new double roller unit. Better to do it now than to bend a number of push rods and have valves kiss pistons when the chain falls off. That’s how we got into this mess in the first place! Get it to TDC, line up the dots and you’re good to go.

To help out with assembly, we ran a tap through all the holes to make sure everything bolts back on without any trouble.
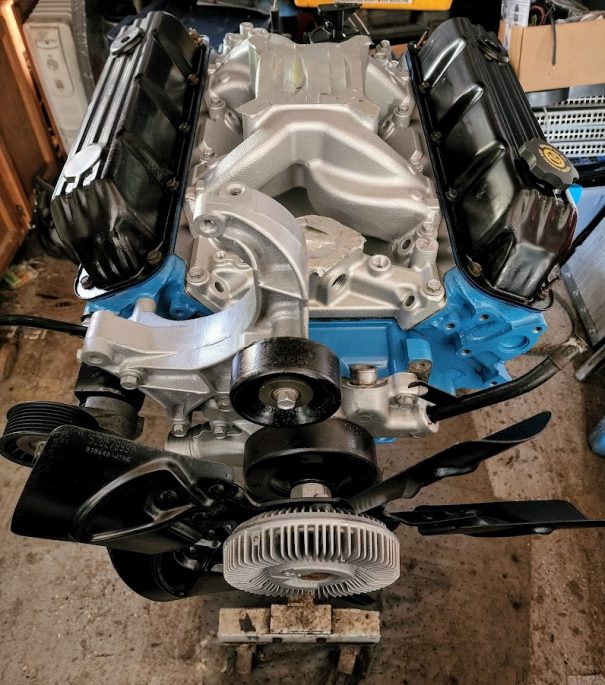
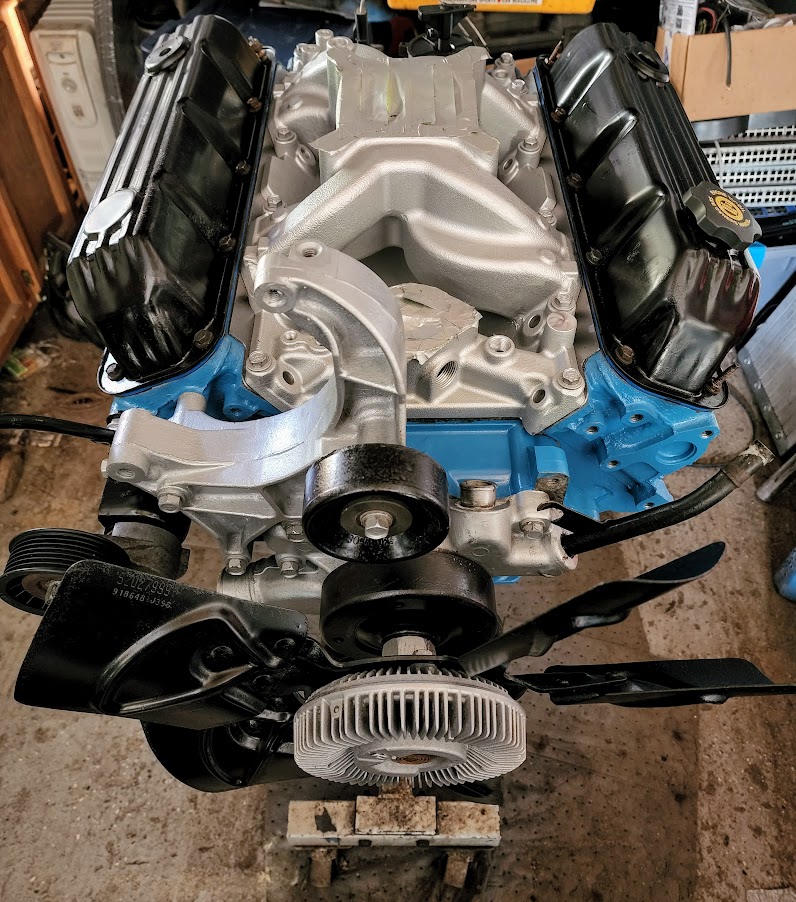
And finally, we have a fully assembled Magnum 360 long block, complete with accessory drive, clean as a whistle inside and out. Hopefully it runs as great as it looks!
With the engine re-assembled from its extensive Spray Can Rebuild, we’re almost ready to swap it in. We still need to tackle a few items on the day of the swap, like mounting the LA engine mounts to the block, elongating one bolt hole on the flexplate to fit the 727’s torque converter, bolting the LA power steering pump to the Magnum bracket, and swapping the EFI, ignition, and exhaust components from the existing engine to the 360. Before we can do all of that, there’s also one other small wiring project we’ll cover in the next installment of Project Power Laggin’. We’re getting close to Power Addin’ time, folks!




This is an interesting project, thanks for taking us along. Good Luck.
Looking good. Hope you remembered to put in the oil slinger and face it the correct way. That’ll ruin your day if you don’t.
Also hope you put plenty of smootz where the bottom of the timing cover meets the front of the oil pan or that’ll pee on you pretty bad.
Ditto on the intake bolt threads. I forgot one time and my 340 looked like the Exxon Valdeez.
i cant fathom pulling a bearing, looking at it, then putting it back. whats a set of bearings cost, $50? you already had it out, fer chrissakes….. and if they ‘look worse’ in the pictures, even HALF that wear woulda had me changing them. EVERY motor i buy/build gets at MINIMUM new rod/main bearings, oil pump, full gasket set including head gaskets, new timing set…its just cheap insurance.
oh well, your truck, your money.
Totally agree FATGUYZ, at least they didn’t cheap out on a new timing chain.