[“Nut Driver” features updates on Dave Nutting’s 1987 Chevrolet Monte Carlo]
To catch up on the other installments, click HERE
For all of you playing along at home, this is Part Two of “The Long Journey Home”, which is really just a fancy-pants title and sugarcoating on the situation that is a G-body with a dead transmission. If anything, in this regard the G-body best resembles the immortal jellyfish, replacing the “‘polyp’ to ‘jellyfish’ to ‘polyp’” cycle with a cycle more like: “‘Running and driving’ to ‘something expensive broke and now it’s going to sit for six-plus months’ to ‘I really want to sell it but know I need to fix it’ back to ‘running and driving’ “. I’ve owned five of these cars, trust me, I know.
Enough McTaggarting over broken parts (Shots fired, Bryan!), today’s all about looking forward to the improvements that are being made to the car, courtesy of UMI Performance and some wheeling and dealing on the local G-body forums.
Before this entire saga started I had a clear-cut goal for the Monte LS this year, namely incremental suspension upgrades and a full season of SCCA Solo in the Classic American Muscle class.
I hadn’t given much attention to the rear suspension of the car until this point as to be honest there’s not much there at face value: Solid rear axle, coil springs, shocks, and the same triangulated four-link that GM had been using for decades. Of course, getting that setup to handle is the trick. The shocks and springs have already been (mildly) upgraded with Bilstein and Eibach units respectively, but I had not yet replaced the crusty stamped-steel control arms with their compliant rubber bushings.
This is where Ryan Kirkwood, Ramey Womer, and the rest of the UMI Performance team come in. UMI has been in the suspension game since 2002 and thirteen years later they’re still producing all of their products in Philipsburg, Pennsylvania, base components on up. I had previously purchased a set of their adjustable upper and lower control arms with Roto-Joints for my Monte Carlo SS and they made such a big difference in the manners of the car that I knew that I needed them for the LS as well. No stereotypical car magazine “Here’s some parts, put them on the car and say you like them” stuff going on here, I’ve spent my own hard-earned cash not once, but twice buying a set of these control arms, because they just plain work. Ok, I did get a t-shirt, but I might have begged Ramey for that. I’m a sucker for car t-shirts.
In typical BangShift style, we’re going to continue this story with photos and captions
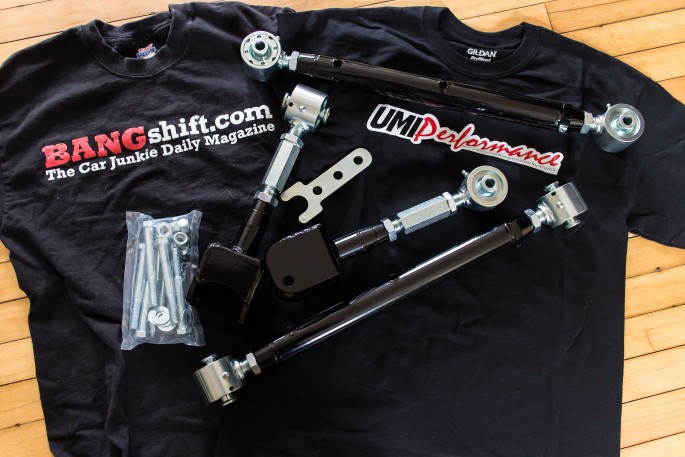
Everyone loves parts porn, and this definitely qualifies as such if you’re a suspension nerd like me. What we have here are UMI’s adjustable upper control arms with roto-joints (Part #3037), double-adjustable lower control arms (Part #3043), spanner wrench (Part #0018), and control arm bolt kit (Part #3002).
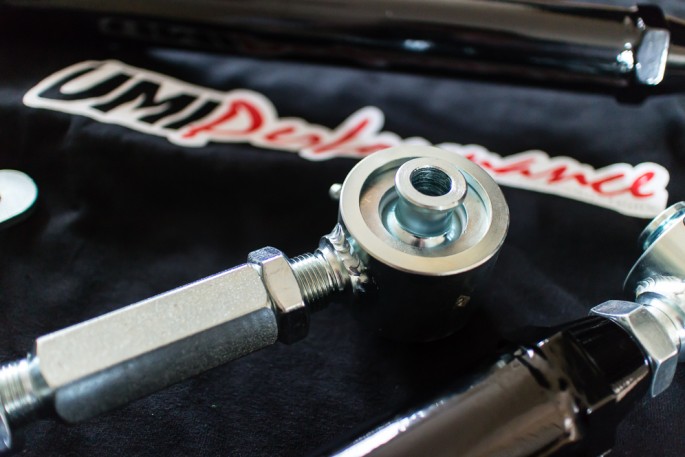
This, my friends, is a roto-joint, and it’s a must-have for any four link-equipped car that has any sort of aspirations in the handling department. Your rear axle needs to rotate in order to maintain tire contact patch when cornering, a task which the stock rubber bushings are barely capable of performing. When the rubber stops flexing, it binds, and binding, my friends, is bad. This is where the roto-joint comes in: It allows for greater movement, much like a spherical rod end, but thanks to its Delrin race and chrome-plated chrome moly spherical ball, it’s tough enough for the street and all-weather driving.
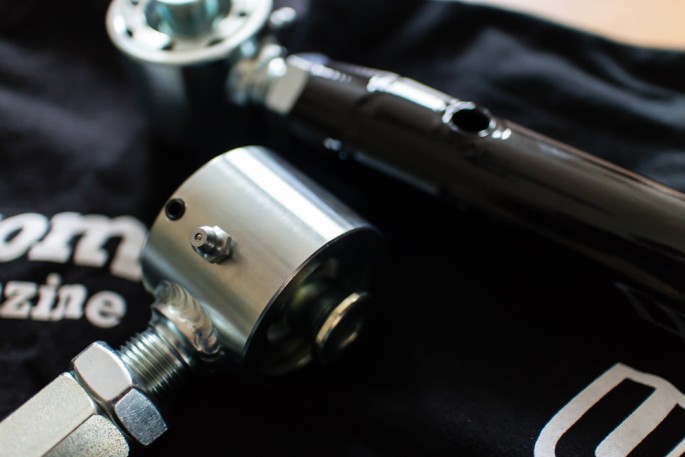
Note the zerk fitting and set screw. Both of those are important as the roto-joint is designed to be a serviceable item. Regular greasing will keep the joint happy, while the set screw seen on the left side can be loosened if the joint needs to be tightened or rebuilt.
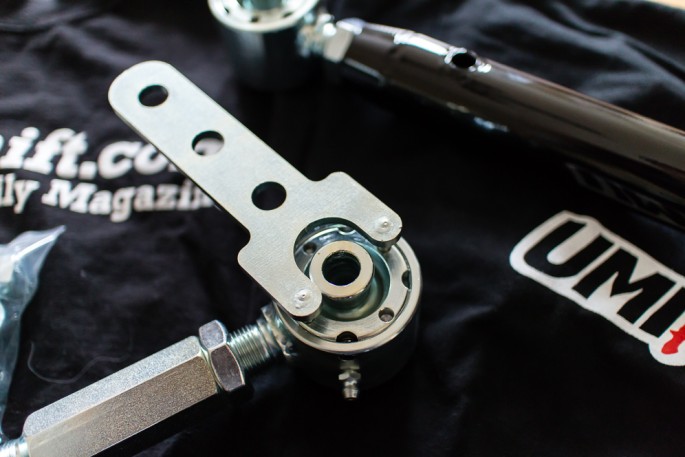
This is where the spanner wrench comes into play, as it’s used to tighten and/or disassemble the roto-joint. Not a necessary item to pick up right away, but it’s must have for servicing roto-joints and it’s yet another cool-looking tool to add to my tool box. Win-win, right?
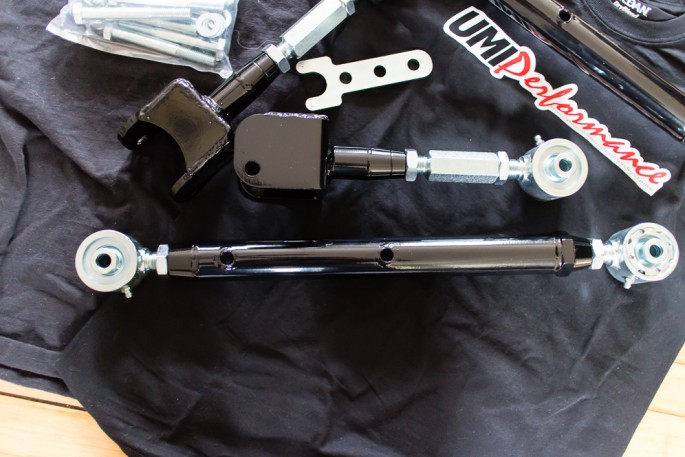
As mentioned before, both the uppers and lowers are adjustable in length, and can be adjusted without being removed from the car. Why is this a big deal, you may ask? Adjustable uppers are a need to have if your car is lowered as they help to correct pinion angle issues. They can also be used in conjunction with adjustable lowers to help you center an off-center rear axle, which I’ve personally seen occur straight from the factory. Note the provisions in the lower control arms for a factory rear sway bar, as not all aftermarket vendors provide them. If you’re not going to run a frame-mounted sway bar, you’re going to need lower arms with these holes.
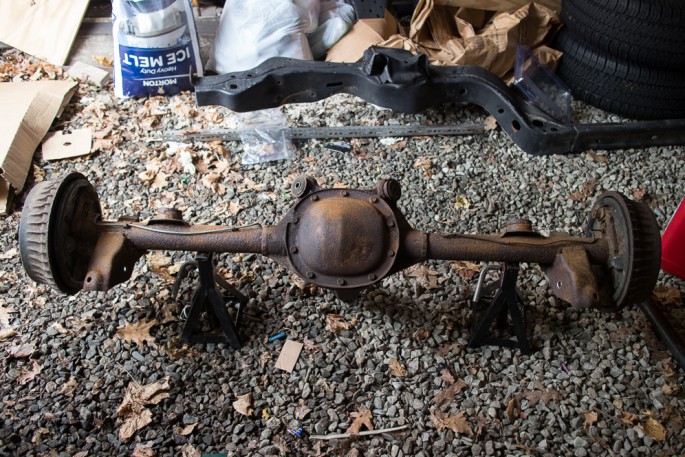
Remember those “other deals” I mentioned earlier? You’re looking at one of them, namely an open 7.5″ 3.73 rear that I scored for $100 off of a G-body messageboard. The catch? I had to drive almost two hours away to Connecticut to pick it up. Lohnes’ response to my “Check out what I got!” text was, “You’re insane, you know that, right?”, but for less than the price of a new set of gears I had a modest upgrade to the 2.41 rear currently in the car. Before you ask: Yes, that is a G-body frame in the background. No, don’t ask what it’s for…
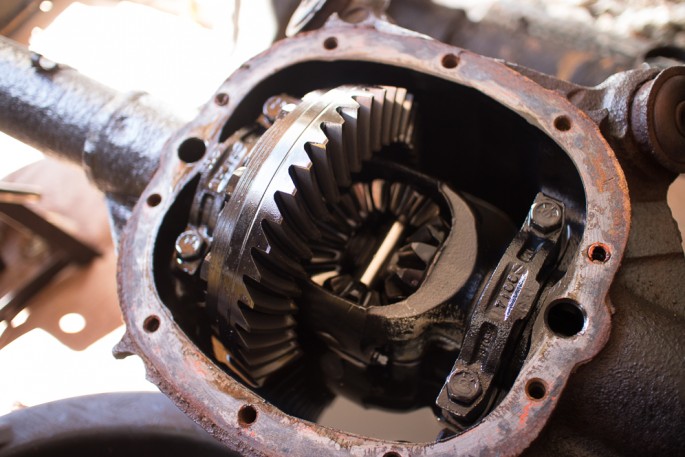
Before chucking an unknown rear under the car attached to a bunch of shiny new parts, I cracked it open to take a look (I wasn’t secretly hoping for a worn posi, I swear) and change the gear oil.
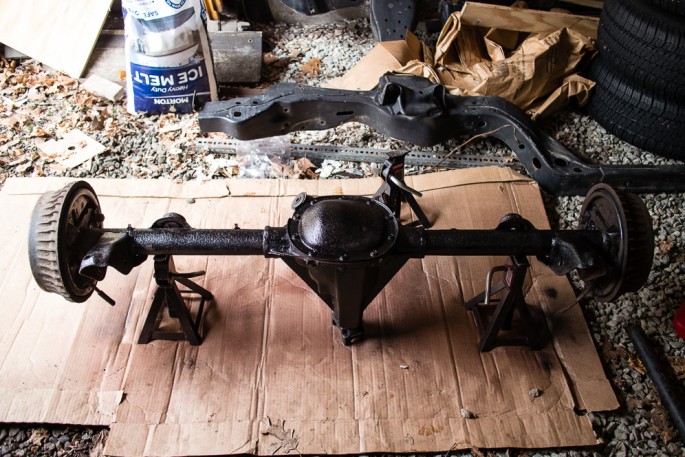
All buttoned up and freshly painted with the best $0.99 spray paint Wally World had to offer. New brakes and wheel cylinders will cap off this part of the project once the rear is under the car.
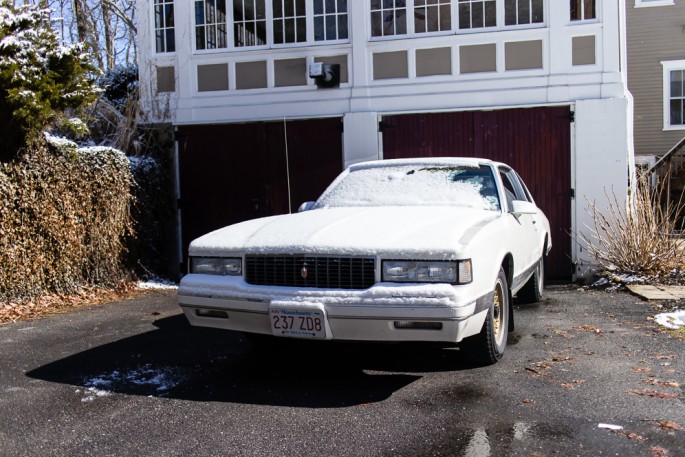
There’s the great white heap itself, ready for some brand new (And some not-so-new) parts. Oh, and eventually a new transmission. I keep forgetting about that…
Knowing that I couldn’t muscle a rear axle out of the car myself, our own Tony Sestito and Greg Stewart, both of Jeep XJ-R fame, were lured over to help with this part of the project. Greg helped a bunch, Tony took pictures and cracked bad jokes.
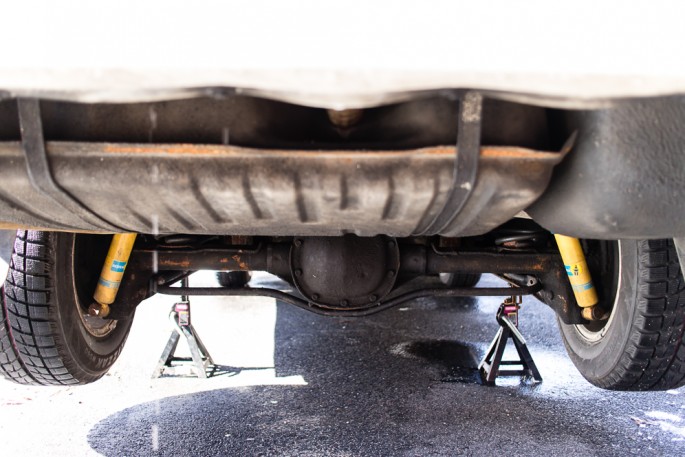
For those lucky enough to never have been under a G-body, here’s what you’re missing. Order of the day is to loosen the shocks, then remove the springs, rear sway bar, brake lines, and then the rear itself.
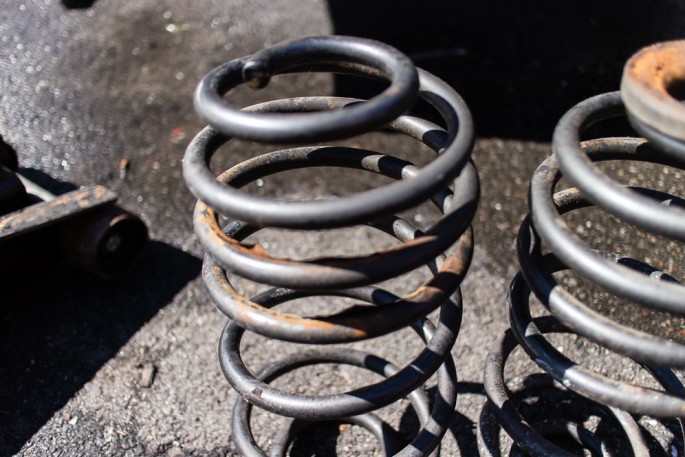
With the shock loosened (Single nut per side) the springs slide right out, but they’re a little worse for wear in the looks department after two winters as is evident from the peeling powdercoating.
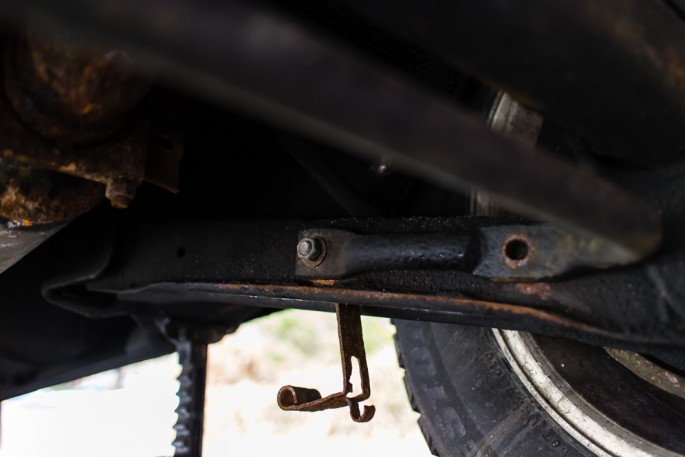
And here’s our first, “What the?” moment of the day. That right there is a missing sway bar bolt and bent lower control arm sleeve, which keeps the lower control arm from crushing when the sway bar bolts are tightened. No idea where the bolt went, but I’m sure it’s in a happier place now.
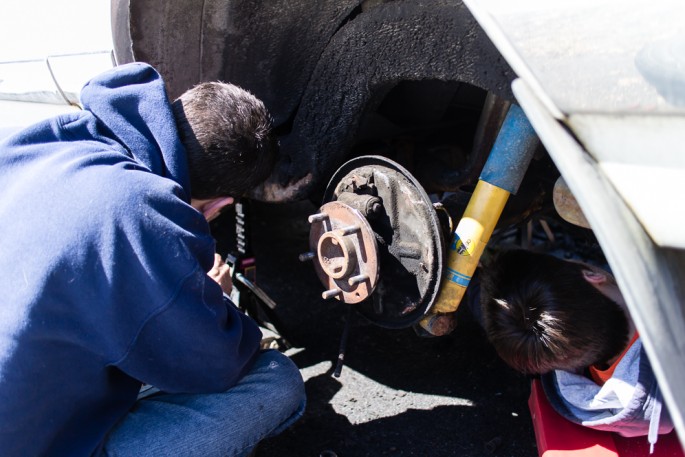
Little known fact is that Greg and I look alike from behind. I still don’t know which one of us is which in this photo.
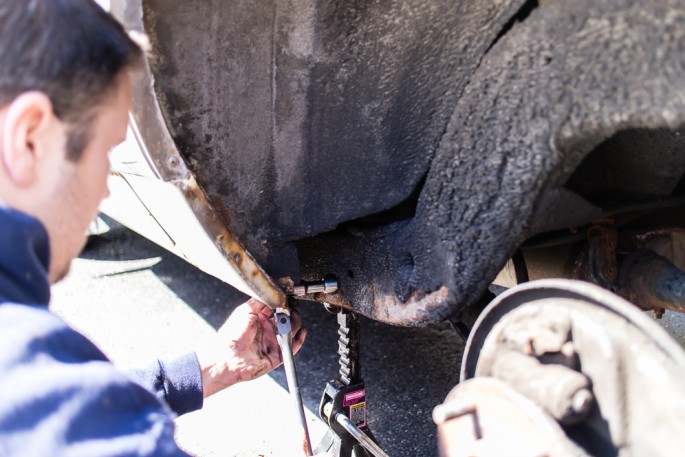
In terms of difficult to access bolts, the worst is the frame-side lower control arm bolt, which Greg managed to reach with a deep socket and extension.
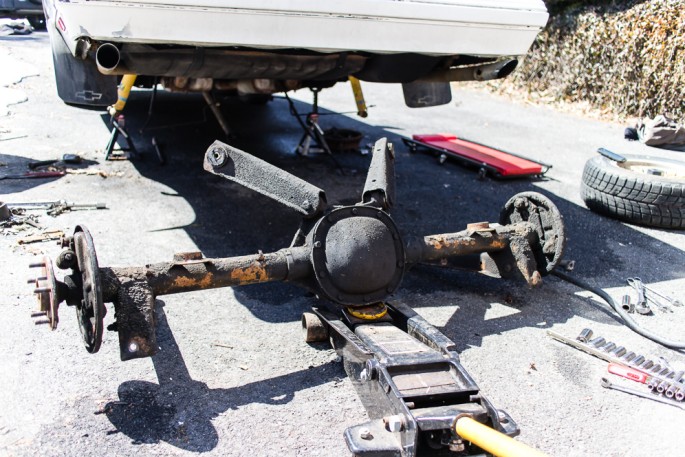
After unhooking the brakes and four bolts, the rear was out and balanced precariously on my trusty floor jack.
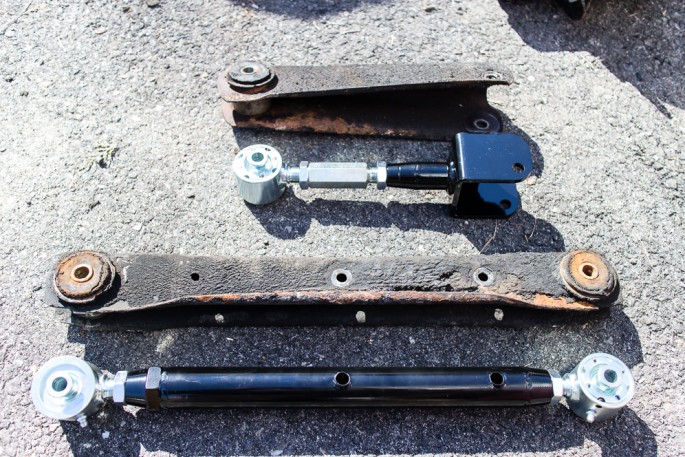
Now for the fun part, which is bolting on the new stuff. Here’s the old and new control arms side-by-side. If you can’t immediately tell the performance improvements of the UMI arms over the stock arms, this hobby may not be for you.
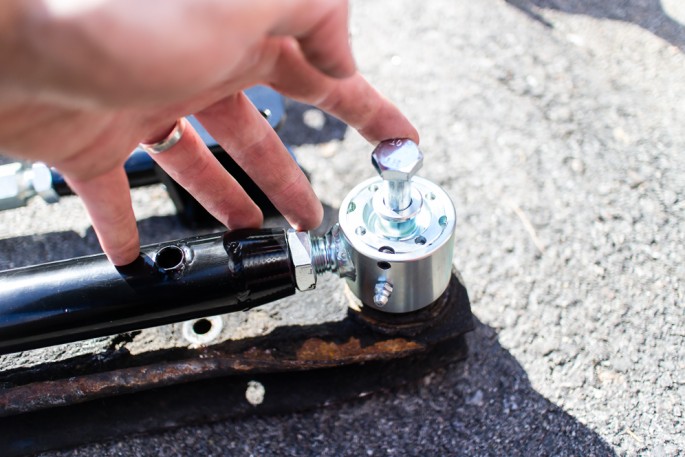
If you’re replacing your control arms but not your rear axle I’d recommend replacing one arm at a time. However, if like me that isn’t really an option, make sure to set all four new arms to the same length as factory to ensure you have the a good starting point. Running bolts through both arms is a good way to do so, seen here.
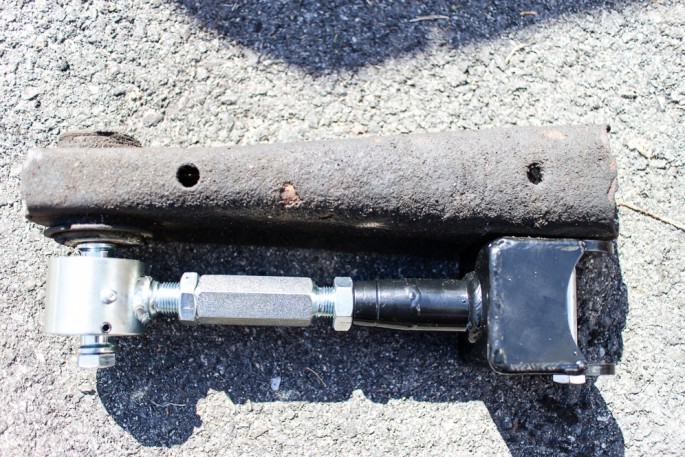
Here’s one of the upper arms with bolts run through both holes to ensure that they match the stock length.
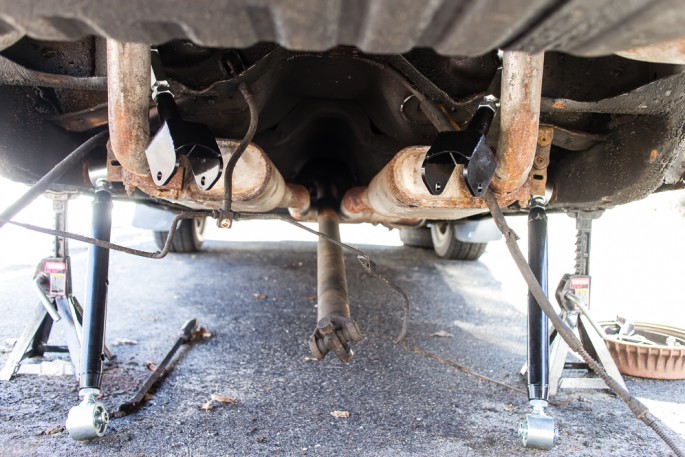
At this point Tony and Greg managed to escape, so I was on my own for bolting the UMI uppers and lowers in place using the new hardware. UMI recommends torquing the bolts with the rear installed and the car on the ground, so at this point the bolts were snug but not tight.
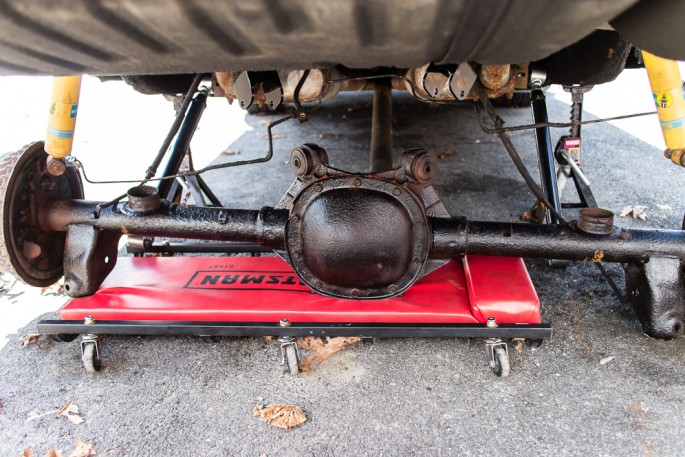
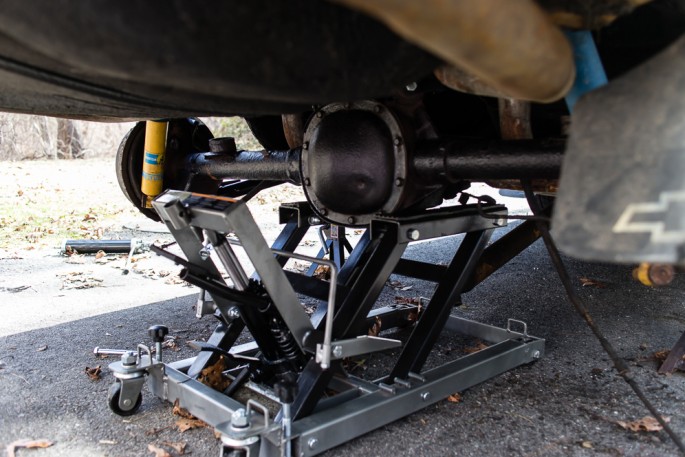
You know what’s fun? Muscling a fully assembled rear axle under a car using a creeper. At this point I was dreading the hernia and associated medical bills I was going to get trying to hoist the rear up high enough to reach the control arms when I remembered that I had a motorcycle jack…

With the rear axle now high enough, I was able to bolt up all four control arms and snug down the hardware.
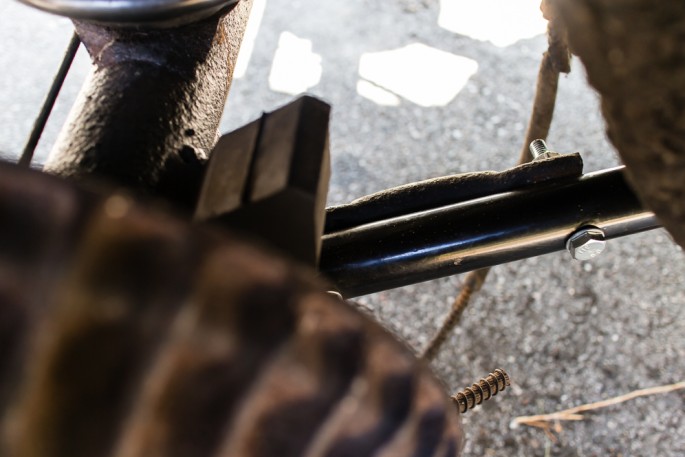
Again, having provisions for a rear sway bar is key if you’re planning on running a stock-style rear bar as I am.
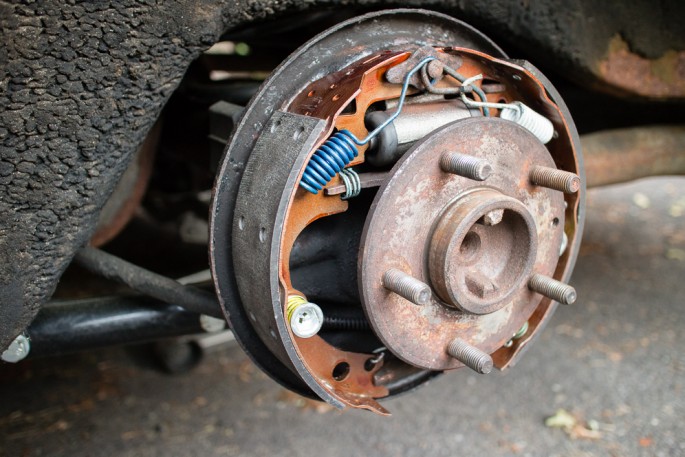
New shoes, hardware, and wheel cylinders capped off this project. However, the person that invented the finger-traps that are the drum brake springs is on my “list”.
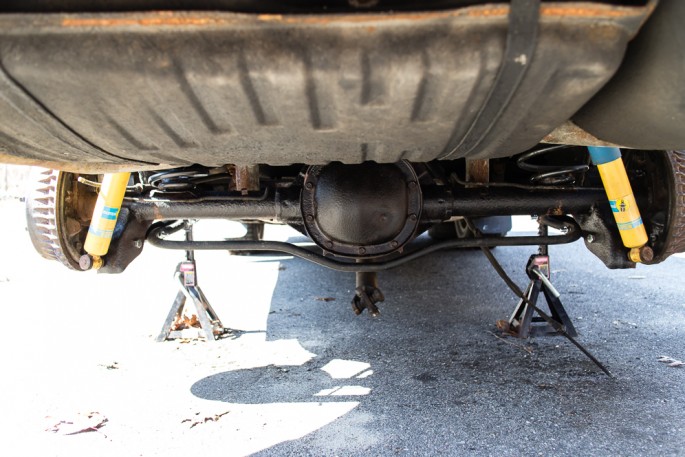
Spring and shocks reinstalled. Victory beer cracked. Facebook status update: “I am a golden god”. Oh wait, the car still doesn’t move under its own power…
At this point (Mid-March), I had managed to meet my goal of installing my new UMI rear control arms before the first SCCA autocross of the year, but was still a moonshot away from getting the car driving in time for the first Points event of the year in April as I had yet to even purchase a transmission. Luckily, I had another Monte available that could potentially fill in for autocross duty. Look for more on that in Part 3…


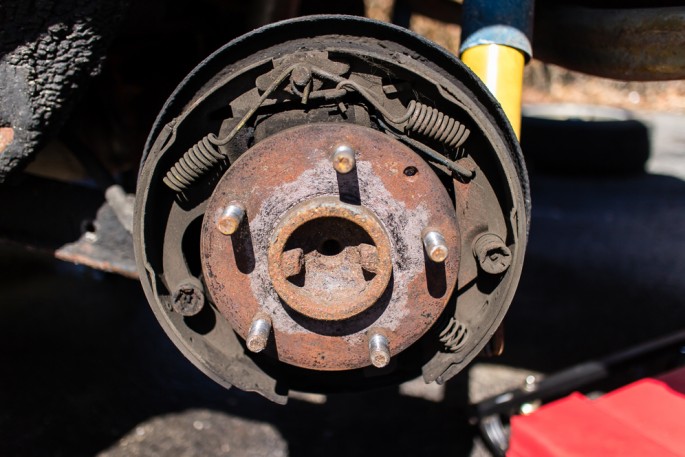


BL was right…
Looking good, Dave!
Keeping the hobby real and alive!
Is that undercoating on your Monte’s rear frame, or did a wheel bearing blow up in the distant past?
Undercoating. LOTS and LOTS of undercoating. We’re talking almost an inch thick in places and the rear frame rails still have some soft spots.
Great writeup. Any plans to put new bushings in the ears on the axle (upper arms)?
I have to razz you a little for needing help. I swapped an 8.8 on an Explorer (to gain 3.73 gears, LSD and disc brakes) by myself using a creeper and a cheap HF jack. But then again I don’t have many friends who can turn a wrench either.