


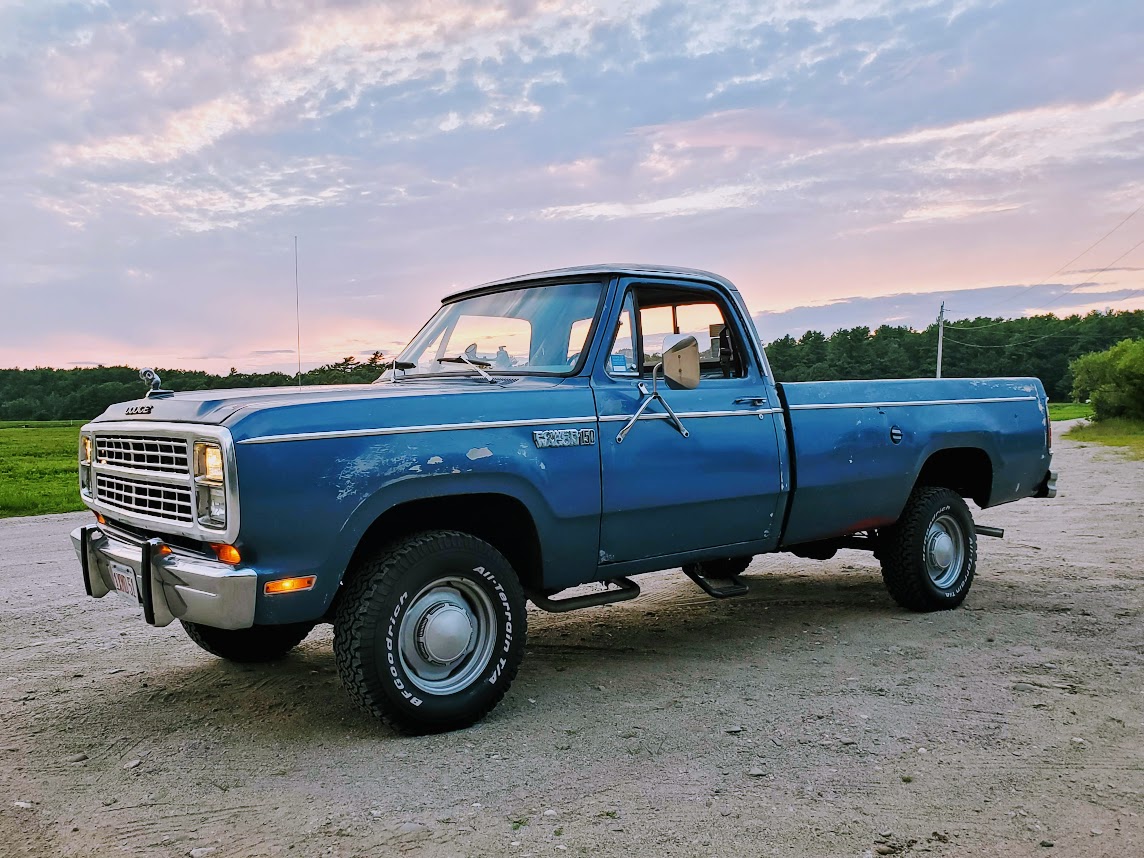
Welcome back to our coverage of Project Power Laggin’! Follow along as we take a tired 1979 Dodge W150 Power Wagon we found in Central Maine and transform it from a derelict roadside attraction to a dependable, powerful weekend workhorse that lives up to it’s given name! In this installment, we begin tweaking our MSD Atomic 2 EFI system in an attempt to get the truck running better than ever. Or so we thought. What happened next was not something we had on our bingo card!
Last time we checked in on Project Power Laggin’, we had wrapped up the install of our new MSD Atomic EFI 2 system as well as our complete Holley Hyperspark ignition system makeover. With the truck finally running, we could dig into dialing in the tune and actually see what the engine is trying to do. Getting the truck running is one thing, but getting it to run properly and efficiently is entirely something else. Where to begin?

Well, the best place to start is with timing. To run right, an engine of course needs to be set with proper timing. While we got it “close enough” to run, we wanted to go back and confirm timing with a timing light. With the Atomic EFI 2, you have to set the timing both mechanically the old fashioned way and by telling the ECU what it should be. We set it to 10 degrees at idle to start. We figured total WOT timing should be around 35, with cruising around 24 degrees. You can also set cranking timing as well. To check it, you disable the ECU timing control, check it on the gun, and then re-enable and check again. It was right about there, but we did notice the timing mark on the balancer was slightly wonky, bouncing back and forth. We figured it was another wire interfering with the inductive lead for the gun and moved on.

One of the coolest things about having the Atomic EFI screen inside the cab is the amount of customization it has while displaying data. There are stock “dashboards” and some slots to build your own custom configurations depending on what live data you want to see. It gives you everything from engine RPM to whether the ECU is in open or closed loop learn status. We tend to keep it set to one of the presets that gives us all of the sensor data we could want. As you can see here, each one of these metrics has yellow and red warning lights, indicating if something is wrong. In this case, the truck is not running, so fuel pressure is low and the voltage is on the low side for running parameters.

While running, we were getting some strange readings, especially with the timing. That should read around 14-15 degrees at idle, but we were getting -8 on the gauge. This was odd, and we’d keep an eye on this.
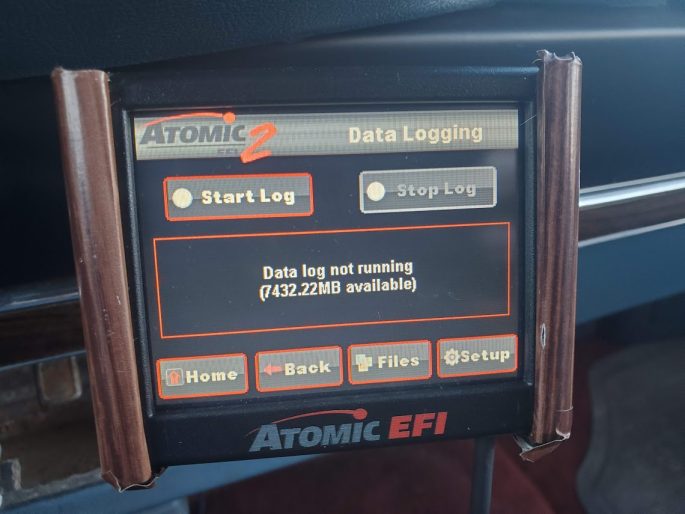
As time went on, we drove the truck as much as possible. It was great being able to cruise in it again after all that work! One thing that was noticeable right away is that throttle tip-in was WAY off. If you gave it more than a feathering of the pedal, the Air/Fuel Ratio would lean all the way out and stall the truck. This made maneuvering around town in traffic a real pain, so it was time to pull a data log. This is easy to do with the Atomic EFI; on the Home screen, just click Logs and Start Log. Then, as you drive, it logs whatever the ECU sees, and you just click Stop when you’re done. It then exports that data to the onboard SD card. Pop that out after you’re done driving, insert it into the PC, and open it with the Holley Sniper EFI PC software.

Viewing a log is pretty simple. On the left side, you can choose what parameters you want to view on the graph, and you can zoom in and isolate sections of the log. What we are looking at here is some real weirdness going on. During tip-in, timing was swinging wildly from idle timing all the way to full timing, and the AFR was literally off the charts lean. This is not ideal. But what was causing that?

One culprit was variable throttle input thanks to the Lokar throttle and kickdown cable setup moving around. It loosened up, and a lot of the parameters that were out of whack rely on Throttle Position Sensor readings. The bracket that holds the throttle cable and kickdown cable in place kept moving on me thanks to a loose set screw. MSD/Holley recommends that you get at least a 90% TPS reading at wide open throttle on the screen, and with it moving around, it was making that a variable percentage. After cranking it down, it has stayed put. While this helped to get the reference values needed for the tune, tip-in was still a mess.

With systems like this, you can let the computer tune itself by learning off of the stock tune that it comes with out of the box, but to get the most out of it, you’ll need to tune it. Think of it like a universal carburetor that you tune with your laptop instead of a pile of jets, float adjustments, and a screwdriver. When I used to sling auto parts back in my college days, customers would come in and buy those universal carbs off the shelf for their aging rides and think that slapping that on their old engine would be a magic cure-all. I’d estimate that 50% of those people brought the fuel-soaked carb back in and tried returning it, saying it was “junk” because it “don’t run right”, just like before. Exactly zero of them tried tuning it with the optional tuning kits we sold next to the carbs. Instead of metering rods and jets, you have to look at the calibration on a laptop and tweak it as needed with the Holley Sniper EFI software to dial in your specific setup. This screen here is the “accelerator pump”, and this is the out-of-box tune. The key here is the “AE vs TPS RoC Blanking” value at the bottom. That stands for Acceleration Enrichment vs Throttle Position Sensor Rate of Change, and the value indicates where acceleration enrichment begins. So, when it sees a 15% value on the TPS sensor, it then starts upping fuel delivery. In carb terms, think of it as the accelerator pump doing nothing until you press the pedal 15%. By lowering this value, tip-in changes thanks to added enrichment. We changed it to about 6%.

After tinkering with the calibration a bit, and after watching a few videos and reading some forum posts, we also reset the timing and fuel maps to resemble what “normal” should look like. This chart is the result. The green areas are where most engine operation should occur. And while it did in fact run better, something was still off. Tip-in was much improved but still weird at times, and timing still seemed variable in spots, and at random. Thinking that the ECU still needed to learn a bit, we just kept driving it.

We kept driving it everywhere, from doing Truck Stuff like dump runs and trips to home improvement stores, to even attending a local cruise night, as you can see here. Talking to people about the “weird carburetor” under the hood was a lot of fun, and the confused looks were priceless!

One weekend, I just finished running some errands, and I wanted to adjust the kickdown cable a bit more, as it was holding onto gears a bit longer than I’d like. And that’s when it happened. I got into the truck, cranked it over, and nothing. It would crank, but it sounded different than normal, almost as if it was cranking faster. I checked for spark, and yup, the Hyperspark CD ignition box was functioning properly. How about fuel? Yup, plenty of that. Fuel pump was providing ample pressure, and I could see fuel in the throttle body. I even busted out the laptop to try loading and tweaking different tunes, to no avail. What gives?

That led me to compression and timing. With plenty of fuel and spark, something had to be off. I grabbed the compression gauge, and after checking all 8 cylinders, only a few had any compression at all. And out of those few, they were getting a maximum compression of 30-40 PSI. Thinking back about how the truck was running funny, and how timing was wonky no matter what I did. I had to pull the timing cover off. I once heard that the timing chains on these older LA-series small blocks like my 318 had issues with timing chains stretching and nylon cam gear teeth cracking, so it was on the list of things to do anyway.

After wrenching for hours, fighting just about every bolt (and snapping two of them) and snapping the oil dipstick tube flush with the block, I was greeted with this. Timing chain stretched worse than any other I’ve ever seen, and combined with cracked/worn nylon gear teeth, the chain jumped off. Yeah, that’ll do it!

Better yet, there was more carnage. I pulled all 16 push rods. The ones you see here that are toward the bed are bent. That’s FIVE of the 16 total that were bent. That cannot be good.

Oh, and it doesn’t end there. I busted out the borescope camera to inspect all of the cylinder walls and pistons, and the intake valve on the #1 piston decided to have a make-out party with the piston. When I saw the hickey it left on the piston, my heart sank.

After moping around for a bit, I was having a conversation with some buddies about the presumed-dead 318. One of them asked me if I checked install height on the valves. Basically, you remove the rocker shaft to close the valves, take your favorite straight edge, lay it across the top of the valves, and if it makes contact with all of them, you’re golden and no valves are bent. And as you can see here, they all make contact. We checked both banks, and all was as it should be. Did our Dodge… ahem… dodge a bullet?
Seeing that all the valves were closed and somehow not bent, that begged the question: could this thing be saved? Theoretically, all that would be needed to get it running again was a timing set, a timing gasket kit, and a set of new push rods, provided there was no other damage. These were all cheap and a lot less work than building a new mill right now, and besides, we could use them on a new engine if this one was trash. If the parts were replaced and it had compression after, would it just fire up and be better than ever? Keep your eyes peeled for our next installment of Project Power Laggin’ to find out!


Do yourself a huge favor. Pull those heads and slap a set of magnum heads on.
Those old heads will need guide seals at a bare minimum. You’ll get better flow, more compression and have a lot of choices for increased rocker ratio.
Do the cam while you are there. You’ll need a different intake manifold, but your exhaust manifolds will bolt up just fine.
Or better yet, swap in a whole 5.9 magnum. Make sure you get the correct flex-plate with the weighted balance for a 5.9 magnum. But you’ll have way more power and likely a less worn engine with a roller cam that you don’t have to be as picky on the oil.