When I last left the build on Raven’s 360ci LA Mopar, I had gotten the ugly truth about the piston rings I had on hand: they were junk. Piston #1’s top ring had broken in half and just fell out the moment I picked the slug up to start cleaning. Not a fantastic start to the last major section of new territory in building an engine I was gearing up for. On the build of this engine, there are three major sections that are brand-new and highly critical parts, for me and for the build:
- Crankshaft installation,
- Camshaft installation,
- Piston assembly installation.
The crankshaft was a cakewalk…measure a lot, measure again, then add lube and stick it in. Then measure once more to make sure you did the job right. The camshaft installation takes slow movements to make sure I didn’t hurt the brand-new bearings and the camshaft looked like I bludgeoned someone to death with the amount of break-in lube I applied, but it’s in the block. The bigger worry for the bumpstick will come when it’s time to fire the small-block off for the first time. The pistons and connecting rods are the final piece of the assembly puzzle that I haven’t done before, and if these didn’t go in perfectly, would prove to be the most expensive issue to deal with, one way or another. Continue on with the pictures to see how yesterday’s work went:
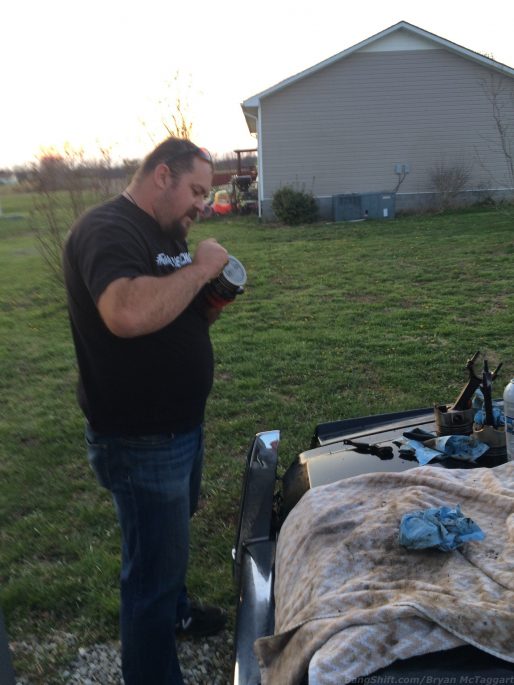
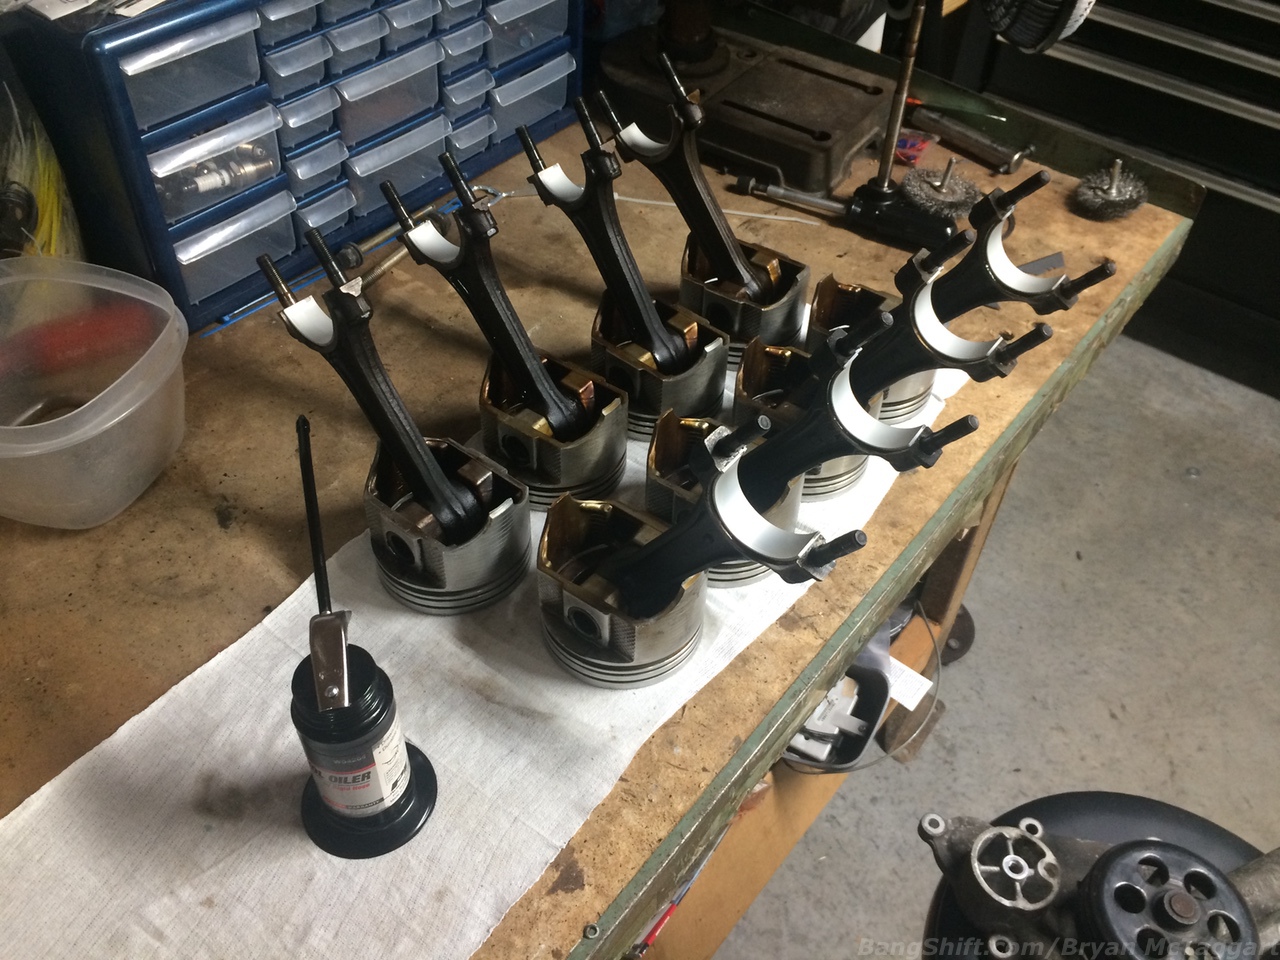
Because this thing is on a budget, the pistons that came out of the engine were going right back into the engine. Part of the work involved cleaning out carbon out of the ring lands of each piston using a middle ring I broke in half and filed down the edges of (thanks for the suggestion, claymore!) For the most part, it worked well enough, but there were a couple of slugs that needed to soak in Gunk to break up the thick layers of buildup before the modified ring would chip it away. Side note: A Fleetwood’s trunk makes an excellent work bench.
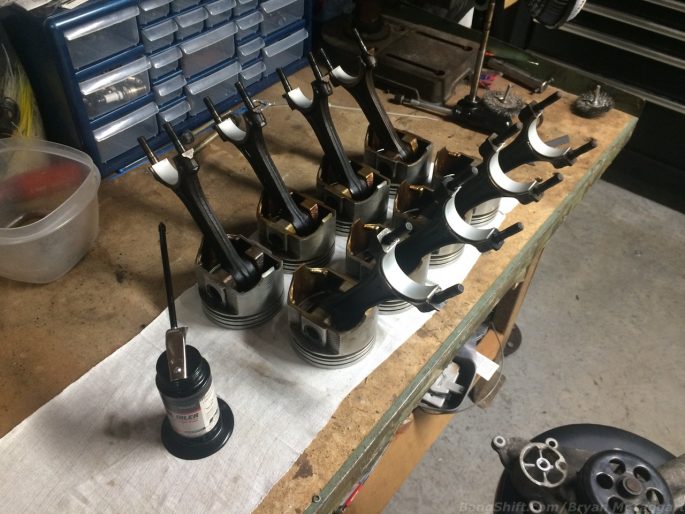
Cleaned up and ready to go. In keeping with the source of the rest of my items going into this build that are of good quality, Mahle Motorsport was once again tapped for the rings. On a hunch, I had a piston measured just because I didn’t want to do the shipping dance with a distributor over the wrong rings…and I’m glad I did. The pistons didn’t have any markings saying they were oversized, but the calipers don’t lie: 4.040″, or a .040 over 360. That means that this little LA is a 367 cubic incher. With the rings on, I drizzled motor oil into the rings, wiped a coating onto the pistons themselves, and started putting them into the bores with the aid of Haley’s uncle. I wanted him there so that as the pistons were being knocked in, that someone was watching the connecting rod end. Nicking the crankshaft journal at this point would be a bad thing. Luckily, that wasn’t a problem…however…
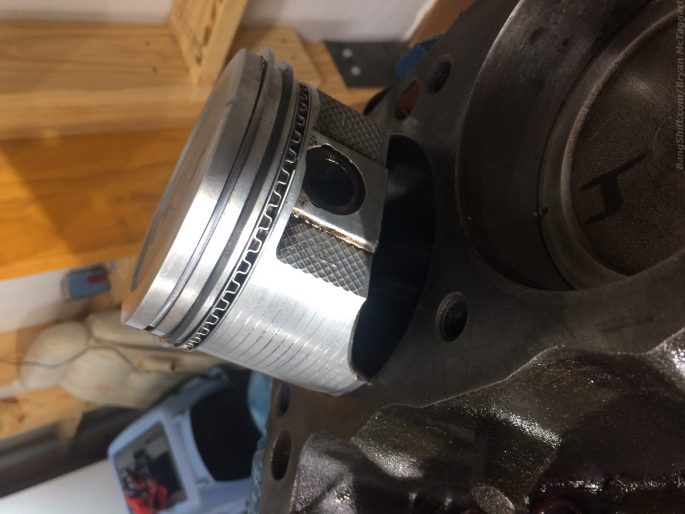
…THIS (censored) piston, the last one, #2, had to be the fly in the ointment. Every other piston went in with no problem. Not this little bastard. Nope. Nothing had been done to the block, and the pistons were numbered and kept in order before I pulled them out, so there was an issue. We weren’t going to force it, so we pulled it out of the bore and took a very close look at the slug.
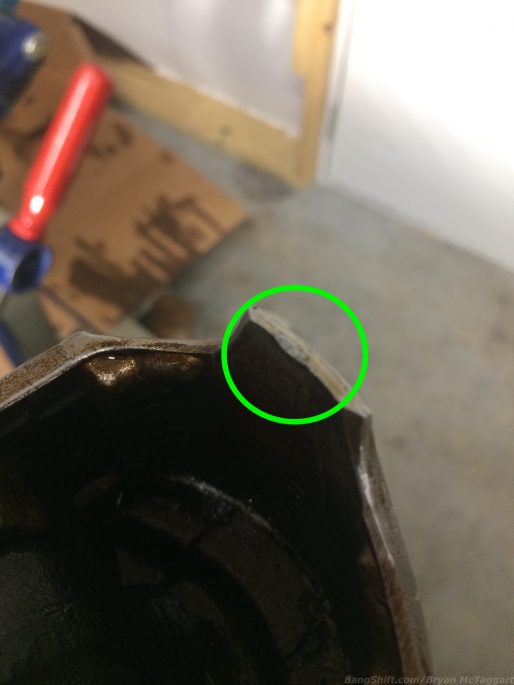
And there’s the problem. At some point, something happened to #2 that pushed this end of the piston skirt out a thousandth or two, just enough to hang it up. We tested the piston top-in-first in the other bores and it dropped in just fine. It was just this one section, so now I had a dilemma: I have no budget for new pistons and it’d put the build back a considerable amount of time while I had the block measured for new pistons. Or…
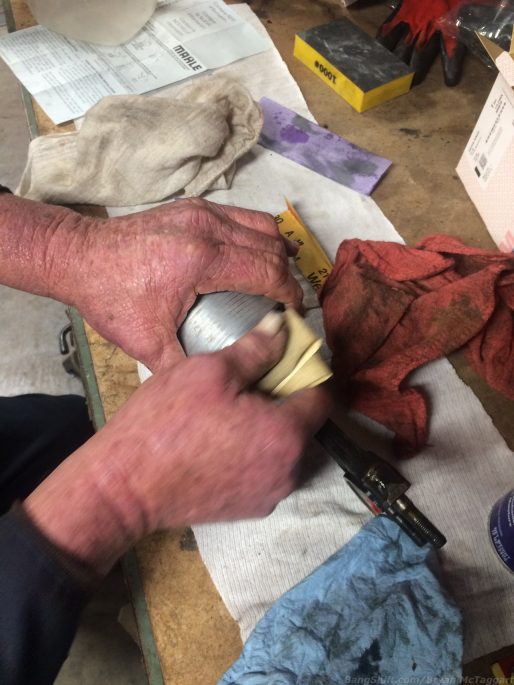
…I improvise. The high spot was located, and hit with three different rounds of sandpaper (180, 380 and 800 grit) were used until the calipers were happy with the result. I will not say this is the best idea. And I will not say that this is what you should do. What I’m going to say is that this is what worked in my case…it didn’t take much work with the sandpaper and the piston fit in and on crank rotation, feels just fine. There’s no witness marks in the bore, either. Until my build fund is filled with more than pocket change and a random moth, this will have to do.
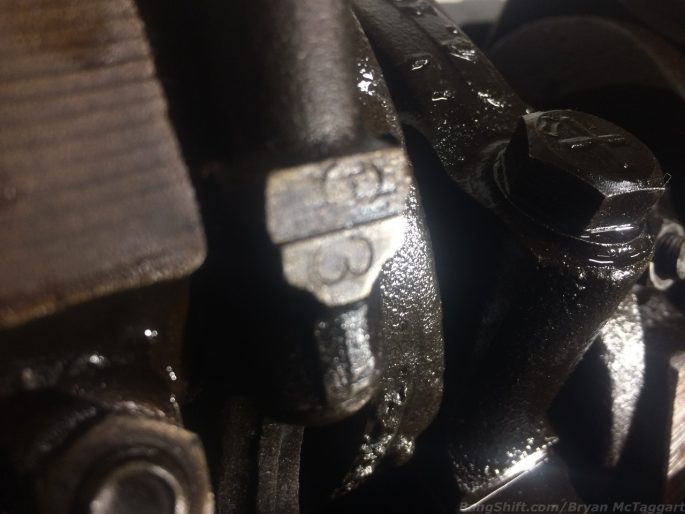
My final lesson of the day involved the rod caps. Notice on this upper/lower set, the number 3 stamped into each end. On this engine there were several individual stamps (the letter H, the letter O, the number 11, the number 3 and a star were all used) and they all lined up. I did not know that until reassembly, and this is one of those details that is easily overlooked. It’s best to keep the rod caps with the piston assembly, but checking to see if there is a matching stamp, like what I found, is a good backup just in case.
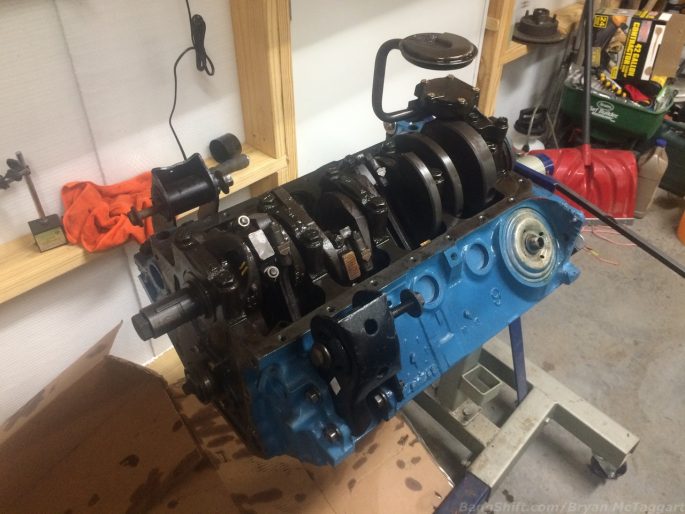
The final buttoning up down below included the oil pump, which bench-tested beautifully, and a couple of seals. The crank rotates beautifully, with every bearing surface covered in assembly lube (the red stuff that looks like Halloween prop blood) and not even the slightest hint of any tightness or binding.
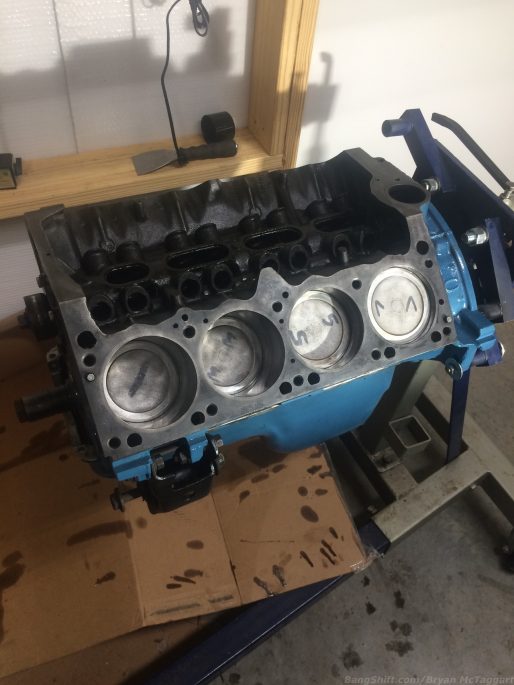
And that’s where we leave the engine for now. Haley’s uncle has offered up to teach me how to do some work on the heads and basic valve work, so that will probably be the next item in line for the 360. I still need to rebuild the carburetor and get it ready to return to duty as well. The engine is coming along nicely. I might moan a little bit about progress being slow, but I’d rather it be slow and done right than done on-time and lasting all of seven minutes.
And that’s not all of the work that’s happened on the Imperial, either. The fuel tank has been dropped to do some wiring checks for the fuel gauge’s functionality and cleanup work on the underhood wiring is progressing nicely. New battery terminal leads wires are here, including a proper positive cable that will replace the horrific mess that exists now. And the wasp nest eradication continues, with the nest count now up to 19 full-size locations, including my first red paper wasp nest – it was tucked up above the fuel tank filler tube. Until next time…




Good going! I knew that if you could keep a helicopter in the air you could do this. Just soak up all you can of his knowledge.
Although we all used to do it, ring manufacturers no longer advise oil on rings/ pistons for assembly. Too much slipperiness on initial fire won’t allow proper ring seat. Many have their own proprietary stuff.
Great work! Can’t wait for first fire up!
Happy my suggestion worked out for you. You are making progress wait until you fire it the first time and you can smile all day LOL. And you did it yourself.