The text from my wife didn’t fill me with hope. “My oil pressure is bouncing from zero to 40 and it started dinging, so I’m coming back to swap vehicles.” Fantastic…not what I wanted to see first thing in the morning. You’re pretty familiar with most of the vehicles that inhabit BangShift Mid-West, but one vehicle stays out of the limelight: Haley’s 2006 Chevrolet Silverado SS, and that’s because it’s the one vehicle I do not have carte blanche to do anything with. I’m allowed to repair it, I’m allowed to wash it, and I’m allowed to use it when I need a truck. Otherwise, that is her baby…and considering how much murder I get away with car-wise around the house, I’m cool with that arrangement. But that text said it’s time to fix the truck, and from my past experience at the parts shop, I immediately thought of how many gauge clusters came in that had to be shipped off for repairs. The problem was one of two items: either the stepper motor for the oil pressure gauge packed it in or the oil pressure sending unit on the 6.0L Vortec was dead. I flipped a coin, made a call and found myself heading to Fitts Cluster Repair, a shop in Hopkinsville, Kentucky. With many photos of rebuilt GM clusters on their Facebook page and recommendations from locals who had work done, it only made sense to give this a shot. The price was reasonable and an appointment was available.
Stephen Fitts is an Army vet who started rebuilding GM clusters in-between jobs, and he’s turned it into a second job and an art form. If it hadn’t been for me asking questions during the process, what you’ll see here might have taken twenty minutes or so from start to finish. So follow along as we go through an entire gauge cluster teardown, test, rebuild, and the addition of some LED gauge lights.
What? The stock ones were fading out and needed an upgrade anyways…

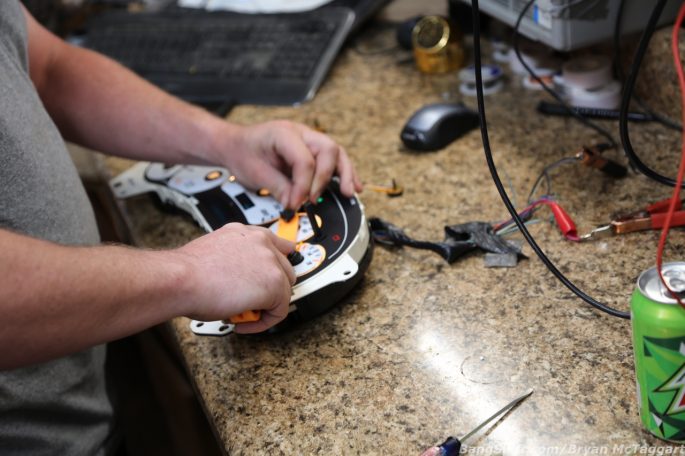
Arguably one of the most impressive things I’ve seen in a minute was how fast Fitts disassembled the dash face and gutted the gauge cluster. Not even thirty seconds, cleanly.

After a quick bench power test, the bezel is split open, the needles removed and the gauge face is lifted. The stepper motors are discarded and work begins on the LED light conversions.

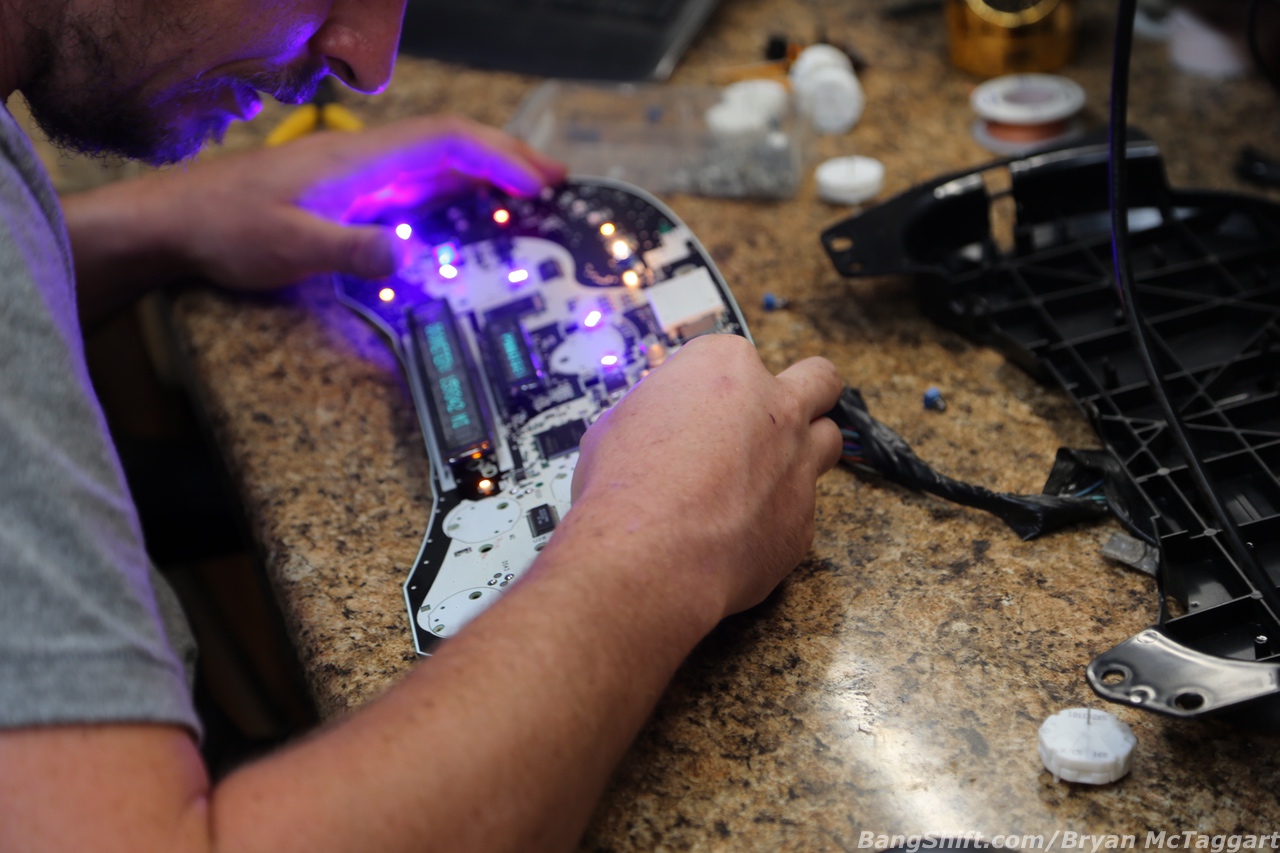
In the green circle, you will see contacts that affect the PRNDL display and the odometer readout. I had suspected that the PRNDL was on it’s way out, and I was right…manual manipulation brought the brightness back up to stock level. The blue circle is the first of the blue LED gauge lights that were installed to bring up the visibility of the gauges, one of my main complaints with her truck.

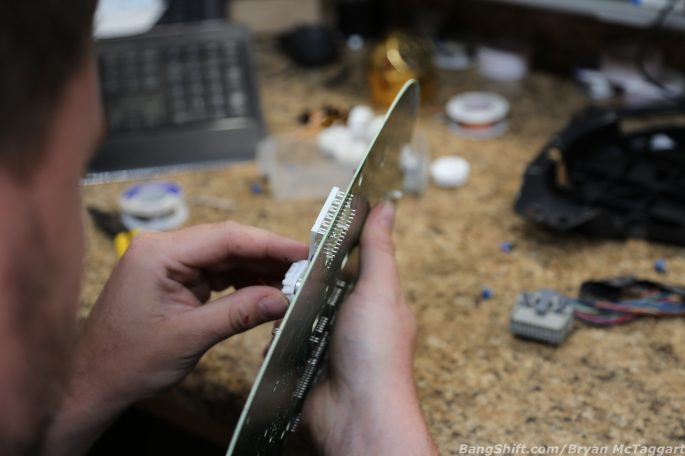
The stepper motors themselves pop in and out, but Fitts was quick to mention that you have to be careful performing this task…you might find yourself having to repair another section of the board if you try to just jam the motors in.

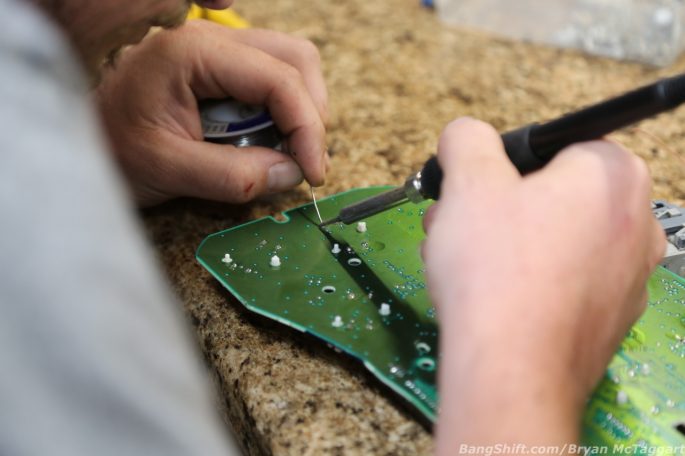
The soldering gun os the main tool used. Fitts uses an adjustable voltage unit and is remarkably sparing with the solder. He has received clusters that look like they were fixed with half a roll of solder before, and has a shelf full of dead clusters that tell the tale of bodged repairs. (He also keeps some junkyard-sourced spares around for parts, too.)

To show the difference between the 1999-2007 GMT800 cluster that he was repairing for me and a newer version, he disassembled this K2XX (2014-present) cluster he’s been modifying to show the difference. The LEDs used on the K2XX cluster are exceptionally tiny, four-connection units…by comparison, the two-lead LEDs on the GMT800 panel are a cinch.

LEDs in place, soldering complete, and ready for testing. The gauge face goes back on and the needles are set and checked to make certain that all is well.

A good cleaning of the plastic cover is the final step after the bezel is snapped back into place. We now have a complete cluster, ready to be re-installed into the truck!

I’d like to say that this fixed our oil pressure gauge issue, but it didn’t. But here’s what it did do: it eliminated the only other option for the trouble. Once reinstalled, we performed a key-on, key-off test and determined that the oil pressure gauge is functioning properly…it’s the sending unit at the engine that’s done. The blue LEDs look great compared to the faded white that they were before, the PRNDL is readable once again, and we shouldn’t have trouble out of the cluster again, which is peace of mind for her truck. I’ll fix the sending unit and we will continue to keep the black beauty on the road!


My oil pressure gauge started acting up last year on my ’07 Silverado. I swapped out the sending unit and that was it. Those things must be good for about 10 years of service!