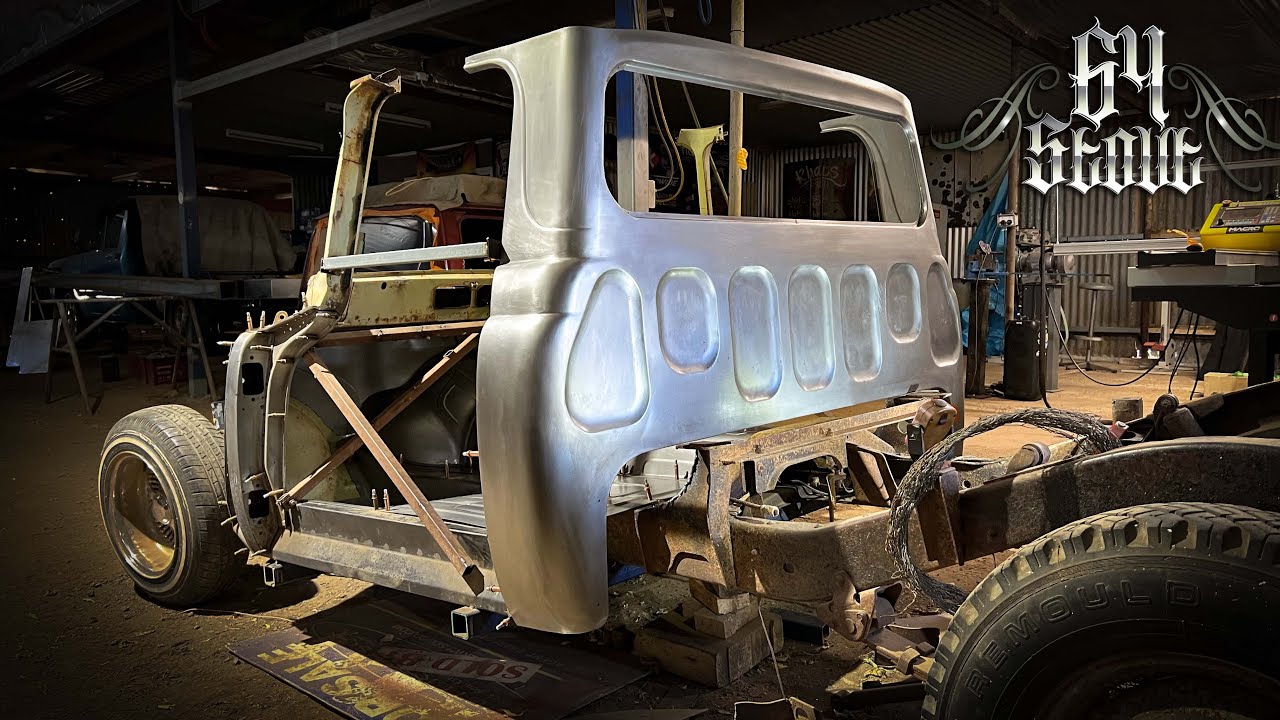
The Khaos Design Stout build is something special. Not only because it is a fairly rare, but also because it is being done very custom. And when I say custom, I don’t mean paint or bolt-ons. I mean custom metal work, much of which will never be seen by most people, and it is awesome. So check out this latest update, where the top is getting chopped and at the same time the cab is getting extended just enough to be more comfortable, but not enough to make it look out of place. Check it out.
If you’ve never seen a Khaos Design video, then you are missing out on a builder who has some serious metal shaping and design skills. The most recent build she’s doing is a 1964 Toyota Stout pickup. We haven’t shared the entire build, although we might now, but we did share the video from her where she shows off the firewall build. This thing is unbelievable in that she does such simple designs that look amazingly trick, and are so well executed.
If you don’t find this video both educational and inspiring, then you are missing the point. There are also some cool tricks here, that she doesn’t talk about, but that you good observers will undoubtedly catch. One of them is the sanding attachment on her reciprocating saw. I dig this one and want to try it out myself.
Can you see it in the video. Watch and let us know what you think.
CLICK HERE IF YOU MISSED THE FIRST VIDEO
Video Description:
In this episode, I deconstruct the roof and rear wall pieces and commence the roof chop and cab extension.
I ended up chopping it below the window, this way the window will stay proportionate. When the roof is chopped, the top piece moves downward and the B pillar pieces need moving outwards at the base to line back up with the outside of the body. This creates a wedge of blank space which needs filling. Instead of filling the gap, I made some new upper a pillars and whilst doing so, I deleted the rain gutters, extended it 60mm, added a swage line and rounded the edge of the door opening off.
Whilst removing the rain gutters, I added a little subtle lip to the back of the cab above the rear window. To take away a bit of guesswork, I drew the back of the cab to scale on the computer and then printed the template. The technology is there so why not use it. I also made quite a few new pieces to replace rust/ save plugging up spot weld holes. the lower corners were remade as they fell short after the body drop and body section. In the next video I’ll be filling in the back of the floor after the cab extension.
Cheers for watching!


