


We always like cheap, easy fixes to things that annoy us. Driving around 50 year old cars means that having a working windshield washer pump at all is a luxury. But, keeping that stupid thing working is a real pain.
Most GM’s from the ’60’s to mid ’80’s had the plunger style washer pumps that had a plastic plunger in a plastic tube that used rubber flap style valves to pull washer fluid in, then shoot out the fluid, when they function. There are kits to replace all the O-rings and rubber valves. But, they seldom work very well, or for very long.
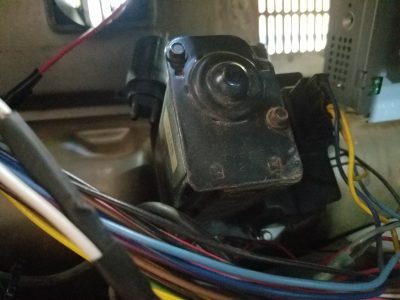
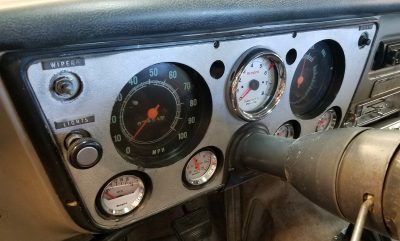
Tonight’s victim is Project Hay Hauler, the ’67 GMC pickup. This era of GM pickups has the wiper motor/washer pump under the dash, behind the radio. A giant pain in the backside to work on. I would rather keep a squeegee and a bottle of Windex in my truck forever than try to work on a wiper motor way up in the back of my dash.
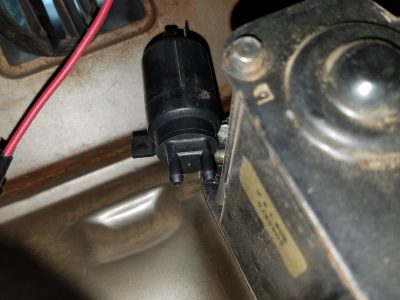
When looking up behind the dash, I saw that there was an old electric pump that a previous owner of the truck tried using instead of pulling the washer motor to fix the washer pump. I guess I am not alone in hating this work. It also explained the old momentary switch that was under the dash when I bought the truck.
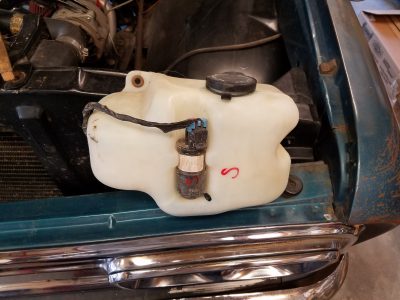
So what is a better option? A friend once mentioned to me that late ’80’s to late ’90’s GM trucks used an electric washer pump that was attached right to the washer tank under the hood. I finally remembered this on a recent junkyard jaunt my local yard, Andersen’s Self Service Auto Parts..
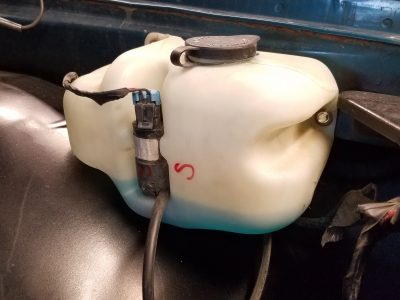
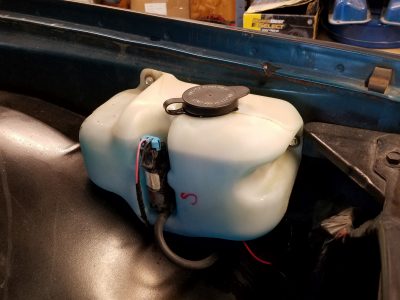
After looking at a bunch of fullsize trucks, I noticed that S10’s had the same set up. But, the S10’s used a smaller washer tank. This seemed like a better idea to make it easier to find a place to locate it under the hood of the GMC. I actually grabbed two of these for a mere $20 bucks.
The first thing to do is to find a place where you can mount the new tank. The most obvious place would be where the original tank was located. If you ever see this 50 year old tanks in cars, they are usually brittle and broken. Mine is amazingly still unbroken and holding fluid. I didn’t throw it away. It went into the giant box with other GMC parts on the shelf.

The new tank seemed to fit better right on the inside of the driver’s side fender.
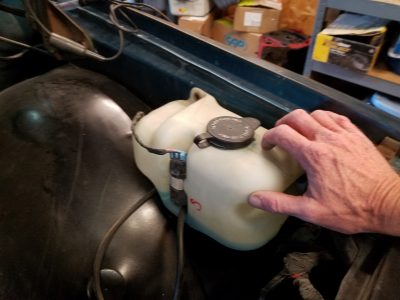
With a couple self tapping screws, the new washer tank was mounted.
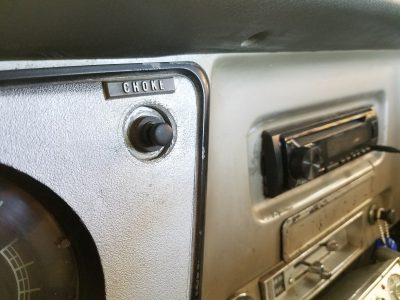
The next step is to find a place for a momentary switch and wire it up. The 67-68 dash panels have the wiper switch on the left side, while the later had the switch it on the right side. The 67-68’s had a choke knob there. If you want to get crafty with your wiring, you can skip the separate switch and connect the power to the washer pump straight to the wiper switch. I didn’t feel like doing that. I had a super cheap button switch in my electrical parts stash. I mounted it where the knob for the original choke cable went.
I ran the power wire to the washer pump along the original under hood wiring.
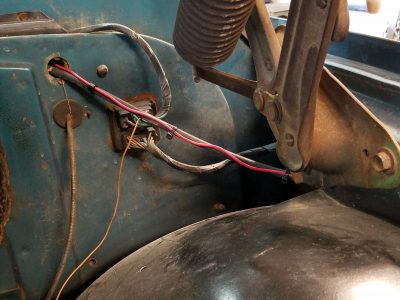
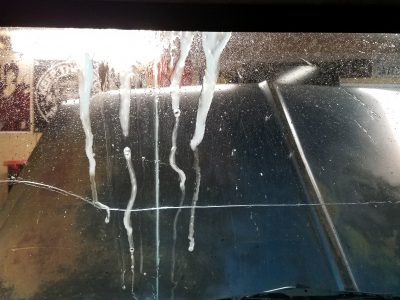
With new hoses ran to the washer pump, I tucked the wiring away under the inner fender to get a cleaner look.
The final test was to turn it on. It took a couple seconds for the pump to move fluid through all the hose, but the spray was strong enough to shoot straight over the windshield spraying the ceiling of my garage. A little adjustment to the spray nozzles and everything was finished. Ready for my road trip. RMRW 2018.
Scott Liggett


Good to see another Hay Hauler tech article! This one will come in handy for my K10!
Note that this is Scott Liggett writing about his truck, not the site owner as it looks like when you first start reading.