(Words and photos by Scott Liggett) – We know many Bang Shifters are not made out of money. We are in that crowd ourselves. Any way we can save money on our project cars allows us to have a better car or truck. The easiest place to save money using our time and sweat instead of paying shop labor rates. One place many people often over look is the assembly part of rebuilding an engine.
Sure, there are few that have access to the tools necessary to do machine work on our engines, but putting together an engine doesn’t require fancy tools. A good torque wrench is about the only fancy tool that we needed putting together a 454 we recently had machined for a rebuild. Since we were getting estimates up to $500 from machine shops to assemble our engine, we decided that we save that money by taking the time to do it ourselves. That is just putting the new parts and machined block, crank and rods back together.
Yes, we were a bit apprehensive to do it. Engines are not cheap to get built these days. That can scare many people away from attempting this kind of work. But, after talking to some friends and our machine shops, we decided to go for it.
Truth be told, this is our second time assembling this 454 after machine work. But, the reasoning for this had nothing to do with the machine work done, or assembly job. We had two things that had us pulling the engine again after only 10,000 miles. First, we had constant lifter noise after the engine warmed up. Second,was piston slap from only doing a dingle ball hone with the original pistons with new rings and bearings. All the lifters failed a bleed down test and the pistons had too much clearance after the home honing job. This time we bought new pistons and had the block completely machined top to bottom with a .030 over bore. The rotating assembly had to be balanced for use with the new pistons.
You want to work in as clean as space as possible to avoid debris getting into your fresh engine. We were working in Scott’s one car garage at his house, which is pretty clean. We kept the engine covered by old, but clean towels in between days we were working on the engine.
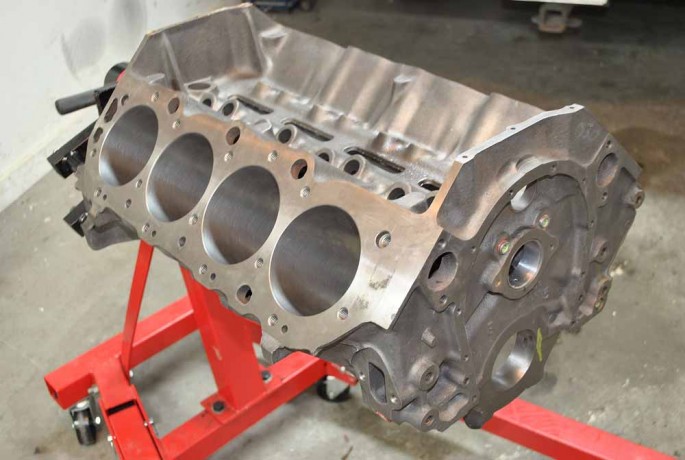
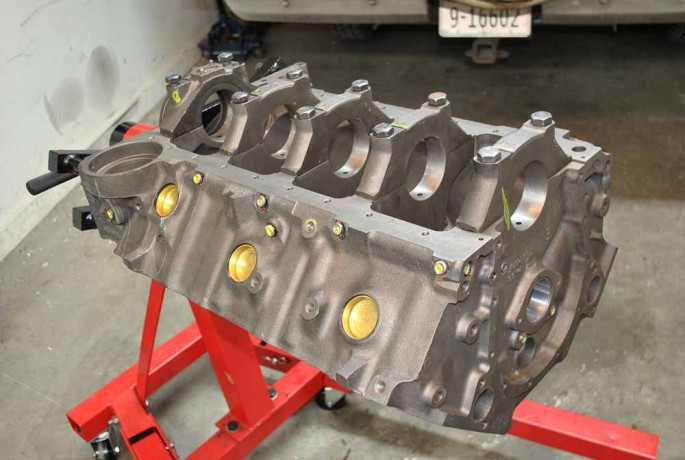
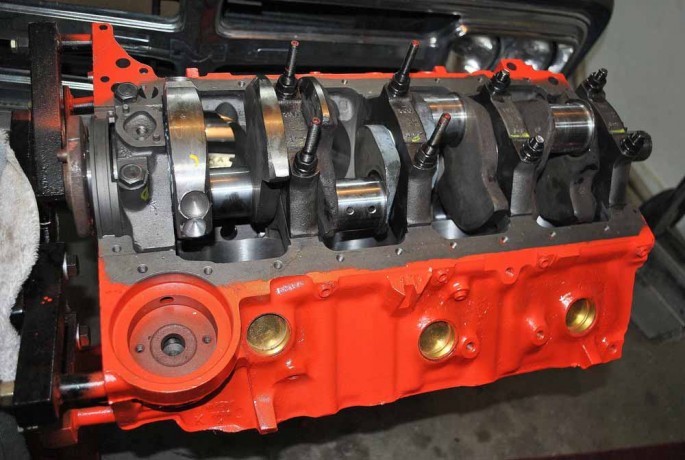
This is how we received our 454 block back from the machine shop. The guys over at BluePrint Engines did the work for Scott and the block came back looking like a brand new casting, not like a 45 year old block. In case it isn’t obvious, the first thing to do is to get it on an engine stand. We got our from Harbor Freight, but this one is the big dog. A fully dressed 454 weighs near 700 lbs. They also replaced all the freeze and galley plugs for us.
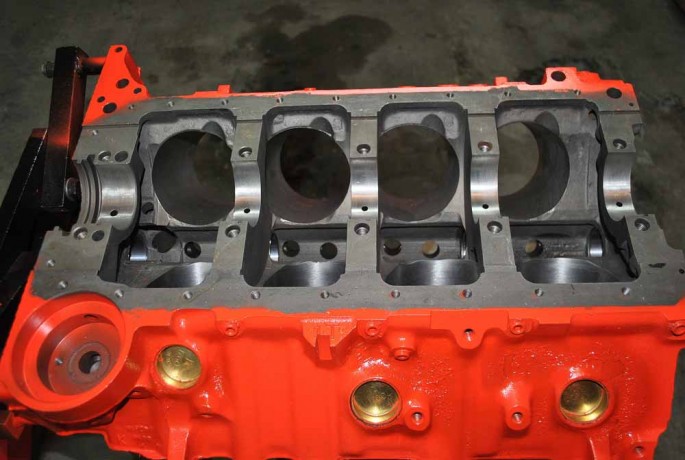
After taping off the areas we didn’t want painted, we shot the engine in Chevy Orange. We were told not to paint in the oil filter housing, so we took some time to clean that up later in the build.
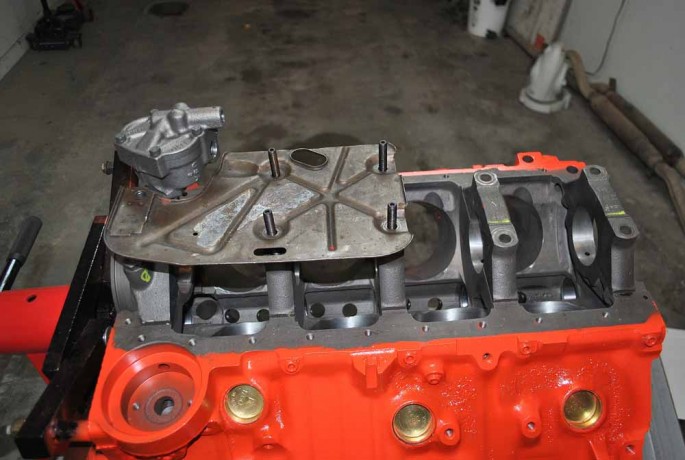
Before doing any assembly, we decided to see if our factory windage tray would work with the Milodon 7 quart oil pan and Melling high volume oil pump we are using. We also decided to upgrade to ARP main studs instead reusing the original main bolts for better support for the crank. The studs have provisions for the windage tray.
Even though the Milodon pan has these dimples to make room for the studs, we had to dimple them a bit more so the pan would sit flush on the block.
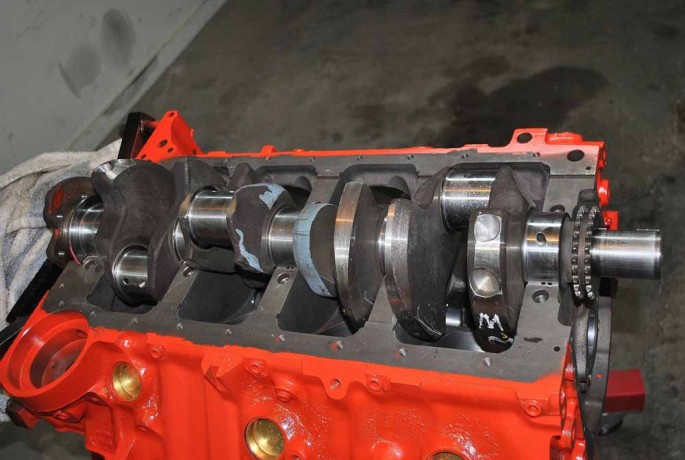
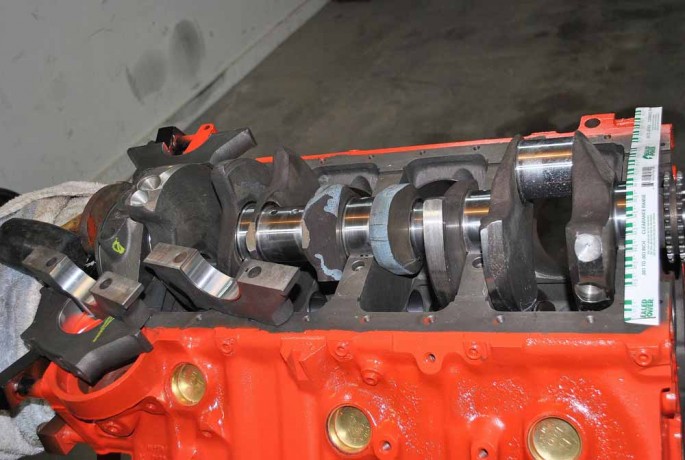
BluePrint Engines did the crank turning and balancing for us as well. The crank was standard when we took it to them, but polishing did not get all the scratches out of the bearing surfaces, so we had it turned .010/.010. They balance all their rotating assemblies below 2 grams, but ours came out .41 grams on the front and .89 grams on the back. We first laid in the block sides of the main bearings and carefully laid the crank in the block without any assembly lube at this point. Forged big block cranks weigh in excess of 60 pounds, so if you can get help to set it in the block, do so. Dropping it on your bearings, or your foot, would not be good.
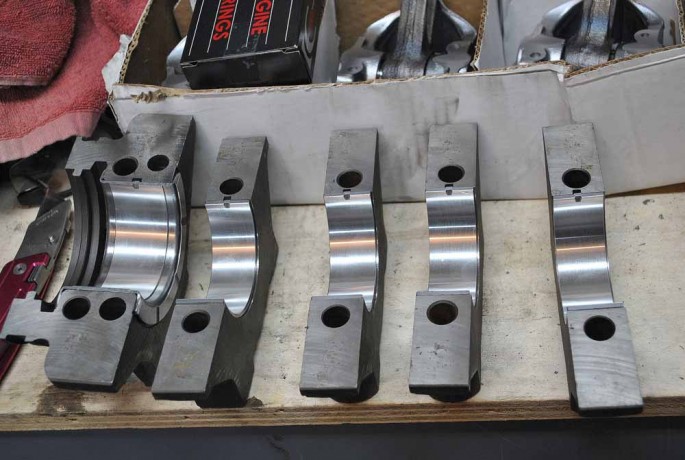
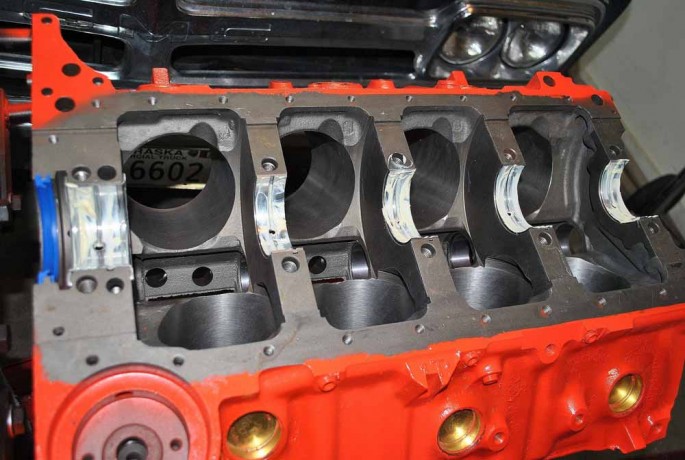
Next, we cleaned the main caps with Brakleen and a lint free rag before installing their half of the main bearings. Even though the block was thoroughly washed after machining, their was still some dirt after sitting around for two weeks before getting to work on it. The rear main seal is not needed at this point.
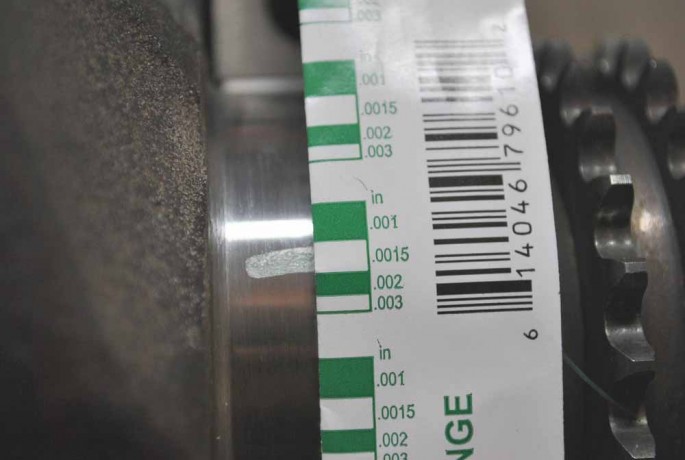
We got some Plastigauge from the local parts store to double check bearing clearances. Your machine shop should have done this during the machining process with their measurements. You are just making sure. Taking your time and being anal during engine assembly is a good thing. After laying the piece of waxy, plastic string across the bearing surface on the mains, you place the main caps on and torque them down to manufacture specs. In the case of our 454, it was 105 ft lbs.
Next, remove the main caps and check the measurements on the Plastigauge’s paper cover. Our Chevy Factory Overhaul Manual says that the main should have between .001 and .003 clearance. All of our mains had .015 readings. This is only approximately, but you are being sure of what you got before you have the engine together and running. The alternative is finding bearing material in your oil filter after a few miles. Not a good day. Repeat this process on all of the main caps and bearings.
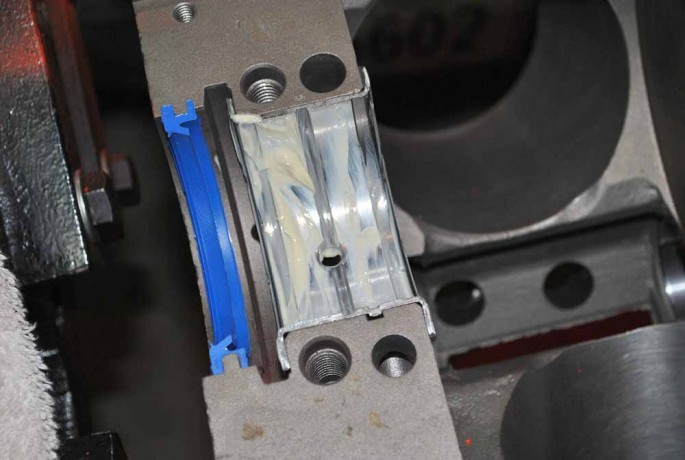
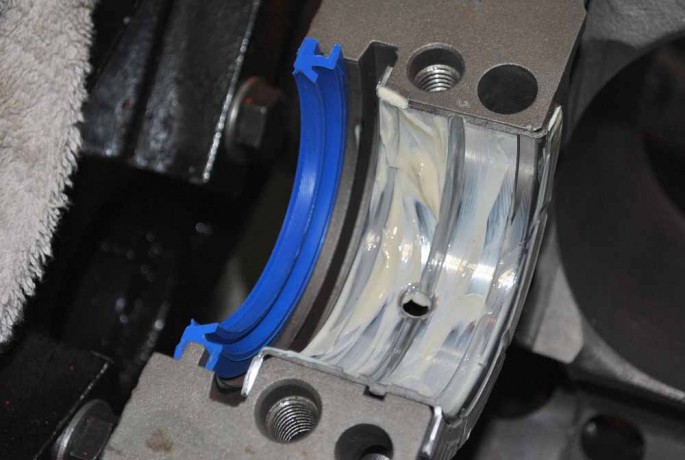
Remove the crank from the block, then get out your engine assembly lube and liberally cover the main bearings. Then, you need get out the rear main seal from your engine gasket set. Fel-Pro includes instructions on which way it is suppose be installed to keep it from leaking all over your driveway.
Some people say you should install the rear main seal halves offset slightly for better leak protection. Others don’t. We did.. We did add a little bit of RightStuff sealant on the seal ends for added security.
Now your crank is done. Time to move on the connecting rods and pistons. We used the same plastigauge on each of the rod bearings to check their clearances as well.
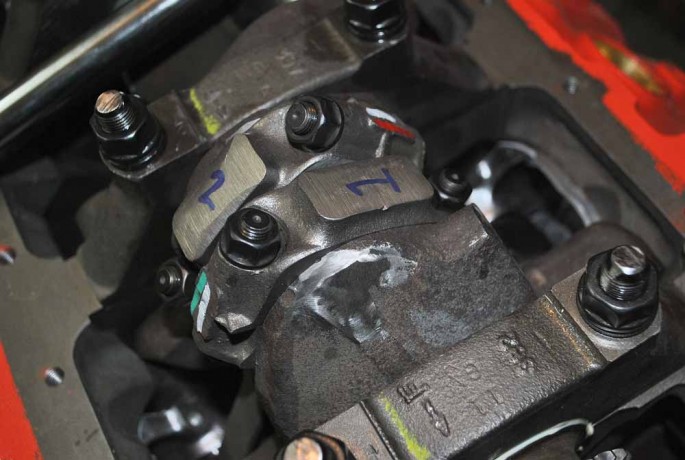
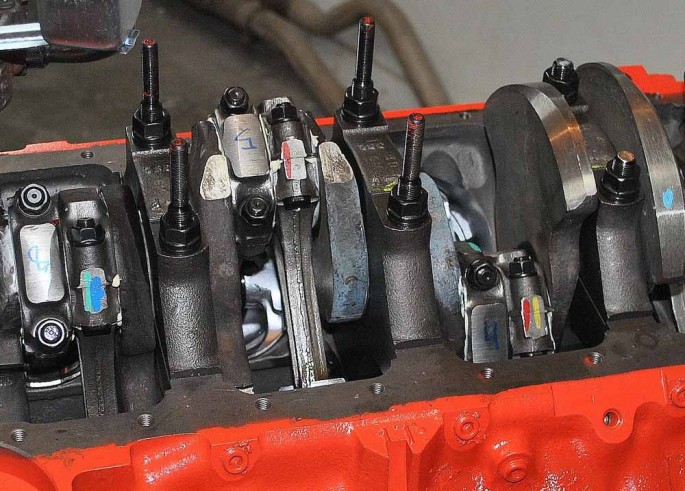
For the purpose of checking the bearing clearances with the pistons already installed on the rods, we did this before installing the rings on the pistons. This made sliding them in and out of the bores much easier. The rods were stamped with their numbers when Scott took the engine apart before machining, but he wrote big numbers on the end caps cause he is slowly going blind like all middle aged men. The machine shop added those colored paint dabs as part of their checks and rechecks. They mark the side of the rod that has the rod bearing tabs. The tabs should face towards the outer part of the block.
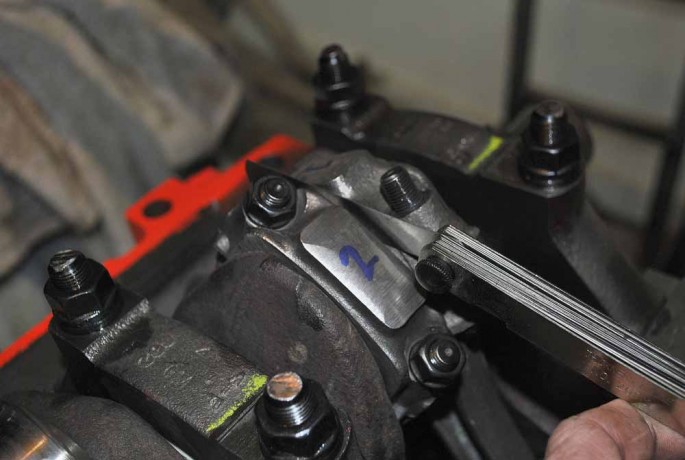
Torque the rod bolts to their recommended specs. Before removing the rod caps and checking the clearances with the plastigauge you used, check the side clearances on the rods. We checked between the rod pairs and between the rods and the crank sides. On our 454, those clearances should be between .015″ and .021″. Bearing clearances on our 454 is the same as mains, .001″-.003″.
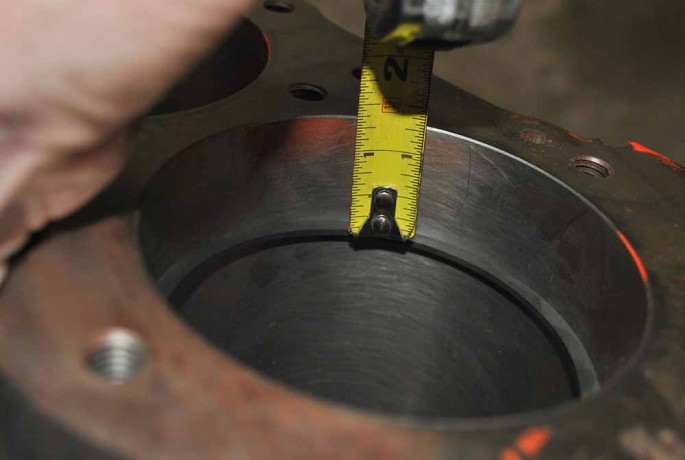
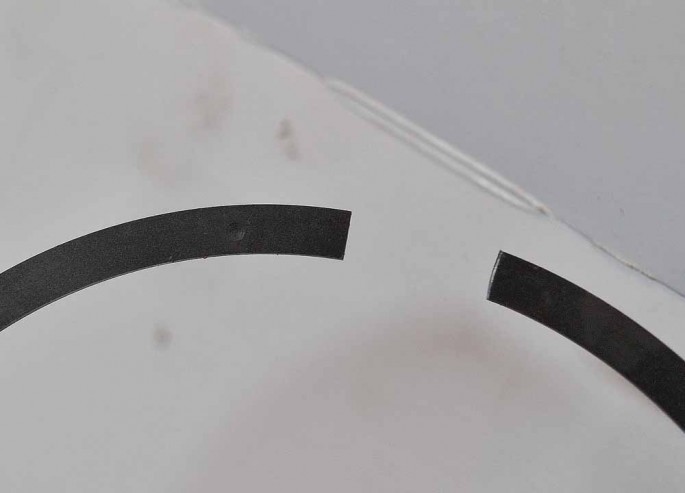
After checking the rod clearances were all good, we moved on to installing the rings on the pistons. Even if you buy rings that are supposed to be pregapped, we suggest you check the clearances anyways. Remember what we said about being thoroughly anal? Our rings came with our piston set from Keith Black. They are moly rings, but we had to gap them. It is tedious, but necessary. Too tight of clearances and you will break them and the ring lands on the pistons. Too loose and you can have oil usage problems and lack of power. We wanted to get consistent measurements, so we always made sure they were the same distance down in the bores each time.
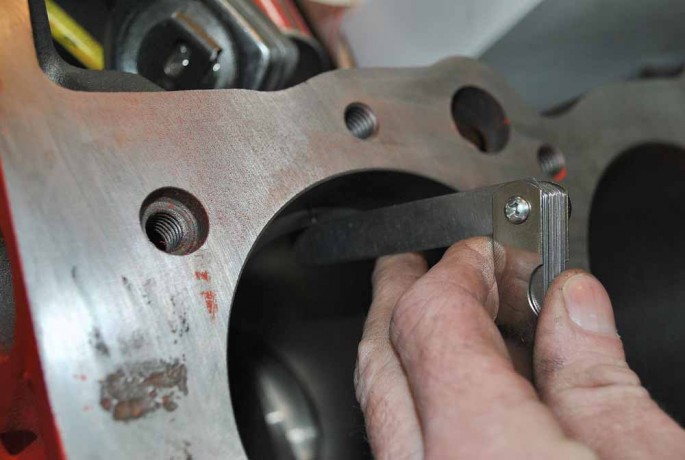
Using a feeler gauge find the clearance on the ring. The measurement will depend on the type of rings you are using and the intended purpose of your engine. The use of nitrous and boosted engines need more clearance for the added cylinder pressure and heat. We wanted .021″ on the top ring, and .024″ on the second ring.
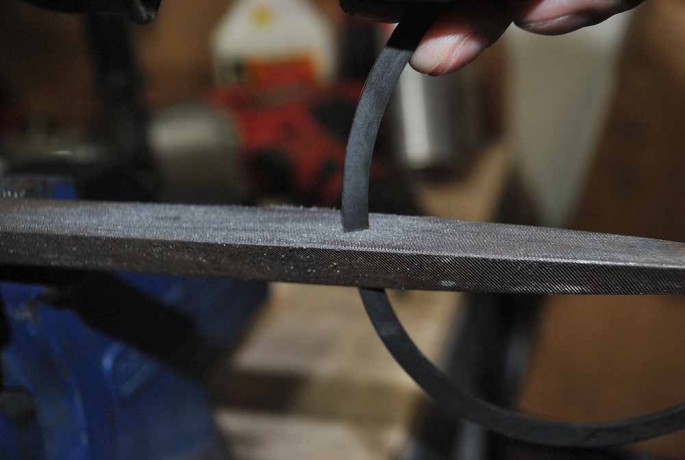
Our rings needed a bit of filing. here are ring gapping tools available from many companies, but we put a metal file in the bench vise and gently ground them a bit. Do a little bit at a time. Don’t get in a hurry. It’s better to go back to the file a few times, then over gap your rings.
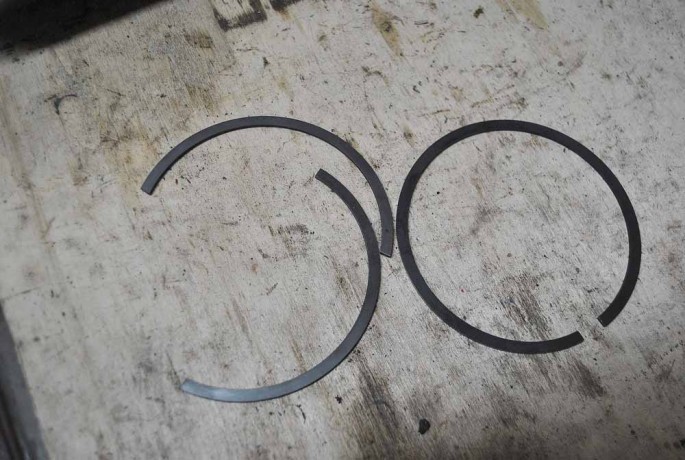
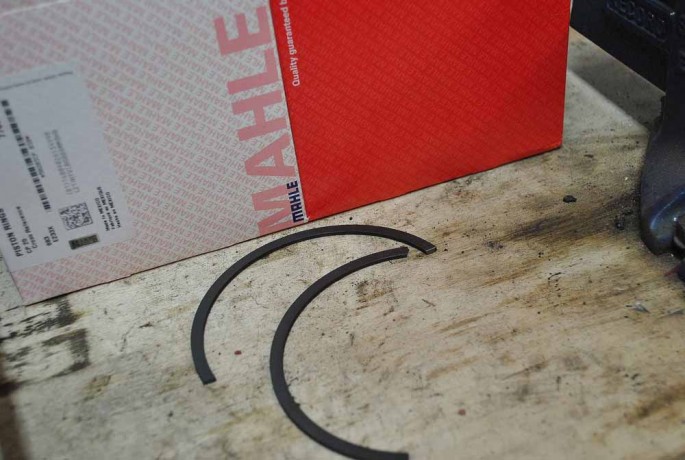
Once all 16 rings are gapped, they need to be installed on the pistons. Certain types of rings are reversible. Ones that are not often have a dot to which side is the top. Keith Black’s instructions said not spiral them onto the pistons. This means we needed to spread the two ends apart in order to get the rings on the pistons. There are many inexpensive tools for safely doing this. We should have gotten one ourselves as we got impatient and broke one of the rings trying to install it. The oil rings are the easiest to install and are usually three pieces.
Since ring sets don’t come with spares, we had to order another set. We were able to get another set of the same style and material from another brand, but it will work.
Clock the rings 180* apart before moving on to installing the pistons and rods in the engine for the last time.
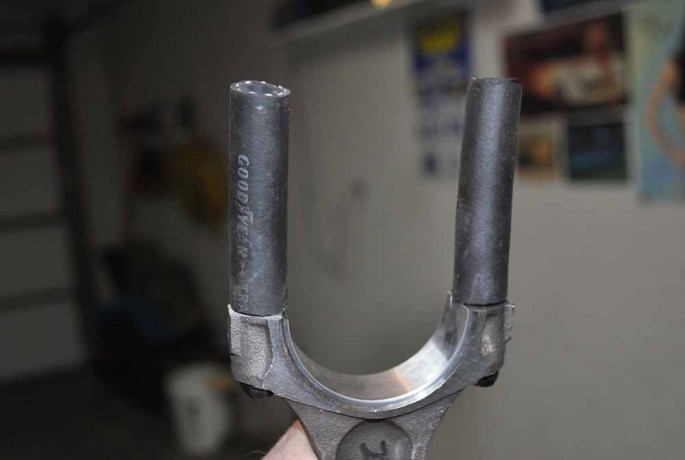
Now that there are piston rings on your pistons, getting them into the block is a little more work. So not damage the bearing surfaces on your crank, cover the rod bolts with rubber hoses or specific boots so not to scratch crank. We just used 3/8″ fuel line.
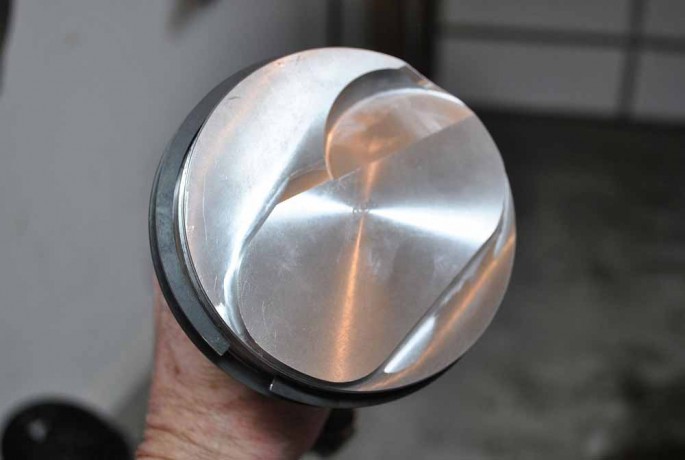
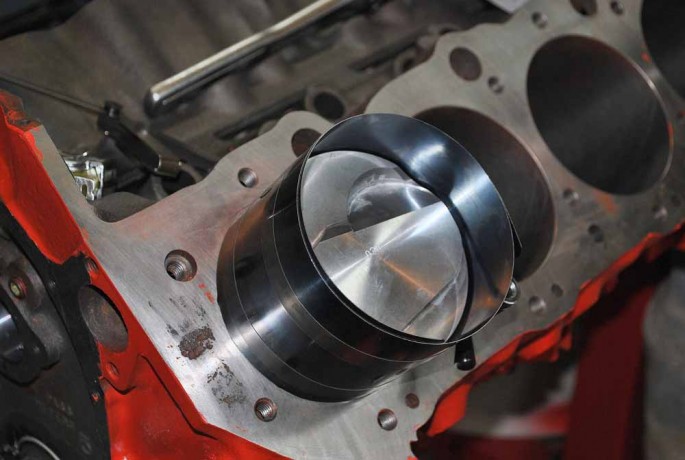
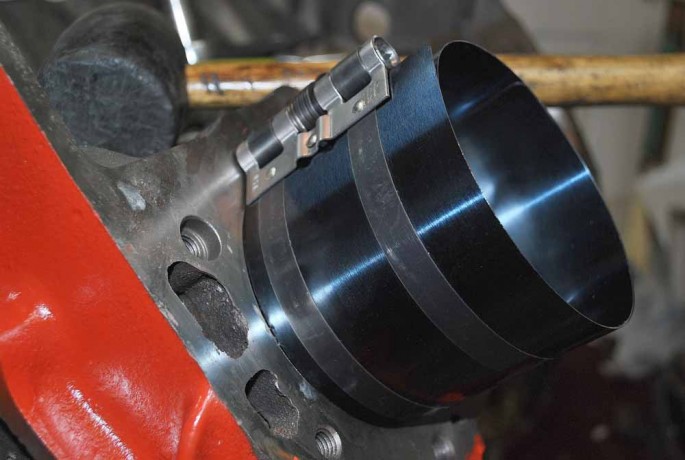
Now, it’s time to install your rods and pistons for the last time. You will need a ring compressor. There are fancy, size specific ones available. We just used this $18.00 one we got at Napa. Set the rod into the bore, then tap the compressor flush with the deck surface of the block. Be sure the valve reliefs in the pistons are oriented in the correct direction.
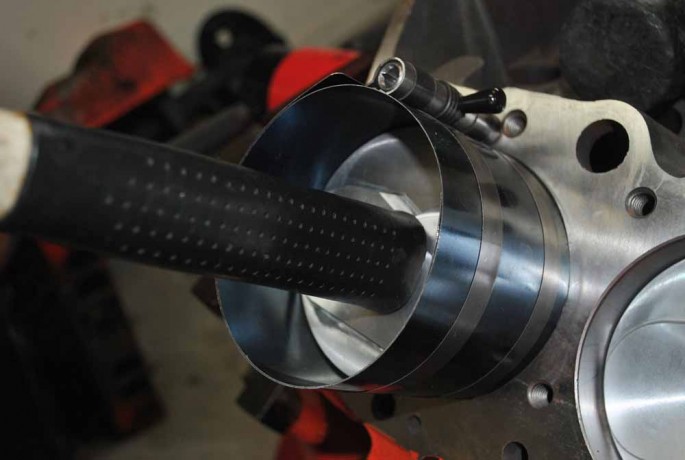
We used the rubber handle of a ballpeen hammer to tap the piston down into the bore. A dead blow, or a specific dead blow piston driving tool will work as well. Just do not use anything metal against the piston face. That would be bad.
With this type of ring compressor tool, you do need to stop a couple of times during the piston installation to be sure the compressor stays flush with the deck surface. If the piston ring slips out, you will be starting over.
Use the engine assembly lube on the rod bearing halves just like the main bearings. When you get the piston driven down to where the rod meets the crank throw, put the rod cap on the rod and tighten the bolts down to recommended specs. Our ARP rod bolts were torqued to 50 ft lbs.
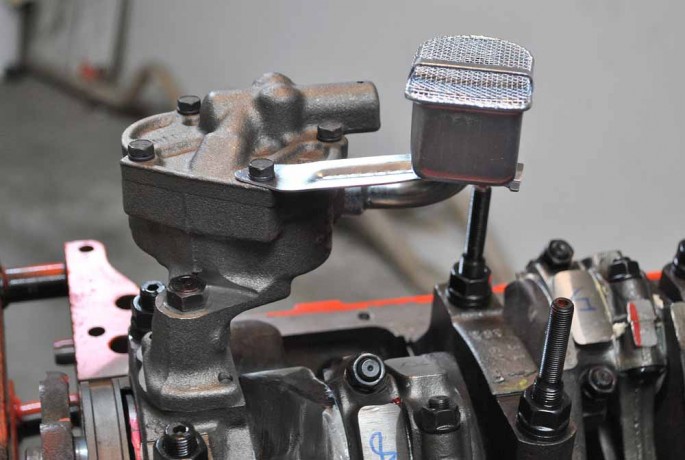
You will need to install your oil pump next. Don’t forget the oil pump pickup screen as well. We are using a Melling high volume pump and a pickup screen for use with a 7 quart oil pan. This pickup screen is pretty much dummy proof in it’s installation. We still checked for it’s clearance to the bottom of the oil pan. Before installing the oil pump, make sure you install the oil pump drive shaft first, or the day you fire up your engine will not be a good day. The oil pump’s bolt gets torqued to 60 ft lbs on our 454. The rotating assembly installation is complete.
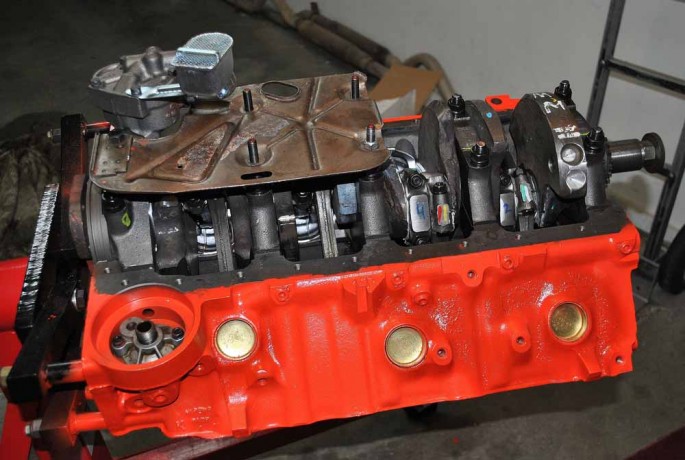
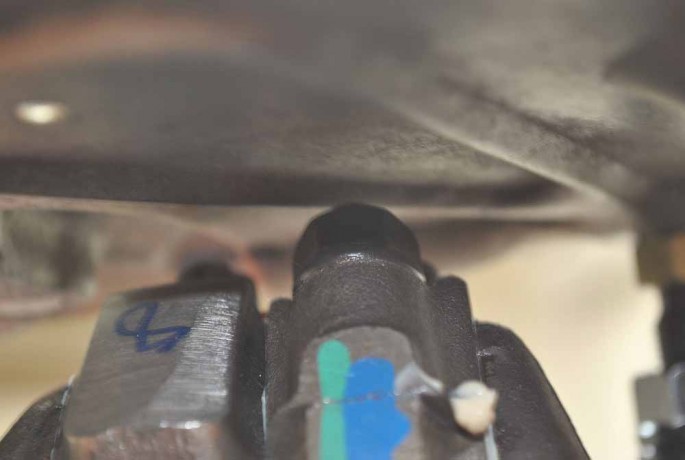
We took some extra time to install our factory windage tray for better oil control and a few more horsepower. Our ARP stud kit included the four longer studs for its use. Be sure to check the rod clearance under the windage tray. Rotating parts need at least .060″ clearance.
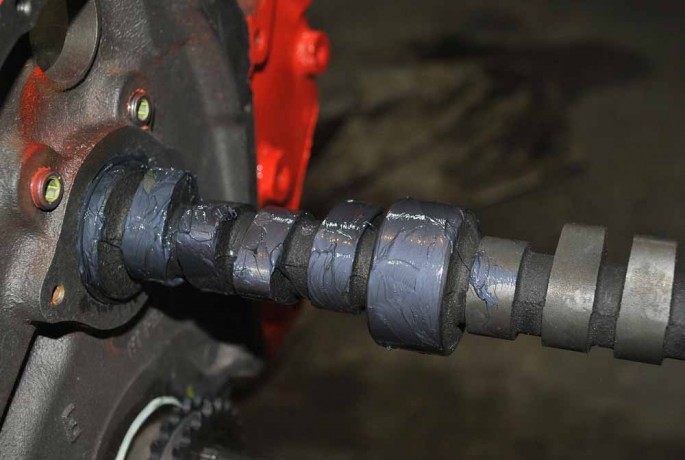
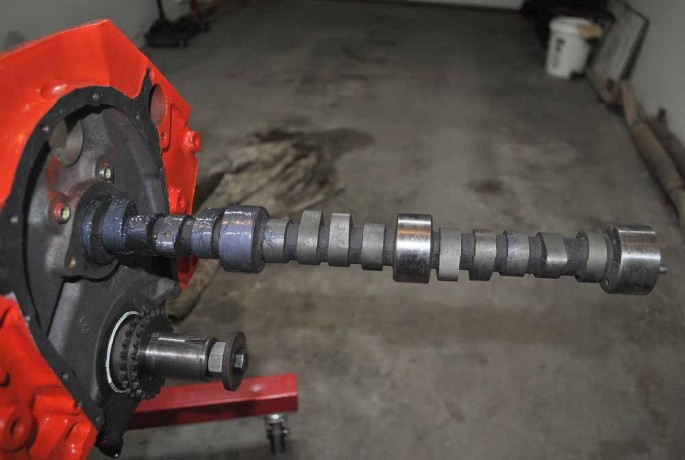
Flip the engine back over for the camshaft installation. Apply liberal amounts of moly lube to the camshaft lobes and bearing surfaces. We only add the moly lube to four lobes and a bearing surface at a time, then install the cam up to that point. Then add some more to the next set of four. The keeps your hands cleaner and it easier to install. We used a 5/16″ x 6 inch long bolt in the front of the cam for more leverage. Or, you can buy a cam handle. We’re cheap.
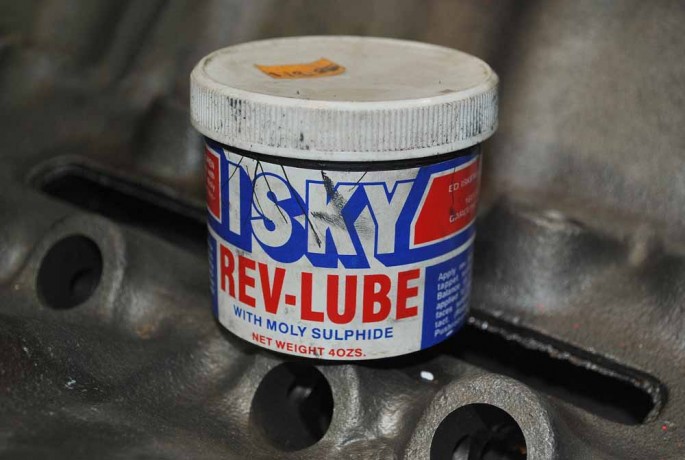
We used this cam moly lube we got from Isky. This tub has been used on five or six cams and we still have plenty left.
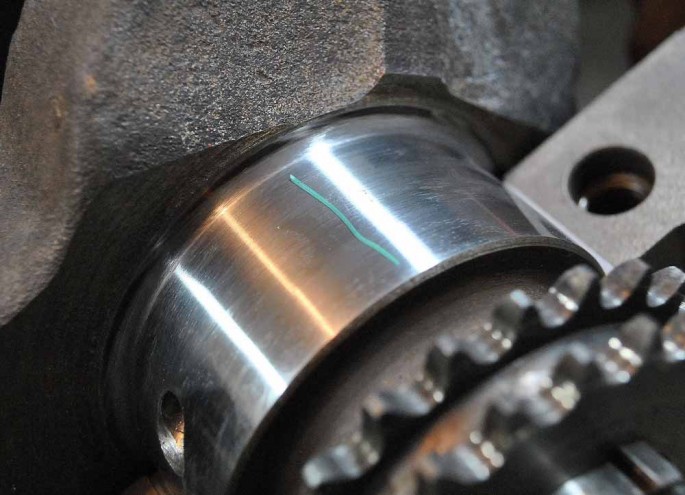
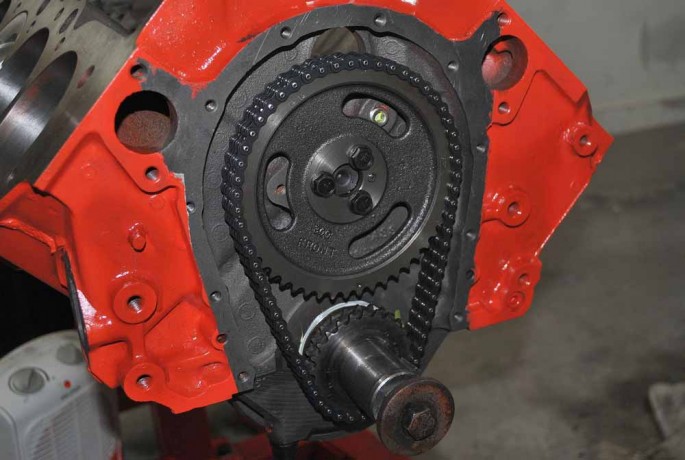
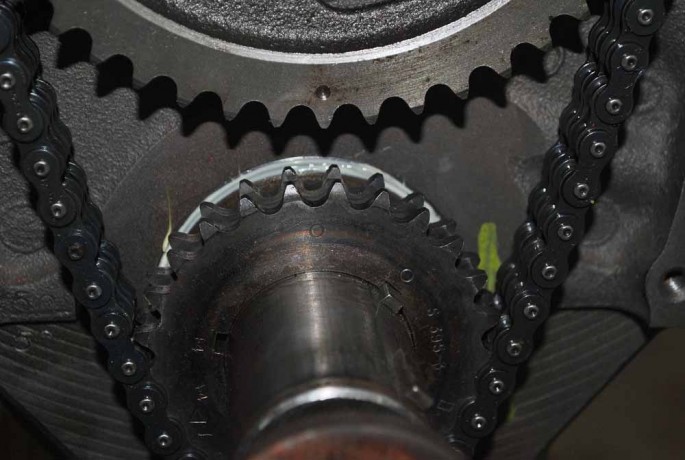
The last thing to do is install the timing chain. First, drive the crank gear on the crank with the round dot on the crank key way and the dot pointing straight up. The cam gear goes on with the dot pointing straight down. This Cloyes timing set has a three way set up for advancing, or retarding the cam 4*. We installed ours straight up.
That’s it for the short block. The cam’s lifters will go in with the pushrods and valvetrain. It wasn’t all that hard, was it? We did this over a weekend.




Looks good and that balance job is going to make that engine run silky smooth I’m sure.
For a few things I do a bit different (more than one way to skin a cat), is I usually install everything, remember that I forgot to install the rear main seal, then disassemble everything to install it, then re-assemble. BUT on reassembly I’ll put a little grease or oil on the seal so it does not have a dry start. Likewise on the front crank seal. I also use about 6″ of rubber line for the rod bolts. Giant bores with a long rod are nice though because you can usually fit your hand in there to guide the rod before the piston makes it to the deck. And lastly, I usually use a large black trash bag (35 gallon?) to cover the engine from day to day. At least it fits a big block Buick, not actually sure about a big block Chevy….
Question. Were you testing the fit of the oil pan without the oil pan gasket? It looks like the dimples were right about the amount of a gasket.
A big garbage bag does work. I have several giant beach towels I got from a ritzy LA hotel to cover mine.
I can guide my rods down on this engine, but I did want to show how to do it properly.
I always check pan depth for pickup screen and for the studs with the gasket. I am using a rather thick one piece oil pan gasket, which does prop up the pan a bit more than the standard 4 piece set.
Sounds good.
The only thing I’d add is to THOROUGHLY clean the block. Go to wal-maht and get a $12 rifle cleaning kit and SCRUB the lifter oil galleries. Mine had lots of crap in there even after the machine shop said they had cleaned the block and that it was “ready to bolt together”….
Yep. Cant be too clean.
So much wrong, but it’s only a 2 bolt Rat. Thrust setting of the crank???
Mains a little on the tight side, rod bearing clearance should be checked with a bore gage, but I guess the plastijunk is better than nothing, in a way.
Moly lube on the cam lobes only, other surfaces need a film of OIL, not white grease. I hope you guys pre-lube before attempting to fire up.
Be aware that todays oils are NOT flat tappet friendly.
Seeing how the engine is sitting for a while I don’t want to use oil on any bearing surfaces. I used Lubriplate 105 on the rods and mains. Never had an issue with using moly on 20 or 30 cams I have installed over the years.
Not too many people want to foot the bill for a bore gauge. You are welcome to spend that money. The machine shop used theirs, so I wouldn’t have to.
You are correct that I forgot to talk about thrust bearing clearance in this blog.
I will be using Shell Rotella T and an extra shot of GM EOS additive for the break in. Then use the Shell for the life of the engine.
I’ll be building a BBC here shortly. I talked to an engine builder recently and he has about convinced me to go roller cam. He says BBCs are hard on flat tappet cams, especially with today’s oil. Thoughts?
It’s your money. I think it’s a load of stinky stuff. Flat tappet cams last just fine in the 100,000’s of engine being built every day. The company I work for sells more flat tappet cams than roller cammed in their performance engines and we get way below 1% back due to cams going flat.
Use Shell Rotella T oil, with added GM EOS, or Lucas Oil Zinc additive and do the break in, 20 minutes at 2000 rpm, vary rpm a bit. You will be fine.
Normal engine oil on the pistons, rings and ring compressor/s. Helps get those slugs down the holes.