Those Bangshifters who are old enough to have owned muscle cars when they were new, or nearly new, remember taking their rides to a performance oriented dealership to get a super tune that was good for a couple of tenths on the quarter mile. From the stories we read and heard over the years, they rejetted the carb, recurved the distributor, and generally dyno tested the car to show results. Most accounts say this “super tune” was good for a decent horsepower increase and quicker times down the quarter mile. Dealers like Nickey Chevrolet and Grand Spaulding Dodge found power right in the stock distributor by simply changing the curve of the ignition timing.
But what exactly did they do to that factory distributor? And why didn’t the factory just curve the distributors like this to begin with? The factories needed to keep the engines reliable and keep from predetonation because they were under warranty and being thrashed by owners anyway, so they simply curved the distributors on the conservative side. We’ll show you on an HEI we pulled from a junkyard car in this part one of the article. Later, we’ll stab that distributor in our project ’65 Impala SS and put it on the chassis dyno to see real results, good or not.
Our pal Yannick Sire of Sire Custom Performance showed us how it’s done. We have to pass along a huge thanks for allowing us to show what he had spent hours perfecting the technique. This is something people pay him to do their cars and he’s giving up the details to everyone on the net. So we’re sending him huge props! While building his twin engined hot rod on a severe budget, Yannick needed both engines’ ignition curves to match as closely as possible. Instead of buying a pair of pricey distributors, he just spent a bunch of time pulling the distributors in and out until they were just right. Here we go!
——————————————————————————————————–
This is the distributor we started with. An old, crappy HEI dated around 1977. HEI’s can have as much as 28* of mechanical advance going on inside them. That is way too much advance. According to Yannick’s scientific testing over the years, an HEI should have 18* of mechanical advance. He then gives the engine as much as 20* of initial advance depending on the engine combo. This distributor had zero advance because it’s so corroded, the mechanical advance was frozen stiff.
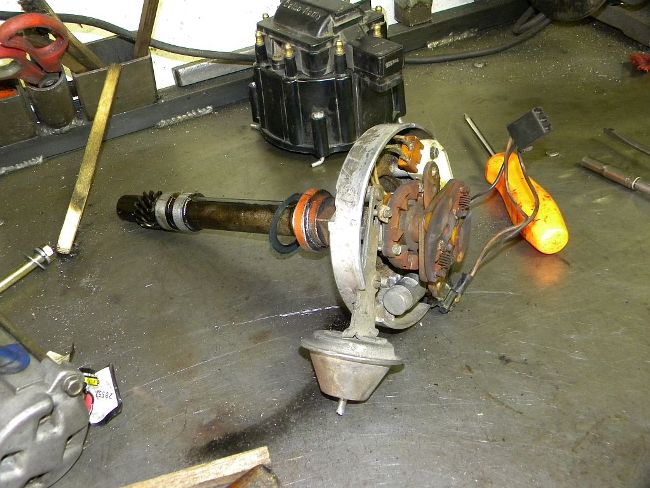
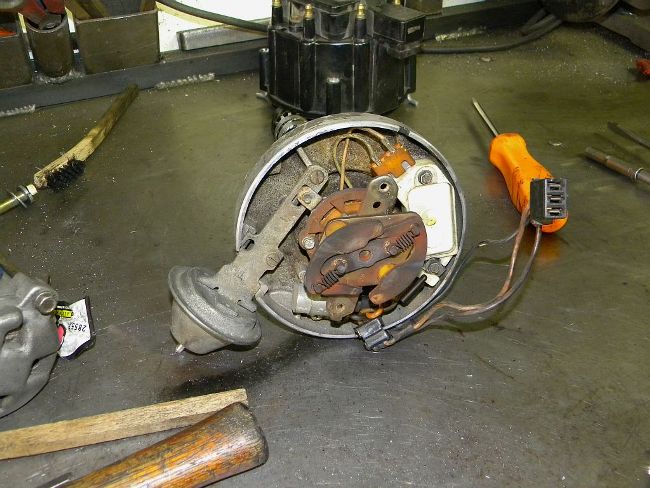
The first thing to do is to remove the weights and springs off the pins. This is where you need extreme patience and care while removing old parts because you can very easily break off these pins. Snap one off and you’ll need a whole new distributor. We made that boo boo ourselves.
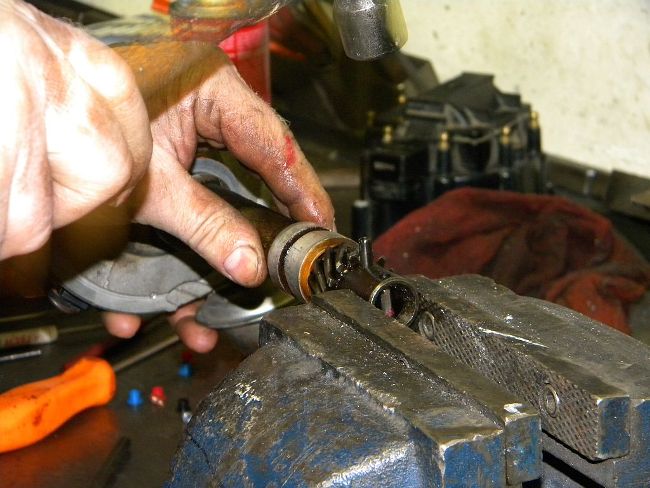
The first order of business is to disassemble the distributor. That means you have to knock out of the roll pin out of the distributor gear with a punch. This will allow you to remove the shaft out of the housing. Using a bench vise to hold the distributor will save you a few cuts and bruises.
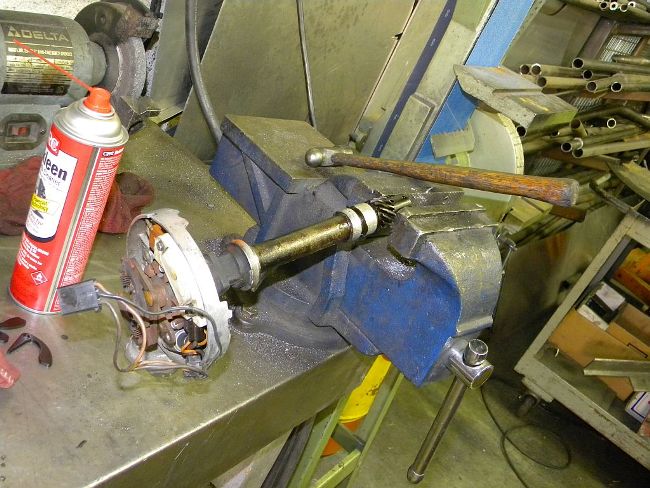
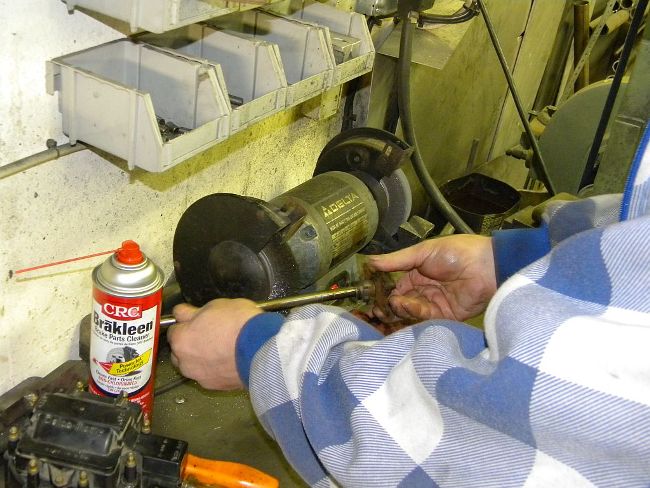
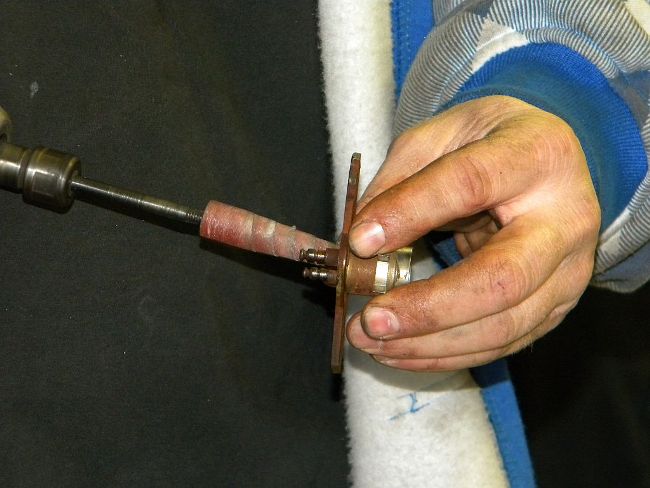
Since the mechanical advance was stuck on this distributor, Yannick had to clean the crud and rust off the shaft, then knock the burs down too. Then he took a sand roll to the inside of the counter weight.
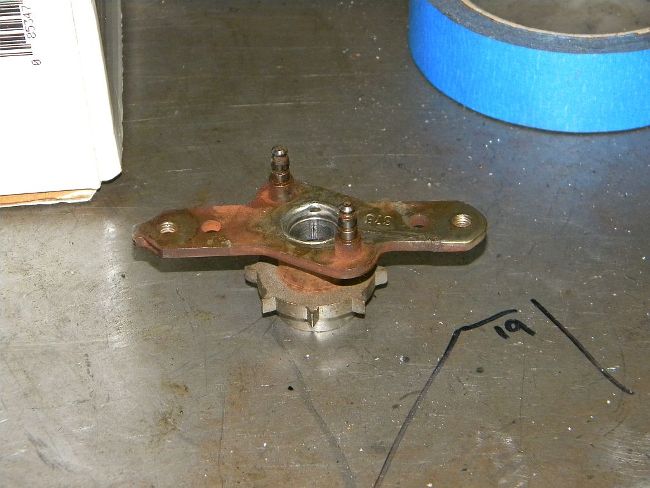
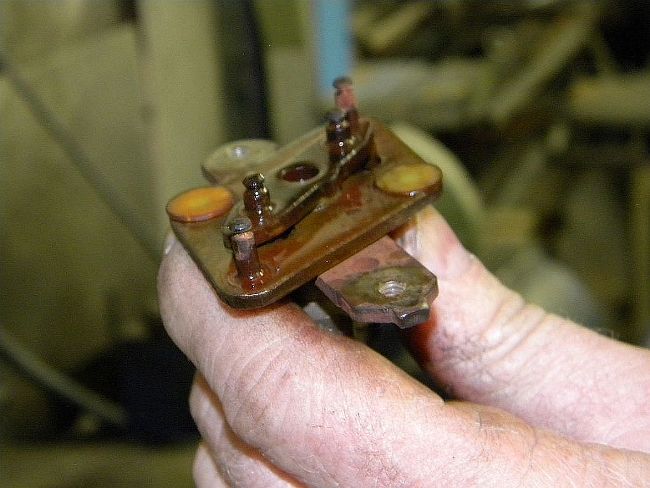
The object of all this work so far is to get to these two slots. They measure at .570 in. on this particular distributor, but these are not consistently the same size. We are going to weld up part of one these slots to reduce the slot down to .425 in. This will give us 18 degrees of mechanical advance. It is not necessary to weld up both slots. The pin on the counter weight will stop advancing the timing with one slot modified. It is important to weld the side of the slot that the pin on the counter weight moves toward when advancing.
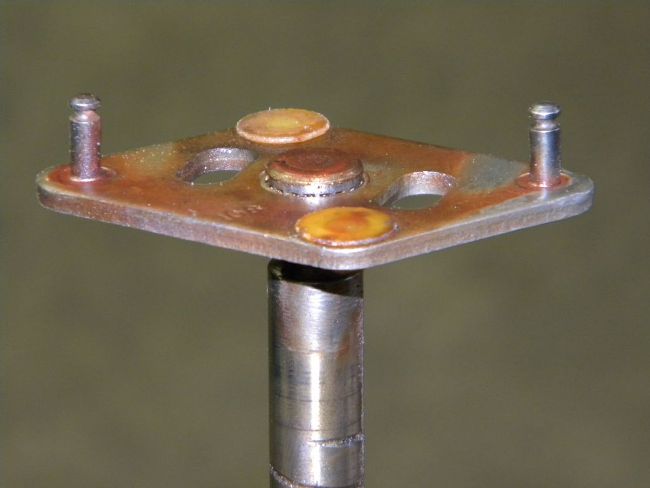
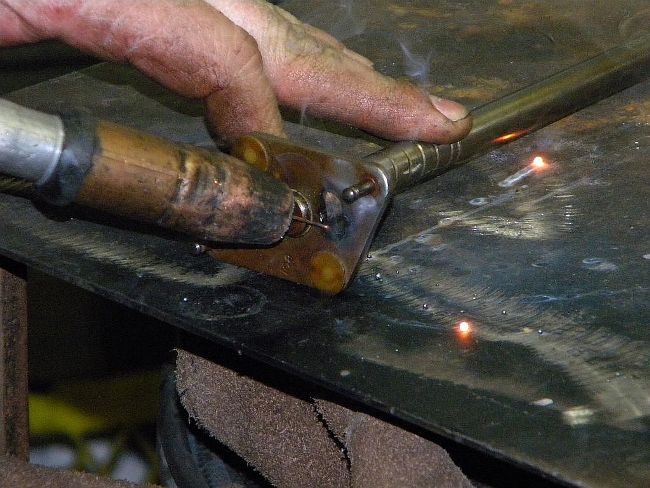
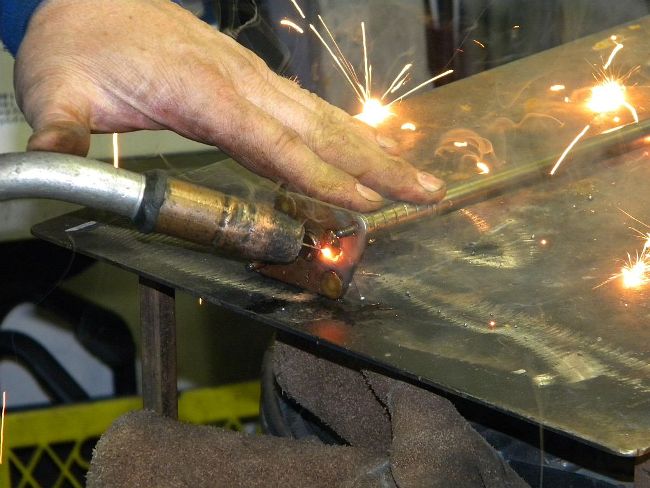
After welding the slot, Yannick ground the slot with a a die grinder to get the required .425 in. opening. He then used a grinding disc on the die grinder to grind the weld to the surface on both sides of the weight plate. Take your time here to get it nice and smooth in order to allow the moving parts to move easily.
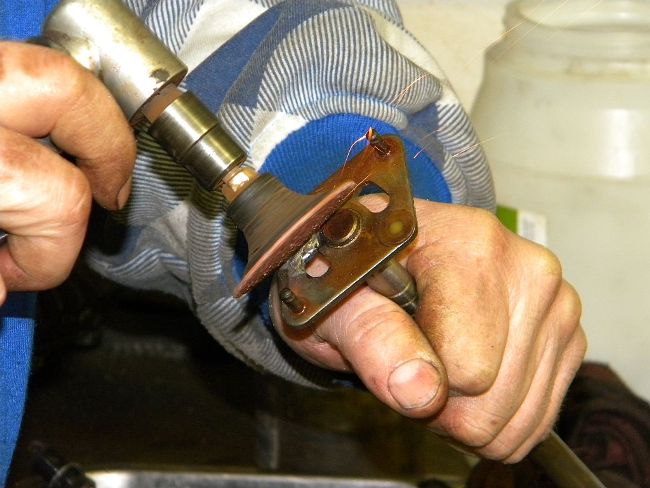
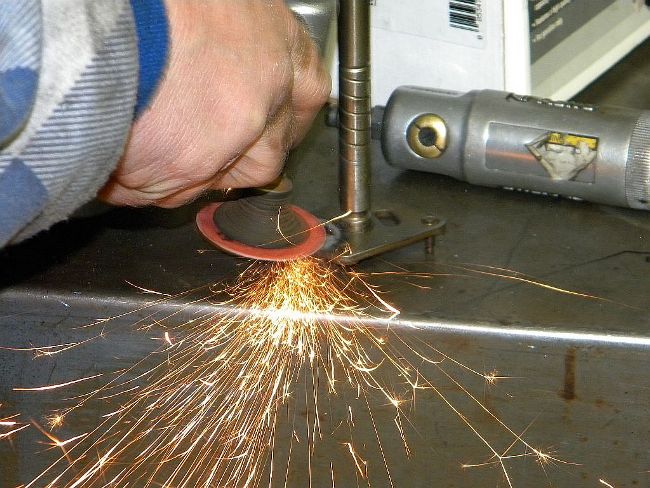
This is what the modified slot will look like when your done.
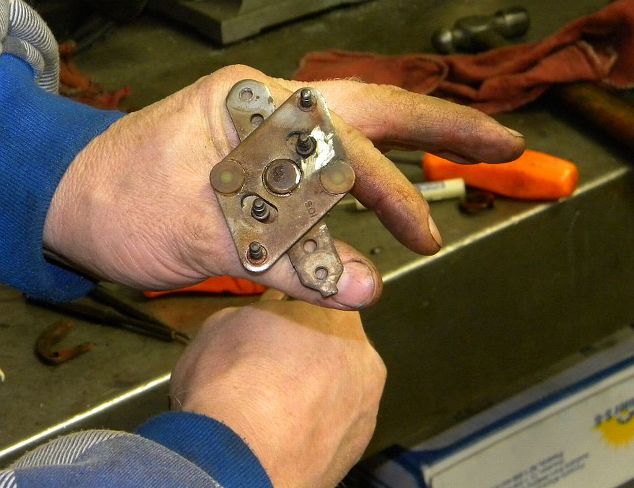
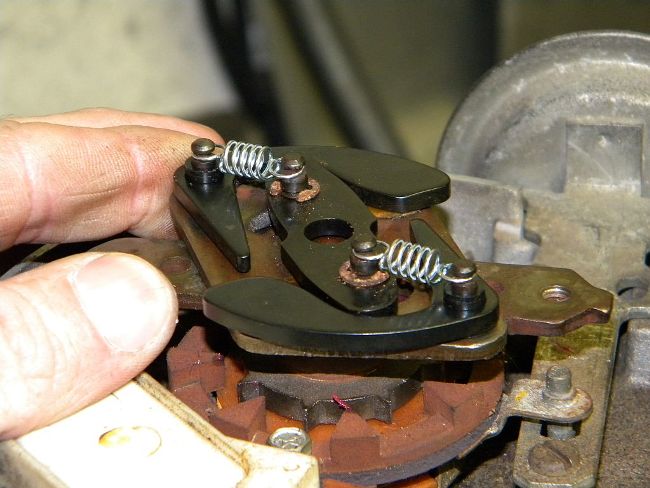
The next two photos shows how the modified weight plate and counter weight will move when centrifucal force of the distributor spinning faster causes the timing to advance.
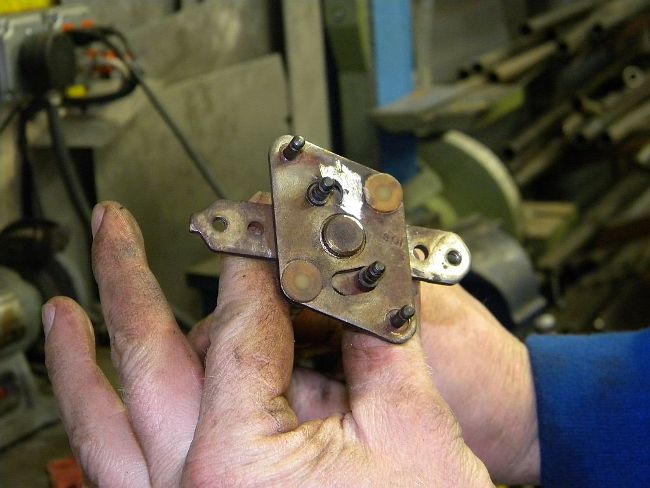
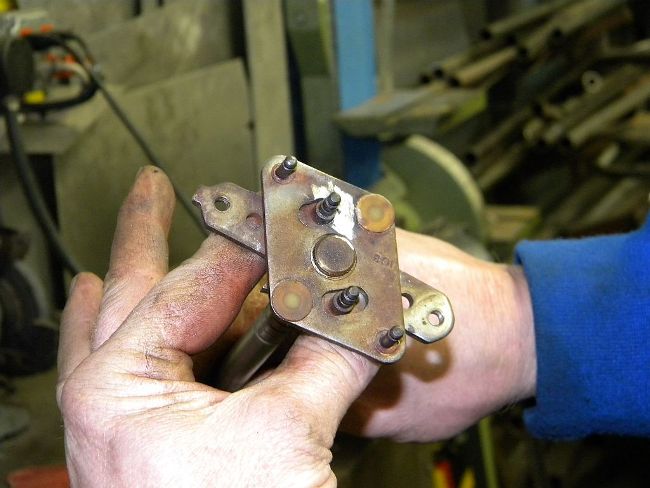
Yannick now reassembled the distributor and reinstalled the distributor gear with it’s roll pin while bleeding all over everything. Some mystery sharp object bit him. We have that same problem whenever we walk into a garage or touch a tool.
Don’t bother with the old weights and springs. Yannick used Moroso’s part # 72300 HEI Recurve Kit that comes with new weights, three pairs of springs, and three pairs of plastic dowel spacers. What dowel spacers you need depends on when your distributor was made. The diameter of the dowel pins changed over the years.
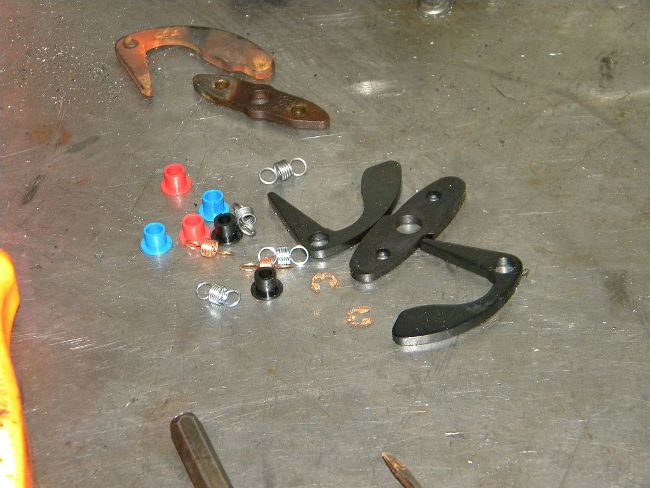
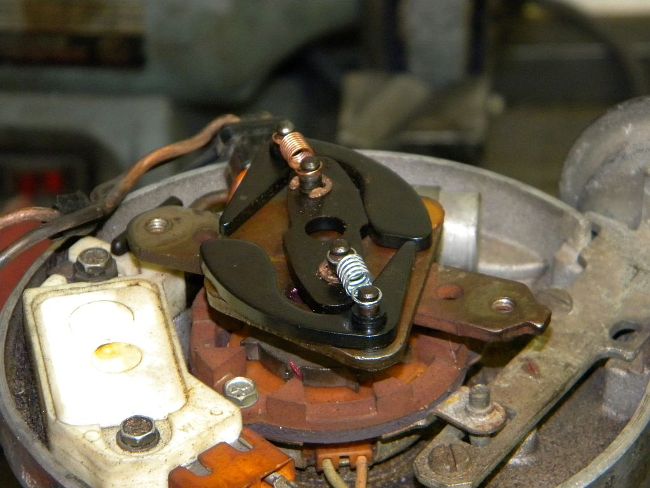
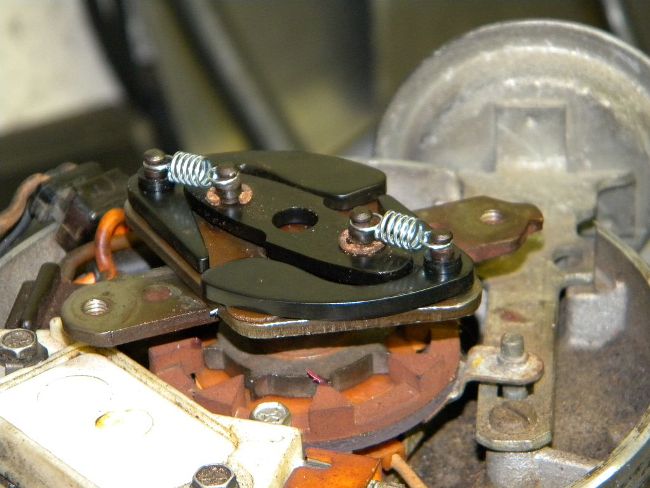
This is how everything goes back together with the new Moroso parts. Yannick starts off with the two medium springs. Heavier cars usually like the heavier springs and lighter cars like the lighter ones. You can mix and match to see what works the best for your combo.
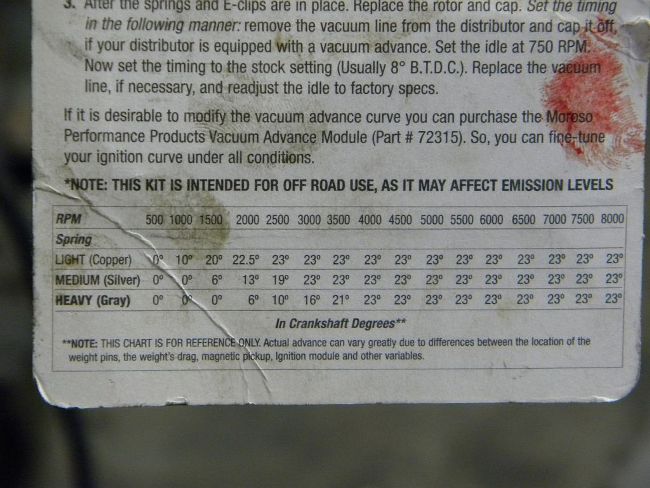
The back of Moroso’s kit package has this chart which shows the rate each of the springs will allow timing to advance and what rpm max advance is reached. The bloody finger prints are not included on all kits.
In our next installment we will be installing this distributor on our 65 Impala SS and then bolting the car on a chassis dyno to see what kind of power we will gain over a distributor with the stock curve.


Cool. One thing to remember, is not all distributors turn the same way. Like Pontiac’s are reversed, so you’d have to add material to the opposite side of the slot.
cool write up. the springs can be used for nearly anything they will fit. (i would put these on an old subaru.) A more common problem than frozen is the springs outdone..causes a cough if too weak.
I added a distributor kit to my ’76 Stingray after reading about supertuning in an old Superstock Magazine, My Vette went from 15.50s to 14.80s in the quartermile at the Fort Hood Dragway back in ’87. Best bang for the buck.
Why did he only weld up one slot, not both?
And does it matter which one?
Only one slot is needed to stop the mechanical advance from advancing. It doesn’t matter which slot is welded, but it is important you weld side of the slot which counterweight moves toward when advancing.