


So last week I told you about the plan to really crank the wick up on our Buford T Justice Caprice by building a 388ci stroker small block for the car. For those of you playing at home, a 388 is a 4.06 bore and a 3.75 stroke. Do the math, it works out. The reason for the large bore is that we’re trying to keep our bill as cheap as possible on this one and that means reusing stuff. The block is part of that stuff. At some point in its life the engine had been rebuilt once and bored .040 over when that happened. Dana Hard at Camco Racing Engines, where the work is being done on this thing was on board with our miserly plans and originally we were going to see if we could simply get away with barely honing the cylinder walls just to clean them up. Unfortunately by the time we tried that too much material was gone and we had to bore it 0.60 over. Hey, more cubes are good cubes, right? As I mentioned in the first story we will be reusing as many components as we can from the engine that was in the car to save money. We upgraded in other areas and where we did that we tried to spend wisely on parts and pieces that give us the most power per dollar and will also stand up to the wanton abuse that this engine will suffer at my hands and heavy feet.
This is going to be the parts list that we’ll use to build the engine with.
Next installment we’ll get into the construction of the thing but for now, here’s the lineup that will make ol’ Buford roar like never before on the street and the strip.

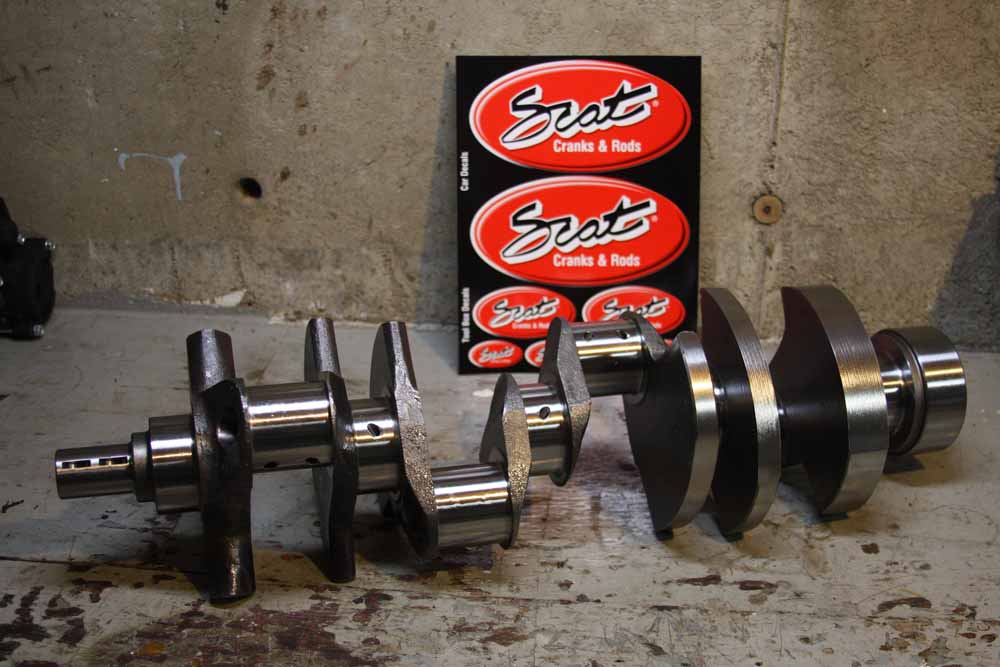
Anchoring our program at the bottom of the block will be this Series 9000 cast Scat crank. We’re using part #935050L which means it is a one piece rear main seal crank with 3.75″ of stroke, 2.1″ rod pins, and standard 350 mains. This is a great piece for what we are doing with this engine and it will handily support the power levels we are making. These can be bought for under $250.00 from your local speed parts retail giant.

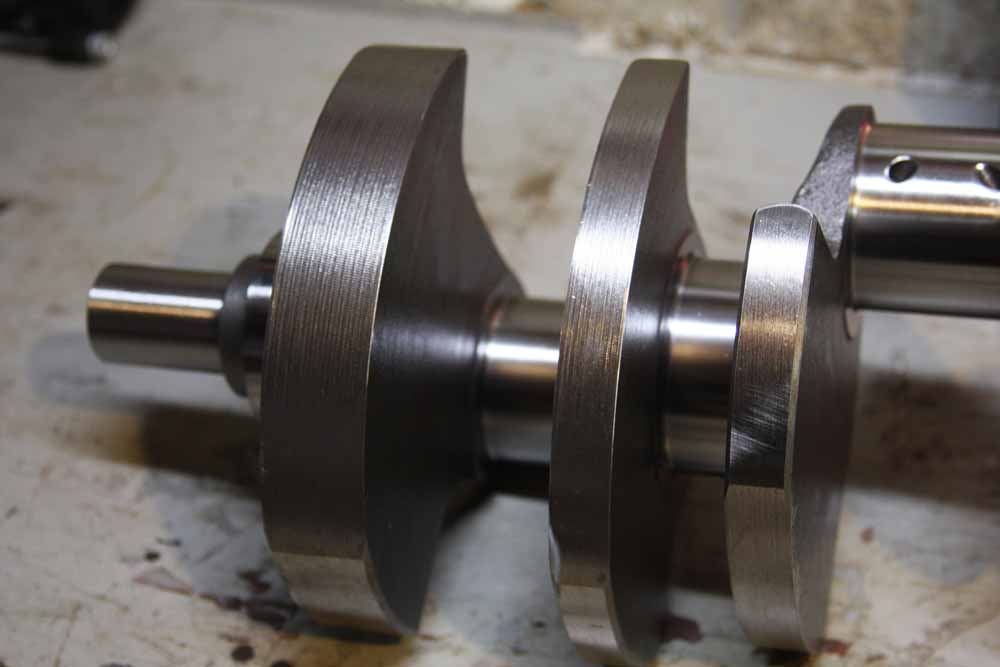
Some weight is saved with these over a Scat Pro Stock replacement crank and other subtle changes are made to help with oil control and windage. The counter weights have an “aero wing” shape to help them slip through the oil and there are lightning holes in the rod throws to reduce weight.
For the engine we’re building, the RPM we’re planning to turn it and the power levels we want to make (450-ish) we’re right in the wheel house for this crank and it is tough to beat the guys from Scat on the bang for the buck scale. My dad and I have used their pieces before in more substantial bracket racing engines and have had solid results.
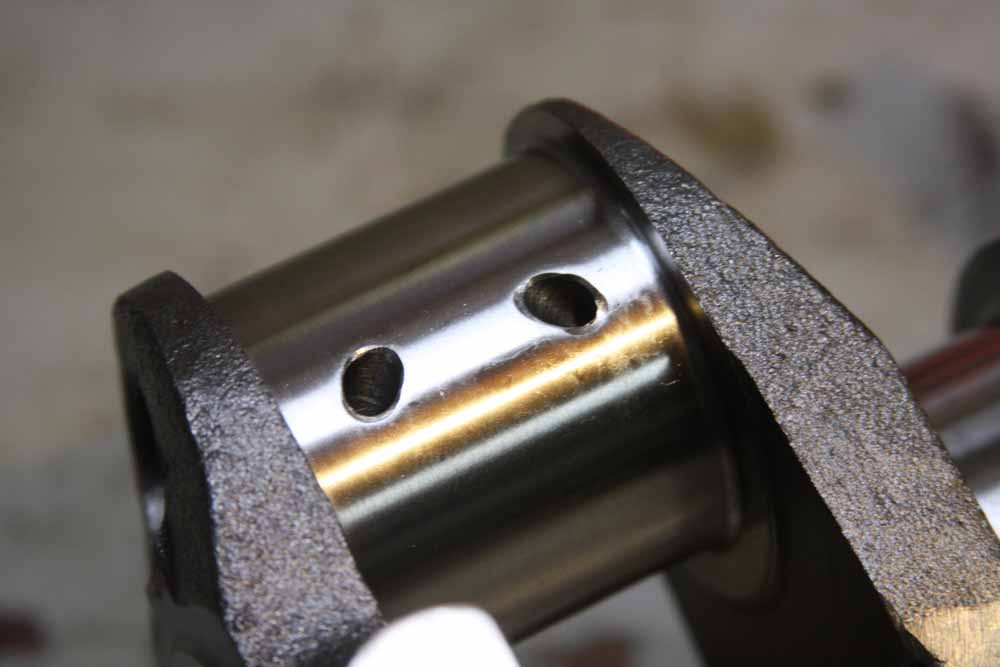
The journals are precision ground and micro polished. Here you can see a pair of the “straight shot” oiling holes that will keep the rod bearings from ever actually touching this baby.

We’ll talk more about the crank when we go through the engine build but here’s the piece as it came out of the box and onto my well used work bench. This gives us the stroke we want (3.75) to pick up some displacement and gobs more torque while staying with the budget theme of our build.

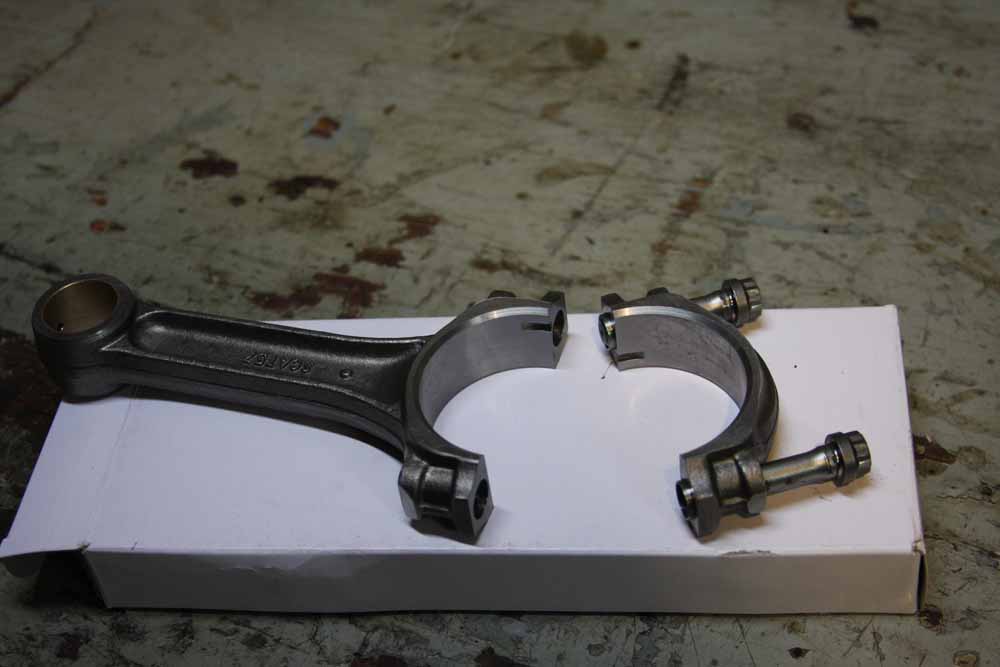
On the connecting rod front we stuck with Scat and are using a set of their 4340 forged steel I-beam pro stock rods. These are 5.7″ in length and they’re a nice robust rod that meets the needs and strain level that the engine will put on them with room to spare. Retail on these guys is right around $300 beans from a big mail order house or your local wheeling and dealing speed shop.
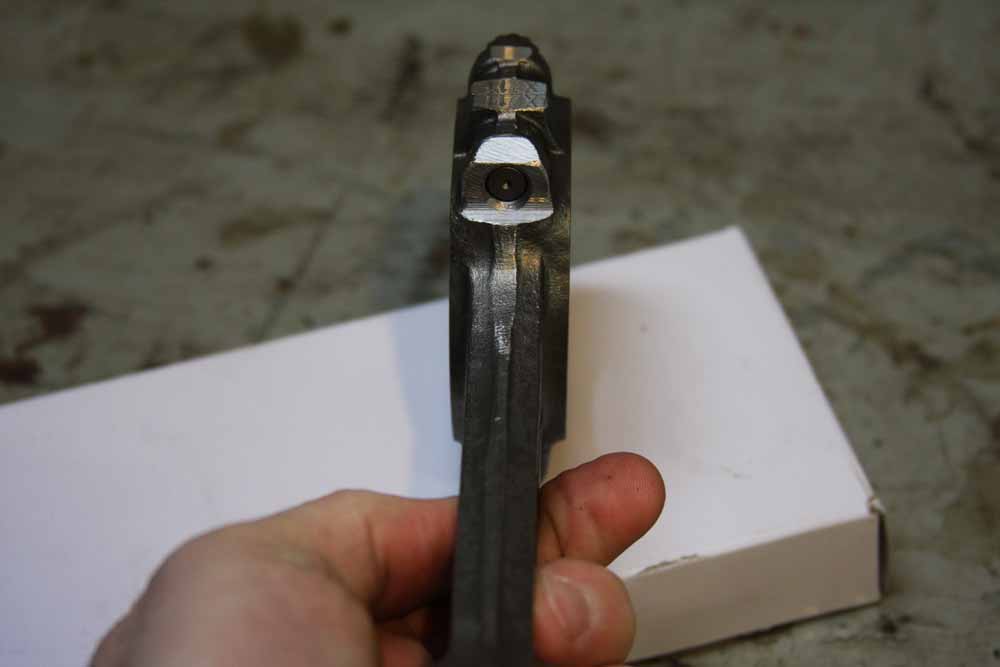
These rods have a few notable features to help with strength and reliability. Notably the ARP/Scat fasteners used to attach the cap, the dowels in the cap itself to keep things aligned properly, their I-beam construction, and the 4340 high tensile steel they are formed from.
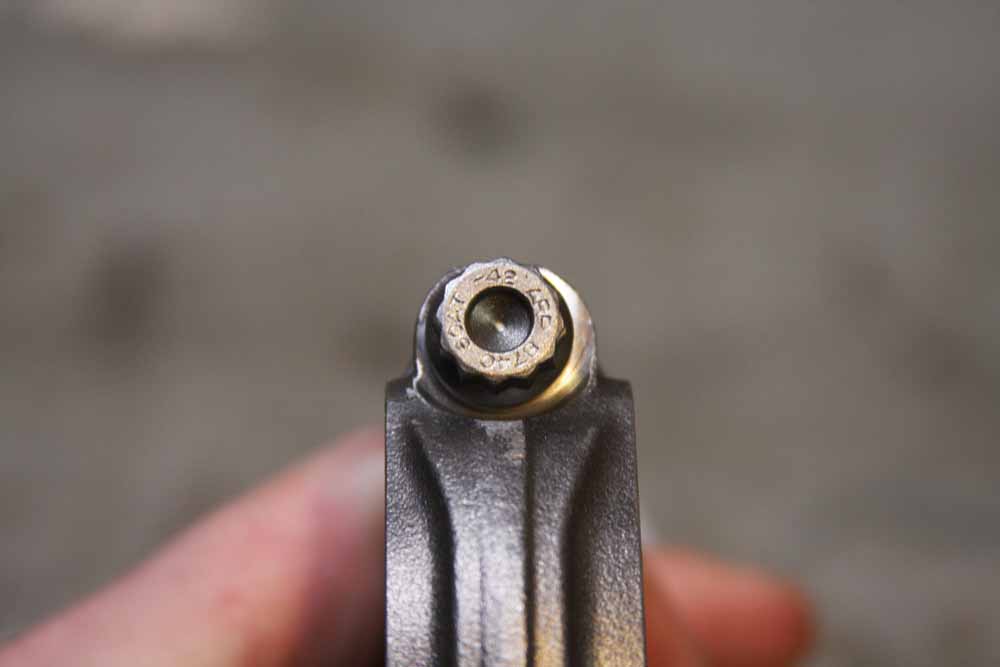
When stuff is held together with ARP fasteners we sleep better at night and we’re guessing you do as well.

As is typical for performance builds we went with a bushed style rod as opposed to the press fit found in OEM style engines. With the pin allowed to “float” in the rod and in the piston it allows more even wear and if (when) we ever pull this thing apart, we wont need a press to get the pistons off the rods.
Here you can see the dowels in the cap as well as the fasteners backed out. The short bolts make things a lot easier fitting in a stroker application where room is at a premium. We can’t want to stuff these rods into the engine with pistons on them.

Keeping with our bottom end theme here, we’ll talk about the Moroso stock depth oil pan that will be keeping the sauce off the street so to speak. Why did we go with a stock depth and capacity pan? Well you know that Buford is a bit of a chin scraper and frankly I was nervous about a deep pan catching stuff on our crappy roads out there. This pan will more than serve the needs of the engine.
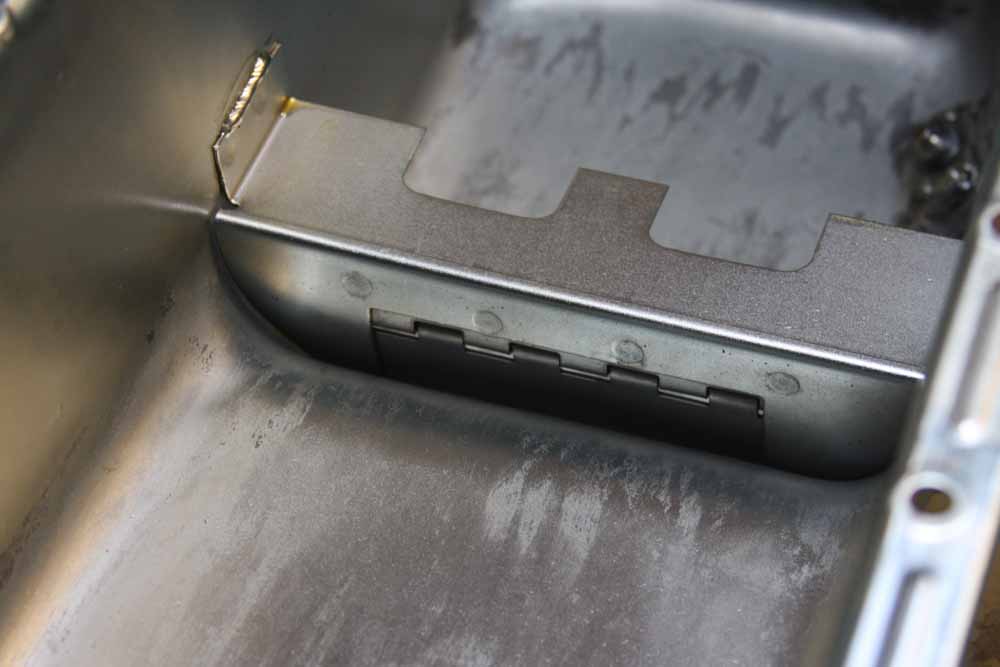
Just because it is stock capacity and depth doesn’t mean that there isn’t any trick stuff hiding in it. This trap door will really help with oil control at the drags and the autocross when the car is changing direction of travel or slowing at the top end.
The oil pump came from Moroso as well. This is a high volume Melling pump with a fully welded pickup on it. Fun story here. As I was disassembling the old engine in my driveway, I noticed something funny in the bottom of the oil pan….the pickup! The thing had some fluctuations at the top end of dyno pulls and stuff previously. Whoops! I know why now.

I went with Moroso’s 12-point oil pan bolts as well. They are way nicer than the stockers and since this thing will not be an oil soaked mess like the last one, I really wanted to keep it good from top to bottom.

To round out the Moroso theme, I am using a set of their cast aluminum valve covers. These things are classic and totally cool. They are super heavy duty with a really thick casting and I think they are old school perfection. They’ll look great topping the heads.

Tall enough to cover our valvetrain stuff handily and robustly built they will seal things up top nicely. I was wiping my finger prints off them each time I had to move ‘e around. I’m a dork but these are way cool.
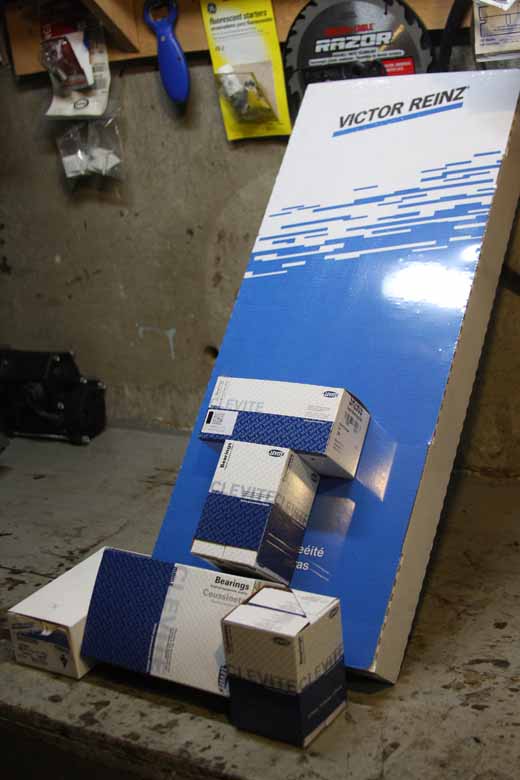
While we’re on the topic of sealing things up, we’re using a full compliment of Victor Reinz gaskets to keep this engine leak free and happy for years to come. From the oil pan to the valve covers, head gaskets, water pump, you name it, is Victor Reinz. The bearings are Clevites.
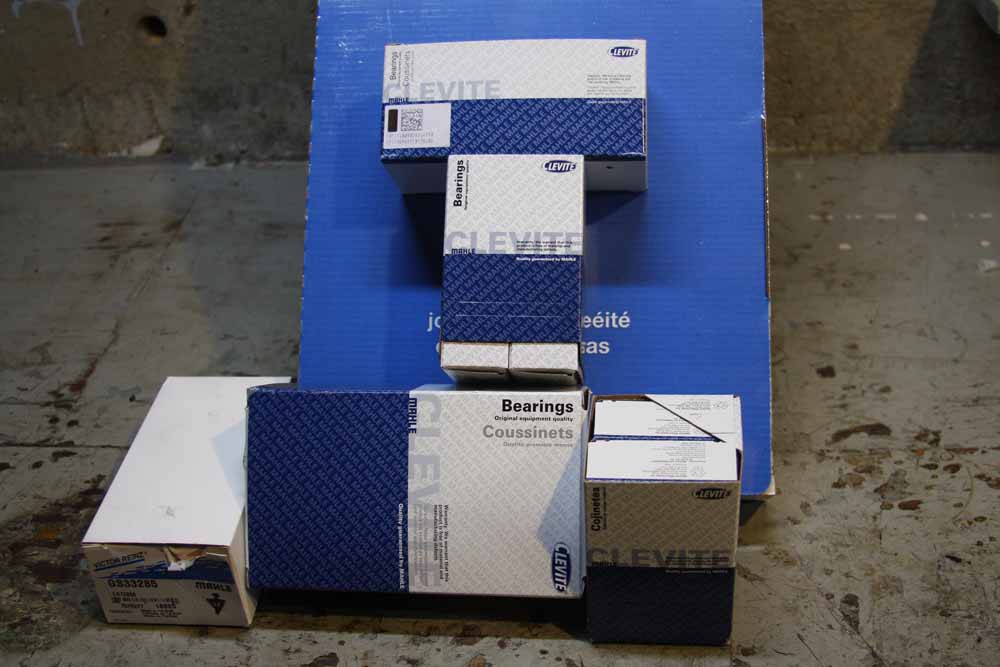
There are a dizzying array of bearing options through Clevite so we left it to the experts there to spec us out the right stuff for the engine we were building. Like the gaskets, every bearing in the engine is from Clevite. Mains, rods, cam, etc. There are other bearing companies out there but Clevite’s name stands very tall in this industry and for good reason.

These made in the USA Clevite rod bearings are part of the high performance line and are designed to take the harsh environments they’ll face inside high performance engines (ones way higher performance than this one!). Engine builder Dana Hard is a huge proponent of their products and was happy when he saw these blue and white boxes.
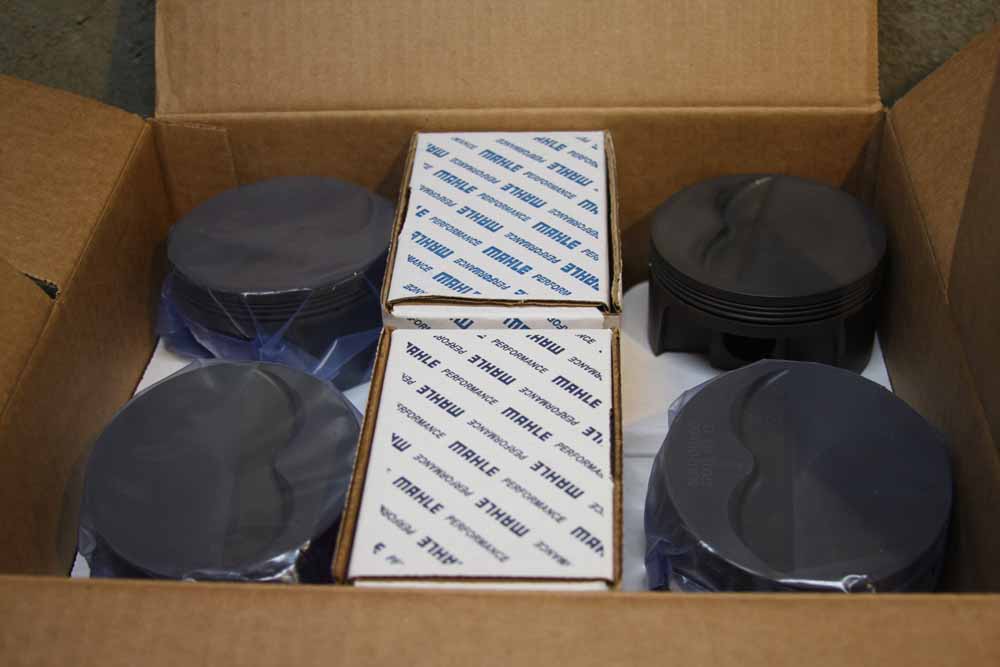
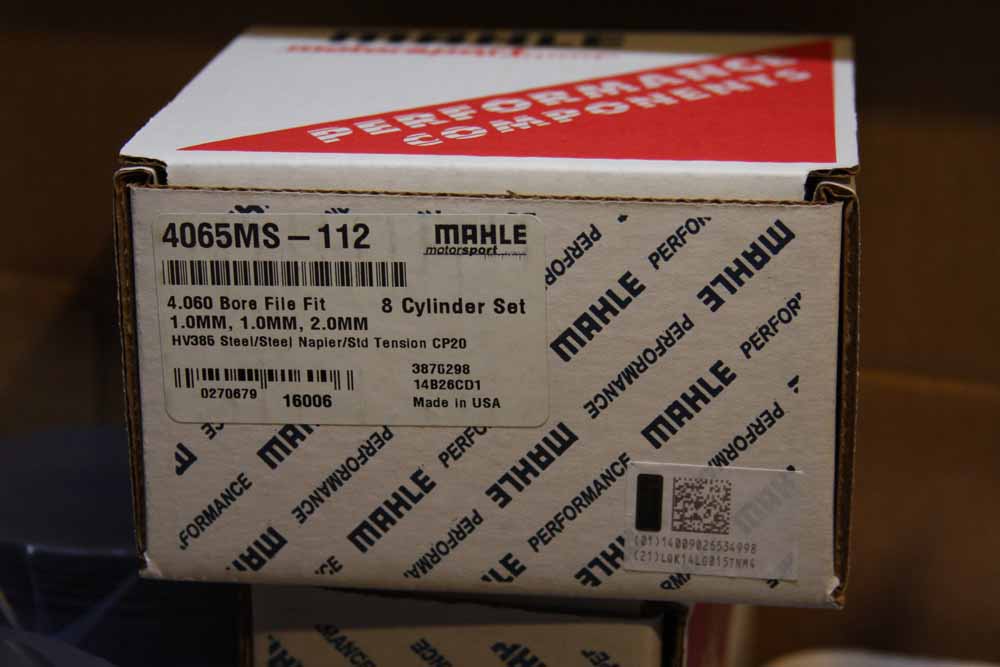
Ok, these definitely fall into the “far to nice to be hidden in the engine” department. I went with Mahle power pack pistons for this engine and they are beautiful. The guys at the machine shop were all over these things for a million reasons. How short the pin length is, how thin the 1/1/2 mm ring pack is, and just how bad assed they are on all fronts.
One of the things that will blow you away when we get to assembly on this thing is a simple test we ran to test out how little friction is present with this 1/1/2 mm ring pack. You’ll freak out when you see that. But we’re jumping ahead. Mahle is a massive OEM piston supplier and they have been able to take that experience and translate all the trick stuff they have learned into their high performance line. In the end we all win.
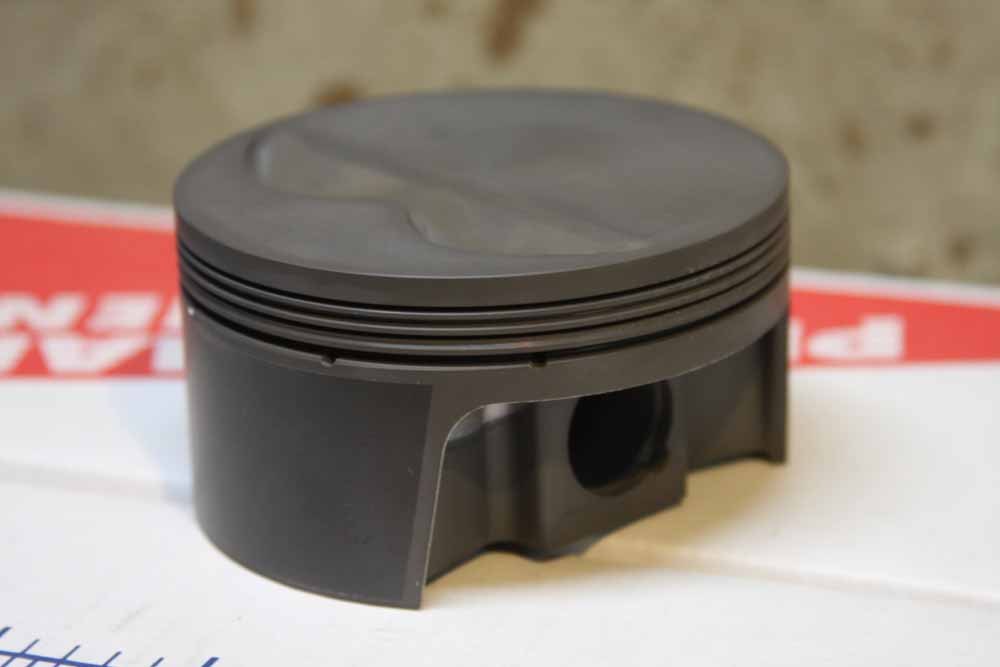
These are a flat top forged piston (obviously) with 5cc valve reliefs in them. Combined with our heads and where they will be in the hole, our compression ratio (with a .040 gasket) will be almost dead nuts on 10:1.

The machine shop guys were in love with these pistons and their design. How light they were, how they clearly incorporate racing technology in the way they pinch in to reduce pin length and keep weight down, all of it. “This is jewelry” was the quote of the day as we were looking them over.
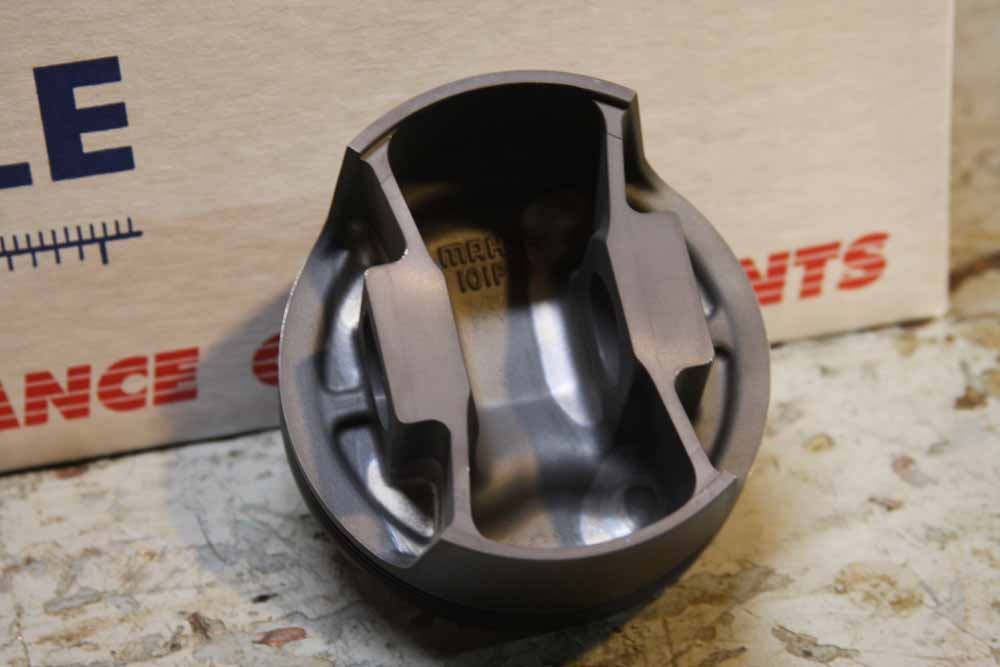
A look at the design of the underside of the piston here. They are really light and really trick. The “party trick” we tried at the machine shop will entertain you to no end.

The pistons have an anti-scuff coating on the skirts as well which is a nice touch and a sign of the quality that came in that Mahle box. These are not the cheapest pistons out there but the reality is that they will be taking the brunt of the combustion abuse and at some point maybe a little more than that so we went for quality here.

So what to do for heads? I was really happy and impressed with the little Trick Flow 175s that we put on the previous version of this engine that I buzzed the Trick Flow world HQ and after talking with them settled on a pair of their Super 23 215cc jobs in fully assembled form. I am going to be using them right out of the box and they’ll be more than capable of feeding this engine and maybe the “next” version of it as well. These are 72cc combustion chamber models, 67s are available.

These heart shaped chambers are one piece of the puzzle but the delivery of the air and fuel is what really makes these babies work. Trick Flow has supported over 600hp with these heads on a 406 during dyno testing so while I won’t be working them that hard (yet) they have potential to grow as the car continues to.

The 215 denomination comes from the 215cc intake runner volume. These are significantly larger than the heads that were on the car and the reality is that those did the job they needed to do on and engine that needed all the help it could get down low. This one will spin a little more easily so with the increased cubic inch displacement we wanted to feed it more of everything. The valve springs are a dual style spring with damper, and we’ll get into what will be actuating those valves in a minute below. These is plenty of meat on these for porting and modification but we’re leaving them box stock for now.
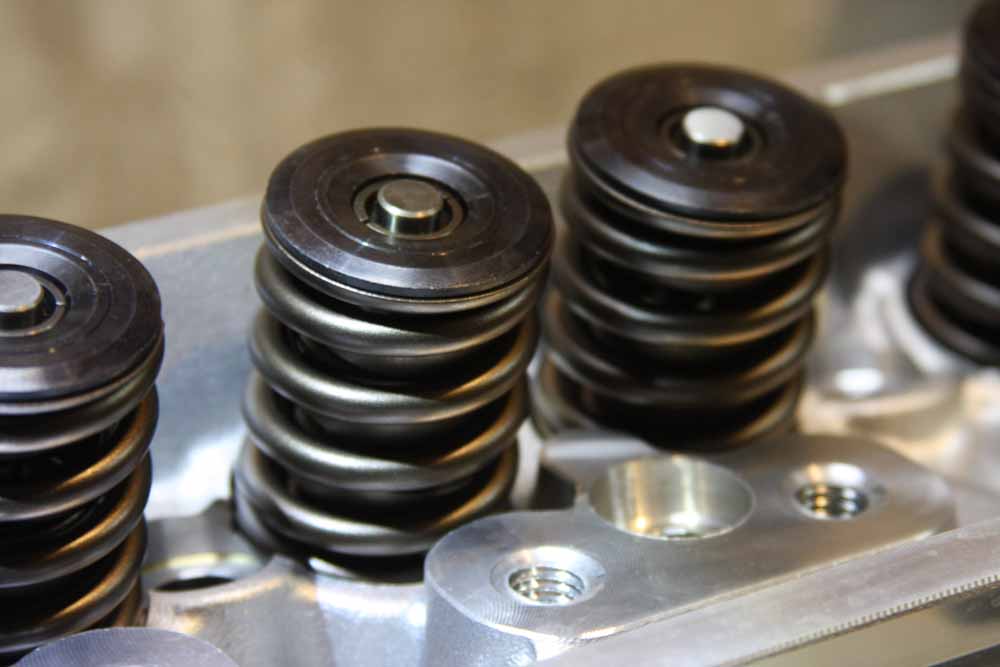
The reality is that over the years there have been head manufacturers that have gone out of business over poor quality. Porous castings, low quality components, etc. That ain’t the Trick Flow way. We’ve been to the factory and seen it first hand. American made and solid. These springs are controlling a 2.08 intake valve and a 1.60 exhaust.
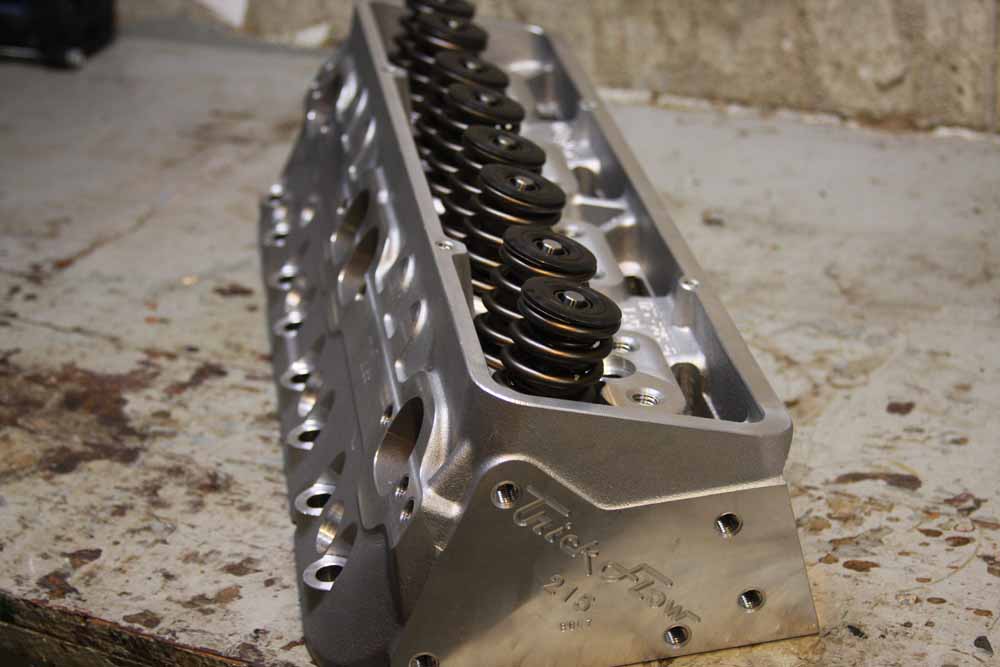
The exhaust port volume on these heads is 78cc and they use a D-shaped port. We literally cannot wait to hear this thing run and level the gas pedal at the floor for the first time to let these boys eat!

We have used COMP cams in virtually all of our builds here at BangShift and that is because they are consistent and they have an unassailable reputation for quality and performing as advertised. The bump stick is a hydraulic roller (specs below) and we’re using a COMP double roller timing chain. We considered reusing the old timing chain but thought it was in our best interest to be fully “fresh” here.
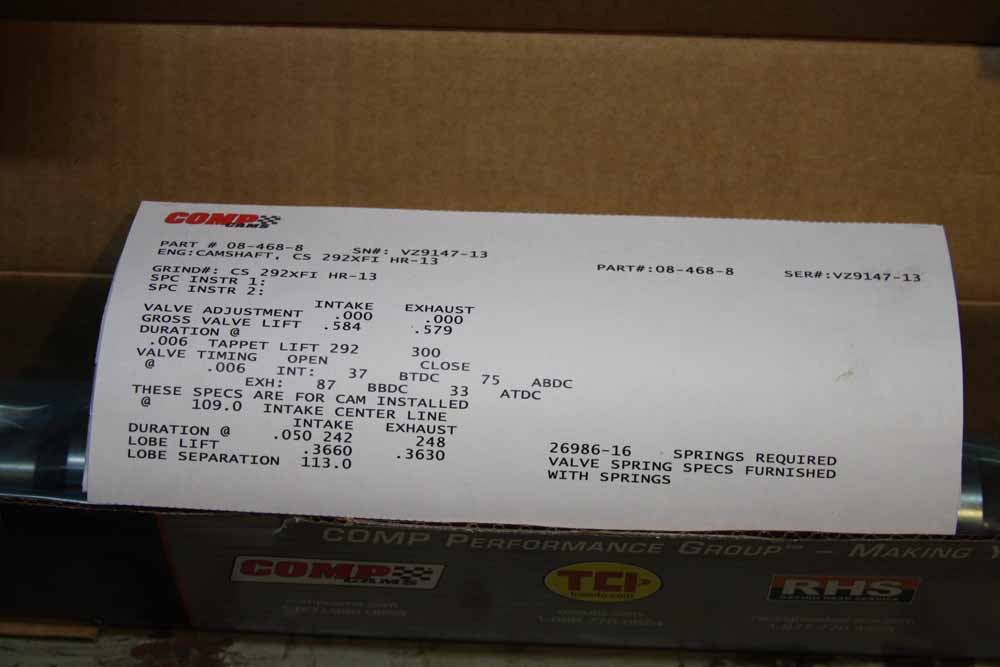
So this is one of COMP’s XFI cams designed for engines with fuel injection. Since I run the MSD Atomic EFI on top of this one, it made sense to go with this line. The 292EXI HR-13 cam has gross lift of .584 on the intake and .579 on the exhaust side. Duration is 292 degrees on the intake and 300 on the exhaust. Yes, this thing is going to sound majorly pissed off and that is a-OK with me. You can see the whole card here.
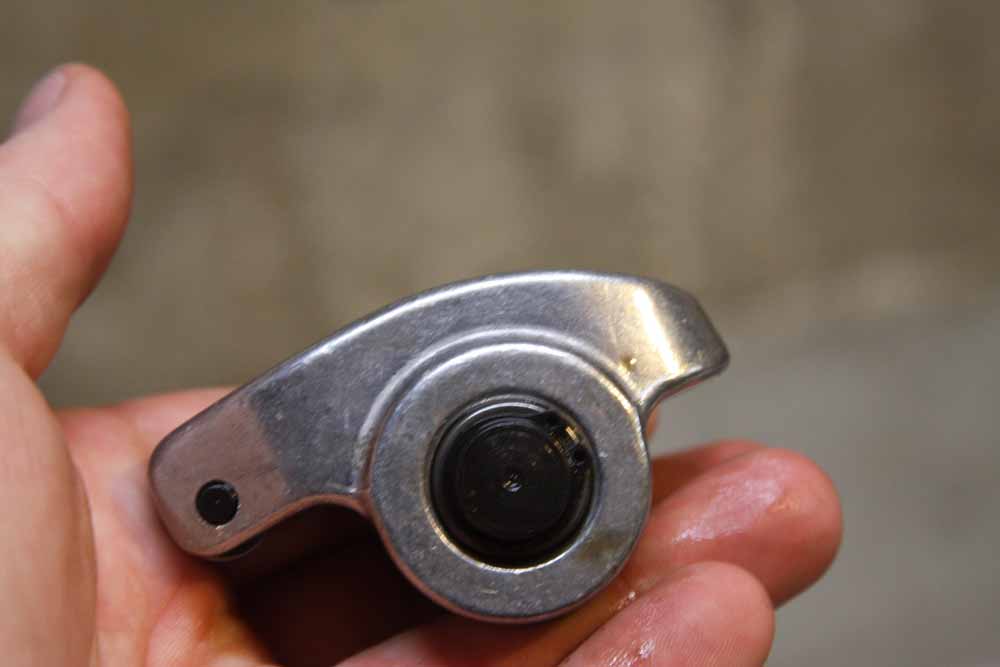
The parts we will be reusing in this engine are from the COMP stable as well. These are pieces that translate directly from the old engine to the new starting with the roller rockers. These have worked flawlessly since day one and we saw no reason to mess with success.

These aluminum bodied rockers are as nice as the day we got them after several thousand miles of driving.

The same goes for the COMP Magnum pushrods that have been with us since the first cam swap in the old engine. No galling, bending, or badness. They are like brandy new and will live in this engine as well.

The same is the case with the hydraulic roller lifters that rode millions of revolutions over the last cam and are in the same shape they were when we took ’em out of the box. The roller wheels are good and everything is right on the money so in they go.
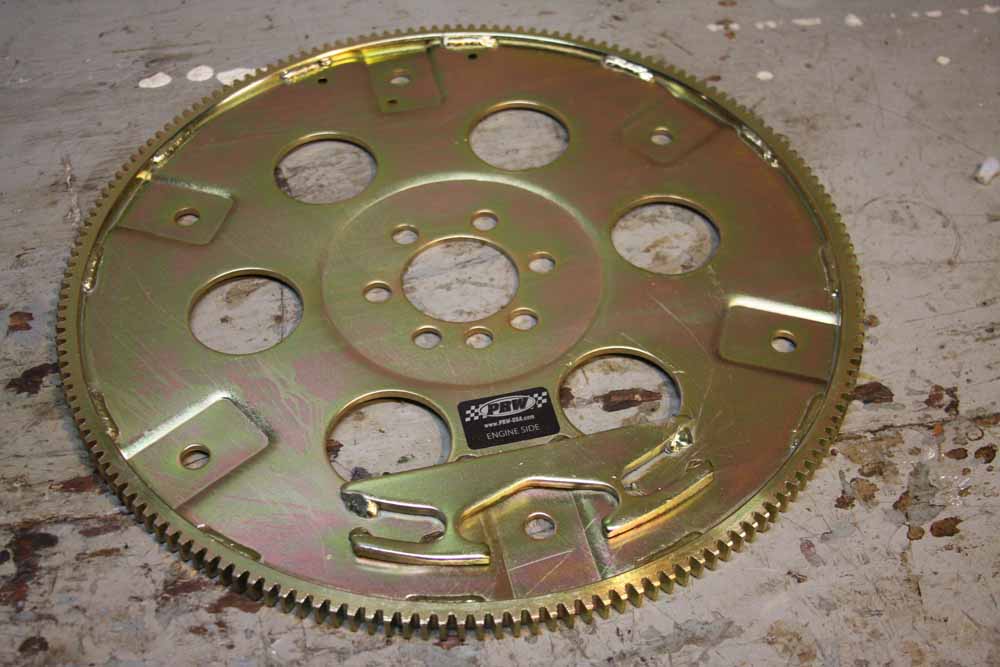
Now for the essentials that we are bolting TO the engine and are vitally important parts of the program. We talked to PRW Industries for a flexplate. Why? They are the world’s largest manufacturer of flexplates so they pretty much know what’s up.
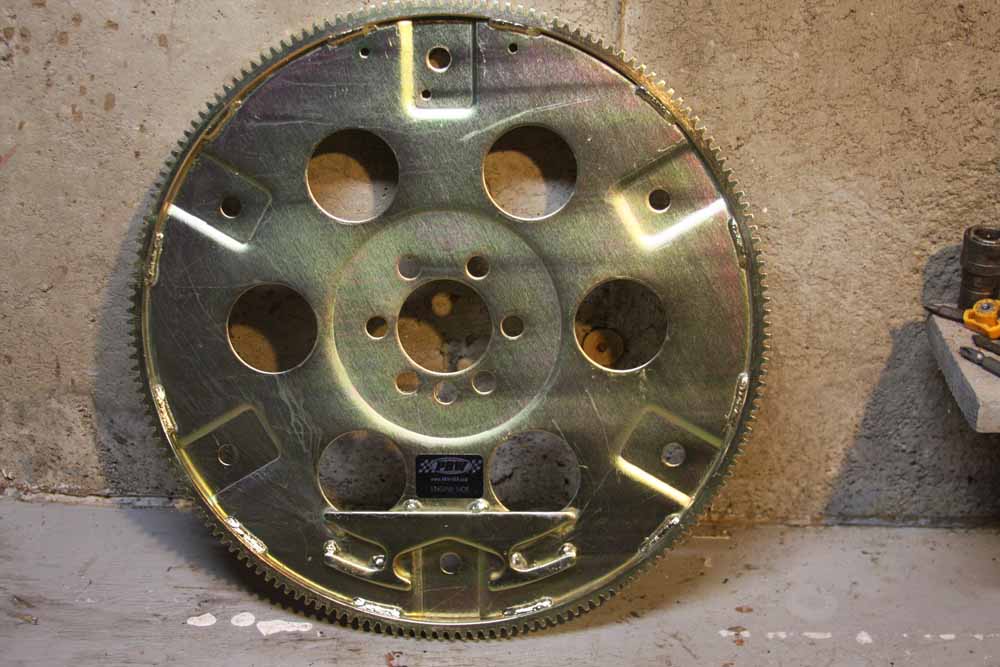
This is an SFI certified flexplate so if/when we get the car into the elapsed time zones we really want to be in we will be legal. Also, it is piece of mind knowing that the thing spinning around at thousands of RPM under your feet won’t come through the floor like a saw. The stock flexplate was pretty badly cracked around the center and we only discovered it when pulling the engine down.

We also talked to PRW about using one of their aluminum water pumps. These are pumps that flow more than stock in virtually all RPM situations and we’ll be upgrading the cooling system along with this engine so it made sense to retired the cast iron stocker and both save weight and pick up some flow.
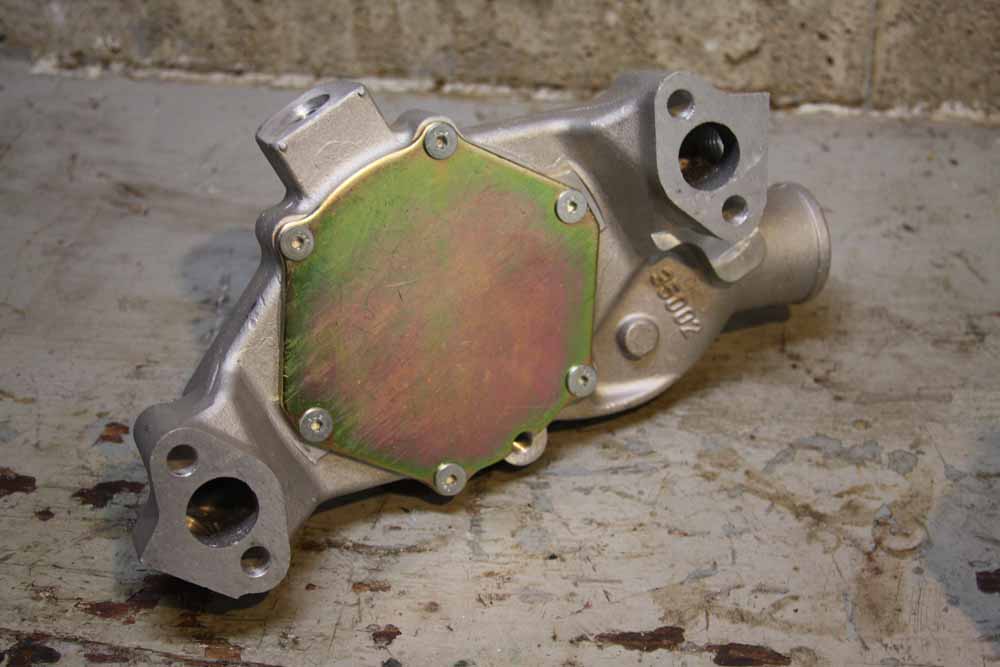
The cast aluminum pump strikes me as a nice piece. It is robustly built and the casting work is crisp and clean. The proof will be in the pudding this summer when the 30 degree temps are replaced by 90-degree temps and this pump is the beating heart that keeps the engine cool.

Note the extra ribs on the snout of the pump to keep things from deflecting under load. Like I said, this is a nicely constructed piece that certainly has all the elements to be a step up from the stocker.

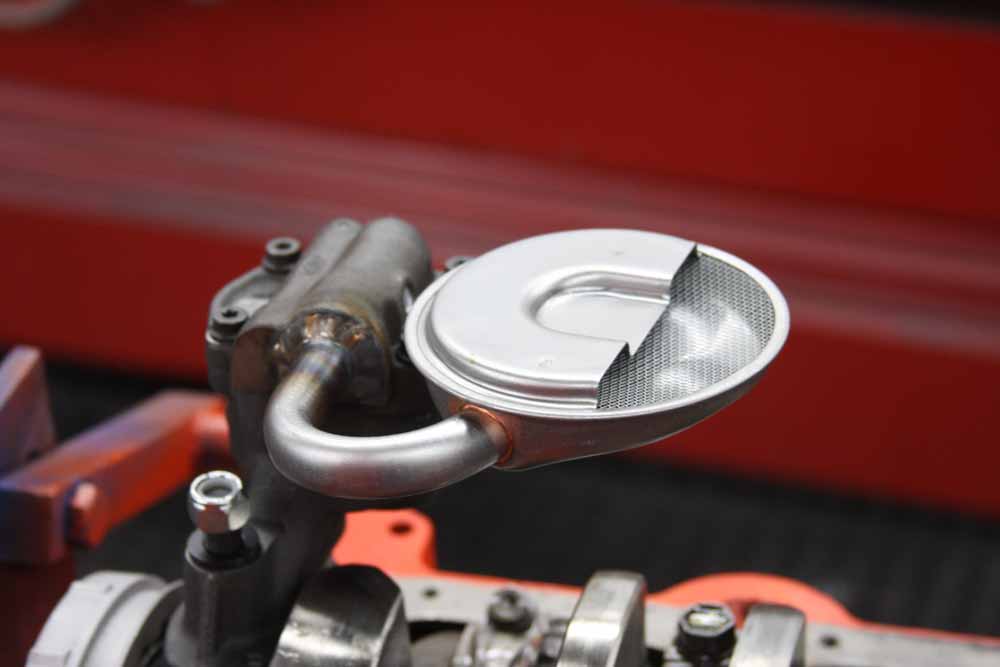
The PRW show continues! This time we’re using a Performance Quotient 8″ balancer. Performance Quotient is one of PRW’s lines and it skews a little more hardcore. This is an SFI rated balancer and it is pretty racy.
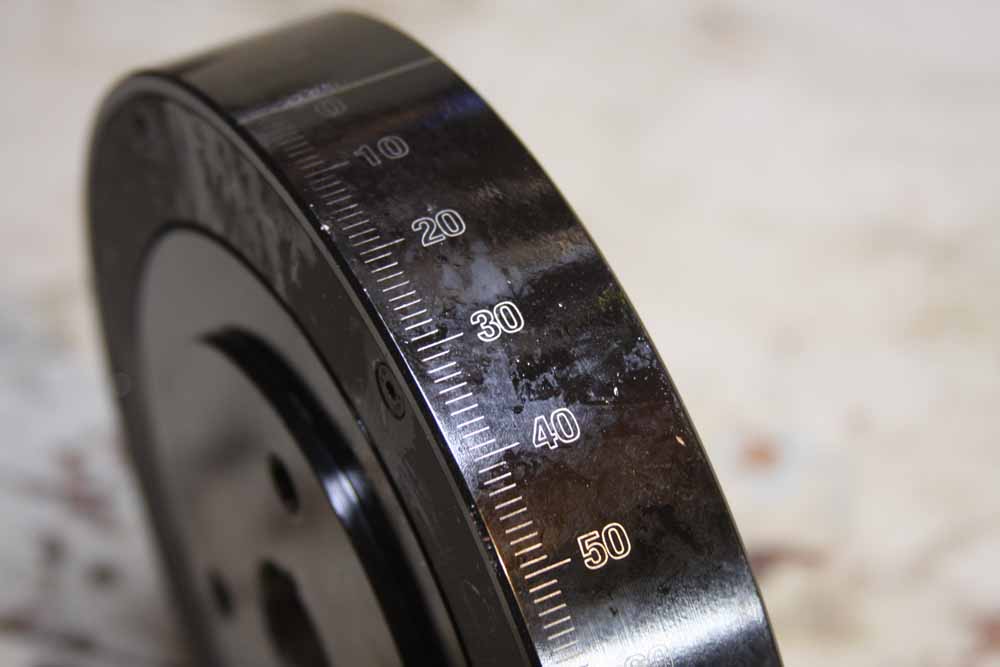
One of the things I really wanted was a laser etched piece so I was not messing with a timing tape and I knew it would be accurate when I was setting the timing. Obviously we are going to be doing dyno testing on this engine once it is in the car and timing will be a critical part of that.

Is an SFI balancer absolutely necessary? Probably not but piece of mind knowing that it isn’t going to fly apart and tear stuff to shreds is worth it to me.
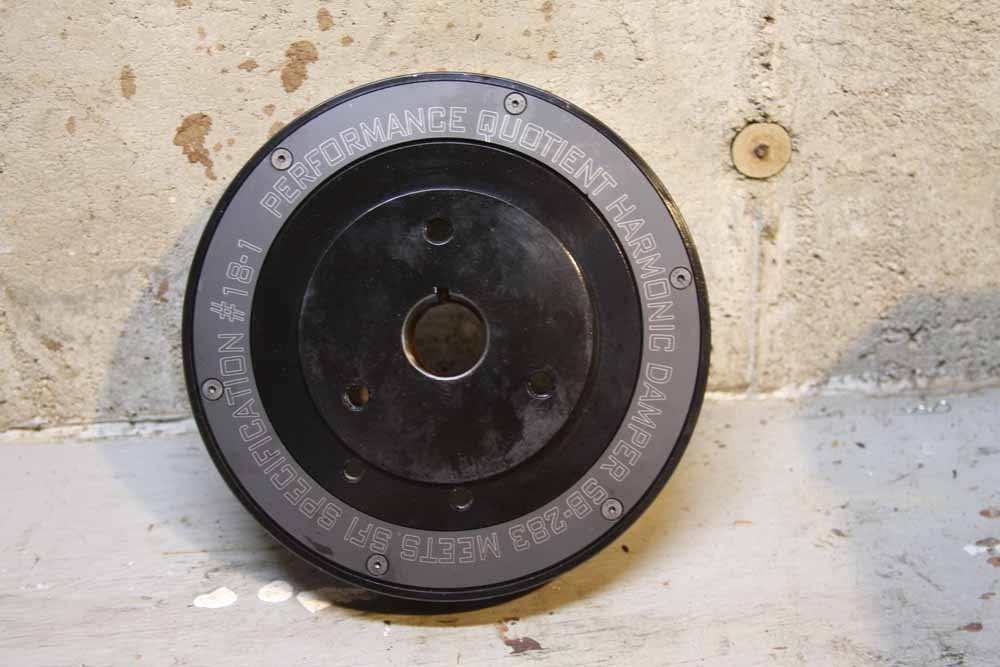
This Performance Quotient balancer has an removable weight and more than capable of keeping the harmonics and vibration caused by the guts of an internal combustion engine in check. The flexplate will be hanging off the back of the crank and this guy will be hanging off the front. Now…we need to put it all together!
SEE YOU NEXT WEEK AS WE START BUILDING THIS THING!


I hate to sound like a pain and I know you know what you’re doing but I wouldn’t re-use those lifters, especially if the oil pump screen fell off.
That’s a real vote of confidence for Lohnes.
I wouldn’t trust that he knows how to untie a shoe.
I live my life one Velco strap at a time.
I wouldn’t consider myself much of a friend if I didn’t say anything. If there’s a chance of any contaminants in the lifters it could screw up your fresh biuld.
Neat stuff! Still over .030 in the hole? You gonna have any quench with a .040 gasket?
and ya, unlike normal, I’ll be an internet expert here for a minute. Grin.
okay, so you’re 10:1 with a mongo cam and aluminum heads… good news is, it’s a Chevy! If it won’t make 200 cranking PSI, you can probably get there with the gasket. Nothing has more head gasket variety than a SBC, right?!
I’m just curious here – did they sonic check it?
Oh – forgot to say something about the cavernous heads too. Holy crap man, watch out for that first step! lol. From a 175 to a 215 huh. I’d say it has room for future growth. 🙂 🙂
Block was decked, they are not down at the bottom of the Grand Canyon anymore.
Lots of Nice parts here,and i will probably follow Your build in a 383 im planning.
Very nice stuff here Brian, I like Scat, Mahle and TFS. It’s going to be hard to wipe that grin off your face!
Sounds good, Brian. As soon as I get the Road King sold (arthritis has made riding unbearable, but WTF, 40 years on 2 wheels has been a good run) I’m gonna follow along and do a 383 much like yours. What it goes in is anybody’s best guess. I’d be willing to trade the King but the car I want will be worth thousands less than my bike and not many folks want to pony up cash in a trade. We’ll see. The guy across the street (who I don’t know) has an 87 Caprice that was driven last summer but is now at the back of the driveway sitting on a flat. Hmmm, come to the Nationals a few days early for a shootout? Don’t hold me to any of that, just thinking out loud and as I’m sure you can relate, cabin fever is kicking my ass. In any event good luck with the build and may Buford be the baddest 4-door in the Northeast.
How many of these parts are from the site sponsors?
I’m still gonna guess 475 hp or more for this combo. With large primary headers of course.
A little surprised at the cast crank, especially if your going to step on it latter on, but whatever. I do see many people using Comp cams and having no problems but I think few check timing events, ever. I had a CS324, solid tappet for a SBC that would not idle and even belched back through the carb. Sold it at a swap meet to some poor soul. That was many years ago though.
Much like the one I’m building. I went with the Scat I beam stroker rod though.
Comp Cams 294 and their rockers as well. Your build should fun to drive on the street.
Please teach valve size and the part number of the piston.
Thanks.