


(Words and Photos by David Carroll Norcal Garage) Sorry to leave you hanging on the last article. With all the hustle and bustle of the holidays and work on the wagon continuing I’ve had very little time to write. It’s time to recap….. I explained in the first article that we found this rarish wagon with a 3rd row in a field thanks to a friend, purchased it, brought it home, started it practically right up and gave it a good bath. We made a plan to do a full restoration and I left you with a bondo covered wagon. Ok, now you are up to date so I can continue with the build.
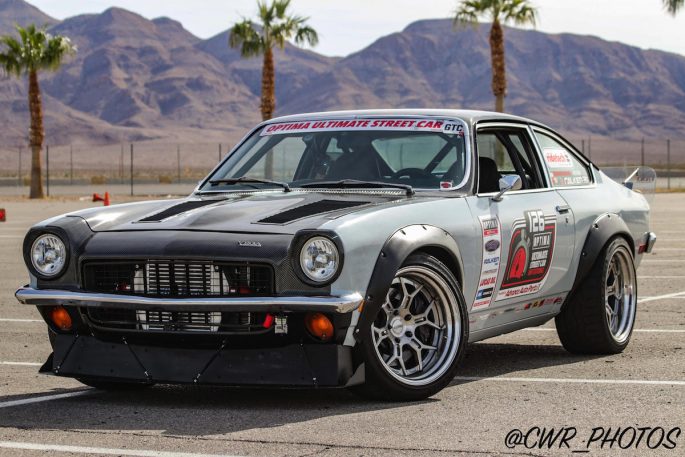
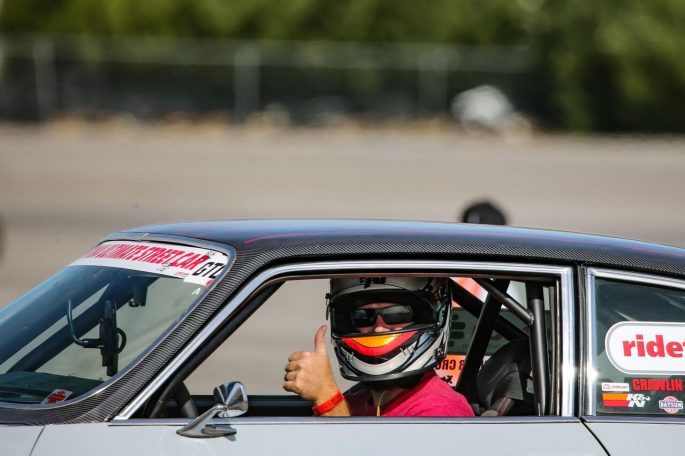
It was 2018 SEMA and the Norcal Garage team had the opportunity to have the 1973 Vega that we had built on display for the Ultimate Street Car Invitational, thanks to Falken Tire. My goal of attending SEMA 2018 was to put a name to a face of potential sponsors that I have either worked with in the past or was looking to work with on the wagon project. Talk about a ton of walking! I don’t want to bore you with all the details, but it was a great success attending SEMA 2018 and the Ultimate Street Car Invitational as we placed 3rd in class with the Vega. The goal from the beginning of the wagon project was to work with Chuck Church Jr, with Church Boys racing, as they had invited me out to Goodguys Columbus to help drive a client’s Nova around the autocross. It was a great experience driving and getting to know the car more as this was the same car that I would later drive in the Super Chevy Challenge 2019. Chuck and I have stayed in contact over the year with anticipation of hopefully building my own project with them. When the opportunity came to purchase this wagon, I knew that I wanted to work with Church Boys Racing as Chuck had made mention that they were working on a new front clip. We had toyed with the idea of making a really fast wagon with all the CBR (Church Boys Racing) suspension components on it. I wanted to best of both worlds, fast wagon on the autocross/track and a daily driver. It was all going to be possible with the CBR setup front and back! https://www.churchboysracing.com/
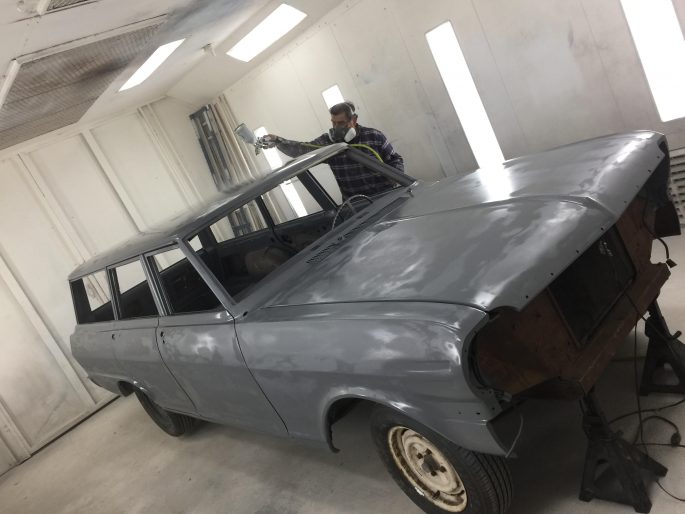
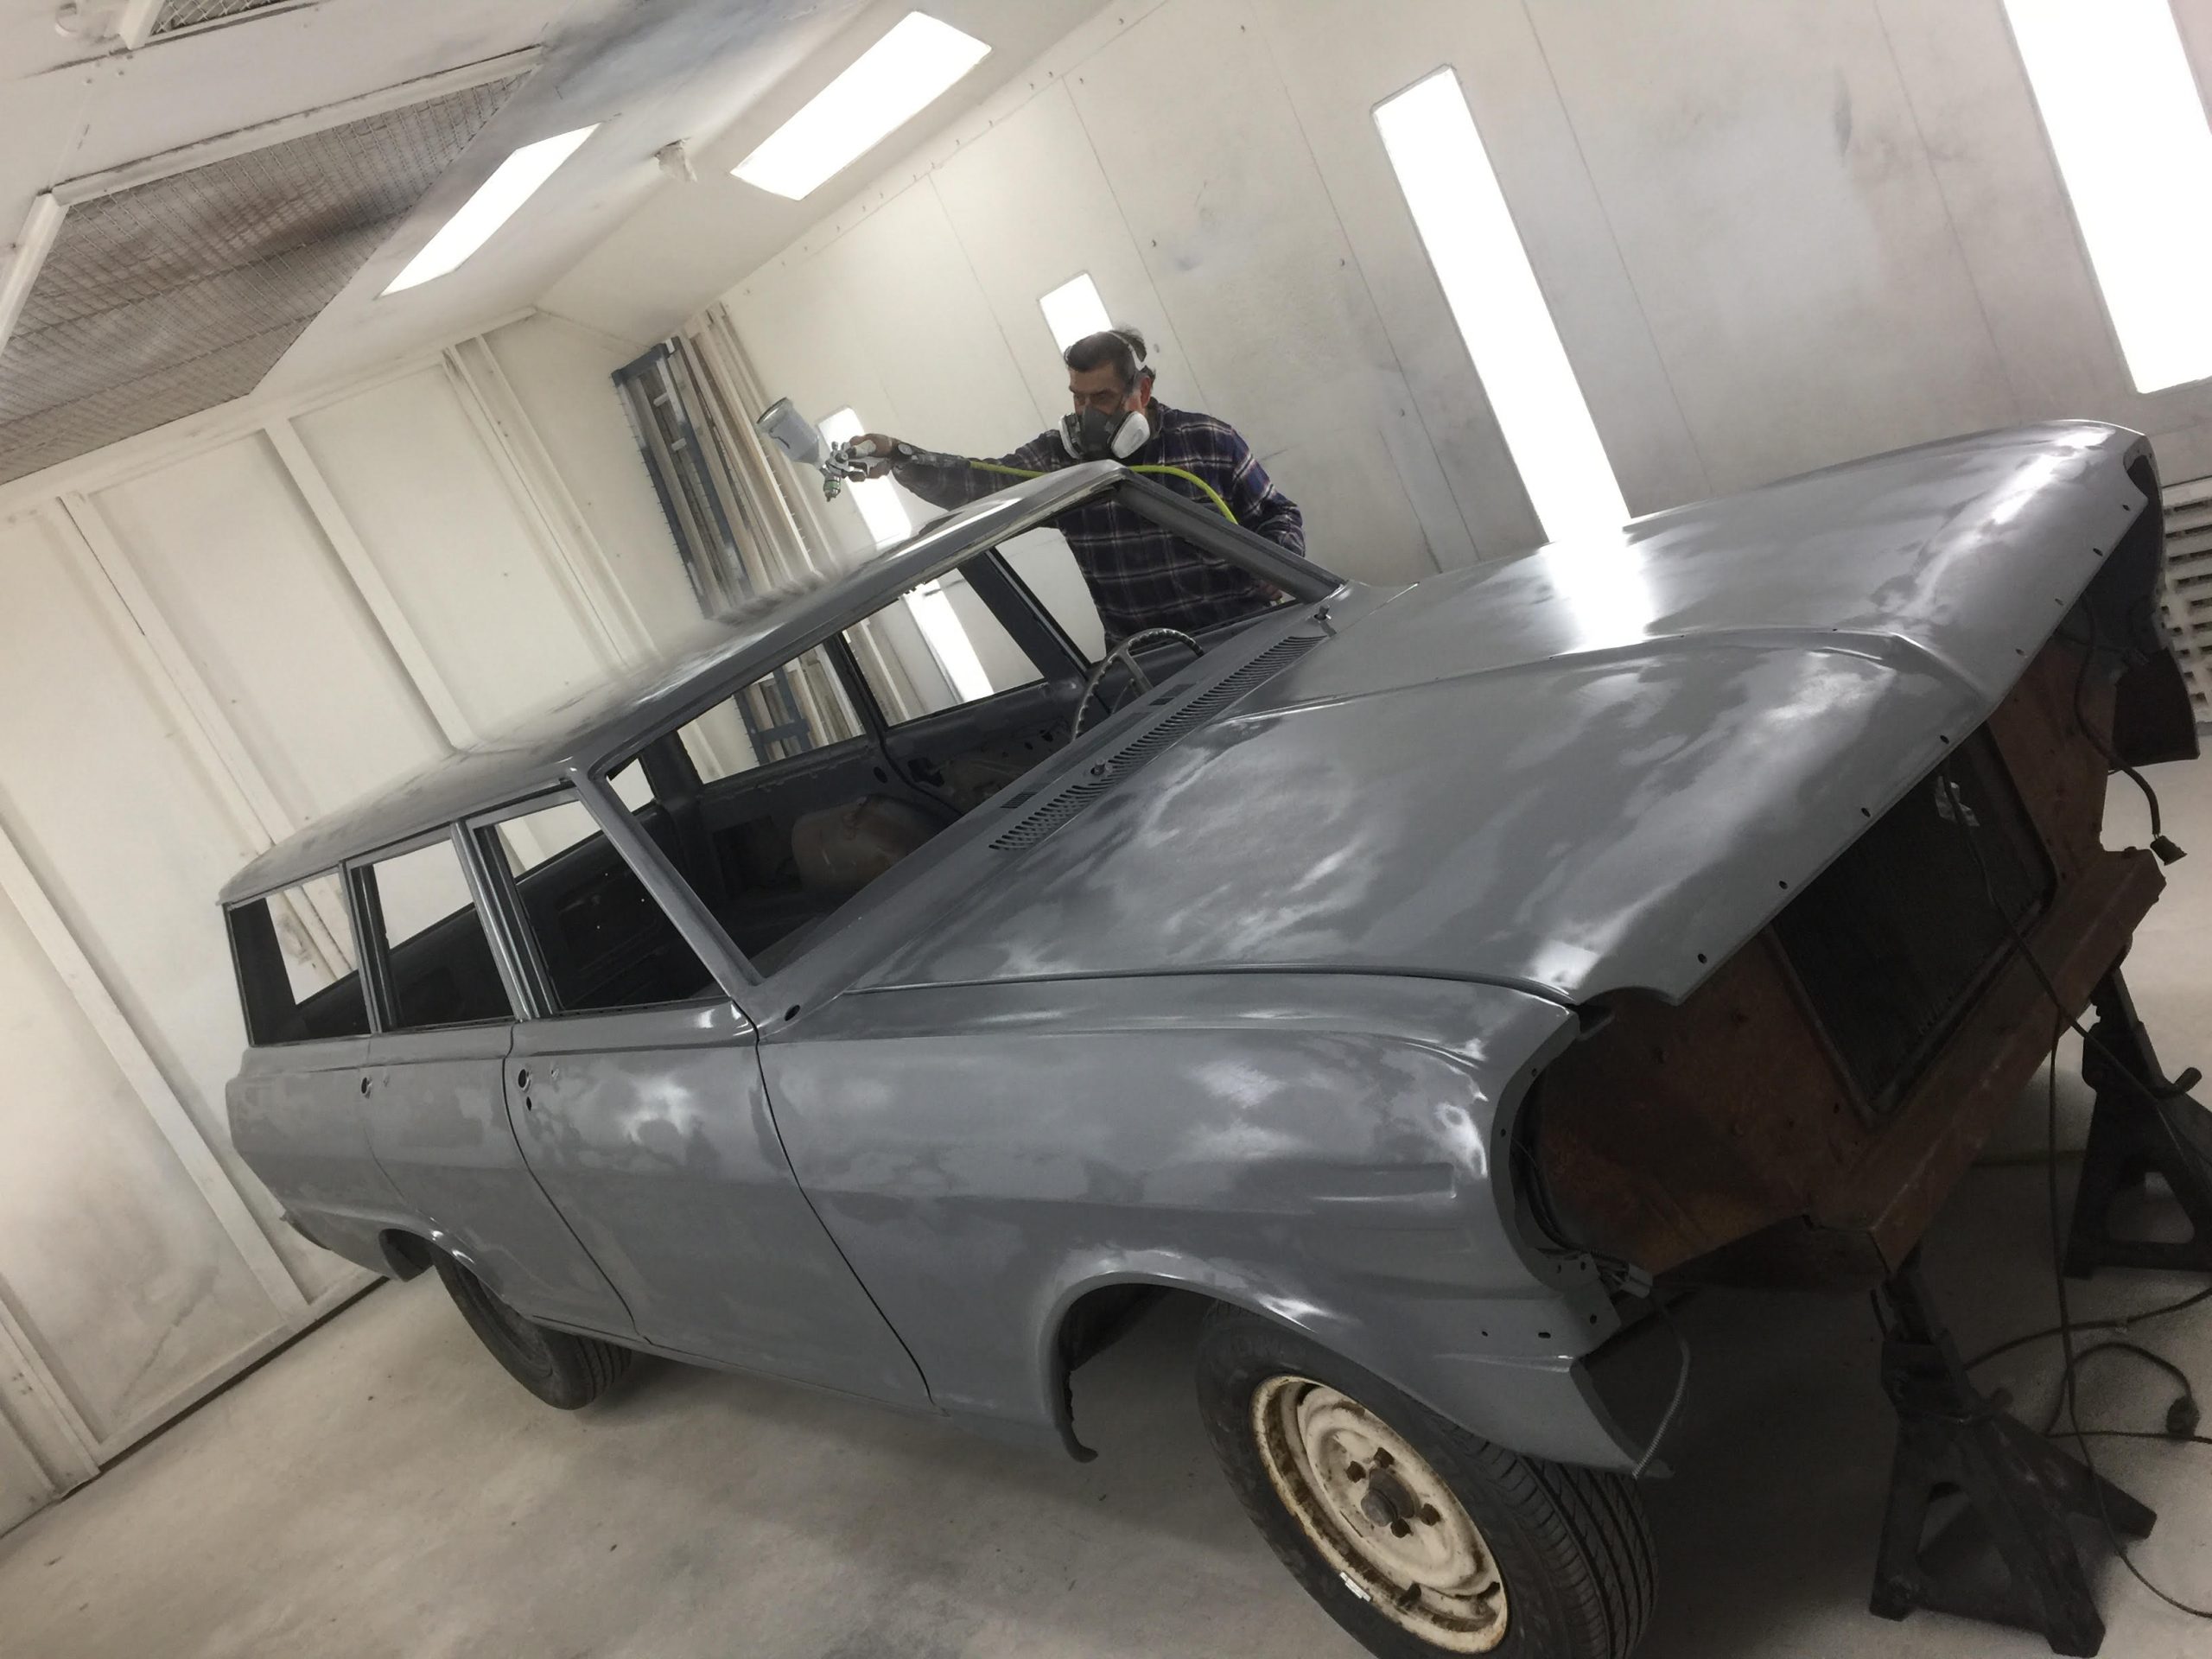
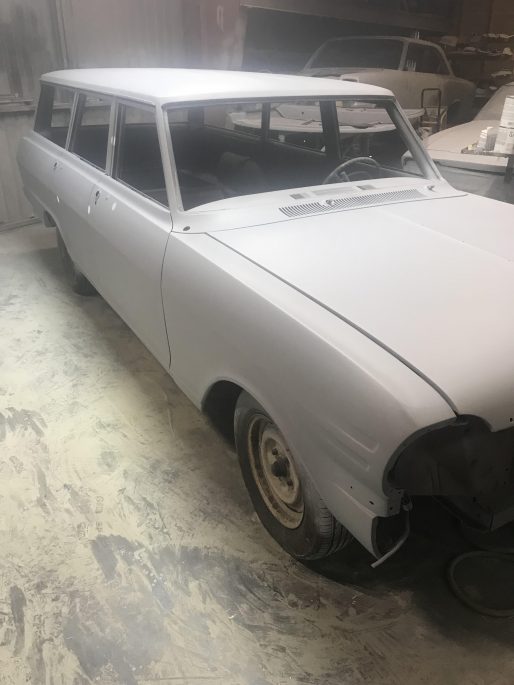
As we continued on the wagon body, we found that all the blocking was complete and we were ready for primer. I had been turned onto a primer that would give us a good build up and sanding ability. We arranged to borrow a friend’s spray booth so Rich and I loaded up the wagon and met the owner down there on a Saturday morning! We rolled the wagon into the booth, did a quick once over with the alcohol wipes, and it was time to spray. I filmed Rich spraying and laying down several coats (3 in all) getting primer and coverage everywhere. We waited several minutes in between each coat. It looked so good! I was able to see all those long days in the garage of Rich applying bondo and sanding coming full circle. Or so I thought! The wagon sat and dried for a day before I went to pick it back up. After I brought it home, we decided to let it sit for a while to help cure a little more. I invited Rich back over a few days later and he said “Let me see how it set up”. He began to sand the corner of the roof and literally in two passes of the sandpaper the primer broke through…… WHAT IS GOING ON? Rich and I were puzzled. We went thru our list and recapped what process we had used. We obviously sprayed 3 layers of epoxy primer and didn’t sand it until after it cured. Rich mentioned that it did seem to go on a little thin, even though we mixed it appropriately. Nonetheless, this primer (which will remain nameless) was useless and perhaps the wrong one (purchased by me). The plan was to sand again and get the car re-primed. UGH!!! Money down the drain, lessons learned and time goes on. Over the next several weeks Rich began to sand the wagon back down and, in that time, I made a few calls to some local talented painters to get their take on what primer I should use. A majority of them all said Feather Fill! So, I ordered up a gallon and due to a scheduling conflict, I asked my friend Carlos Alexandre over at NO ENDS Customs if he would be willing to shoot the wagon for me. WOW! What a difference. This primer lays on thick and is really nice to work with. Word to the wise ask the professionals that do this day after day before you waste money on the wrong products (I learned the hard way).
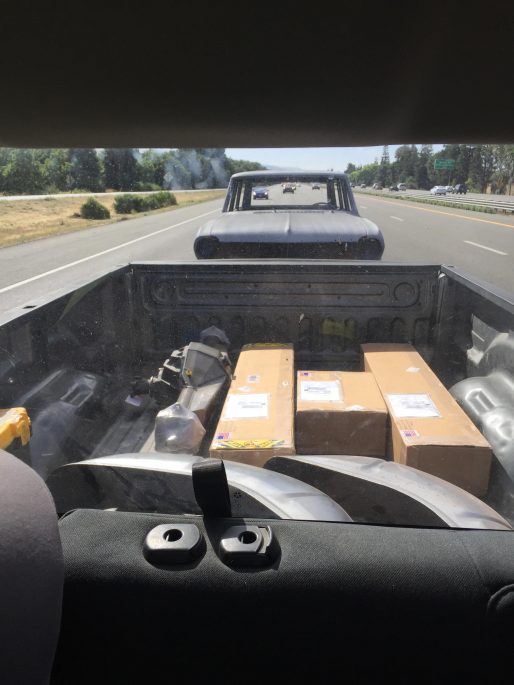
In the midst of body work and browsing for all the parts involved with building a car, I began to make a check list of all the items I’d like on the wagon since it will be a family car, autocross car and something we have for some time. Suspension, Brakes, Paint, Audio System, Gauges, Interior, wheels, tires, rearend, radiator, AC and the list goes on. In the past I have worked with several companies on the Datsun Z build and the Vega with both cars introducing new companies to work with. The suspension was obvious as Church Boys Racing was my main focus for using their new front clip, rack and pinion steering, sweet new billet spindle with corvette hubs, supporting down bars and rear 4 link, but you need support when it comes to these parts. I’ve had great success in the Vega in using the Ridetech TQ triple adjustable coilovers and really enjoyed their parts along with their customer service. I wanted to do something different on this build though and not just bolt up your typical coilover setup. I began exploring their website and came across their shockwave system which is basically a coilover AIR system that utilizes an airbag instead of a coilspring and is regulated by a sensoring system. This system would allow me to change heights at the touch of a button and have a comfortable reliable ride as I cruise down the road. It was settled! I reached out to my contacts at Ridetech and within no time my order was placed. https://www.ridetech.com/products/air-suspension/shockwaves/
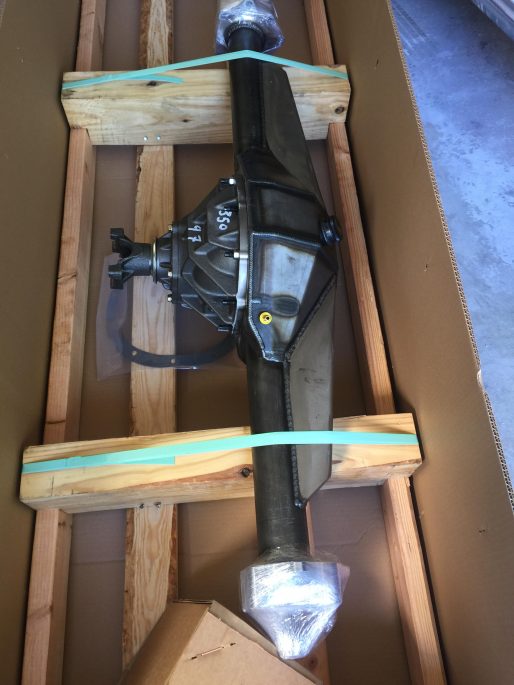
After talking with CBR, knowing that they had built several Nova’s, and instead of reinventing the wheel, they were able to answer several questions that I had about the rearend. In 2018 just before SEMA they had just finished building a beautiful 66 Nova coupe with all their goodies on it so I asked Chuck what the rearend measured out to? He was more than happy to share that information so I took that and began to do my research. Moser, Strange, Speedway, Currie and more. All had some sort of bolt in application for the most part but this one needed to be modified, shortened and able to take the abuse. Within autocross I have seen a lot of people be successful with certain parts on their cars. Is it the driver? Or is it the parts? I like to think both a lot of the time. I narrowed my decision down to Currie Enterprises and here is why. Something you don’t know about me is that I enjoy watching Ultra 4 off-road racing and I have some friends that race and also like watching some big names race too. Currie always has stuck out to me as a California based company, American Made and are very knowledgeable about their products. Many of the top Ultra 4 racers use their products in their race cars/trucks. I know several autocrossers that use their rearends as well. I honed in on the TURN 9 fabricated rearend for the wagon as it had a super cool look, light weight and was able to work well with the 4-link system from CBR and the Wilwood full floater brake system (more details to come later about Wilwood). https://www.currieenterprises.com/turn-9-pro-touring-2
We’re having fun getting the body ready for paint and collecting more awesome parts. There is still more body work, fabrication and parts to come in the next installment of our family wagon build. Stay tuned and we’ll keep bringing you more updates soon. Thank you for reading and we look forward to sharing more about the Family Time Wagon soon. If you haven’t checked us out on social media you can follow our build on Instagram Norcal_Garage or on Facebook at Norcal Garage. Thank you.


