


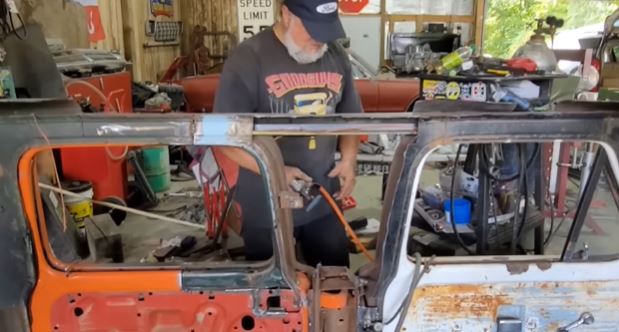
In Part 6 there is a lot going on as bracing and connections are made between all the pieces in the cab. This thing really needs some help to hold everything together. Of course, there is some style going on though with bead-rolled panels as well! Check them out.
Because of the way they are building this thing the cab is longer than a factory crew cab, hence the MegaCab name. Because of this, there is some serious roof going on and a lot of structure is needed that doesn’t exist in the truck cabs.
Yes these trucks came with 4-doors from the factory, but in very limited quantities. Plus, these dudes had two junk standard cabs that they wanted to see if they could make something good out of. Well if they can pull this off, then this certainly will qualify as something good. I’m loving watching it go together and if this doesn’t inspire you to grab your welder, I don’t know what will.
If you missed the first two videos, use the link below to check them out too.
The 1967-1972 Ford trucks, often referred to as bump side trucks, are sought after by Ford enthusiasts. They are cool classic trucks and they are getting harder and harder to find. What makes Ford’s bumpsides special, compared to the truck offerings from GM and Mopar, is that they were available in a SuperCab, aka extra cab, and also in the Crew Cab or 6 man configuration. The crew cab is ultra rare compared to the others because they were most often purchased by government and corporate jobs.
So if finding a factory crew cab is tough, and if you have a couple of junk bumpsides sitting around to cut up, then why not build your own? That’s exactly what the crew at HalfMoonCustoms is going to try to do.
Let’s see how it works out.


