


Thirty years ago if you wanted to make your car breathe better you bolted on an open element air cleaner. It certainly changed the way your car sounded and it might have added a couple of horsepower but unless you helped your carb understand that increased airflow with jetting changes you likely didn’t see the full benefit. In today’s world of fuel injected engines and advanced computer technology, making your engine breathe better can result in immediate and measurable power gains because of how the EFI system adapts to the increased air volume and reduced restrictions in the intake tract.
We decided to upgrade the intake tract on the hardest working pickup truck we know of around BS eastern world HQ. It is used as a tow rig, dragging race cars and tractors around, it is used as a plow rig in the winter, it is driven to work daily, and it has been known to carry more than the manufacturer’s recommended payload in the bed. This 2013 Chevrolet 3500 HD is as work truck as it gets with a base bench seat, crank windows, and all the heavy duty driveline options GM has available on a gas truck. Light on frills but heavy on functionality, it is 100% BS approved. It also belongs to my pop so I have first hand knowledge of this sucker.
Looking for some more power when towing and bulldozing snow, we’ll be hitting this truck with some bolt-ons over the coming months. To get the party started we chose Airaid intake Part # 203-280 which came with the company’s SynthaMax dry filter. This is a piece that does not need oiling and can be cleaned with a simple washing. With the way this truck gets used, we’re interested to see how it holds up in all seasons.
With the promise of a quick install and some time wrenching with pop, I headed over to the truck after dinner one evening this Spring. Did the system install as easily as promised?
CLICK HERE TO VISIT THE AIRAID WEBSITE TO SEE ALL THEY HAVE TO OFFER
Read on to find out!
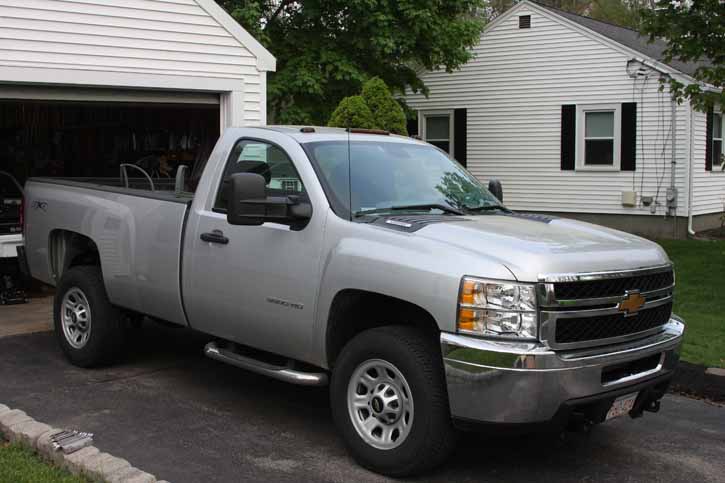
Here’s the patient, a 2013 Chevrolet 3500 HD truck. Powered by a 6.0L LS engine it is short on options but long on good parts. It has the plow package, towing package, a locker, and all of the other heavy duty stuff you’d want in a truck. As a plower and a hauler it is always good to have more power, so that’s why we went with the Airaid kit.
The cool thing about this Airaid kit is how easily the whole thing installs. Some really basic hand tools is all that’s required, and there’s nothing better than making your stuff better with minimal effort. Step one was to remove the factory tubing.
Factory air intake systems are designed with a bunch of factors involved, one of which is keeping the intake noise to a minimum. There’s all sorts of chambers, flexible joints, and other junk that we’re not really concerned with.

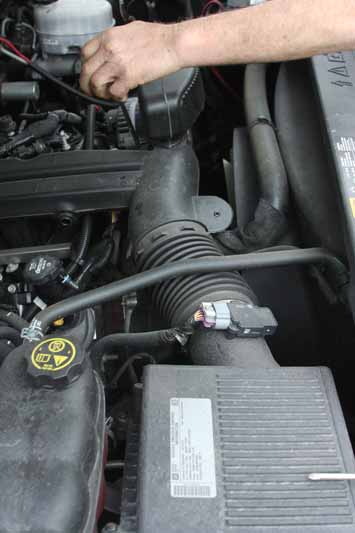
Removing the PVC breather tube from the factory intake tract is one of the first steps in the process. It literally pops out.

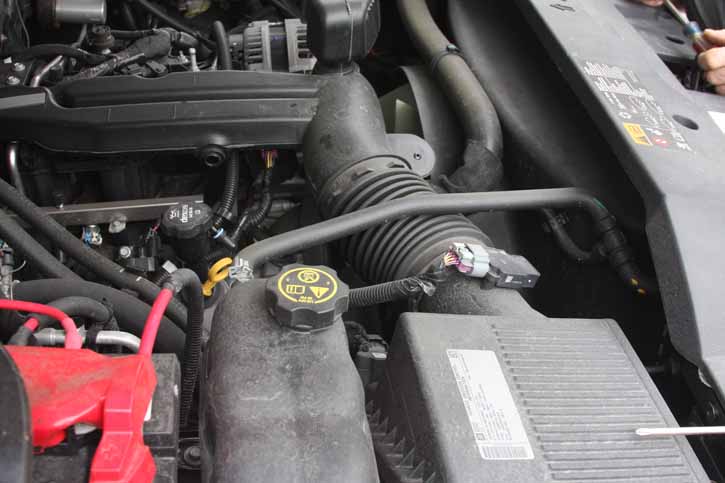
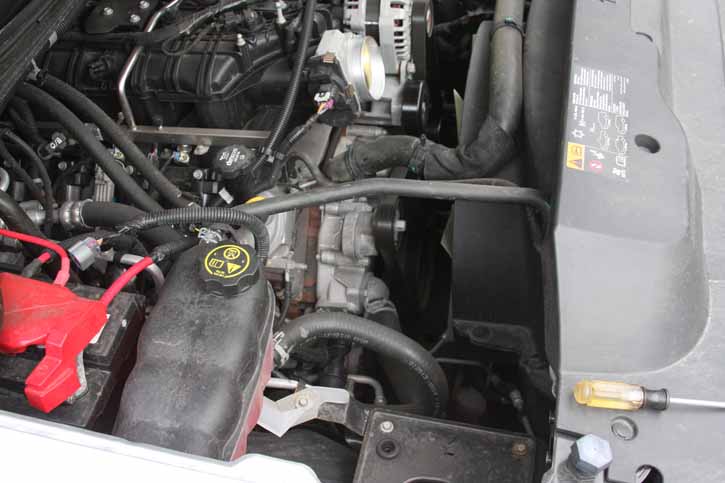
With the engine cover off and the intake tube removed you can see how good looking an LS engine is. Ok, the LS engine is hideous looking but you can’t deny that they make great power. This Airaid kit will help spruce up the under hood area.
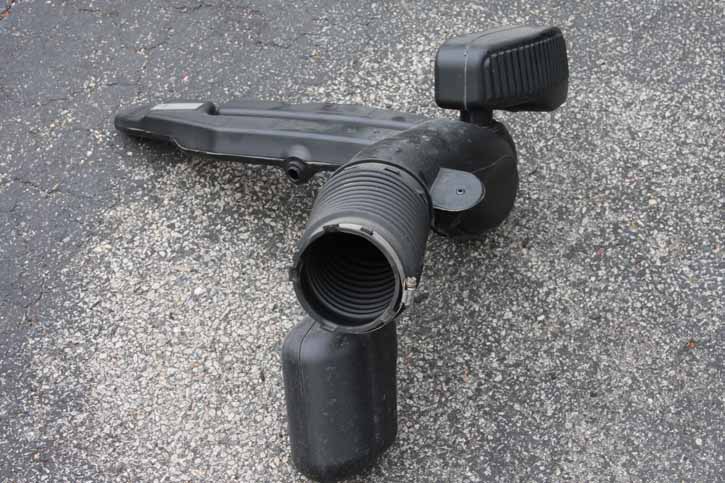
We don’t know why all that crap grew off the air intake tubing but it did. We set this stuff aside so we can attempt to sell it on Craigslist in 30 years for big money. That seems to be the move.
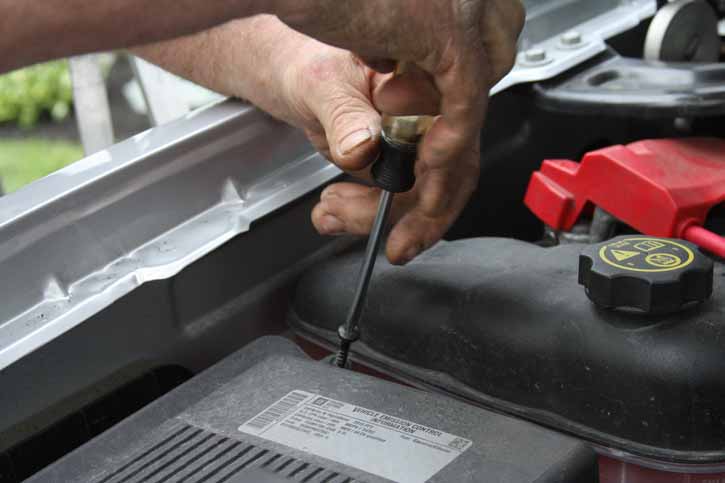
We used a small pocket screwdriver to pop the clip that was retaining the other end of the PCV breather tube. There is tubing supplied with the kit that replaces these factory pieces.

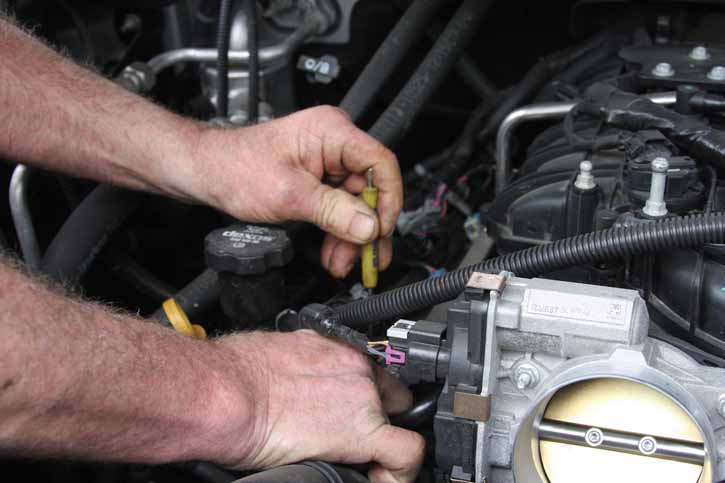
The last “delicate” work we had to do was popping the connectors off of the MAF and MAP sensors. Both of these live in the same tube and the sensors will be swapped over to the new intake kit. Do not damage this stuff because it will make your life miserable. We didn’t botch this operation.
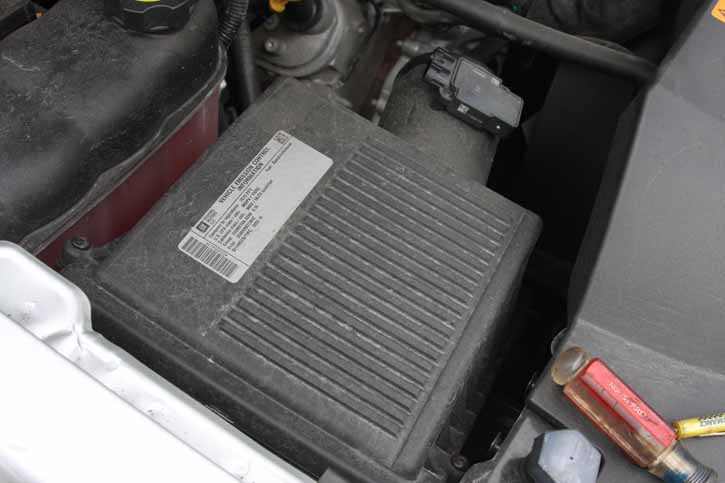
The factory air box is also on the junk list. It is the final piece to go.
The lid comes off with a few Torx screws and then the bottom of the box comes out with a couple of bolts. On some models of truck there may be a fender brace that needs to be removed. This truck did not have the bracing so we did not need to follow that step in the directions.
With all of the factory junk removed, it was now time to starting installing the new Airaid kit.
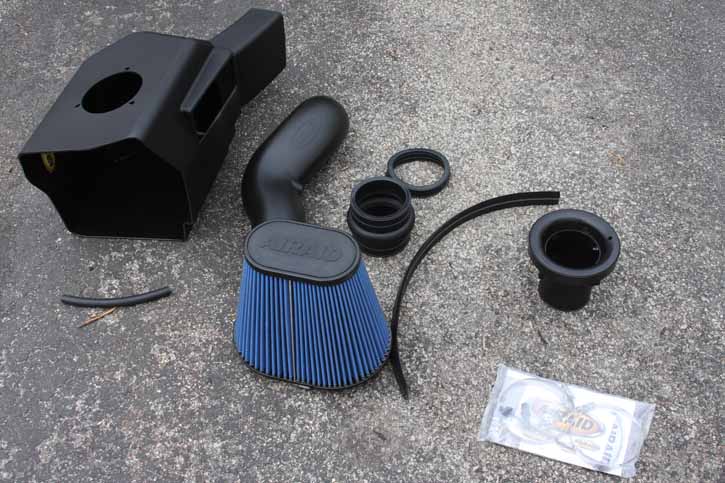
Here’s the whole kit. To the left is the new air box and working across is the inlet tube, coupler, Synthamax filter, air filter mounting horn, and hardware bag.
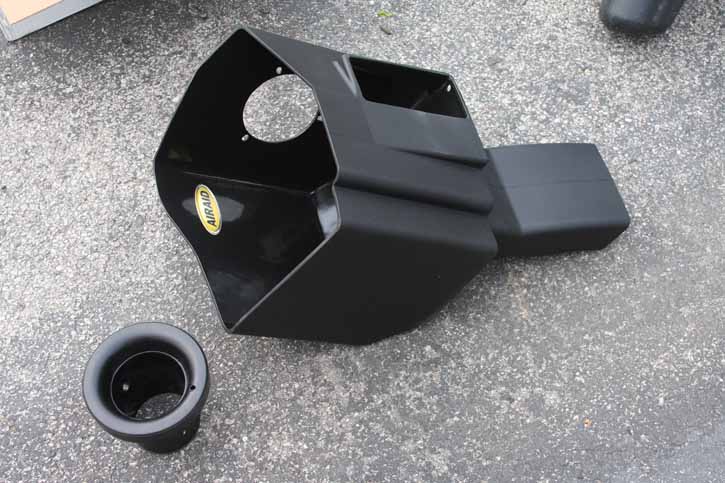
Here’s the new air box. There’s a little pre-assembly to be done, adding the air filter mounting horn and some sensors before dropping the whole thing into the engine bay.
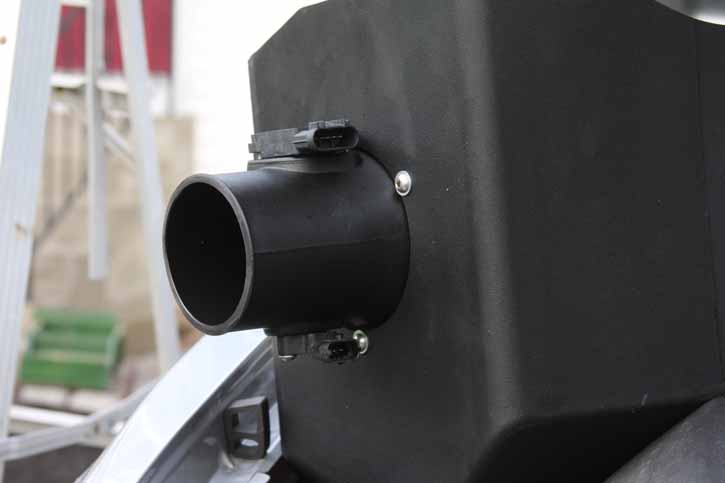
Adding the air filter adapter and securing it to the box we also swapped in the MAF and MAP sensors. Airaid supplied the hardware to secure the sensors, do not reuse the factory stuff.
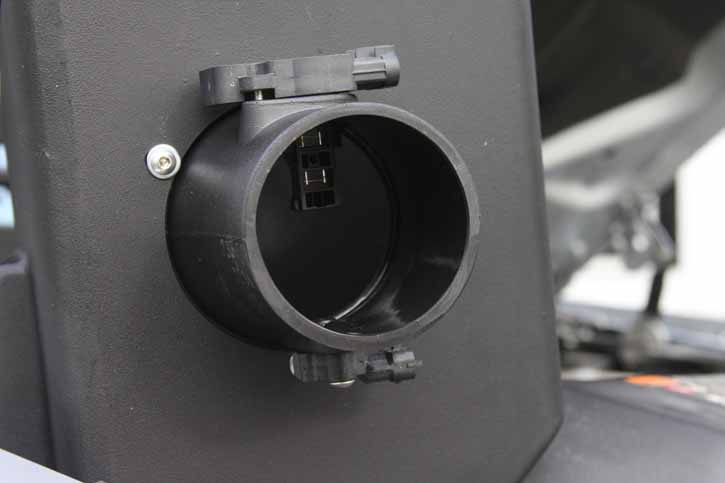
A look at the MAF as installed into the tube.
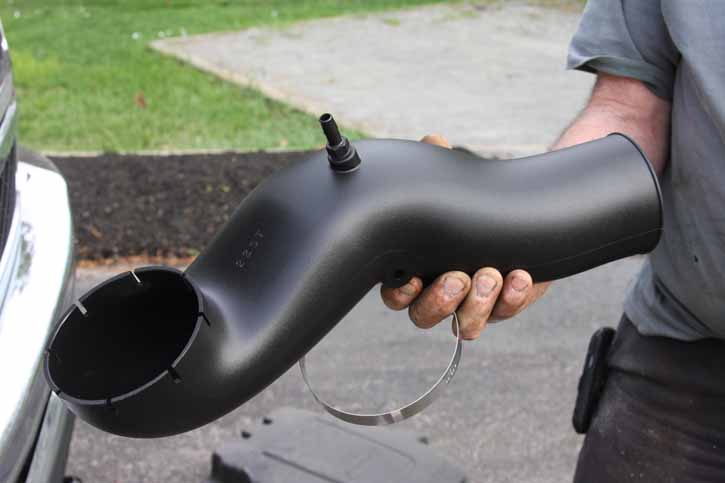
With the box installed, we added the barb for the new PCV hose to the inlet tube. (Modeling credit: Bob Lohnes)
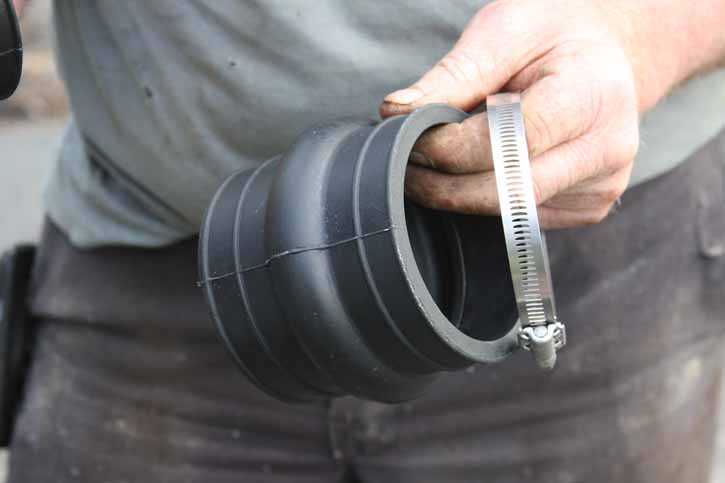
This is the coupler that secures the inlet tube to the box. The coupler has some internal stops in it to let you know when everything is seated deeply enough.
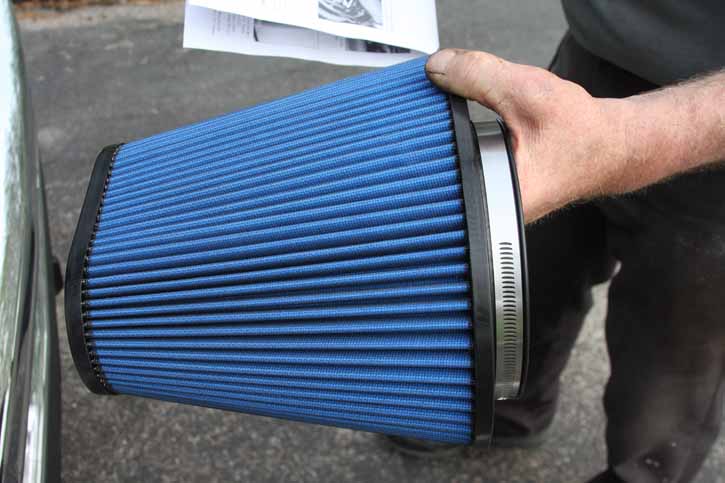
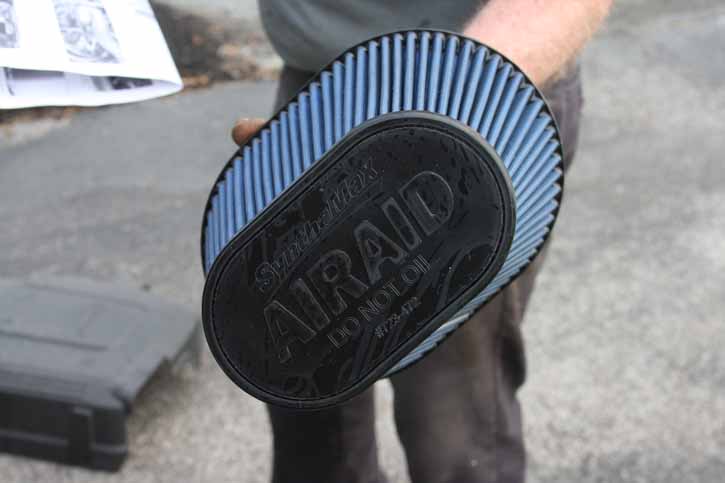
The SynthaMax filter is massive and provides a huge amount of surface area to pull air through. We chose this filter because it is a dry piece that does not require oiling or any of that stuff. A simple wash when it is dirty will clean it out and get it ready for continued use.
The filter is strongly constructed and we’ll let you know how it holds up to the four seasons of tough work it will be living through here in New England.
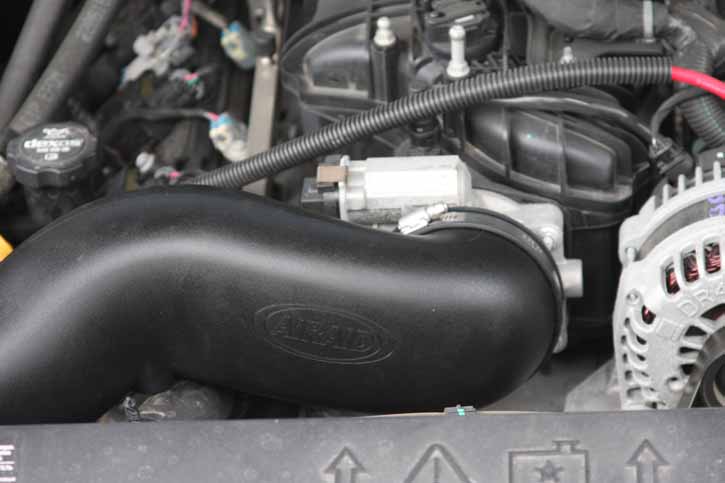
With the box installed it was time to put the inlet tube on. This baby slipped into place and secured with the supplied hose clamps.
With the inlet tube in place we added the rubber PCV line and the sealer strip to the top of the air box itself and we were all done.

The install was clean and easy and if you were hustling you could likely have the whole thing done in about a half hour. We were closer to an hour but that was mostly hunting for tools and goofing off.
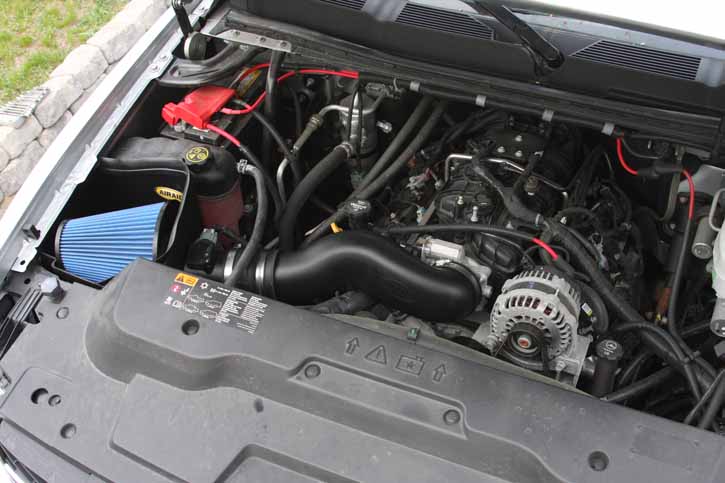
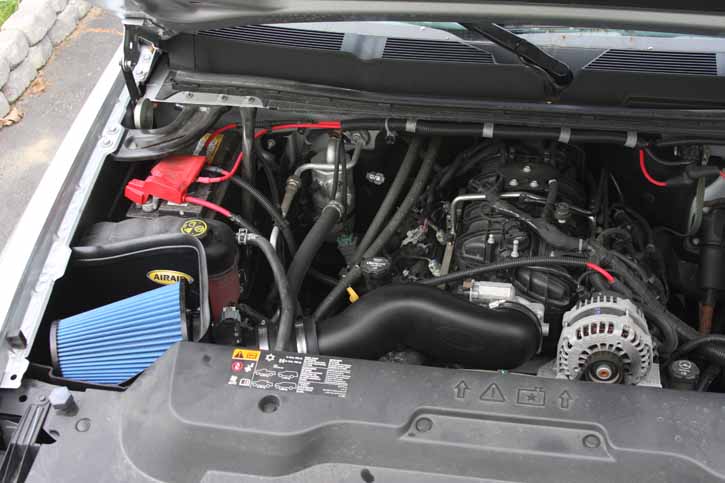
As the truck is set to drag a race car to the strip in the coming week, we’ll report back on our findings regarding power, economy, throttle response, and sound from under the hood. The thing fits like a glove and initial reports are that the big one ton is more snappy than it was with the factory system. Overall we were very satisfied with the quality of the pieces, ease of install, and finished appearance of the system. We’d have NO problem or hesitation in recommending and Airaid system to any of car or truck owning friends who wanted to upgrade their air intake.


I’m pessimistic in the morning.
First paragraph good opener, but it’s important to note that not all late model EFI vehicles can automatically adapt to increased airflow. Late model Mustangs for example won’t run right with a modified intake without a tune. The Toyota GT86/cousins can show initial improvements with bolt-ons and then revert back to a stock power level due to some weirdness with the factory tune. Just FYI.
Secondly this is a good case for an aftermarket intake, but not all vehicles need it. A lot of factory intakes are already “cold air” type and there can be little gains to be had from a cone filter. Filter media flow rates aren’t an issue on lower horsepower builds, such as mostly stock vehicles that are NA. I’ve installed aftermarket air intakes on several vehicles and gone back to stock after seeing problems with heat soak and constant maintenance.
Finally, a question. Is Airaid making better quality stuff now? When they came out they were kind of the “APC” of the intake aftermarket.
Yup, I’ll agree here. Seen lots of cars where they don’t gain any power with these without a tune or MAF signal manipulation (The FR-S/BRZ/GT86, springs to mind there). And some cars just refuse to gain any power of these at all (NA-chassis Miatas for example).
Its interesting how varied the results are on adding one of these to a vehicle. I did a 90mm cold air intake and tune on my ’07 3v Mustang and I was shocked as to how much it really woke it up. I did the same and barely noticed a difference at all on a ’01 5.4 F-150 I owned though.
Factory tunes seem to vary a lot. Late model vehicles with electronic throttle bodies especially seem to be a lot faster after a tune, mainly because of the improved throttle response. Cable operated throttle bodies are my preference. I think Ford detuned the Mustang to preserve engine longevity and keep idiot drivers from killing themselves.
Did a K+N kit on a 02 PT Cruiser – 2.4 L 16 valve 4 cyl
It did wake up mid range power – but the joyfull noise it makes
when you open the throttle wipes out the fuel economy….
I always have my foot in it !
On a HD all you need is the tube the air bow on them flows extremely well and getting the full package is a waist of money. Just get the tube and a panel filter