


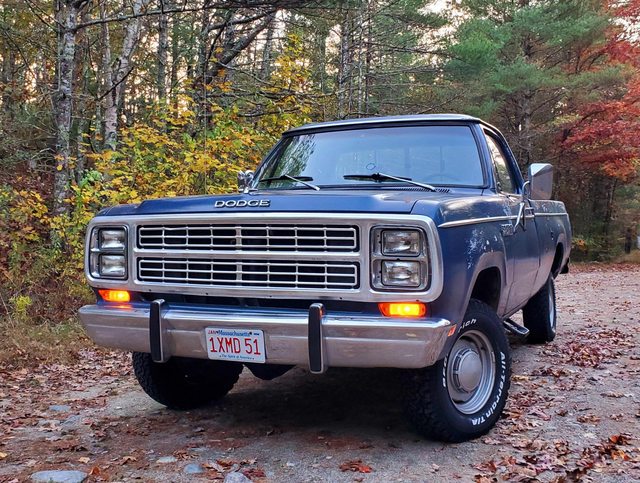
Welcome back to our coverage of Project Power Laggin’! Follow along as we take a tired 1979 Dodge W150 Power Wagon we found in Central Maine and transform it from a derelict roadside attraction to a dependable, powerful weekend workhorse that lives up to it’s given name! In this installment, we discover even more hackery, more weirdness, and fix most of it!
Guys, it’s been a while. The last installment of this series was five months ago, but that doesn’t mean we haven’t been busy wrenching on this rig. With the current crazy state of the world, like a lot of you I’m sure, I’ve found myself focusing more on the ol’ homestead, fixing stuff around the house, the yard and turning my old, falling-apart garage into a functioning shop. And to do that stuff, it helps to have a dependable rig for getting lumber, mulch, and more. The Power Laggin’ has been doing that, save for the dependable part. The last we left it, the truck was looking good, stopping better, but running worse. So, let’s dive right in and see what we’ve been up to!
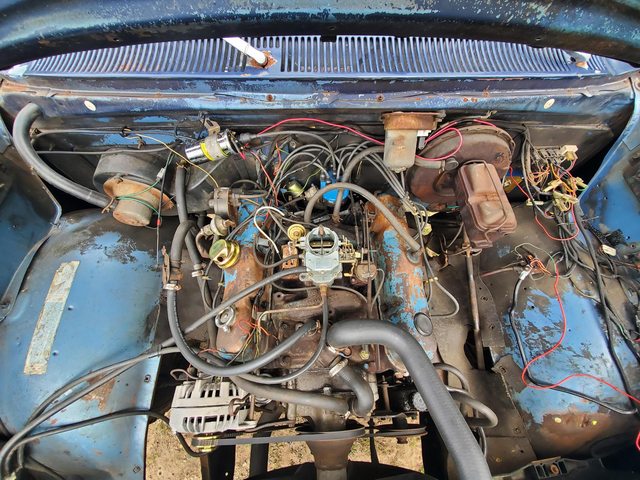
Ok, let’s start under the hood. In the last installment, I talked about how the truck would exhibit some strange behavior: it would start right up, idle fine, and randomly switch to a pattern where it would start chugging and want to stall. Throttle input would be abrupt, and shutting it down and restarting would sometimes help. This was getting immensely annoying, so the first thing on the list was to start fresh and figure out what was going on. I mean, it’s a semi-fresh Carter BBD sitting on a LA 318. How complicated can this be?

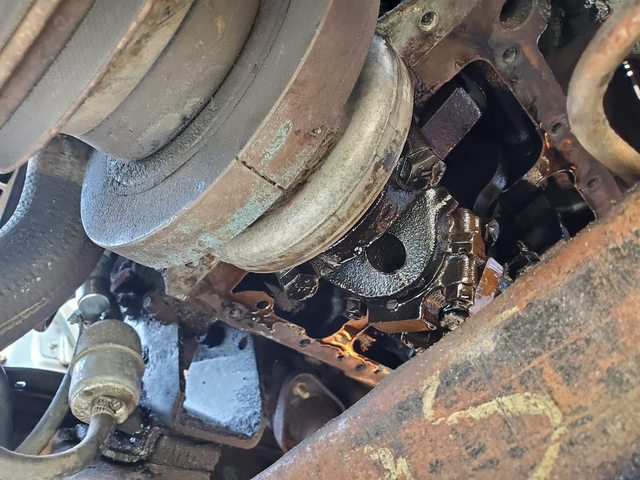
At first, I thought the ancient EGR system, including this vacuum amplifier, was causing the problem. Early emissions systems were problematic at best, and these vacuum amplifiers have been known to fail and cause some weird issues, including some of the things I’ve been experiencing. I was one step away from ripping it off and pitching it into the woods when I noticed something…
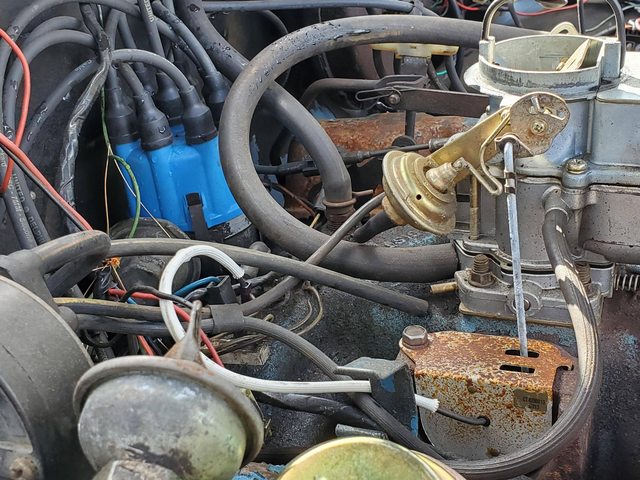
Do you see what I see? Hint: check out the base of the carb. Yeah, that’s an open port! Could that be it? Well, no. See that vacuum line sitting right below it? Naturally, I hooked that into the port. That line goes straight into that vacuum amplifier. It somehow ran WORSE with that hooked up. So, I went back to basics. I removed that line again and capped the port. I then checked base timing, which was dead on. I then eliminated anything having to do with that vacuum amplifier system and capped the rest. After setting the idle circuit, I took it for a drive, and it ran better than it ever has! It had more power, tip-in was good, and no more low idle weirdness.

With the carb working properly, I could focus on some other small projects. During this five month span, my daily driver decided that its transmission’s internal bearings wanted to consume themselves, so I started driving Power Laggin’ on a daily basis. In doing that, I realized that this truck was LOUD. Between the falling-apart weatherstripping and the turbo muffler that exited right before the passenger side wheel, driving it daily was getting annoying. Yeah, I know, if it’s too loud, you’re too old. I guess I’m getting old, because not being able to hear yourself think while piloting your daily driver is not a good time. I’ve had a tailpipe sitting in my garage since early 2019, but it never became a priority to install it until now.

The muffler that’s on there now (a Raptor mini turbo muffler) is over a foot shorter than the stock one, so I needed to make a run to the parts store for a piece of straight pipe to make up the difference.
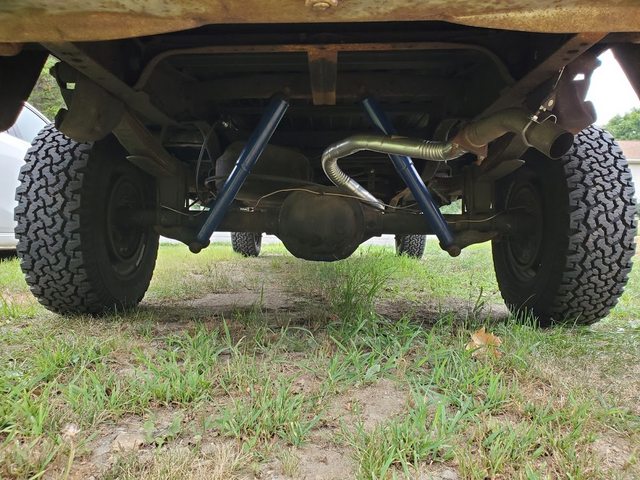
With the new tailpipe in place, the truck actually sounds a lot better than it did before; it has a deeper, more substantial tone that sounds great. It’s still loud, but since the noise is coming out the aft end, it’s much quieter inside the cab. It’s the best of both worlds. It’s nothing fancy, but it gets the job done.
In the last installment, I talked about getting a working speedometer in the truck after messing with multiple gauge clusters and speedometers. That lasted all of about a week. I was driving home from a dump run and I heard the telltale sign of a binding speedometer cable. I once again removed it, cleaned it, and soaked the cable itself for a day in some motor oil. After putting it all back together again, it lasted another week or so before the same thing happened. Not wanting to break yet another speedometer, I pulled the cable and started looking for a solution.
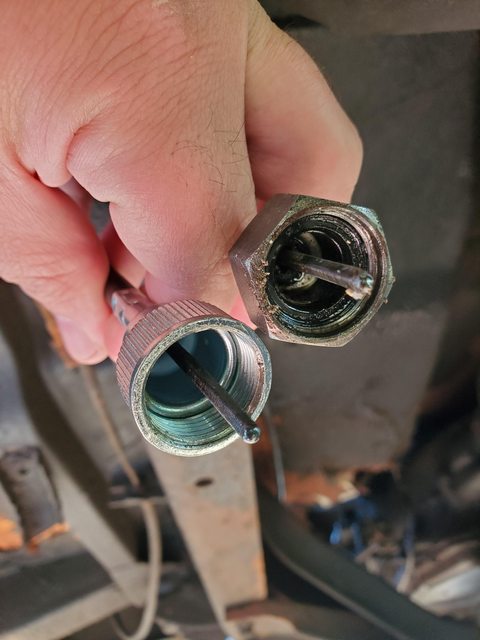
After perusing some parts catalogs and a few online resources, I found that my truck had a “Chrysler Speedometer Cable Adapter” installed on the transfer case, which is why the ones they list for the truck in most of the catalogs don’t have the correct nut on the end. From what I’ve read, it was basically the luck of the draw whether the guy on the assembly line used this or a different one, gotta love that Malaise Era quality control! I ended up finding the correct length cable with the correct nut from an early 70’s Dodge Charger with a TorqueFlite 727. As you can see, the nut is the same diameter.
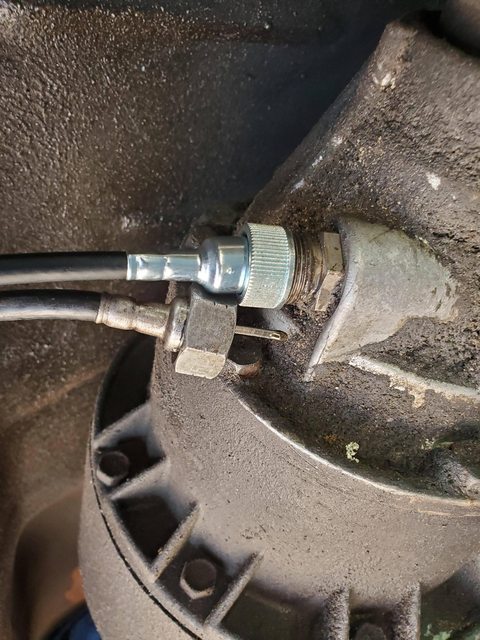
And yes, it threads on and works! FINALLY, the speedo works as it should.

Another thing that has been annoying has been the lack of a dome light. The truck has one, but it hasn’t worked since I brought it home. I replaced the headlight switch and even these door switches, but they still don’t work. It gets voltage to the switches, but somewhere along the way, there has to be a break, because there’s no voltage at the bulb. Still working this one out.

In a previous installment, I replaced the leaky oil pan gasket and cleaned the pan, only to come out the truck a few days later to this. The pan developed pinholes and was leaking through the pan itself.
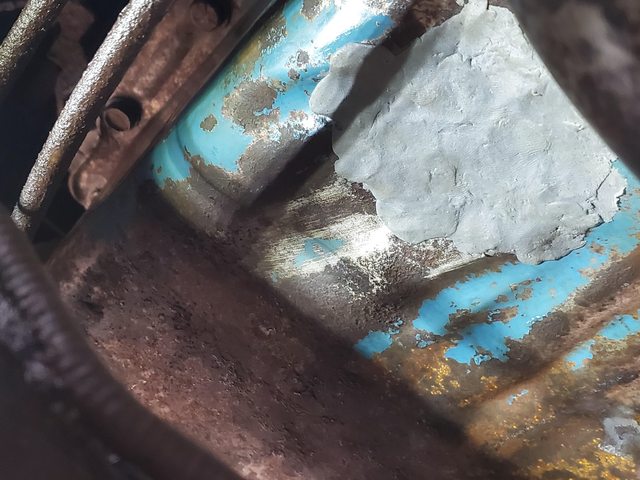
My temporary solution at the time was slapping some epoxy putty on the pan and sending it. That worked for a while, but yeah…

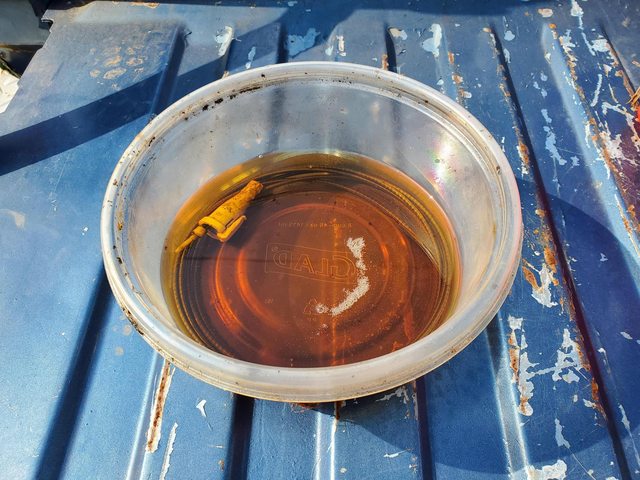
A year later, guess what’s leaking again? The front seal deformed over time and started piddling all over the place. In addition, you can see here that the rest of the pan looks terrible. It developed a slow leak in the pan itself in a new spot, so it was time to fix it right.

I ordered a new pan made by Spectra Premium Industries, which was not only affordable, it was 100% less porous than the 42 year old stocker. But something was off…
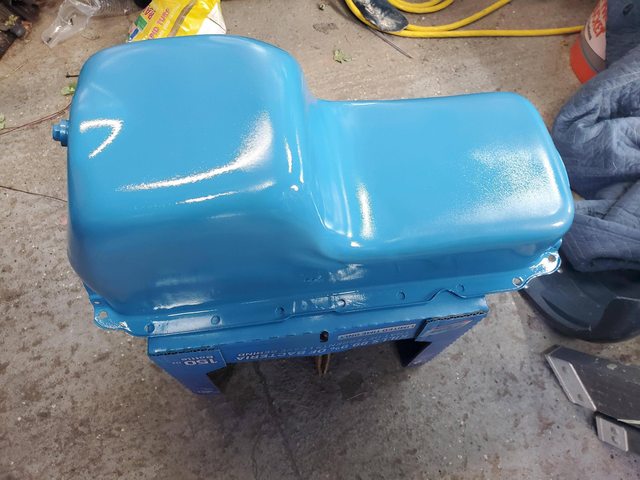
Ahh, that’s better! Once I slathered it in a few coats of Chrysler Corporate Blue, it was ready for installation.

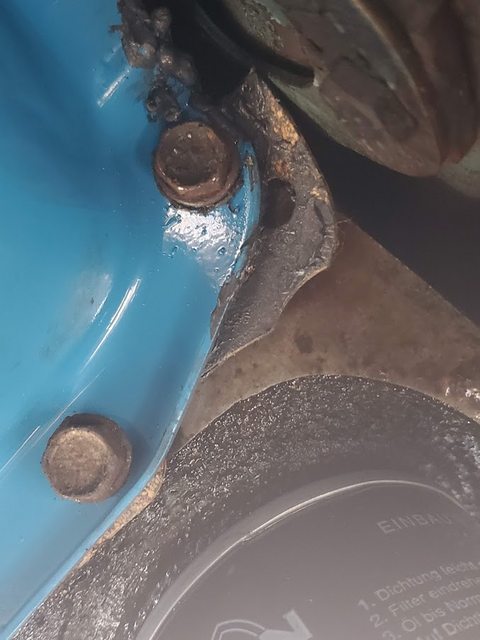
A while back, I swapped on a later Mopar Magnum V8 high torque mini starter in place of the old, failing unit. The last time I pulled the pan, one of the starter wire lugs fell apart, so it was repaired with whatever I could find at my friend’s garage. This time, it fell apart again, so I went into my parts bucket, found another lug that fit better and got it on there. Not a glamorous fix, but an important one.
I didn’t have the luxury of doing the job on a lift this time, but that was OK. This is not a bad job to do at all on these old 1972-80 Dodge trucks, and the pan can be swapped without lifting the engine. Lift the truck up in the air, put jack stands under the frame to let the front axle dangle, and you should have enough clearance to get to everything. I’m happy to report that the engine doesn’t smell nearly as bad inside this time around. Not sure if that means anything, but I’ll take it! The internals look about as clean as a 42-year old stock 318 that’s been running terribly up until recently should look.
Here’s how NOT to install a pan gasket. This happens a lot with older engines with multi-piece pan gaskets; the cork slips away from the bolt hole, and if you aren’t careful, you have a situation like this. On these Mopar LA small blocks, the gasket wants to sit on top of the end of the rubber seal, so when you start bolting up the pan, the gasket likes to slip out at the ends. And don’t worry, I went back and fixed this.

And after minimal cursing, the new pan was up and in! It’s comical that the shiniest part of the truck is on the underside.
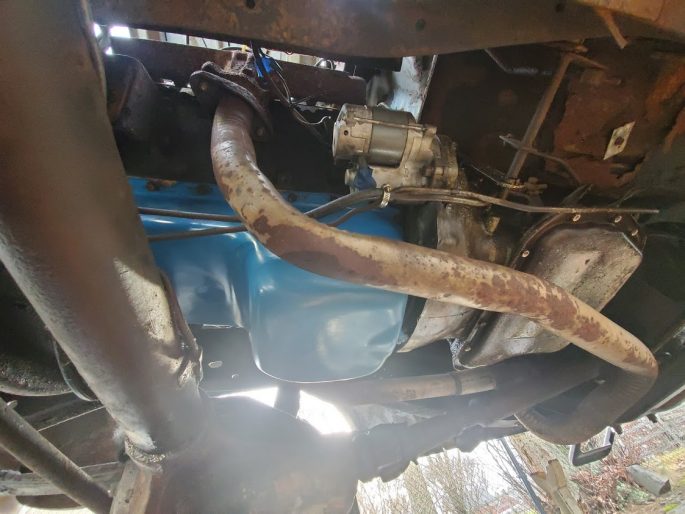
The aftermarket pan fits as well as the stock one ever did, and so far, no leaks! You can see some potential installment fodder in the future in this pic; the transmission pan is also leaking, and there’s a terrible floor patch done somewhere up in the Maine woods that needs to be redone.
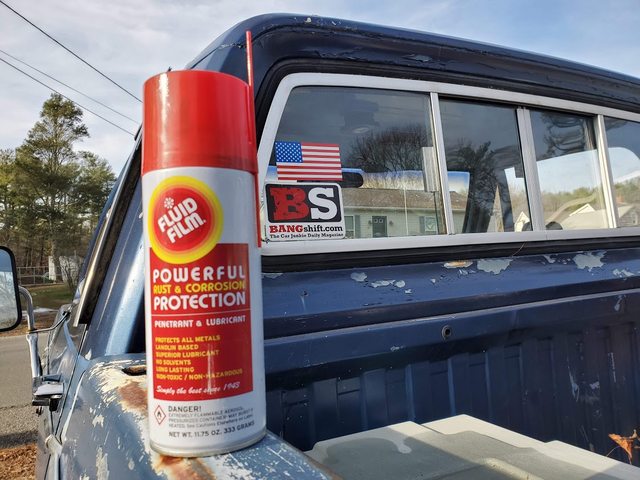
After everything was back together, I slathered the underside with a few cans of this stuff. I was turned onto this stuff from a few oldtimers and some friends that swear by it for their winter plow rigs. Since I don’t want the truck to return to the Earth anytime soon, I marinated the frame, floors, inner fenders, and anything else that would see salt with this stuff. It goes on thick and smells like the 1930’s, so you know it’s good.
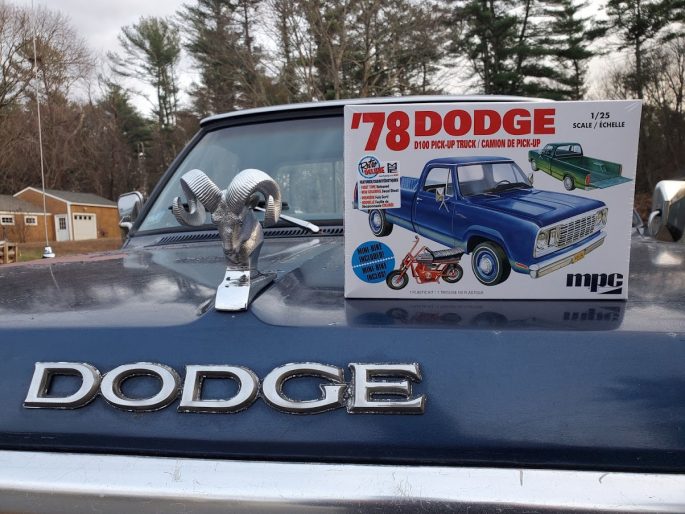
One more fun thing: I saw this model kit while shopping recently, and there’s no way I was going home without it! Since the kit is a ’78 and this is a ’79 with the quad headlight Adventurer grille, I’m planning on picking up a separate 1980 Ramcharger kit I’ve seen to swap the hood, grille, and front bumper to make a 1:25 Power Laggin’. My great uncle also had a ’78 Ramcharger back when I was a kid that I loved, so I’ll build that with this kit’s front end and hood as a tribute to his old rig. Should be a fun winter project.
So, as you can see, Project Power Laggin’ is still chugging right along. It’s running, driving, and stopping better than ever, as well as leaking less. I mean, what more could you ask for in an old truck? As of now, we have a host of projects lined up for the near future. Near the top of the list is swapping out the front leaf springs with some fresh NOS units. The truck is listing a little to the port side since one of the leaf springs is partially collapsed. This is a common sight with old trucks that served plow duty like this one did. Although Dodge did offer a turn-key plow package called the Sno-Commander (and earlier, Sno-Fiter), this truck didn’t leave the assembly line with that clicked off on the option sheet. The stock three leaf springs don’t like the added weight of being saddled with a plow for decades, so a lot of them end up leaning. We also need to fix more leaks, address more issues, and maybe make it more habitable in the cab. And at some point, we’ll turn up the wick a bit on the ol’ 318 and see what it can do!


Always love seeing you keep FIXing this thing! I like making simple things right again. As you’ve found…with these older rigs, people just duct tape, ziptie and add fluids… Your fixes while sometimes a PITA make this thing more and more comfortable and reliable.
I’m patiently waiting for the carb/cam/intake swap!
(I can’t remember if we talked about this, but this truck has 4.10’s…? Thats odd for a 1/2 ton of that era. Did you ever dig into if it was ordered that way or swapped? Can you get a breakdown of options from the VIN?)
We found that it has 4:10’s the old fashioned way: by counting rotations with the truck on the lift! It also screams for its life at 65mph, so that’s another indication that it has them. At least it helps with the around-town driving.
Sadly, the build sheet (typically stuffed behind the seat on these) was dust by the time I acquired the truck; there wasn’t enough of it left to read. The underside of the hood is usually where you see the options tag, but that’s long gone as well, since someone replaced the hood at some point with a later one with the Ram hood ornament. If there’s a service out there that can provide a reissued Mopar window sticker/build sheet like the Pontiac Historic Services or Marti Report for Ford vehicles, that might be an option to confirm it.
I have owned two 70″s dodge trucks. Both started with 318’s. The tail pipe over the axle should be clocked 25-30 degrees clockwise, when looking from the rear. As it is, the rear diff will hit it. The pipe should go between the shock and leaf spring.