I want to say something like, “I rolled up my sleeves and took the challenge head-on” or something similar here, but here’s the truth: up until yesterday, I was staring at a bare short-block of a Chrysler 360 that is destined to go into the Raven Imperial, wondering if my mouth had really overran my ass this time. I’ve never taken an engine all the way down AND brought it all the way back in one shot. Never. The last two times I tore a Chrysler engine down this far, the results were pretty much the same: anger, disappointment, a string of curses that would make a sailor cringe and a couple shots of whiskey while I contemplated whether or not I really was as much of a gearhead as I have claimed to be. The engine was back from Pro Machine in Bowling Green, new camshaft bearings installed properly, the only thing I was sending out for a pro to do. From this moment on, everything about this engine was in my hands. No pressure, McTag, none at all. Except that there was pressure. All of the gaskets and bearing kits that Mahle sent had packaging that had “no refund if seal is broken” marks on them. At any point I could’ve caved, bitched out and had this done.
I have a rather strange motivating statement that dates back from my Army days. When asked if I’m ready for any random tasking or event, my response was the same: “F**k no, but let’s get it done.” It sounds like I’m approaching it negatively, but I’m not: the way I view it, I might not be completely comfortable in the situation and I just might fail at what’s about to happen, but it beats the hell out of doing nothing. So, with that, I took a repurposed paring knife out of my toolbox, broke every last seal on the boxes, and got my ass in gear. here’s how far I’ve made it so far. Follow along with the pictures for the rundown:
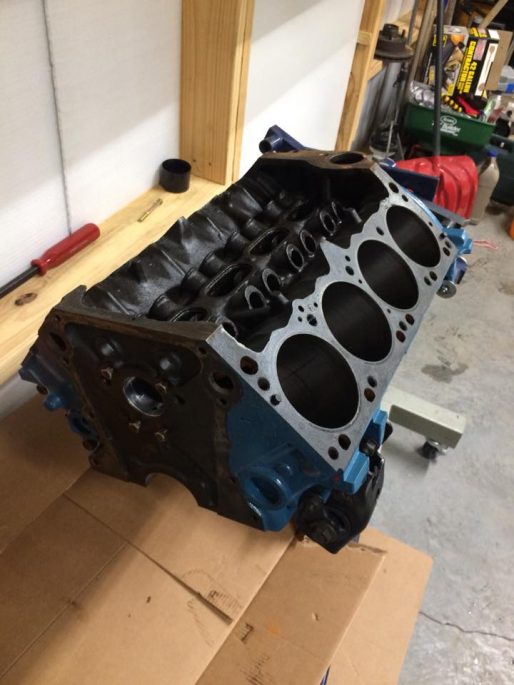
Here’s the starting point of the build: the LA block has been stripped down, painted, cleaned thoroughly, and now is sporting the new camshaft bearings, the only mulligan on the build. That means that it’s time to bust out the tools and get going.
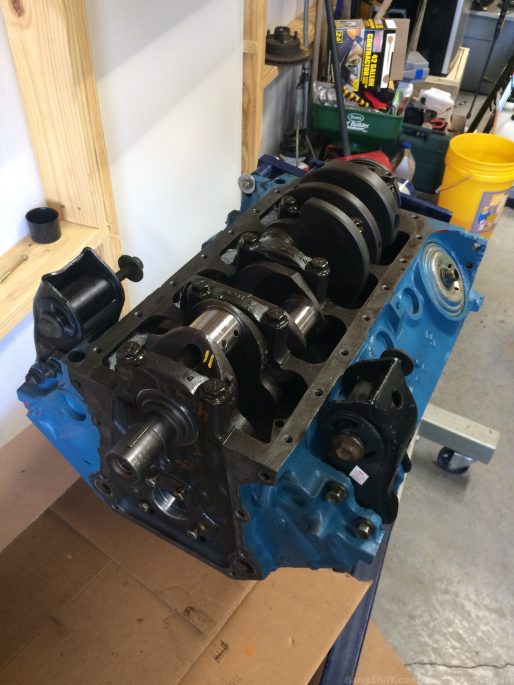
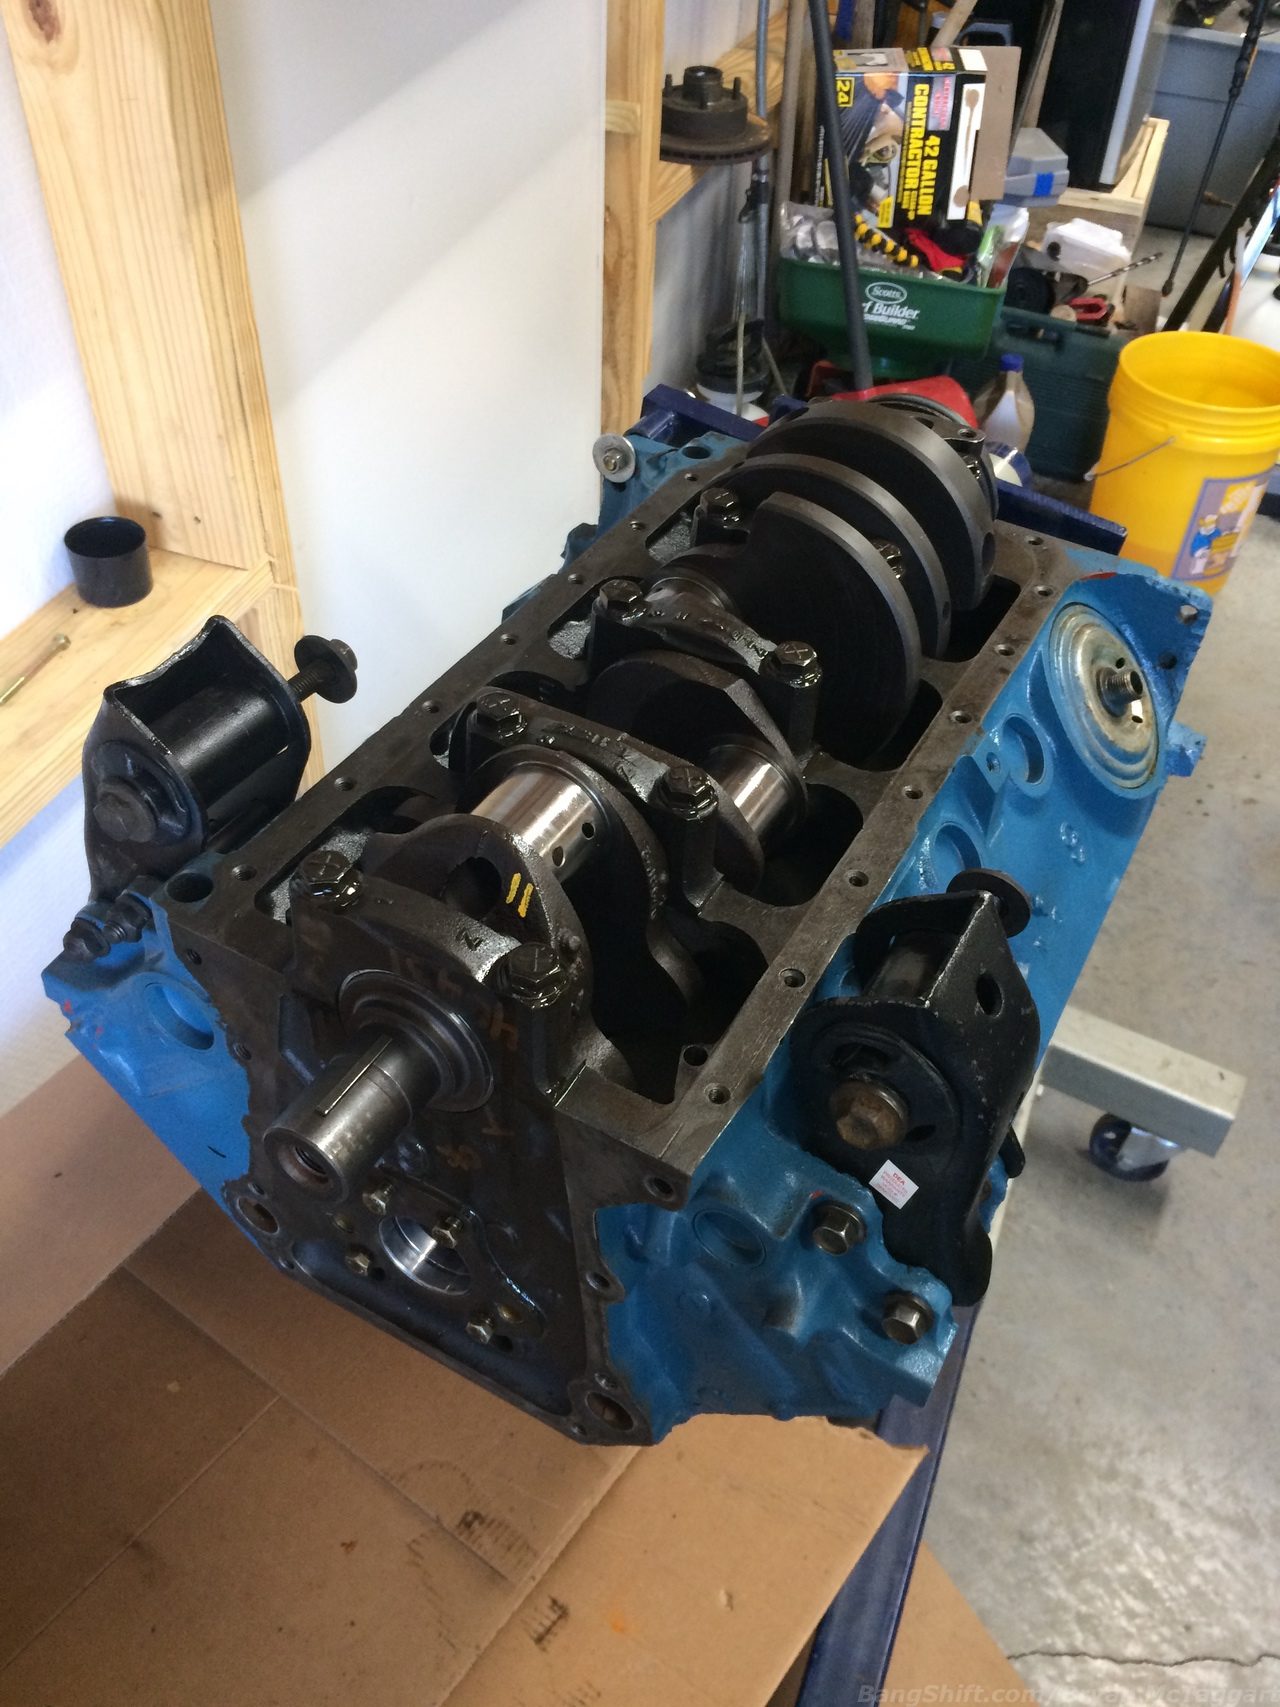
I have four major critical points on this build, the parts where I am in new territory, where one screwup is the difference between a happy 360 and the end of my sanity: the crankshaft, the camshaft, the pistons and rods, and the break-in. The crankshaft is the part that I was most comfortable with. The bearings were easy to match up, went in with no issue whatsoever, and after a good soaking in assembly lube, saw the crank laid in the journals. Working front to back, I rotated the crank with each attached main cap to feel for any tightness…none. I torqued in three stages, culminating at 85 foot-pounds, and rotated again…like butter.
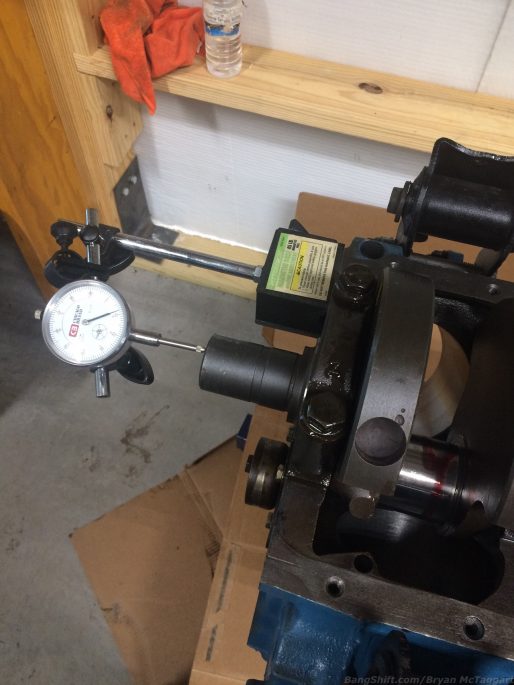
A good smack on the snout and the tail of the crankshaft and I was ready to measure end-play. I borrowed this meter from Haley’s uncle and went through the steps. The endplay measured out at .008. That isn’t ideal, but max endplay for a 360 is .010, so I’ll take it. I’d be more concerned if the LA was going to see race use, but for a street car I’m fine with the number.
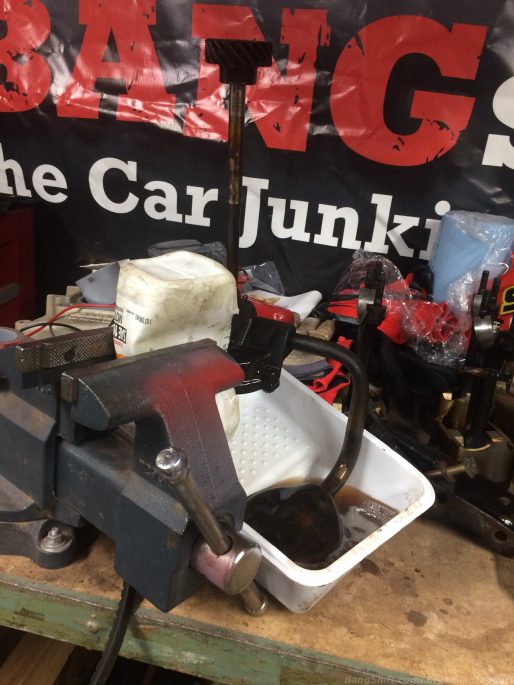
Since this engine has been full of surprises ever since I bought it off of Eric Rood, I decided to not leave the oil pump to chance. I wanted to see if it functioned. After removing something off of the screen that looked suspiciously like leaf detritus, I plumbed up this redneck test system using a solvent bucket, an oil quart bottle with a section cut out for the oil pump’s output port to stick into, and got a drill with a flathead screwdriver blade in a driver bit to spin the drive gear. The layout is simple: oil should puke up out of the port, into the quart container, which in turn drains into the solvent pan. Worked like a freaking charm…after initially coughing up some sludge, the pump worked well enough that I’m ok with bolting it back onto the engine. And yes, I know my workbenches are messy. Par for the course here.
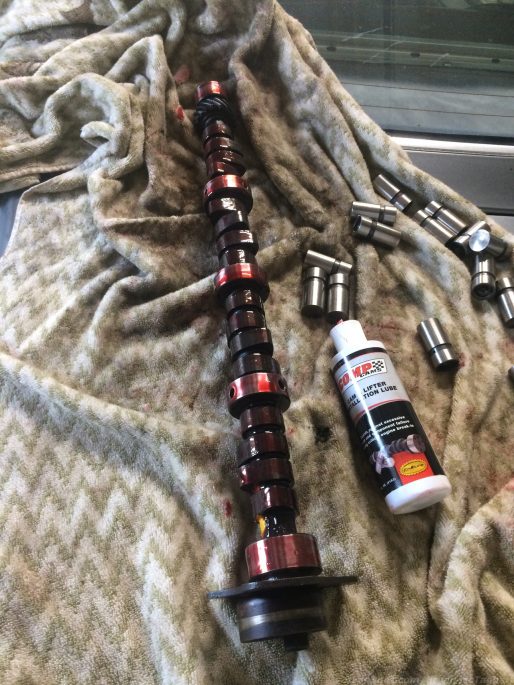
Critical Item #2: Camshaft. After having to do some emergency polishing on two main sections of the cam itself to remove some early rust, I wasn’t taking any chances here. The Edelbrock #2177 got treated to more assembly lube than is probably called for…seriously, this thing was dripping red sauce as if I had recently used it in a murder. I installed it with the precision of an EOD tech defusing a bomb, and breathed a sigh of relief once it was nestled right where it belonged.
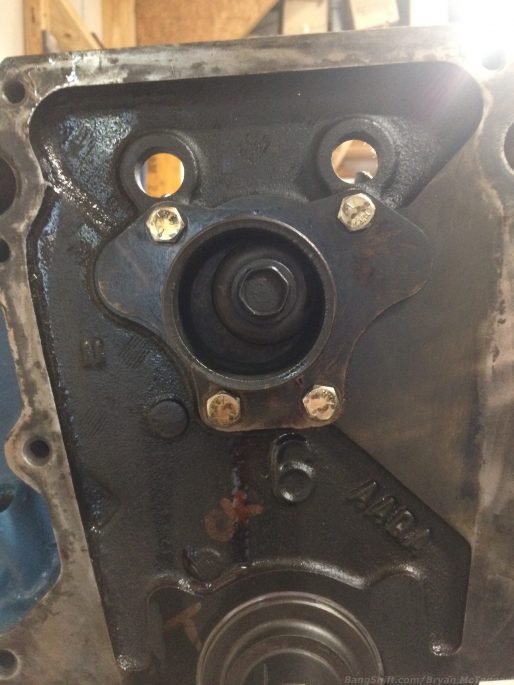
Something as simple as the camshaft thrust plate shouldn’t require an hour of Google-Fu to finish off properly. But it did. The correct answer: 210 inch-pounds for those four bolts. There…why was it that damn hard? After taking one look at the timing chain set that I have, I’ve decided that I need to acquire a new one. I’m not up to cleaning rust off of chain links, and I don’t even know how long it’s had rust on it. It might have had rust on it when i took the engine apart. In fact, I think it did…
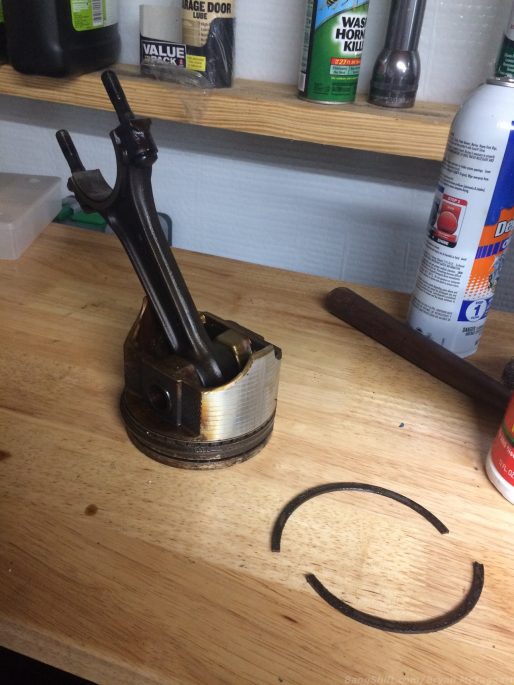
So the crankshaft is in and the camshaft is in. Next step: pistons, right? Yeah…that didn’t go so well. This is #1, both in the block and the first piston I was preparing to work with. As you can see, some cleaning is needed. The surprise I got was that apparently rings are needed, too…half of the top ring fell out of the groove when I turned the piston onto it’s side to start removing the excess carbon. So, that’s where this update ends. Rings, a new timing set, a carburetor rebuild kit and a new positive battery cable are on order, and in the meantime I’m still sorting out other assorted electrical issues and working on getting the fuel system up to spec.




You didn’t have the block honed with plates?
Okay McT, if you can keep a helicopter in the air then this is a walk in the park. I’m sure you have plenty of buddies in the area that will coach you.
It’s your engine and good on ya for doing the rebuild yourself. That being said, I work on a budget too, but I don’t reuse oil pumps or cams. I figure being on a budget means I have to replace those parts. I don’t like doing things twice…like spending money on bearings.
Camshaft was brand-new and unused, and that’s why I checked out the oil pump before thinking about bolting it up.
Unlike a GM turd, mopar pumps are gerotor design, and can be measured very easily for inner rotor to outer rotor clearance, and outer rotor to body clearance. Thats the ONLY way Id ever consider re-using a pump. of course, after I clean the gremlins and goo out of the bypass spring and valve assembly. Id highly recommend you check that, I bet theres a gremmie or 2 in there. Last, some gasket kits come with a mounting gasket for pump to main cap, dont use it. you have a machined surface on a machined surface, tolerances *SHOULD* be tight to the point where a gasket isnt necessary. Last thing you want is half of the gasket to crap out then wonder why you only have 5 PSI at idle. Best of luck!!!
This is a great and inspiring article/post for those of us who do not rebuild engines every day…
And the comments section, provides experience when we don’t have a wise Uncle, or experienced family member to keep us on the path to the joyful relief when it comes to life.
If my dumbass can rebuild a turbine rotor and propeller for a C130 and not have it come apart in flight then you, a lowly chopper tech can handle this!
You’re off to a great start. Enjoy it brother, I really mean it. I don’t have that nervous excitement anymore when I start up after a rebuild. I recently started on transmissions and got that “is it gonna work” feeling again. Savor it while you can. I also find it helpful to rebuild something out of the norm every once in a while. After several SBCs the BMC A Series in my Mini was really unique and scary because the parts were shipped from across the pond and the pound rate was brutal.
Save the broken rings. They can be turned into piston ring groove cleaners. If they rings are that bad you will be needing to clean the grooves of carbon and junk.