


August proved to be a very, very busy month for Project Angry Grandpa, our 2006 Chrysler 300C. We went to the Mopar Nats at National Trail Raceway…and knocked the front-end askew on the rutted, pot-holed roads around Cincinnati for our efforts. We got an alignment and drove up to Michigan for a Modern Street Hemi Shootout race, the Detroit Area Modern Mopar show, and the Woodward Dream Cruise. We brought home two sets of drag slicks and a set of roller wheels from that trip. And just because we could, we drove out to St. Louis for the SCSN Anarchy at the Arch III race. Altogether, just in trip mileage, we put just about 3,000 miles on the big gold brick last month, and other than the omnipresent “tick-tick-tick” of the Hemi’s lifters, the Chrysler seemed to be doing just fine at 122,000 miles…or so we thought.
About a week ago, the weather in Bowling Green went from “hot and humid” to absolutely perfect and after dinner, the wife and I decided to give the air conditioning a rest and to open up the car for the cruise home…and were rewarded with a squeaking noise that didn’t sound like brake pads, didn’t sound like rattle clips, but was certainly talkative. After all of the miles, it’s no surprise that the brakes, which we put on before going out to the Ohio Mile in 2015, could stand a look-over. When we got home, though, I found more things I didn’t like…the headlights were getting cloudy enough to be a serious problem, the fog lights are not only clouded, but are broken and letting in moisture, and the grille, which has looked like crap since the day I bought the car (blame Arizona) looked like utter hell…and that was before the twenty-million insects became a horrifying Jackson Pollack art piece on the front of the car.
Since we now have a garage, and I have more plans for the car this year, I decided to take care of a few things. Read on through the photos to continue:

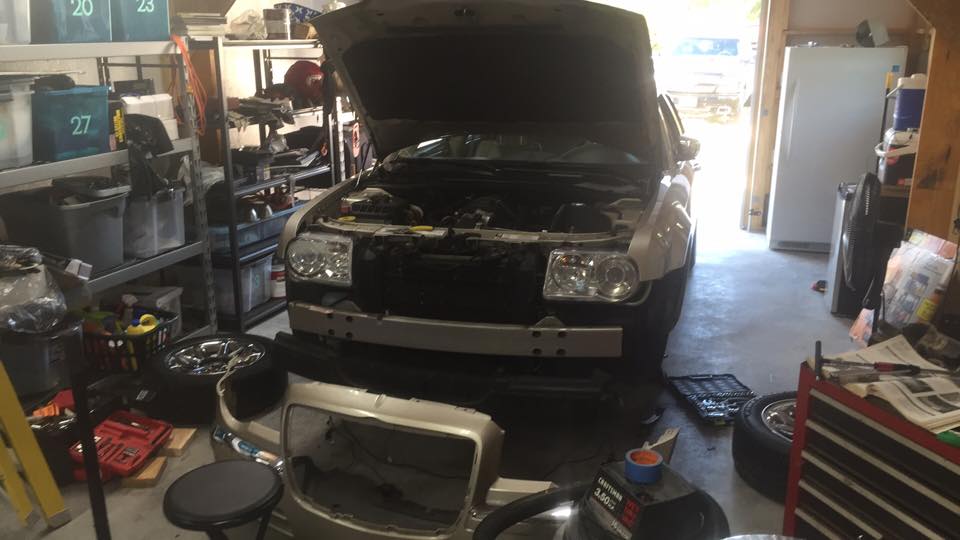
This is the last photo I took of Grandpa before work began. It might look good in the photo, but you can clearly see the nasty headlights and fog lights, and again, there’s something about that egg crate grille that bothered me. Part of it was because some of the silver paint was gone, part of it was because it just doesn’t look that good.

But the main worry were the brakes, so the car went up on jackstands…something much easier said than done without a low-profile jack…and we tore into the EBC equipment to see what was making the light chirping noise that came and went.

Other than the rotors needing the mildest of a cut to clear up ridging along the swept area of the rotor, everything looked good and the pads are at about half-life…there’s still plenty of meat on the bones, but before the spring racing season we will be doing new pads on the car. The wear ring was caused by a bent rattle clip that probably was trashed during the Cincinnati drive.
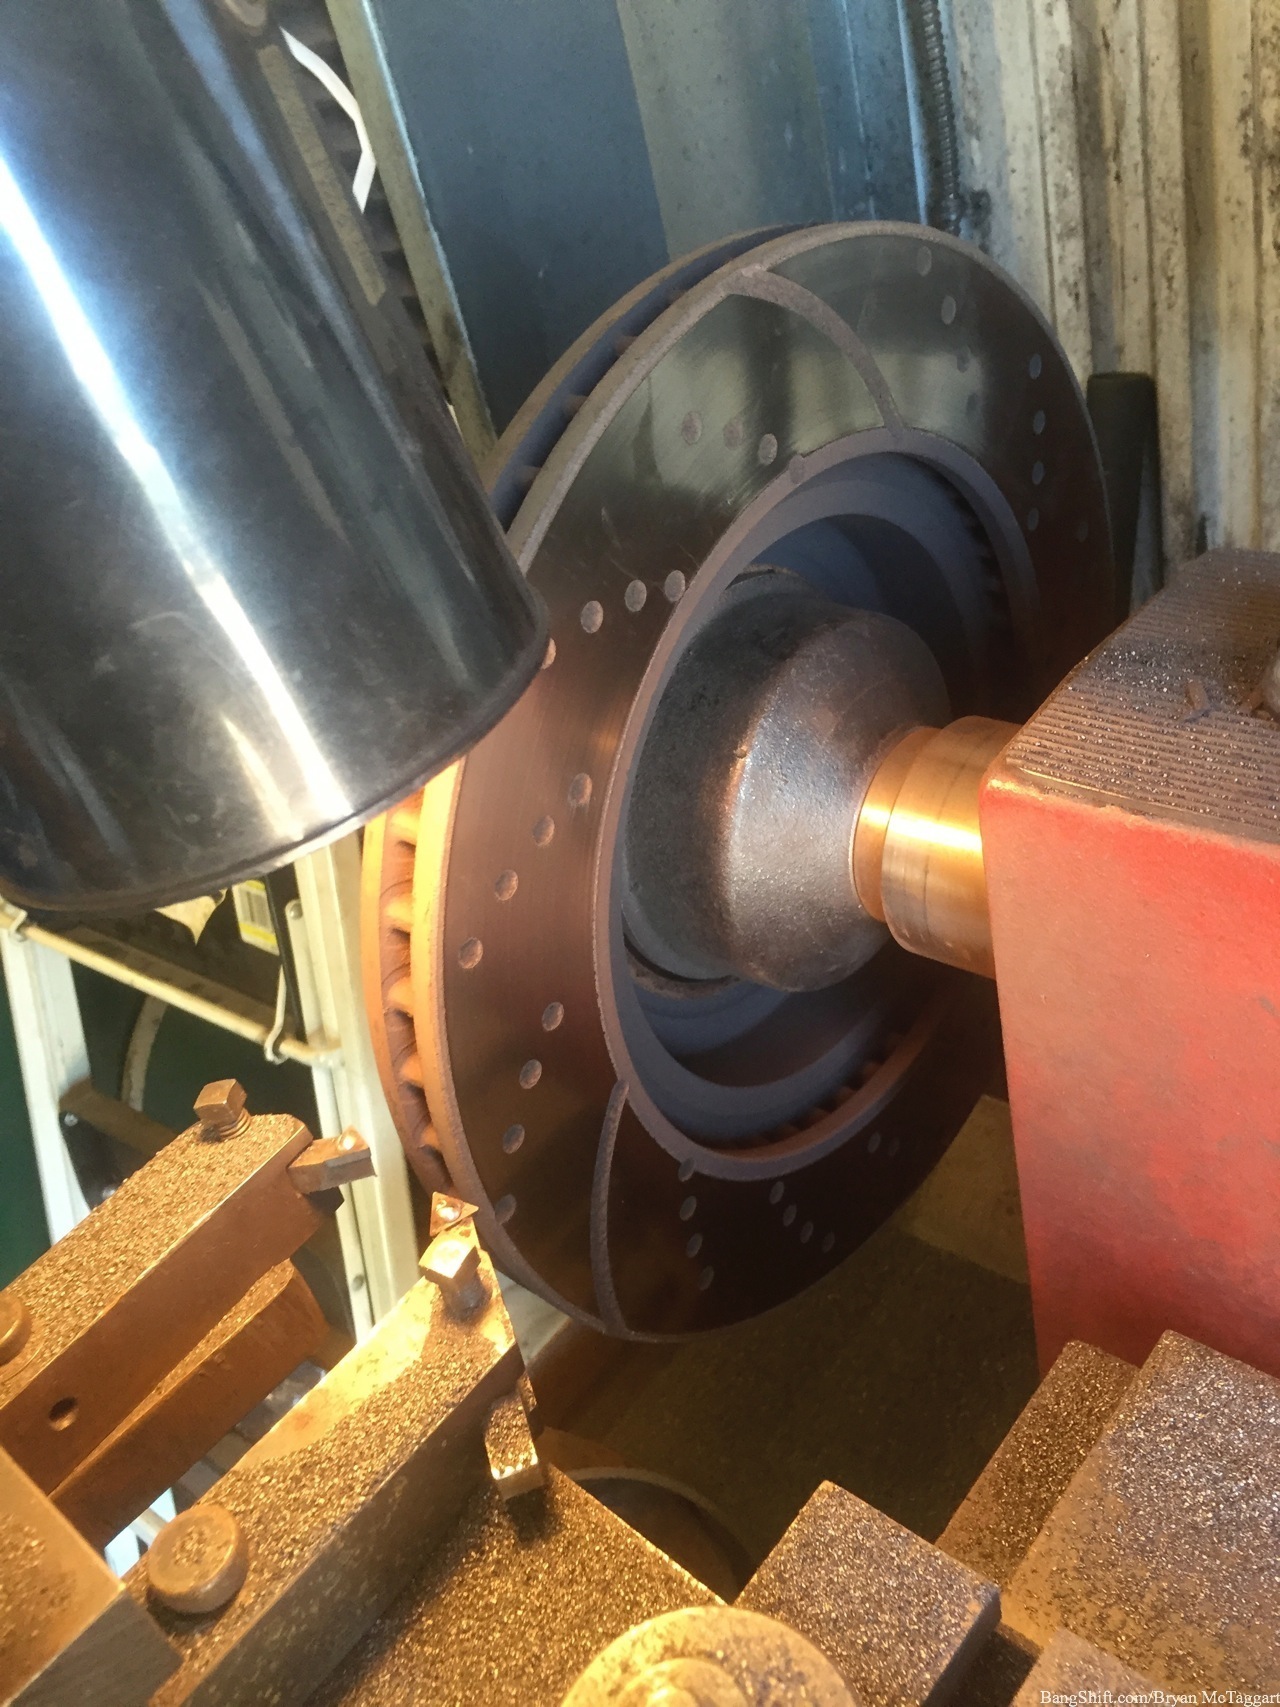
Normally, no big name parts store will cut drilled and/or slotted rotors. Luckily, I know a guy. He’s a bit of a rageaholic, but he can be bribed with a shake from Sonic. Once the rotors were cut, everything was reassembled, with new rattle clips being the only replacement from what was on the car.

Brakes taken care of, I turned my attention to the grille. As you can see in the lead photo, getting this piece of DaimlerChrysler-era jewelry out of the front end requires major disassembly…the entire nose cone, to be precise. The job wouldn’t be so bad if it weren’t for the plastic body rivets. Whoever thought those were a good idea needs to be drug into the street and shot. My left pointer finger has a gouge at the base from a flathead screwdriver, thanks to fighting the clips out. Before anything was done to the grille, a serious scrubbing took place to remove every former form of life from out of each wall of that egg crate.
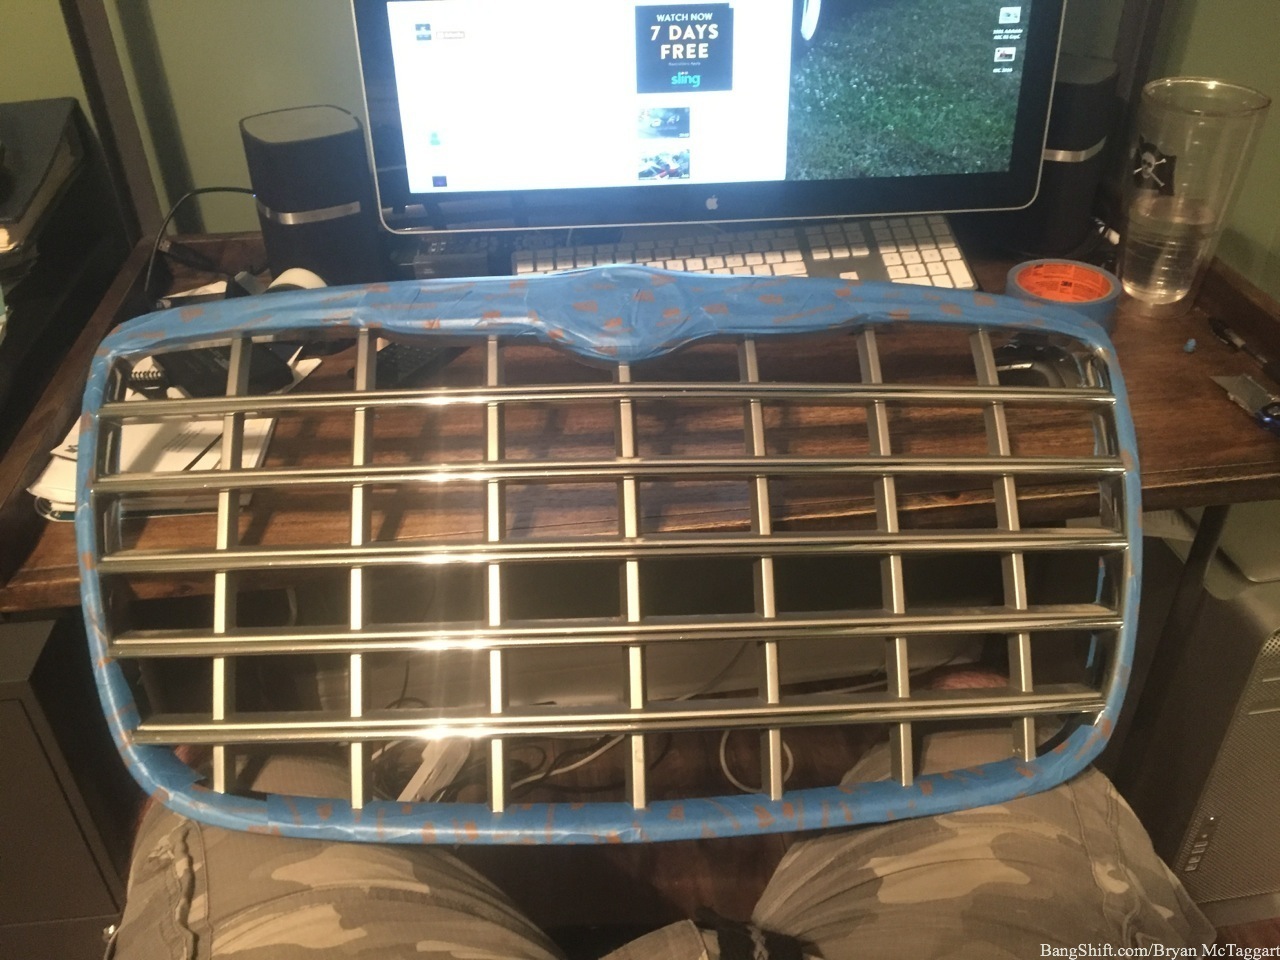
I’ve used less blue tape to mask off a car for painting. Seriously, three quarters of a roll of blue tape went to masking off everything that was chrome…which meant the outer hoop, the wall of the outer hoop, and the horizontal bars in the center. The plan? Paint everything that was silver satin black…it really makes the horizontal bars pop and cleans up the front end nicely. Hey, it was either this, or drop $400 for the wire mesh SRT-style grille.

How much of a cheapskate am I? The tape job took…and I’m not joking in the slightest…two days to do, in-between writing and my normal housework. I’m amazed that I didn’t cut myself with the razor blade I was using to trim with.

After being blasted with Rustoleum satin black, we peeled off the blue tape and proceeded to do a test fit. The color is more glossy than expected, but it’s much better. That black thing underneath the car is the styrofoam bumper cover…which is why you see Linen Gold peeking through the grille.

Ok…I was so excited to polish up the headlights that I did the passenger side, the worst, before I remembered to take a picture. This is the driver’s side, and while it doesn’t look too bad, it was really hazy down in the southwest corner and overall was kind of dull. We grabbed a Meguiar’s kit from the store to try out…

If you have any worries about polishing headlights yourself…don’t sweat it. The kit came with this hand block, a 1000-grit pad and 3000-grit pad that attached with Velcro, a cutting compound, a polishing/protectant compound, a terry cloth, the buffer that goes into any drill, and instructions that couldn’t have possibly been clearer. You wet-sand the lenses carefully, then use the cutting compound with the drill, then after wiping the compound off, you polish and protect.
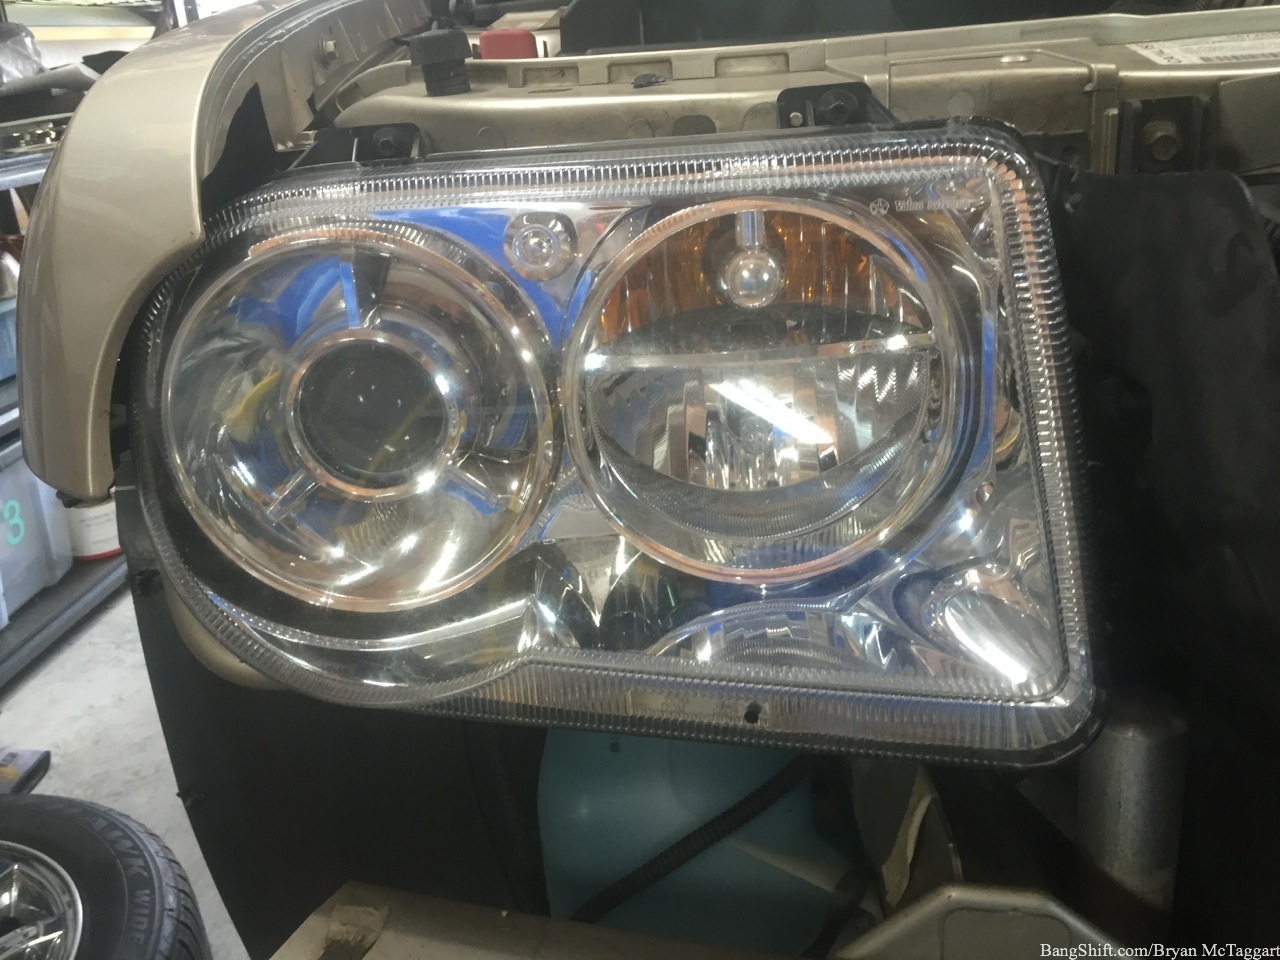
The passenger-side, post-cleaning. Before, the upper 1/3 of the lens was bad enough that you couldn’t see through. Ten minutes worth of work per lens and you’re good to go…or you can take your time and polish them like they are jewelry if your heart desires.

So, for a weekend worth of work, how did I fare? The grille looks good, the headlights turned out magnificent, and amazingly enough, I didn’t break anything and only had to replace one plastic rivet. Downside: still have to replace fog lights, which means another nose-off job, and the brakes still have the mystery squeak that I can’t identify…or, for that matter, duplicate…from the passenger-front. Once the car was back on the ground and the lug nuts were torqued, I found a quiet backroad and did several 60-0 panic stops to see if I should be worried. The cut job on the rotors (only a couple thousandths) feels good and the car stops better than it has in a while, but we still might resort to having a pro look at it to see if we are missing something.


Nice straight forward maintenance that will make you smile every time you look at the car. That’s a win.
Looks good! I like the earlier version of the new 300 much more than what they’ve done with it now….
YaY for GrandPa – I like the older front better, too – I’da just taped the edge of the grille & painted the whole center black – give it that mean, hungry look! – LOL